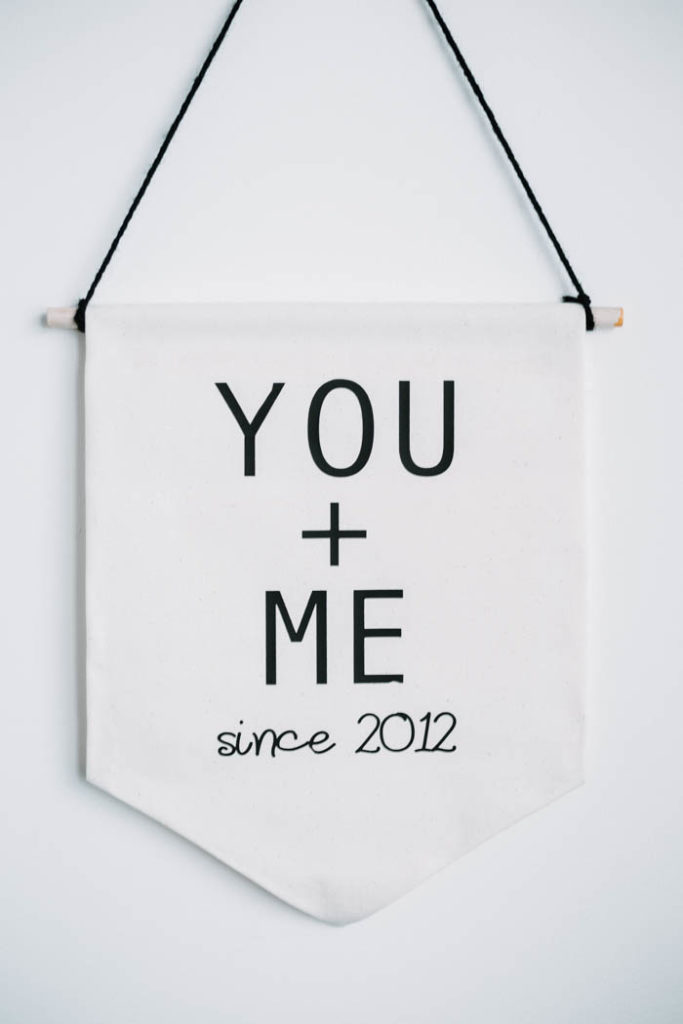
If you’ve been around this site for a while, then you already know that I’m a huge fan of making my own decor. Whenever we redesign or redecorate a space, I tend to put my own artwork in there. My favourite way to do that is with my Cricut cutting machine! The Cricut is such a versatile machine! It can cut so many different materials, quickly and easily. Today I wanted to highlight one of my favourite materials, and show you how to use Cricut Iron On Vinyl. I’ll be using it to make these quick DIY pennants, since Valentine’s day is quickly approaching.
*This post may contain affiliate links. When you buy a product through one of my links, I get a commission at no cost to you! Thanks for supporting my blog so I can continue to bring you posts like these. For more info, please see my disclosure page.*
I have shared sooo many Cricut iron on projects in the past, but I don’t think I’ve ever shared a deep dive into what iron on is, and how to use Cricut iron on vinyl, step-by-step. So that’s what I wanted to share today, in addition to sharing how I made this cute Valentine’s Day Decor!
What is Cricut Iron On Vinyl?
Iron on vinyl is a type of vinyl material that can be ironed onto fabrics and other materials (like wood, paper, or metal). You can use an iron, a Cricut EasyPress to adhere to iron on vinyl to your materials because the iron on vinyl has a special adhesive on one side that is activated by the heat.
There are two main types of Cricut vinyl, adhesive and iron on (which is sometimes called heat-transfer vinyl or HTV). In this post, I’m focusing on Iron On or Iron On Lite. Other types of iron on vinyl include foil, holographic, glitter and sportflex.
Materials Needed for the Valentine’s Day Banner with Cricut Iron On Vinyl:
- Cricut machine (I used the Cricut Maker)
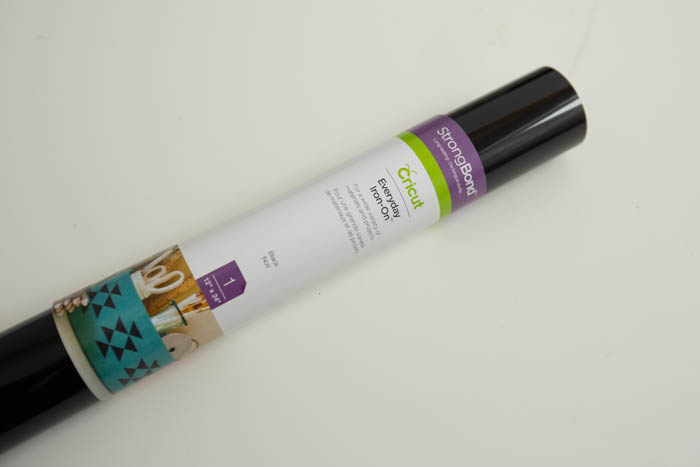
- Iron On Vinyl (I used black)
- Standard Grip Mat
- Cricut EasyPress 2
- Cricut EasyPress heat mat
- Cricut Weeding Tool
- Cricut Design Space Files – you can access mine HERE.
To Make the Pennant:
- Canvas
- Heat n Bond
- Cricut EasyPress
- Ruler
- Scissors
How to Use Cricut Iron On Vinyl:

Start by opening your design space file in the Cricut Design Space. You can create any design you want in the design space. If you want to make this pennant, you can open my file HERE. You can adjust the size or make any changes. When you are ready, hit the greeen “Make It” button in the top right.
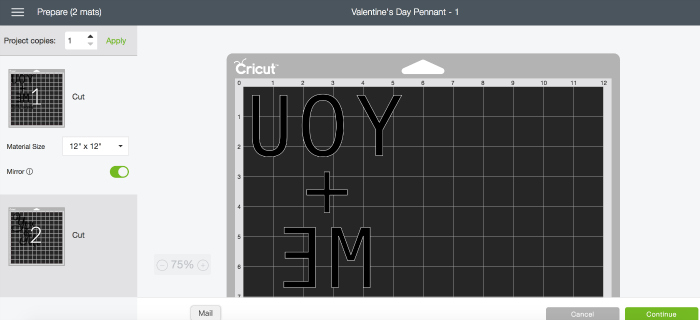
This will bring you to a screen of your projects laid out on mats for you. When using Cricut iron on vinyl, you ALWAYS want to make sure that the image is REVERSED. There is a spot that says “mirror” in the left panel – you can see that I have turned that on, and my images have reversed. When you are ready, hit continue.
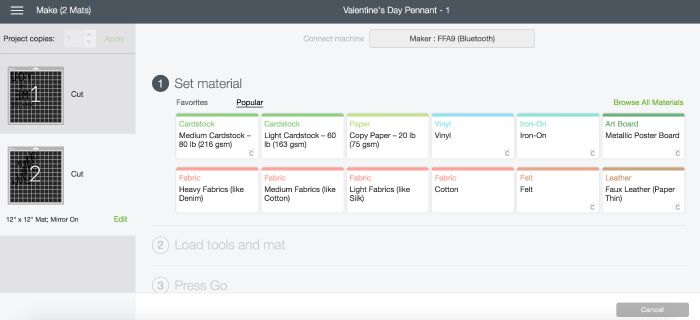
Now you will arrive at a material selection page. Select the blue “iron on” box. If you are using a specific type of iron on, you can search for it by selecting the “browse all materials” link above the boxes. If you have a Cricut explore machine, you will need to select your material by turning the knob on the right hand side of the Cricut.
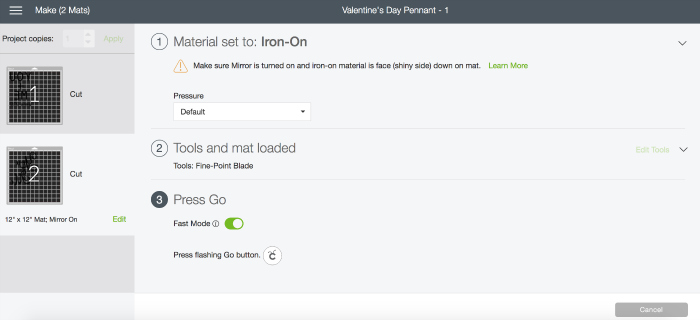
Once you have selected Cricut Iron-On Vinyl, you will be prompted to load your iron on vinyl into the Cricut machine. You can choose to cut in “fast mode” here too, which I recommend!
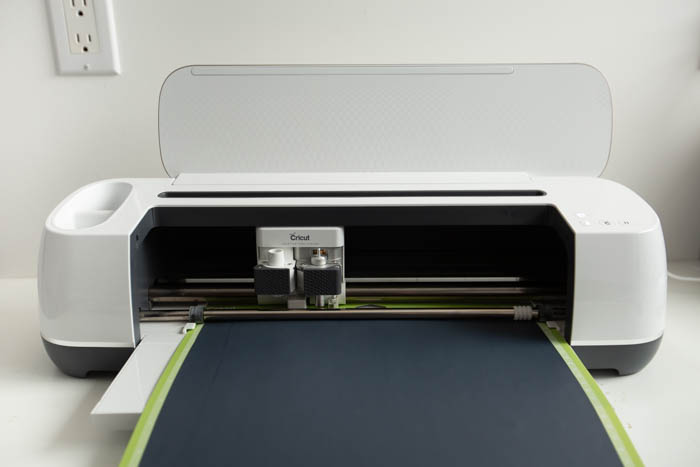
Before you load, make sure that your iron on vinyl is SMOOTHLY laid down on the cutting mat, and that the shiny side is down. The shiny side is the protective layer between the heat and the vinyl when you add heat later on. When the shiny side is down, the vinyl layer will be up, and be cut.
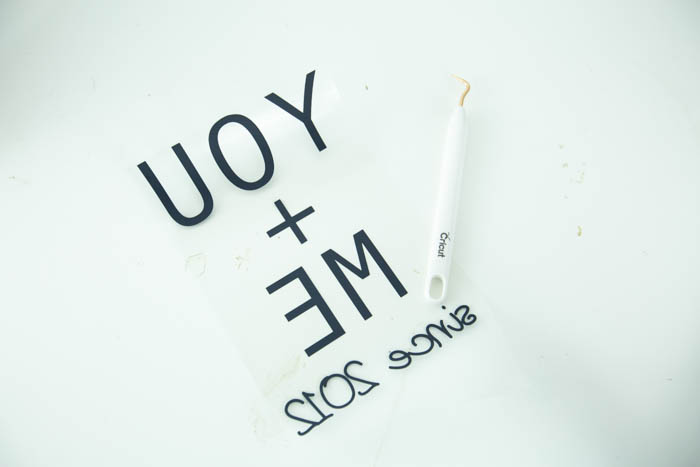
After your vinyl comes out of the Cricut machine, you can use a Cricut weeding tool to help you weed off the vinyl that is not part of your design. Your cut-out image should be reversed with the protective layer underneath.
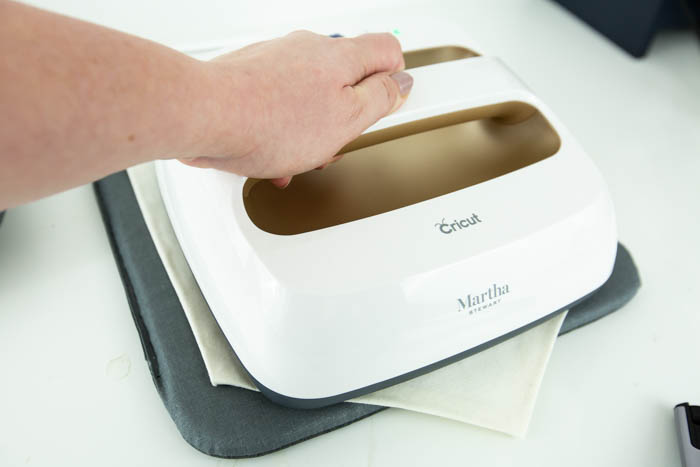
After everything is weeded. You place your cut out design onto your fabric, so that the design is the right way – with the clear protective layer on top. Next apply heat, using your Cricut EasyPress 2(or iron or heat press) on your EasyPress mat. You can check the Recommended EasyPress settings to determine three important things: 1) What temperature to use, 2) How long to use it, and 3) Whether to use a cool peel or a warm peel (whether to peel off the top layer while it’s still warm, or after it all cools off.
No matter what the instructions say, whenever I peel the clear protective layer off of my design, I like to peel it slowly off one corner first. When you do this, you can double check that the cricut iron on vinyl has adhered properly. If it peels up at all, you can carefully put it back in place and apply a bit more heat.
How to Make the Valentine’s Day Pennant for your Cricut Iron On Vinyl:
If you want to make a quick no sew pennant for these Valentine’s Day Pennants I wanted to quickly show you how to do that!
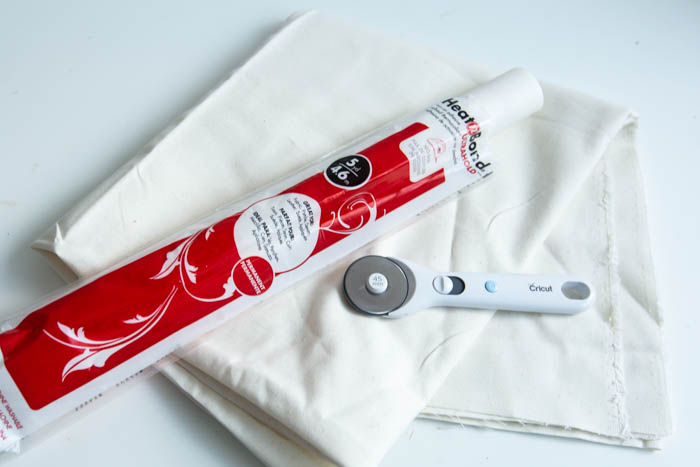
To make these simple pennants without a sewing machine, you need your fabric, Heat n Bond, and a rotary cutter (or scissors).
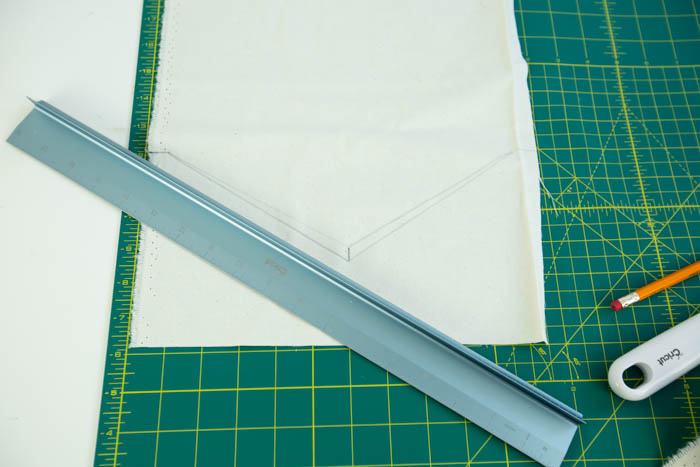
I started by cutting some 12″ by 18″ fabric rectangles, and then drawing the arrow pointed end for my pennant. I found the centre first (6″) and then drew a couple of lines until I was happy.
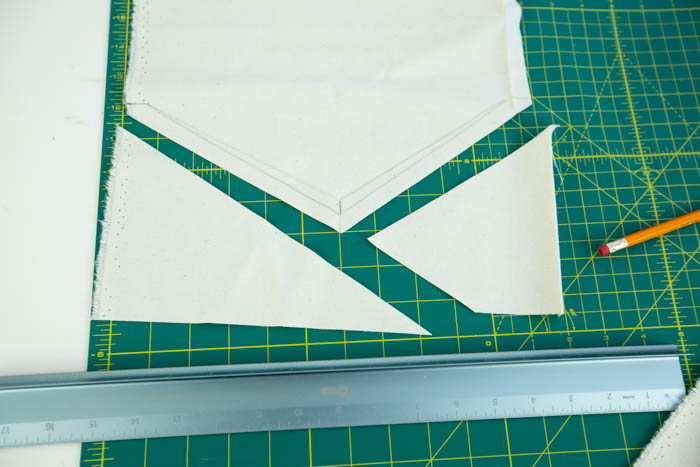
I cut the those edges off and discarded them.
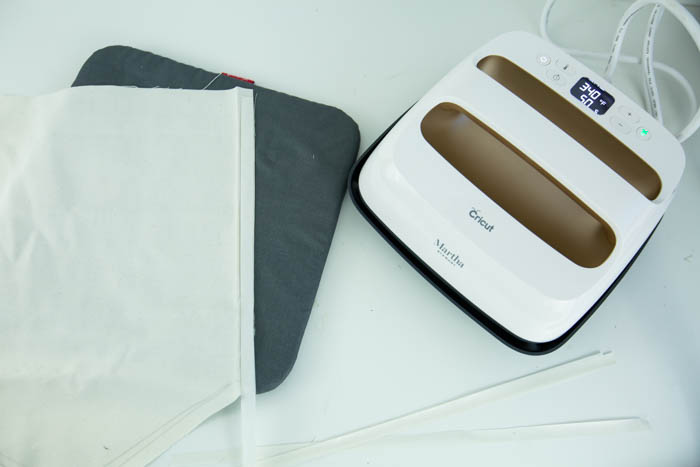
Next, I applied a thin strip of Heat n Bond to the edge of the pennant. Put the glue side down and leave the paper side up.
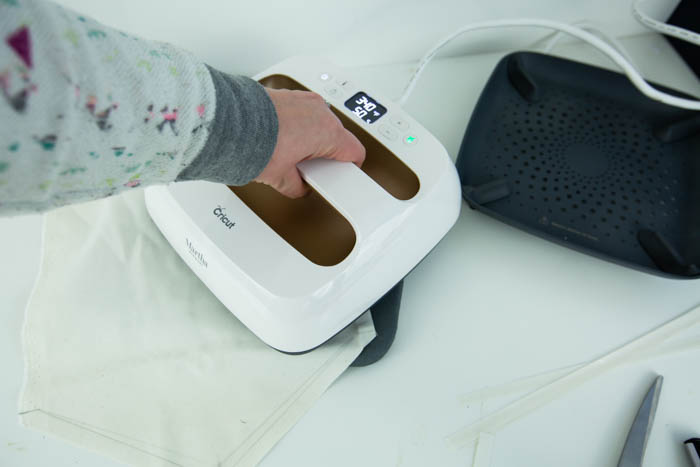
Use an iron or the Cricut EasyPress 2 to adhere the Heat n Bond to the fabric.
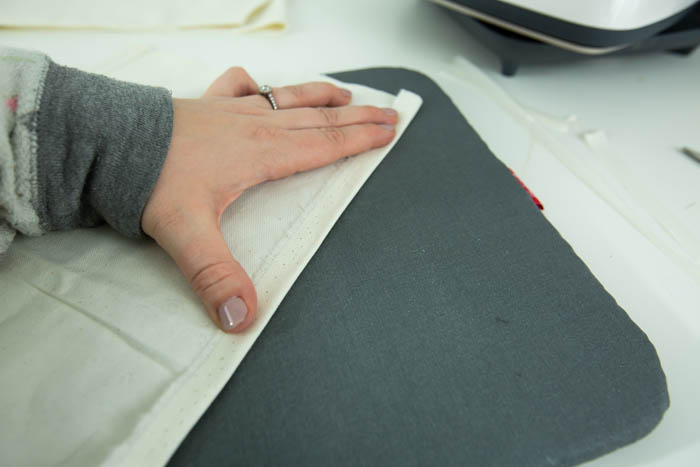
Next, remove the paper, and turn over the side of the fabric. Apply heat again briefly so that the glue sticks the two sides together.
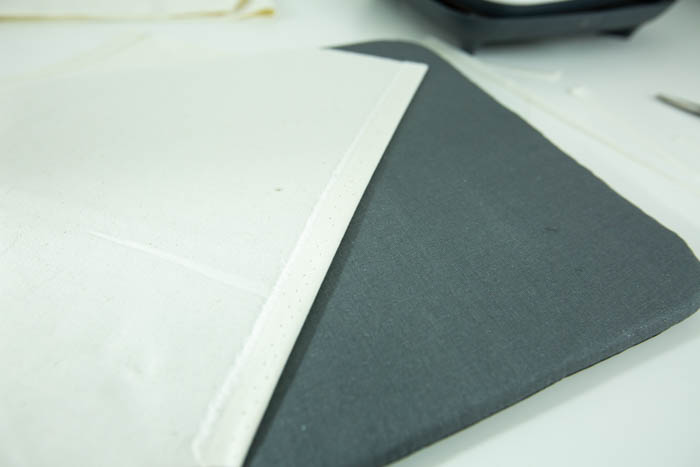
Do this for all five sides of your pennant. When you get to the top piece, make sure that you bring the top down low enough to allow a wooden dowel to slip through the top.
Apply your Cricut Iron On Vinyl (using the instructions above).
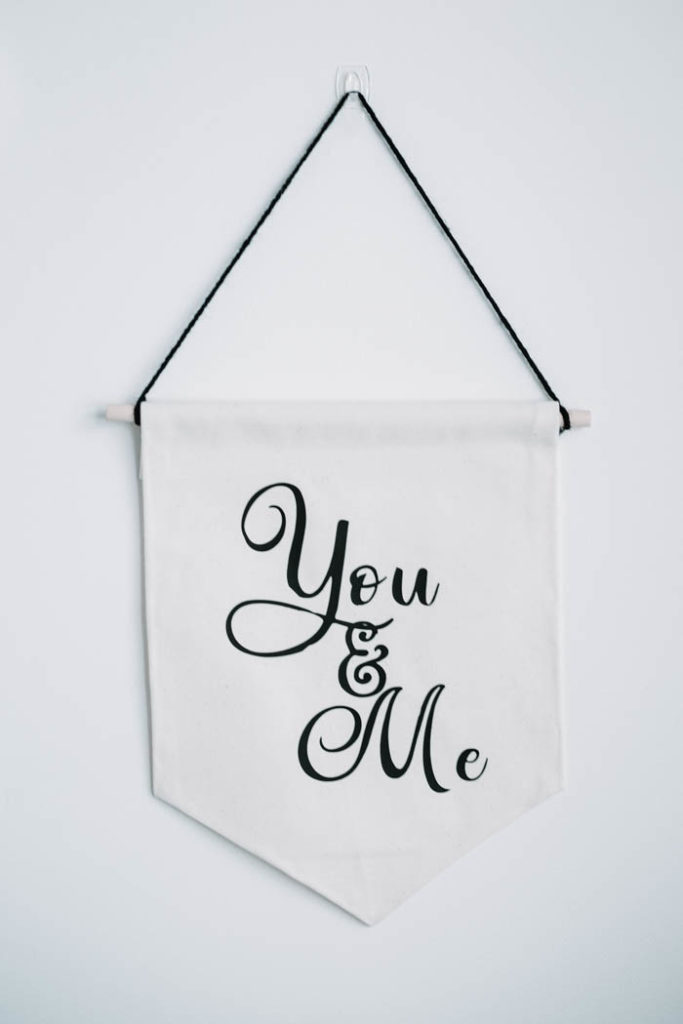
I love the way that these pennants look in our living room! It’s the perfect modern Valentine’s Day decor. It’s amazing what a little iron on vinyl can do!
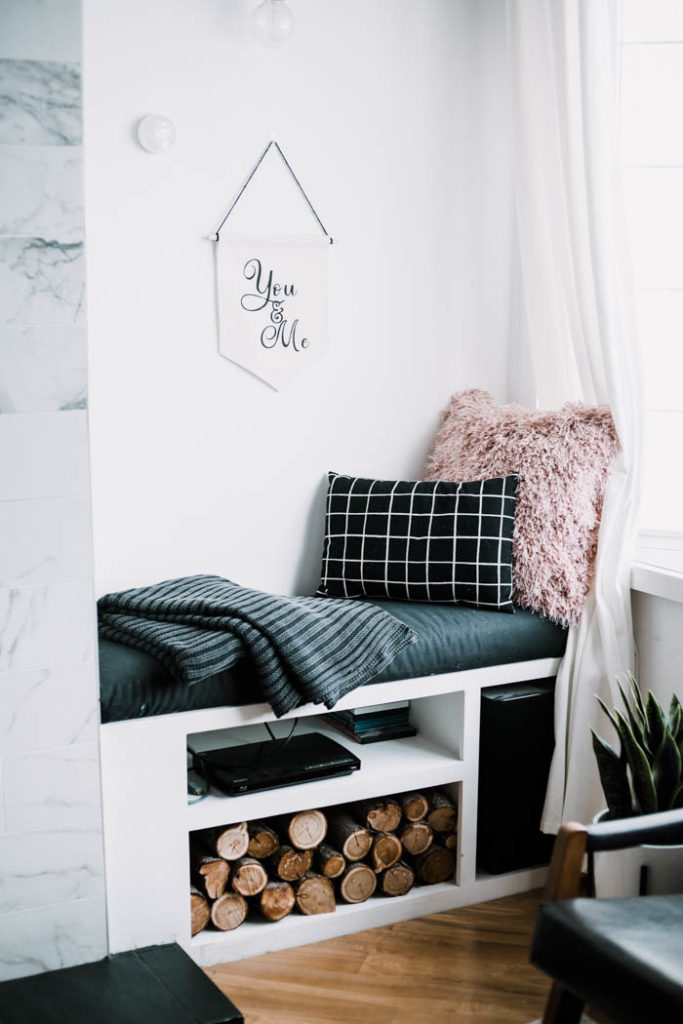
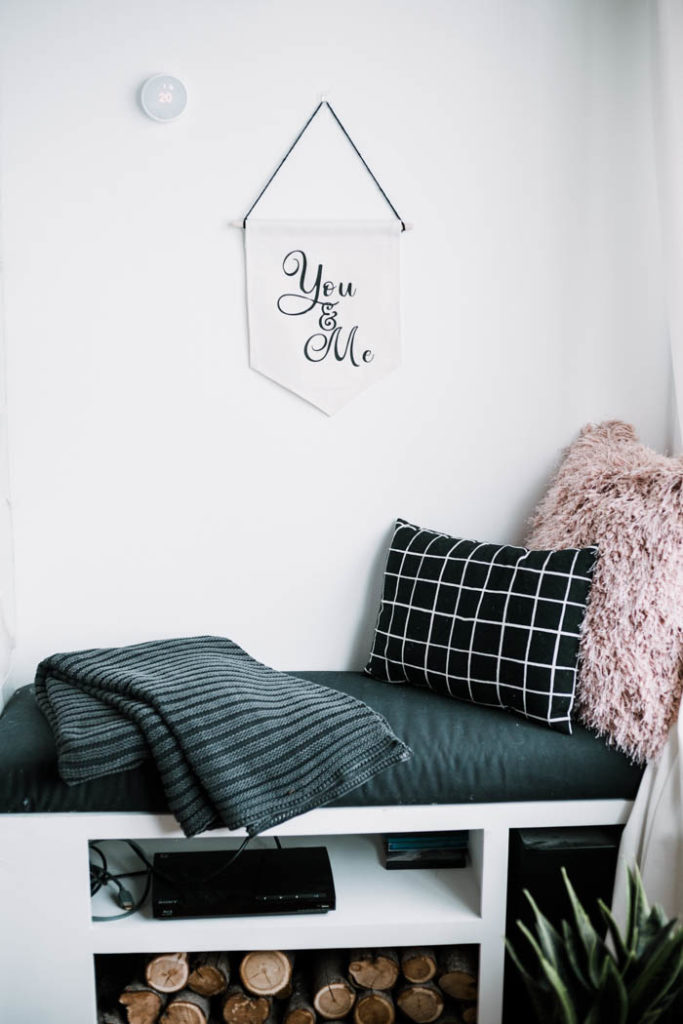
I made two versions because I couldn’t decide, and I love them both!

If you liked this tutorial for Cricut Iron On vinyl, you might like one of these:
- Iron On Canvas Artwork
- Iron On Minimalist Canvas Art
- Holiday Canvas Art
- Iron onto holiday napkins
- Iron on with leather napkin rings
- Christmas Pillows
- Fall Pillows
- Canada Day Pillows
- Modern DIY Baby Onesies
- DIY First Birthday Onesies
- DIY First Day of School Shirts
- Summer Kids Tote Bag
This is a sponsored conversation written by me on behalf of Cricut. The opinions and text are all mine.


Dominick smith
Sunday 28th of February 2021
love this
Naomi
Monday 21st of January 2019
Where did you get that color EasyPress?? I haven't seen it before!
Lindivs
Tuesday 22nd of January 2019
It's the Martha Stewart EasyPress! It's only available at Michael's :)