Love the look of black window frames? If you want to paint your own, here’s one quick and easy DIY tutorial! Get the beautiful modern black windows for any interior room!
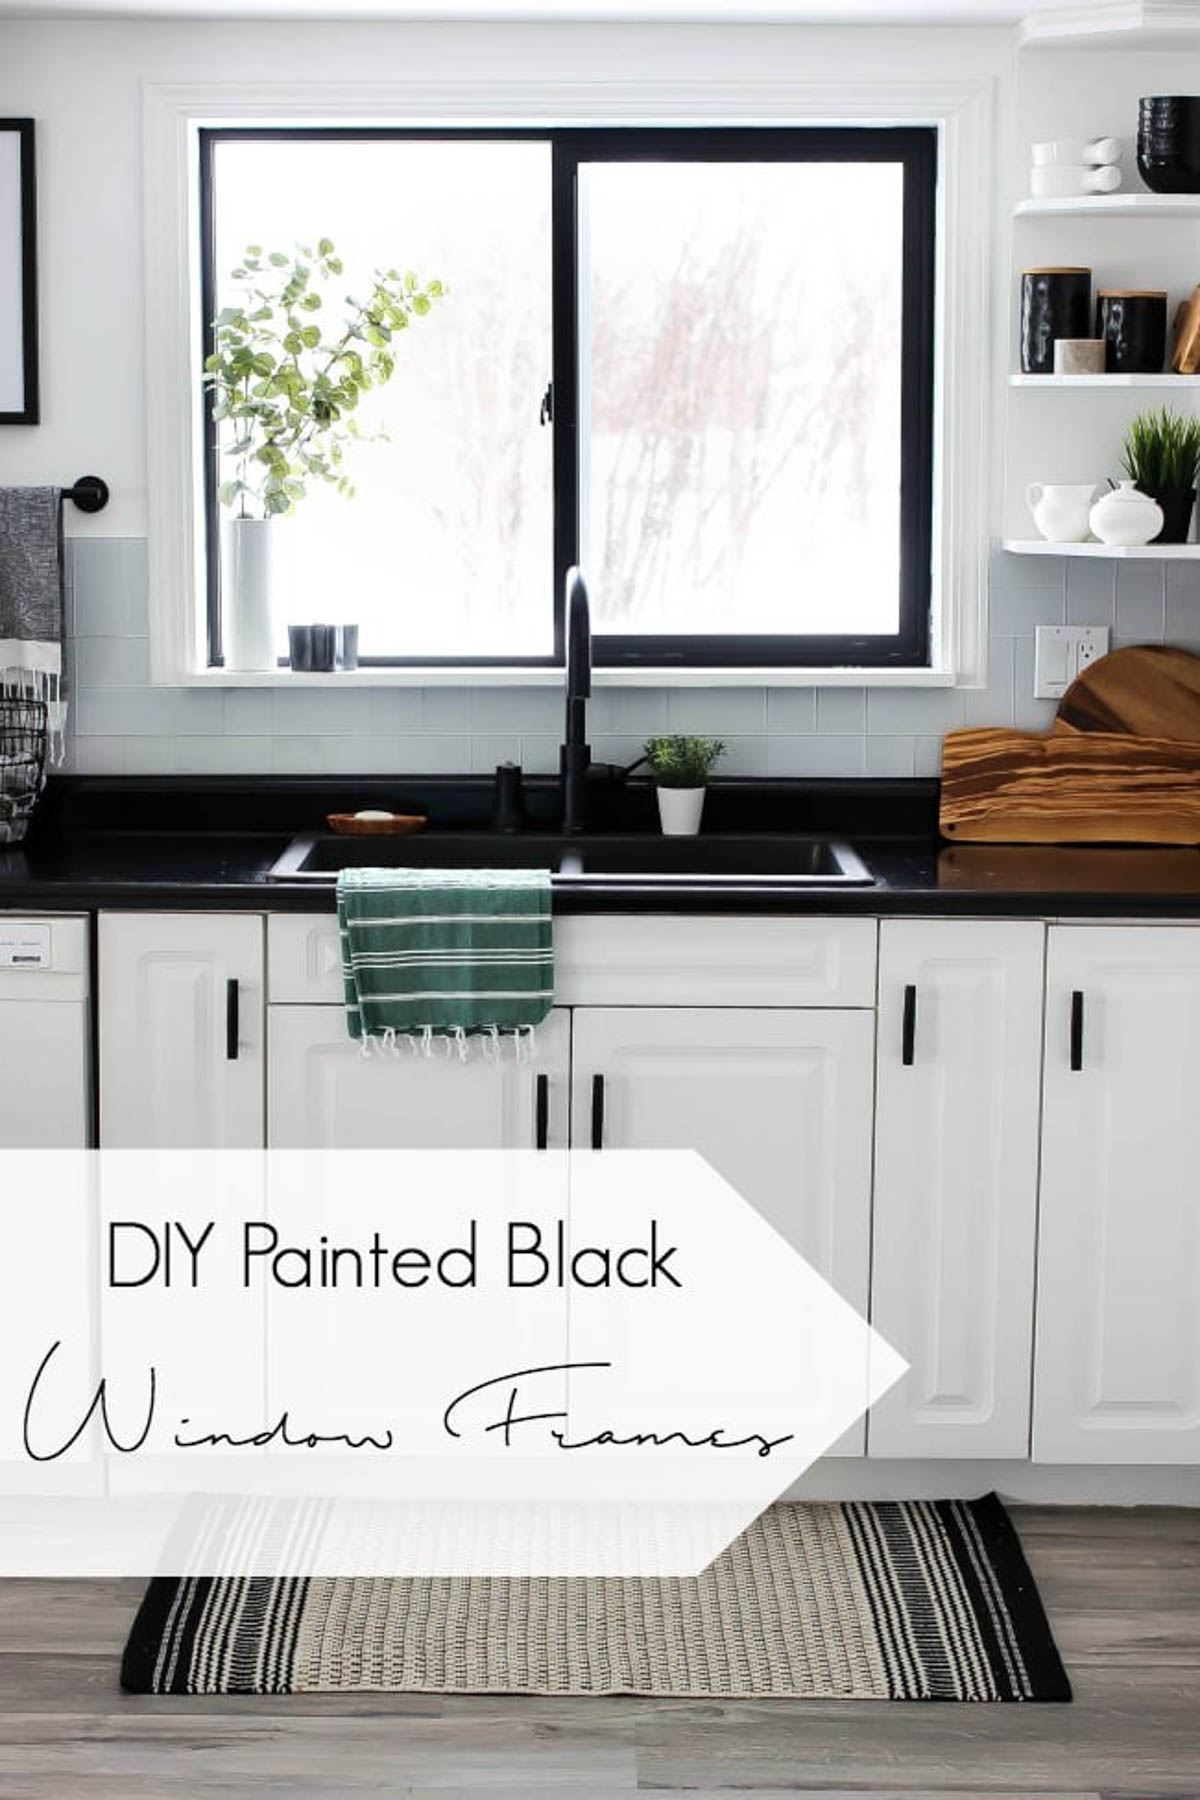
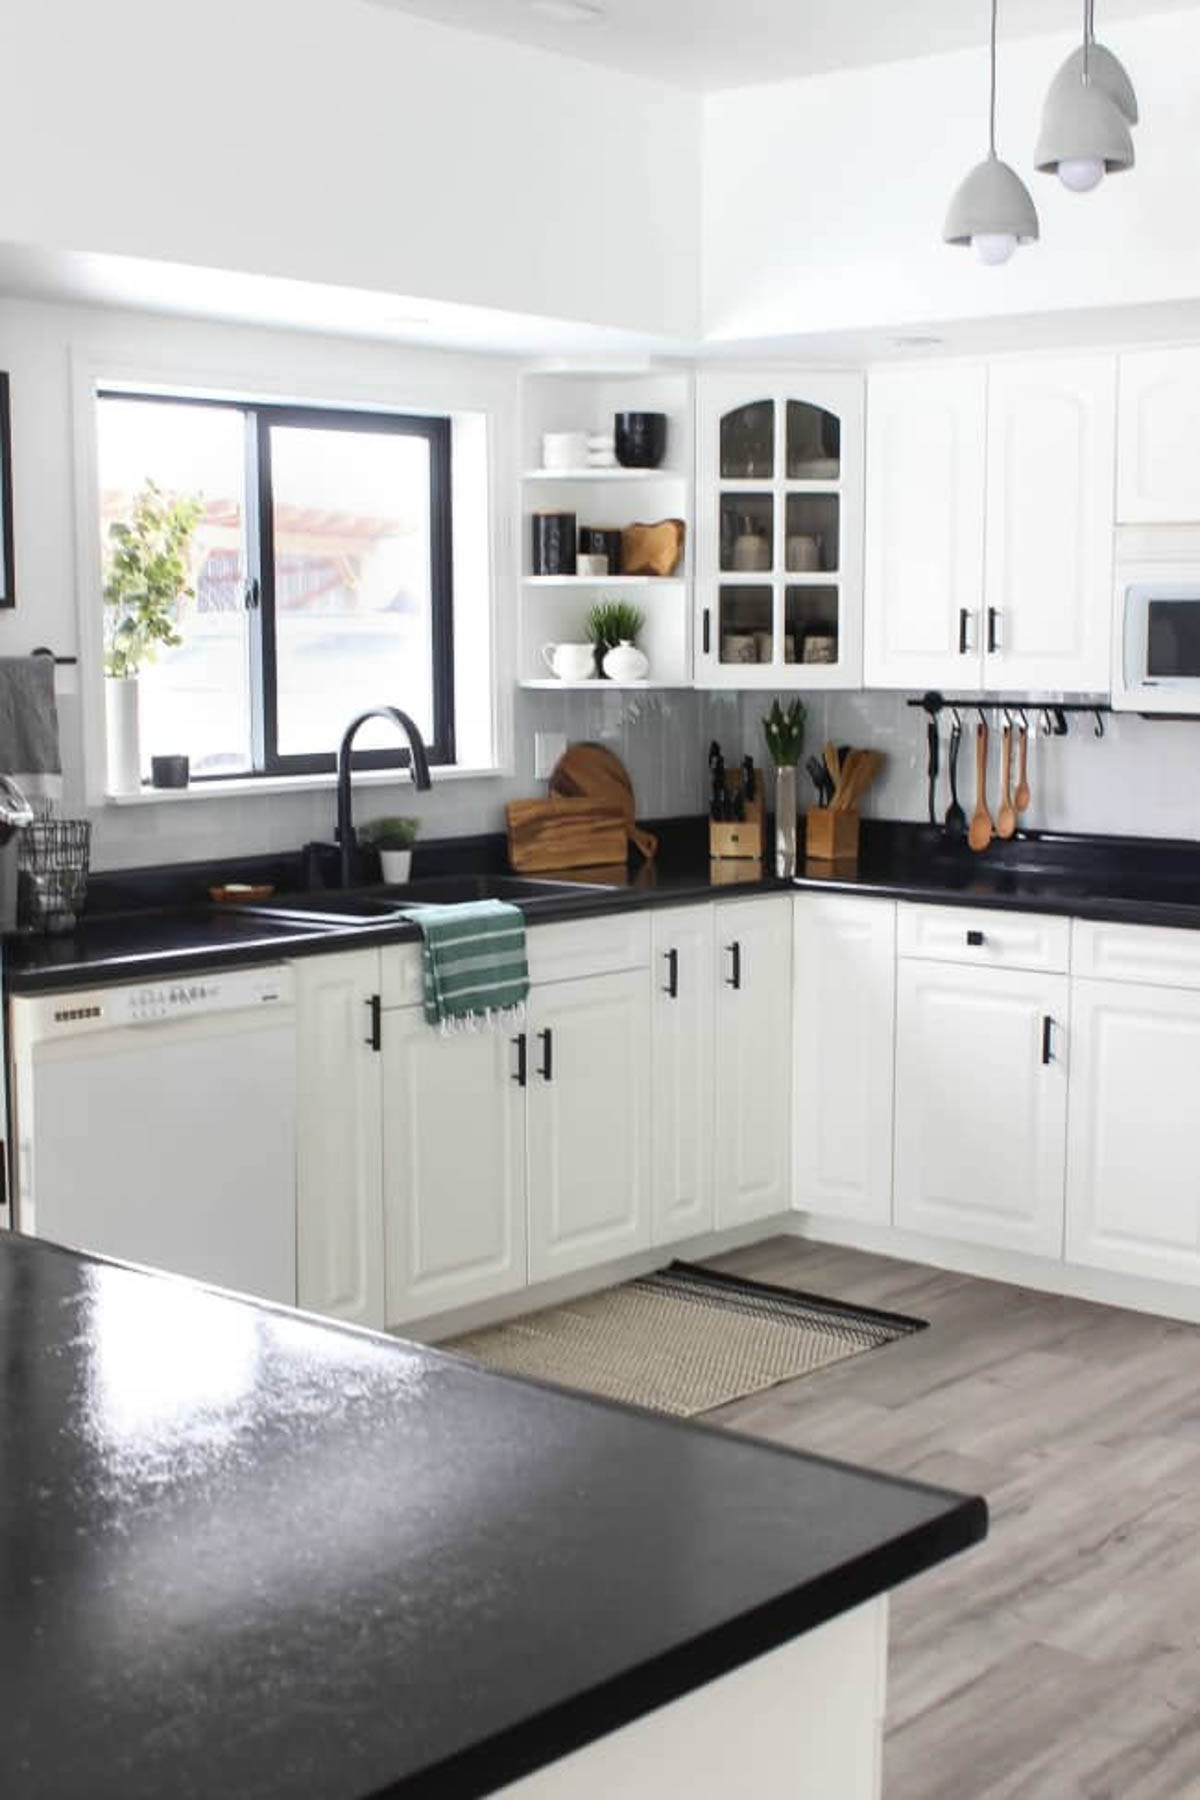
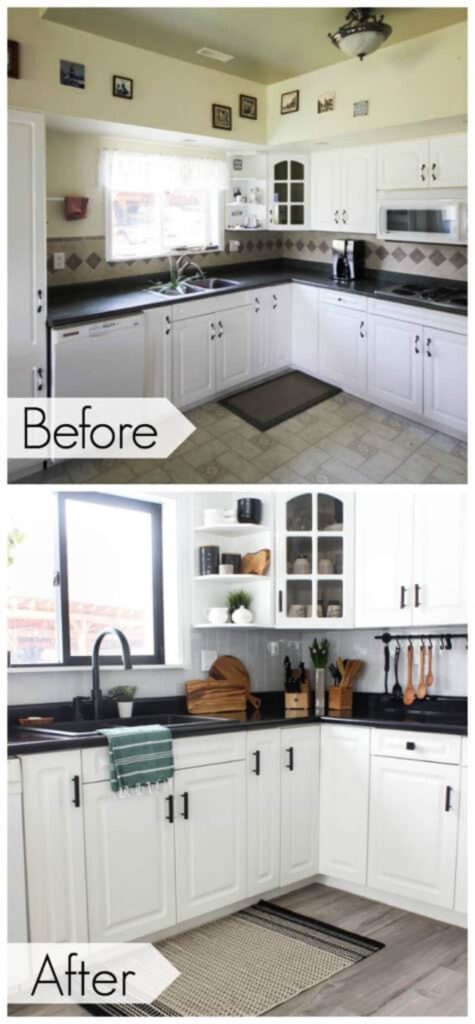
We’ve been living with our newly renovated Kitchen for just over a month now and I’m still in love with the changes we made. So far everything has held up beautifully! One of the biggest changes we made in this space was our DIY painted black window frames!
We did our entire kitchen makeover in just one weekend, including new tile, DIY painted countertops, and theses black window frames and all of the changes were 100% worth it!
*The spray paint in this post was provided by Rustoleum. This post may contain affiliate links. When you buy a product through one of my links, I get a commission at no cost to you! For more information, see my disclosure page.*
My husband and I debated this “black window” idea for quite a while, lol. He had some valid reasons for not wanting to paint the window, primarily questioning whether or not it would last, but I knew that it would look amazing with a black window frame – so we went for it.
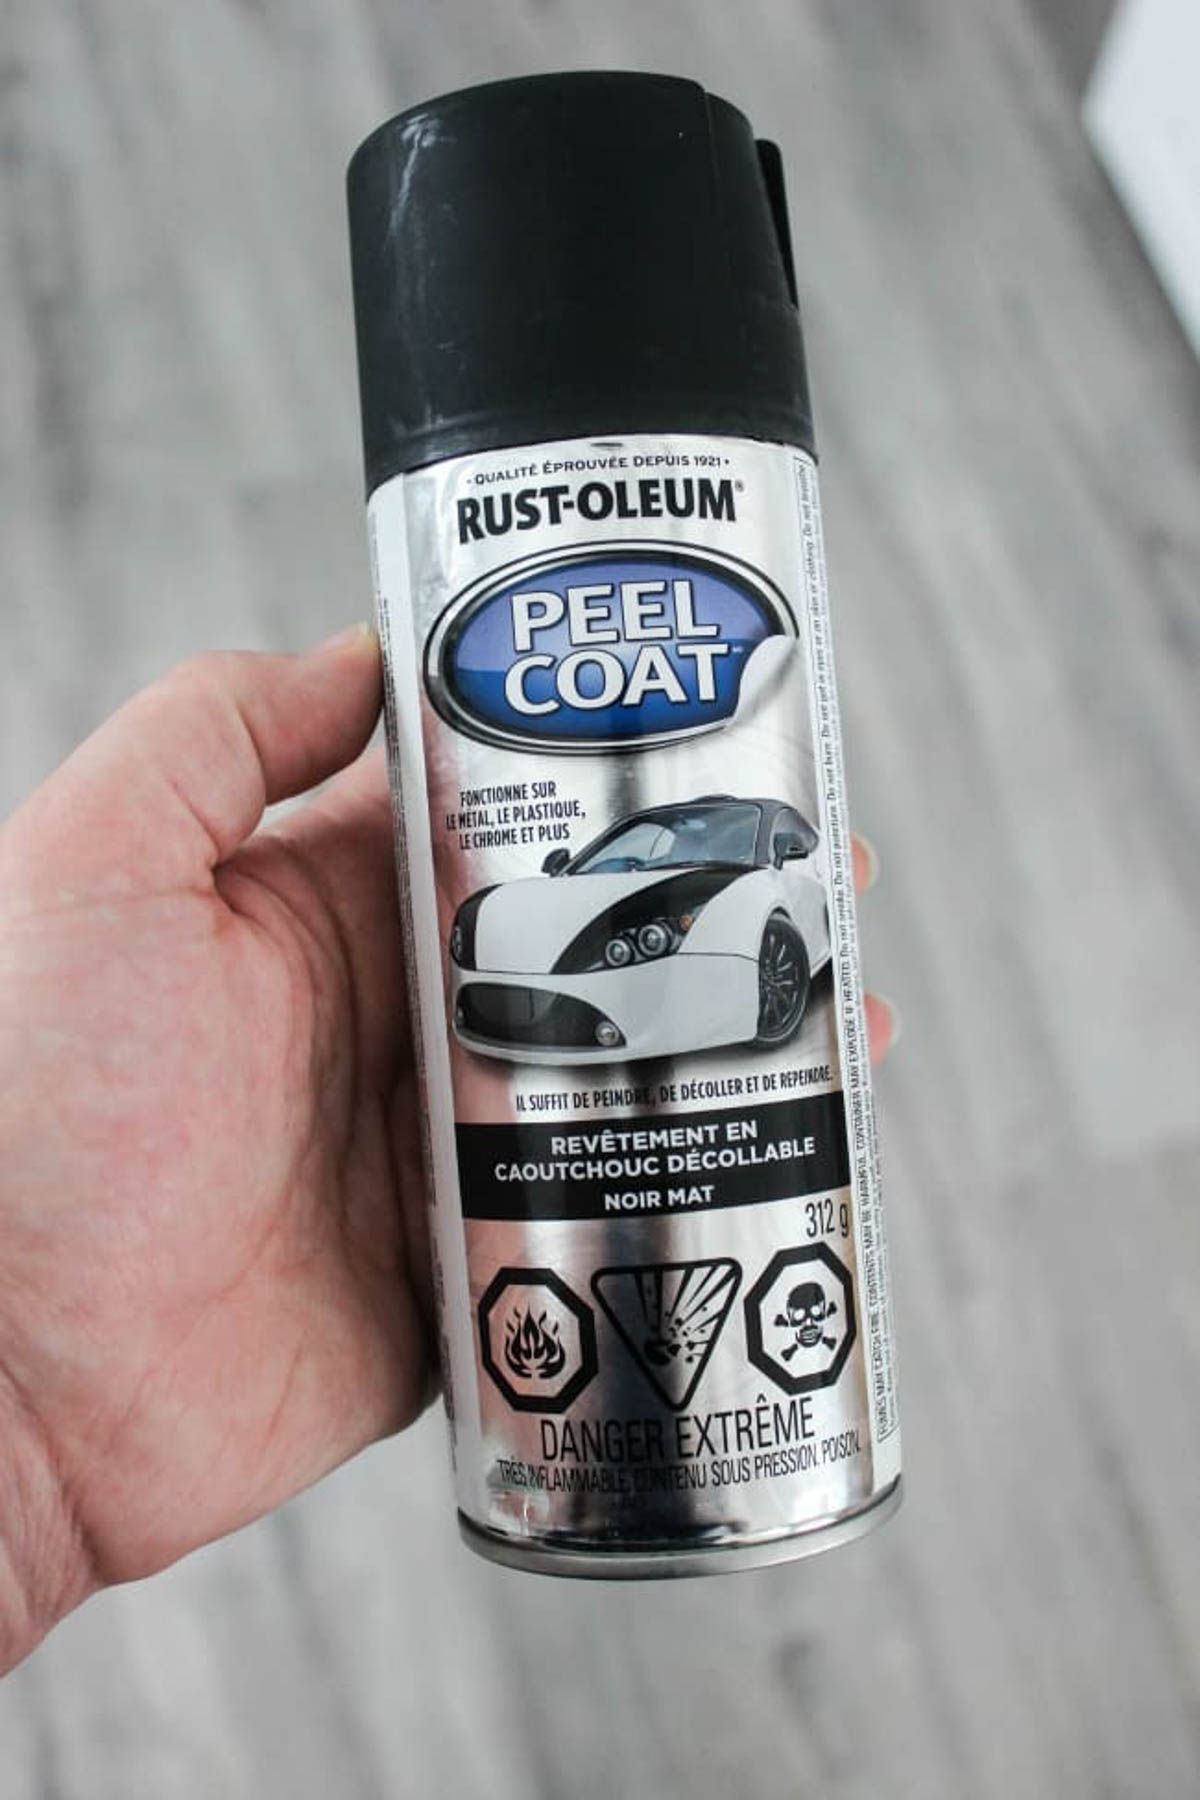
In a few years, we plan to add an addition to our home. When we do that, three of our current windows will no longer look outside, so we are planning to use these windows in our new garage in the addition. My husband’s main concern with painting the kitchen window, is that it wouldn’t match his other windows – he didn’t want one black window and two white ones. So we set out to find a temporary solution that looked nicer than duck tape stuck on the trim. Our solution was Rustoleum Peel Coat Spray Paint!
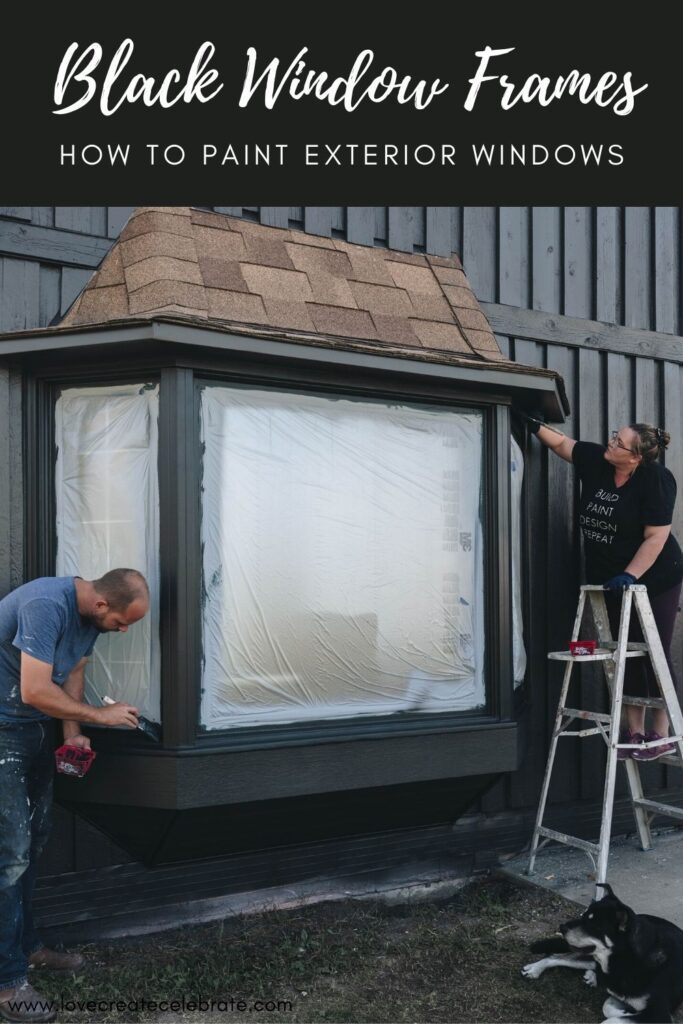
How to Paint Exterior Window Frames
The method we used to paint our window frames black here is different than the method we used on our exterior windows a couple of years later.
We did an entire exterior makeover, including painting the house and window frames. We shared a great tutorial on how to paint exterior window frames black, and gave a ton of tips for both vinyl and wood window frames.
For the exterior frames, we needed something that would withstand wear and tear, and the weathering, and that would allow us to open and close the windows properly, so we used a special formula of Sherwin Williams vinyl safe paint.
Check out all of our info on exterior window painting, including all of the things to consider BEFORE painting your window frames, and the special formula we used to get a black colour!
How to Paint Your Own Black Window Frames
For this indoor window frame project we were painting a window frame that we honestly don’t typically open and close often, so we weren’t concerned about the slides.
Materials Needed
Here’s everything we used to paint our window frames:
- Peel Coat spray paint
- Painter’s tape
- Plastic Film / Drop Sheets
Steps for Painting Window Frames Black
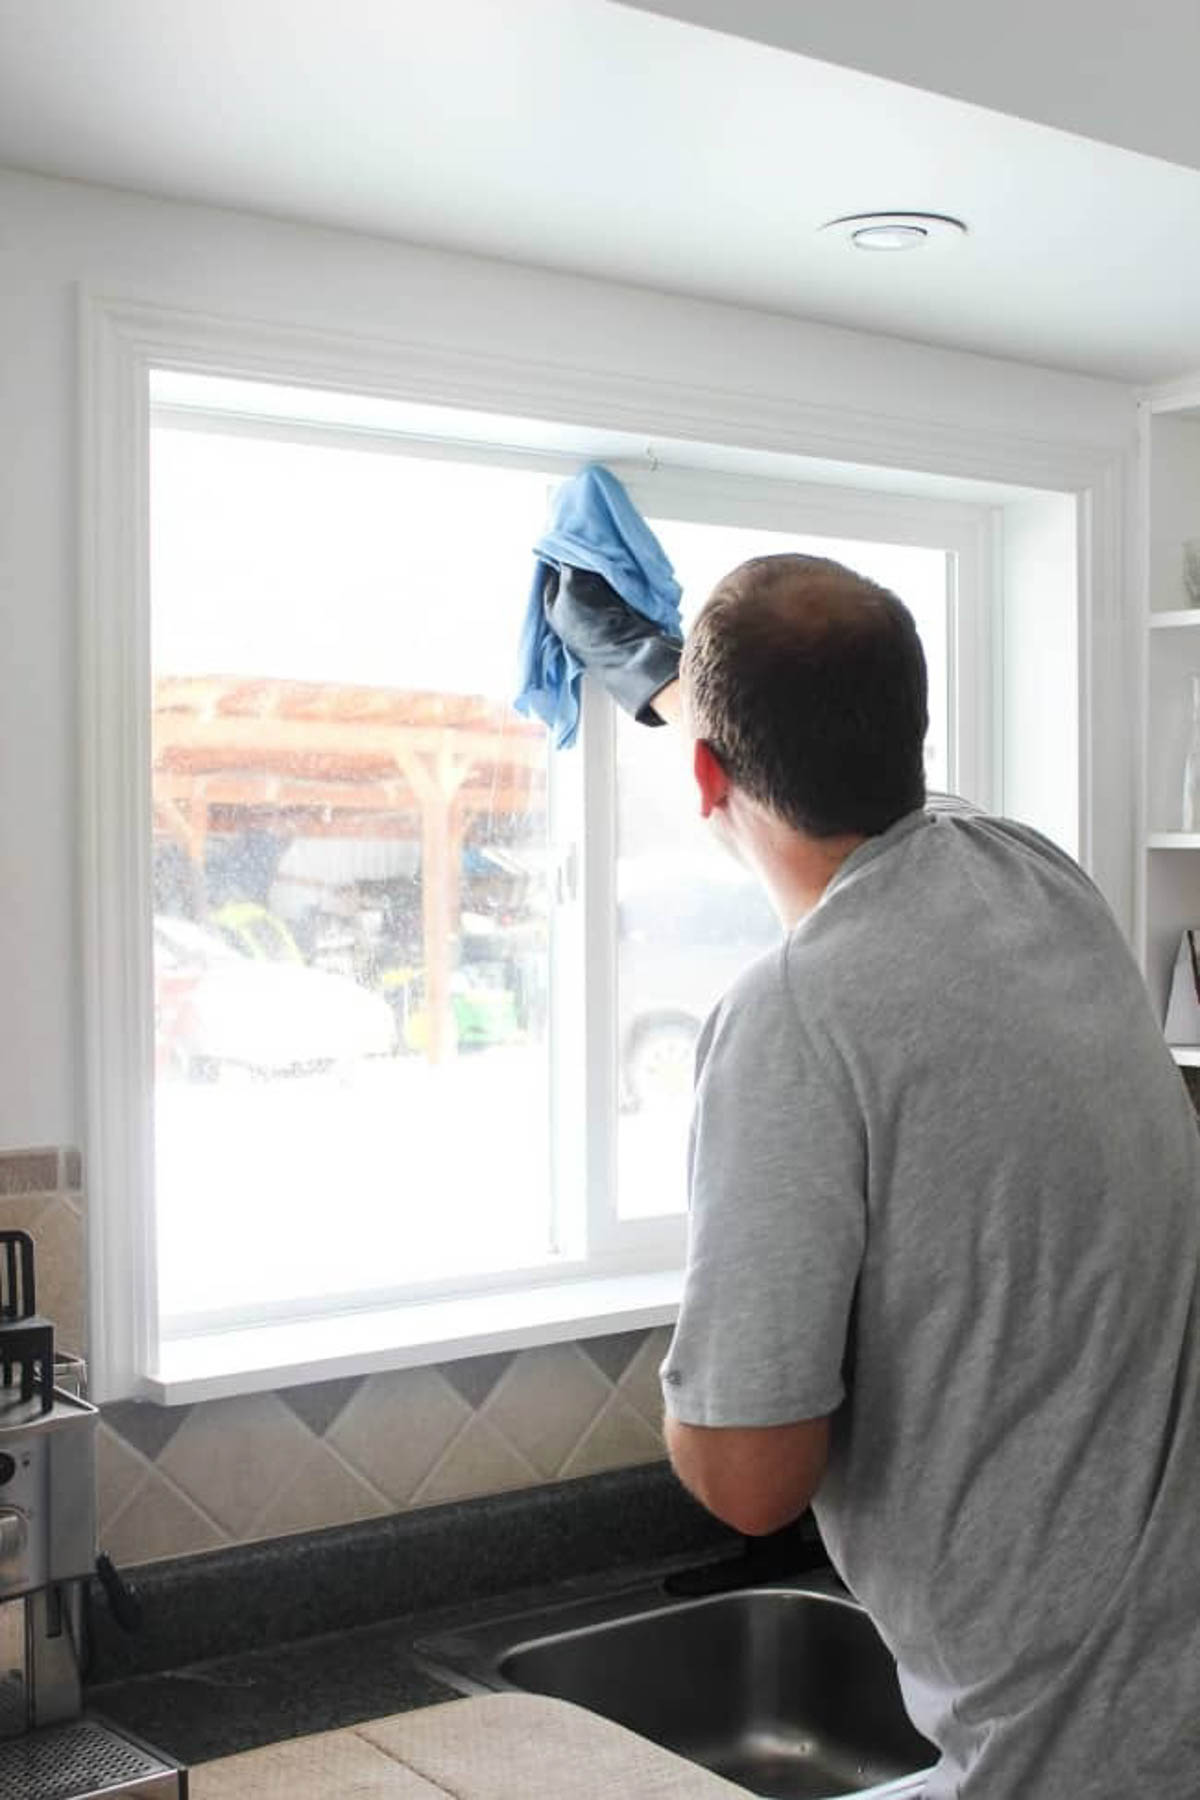
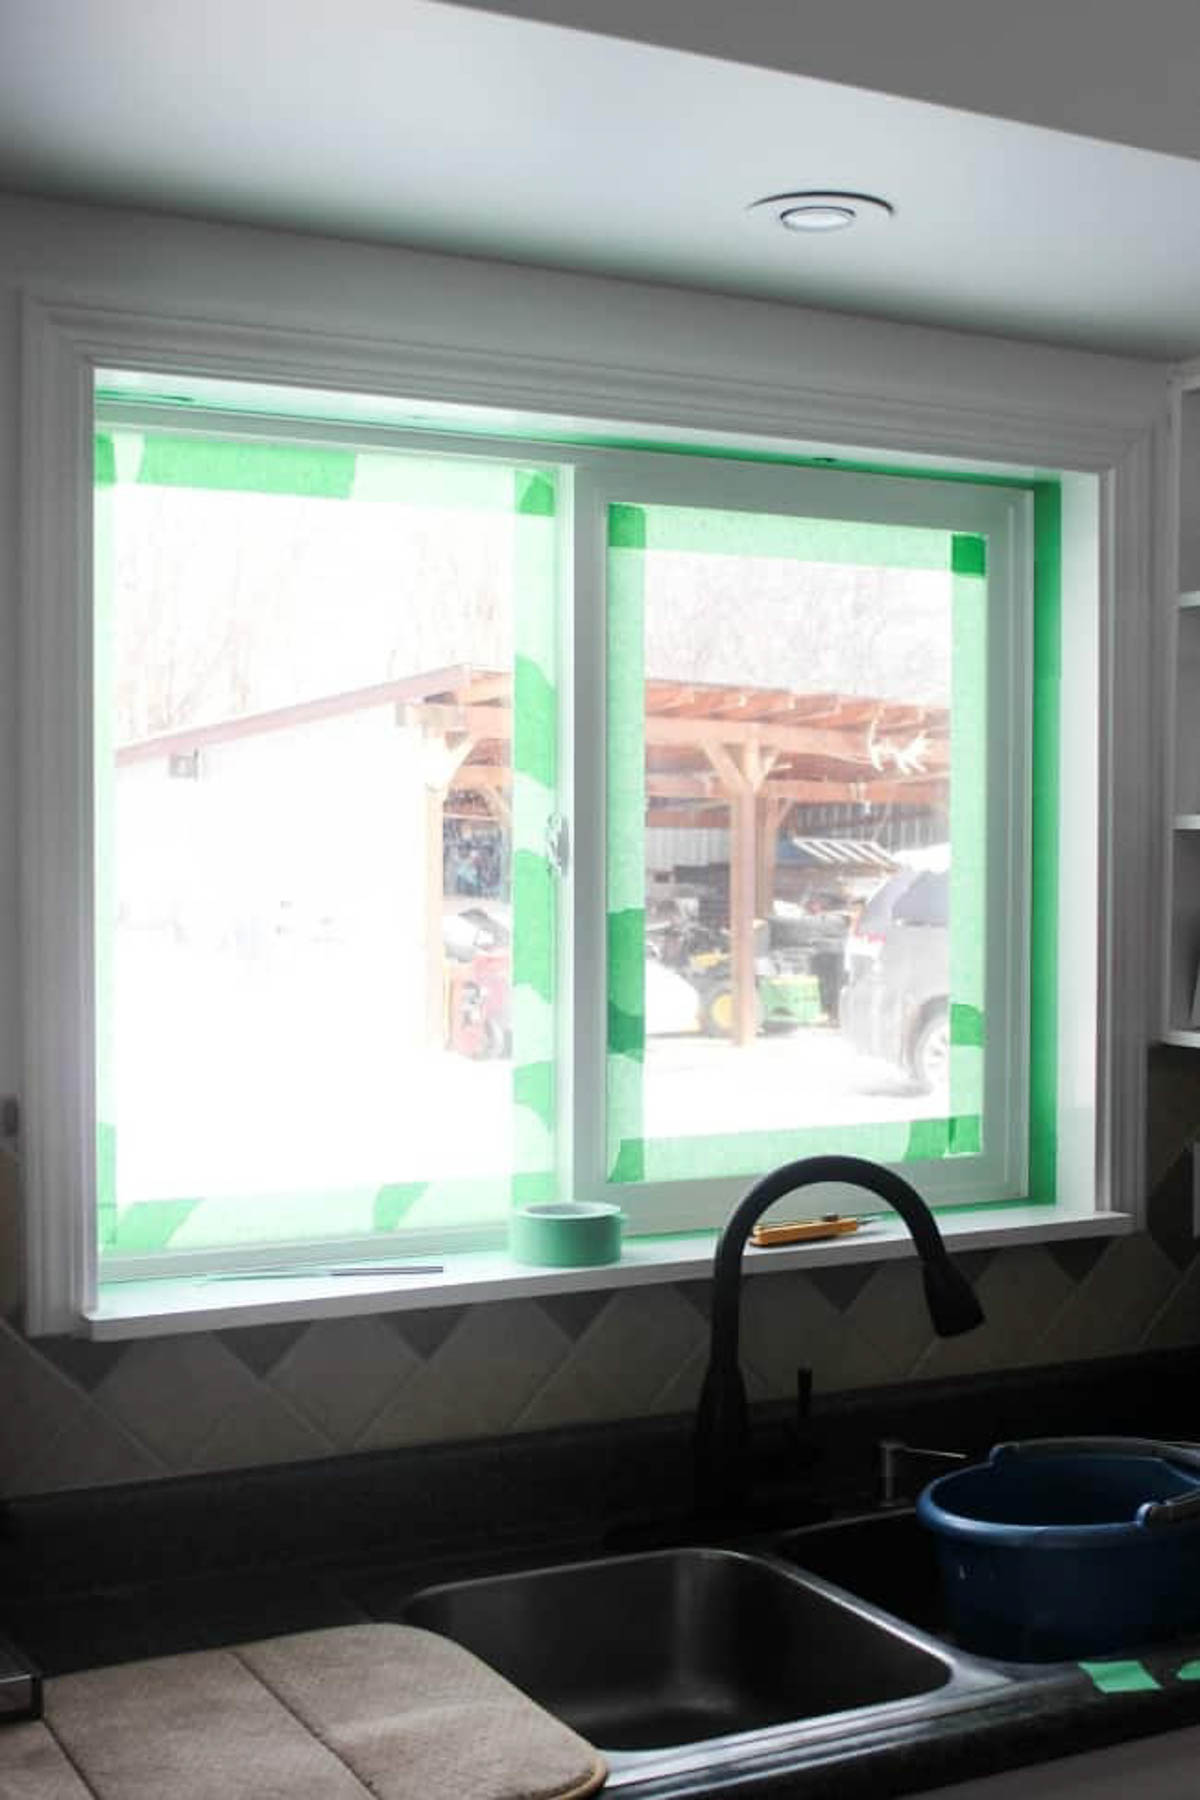
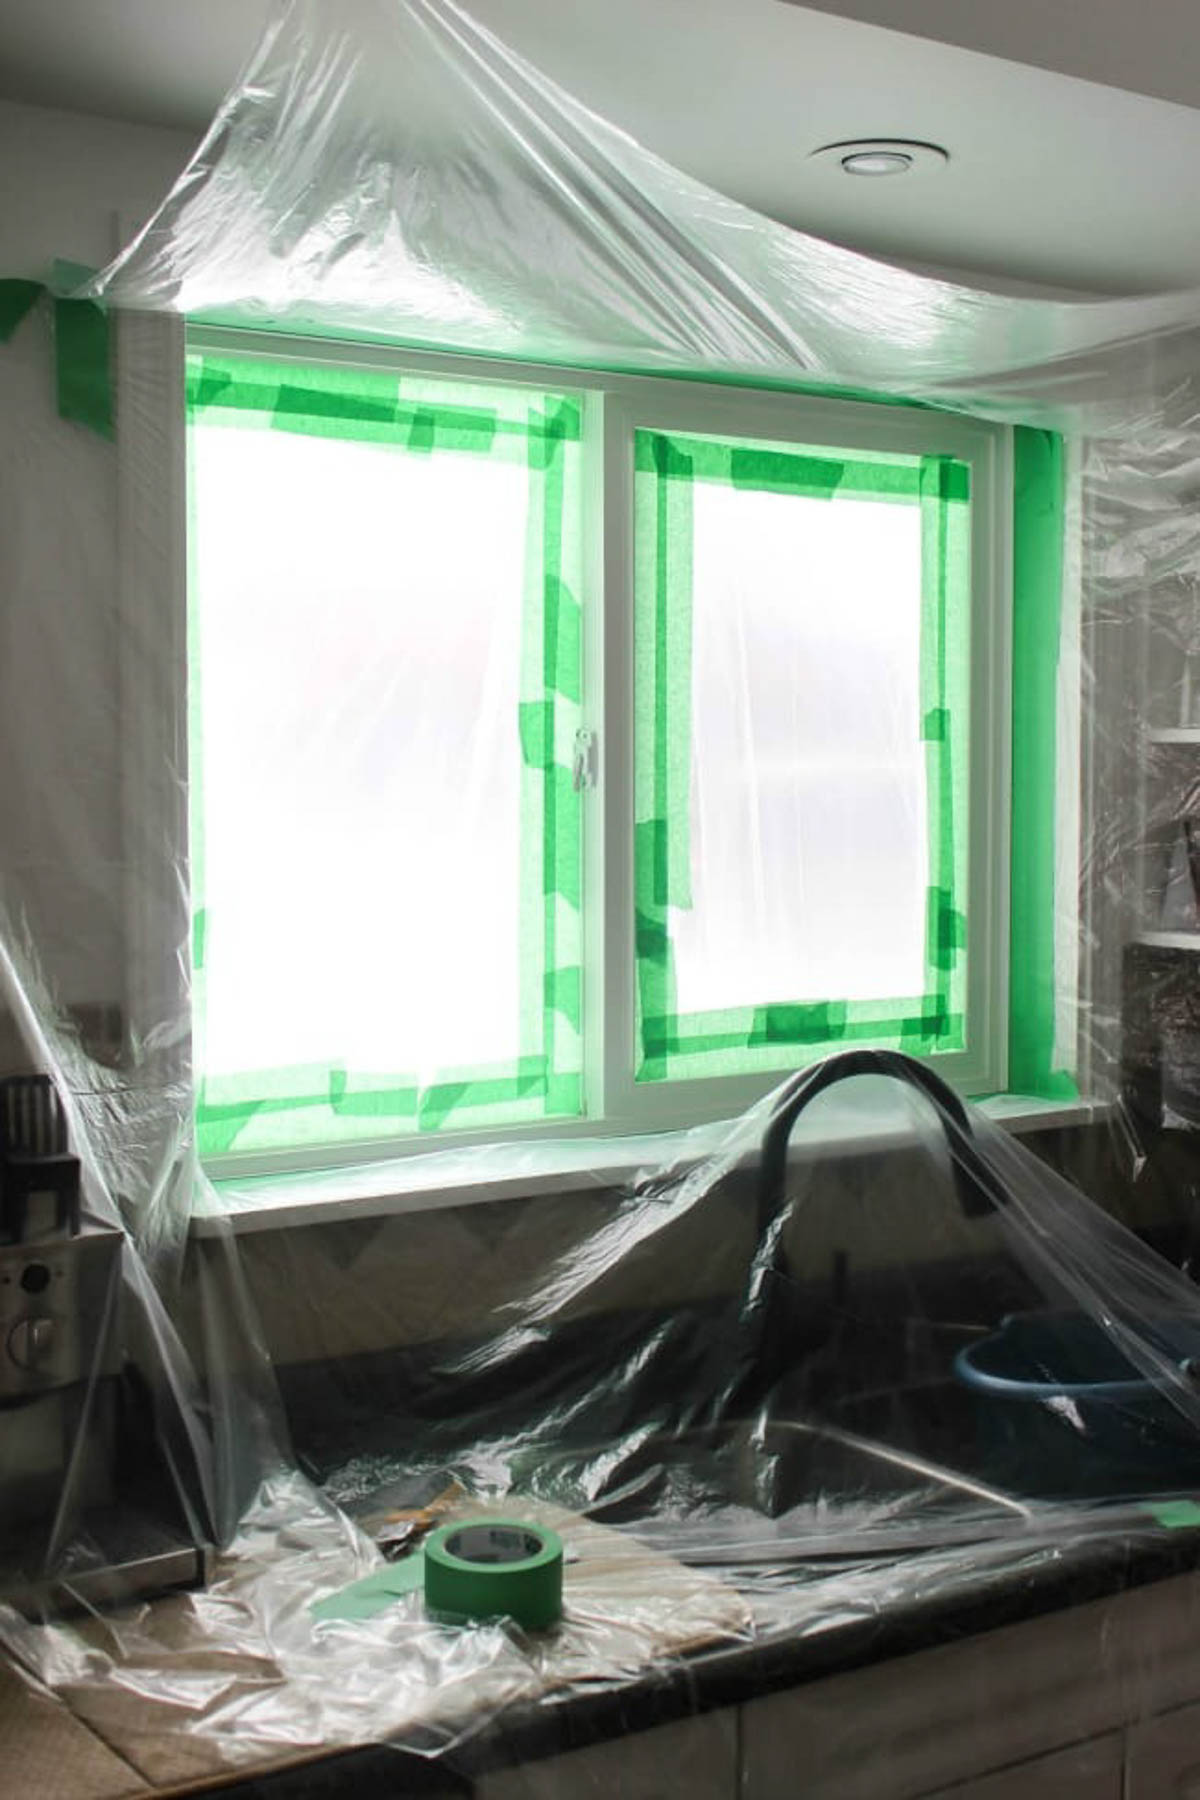
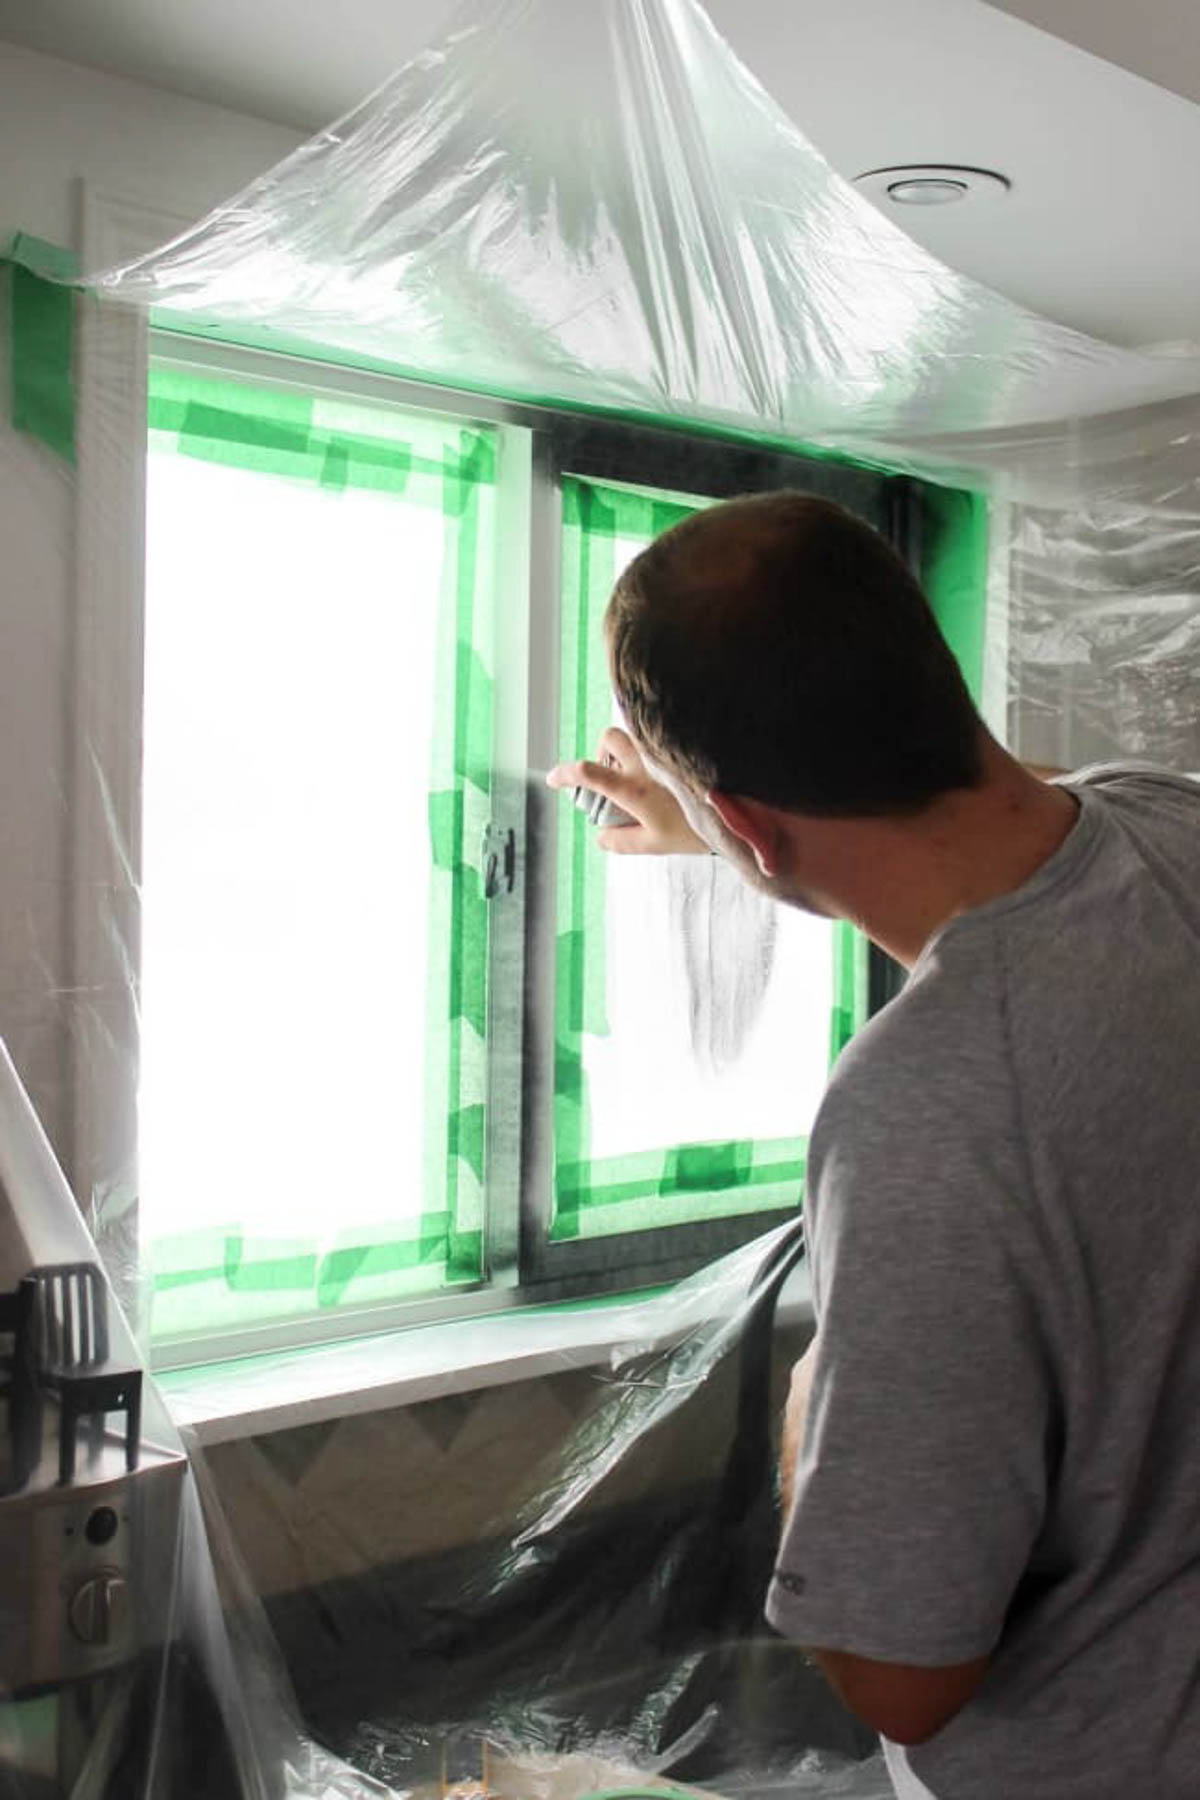
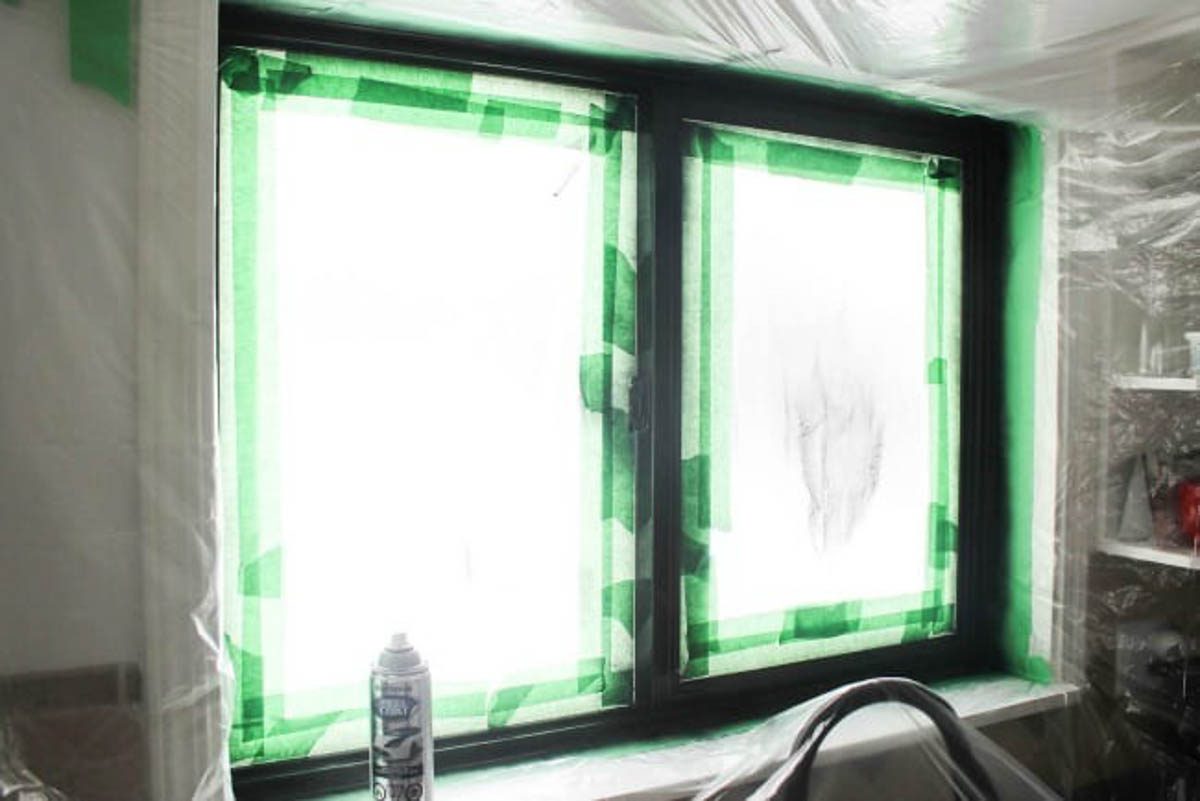
The first step was to tape off the area that was getting painted. We wanted to make sure everything from the counters to the window trim was protected because spray paint can cause some significant overspray.
The Peel Coat spray paint we chose to use is one that you spray on, and then can peel away at any time. This is not a window that we ever open.
If you do open and close the window a lot, you would want to consider painting everything except the slides (where the window moves back and forth), because that part painted would likely peel away over time anyway. You could also try the vinyl safe paint options we used on our exterior windows which may be longer lasting.
For us this was the perfect temporary solution for a window we don’t often use.
Because I was pregnant at the time, my husband graciously did all of the spray painting for me. It took two coats to get the frame covered beautifully.
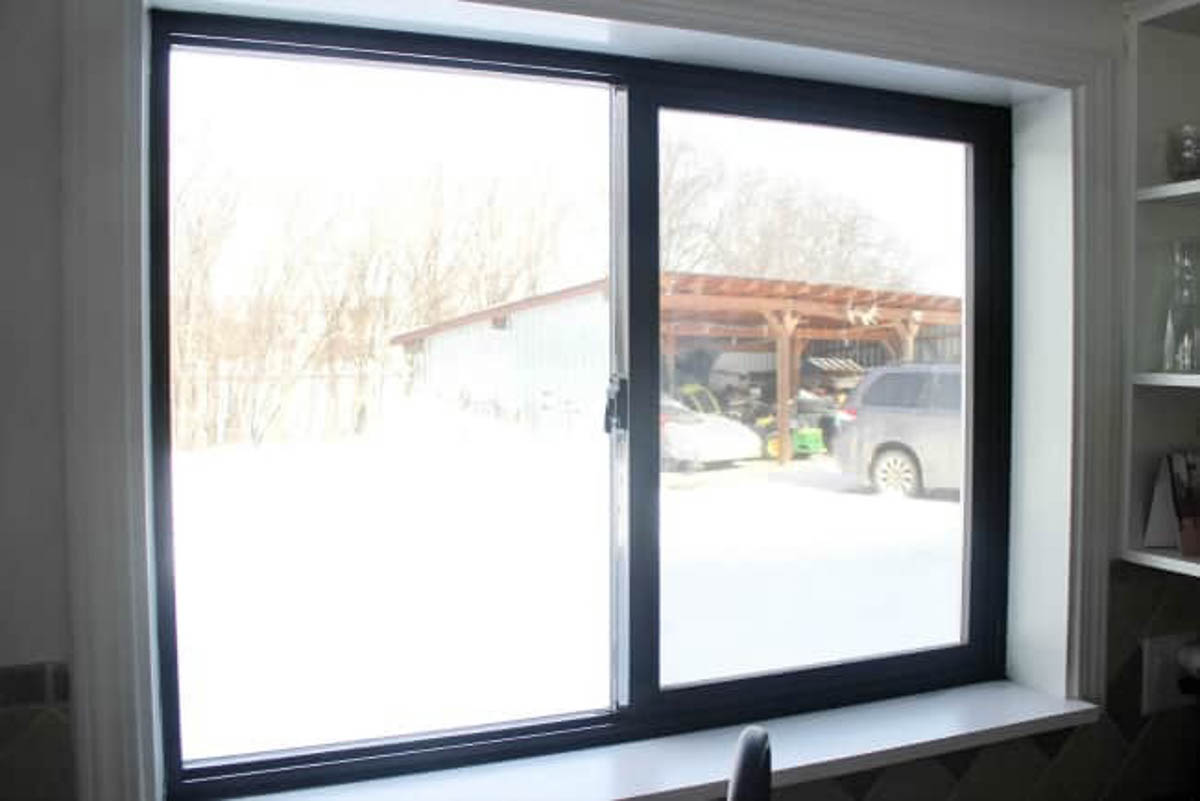
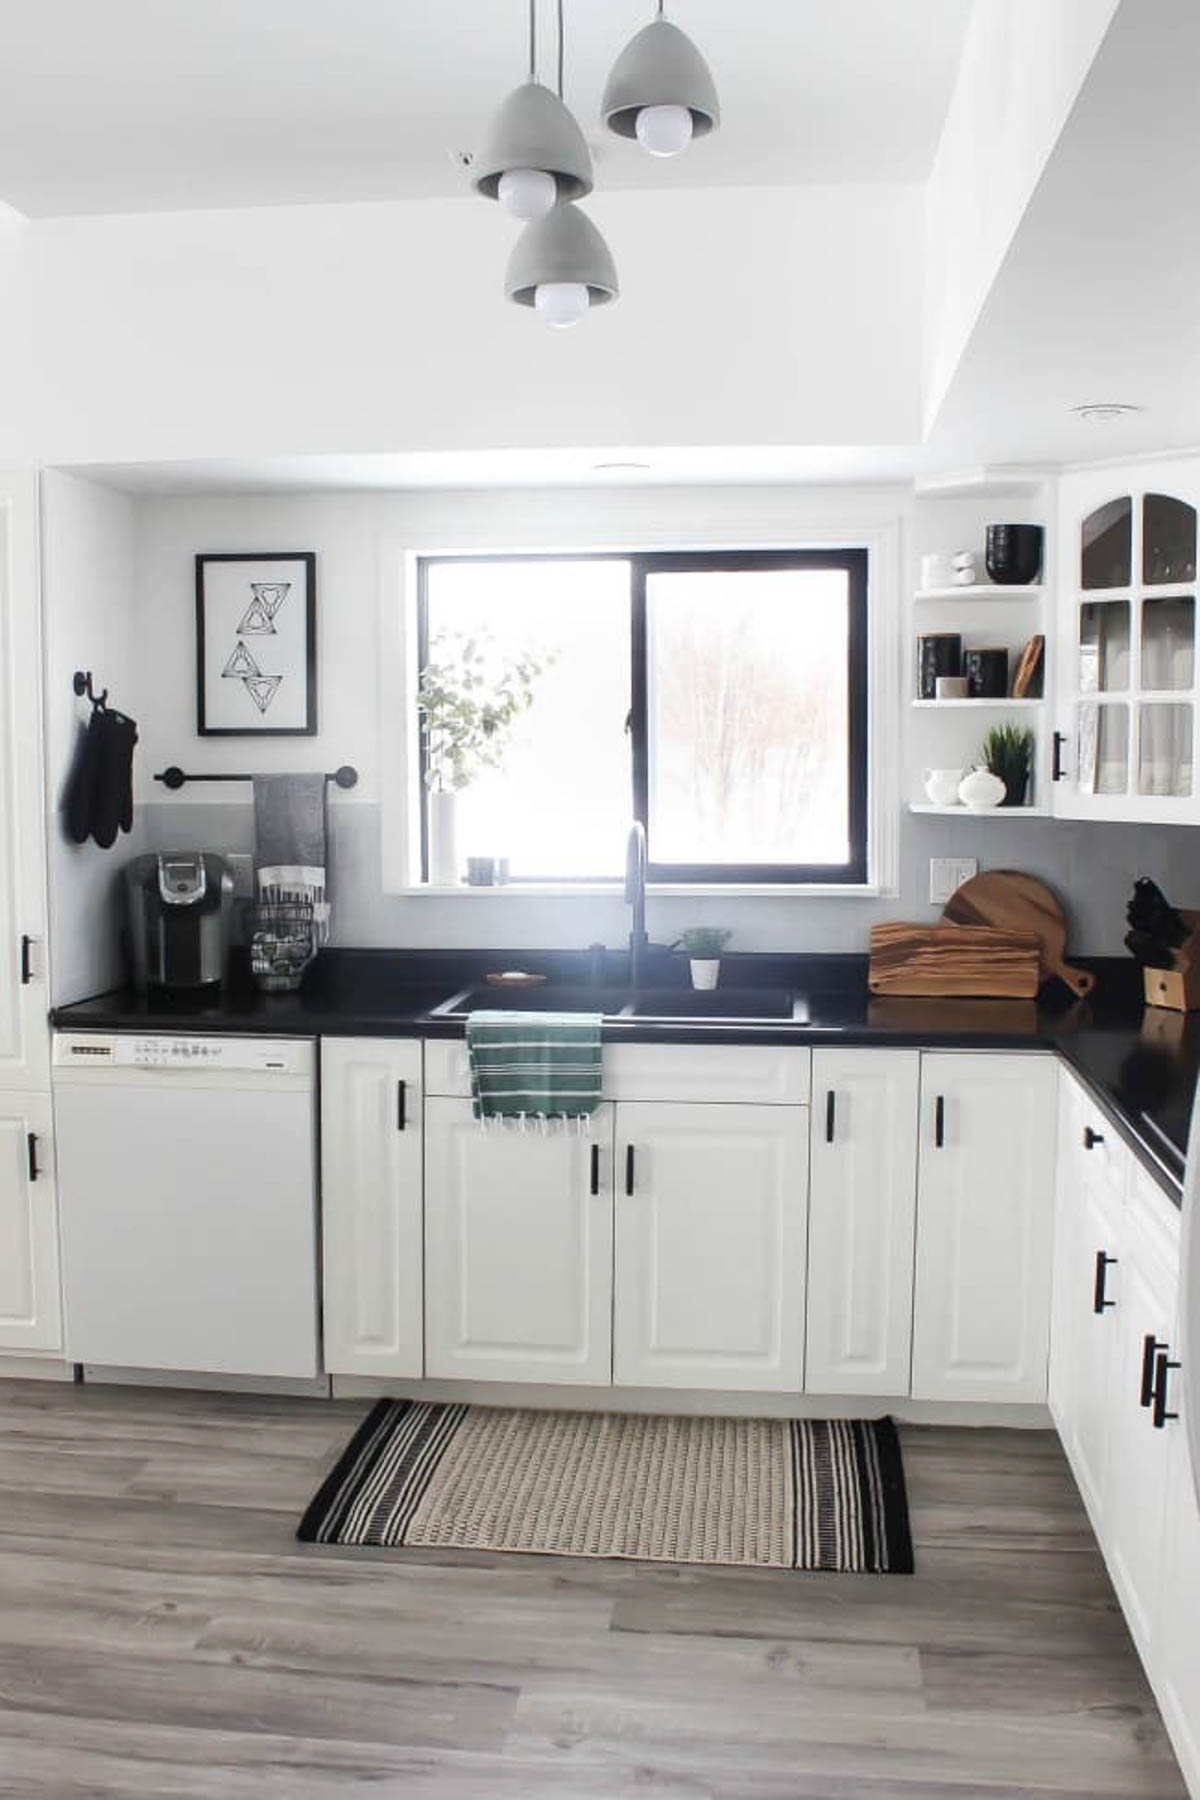
As soon as we peeled back the plastic and tape I knew we had made the right choice! The black frame looked stunning in the kitchen! Especially after the kitchen got it’s beautiful weekend makeover!
Painted Window Review 2 Years Later
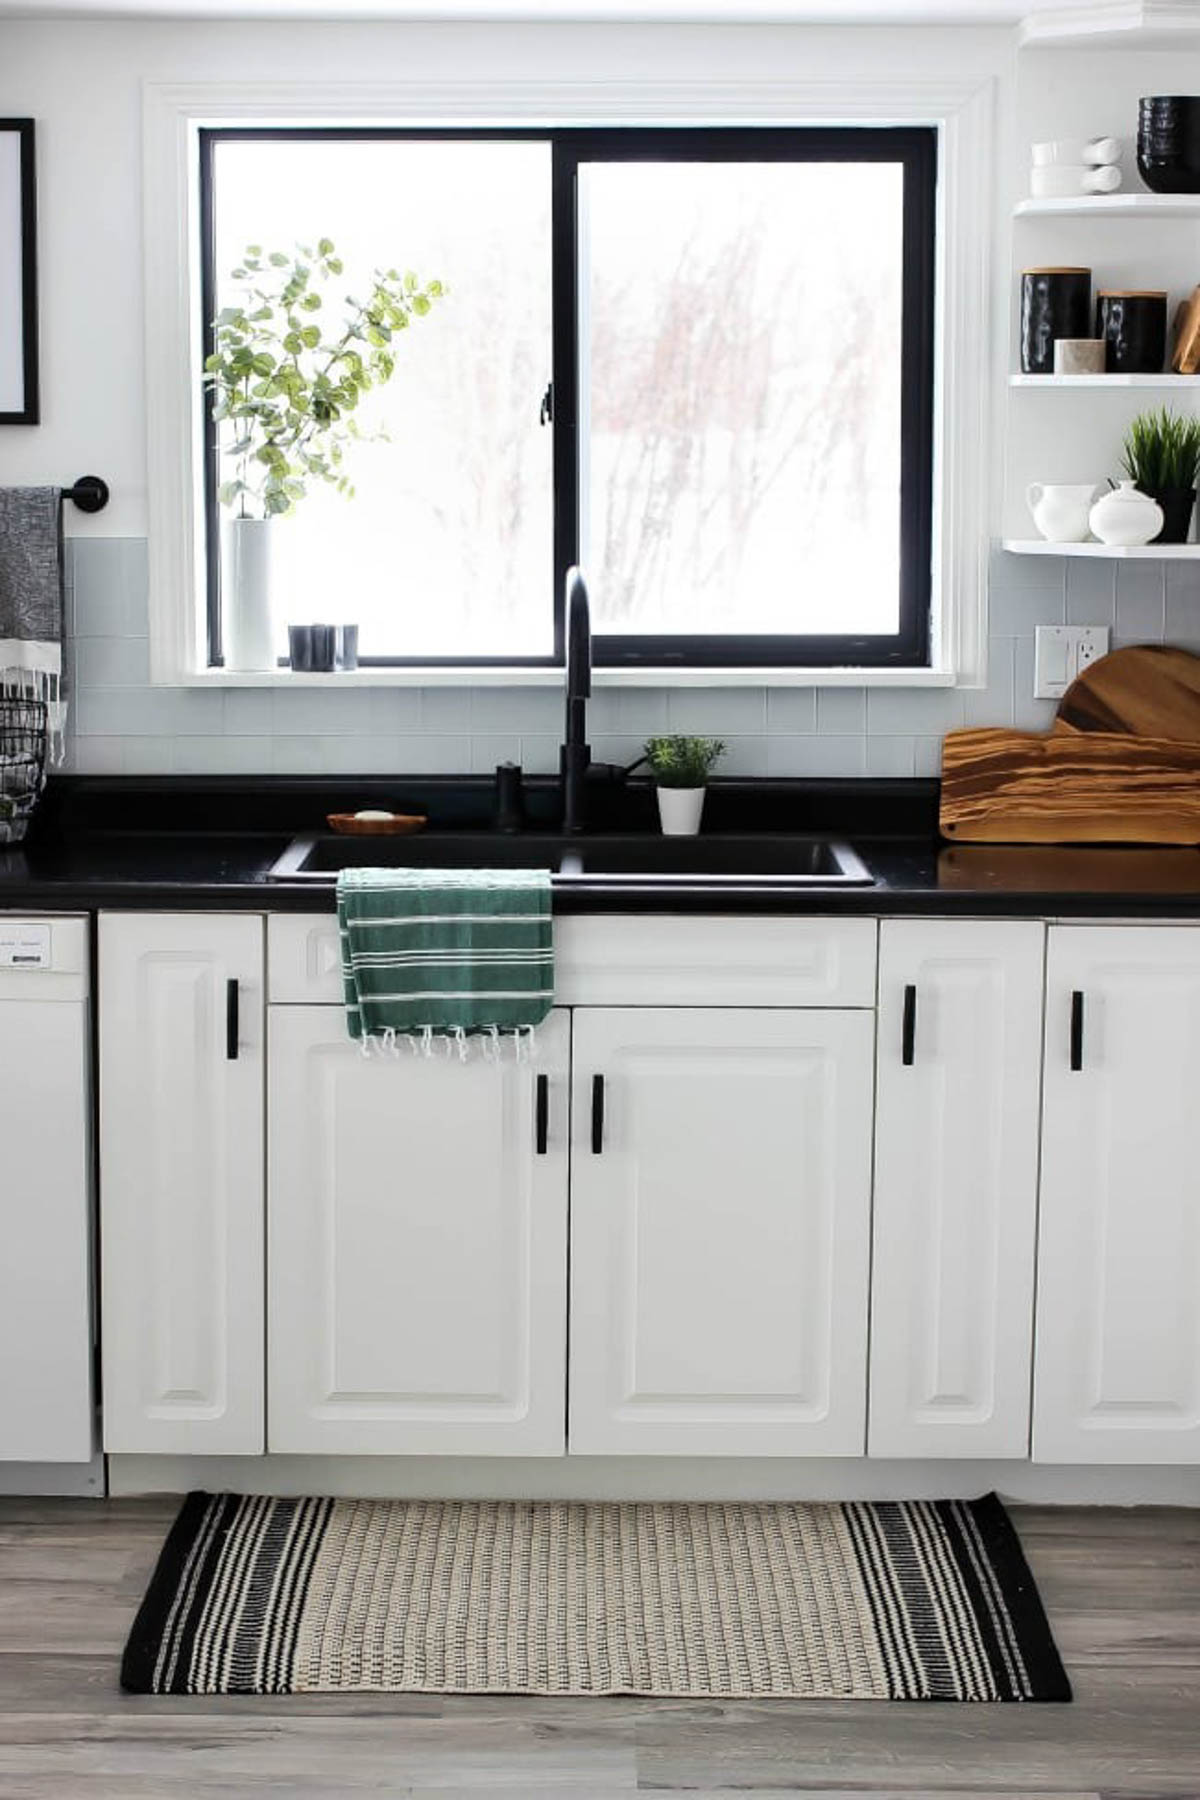
The next question on everyone’s mind is, “Did it last?” and I’m happy to report that it did! Below is a photo of our kitchen over 2 years after we first painted the window, and although you can’t see the whole window, you can definitely see enough to know there it has held up really well!
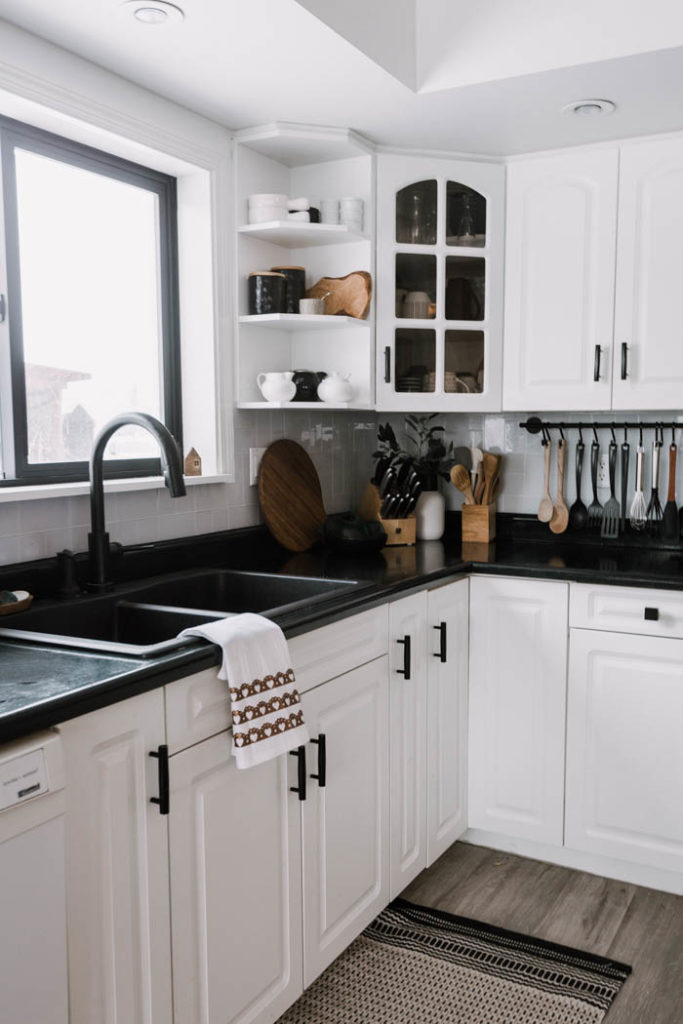
We did try to open the window a couple of times, and as predicted, it did scratch in the areas where the slides are. Other than that, the peel coat has held up really well, has cleaned beautifully, and still looks crisp and clean!
If you’re wondering how anyone can renovate a room in just ONE WEEKEND, you’ll have to check out this KITCHEN MAKEOVER!

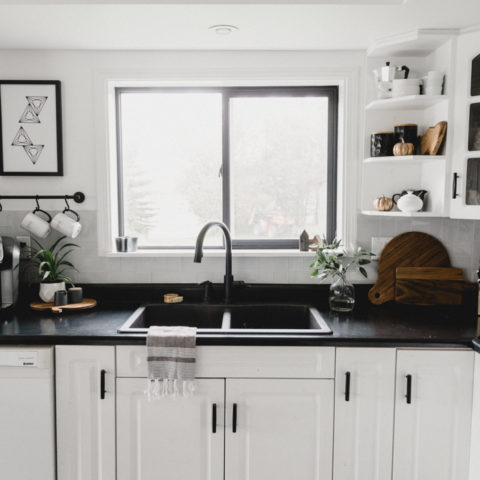
Painted Black Window Frames
Love the look of black window frames? If you want to paint your own, here's one quick and easy DIY tutorial for modern black window frames!
Materials
- Peel Coat Spray Paint
- Painter's Tape
- Plastic Film
Tools
- None
Instructions
- Decide which method of of painting your window frames black is best for your home (i.e. spray paint or vinyl safe paint)
- If using peel coat, tape off everything around the window frame, and add plastic film on inside of window, as well as around surrounding walls, furniture, etc.
- Give window 2 coats of peel coat spray paint
- When dry, carefully remove tape. You can use a utility knife to cut tape lines if needed.
Notes
If painting exterior windows, consider this tutorial using Vinyl Safe Paint on Exterior Windows.
Recommended Products
As an Amazon Associate and member of other affiliate programs, I earn from qualifying purchases.
*This post was originally published May 28, 2018 and has since been updated.



KPO
Monday 26th of December 2022
Looks fabulous! I really want to attempt this somewhere in my house soon! A couple of questions after reading reviews on that paint. 1) Did you ever try to peel an area to see if it does actually peel off? Many reviews make it sound as though it is not truly "peelable". 2) Did you use any primer? That might defeat the purpose of it being peelable but still thought that I would ask. 3) You only used 2 coats? A lot of reviews said that it was transparent until heavily applied and the Rustoleum directions say to do 5 thin coats. If you only used 2 coats, I'm curious as to how heavily it was applied and if it pooled up at the bottom while painting.
Lindi
Monday 30th of January 2023
We never peeled it all off, but the parts that we wanted off did easily peel away. We didn't prime them, because we weren't sure we wanted them to be permanent. We really only did 2 or 3 coats. Definitely didn't have pooling or excess at the bottom. Hope that helps!
Leeanna
Thursday 2nd of June 2022
Where did you get that rug on the floor under sink area?
Lindi
Monday 6th of June 2022
Hey! It was actually from Homesense :)
Shreya @ The Creatives Hour
Saturday 16th of April 2022
Love it. My home window is grey painted, but I am super excited to paint them black. Thanks for sharing the blog:)
Heather
Monday 18th of January 2021
Please please tell me the name and kind of flooring that is and where you got it. I need it. It's beautiful
Lindi
Monday 18th of January 2021
It's vinyl plank from Home Depot! Some of their photos show it looking more brown, but it definitely leans more grey in real life. You can see more in this post: https://lindiandruss.com/installing-vinyl-plank-flooring/
White Kitchen Black Countertops – Religarewellness
Wednesday 26th of February 2020
[…] diy painted black window frames love create celebrate Image Source From : lovecreatecelebrate.com […]