
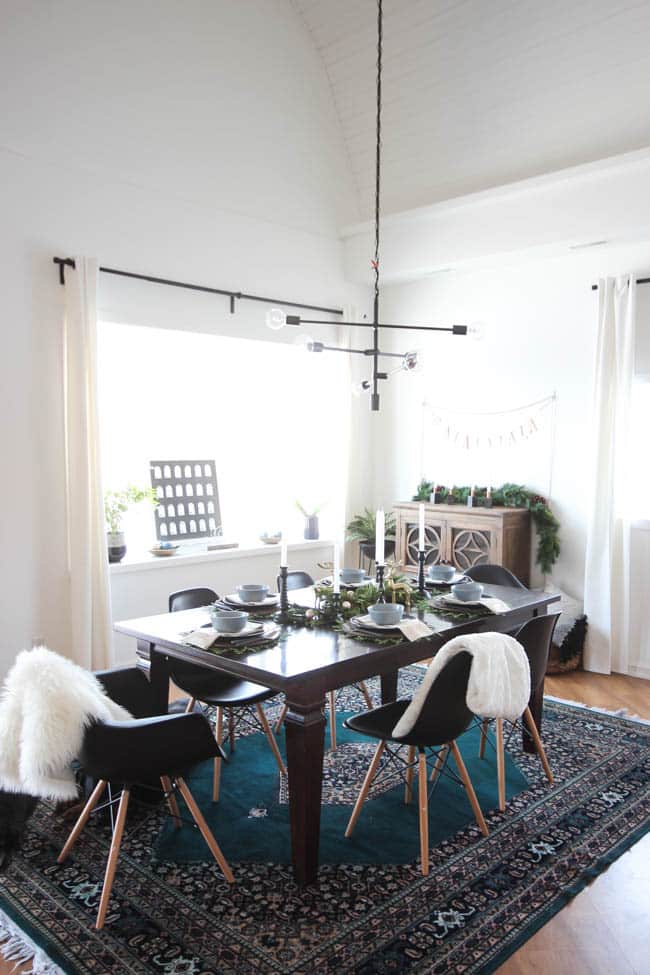
Did you guys catch our Dining Room Holiday Home Tour yesterday? I mentioned that I was going to share these DIY napkins. My tablescape needed a little something to give it some holiday character, and these napkins were the perfect addition. I’ll show you just how easy it is to personalize your own cloth napkins! PS – Cricut is sharing a Giveaway with all of us! Look for it at the end of this post!
*This post was sponsored by Cricut and may contain affiliate links. As always, opinions are 100% my own. For more, see disclosure page.*
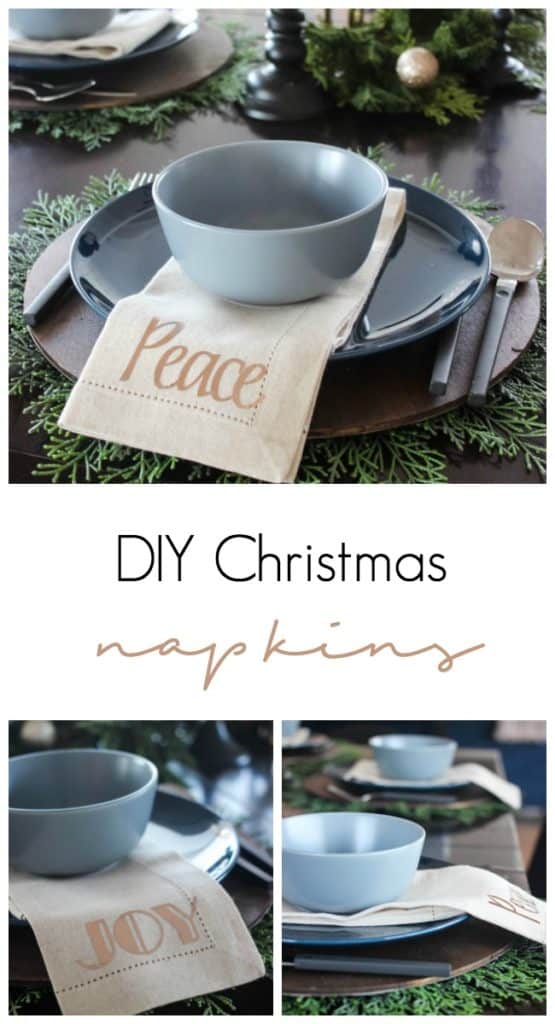
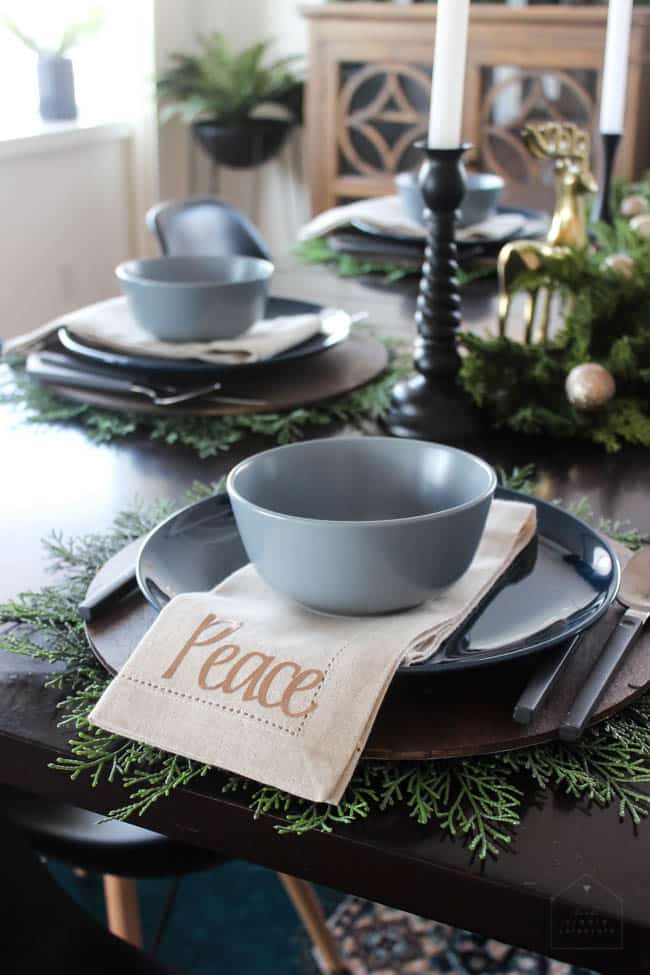
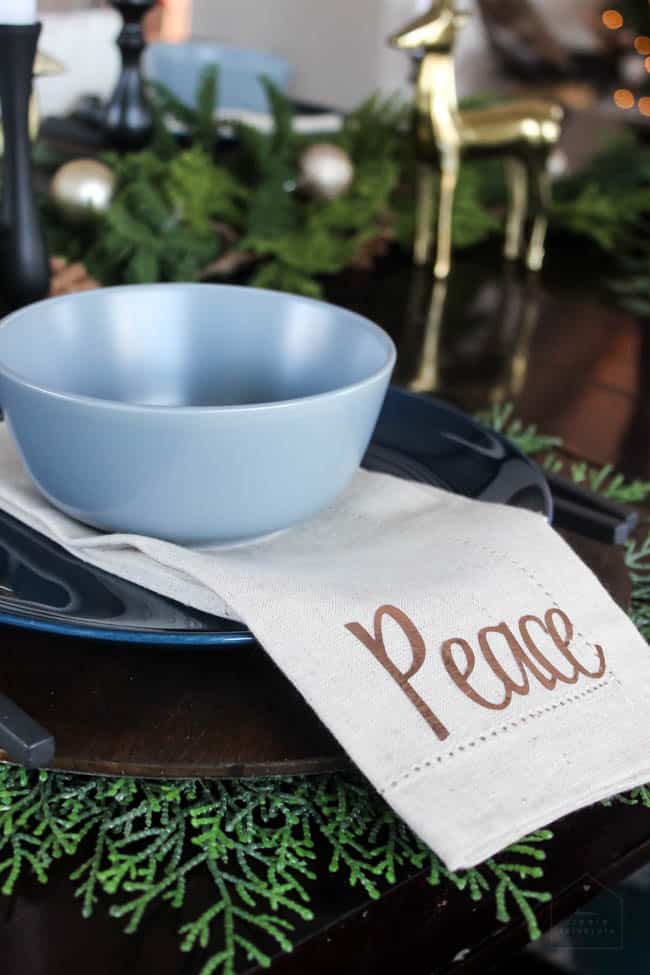
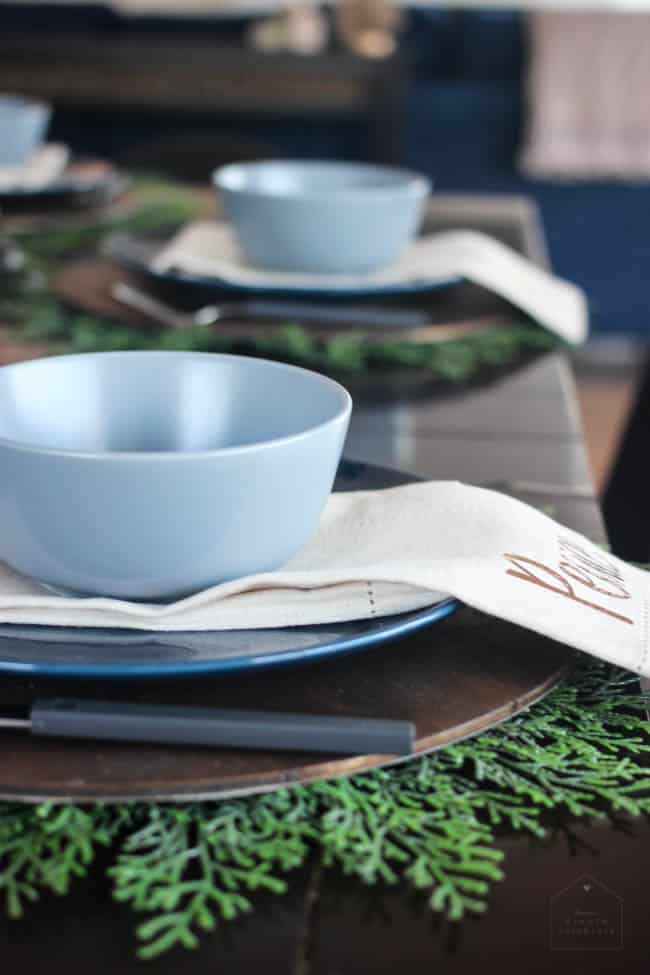
The smallest DIYs can make a huge difference sometimes. Imagine that table setting above without the words on the napkins? Doesn’t it all of the sudden look a bit more… bland? A few foiled words is all it takes to make a difference!
Here’s what you need to make these:
How to Customize Your Cloth Napkins:
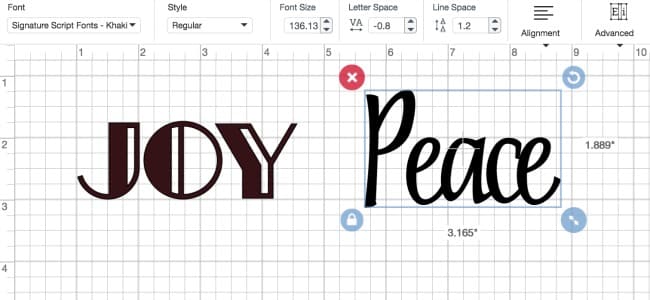
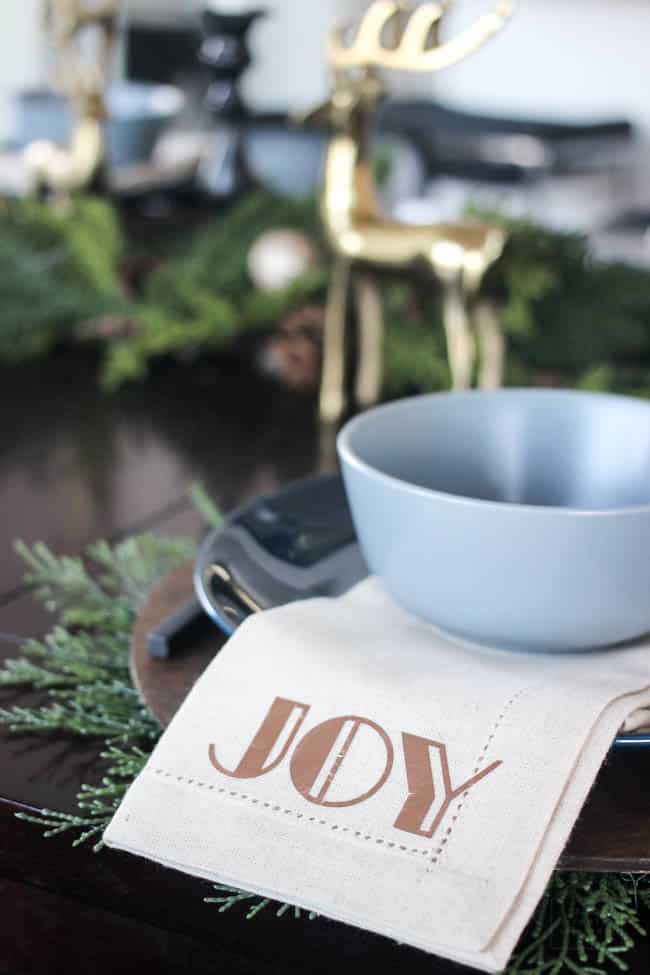
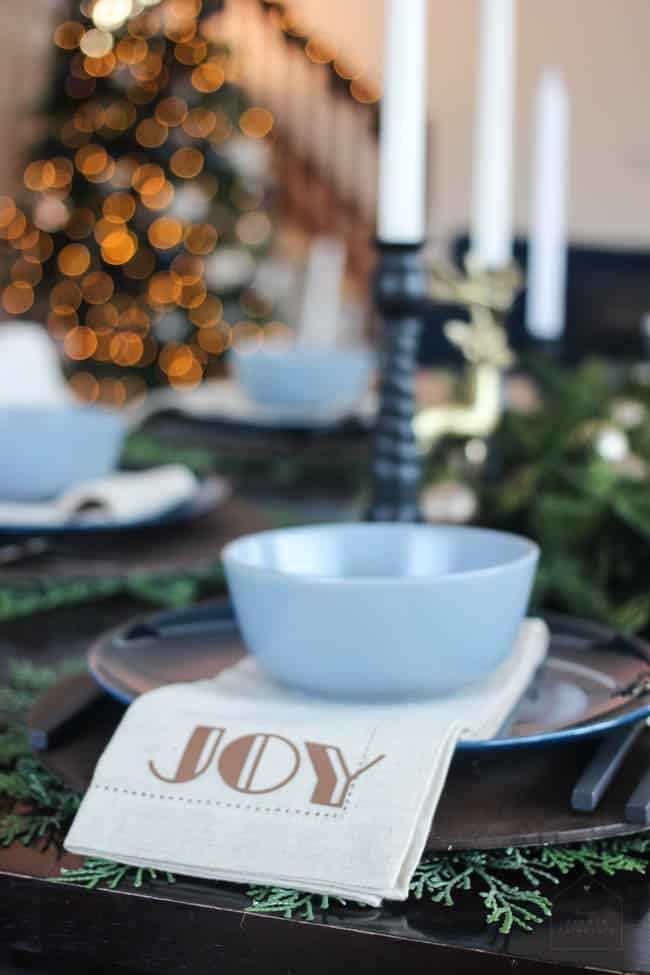
Customizing your own napkins is so easy with the Cricut machine. The Cricut design space allows you to upload your own images if you want, but honestly, I rarely do. There are a TON of great fonts and images already in the design space for you to use! If you want to use the “JOY” and “PEACE” designs that I used, you can access the file HERE.
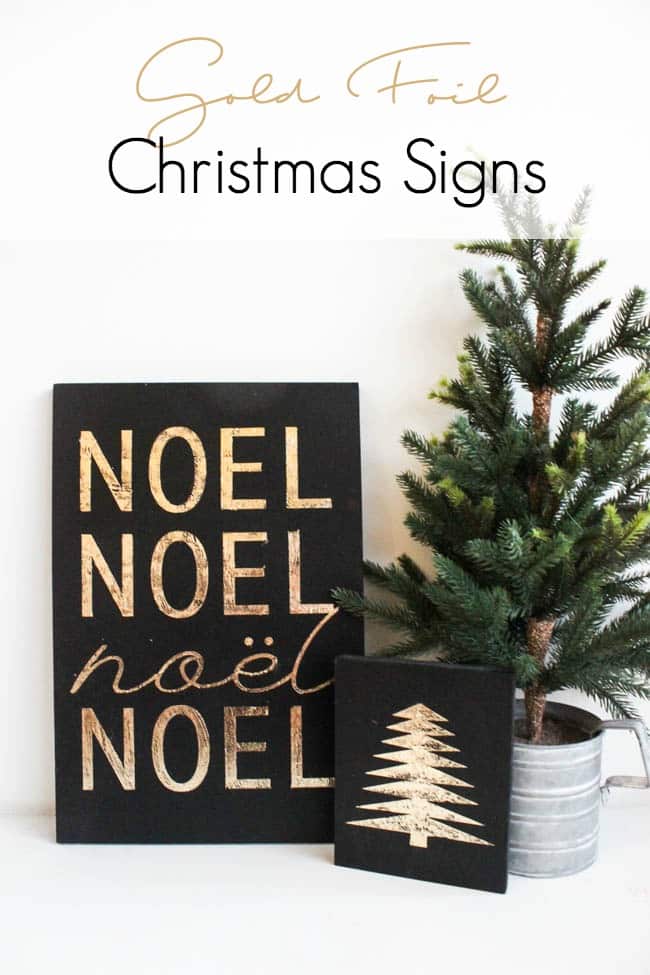
I wanted to use a couple of different fonts to add contrast, so I went with the Art Deco and Signature Script Fonts – Khaki fonts, both of which are unique and beautiful. If you are considering getting a Cricut Access Fonts subscription, it is totally worth it! There are over 300 fonts available for drawing and writing. It’s so easy to find a font for whatever project you’re working on – like these wood signs, these place settings, or this custom artwork!
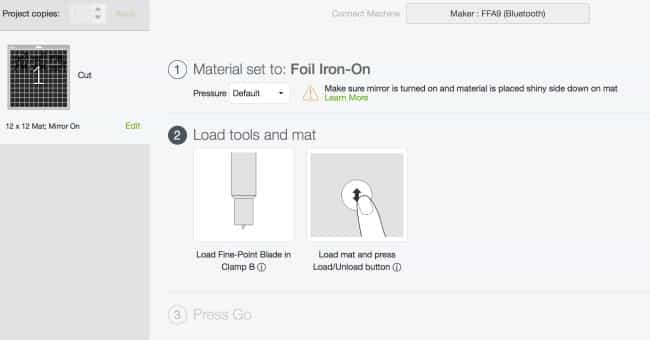
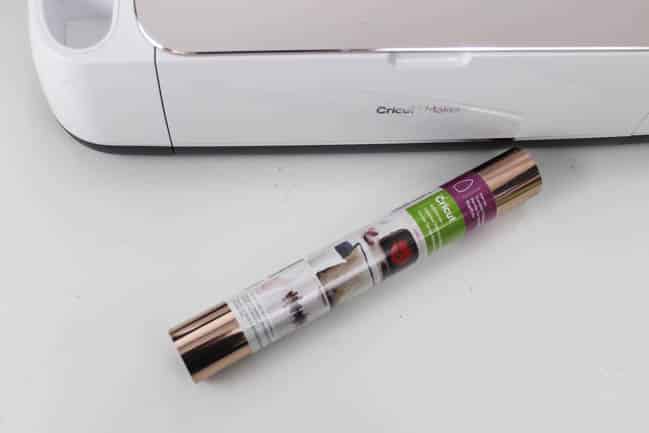
Once you have your design ready, make sure to set the mirror image on (which you need for any iron-on image). I chose to use the Cricut Iron-on Foil for the first time and I LOVED it! It was so easy to use, and adds a pretty metallic flare. I added the Rose Gold Foil to my linen napkins.
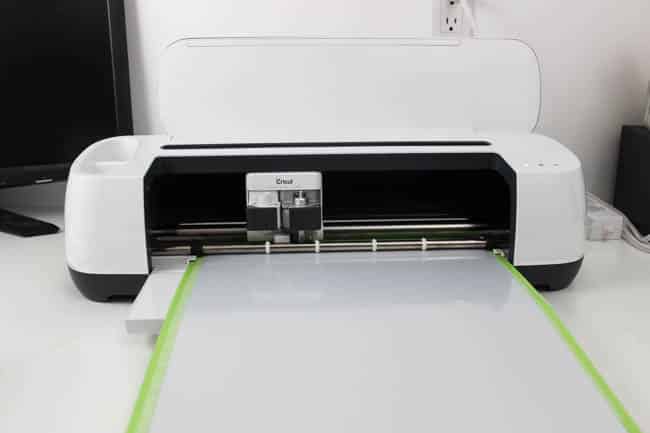
When you are ready to cut, put your foil (coloured side down) onto your mat and cut the images.
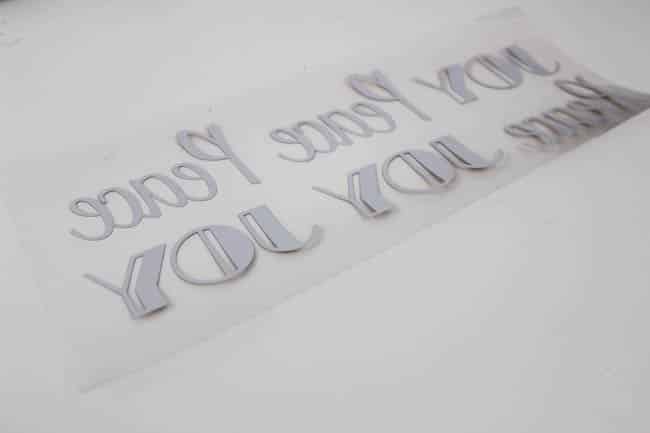
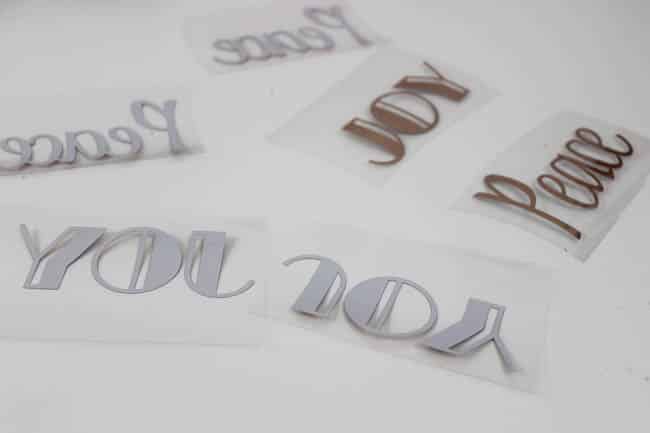
Because of the mirror image, they will come off looking backwards. Peel away the part of the foil that you aren’t using, and cut the individual words apart.
Place your words onto your napkin, with the protective layer up. Set your EasyPress 2 to the temperature and time suggested in the manual for your cloth material.
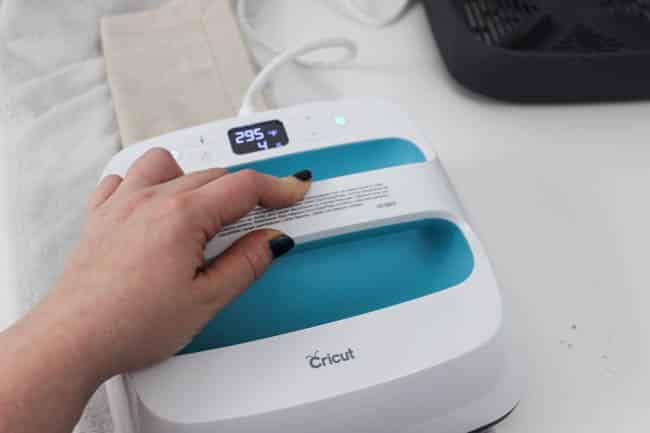
Let the foil cool completely before removing the protective layer. Once it is cool, it should peel away easily :)
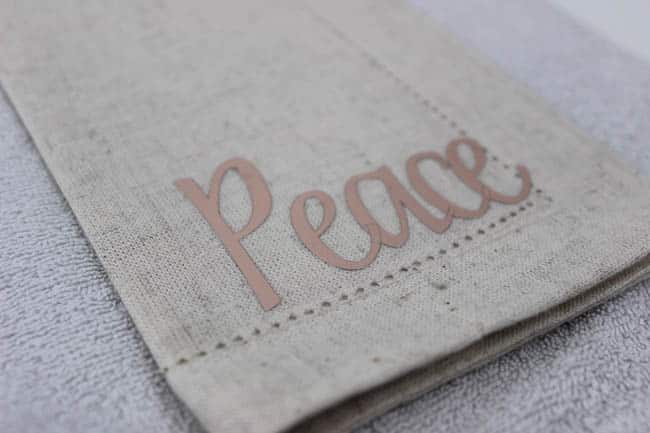
It took less than 30 minutes to make all of these, but they look like expensive napkins that I bought at Pottery Barn! Best news… I bought a pack of 12 so I can make 6 more with another design. Any suggestions?! What will you make?
Want to make your own? Now’s your chance to enter a great Cricut Giveaway! Enter below:
Here’s a few other great Holiday DIY’s!

This is a sponsored conversation written by me on behalf of Cricut. The opinions and text are all mine.