Wondering how to make your structure watertight? Today we are sharing how to make a watertight playhouse or shed with sealed windows, and doors!
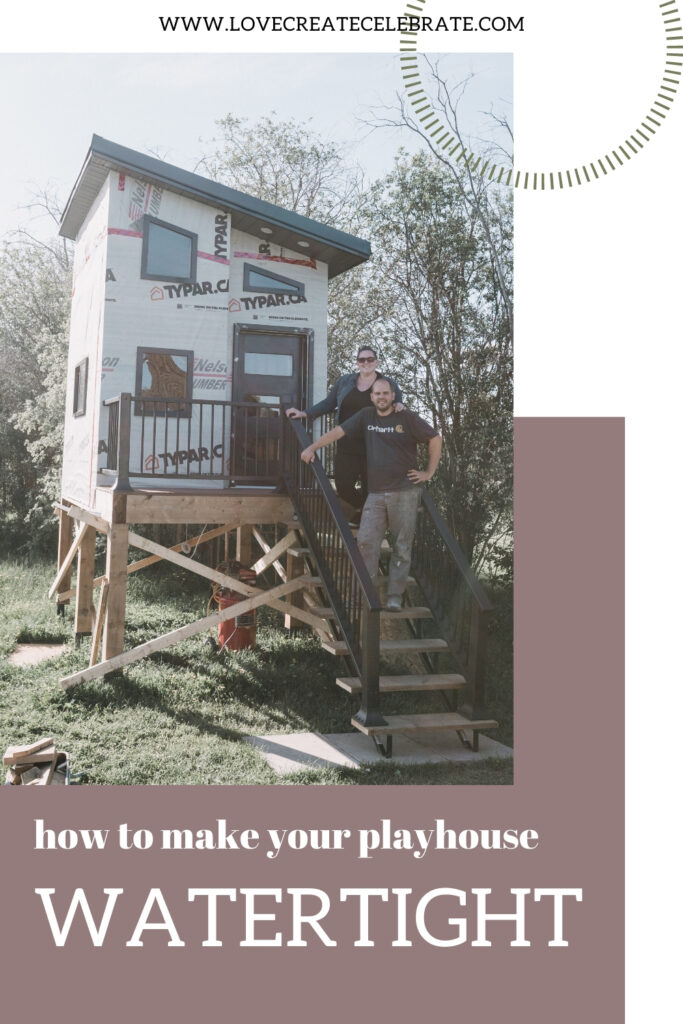
Have you been following along with our playhouse build? This is a very exciting week because we are finishing the exterior and sealing up the playhouse. Up here in Northern Canada, we only get about three good warm months, but we wanted a playhouse that the kids could use for most of the year, so we decided to seal it up, and today we’re gonna show you how to make a watertight playhouse!
*This post was sponsored by DAP Canada and may contain affiliate links. Thank you for supporting our blog so that we can continue to bring you posts like these. For more information, please see our disclosure page.*
We are in the middles of a six week renovation challenge called the Jeffrey Court Renovation Challenge. We have six weeks to makeover a space, and we chose to build this amazing playhouse.
If you think it’s amazing that we’re building a tiny home in six weeks, then PLEASE vote for us!
VOTE HERE FOR LOVE CREATE CELEBRATE!
Thank you so much!
See how we made our watertight playhouse in our latest video!
We’re share below how we sealed up this playhouse, but we shared even more in our video this week! If you want to see the entire update, including how we sealed the windows and doors, the siding colours we chose, AND what we decided to call the playhouse, watch below!
And don’t forget to subscribe to our channel!
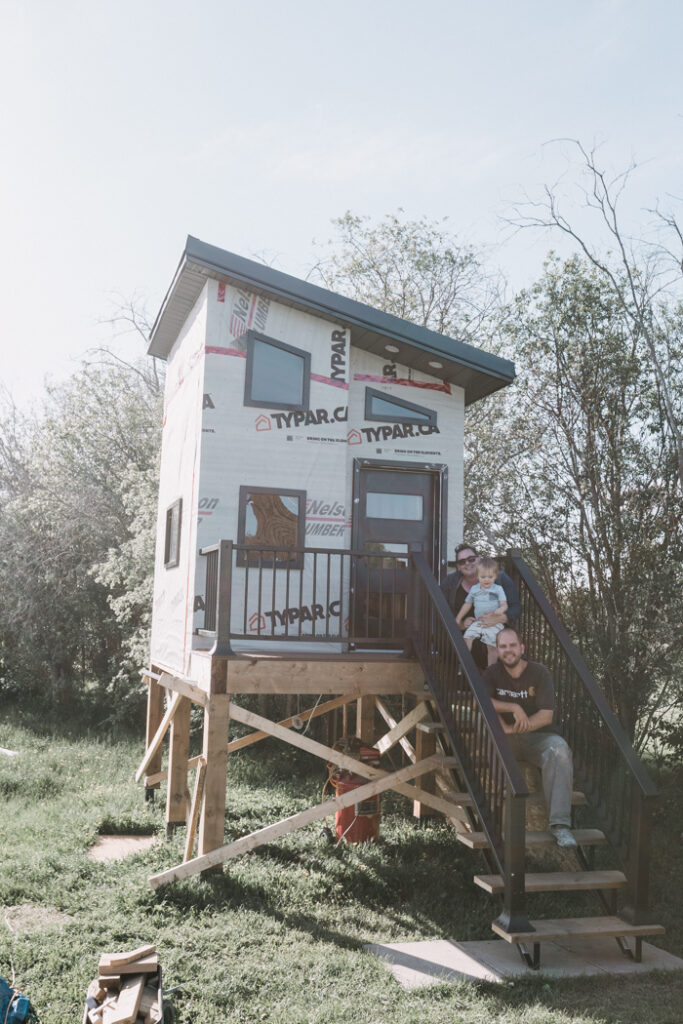
There’s a few things that we had already done to help us get ready to make the playhouse watertight including putting up a sealed tin roof, adding soffit, and wrapping the house in house paper that is breathable, yet resistant to water.
The next steps were to seal the windows and doors, insulate the house inside, and wrap the house in siding.
How to Seal the Playhouse Windows and Doors
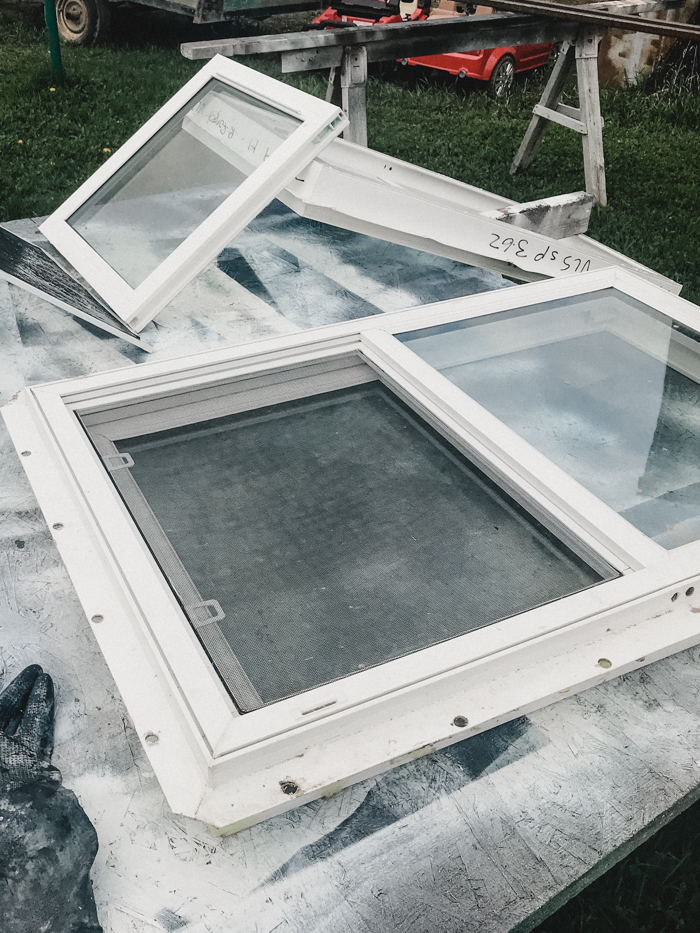
We had two types of windows for our playhouse that we wanted to seal up this week. The first is some real windows that we bought off of Facebook marketplace. They needed a bit of a clean, but they were perfect to allow to windows that opened up in the playhouse and give it some much needed airflow.
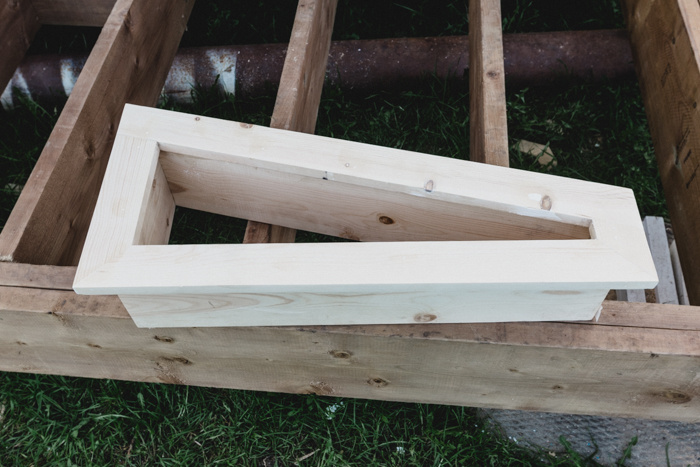
Second, we have a few windows that we custom made. (PS – Anyone want a tutorial on that??). We wanted windows in the front of the house, but with the roof shape we designed, they needed to be custom made for the space. We matched the mouldings of the other windows so that we would be ready to install them.
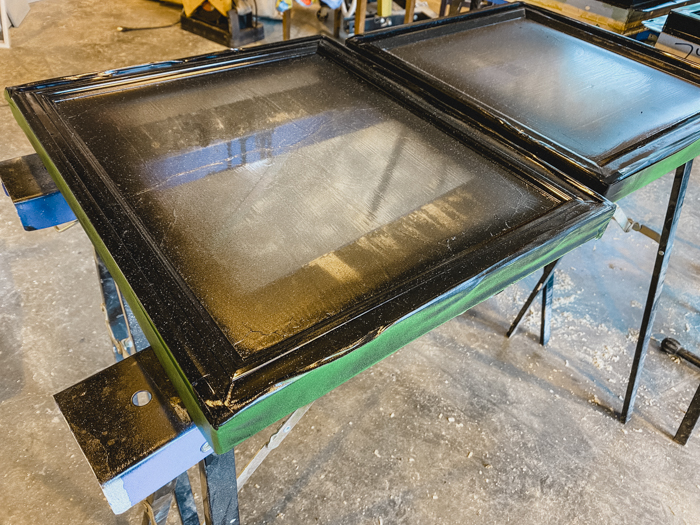
We wanted the exterior of the windows to be black, so we painted them all black before getting ready to install them.
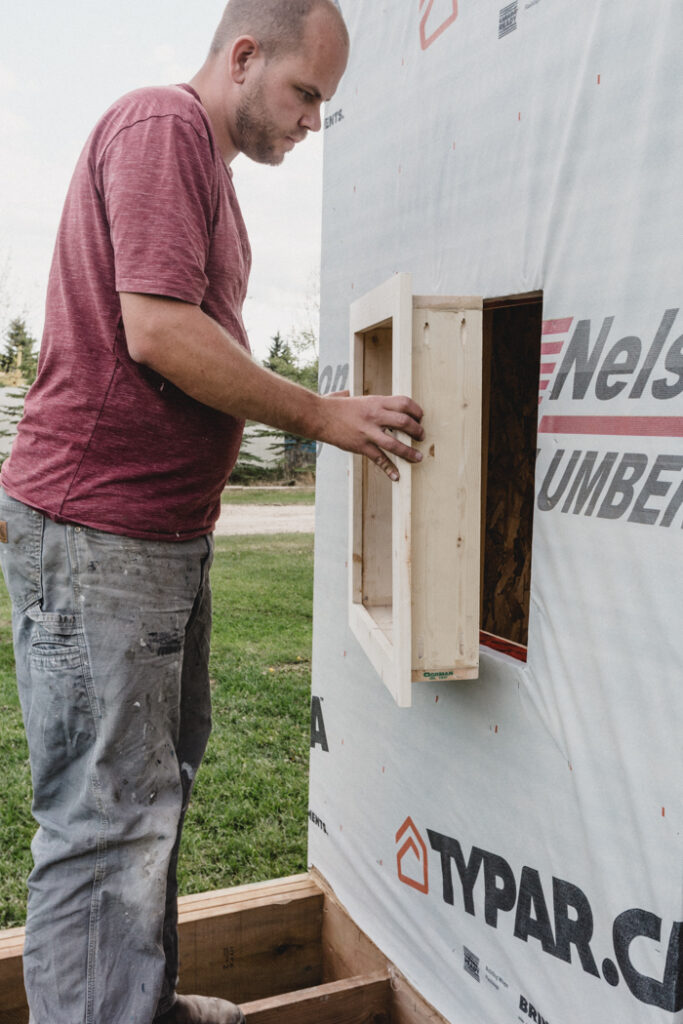
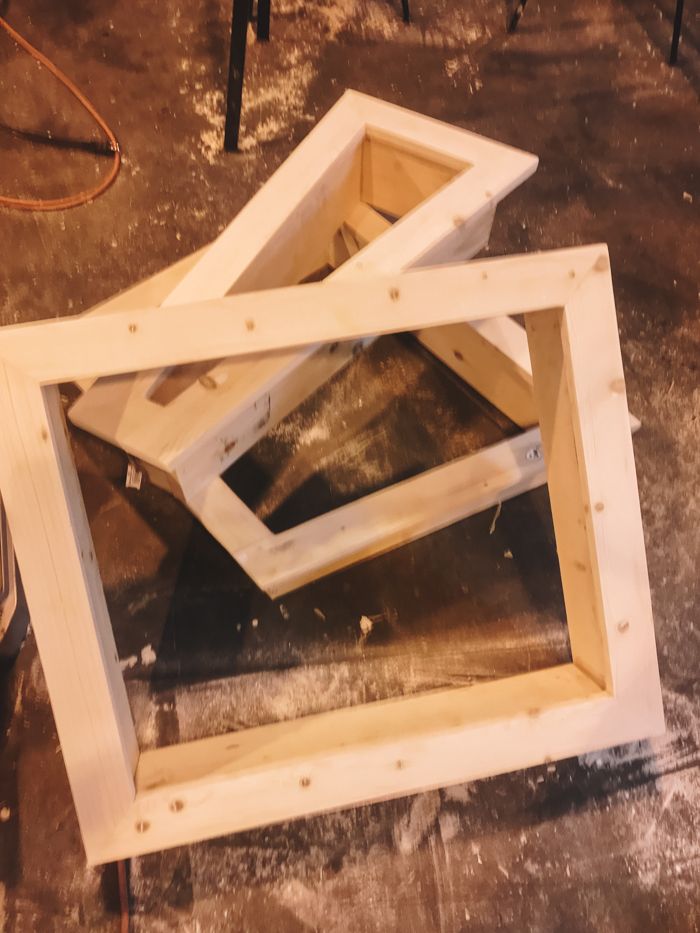
Once we built the frames for the faux windows, we did a dry fit to make sure the sizing, etc was correct before we painted and installed them.
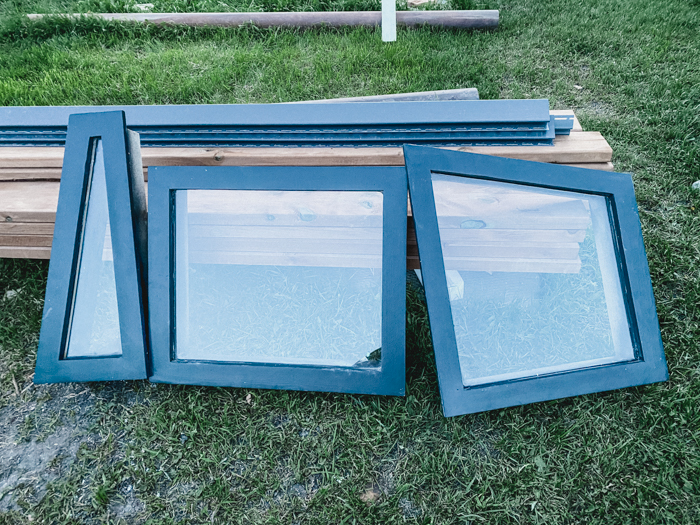
We primed the windows and then painted them black with the colour Carbon by Behr paint.
The “window” part of the windows is actually plexiglass that we cut to size. The wooden frames were primed and painted, and then each of the plexiglass pieces was attached to the frames using DAP Silicone Ultra Window, Door & Siding Sealant. We used the clear colour so that in case it showed through some of the edges, that we wouldn’t see it.
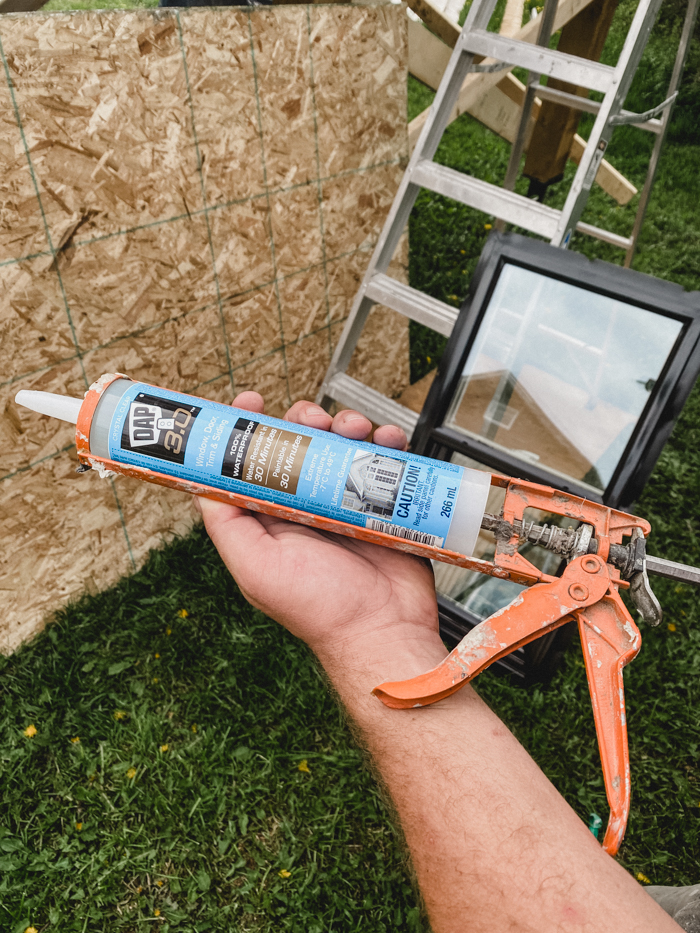
Once we were ready to install the windows, we used the same DAP Silicone Ultra Window, Door & Siding Sealant along the edges of the house to install the windows. We just added it around the window frame and then installed the window.
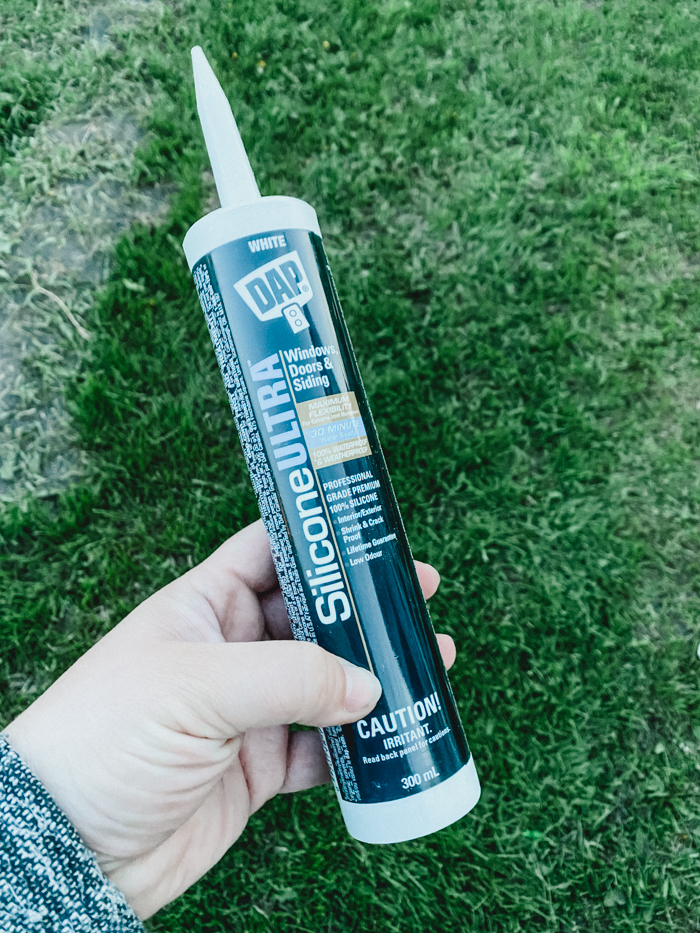
The insides of our windows and frames are all going to be white, so we added the same DAP Silicone Ultra Window, Door & Siding Sealant again, but used the white colour.

Here’s what the house looked like with all of the windows installed! The custom built windows look AMAZING! We were thrilled!
Once all of the silicone was set, it was time to move into the playhouse and work on insulating it.
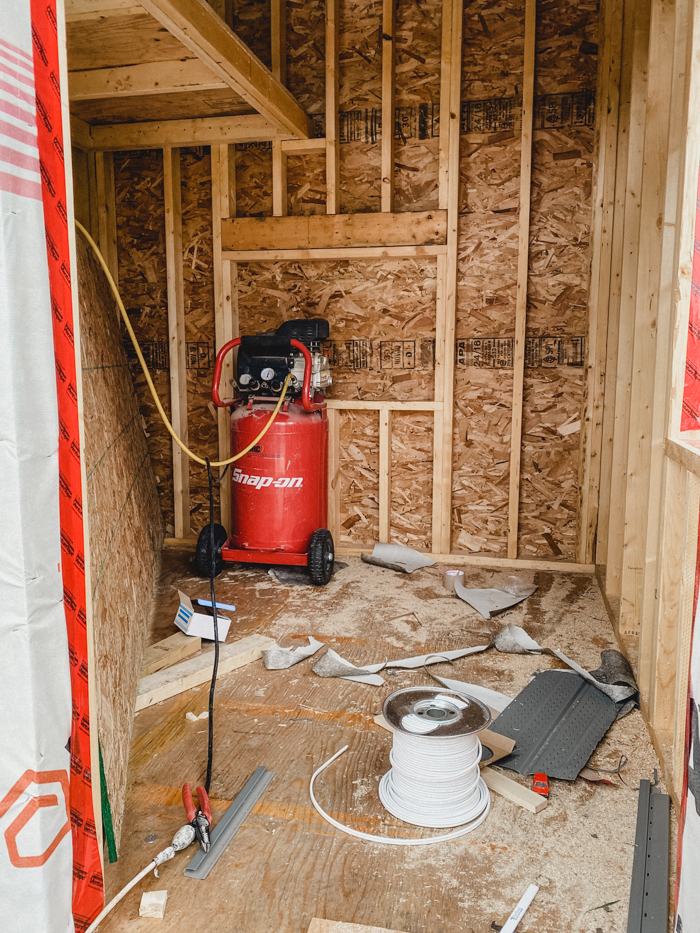
Adding Electrical Before We Insulate the Playhouse
What’s a miniature house without working light switches and outlets? Amiright?? Before we insulated the interior, we needed to get all of the electrical done
Luckily we have an amazing friend that is also an electrician that helped us wire everything up! We have pot lights, and hanging pendant, and lighting above the door on the exterior.
Ohhhh… and we have an outlet on the exterior by the roof… because I wanted to be able to add Christmas lights to the exterior one day! Can’t you picture how amazing it will be?
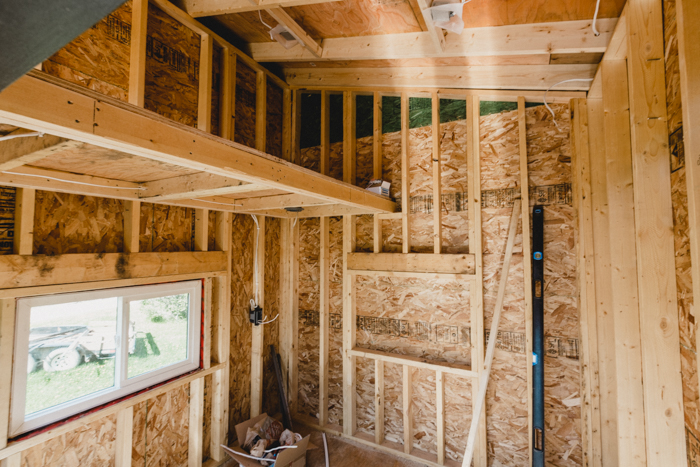
How to Insulate a Playhouse
We said earlier that we wanted this playhouse to be usable all year round. Well… it does get to -40 Celcius here, so maybe that won’t happen unless we have a heater in the winter, lol. But we’re giving it a fighting chance by insulating everything!
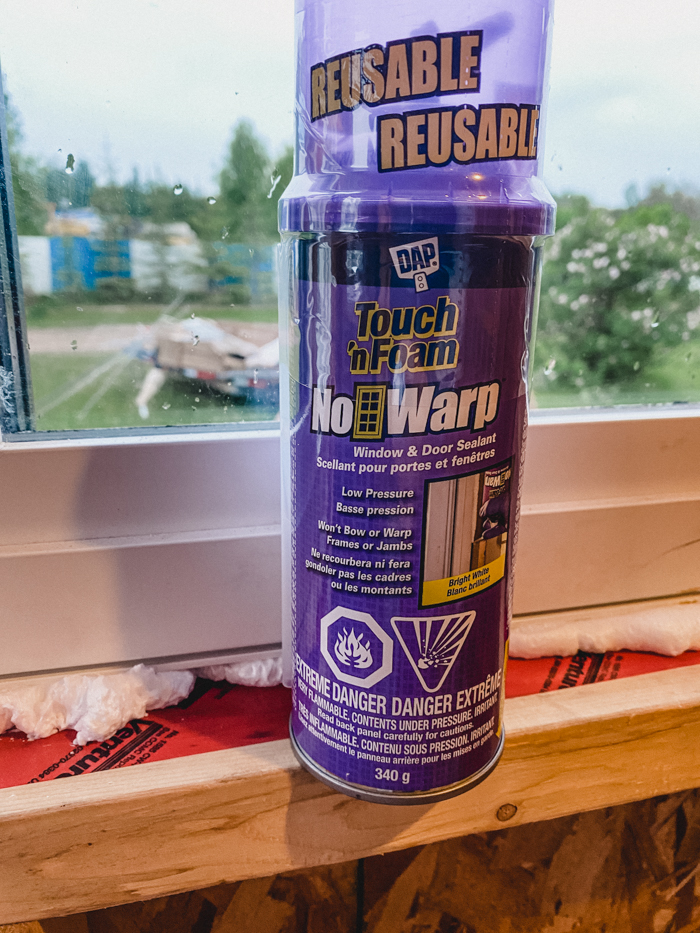
The first thing we wanted to do was add Touch ‘n Foam No Warp around the windows and door on the interior.
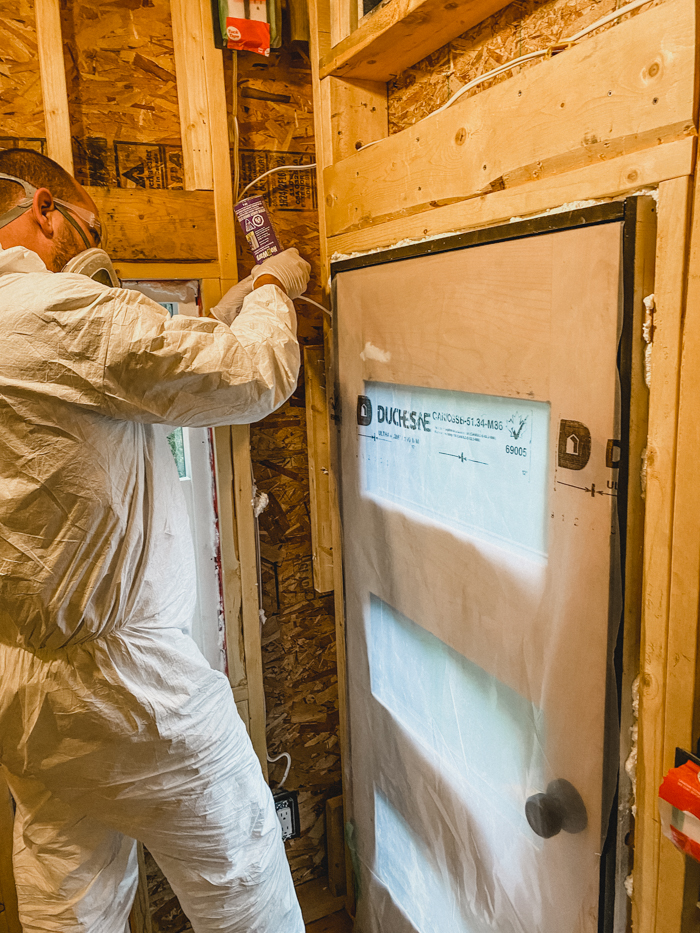
This is a foam that comes in a can and seals around the windows and doors without putting any pressure on the frames and structures. You can imagine how much trouble we would be in if the foam warped one of our window frames… lol.
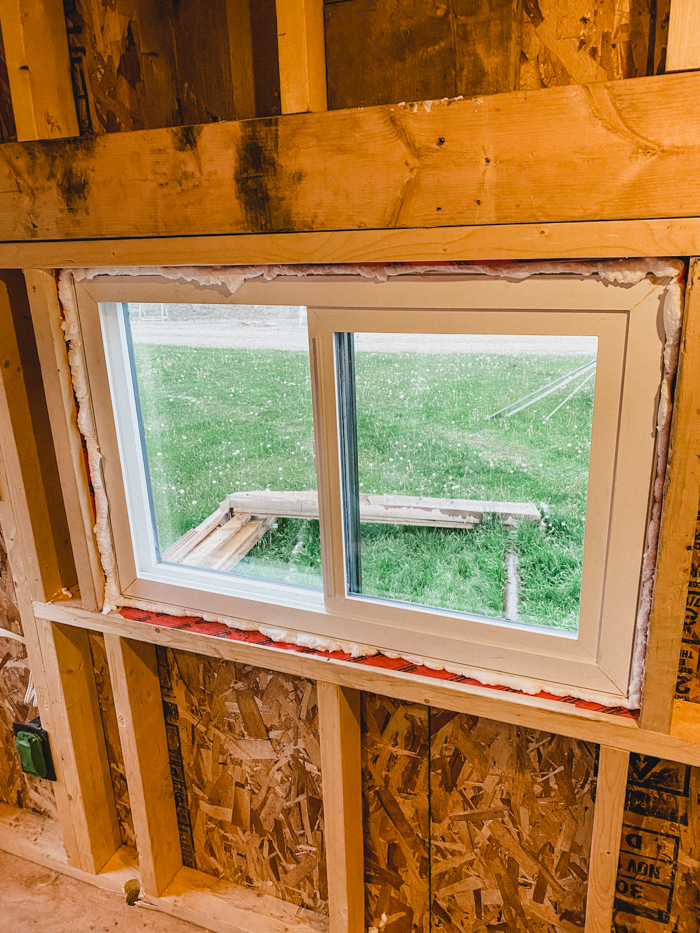
Here’s what one of the windows looked like after we used the Touch ‘n Foam No Warp. This was our first time ever using it, and we may still need a bit of practice, lol. But it was really easy to use and definitely did the job!
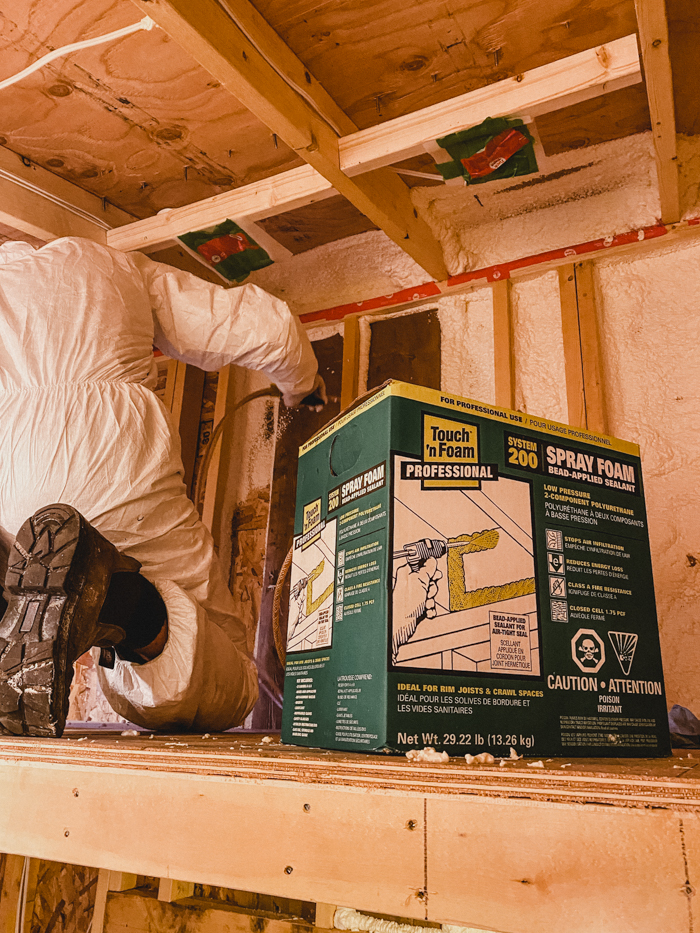
Our next step was to seal all of the space between the truces and soffit areas., and we used the Touch ‘n Foam System 200 for this!
We used cardboard to block the ceiling area from the soffit area and then sprayed foam into that area to seal everything. Then we also used the spray foam in the corners and the hard-to-get areas.
The 200 in the name represents 200 board feet of foam spray. When we were using the spray foam, you may notice in the photos that we filled some of the cavities. We actually are not supposed to fill the cavities in a home, but since this is a playhouse, it will be fine here.
In your home, you can use the spray foam in areas like your rim joists, your perimeter areas that could possibly let outside air inside or out, you can use it around electrical, HVAC or plumbing areas too.
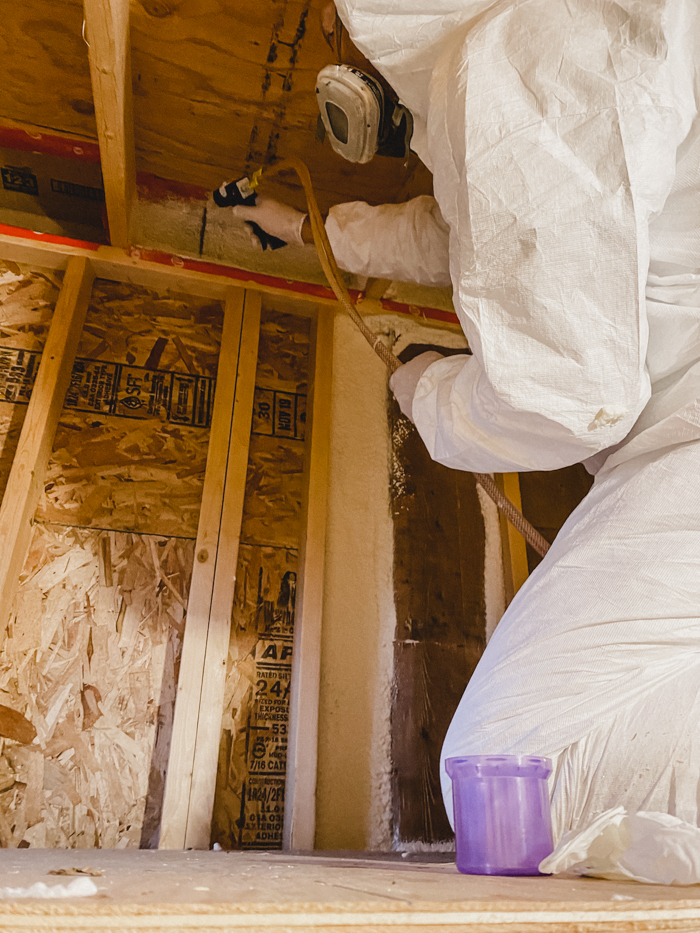
It was really fun to use the spray kit! You just mixed the product according the the instructions, and then sprayed. Watching it expand and fill the cavities was so fascinating, lol. It you want to see how we set it up, and how it goes up on the walls, we chat about all of it in the video above!
We filled as much as we could with the spray foam kit, and then plan to use some fibreglass insulation batts to fill in the rest. I can definitively say that spray foam is much more fun, and much faster than the batts!
Adding Siding to Our Modern DIY Watertight Playhouse
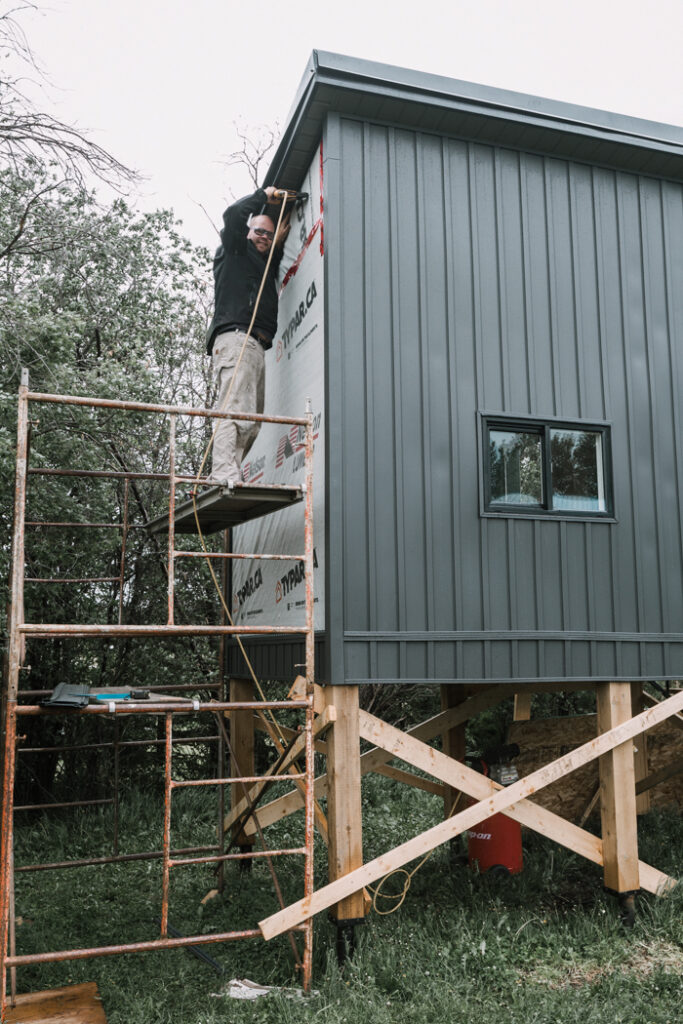
The last step to waterproofing this bad boy was to get all of the insulation up. We choose a deep charcoal colour in this vertical siding for the majority of the siding. It went on the two side walls, the back wall, and the wall surrounding the front door.
We have a heavy duty staple gun that used to belong to Russel’s father that we were able to use to install the siding ourselves. it just clicked into place, and then we stapled it in.
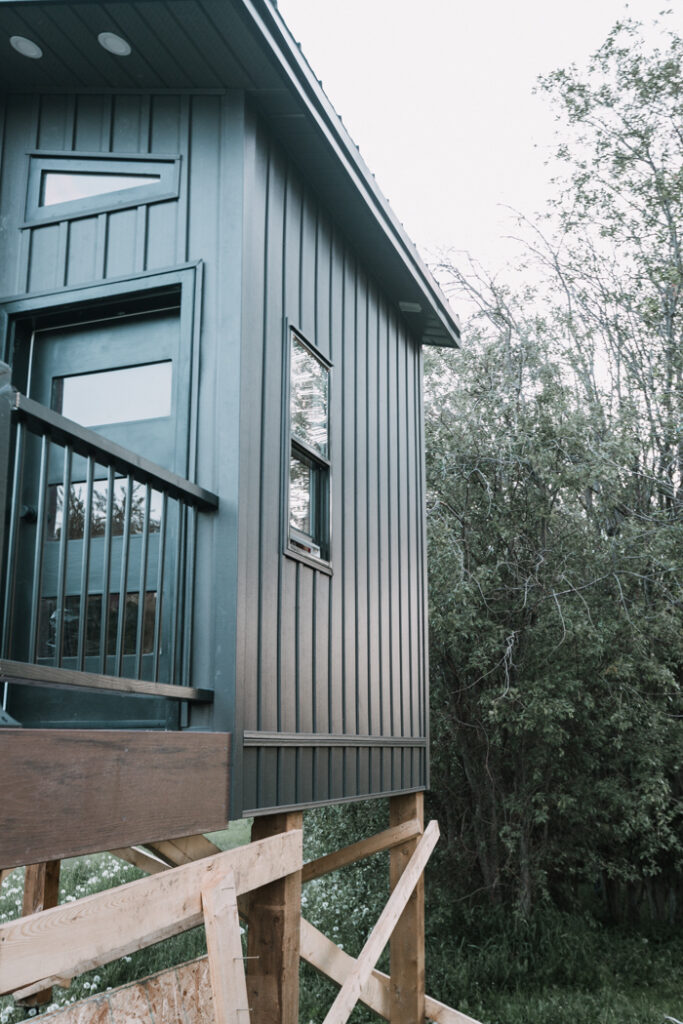
For the little jut out of the front of the playhouse, I wanted to add some character, so we added a brown, almost wood-like siding there and ran it horizontally.
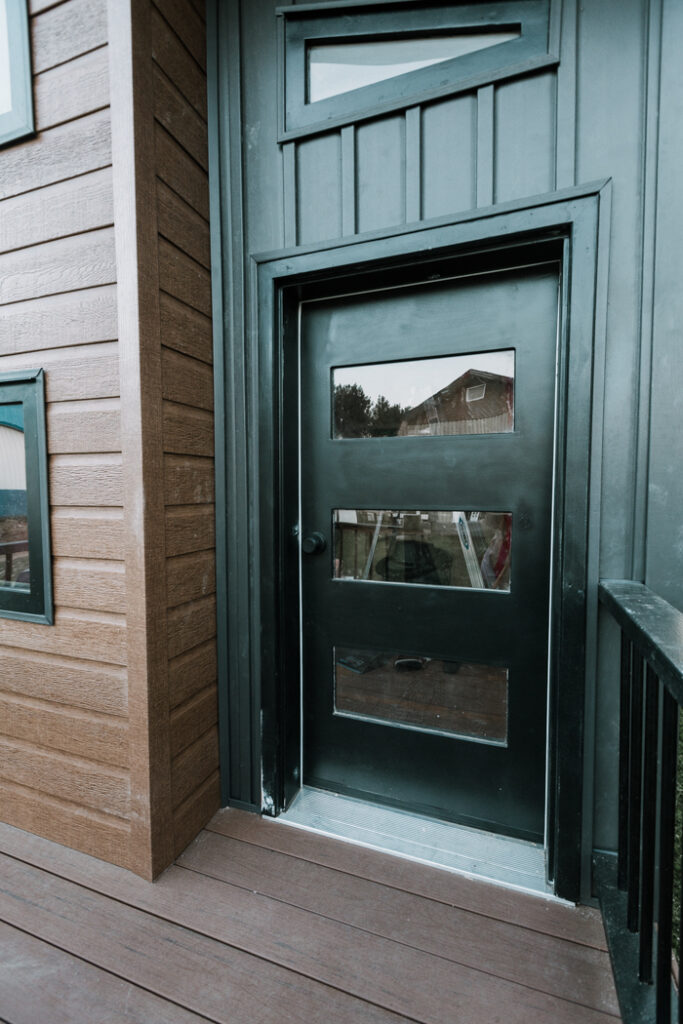
Don’t mind all of the white spots on the trim… we’re still touching up some spots, lol. But how good does that look?! I absolutely LOVE it. It’s so much nicer than my own siding, lol.
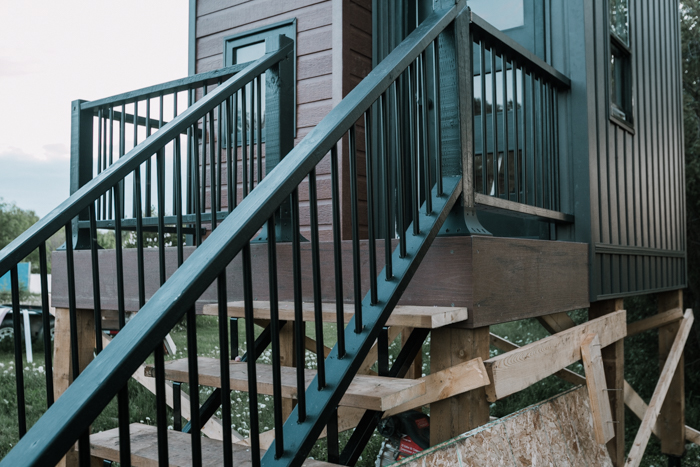
I’ll show you a couple more sneak peeks, but you’re going to have to wait for the big reveal! Just trust me when I say that it looks unbelievable.
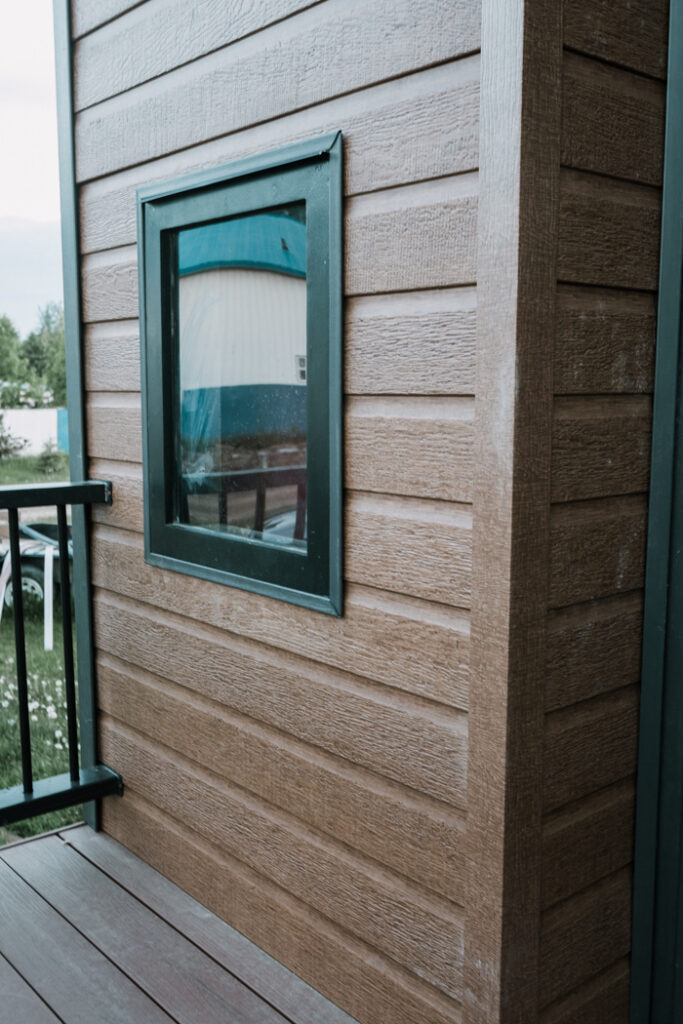
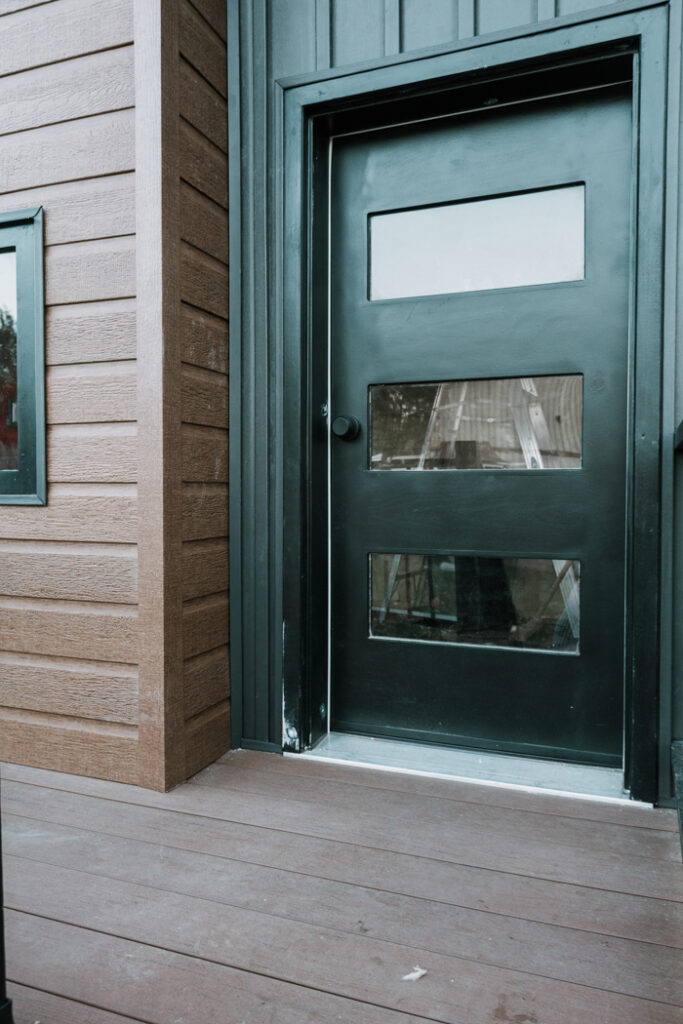
And just for fun, here’s how the windows look, all sealed up and watertight.
Here’s how we’re doing after three weeks of building:
Build Frame of PlayhouseInstall FoundationRaise Playhouse onto foundationDeck and railingBuild Mini DoorFinish ExteriorInsulate InteriorInstall WindowsFinish Deck- Sandbox underneath?
Order kids playhouse furniture- DIY Bench inside
- DIY Light Fixture inside
- Tiling
- Paint/design Feature wall
- Furnish and style
If you made it all the way here and you haven’t voted for us, remember that you can vote once a day!
–> VOTE HERE! <–
Want to catch up on everything?
- Playhouse Week 1: Design Plans
- Playhouse Week 2: Raising the Playhouse, plus Deck, Door, and Railings
- Playhouse Week 3: Making it watertight
- Playhouse Week 4: Painting and finishing the interior
- Playhouse Week 5: REVEAL!



Natalie Mazik
Sunday 13th of March 2022
How did you make the door? You guys did and incredible job on the entire thing! My husband and I are currently making a playhouse for our kids. Somewhat same concept and we can’t figure out the door part.
Sue P
Thursday 25th of June 2020
Have tried to vote for you again for several days but the voting system will not allow me to vote again as I have voted once! Do you need to check if there is a problem or change your advice that you can vote multiple times? Sad that I can only get one vote on as I think your project is amazing, much better than my quilting cotton and wood dowel tent for my children!!!!
Lindi
Thursday 25th of June 2020
I think they were having issues with the site yesterday! Maybe clear your browser history and try one more time? Let me know if it still isn’t working! I’ll send this onward either way!
Virginia Fynes
Wednesday 24th of June 2020
This is nicer than my house!! I can't believe you custom made the windows, you two are really the dream team.
Lindi
Wednesday 24th of June 2020
Thank you my friend! Yes, we went crazy with this one, lol. We wanted it to be a mini home and I think it's working so far!