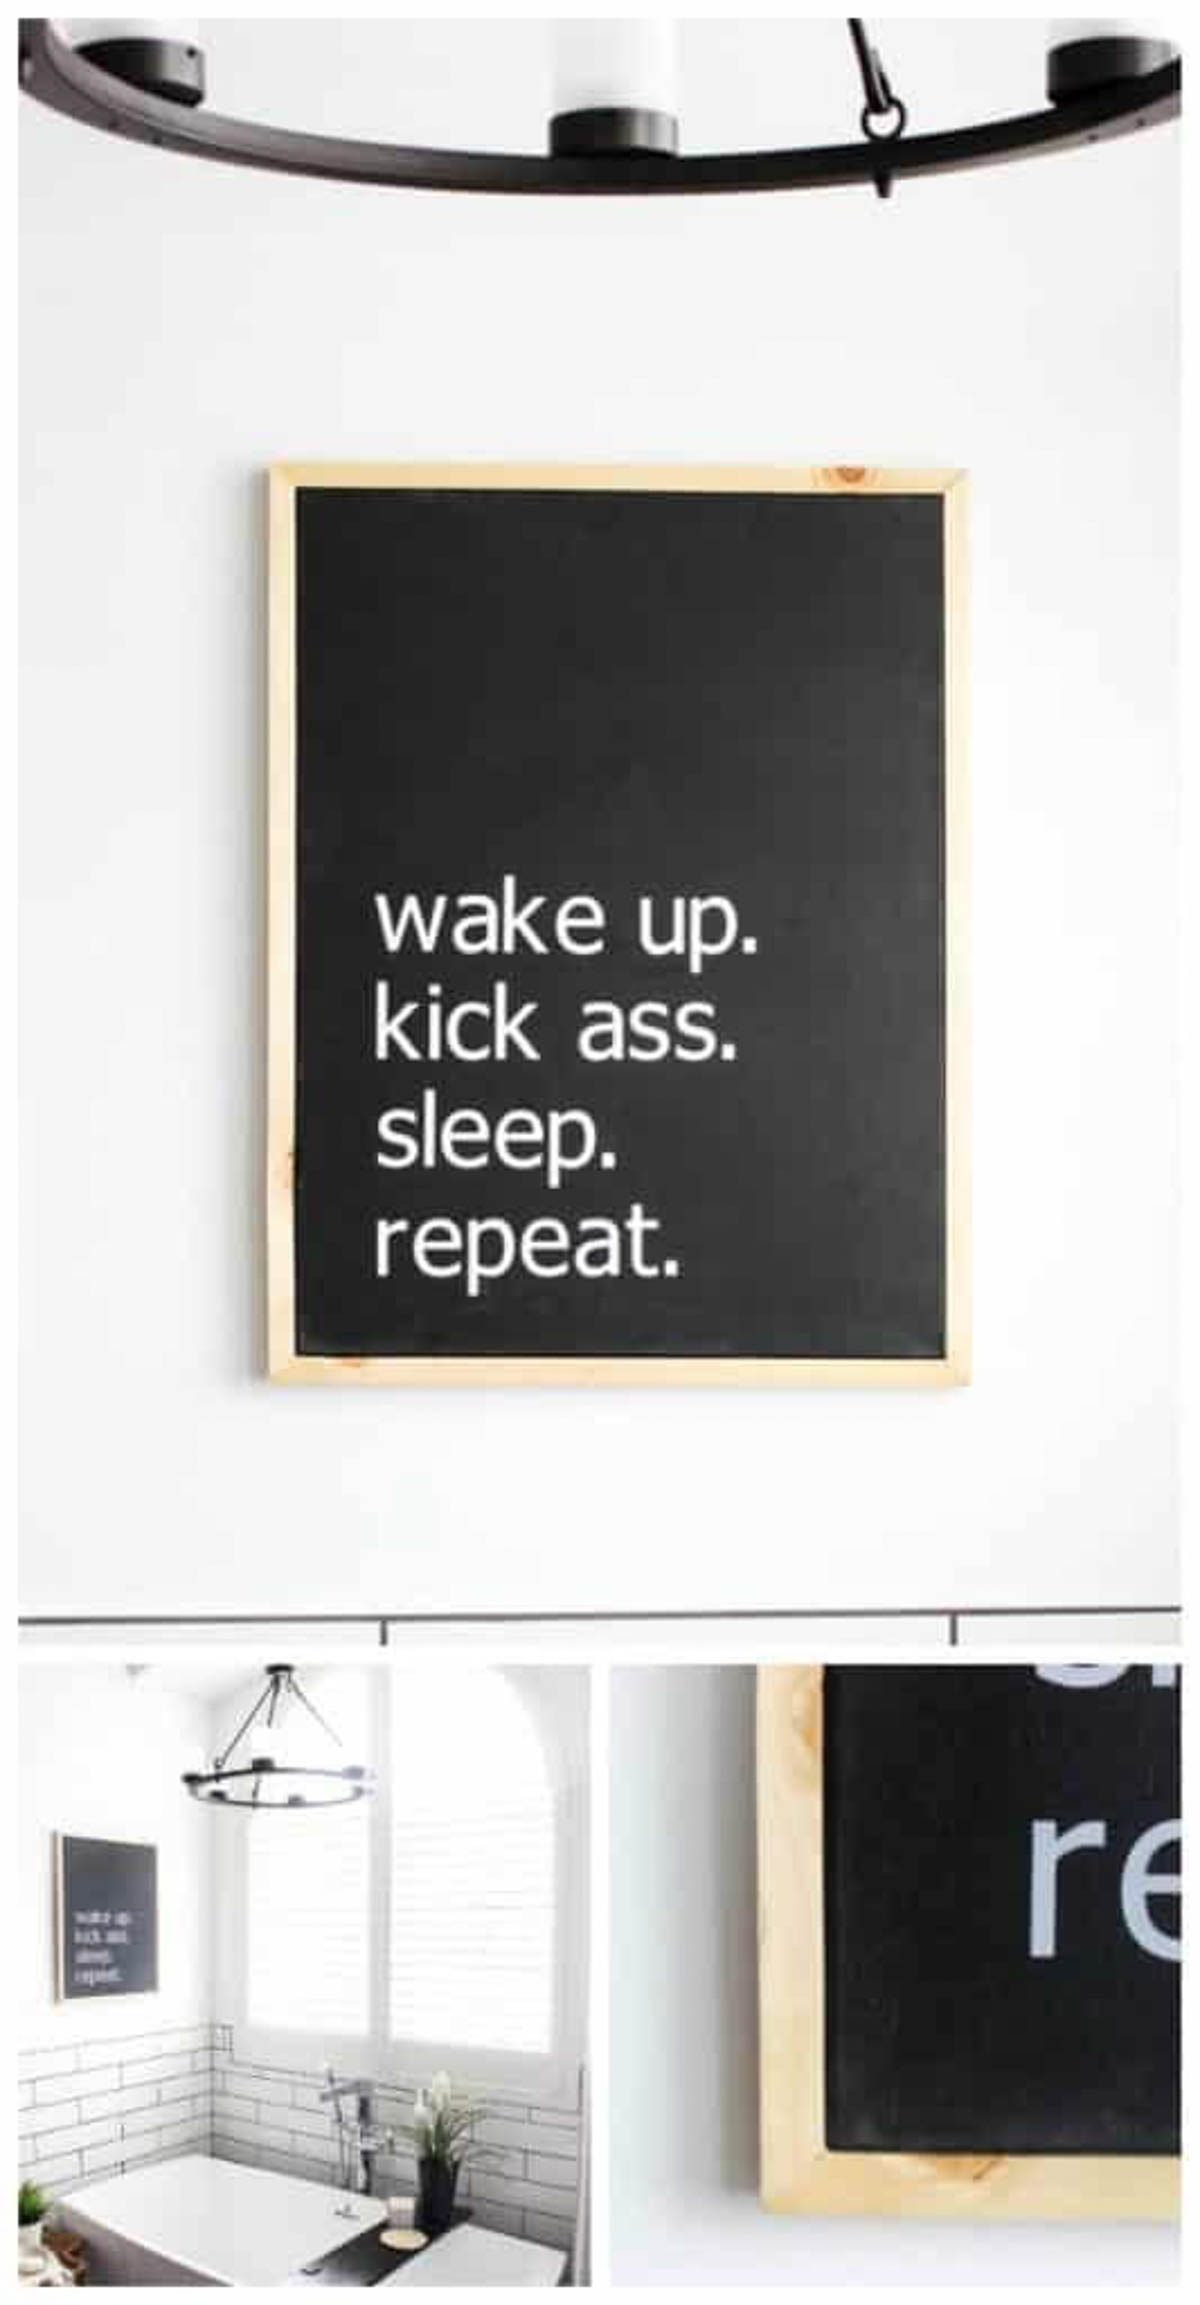
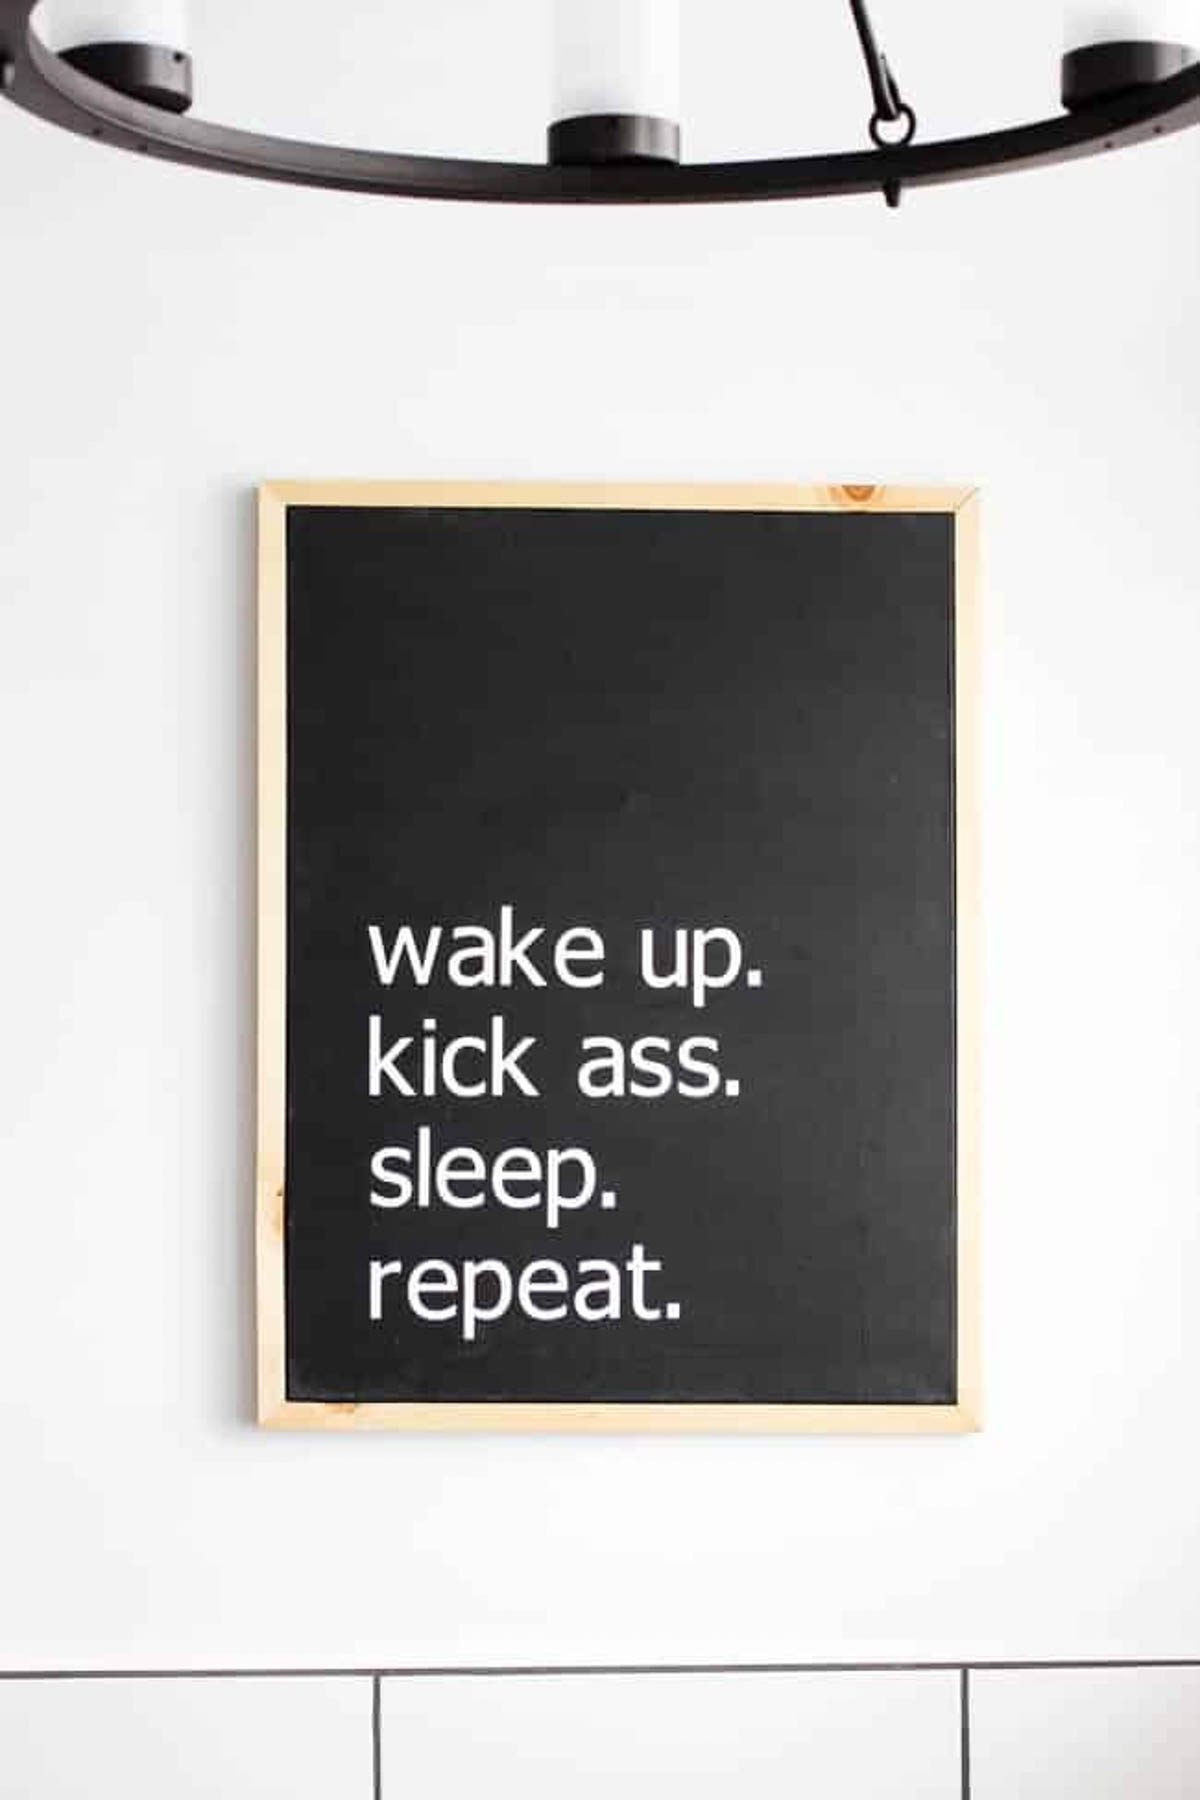
It’s easy to create your own modern canvas with iron-on vinyl lettering and paint. Your favorite quote will add modern flare to any room in your home.
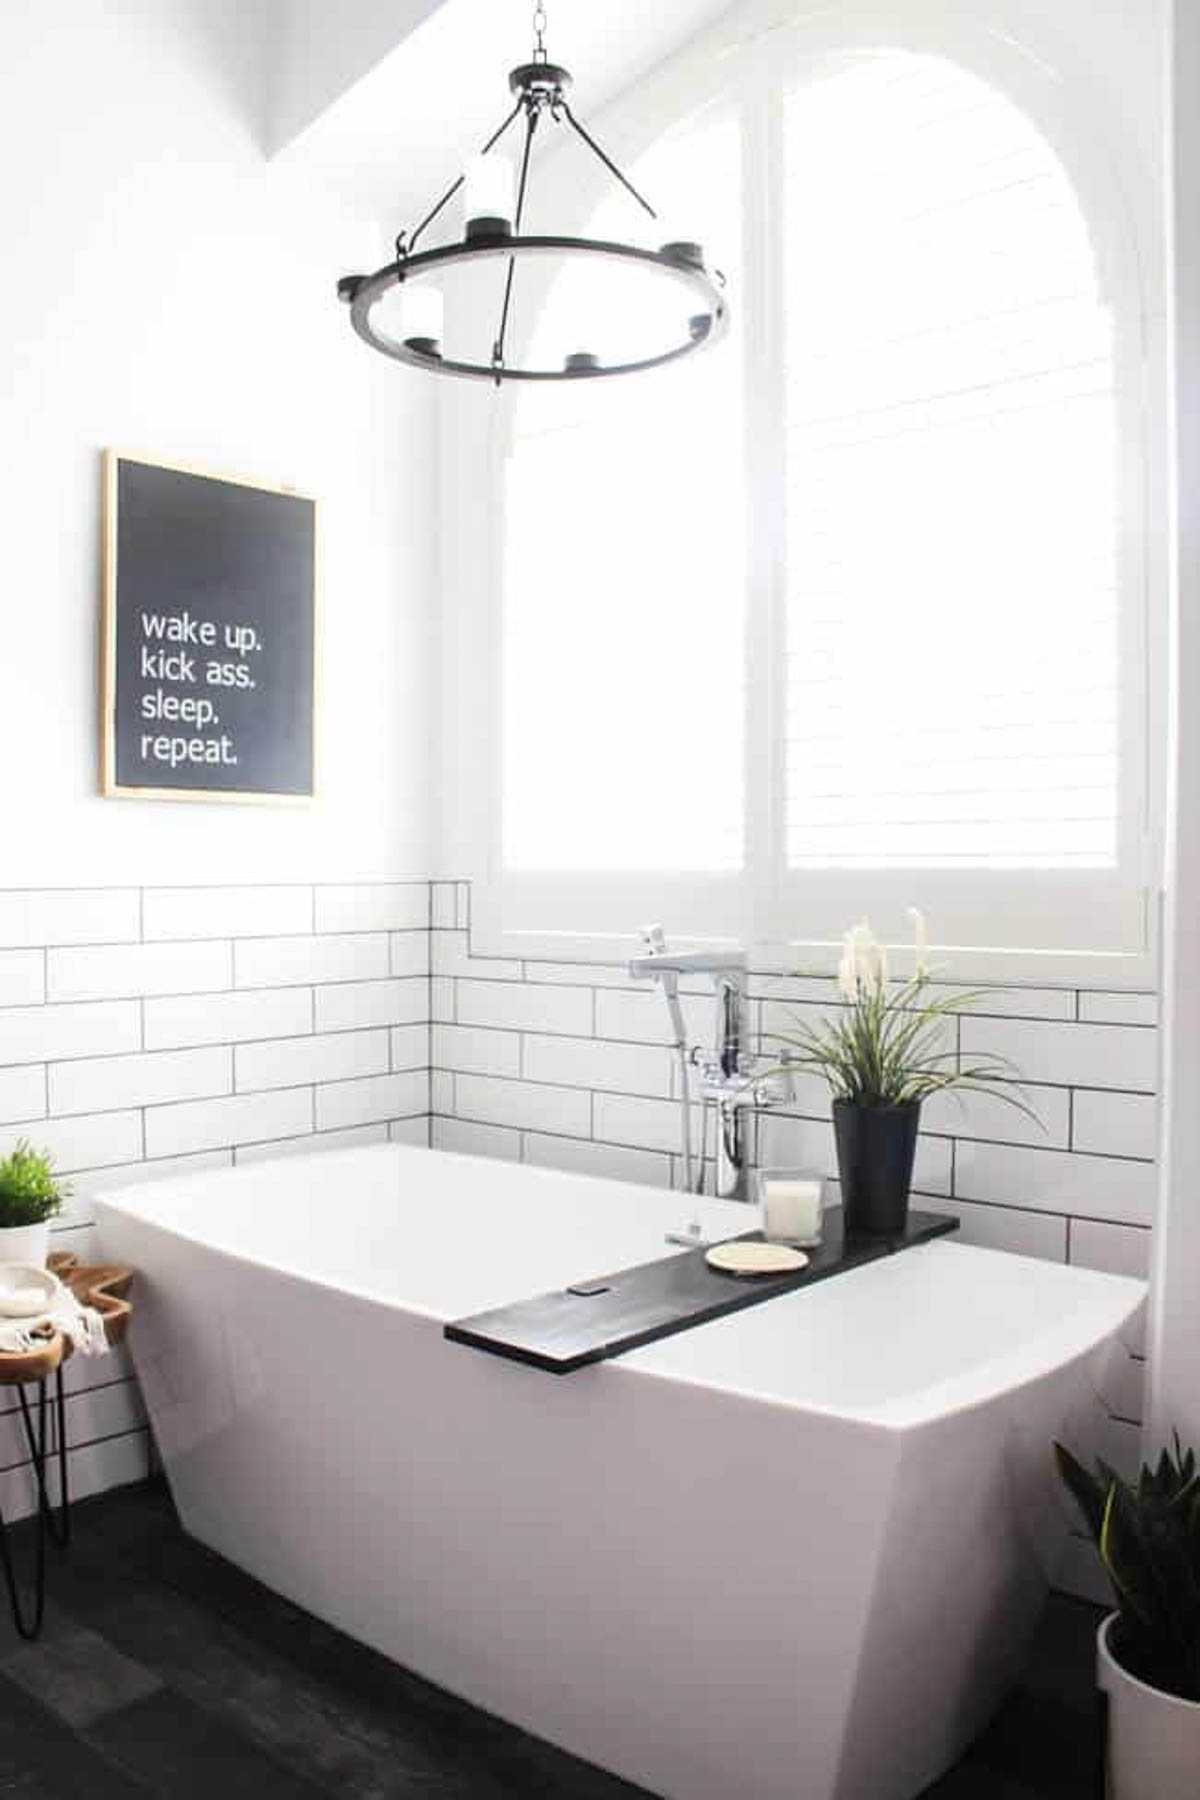
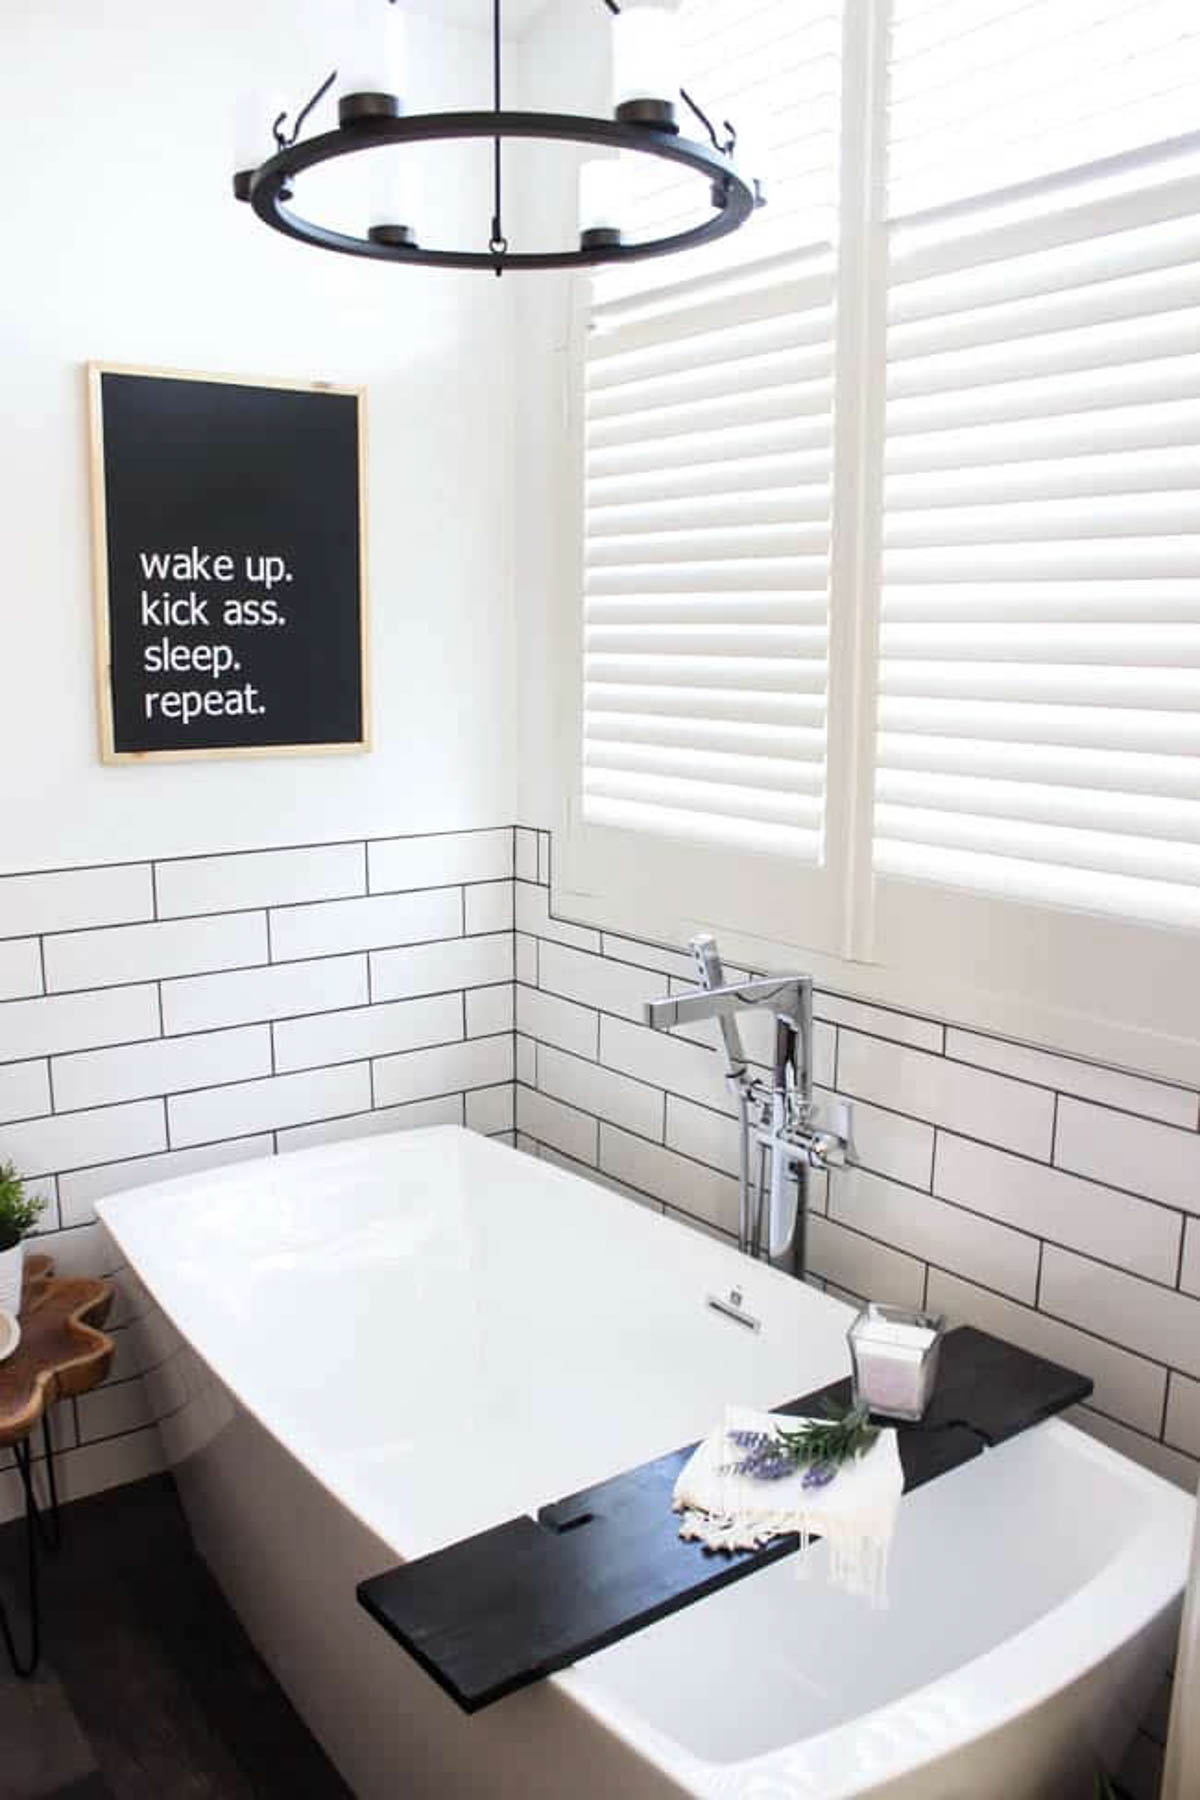
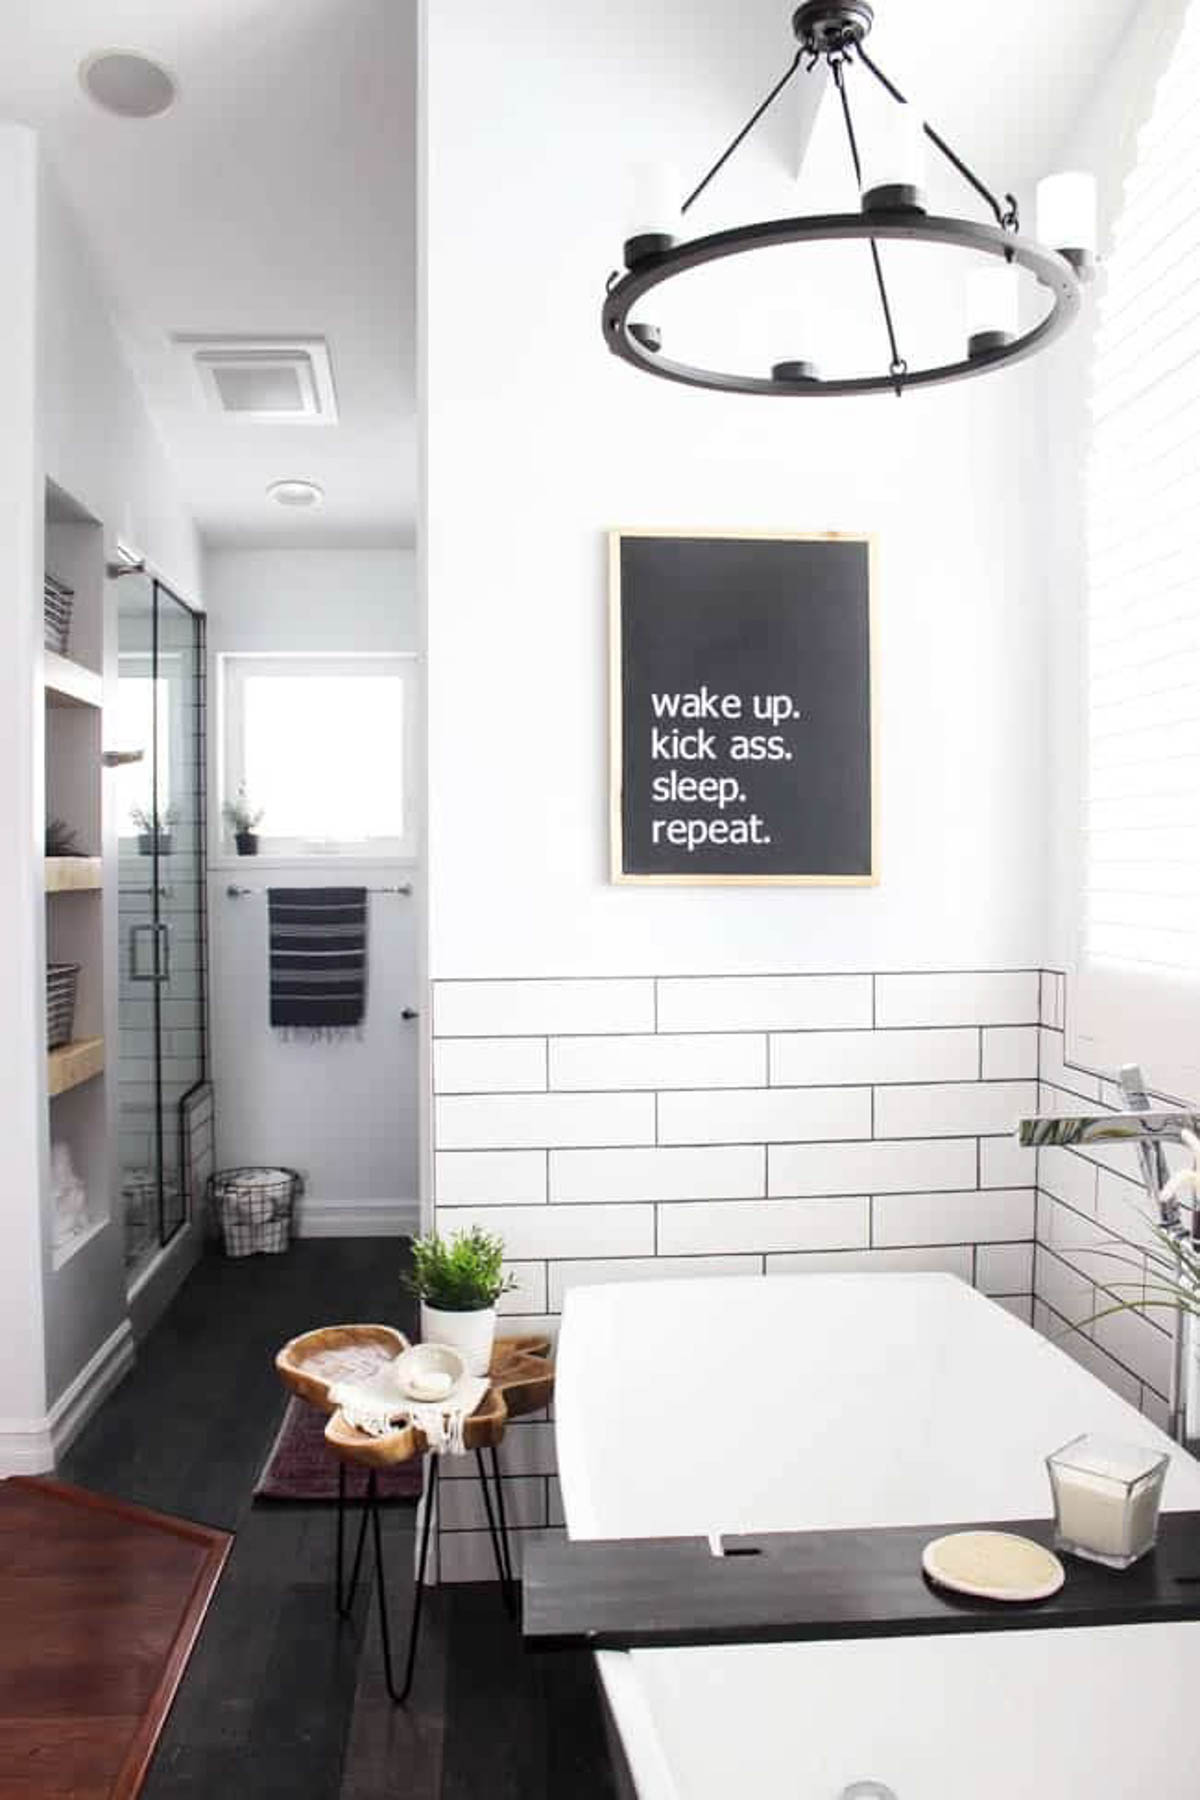
Last week was the big reveal of our Modern Master Bathroom renovation. Ever since the reveal, I’ve been getting questions about this modern canvas art piece. Mostly, “Can I ask where you bought that?” Well, my friends, it’s a DIY! Almost all of the art in my home is handmade (and I’m getting better and better at it!).
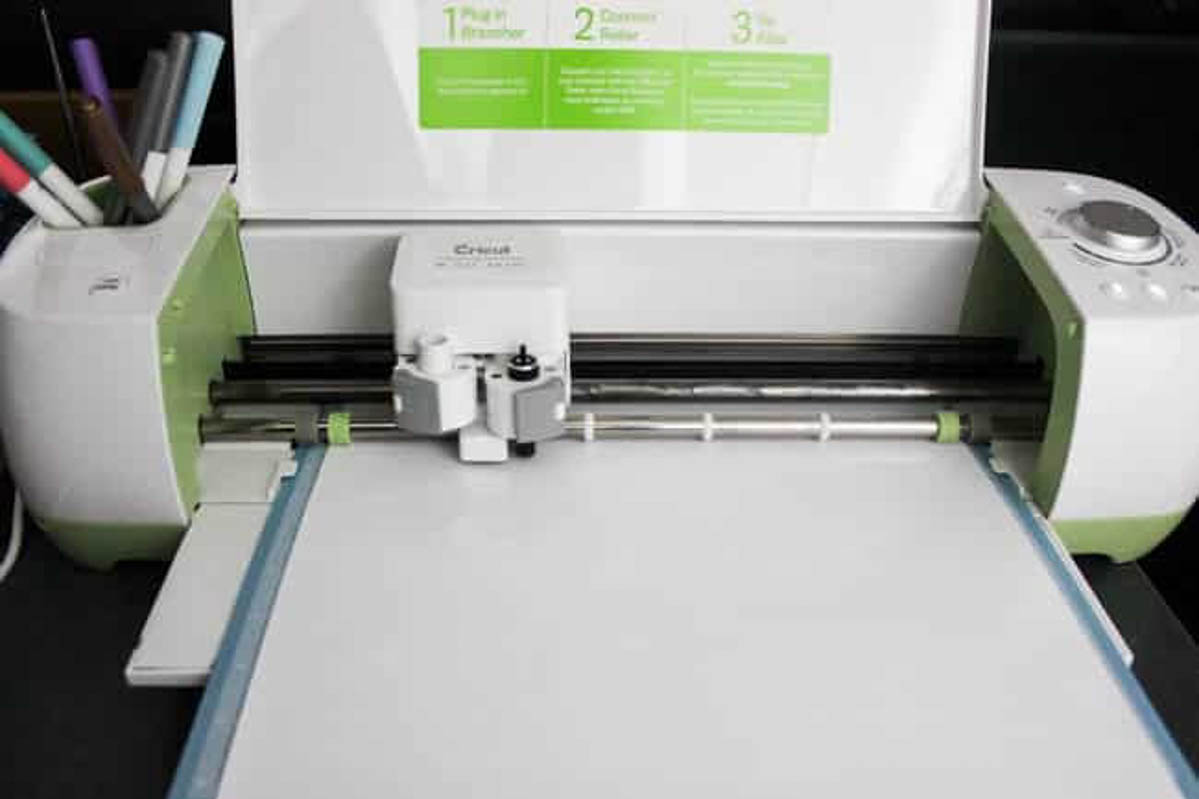
This canvas was made using my Cricut Explore Air™ 2 machine. It’s a cutting machine that people typically think is used for paper crafts, but I’ve used it for a ton of home décor projects including wooden signs, etched vases, and coasters.
You can find more great Cricut projects in my Cricut Project Gallery.
Here’s what you need to make this typography art:
Cricut Explore Air™ 2 machine
Black Paint (Coal Black)
Iron-on white vinyl
Light Grip Cricut Mat
Iron
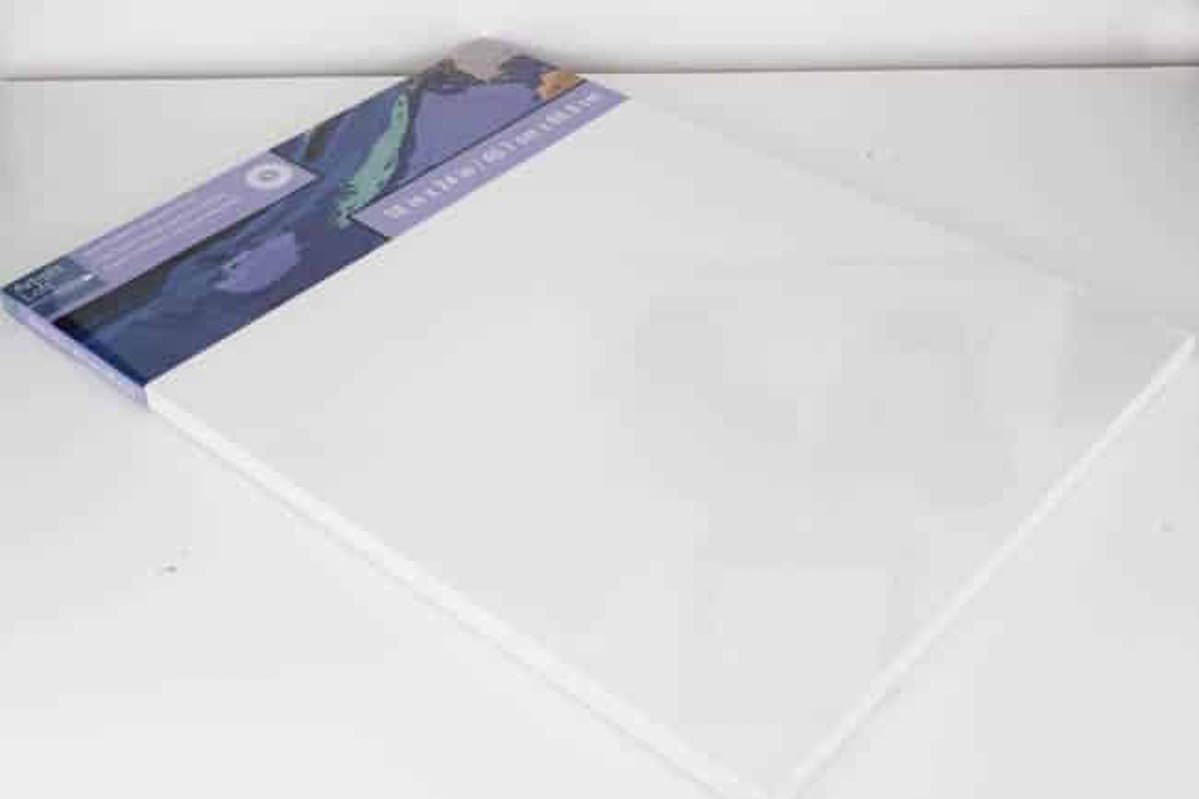
18″ x24″ Canvas
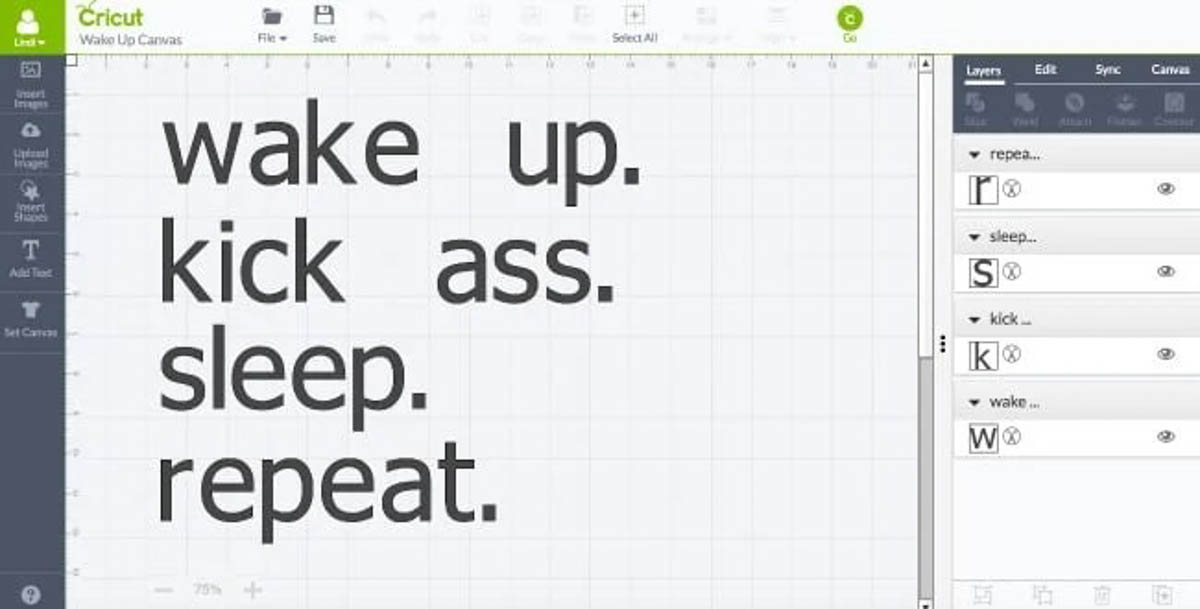
If you want to use the same text as me, you can open my Cricut canvas HERE and save it to your own computer.
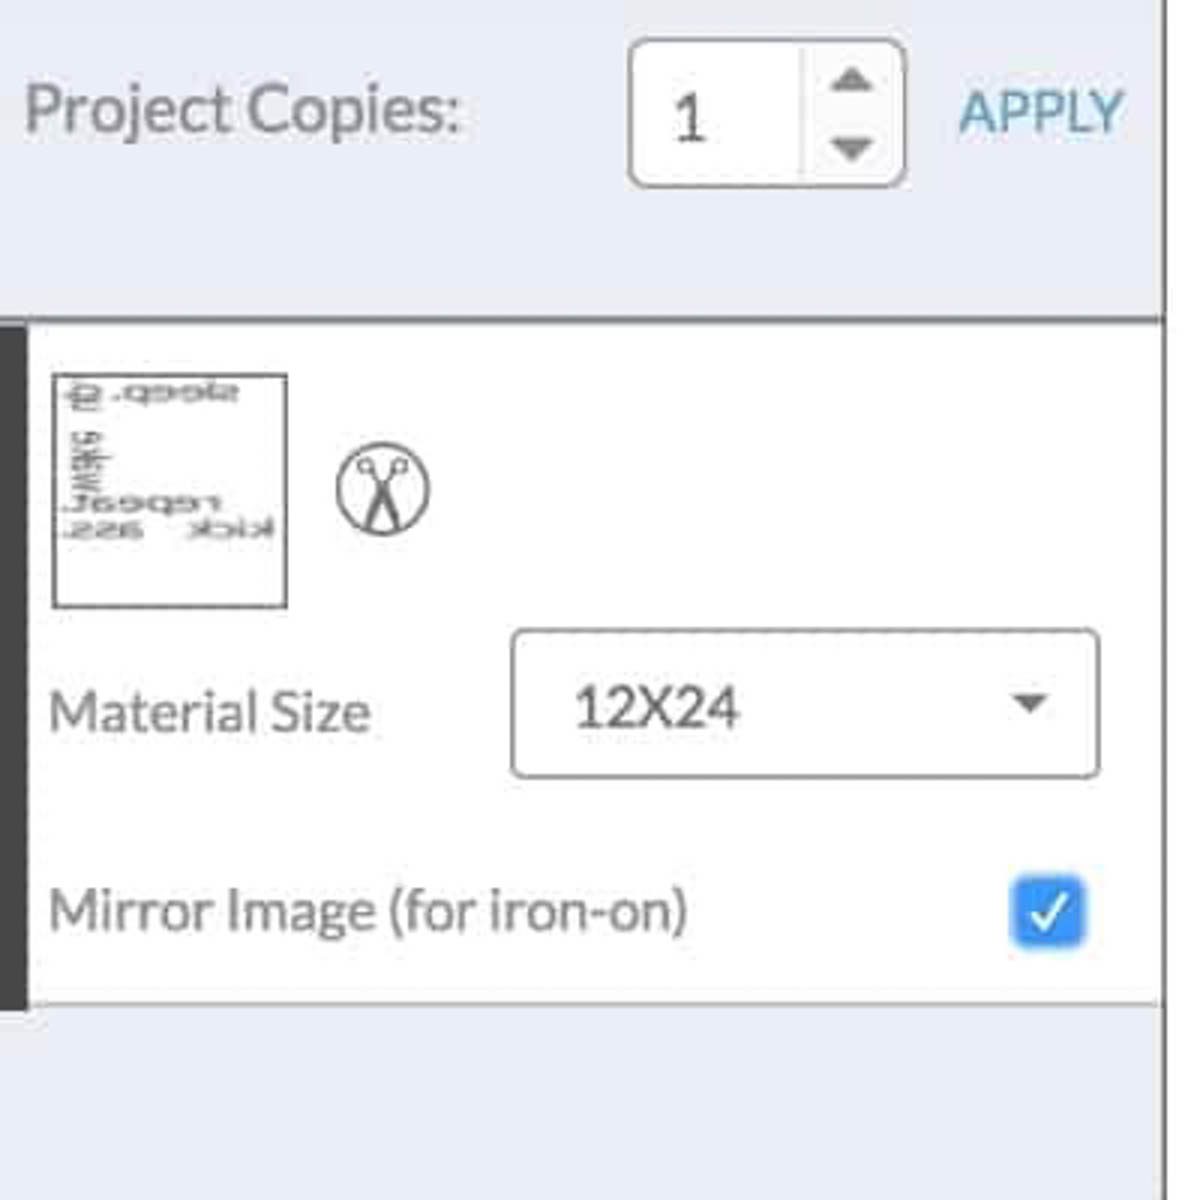
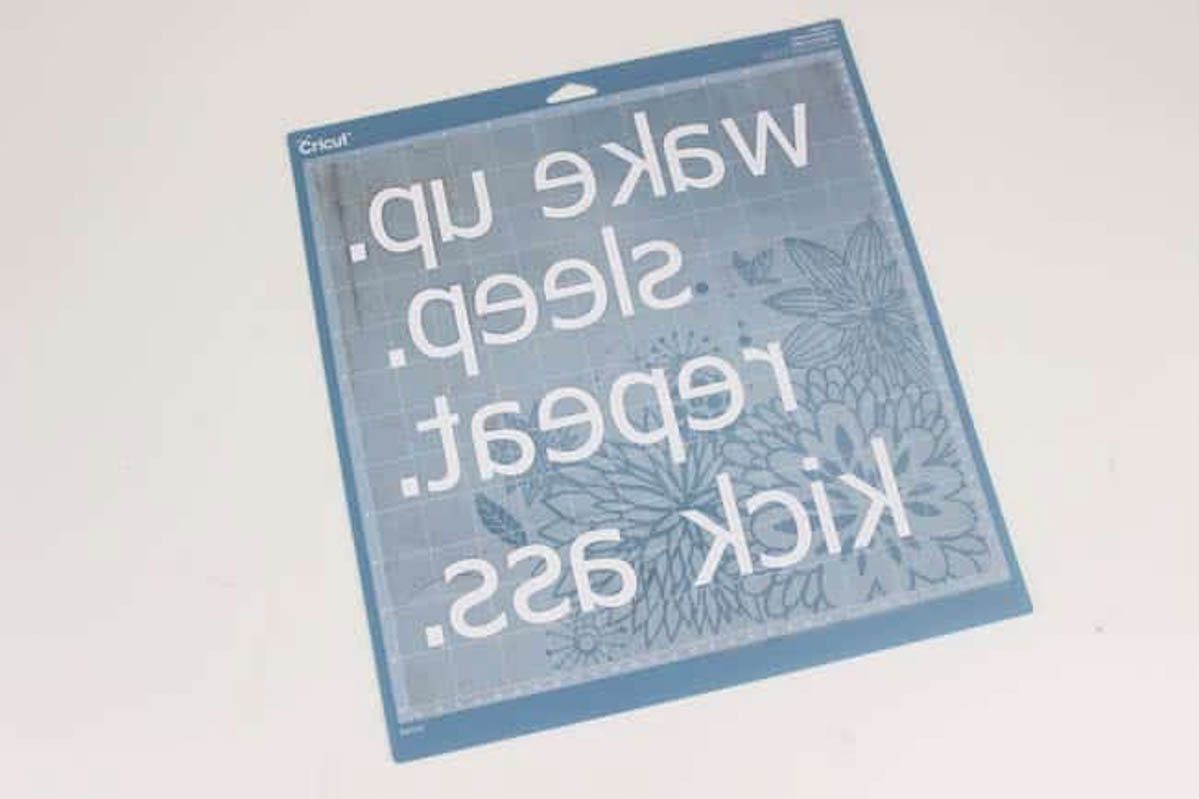
When you go to print the words, you need to check the box that says “Mirror Image”. This will cut a mirror image of your words so that you can iron them on.
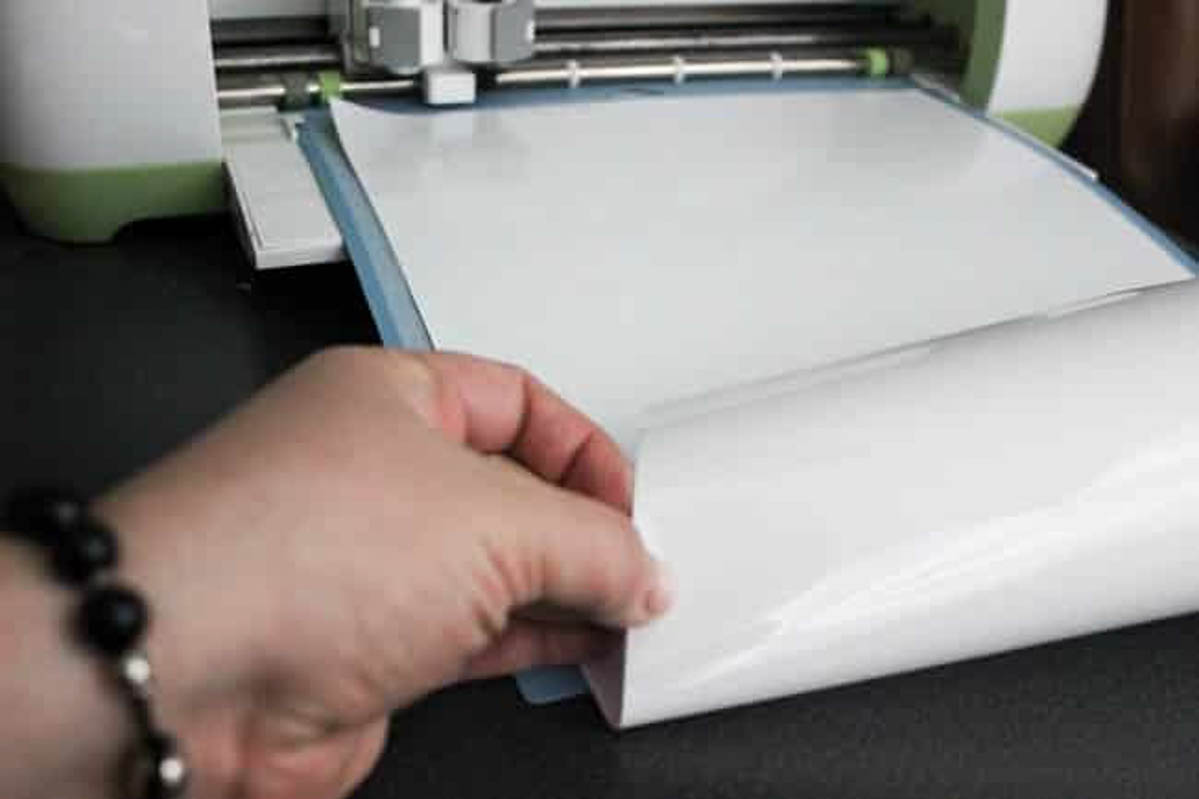
Place the iron-on vinyl on your light grip cutting mat, with the shiny side down. You don’t want the Cricut to cut through the protective shiny layer. Then set your Cricut to “iron-on vinyl” and cut.
After your cut it done, you can remove the negative vinyl so that only the words are left. They will still be sitting on that protective shiny layer. I used scissors at this point to cut the plastic into four separate pieces (one for each line of wording).
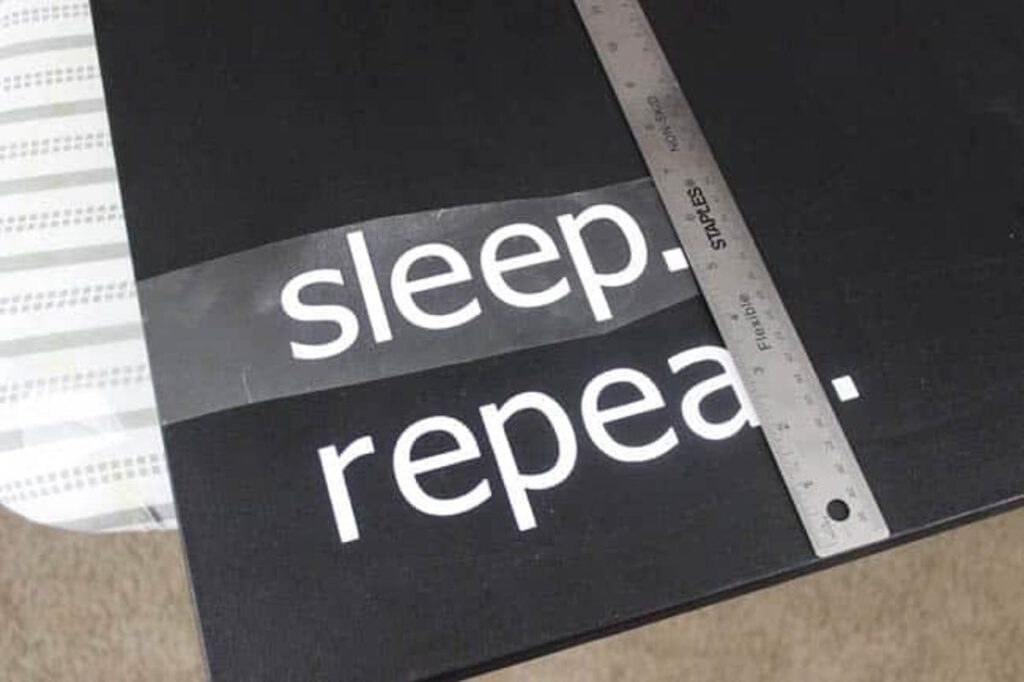
I painted my entire canvas my favorite deep black color (it needed a couple of coats). And when it was ready, I used a ruler to line up my vinyl letters. I tried to get the same spacing between all of the words (about 1.5″).
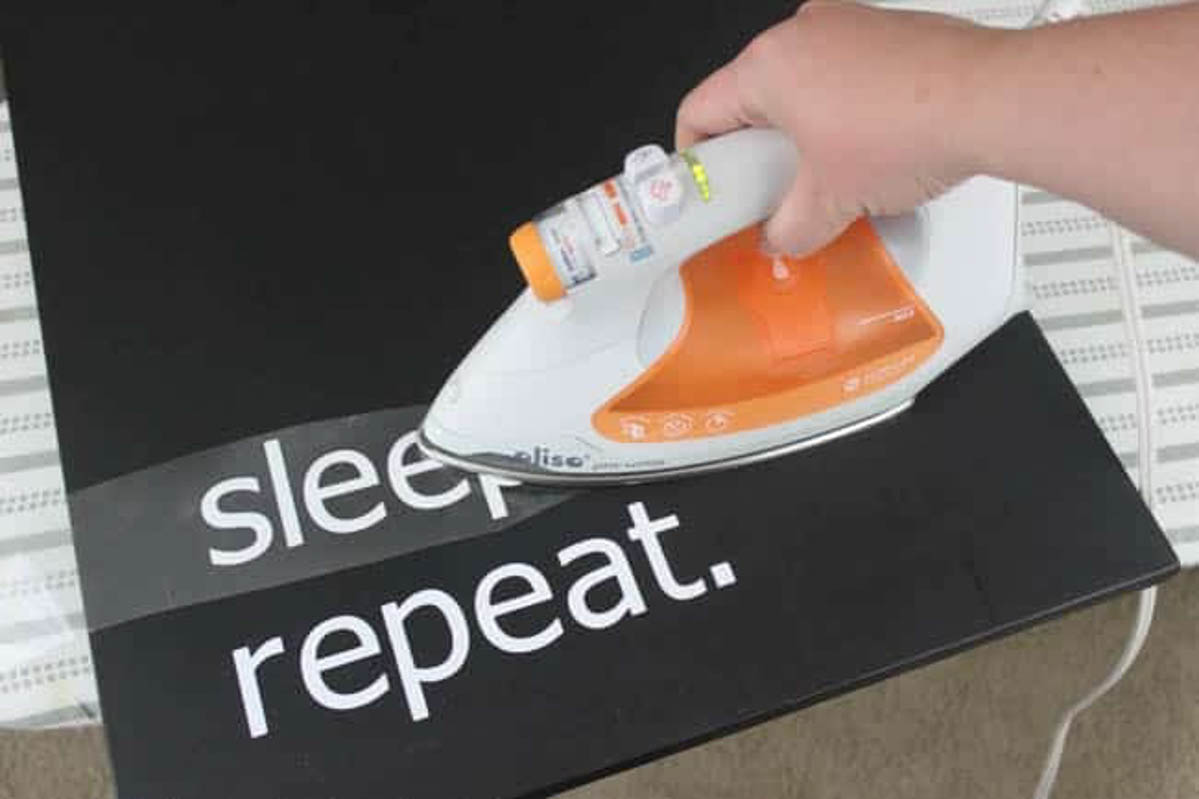
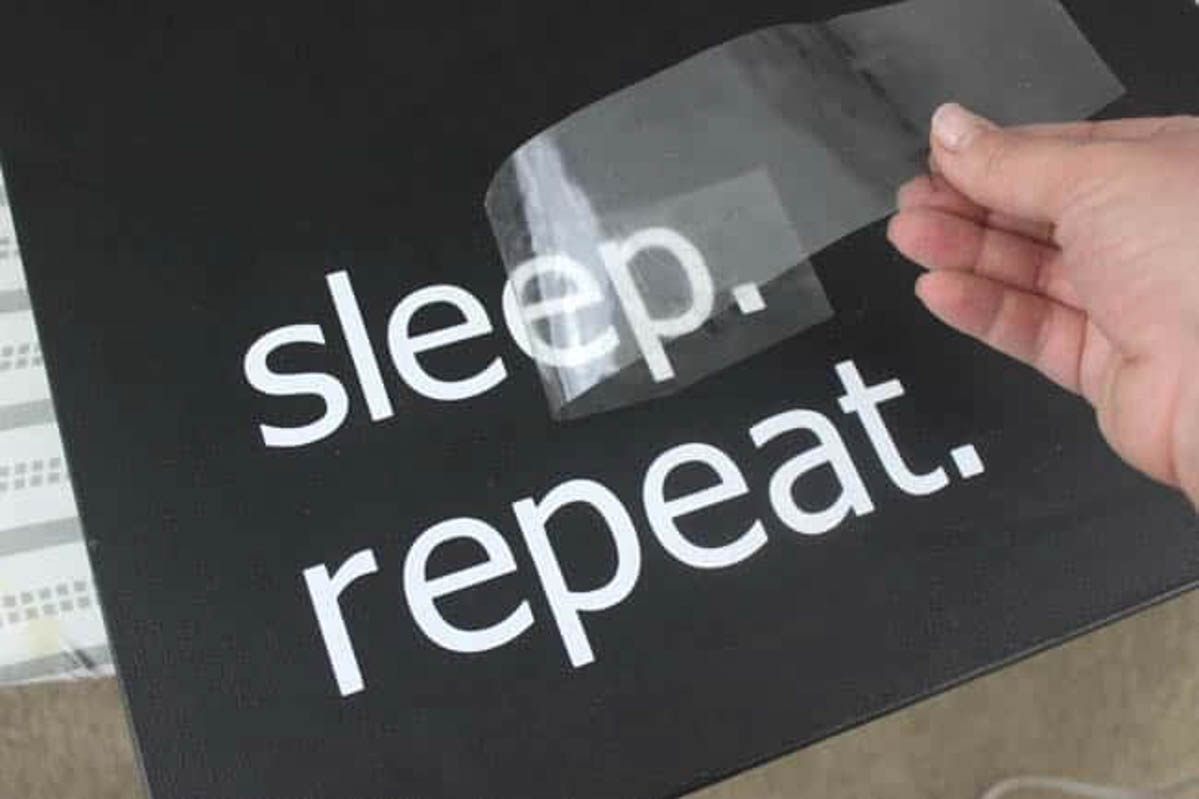
Once I was happy with the placement, I used an iron on the “No Steam” setting to press on the vinyl. The clear layer is there is protect and transfer the vinyl. If you use the iron directly on the vinyl, without the clear layer, it could melt and distort the vinyl, so you need to be careful to only apply heat where there is a protective layer.
The heat will separate the vinyl from the protective layer, and you will be able to just peel it back once the vinyl has set. If you find you are pulling vinyl up, just put it back down and apply a bit more heat.
You don’t have to frame the canvas, but if you want to frame your own canvas, it’s super easy, and I’ll show you how!
Here’s what you need to frame the canvas:
Pine Board cut into 3/4″ square pieces
Wood Glue
Speed Square
Table Saw
Miter Saw
Cordless Nailer
I don’t have a picture of the pine board being cut, because we had scraps of 3/4″ square pieces, but the first step is to cut your 3/4″ pine board into square strips, longer than the length of your canvas.
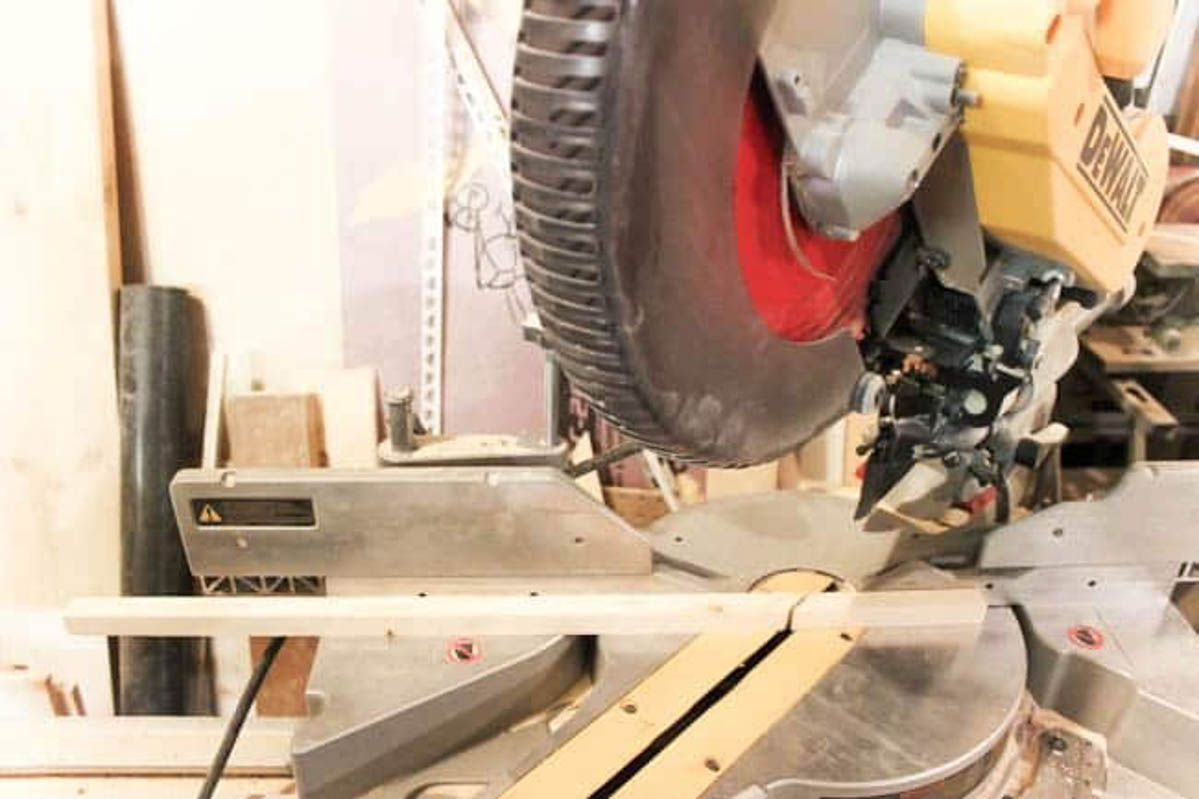
Next, you want to measure your canvas sides. Even though it says it’s 18″, it might be 18.5″ or something because of the wrapping. When you know the length, add 1.5″(3/4″ times two because your board is 3/4″ and you are adding board to both sides) to that (so 18.5″ length becomes 20″ length on the long side). Measure this distance and cut a 45 degree angle on the mitre saw (photo above). Flip the wood around and do the same thing on the other side (in my example, the long edge would be 20″, and the short edge 18.5″ when you are done).
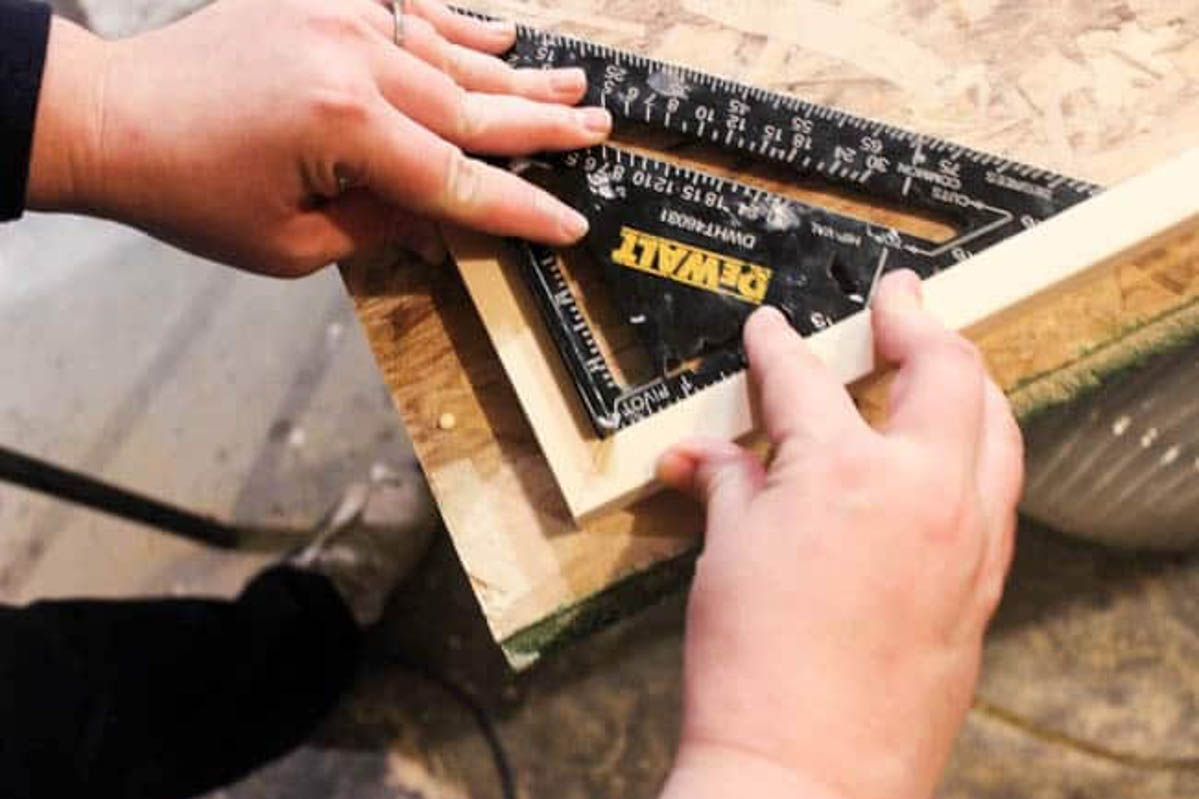
Use a speed square to make sure that your angles are correct.
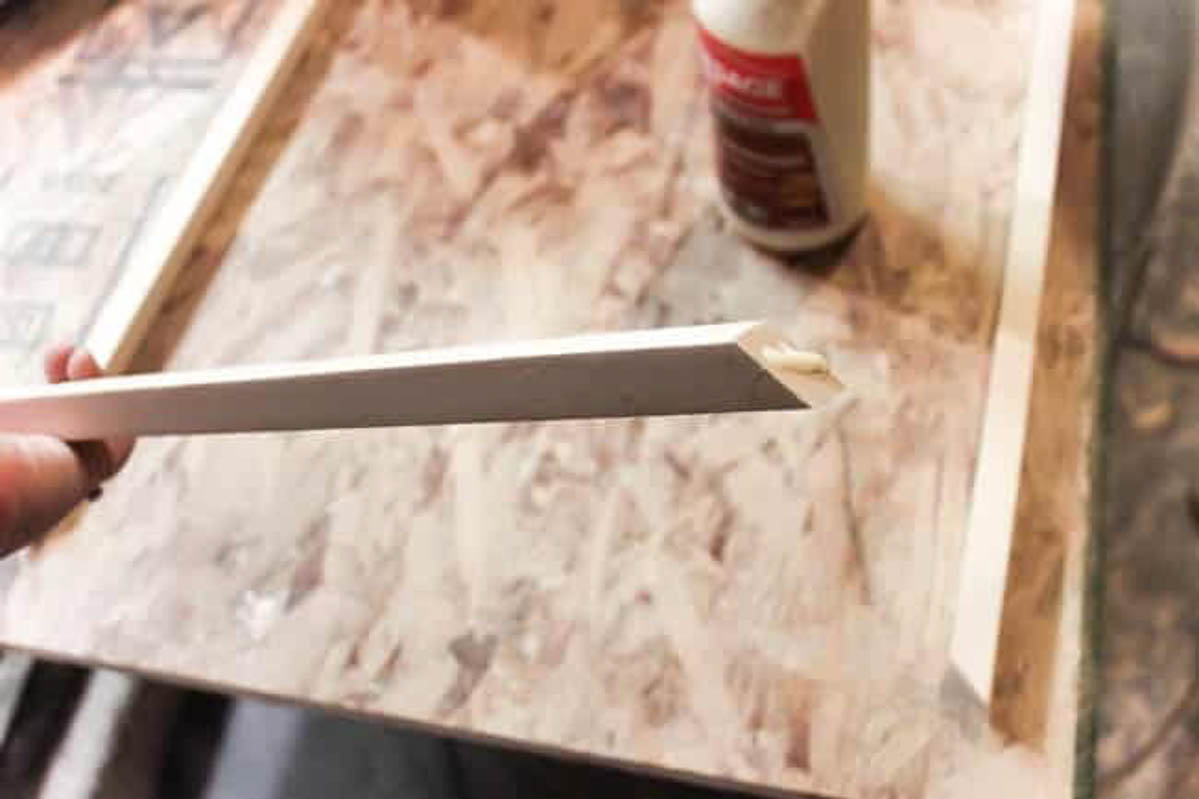
Add wood glue to the edges, then line them up with the speed square again and using a nailer to nail them in place
Once the wood glue is dry, you can pop the canvas in place and use the nailer to nail the frame to the canvas.
This is exactly what I wanted for our bathroom – it’s so easy to make your own home decor!
If you like making your own artwork, check out this Painted Canvas Tutorial that you can make in less than an hour!
This is a sponsored conversation written by me on behalf of Cricut. The opinions and text are all mine.




35 Inspiring Projects by Cricut Makers - Lydi Out Loud
Tuesday 22nd of October 2019
[…] Love Create Celebrate […]
Home Decor Ideas with the Cricut - Hey, Let's Make Stuff
Thursday 22nd of August 2019
[…] your day going with this motivational modern canvas wall art from lovecreatecelebrate.com. Find the perfect place in your home to hang […]
Kimberly Nielsen
Tuesday 29th of January 2019
Can I use this machine to make my own 5D diamond paintings on Canvas?
Fun & Creative DIY Cricut Projects - Not Just Stencils
Tuesday 19th of December 2017
[…] How To Make Your Own Modern Canvas Art from lovecreatecelebrate.com […]
Samantha
Sunday 9th of July 2017
This is super awesome!!! What a great motto and the black and white makes a power statement too! Love it Lindi!