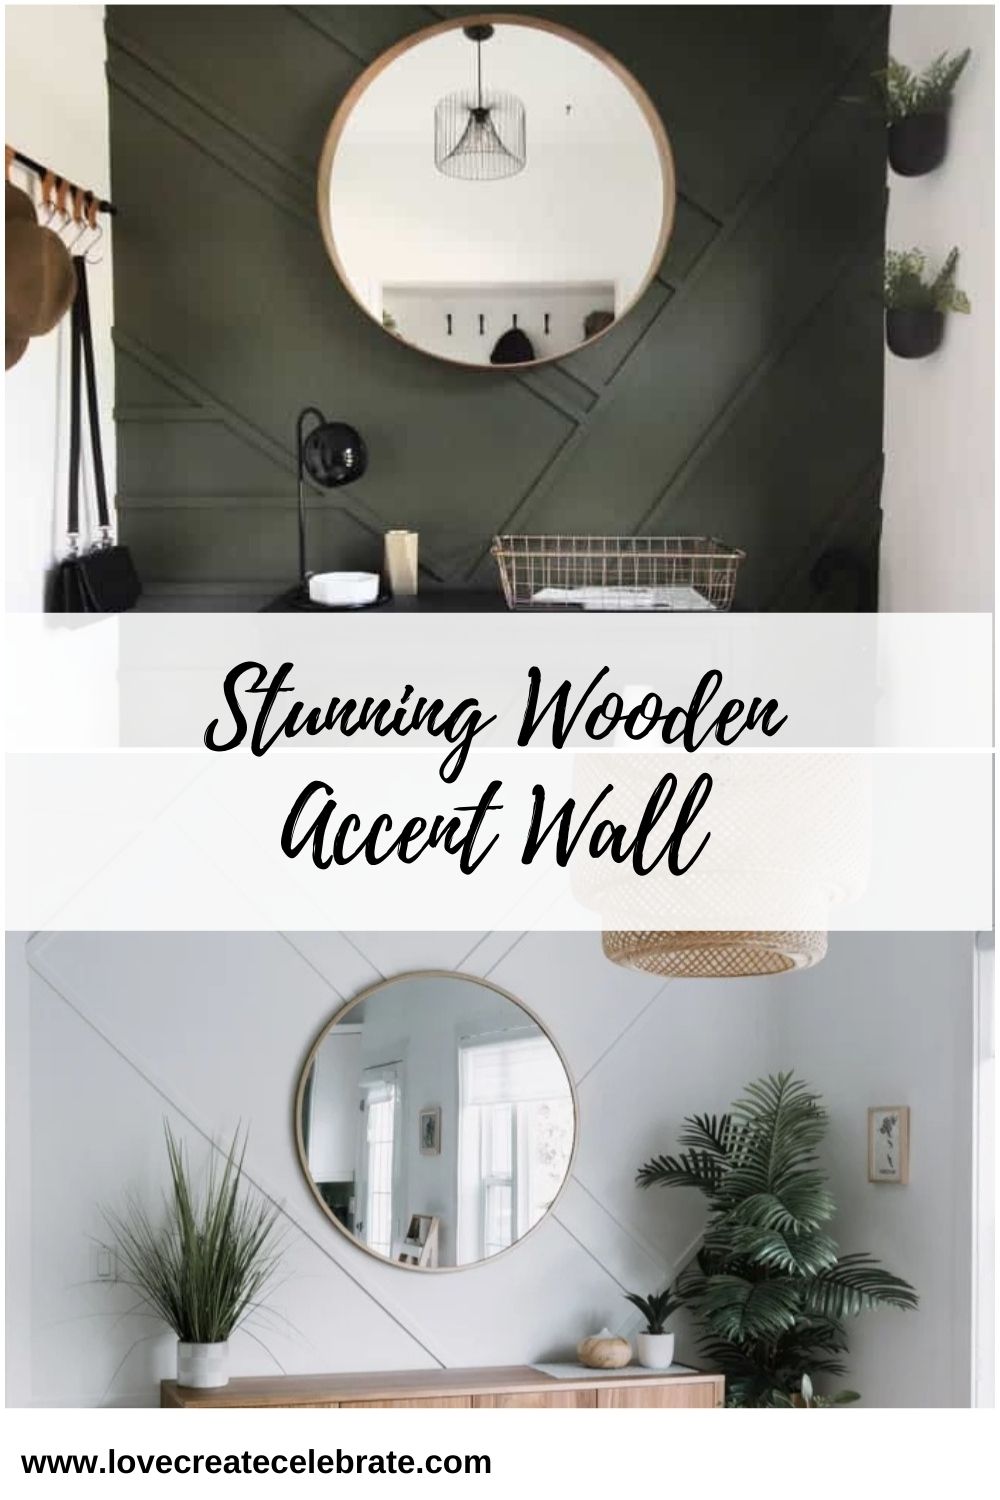
Gorgeous Wood Accent Wall! Make your own stunning feature wall with this simple DIY tutorial! Looks amazing in this modern entryway!
If you asked me right now what my favourite part of our new house was, I would probably always tell you that it was this entry feature wall! I dreamed up this idea, sketched about 50 different designs in my notebook, and built the wall with my husband in just one afternoon. I’ll show you just how easy it is for you to build your own stunning wood accent wall!
*This post may contain affiliate links. When you buy a product through one of my links, I get a commission at no cost to you! Thanks for supporting my blog so I can continue to bring you posts like these. For more info, please see my disclosure page.*
The Beginnings
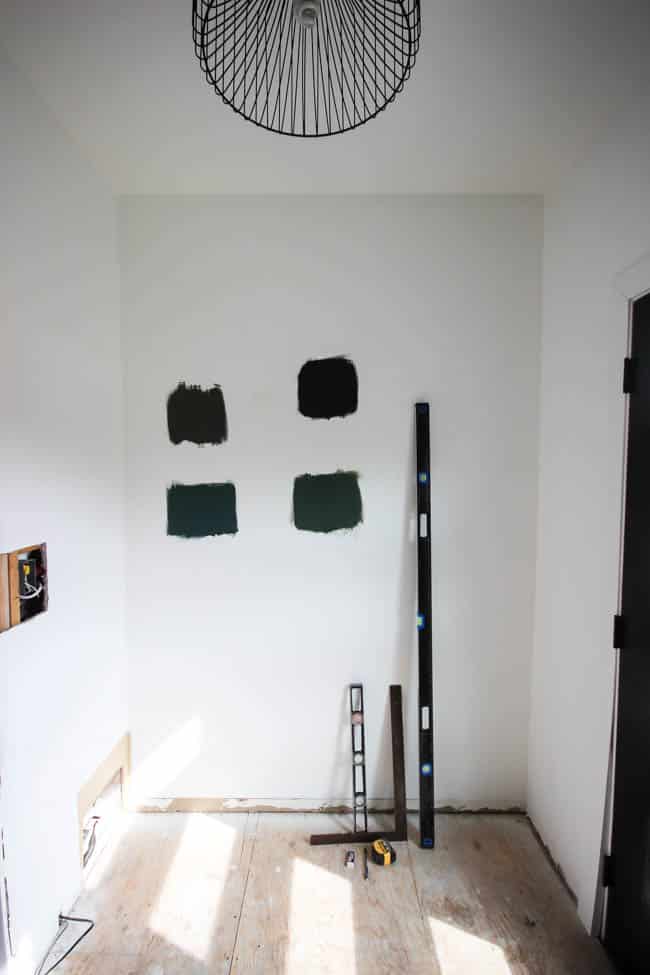
This is the blank wall in our modern entry that we started with. I knew I wanted to add a great feature wall here. I toyed with the idea of wallpaper, or a geometric design, but in the end decided on a wooden accent wall and I’m so happy with the design.
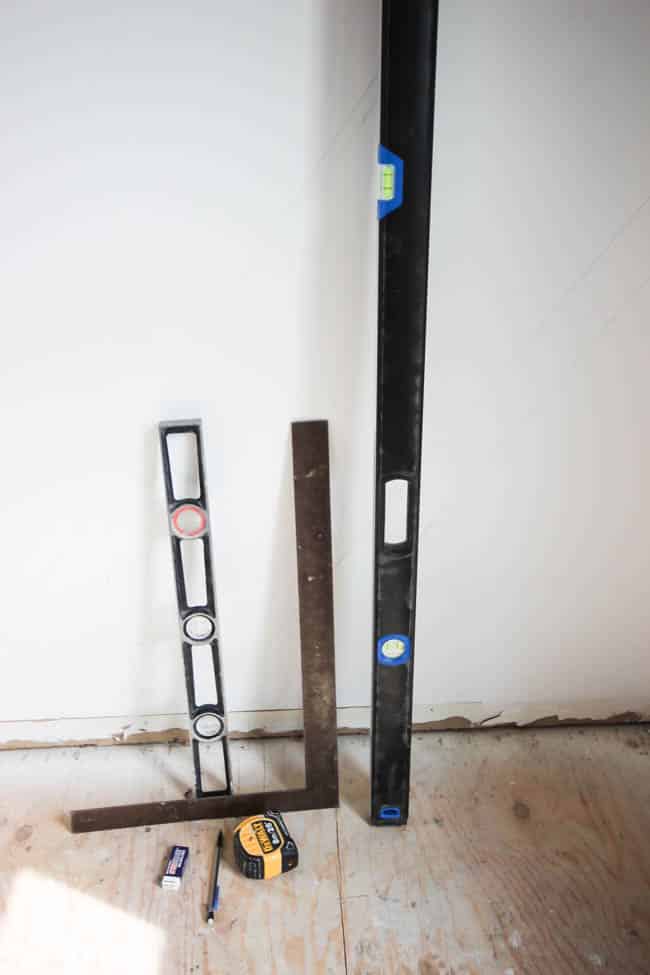
Here’s everything you need to make your own wood accent wall:
1/2″ MDF cut into 1″ strips
6 ft. level (or any large ruler)
A smaller level
Measuring tape
Pencil and eraser
Mitre saw
Sanding paper
Paint (we used Black Bamboo by Behr Paint)
How to Make a Wood Feature Wall:
We absolutely love this project, and we want anyone to be able to recreate it! So we are sharing a video tutorial (from when we recreated this wall in a friend’s home), and a written tutorial!
Video Tutorial:
This project was so fun! We actually snuck into a friend’s home (with permission!), while they were on vacation, and built them their own beautiful feature wall!
Watch for a great tutorial and a great room reveal:
Written Instructions
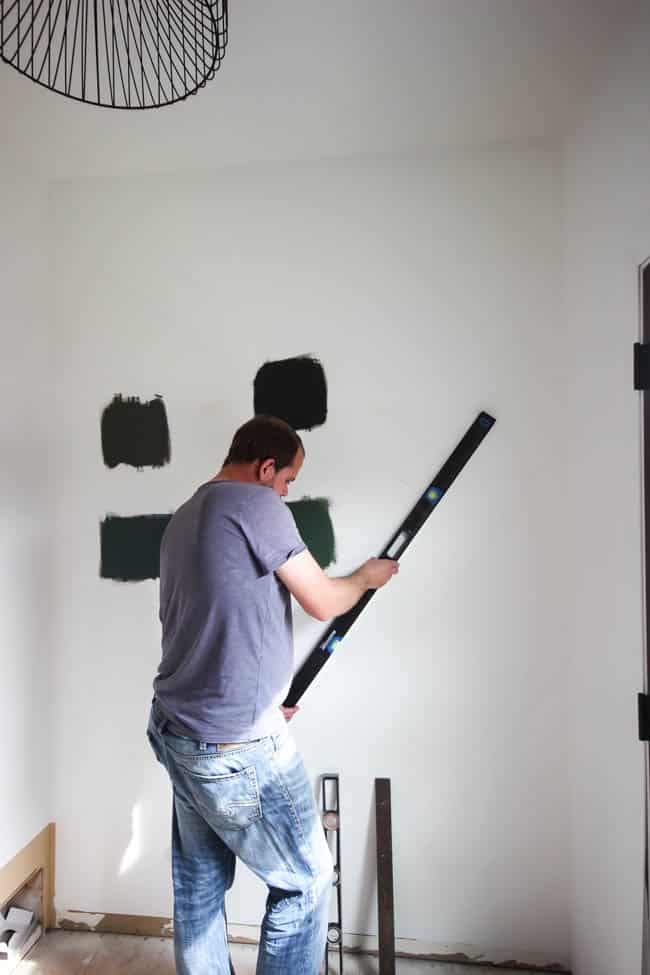
You can copy my design or make one of your own. Either way, you may need to draw multiple pencil lines before you’re satisfied! We didn’t measure any special angles, except the first one, which we needed a speed square for.
Start by drawing one prominent line that you want to work off of at a 45 degree angle. A speed square against the wall will give you exactly 45 degrees—so you can start the line there, and then use a level or large ruler to draw the rest of the straight line. We started with the large angled line that goes through the centre of the design.
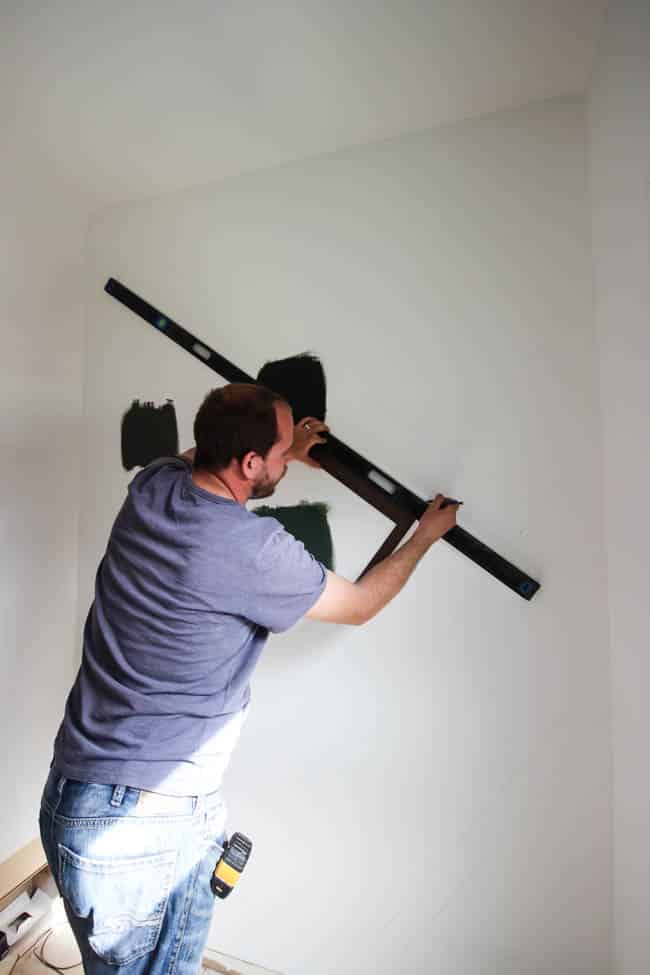
Next, we drew one line perpendicular to the first one, going up towards the corner of the wall. We made sure it was exactly 90 degrees difference by using a square (or speed square again). Once we had those two lines, we could work off of them in either direction.
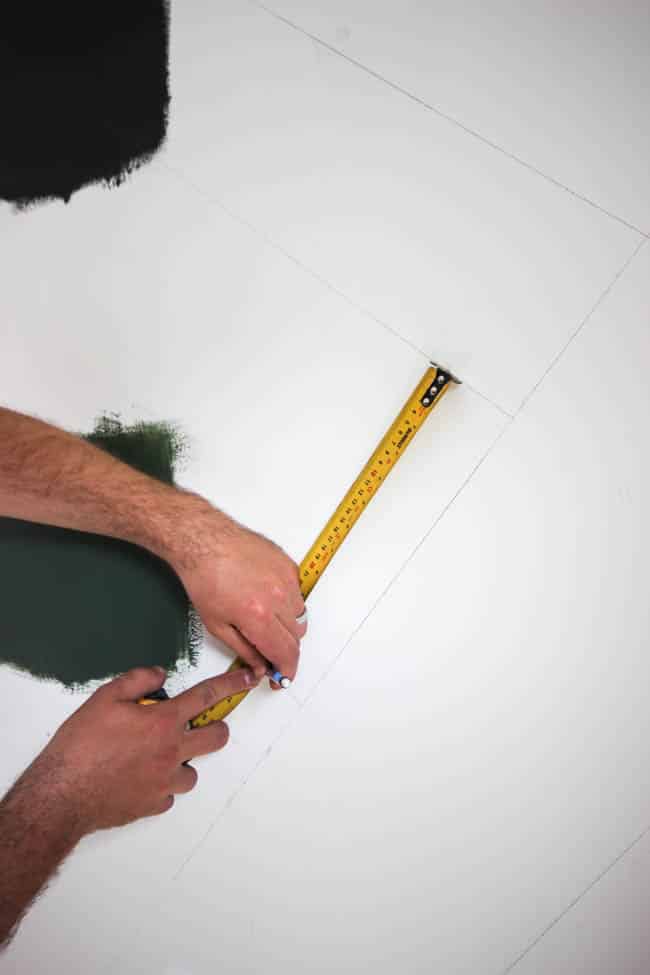
To do this, I eyeballed where I wanted the next line to be. Let’s say I decided 15 inches, then we used the measuring tape to measure 15 inches from the original line a few times, drew ticks along the wall 15 inches away, and then used the large ruler to connect those ticks.
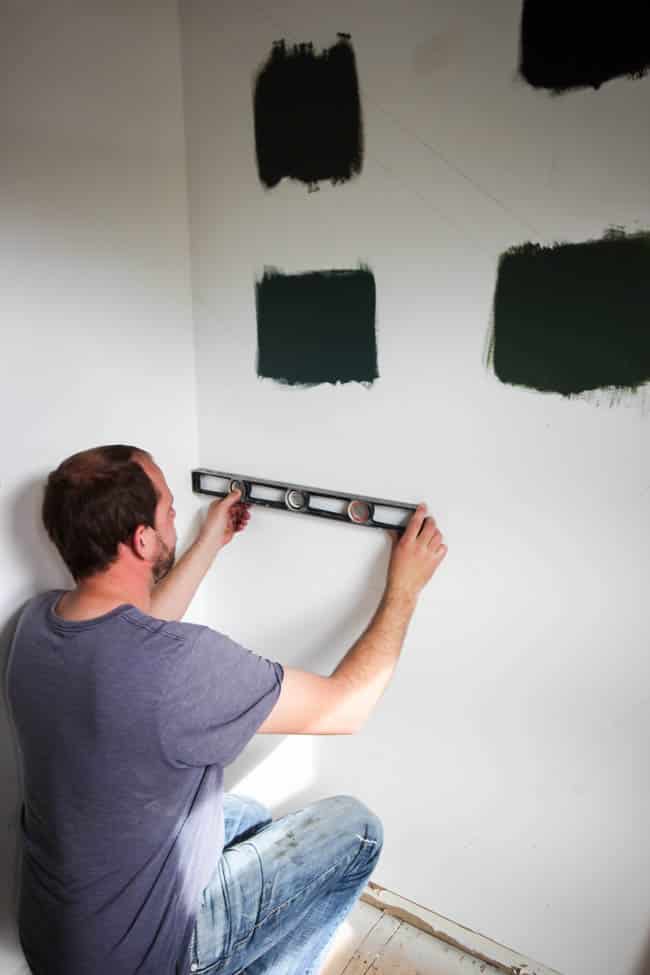
I wanted a few horizontal lines at the bottom of my design. To do these, we just used a level to make sure that they were perpendicular to the wall and made our own spacing again.
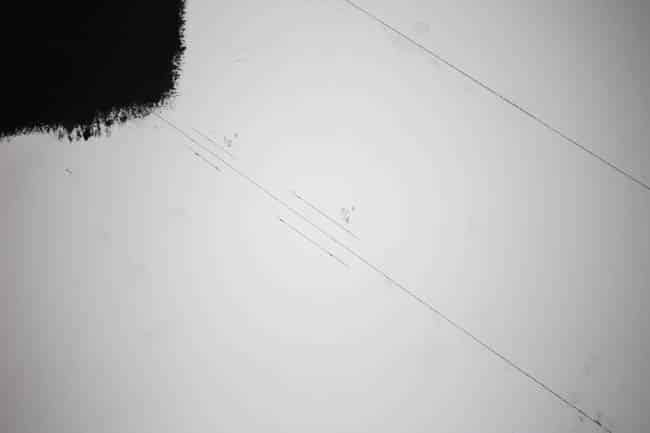
When it came to adding the MDF pieces, we were originally going to add 1/2″ pieces. But when we drew the design on the wall (hard to see above), we realized it was too small. So, we measured 3/4″ pieces, but I still didn’t like it (sorry hubby! lol). We finally settled on 1″ thick pieces and they were perfect.
When you are ready to cut the pieces, use a measuring tape to measure the length of your line and cut with a mitre saw. All of the angled pieces will have 45 degree cuts and straight cuts. For the horizontal pieces I did at the bottom, we just held up our strip of MDF against the pieces already on the wall, and drew the top and bottom of the cuts by hand (no measuring angles!).
Nail all of the pieces to the wall with a nail gun!
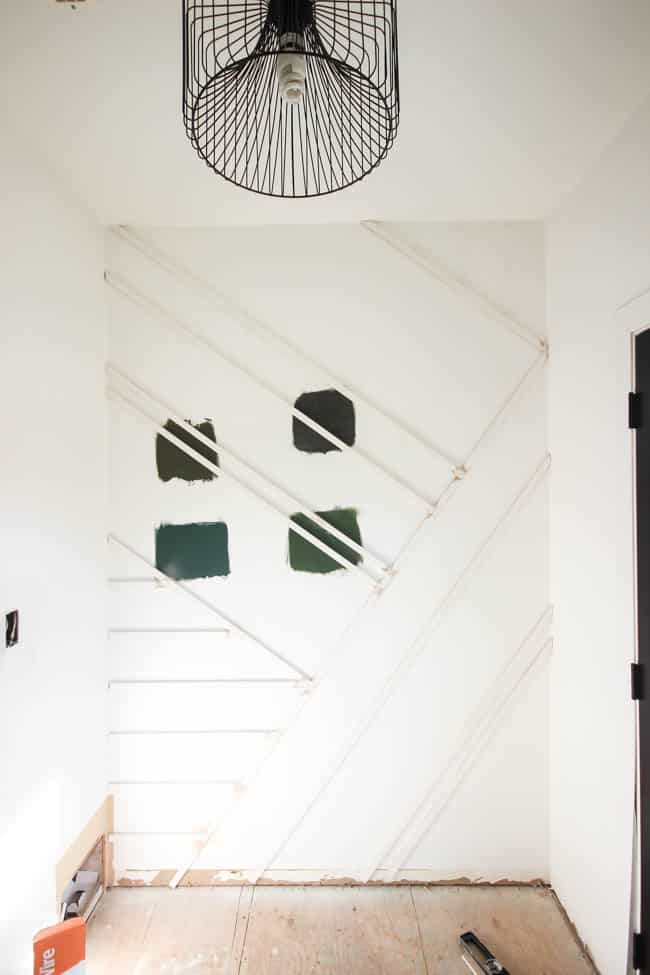
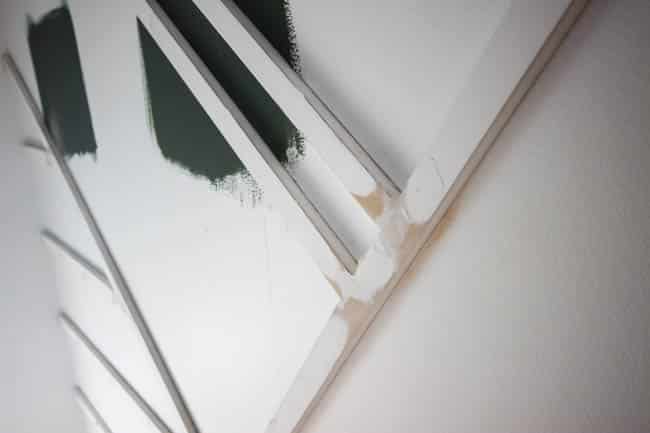
Once all of the pieces were up on the wall, we filled the joints with wood putty. When that was set, we sanded down the putty so everything was smooth and then we (errr… my very helpful friend!) painted the wall!
I’m so unbelievably happy with how this feature wall turned out! It’s even better than my sketches, lol.
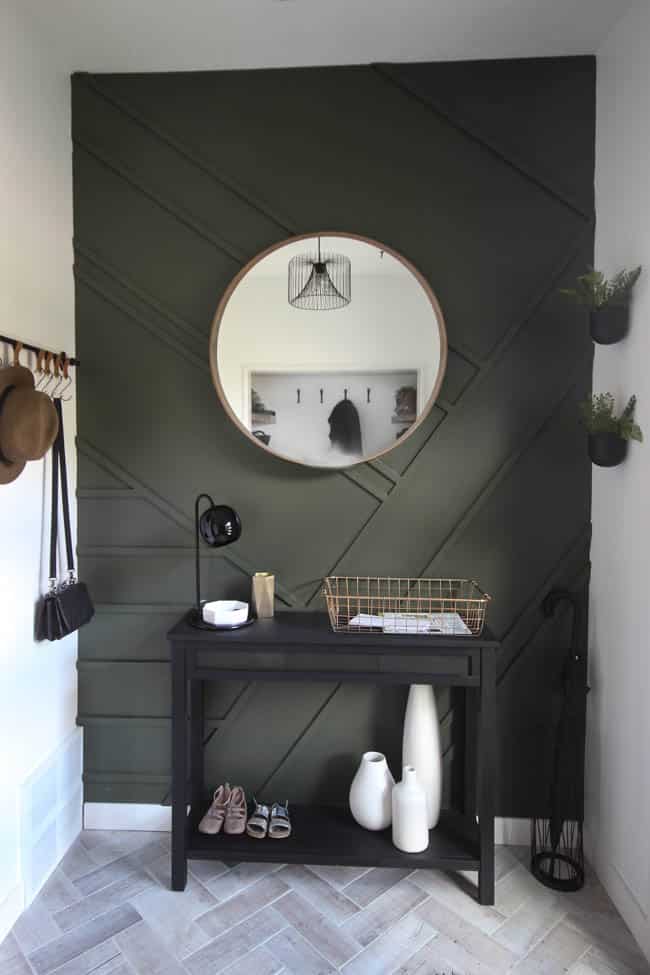
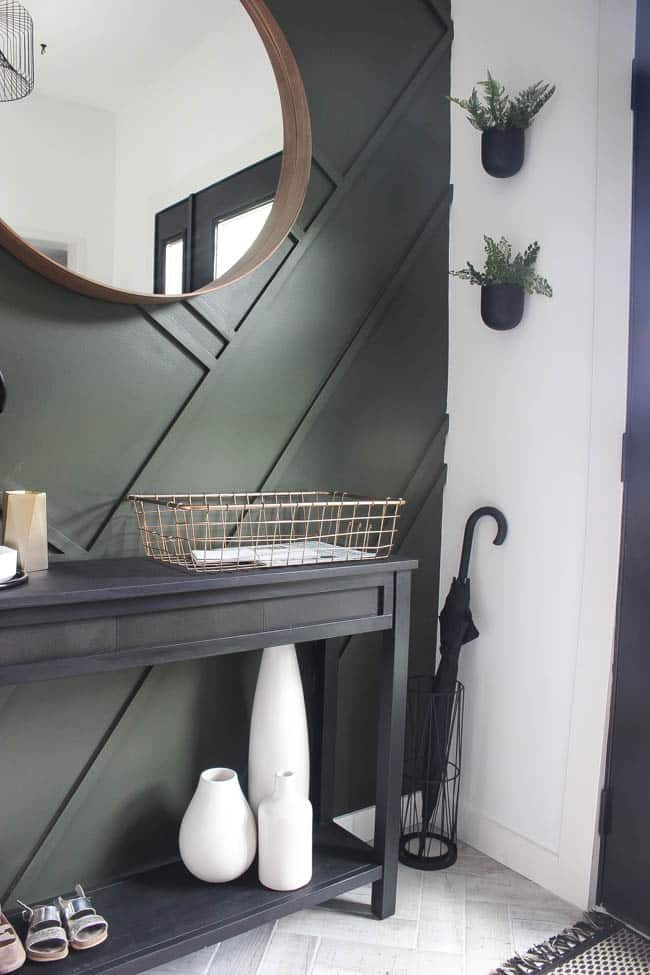
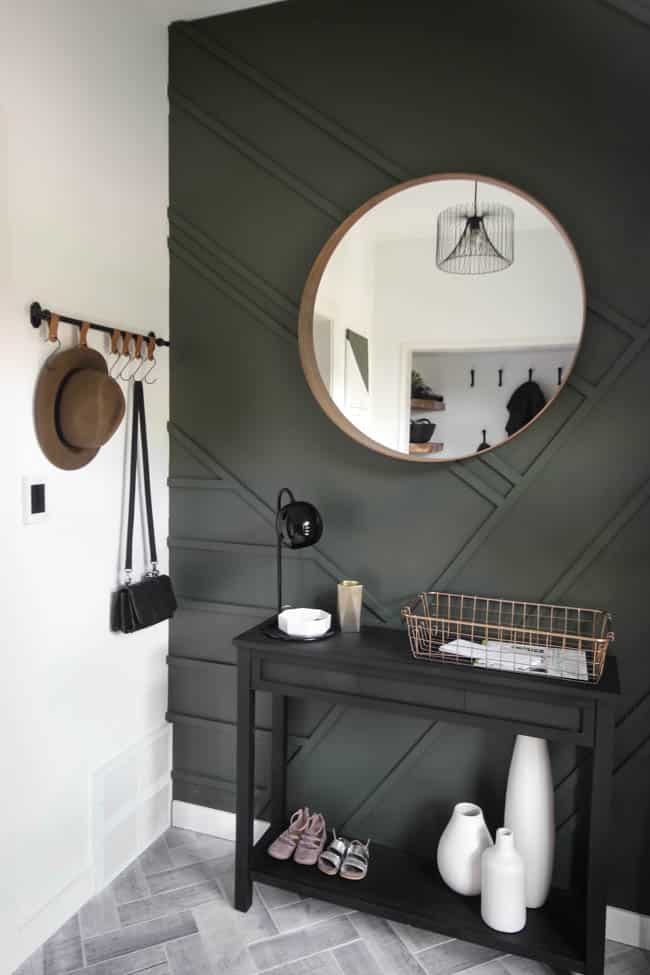
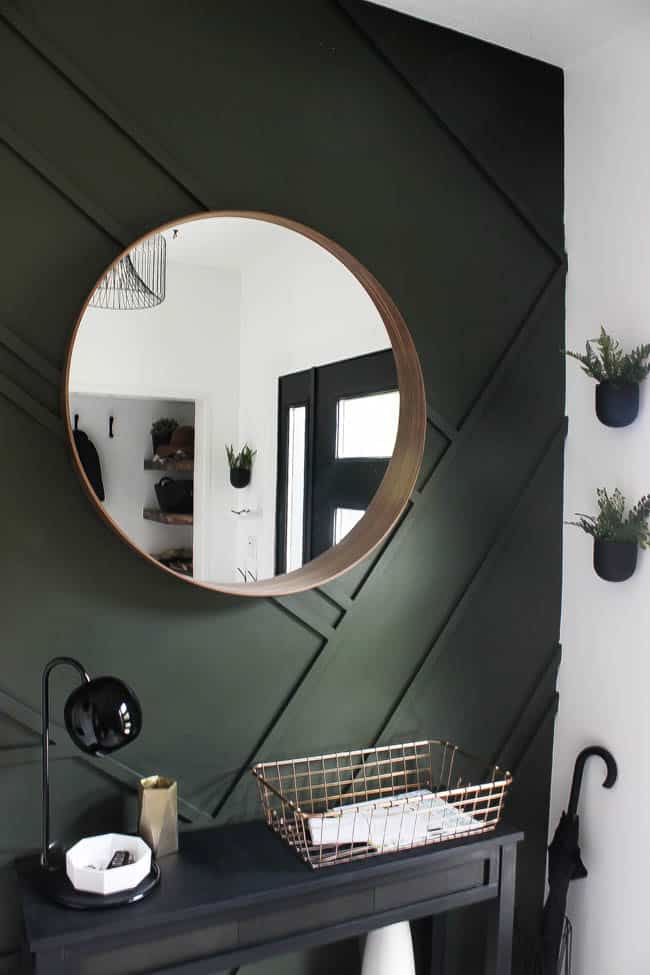
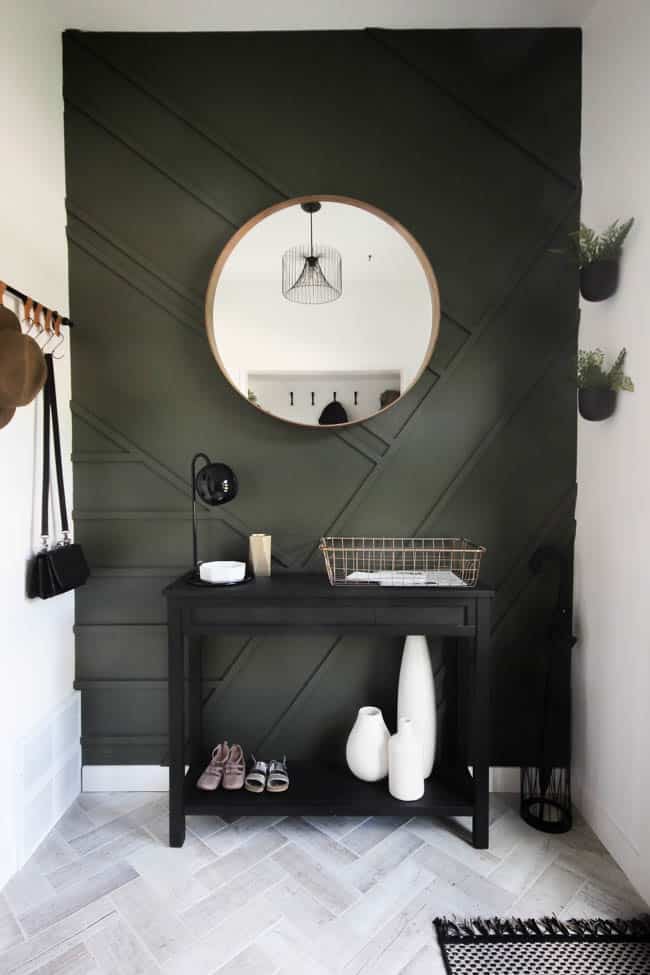
If you ever recreate this wall, I would love for you to tag me on Instagram!
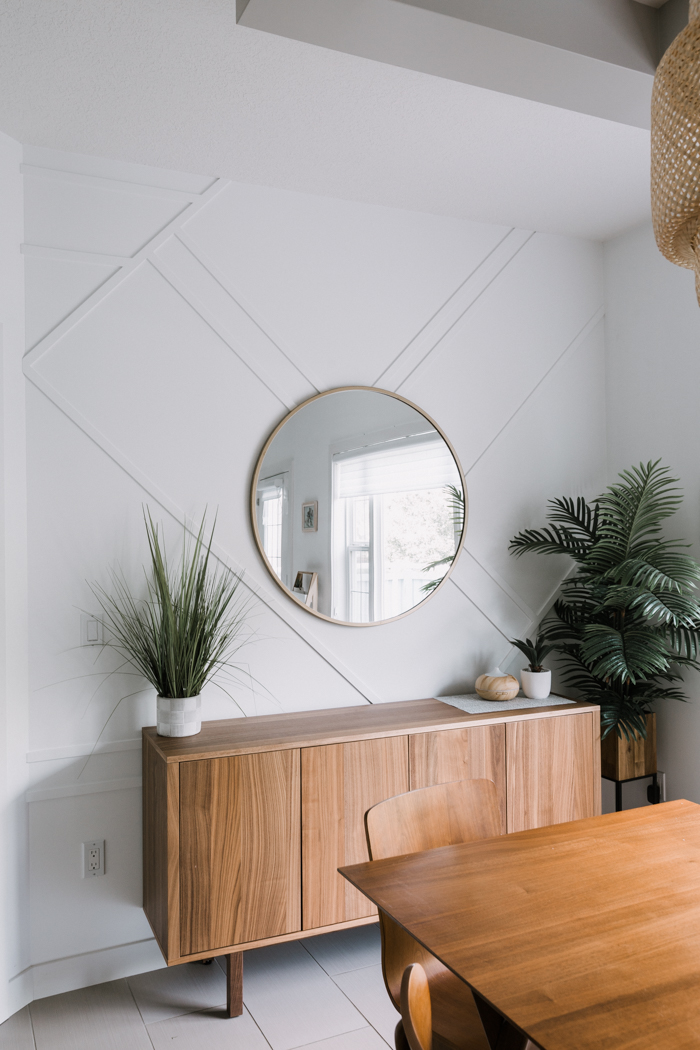
We recreated a similar DIY Wood Accent wall in a friend’s home and here’s how her feature wall looked when we were done:
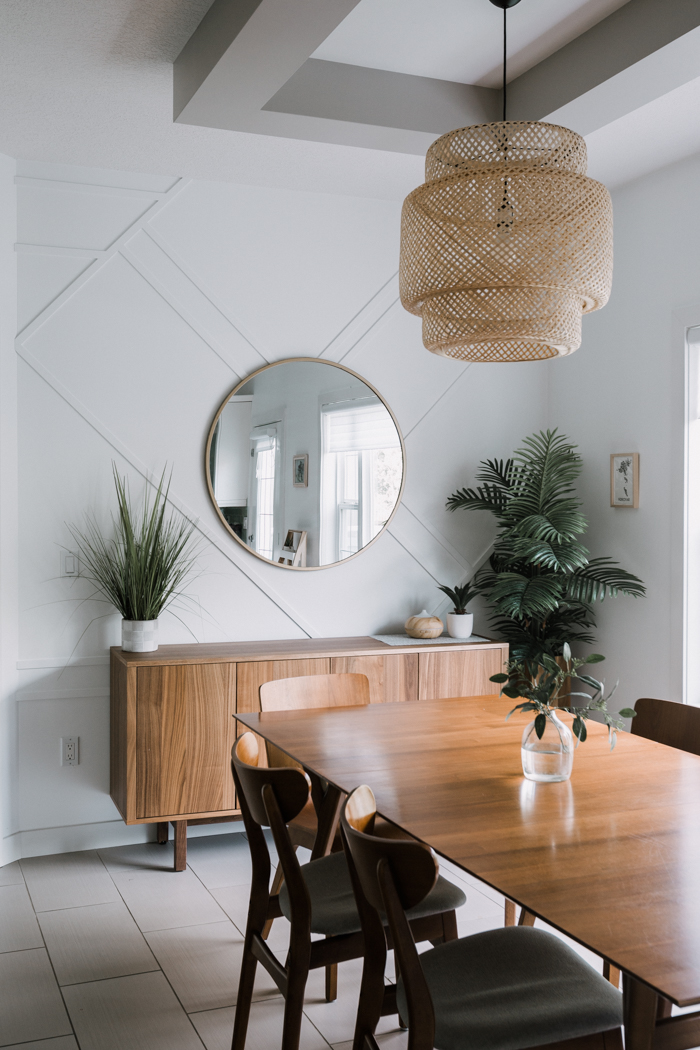
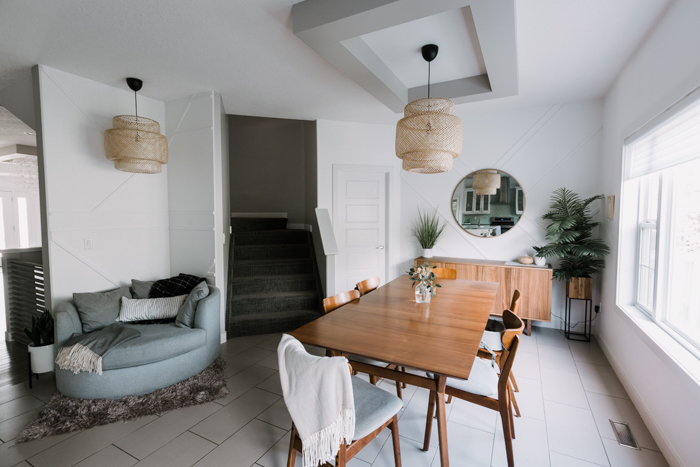
I absolutely love the white on white in this space! It’s the perfect way to accent that wall which is the main focal point for the room.
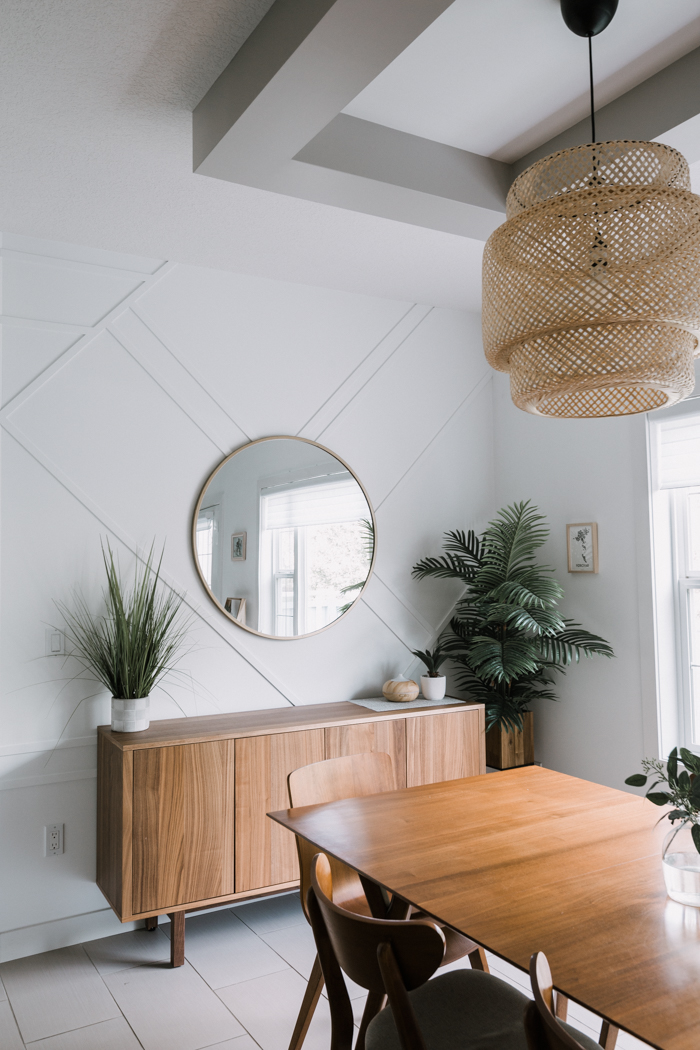
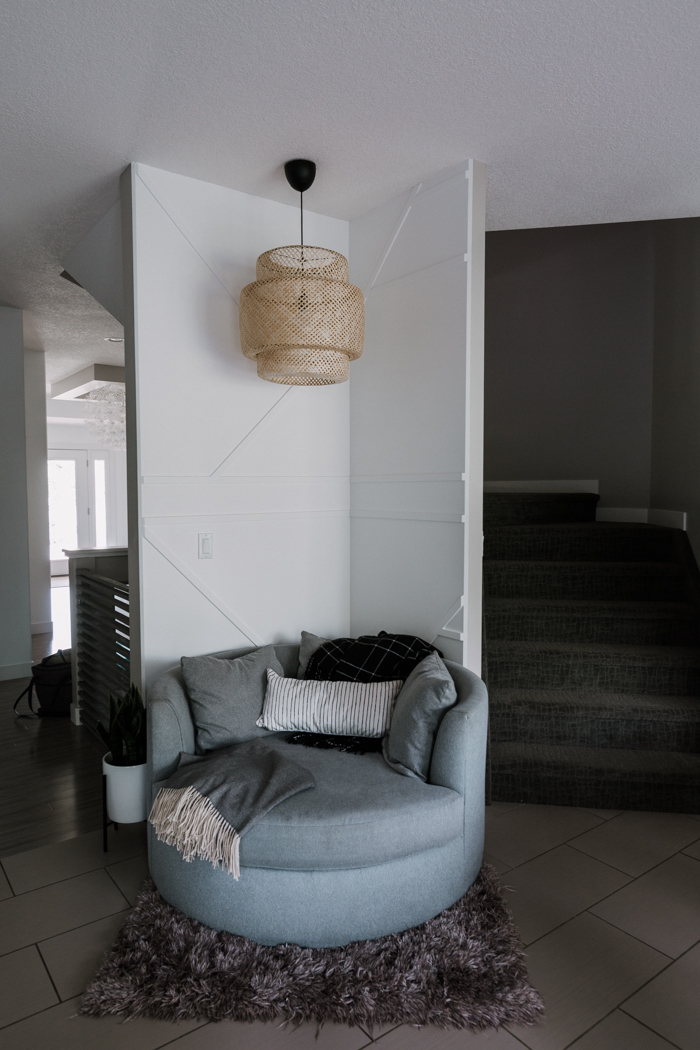
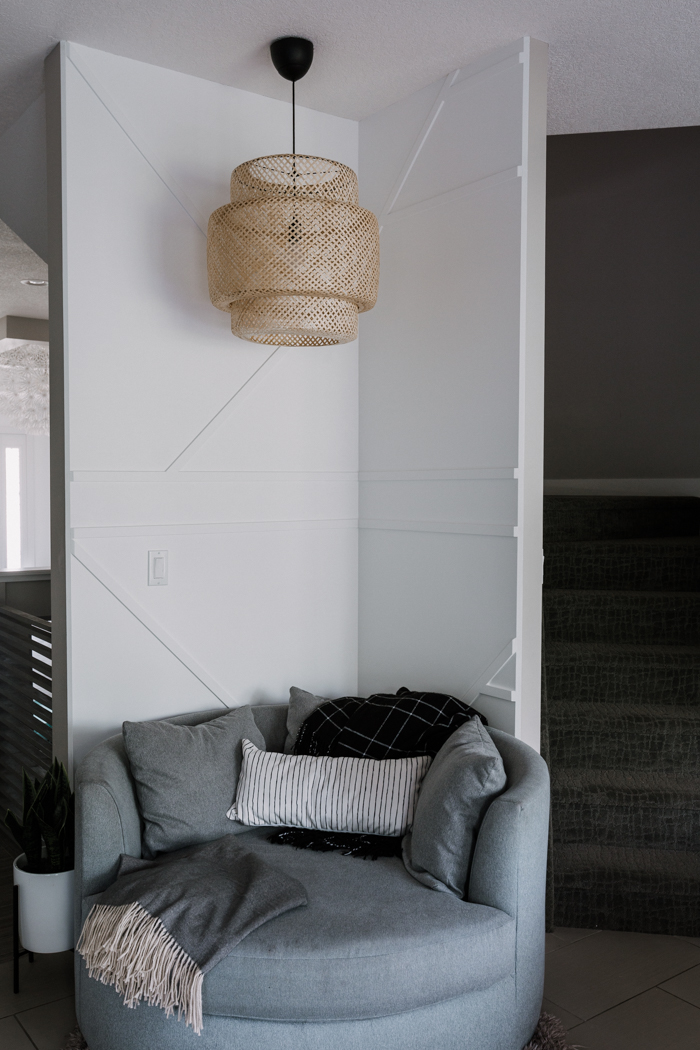
We also added the same mouldings to the reading nook off the side of the dining room! The two accent walls are connected in design, but define each of the spaces individually!
Doing the moulding wall on the corner was especially fun! We’ve never done anything like that before and I loved tackling a corner for the first time!
You might also be interested in how we did this Beautiful Weathered Wood Ceiling!
Or in How to Paint a Textured Wall!


Savana
Monday 29th of July 2024
Loving this wall!! I’m currently on the hunt for a white colour that would go nicely with this feature wall - what colour did you use for the white walls in this photo?
Lindi
Wednesday 2nd of October 2024
They were a colour match - so unfortunately I don't have the exact colour. Sorry!
Meghan Melissis
Sunday 3rd of January 2021
Love this and did something similar in my dining room. Question how did you mount the ikea mirror. I have the exact same one and I’m wondering did you put a piece of wood behind the mirror for the screws to anchor into first then the wall or are you doing something else ! Thankyou
Lindi
Sunday 10th of January 2021
We used wall anchors and long screws!
divya kandi
Monday 12th of October 2020
could you please let me know what size nails do i use on the MDF board to nail them to a dry wall? is 1 & 1/2 inch brad nail enough to secure? or smaller? or would you recommend adding some construction adhesive also?
Lindi
Wednesday 14th of October 2020
Yes, we used 1 1/2" brad nails! I would recommend the construction adhesive to hold it in place.
Kendra
Wednesday 7th of October 2020
Hi LOVE ALL the walls! we just tried to do this in a bedroom. My question is we put MDF board over the wall first as it is a textured wall and then the 1" pieces on top. Hired a professional painter and when he was done the wall had a bunch of warps in it. Did you not put boarding on the wall first with yours?
Lindi
Wednesday 14th of October 2020
No, we didn't have textured walls, so we didn't put a board up first. Did you glue the 1" strips to the MDF board? If not, then painting them afterwards definitely could've caused it to warp! We always recommend using the construction adhesive.
Trish
Friday 21st of August 2020
Absolutely love this design! I’m inspired to try this (fingers crossed lol). Can you let me know which type of laser level you used? I’m in the process of getting all the tools. Thanks!