In the middle of a room makeover? Textured walls can be a pain. Here are 7 tips on how to paint textured walls for great results every time!
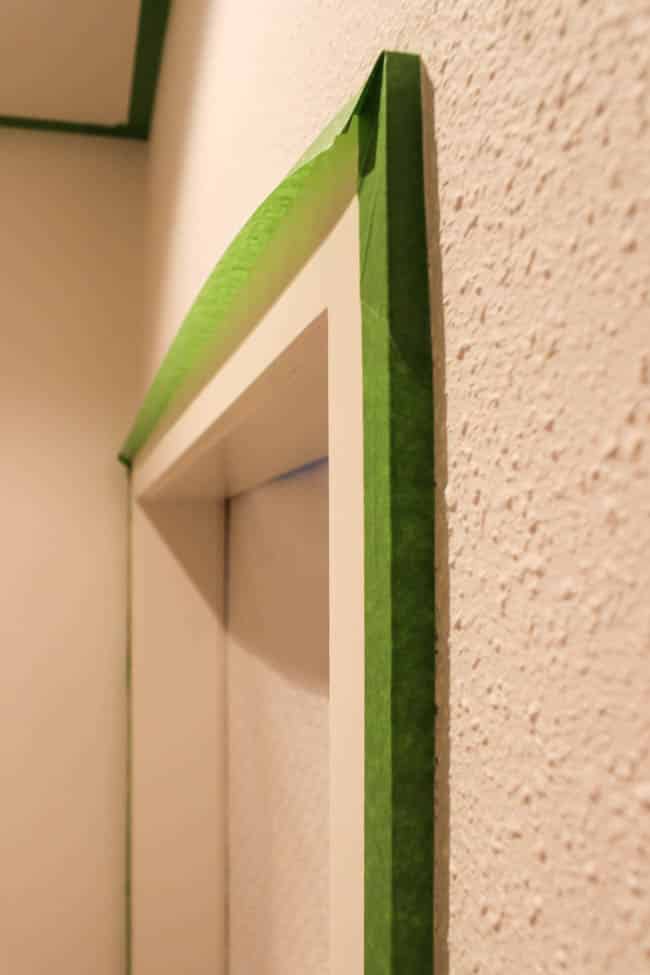
Last month, I shared our big plans for our master bedroom closet renovations. Our plans included narrowing the doorway so that we could add a sliding barn door, adding built-in white wardrobes, and painting a feature wall, just like my old favourite closet.
What I didn’t tell you, was that all of the walls and the ceiling were textured. All of it. Imagine scraping the texture off of an entire enclosed closet space?! No thank you! Instead we decided to paint the textured wall, and we learned a few things along the way. Here are a few great tips for painting a textured wall (or a textured ceiling).
*This post was sponsored by Para Paints and may contain affiliate links. When you buy a product through one of my links, I get a commission at no cost to you! For more, please see my disclosure page.*
Tips for How to Paint Texured Walls
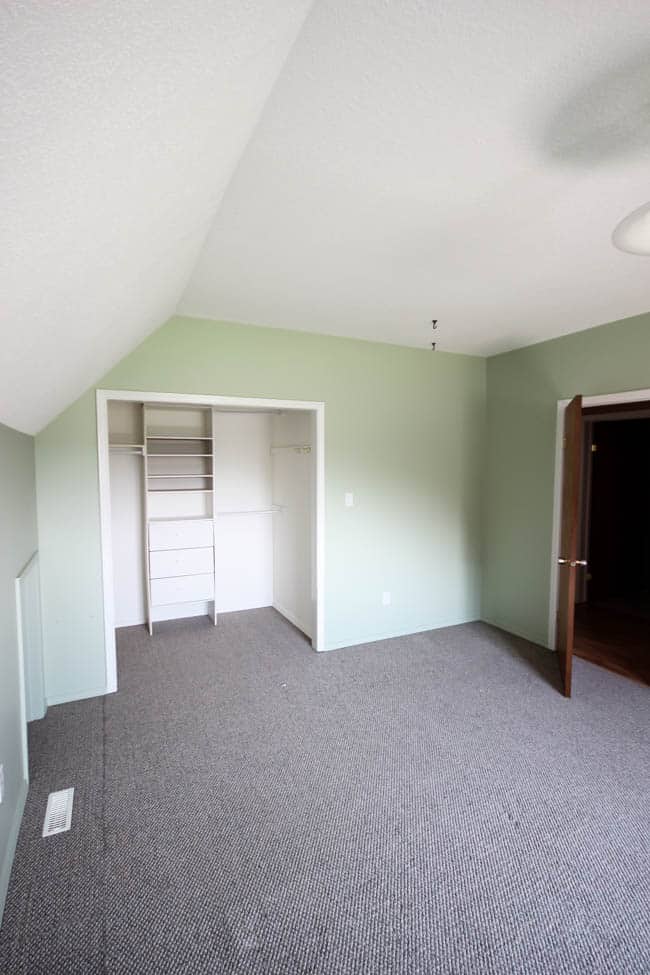
Just as a reminder… here’s where we came from. This was the closet before we started any of our renovations. Our first steps were to remove the current closet organizer and all of the carpeting—the whole room got vinyl plank flooring! Our next step was to narrow the closet opening so that we could add a beautiful new barn door.
Then… we were ready to paint!

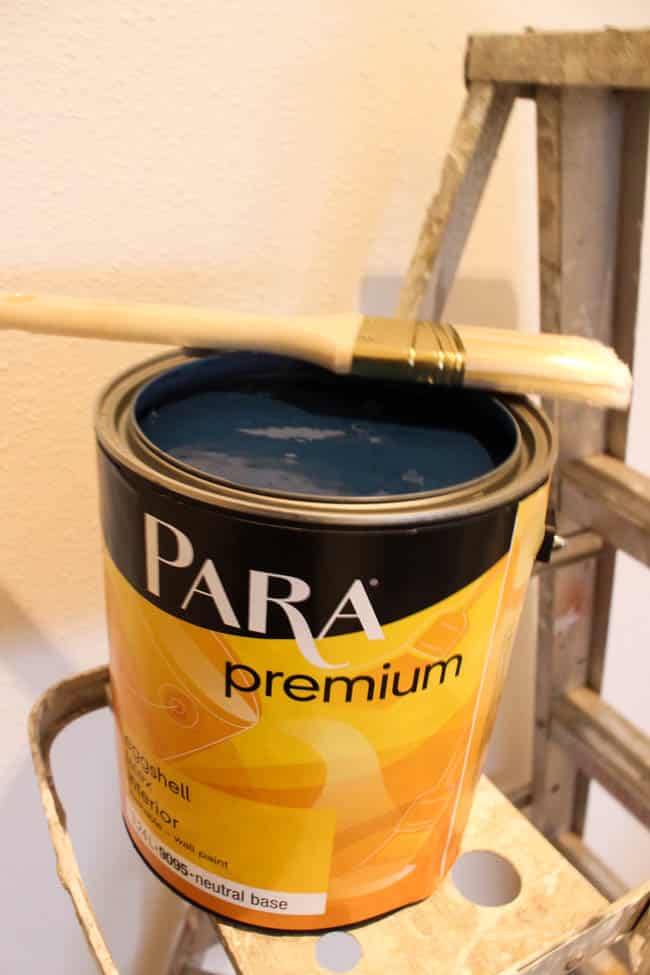
We used the beautiful Shadow of Night by Para Paints, which is actually a lot more navy than this little swatch shows. It’s a beautiful colour on the wall—as you will soon see!
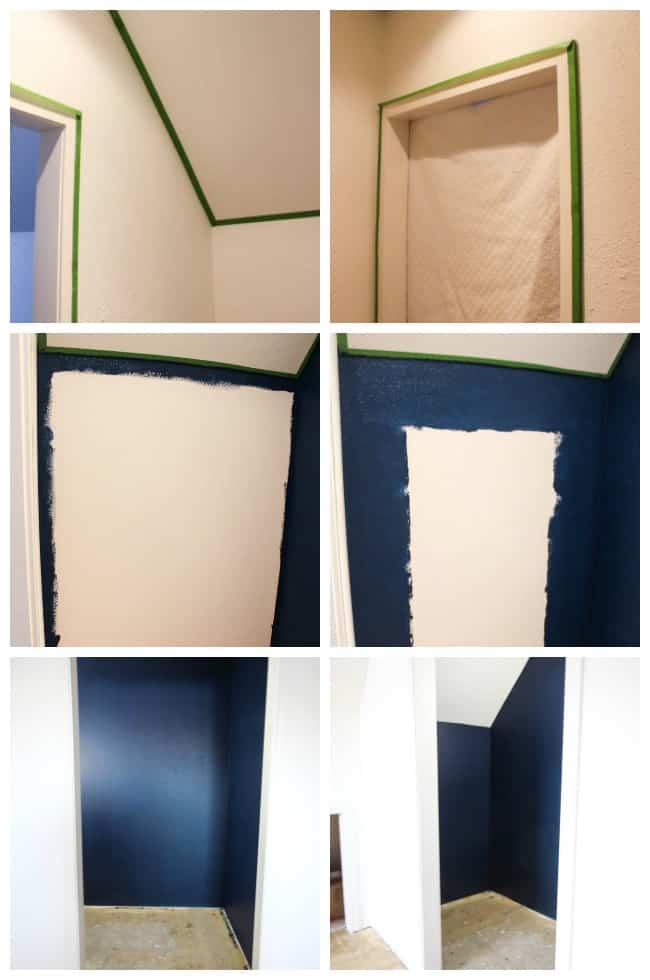
Here are a few pictures of us going through the process of taping everything. We wanted the mouldings and ceilings to remain white. Edging and painting everything went so smoothly. We ended up doing three coats to cover up that darn rough, textured surface.
If you are painting a textured surface, here’s what we learned:
7 Great Tips for Painting a Textured Wall or a Textured Ceiling:
- Use a good quality painters tape if you are painting straight lines and make sure it is pressed down firmly. The rough texture can make straight lines harder to cut while painting. Start your cutting with a very small brush to minimize touch-ups needed later.
- If you need to do any repairs in the space (e.g. puttying holes or sanding), be careful of the area you are working in. You could make a flat spot in your textured wall, that will end up needing repair.
- If you have to touch up the texture you can buy aerosol cans of the wall texture at your local hardware store and it’s really easy to apply! We added new drywall to our closet when we extended the wall, and had to add texture to match the existing walls.
- Lean towards using matte paint instead of a gloss when you are painting a textured wall. The matte paint will hide the texture better, whereas the gloss will define it—especially when the light hits it.
- Use a high nap or high pile roller (e.g. 3/4″ thick). These are generally the fluffiest rollers at the hardware store. They achieve better coverage on rougher textures.
- If you are doing a space where the wall and ceiling are both textured, it can be very hard to get a smooth, crisp line. One way to get around this is by adding a crown moulding to the ceiling. When we taped our textured ceiling lines, we found we had a lot of paint bleed through, so we added a thin 1″ crown moulding to the entire ceiling and it looks amazing!
- Count on at least two coats of paint, if not three. We did three, and our surfaces needed it because the textured wall sucks up so much more paint.
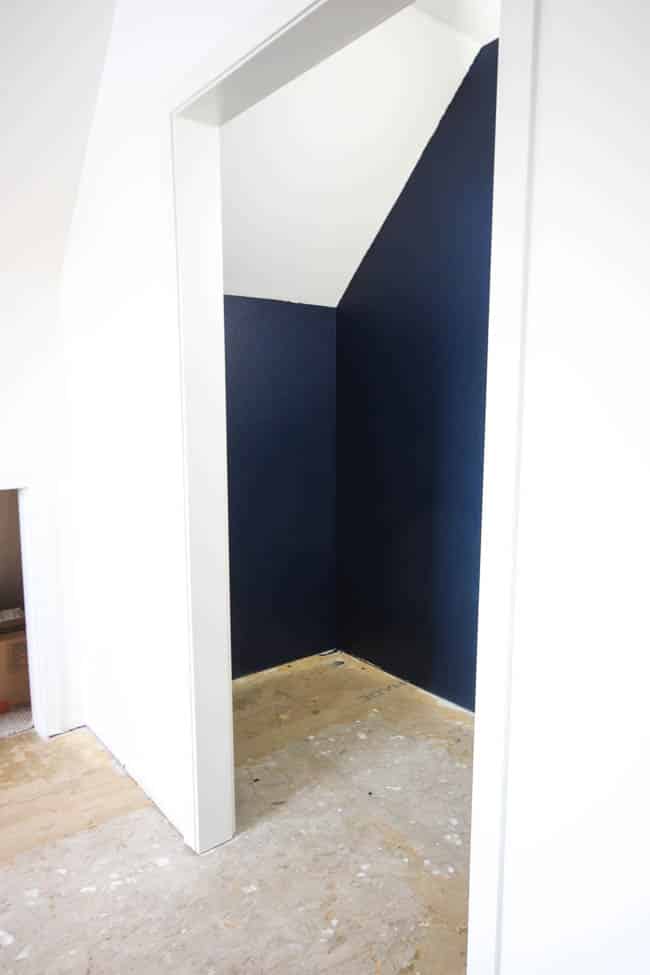
In the end we were very happy with how the Para Paints blue covered the walls. The Shadow of Night is a beautiful colour and exactly what I wanted in our shared master bedroom closet. Plus, the deep colour hides the texture well!
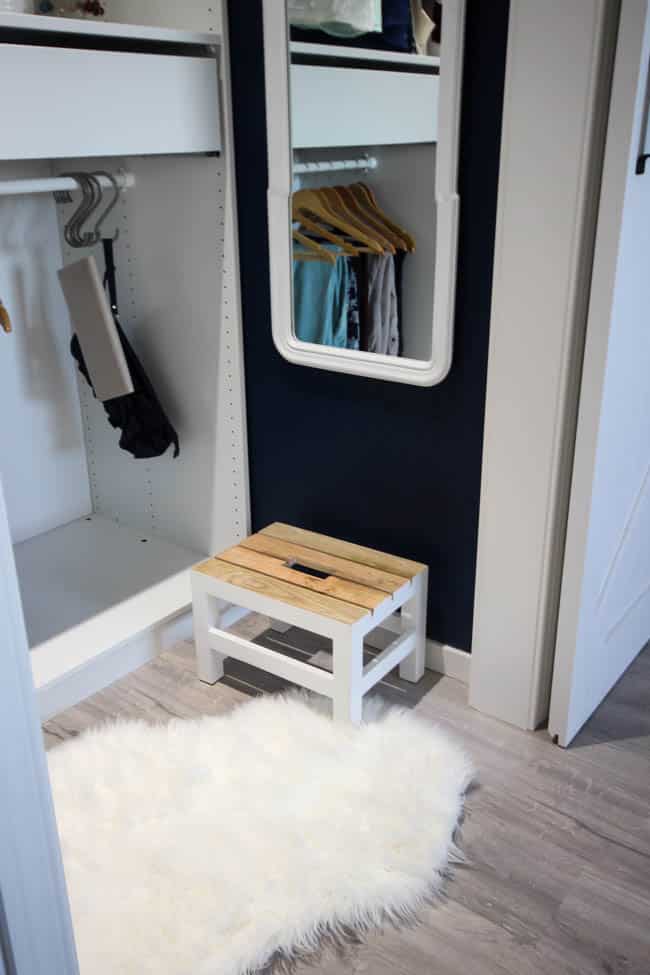
Here’s a peek at what our completed master bedroom closet looks like! I’ll be sharing the entire closet reveal this week, so stay tuned!

Each month, I join with four other amazing bloggers to share our modern handmade homes. Check out the spaces they transformed with Para Paints this month!

Harlow and Thistle
The Learner Observer
The Sweetest Digs
Love Create Celebrate
Lemon Thistle
Believe it or not, we buy a ton of our painting supplies at the dollar store! Find out which Dollar Store DIY tools are worth buying (and which to avoid!) HERE.



Marta
Friday 14th of June 2019
Hi, Lindi and Russel! What a great article!
I'm going to refresh my bedroom, I need to repaint the walls and ceiling. I will definitely use Para Premium to paint walls, thanks! But there is the ceiling remaining :) Any ideas of great ceiling paint? I stumbled upon this article https://ceilingpainter.com/ which says Benjamin Moore may be a good choice? What do you think? Are there any good brands besides Benjamin Moore on the market? Thanks again!
Lindi
Tuesday 25th of June 2019
I can't think of the brand name right now - I'll have to check later! But we always buy our ceiling paint from Home Depot. It's a paint that goes on pink, but dries white! It's amazing and lets you see exactly where you've already painted! IF you go into the hardware store and ask, I'm certain they would be able to find it for you!
gemma@thesweetestdigs
Monday 5th of March 2018
OMG I'm obsessed with how cute your closet is turning out!!!! Mine needs some major attention. This is good inspo!! :)
Lindivs
Monday 5th of March 2018
Aww thank you! I'm pretty happy with the progress too! Apparently we are good at closets :) lol.
Laurie V
Friday 2nd of March 2018
That blue is gorgeous!
Melanie
Tuesday 27th of February 2018
Thanks for all the tips Lindi. I'm getting ready to paint at home and I have textured closets too. Wasn't sure how that was going to go but you've taken the guess work out for me :)
Lindivs
Tuesday 27th of February 2018
No way! Glad we could help! I'm sure it'll turn out beautifully!
Andrea
Tuesday 27th of February 2018
Love what you did with this little space! This makes me rethink all of my closets. I love the mirror and the little bench and of course that wall colour!
Lindivs
Tuesday 27th of February 2018
Thank you Andrea! I think closet makeovers may be one of my favourite things!