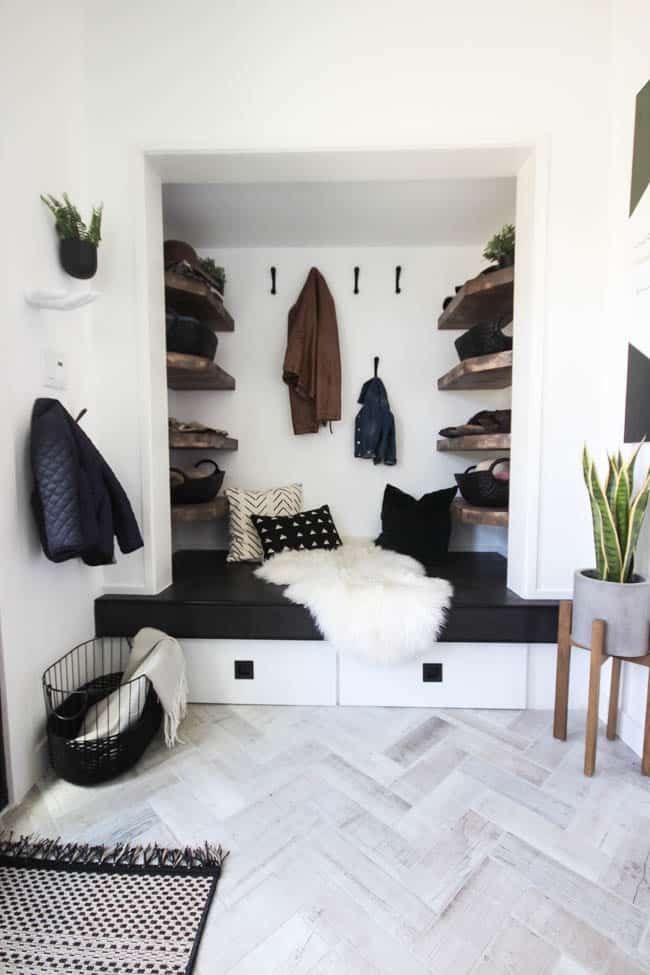
Did you get a chance to check out our finished entryway? We’ve been living in this space for two months now and some days I still can’t believe it’s my home! It’s the ONE room in the house that is completely finished and there is nothing I would change! When I was sourcing pieces for this room, I looked high and low for an affordable black basket, but couldn’t find anything (within my budget!) that I loved. So I did my easiest DIY yet…
*This post may contain affiliate links. When you buy a product through one of my links, I get a commission at no cost to you! Thanks for supporting my blog so I can continue to bring you posts like these. For more info, please see my disclosure page.*
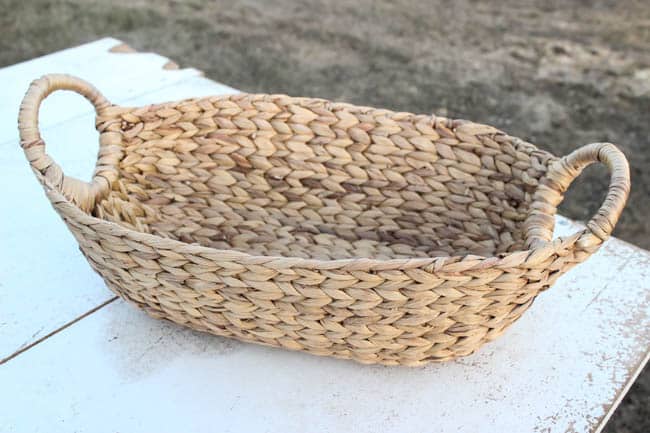
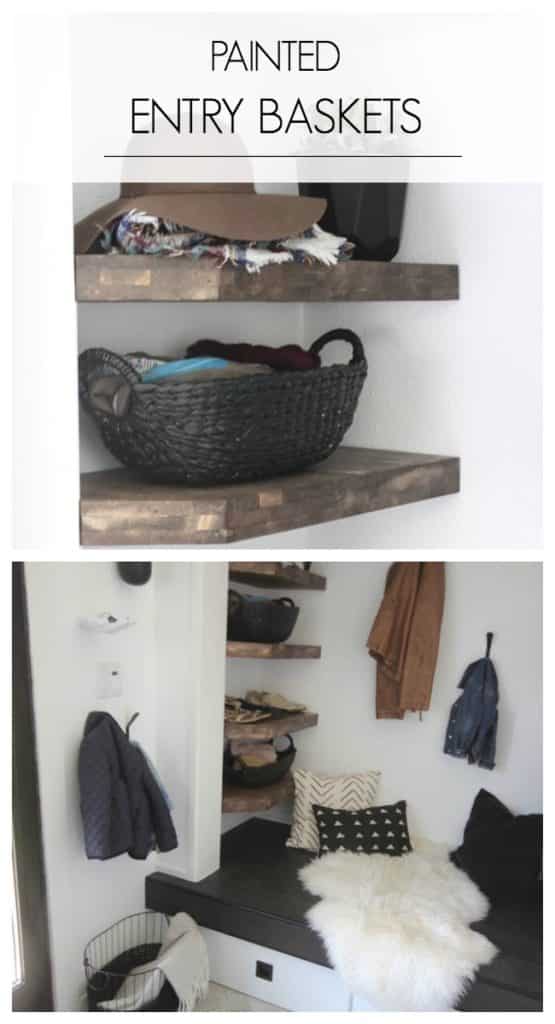
I painted some baskets! Seriously – that’s it! Buuut I did use the best paint for the job! I looked for some plain, affordable baskets first. I needed some that would fit in my entry shelves – with the intention of storing mittens and hats and all that other stuff that kids throw on the ground when then come inside.
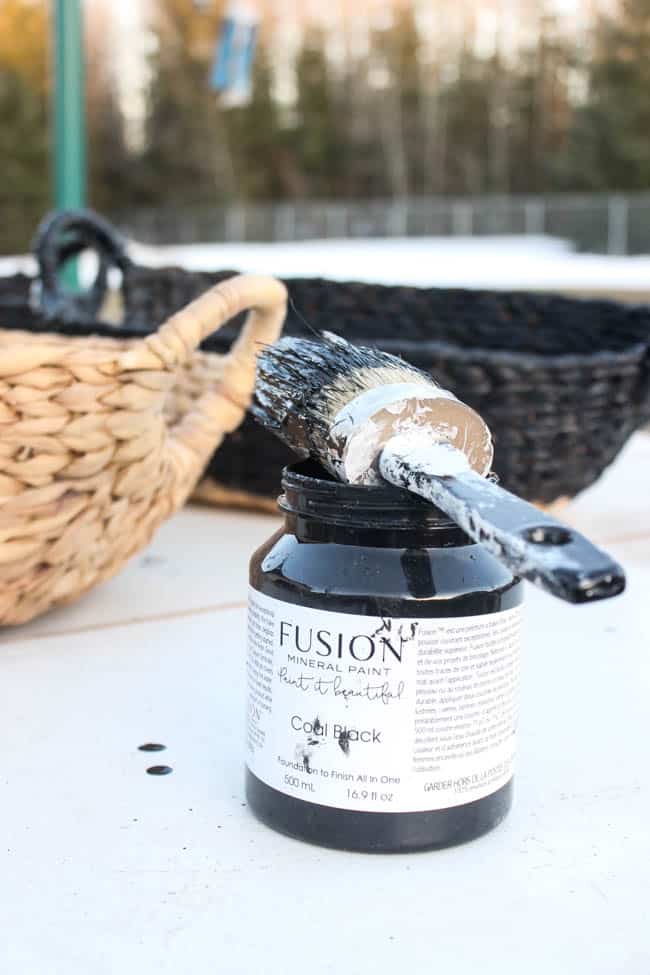
Fusion Mineral Paint is my go-to paint for anything that isn’t a full wall! lol. I knew right away that it would work on these baskets. I choose to use Coal Black because it’s a deep, strong black – I’d used it before and knew I loved it!
If you’re looking for a great basket to paint and you’re in Canada, Canadian Tire has a ton of great baskets in different sizes and shapes – including mine here. Or you could try ordering one like this, or like this, or like this!
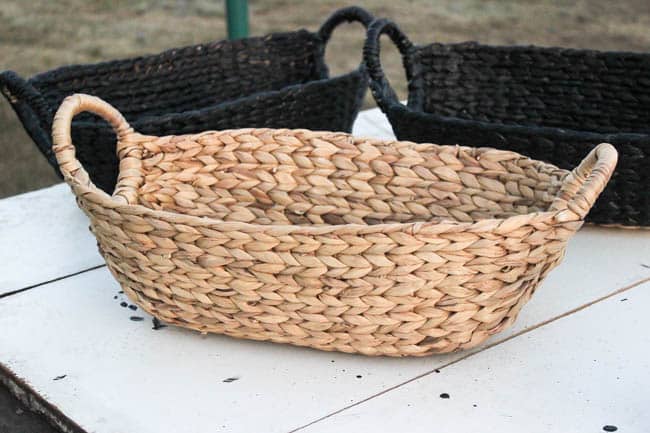
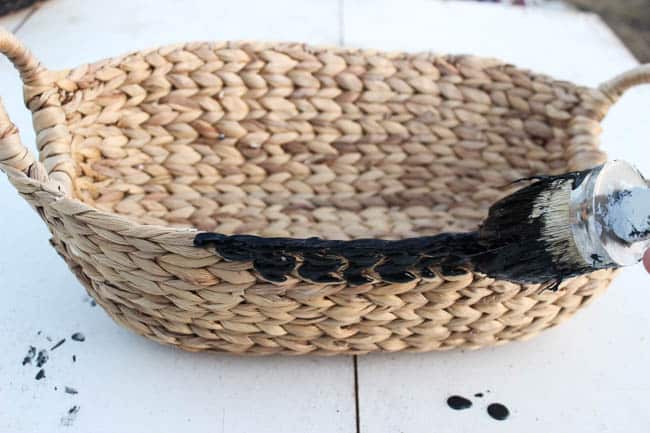
It took two coats of paint to get into the nooks and crannies of the piece, but once it was done they looked amazing!
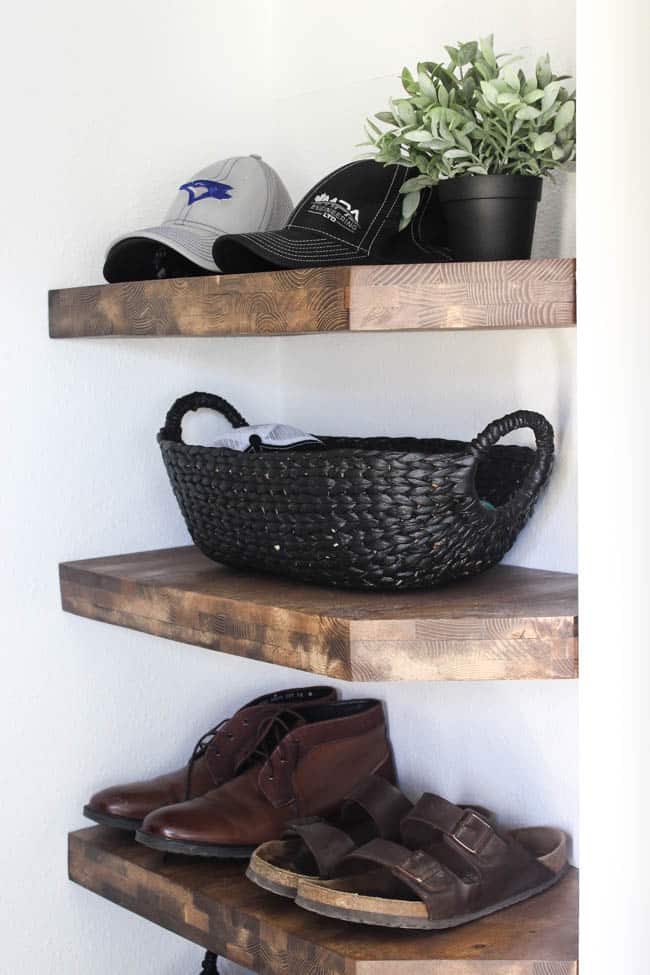
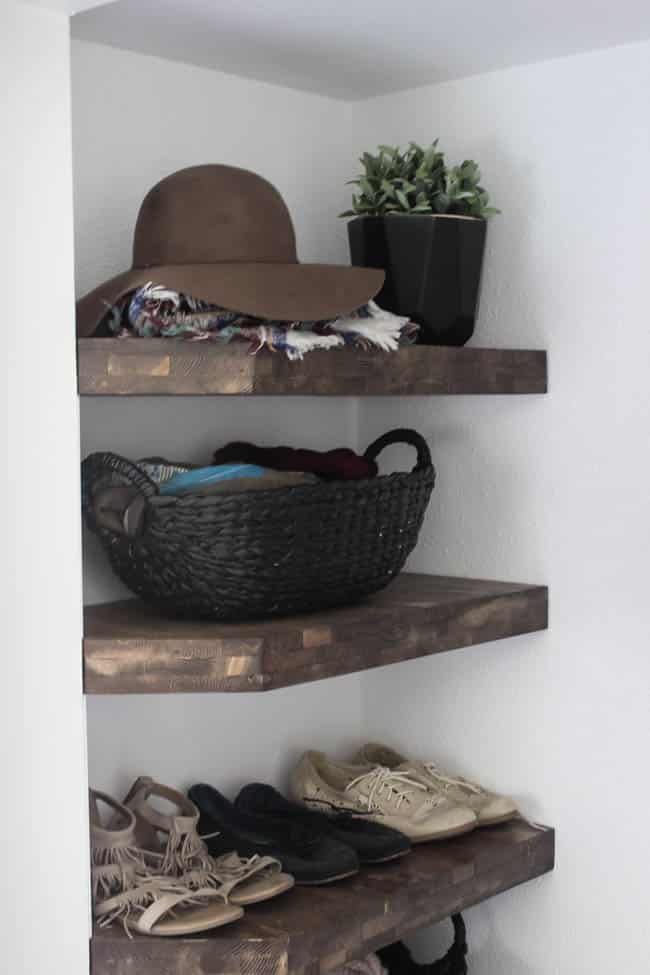
There are baskets on the shelves in both sides of our entry’s closet-turned-mudroom. It was the perfect storage solution – one black basket for each of us!
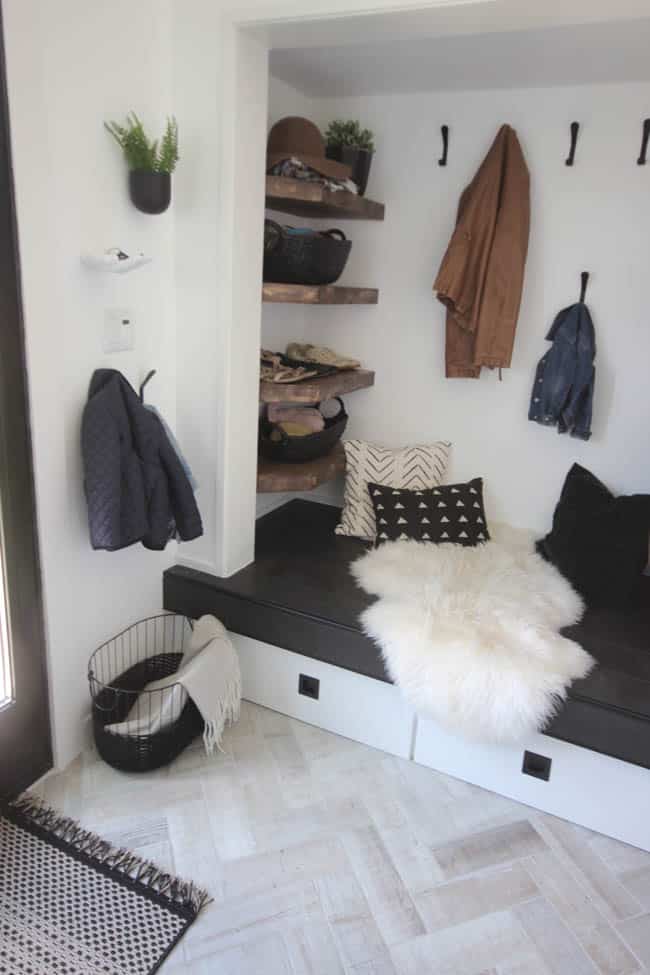
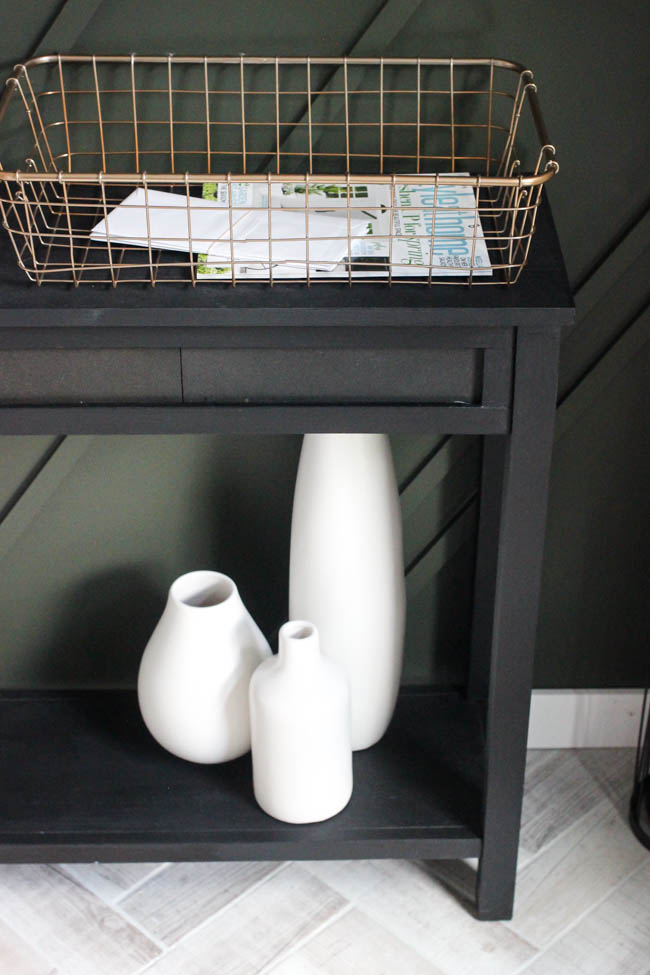
Check out how we upcycled an old console table for the entry too!

Brittany Goldwyn
Friday 27th of July 2018
Saw this on Dwelling Gawker and thought, "huh, I love that." Go figure it's Lindi's ;)
Lindivs
Friday 27th of July 2018
Hahaha, I think we have a mutual love for one another :)