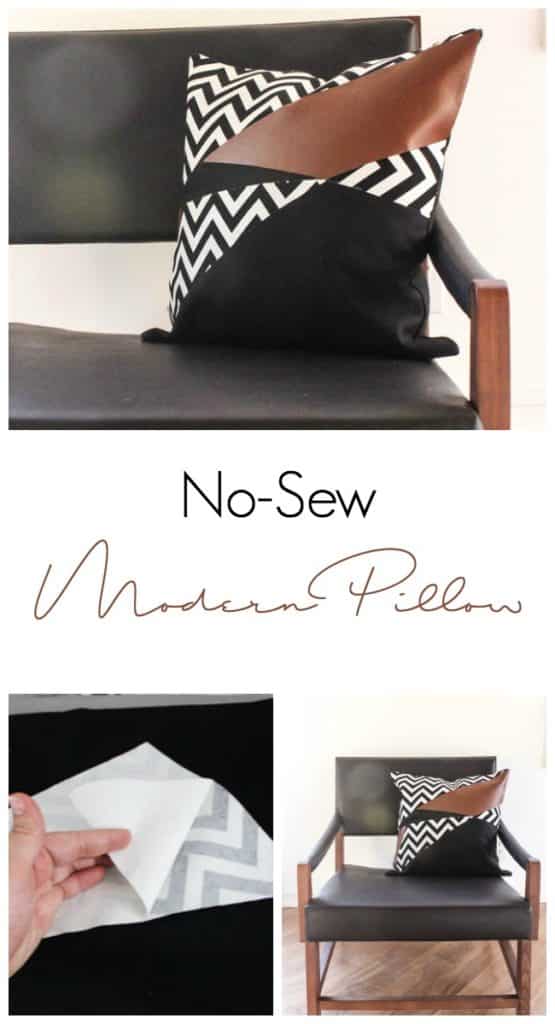
Friends! I’m bringing you DIY gold today. I had this idea in my head for a while… to copy some of those really amazing DIY pillows you see in high-end stores for $120. It seemed easy enough, but the thought of doing all of the measurements and angles myself made my head spin, so I kept the idea on the back burner. Then something amazing happened! I found a machine to do it for me! I’m so excited to share this design for these modern square pillows with you all!
*This post was sponsored by Cricut and contains affiliate links. When you buy a product through one of my links, I get a commission at no cost to you! Thanks for supporting my blog so I can continue to bring you posts like these. For more, see disclosure page.*
Have you heard that the new Cricut Maker cuts fabric AND has a rotary blade! I couldn’t wait to test it all out for myself, and I’ve done all of the hard work for you! So I’ve made it super easy for you to make https://amzn.to/3Alrp6Myour own!
Materials:
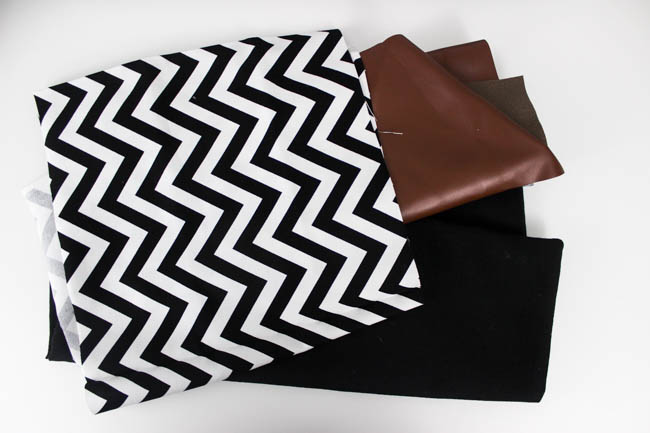
Black pillow cover (mine was 18″ x 18″)
Cotton Fabric – 12″ x 24″
Faux leather – 12″ x 14″
Cricut Maker
Standard Grip Mat – 12″ x 24″
Heat n Bond Ultrahold
Easy Press 2 or Iron
Instructions to Make You Modern Square Pillow:
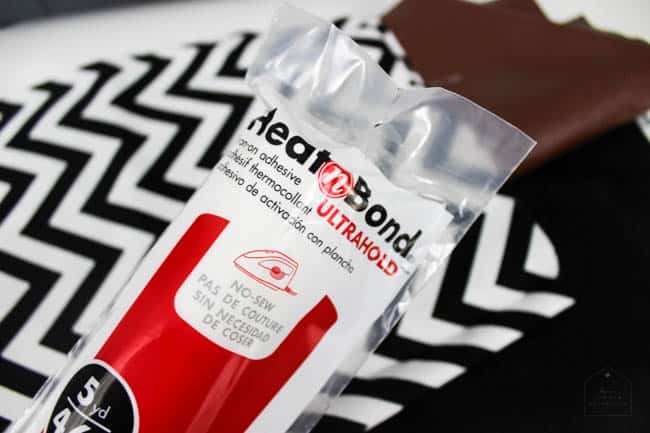
Start by adding heat n bond ultra to the back of your cotton and leather fabrics. Follow the directions and use your easy press or iron to add it to the back of the entire piece.
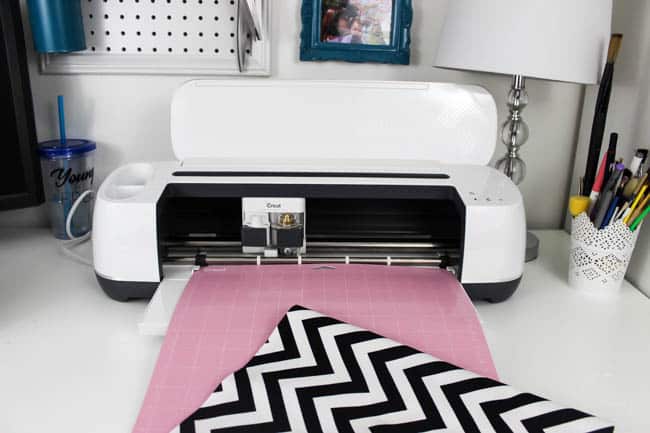
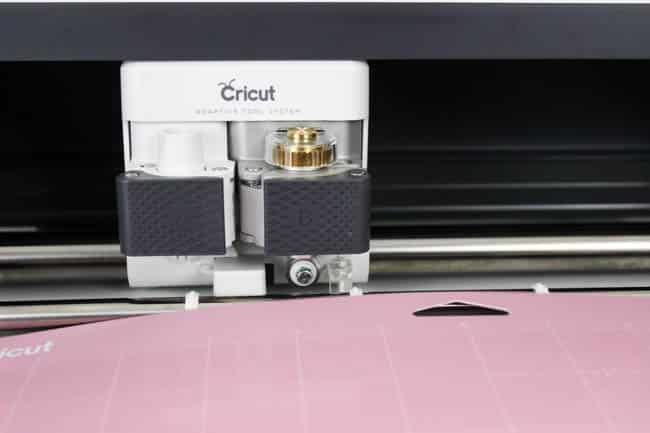
Next, turn on your Cricut Maker and make sure you have your rotary blade installed.
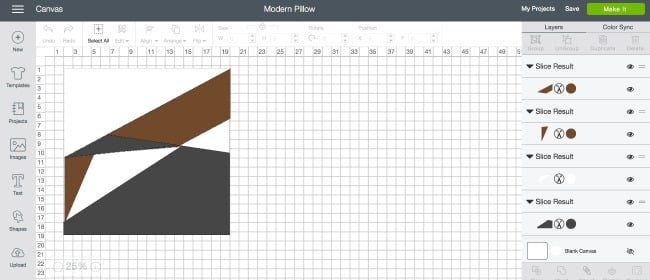
Next, you need to open the design file I created. You can access it HERE.
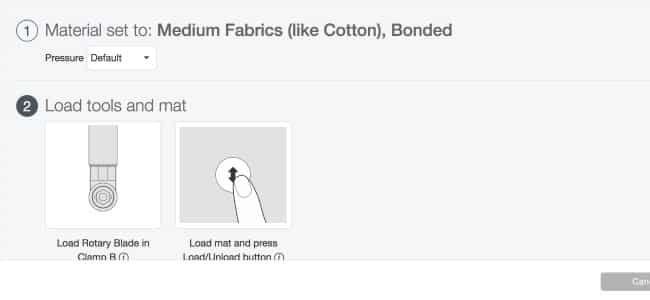
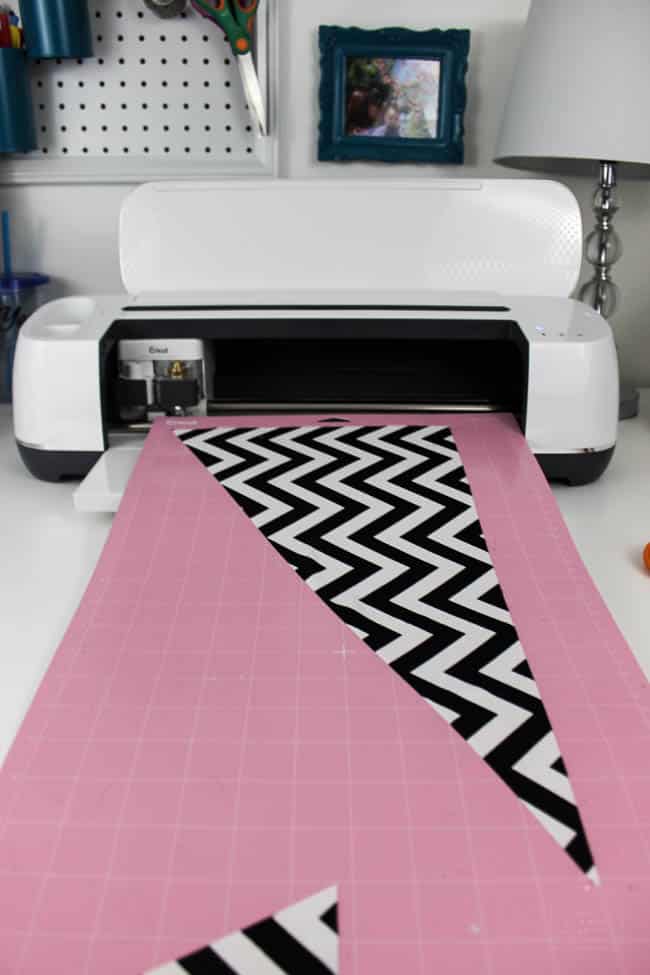
Load you cotton fabric and cut it first. Because I used a bonding material on the back of it (heat n bond), I selected my own fabric: Medium Fabrics, Bonded.
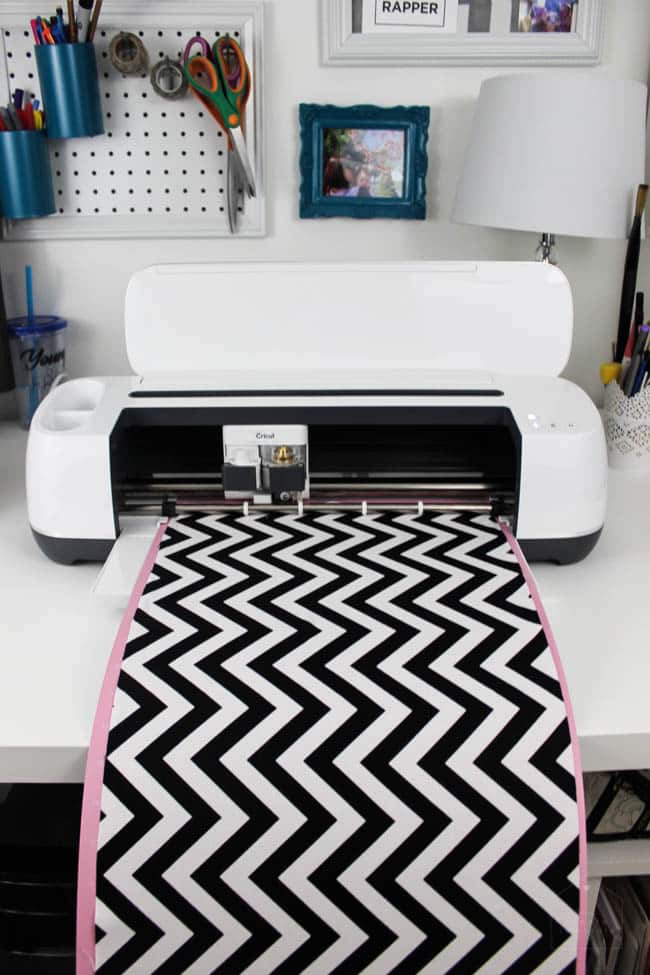
It cut the cotton beautifully! This machine is amazing!!
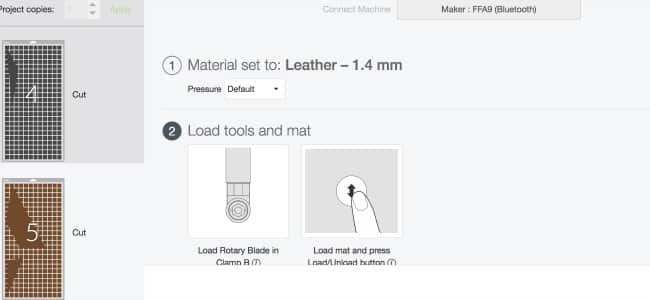
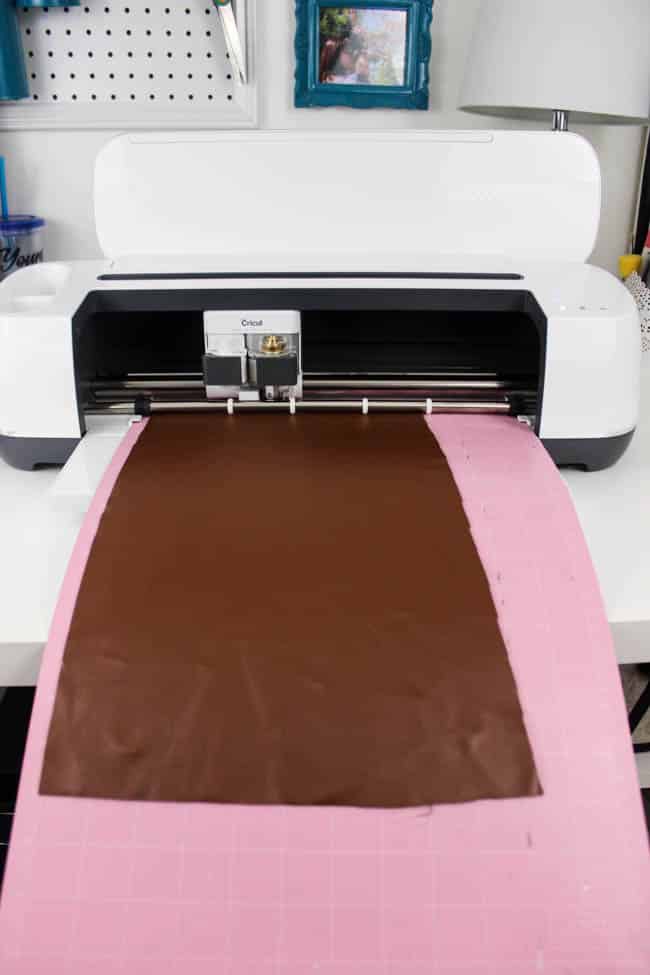
Next, load your leather and get ready to cut that material. The machine didn’t have an option for bonded leather, so I chose a leather that was slightly thicker than what I used. That way I knew the blade would have no problem cutting the leather and the backing.
Also, it will tell you to cut the black pieces, but those are just representing the pillow cover you already have, so you can either delete the black triangles from your image, or skip over them when cutting.
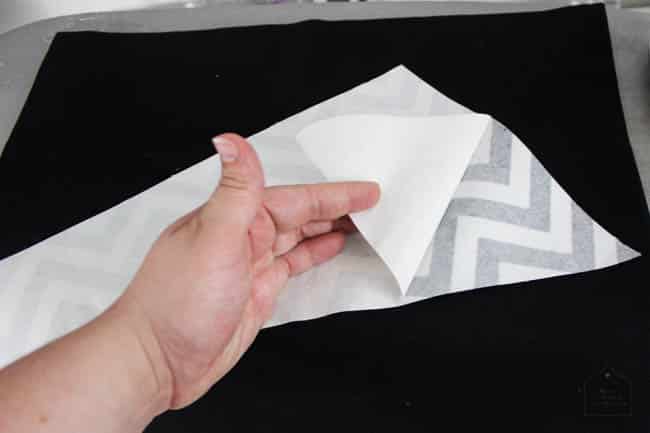
When all of your pieces are cut, you can peel off the paper backing (leaving a sticky surface), and place all of the fabric pieces down according to the image I shared in the design space.
Finally, use your Easy Press 2 or Iron (on a no-steam setting) to iron those fabric pieces in place on the black pillow cover! You may want to test out a piece of the leather before you use the iron. Sometimes I place a towel or another fabric between leather and heat, but this time my faux leather was fine when I tested it, so I didn’t need to :)
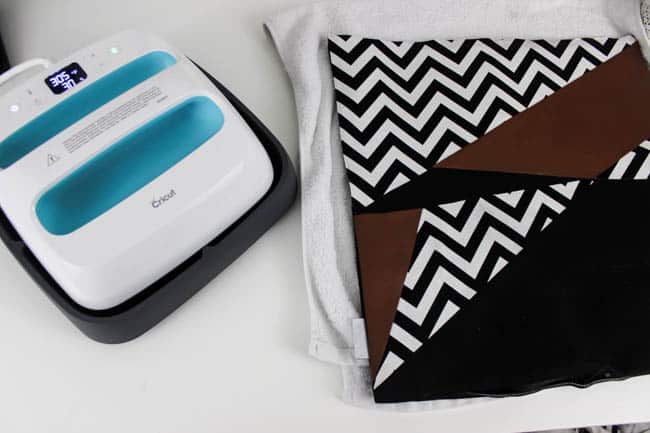
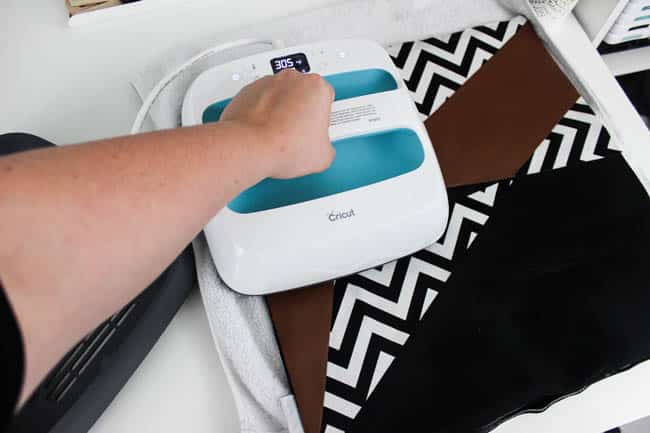
What do you think of the final product? This guy is going to be a permanent fixture in the living room that I just started renovating!
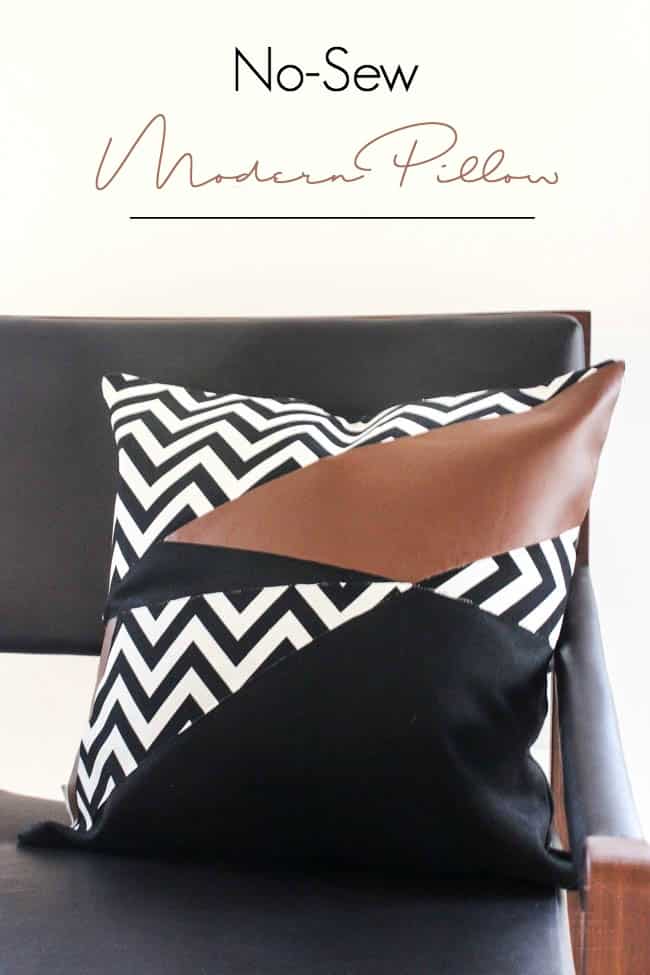
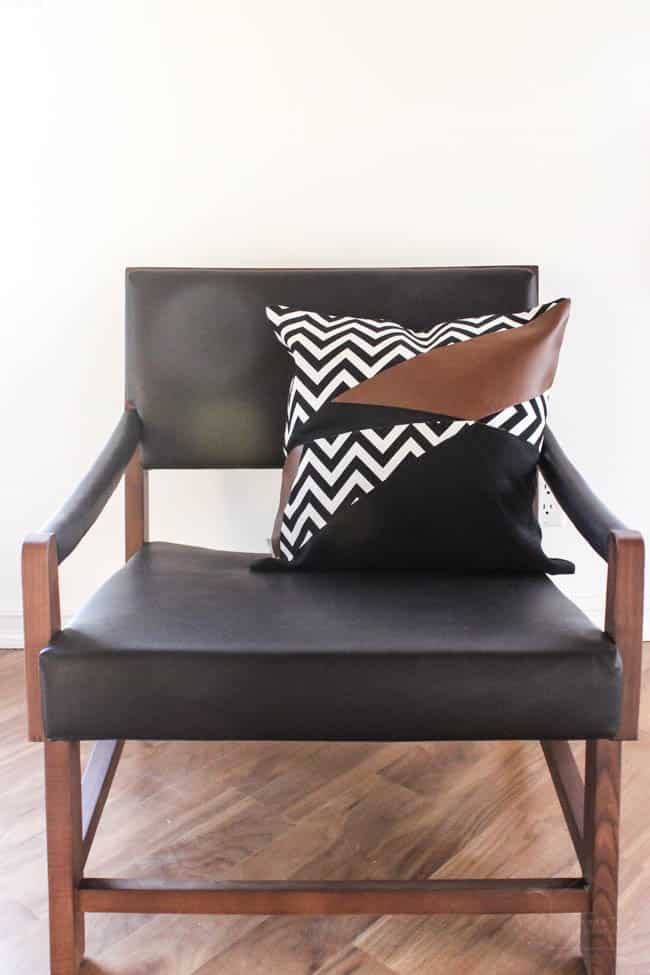
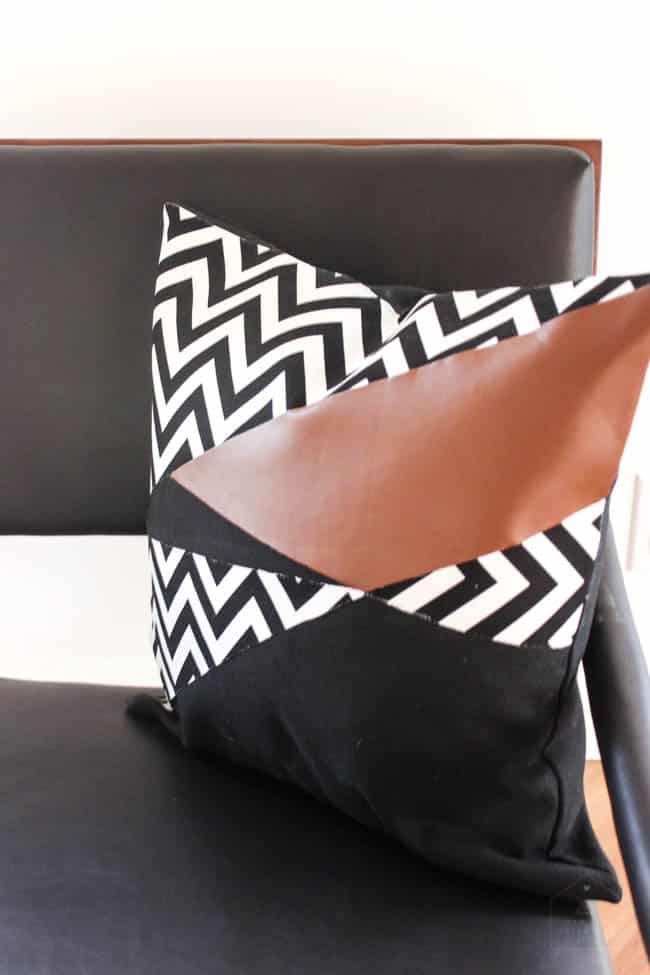
Bah! I’m so in love with this pillow!
If you like pillow DIYs, you might enjoy this Spring Pillow video!
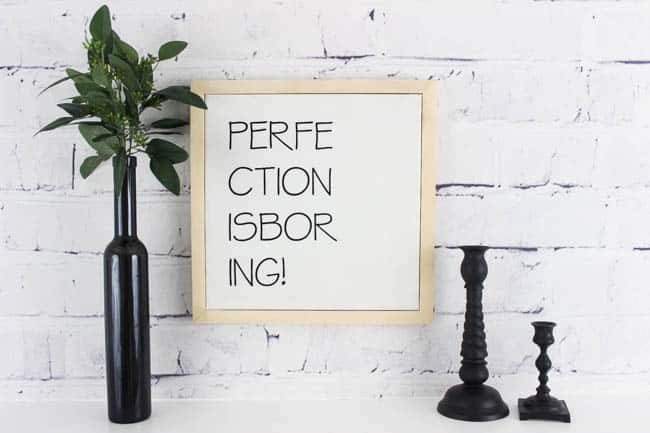
Or if you want to see another modern Cricut Maker project, check out this great sign!

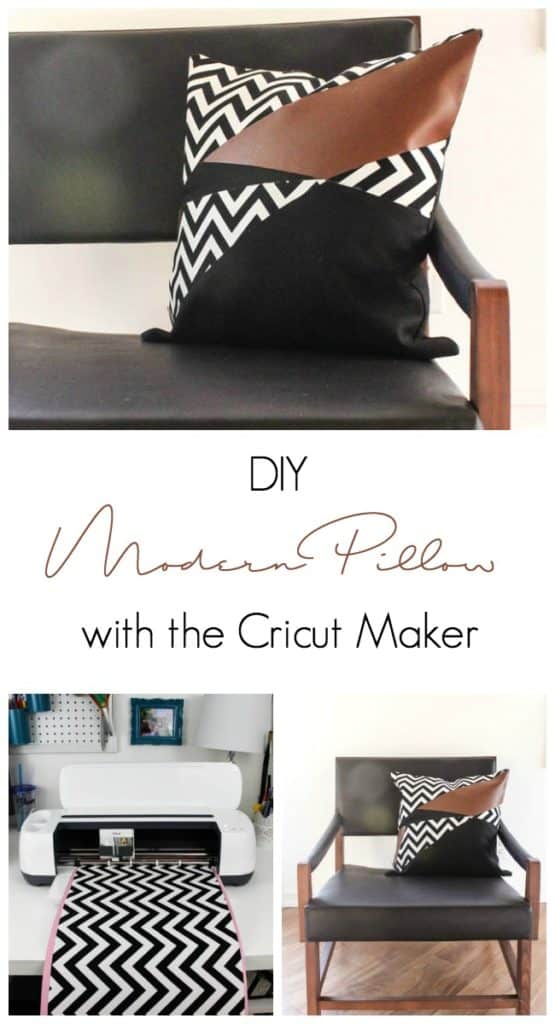
This is a sponsored conversation written by me on behalf of Cricut. The opinions and text are all mine.


Macs
Thursday 9th of November 2017
Good find! You can make more pillows and other home decor from that. Thanks for sharing this! Love the photos.
Courtney
Sunday 15th of October 2017
That's very cool! I had no clue you could do that with a Cricut!
Lindivs
Sunday 15th of October 2017
I know! It's so fun!! You should put it on your Christmas list, lol.