Easy canvas painting ideas for beginners! Gorgeous DIY canvas painting tutorials with step-by-step guides and video tutorials using acrylic paints!
Remember waaay back when we renovated the dining room in a weekend? I had grand ambitions of doing all the things we did, plus building a coffee station, PLUS doing DIY artwork. Well… the coffee station was finished about 6 months later, and now, almost a year later, we finally tackled some DIY art!
*This post was sponsored by DecoArt, and may contain affiliate links. As always, opinions are 100% my own. For more information, please see my disclosure page.*
I’m going to start this project by saying that I do not consider myself an artist! I don’t even consider myself to have any innate artistic talent, lol. But there is no perfection when it comes to canvas art!
The great thing about art projects like this is that you only really need to know how to hold a paint brush! These are easy DIY projects for beginners! You don’t have to have painting experience, but you get get more familiar with acrylic paint, and make some beautiful art while you’re at it.
Materials Needed for these Canvas Art DIYs:
- Large scale canvases (I used 36″ by 48″)
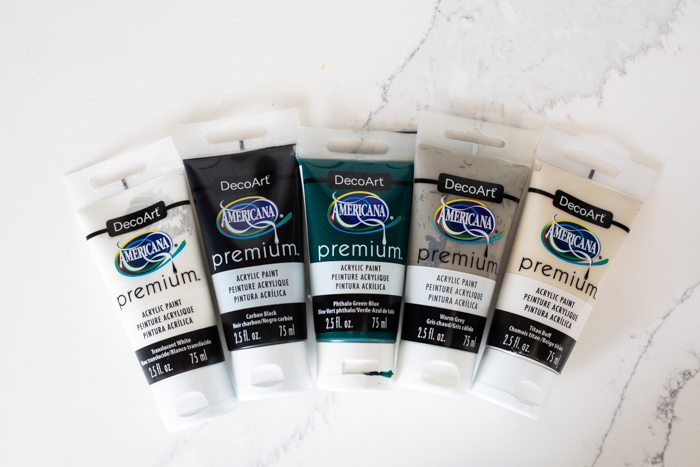
- Americana® Premium™ Acrylic by DecoArt®
- Americana Decor® Texture™ by DecoArt®: Gold Textured Metallic Paint
- Paint brushes (wall and small 1″ brushes)
- Small foam roller (optional)
- Frog Tape
Video Tutorial for Three Beautiful Canvas Art Ideas
I can chat all day about how to paint these canvases, but most of us are visual learners, aren’t we? If you need to see this canvas art in action, here’s a video tutorial on all three beautiful DIY art projects:
Don’t forget to subscribe to our channel too!
Instructions for Three Easy Canvas Painting Ideas
How to Make the Geometric Canvas
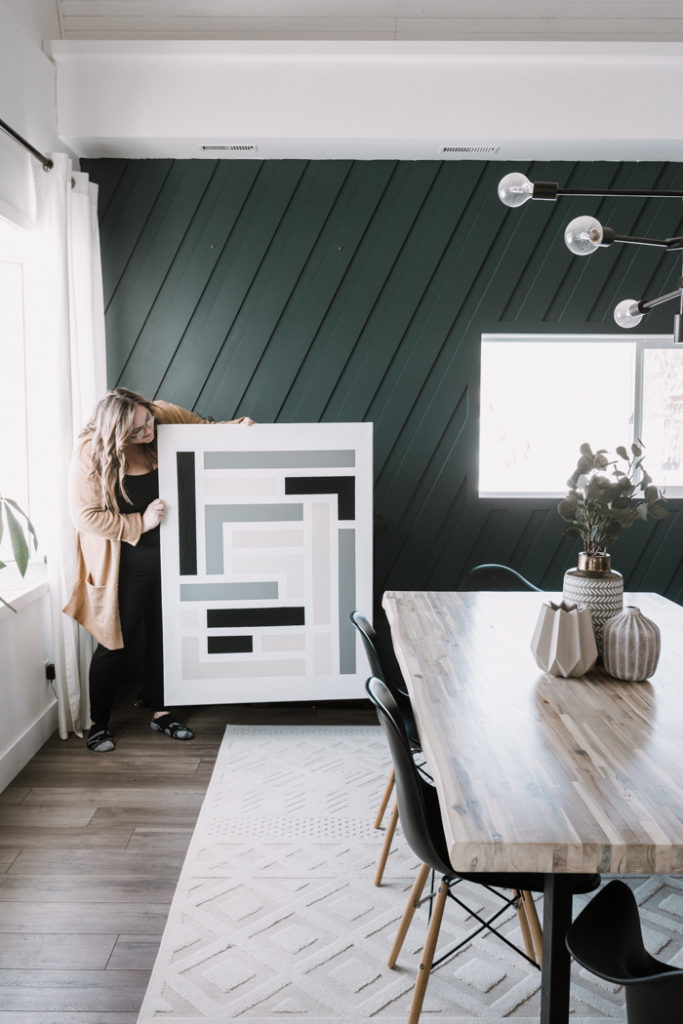
I’m gonna chat briefly about the geometric canvas first. My husband refers to this one as the “tetris” one because he thinks it looks like Tetris pieces. This one is super easy to paint, but a little harder to measure out.
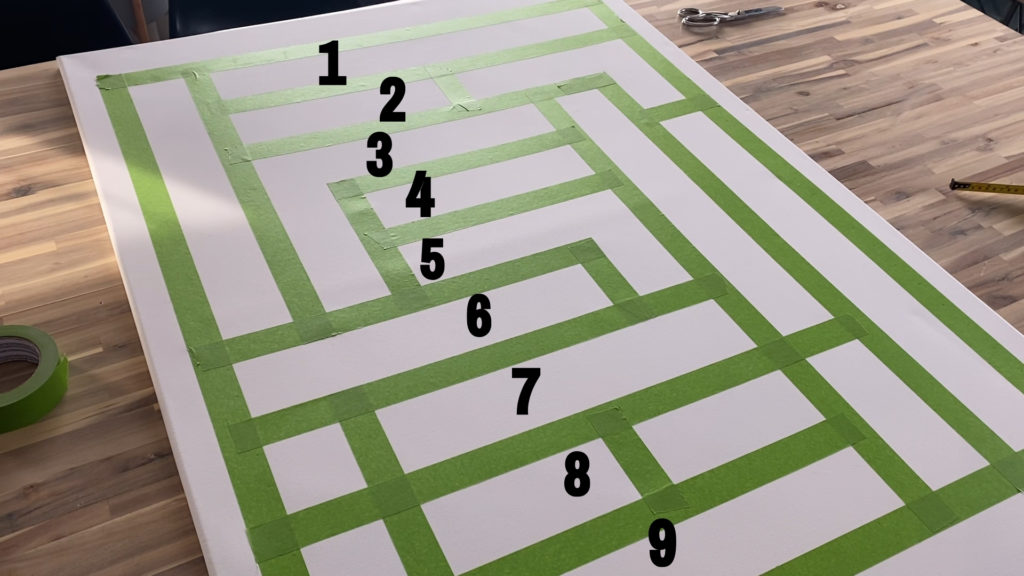
If you’re going to use the same size canvas as us, then the good news is that we did all the hard measurements for you!
We started by taping an outside border of 3″ on the sides, and 4.5″ from the top and bottom. Then we measured a grid all the way along the sides and tops of our border tape. Our grid was marks every 1.5″, which was the same thickness as our tape, and would allow to evenly space out the painted sections and empty spaces.
The spaces were essentially divided into 9 rows (as seen above), and 7 columns (seen below), with spaces in between them.
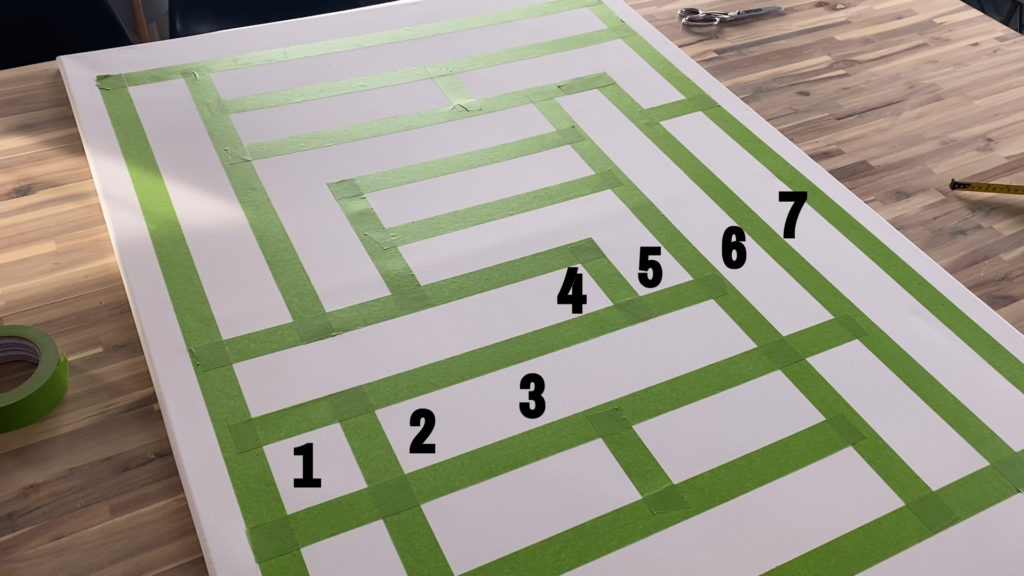
Once we had the grid, we were able to put our design in place using tape. You can use the same design as us, or make your own! Just follow the spacing to determine how large or small your pieces will be.
Watch the video above to see us measuring out and placing the grid and tape pieces.
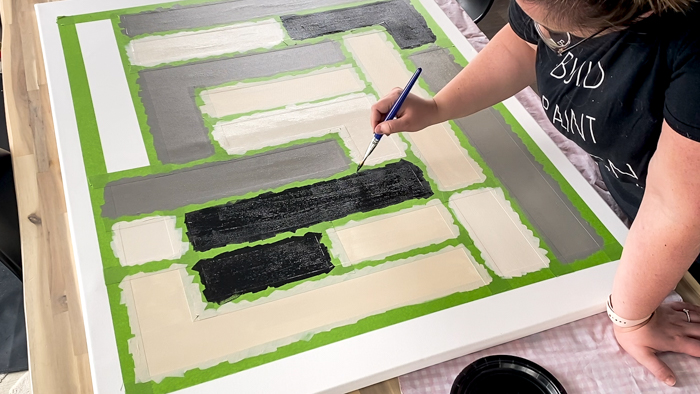
The final step is to paint inside your spaces after it’s all taped off. When using painters tape, make sure that it is adhered well, and paint along the edges towards the center of your colour blocks to seal the tape before painting in the middle.
How to Make the Modern Lined Canvas
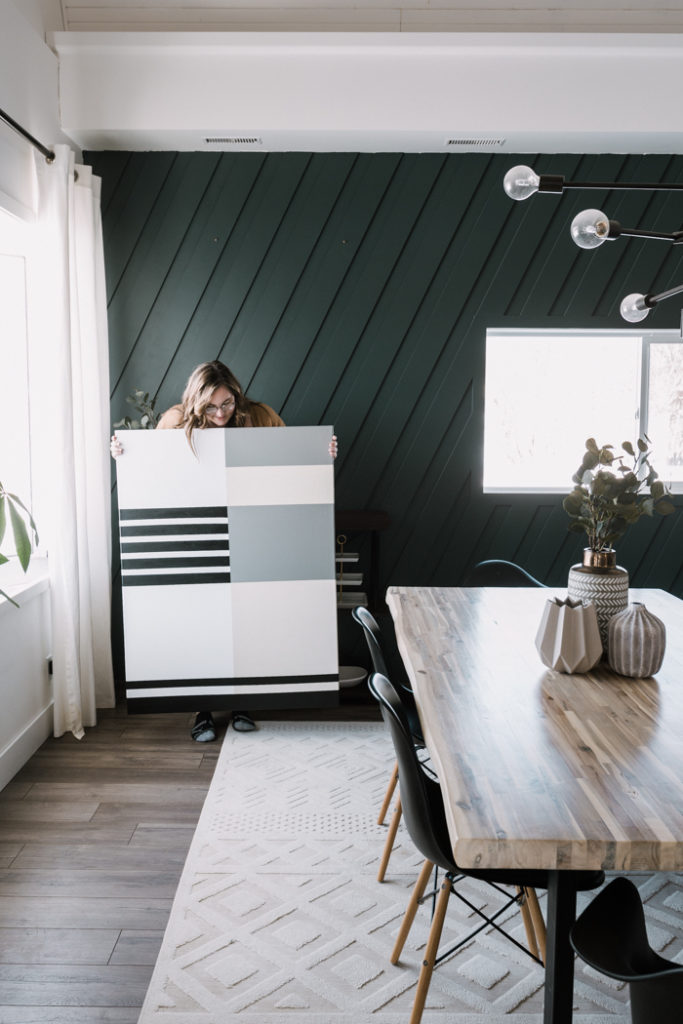
This canvas is similar in style to the one above, but much easier to measure out and tape!
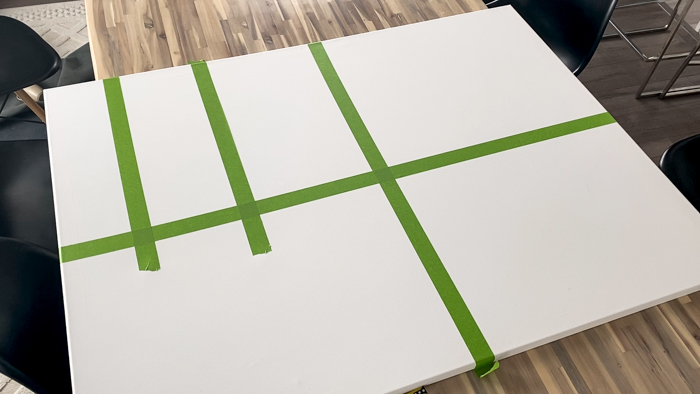
I started by taping off the center of the canvas from left to right, and from top to bottom. I kept the tape on the left side and the top, where I wouldn’t be painting at first.
Then I split the top right quadrant into two halves, and split the top of that into two halves. Again, make sure that the tape isn’t on the side of your measurements that that you will be painting first.
When you’re ready, paint two of those spaces, then when dry, transfer your tape and paint the other two quadrants.
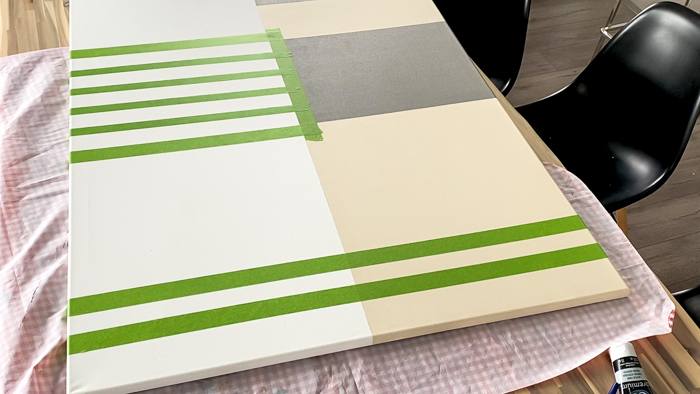
Finally, I taped off sections for the black paint. I added two lines at the bottom (3″ and 1.5″), and split the middle section into five equal parts so that I would put black strips through the white.
How to Make the Abstract Canvas
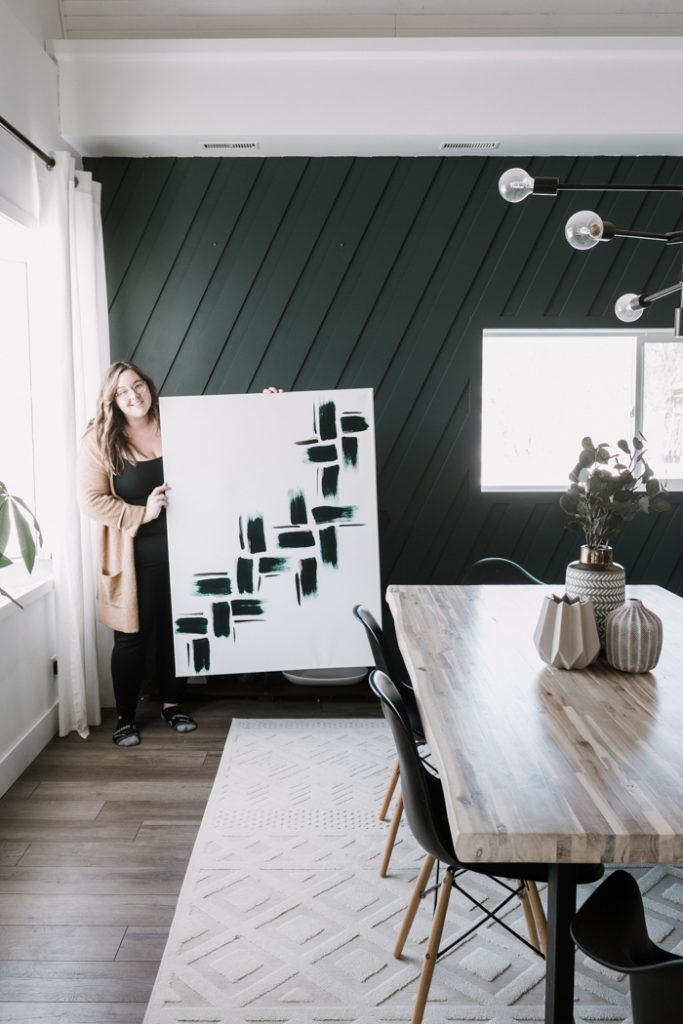
This final canvas is the easiest one of all! If you can hold a paint brush, and make some brush strokes, you can easily make this one.
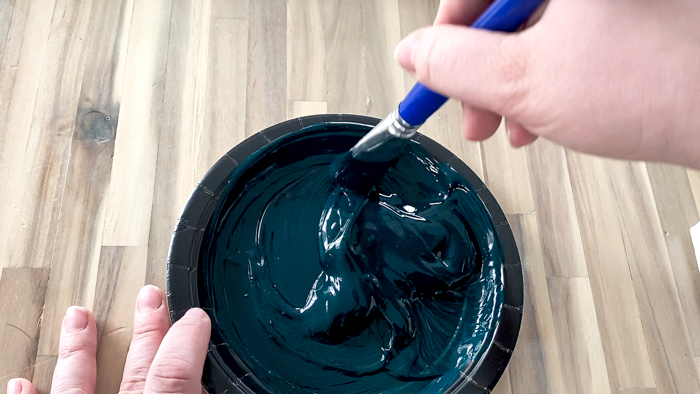
I started by mixing my green-blue and black paints to get a nice deep green colour similar to my wall colour. The beautiful thing about acrylic paints is that they mix so beautifully – all you need is some extra black and white to get the colours you need!
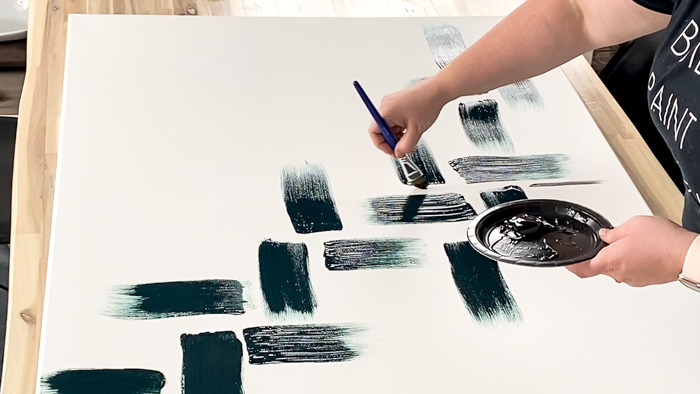
I started by making all of the larger brush strokes with a wall paint brush. The pattern goes from top right to bottom left so that it would mimic the angles on the wall behind the canvas.
Next, I came in with a small paint brush and brushed small black strokes along the sides of the larger strokes. I wanted to add some more visual interest, and some more texture.
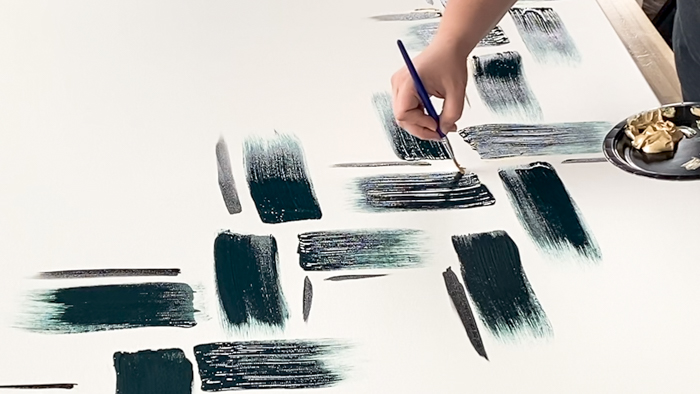
Then the final step was to add some textured metallic gold paint to the edges of some of the black and green strokes. I used a small brush to stroke a small amount on – just enough for the gold to catch the light from the window and shine.
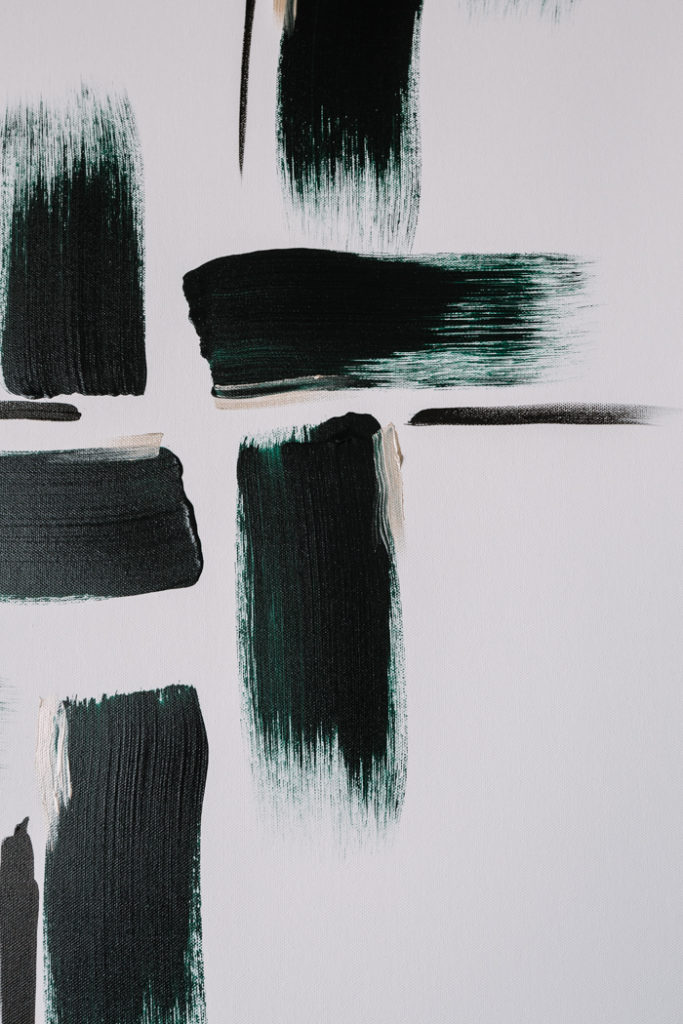
Here’s a closer view of how each of those strokes looks beside one another. To get a full picture of how I did the brush strokes watch the video above!
Our Finished Canvases
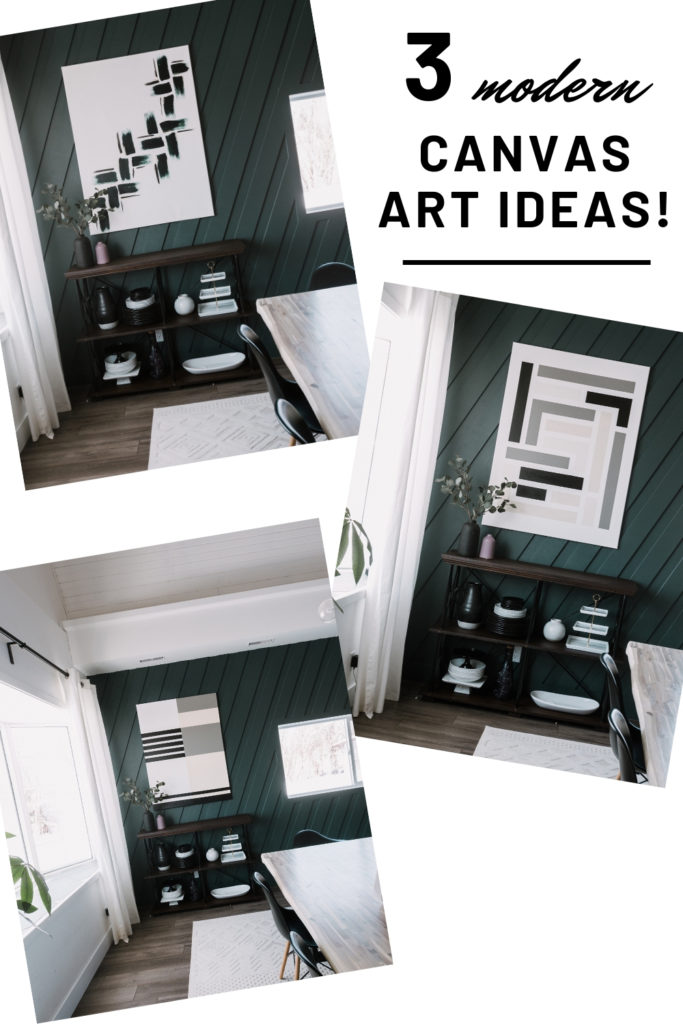
All three of my easy canvas painting ideas, turned into beautiful art pieces! All three canvases were placed on our dining room wall and we asked our Instagram audience to vote on their favourite! The winning canvas is still on the wall now, and I LOVE it! Which one is your favourite?
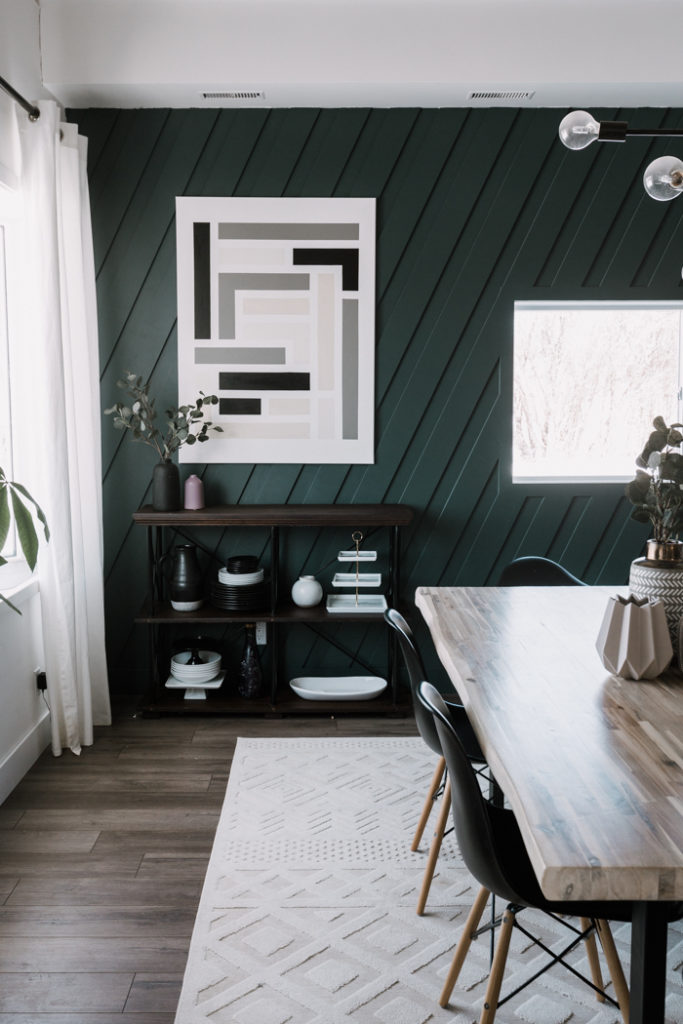
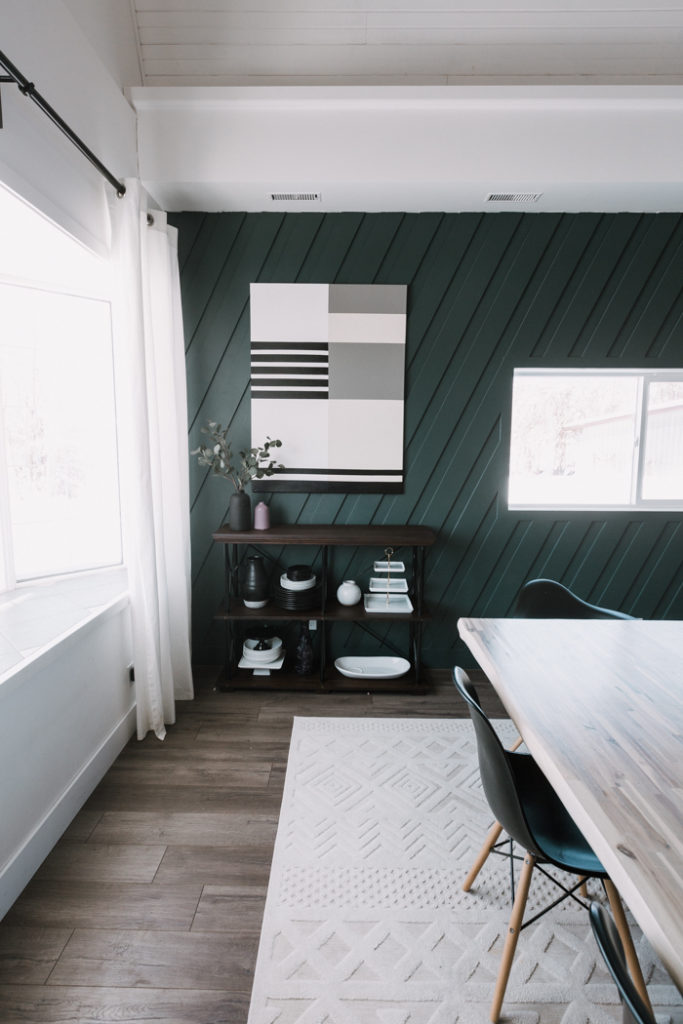
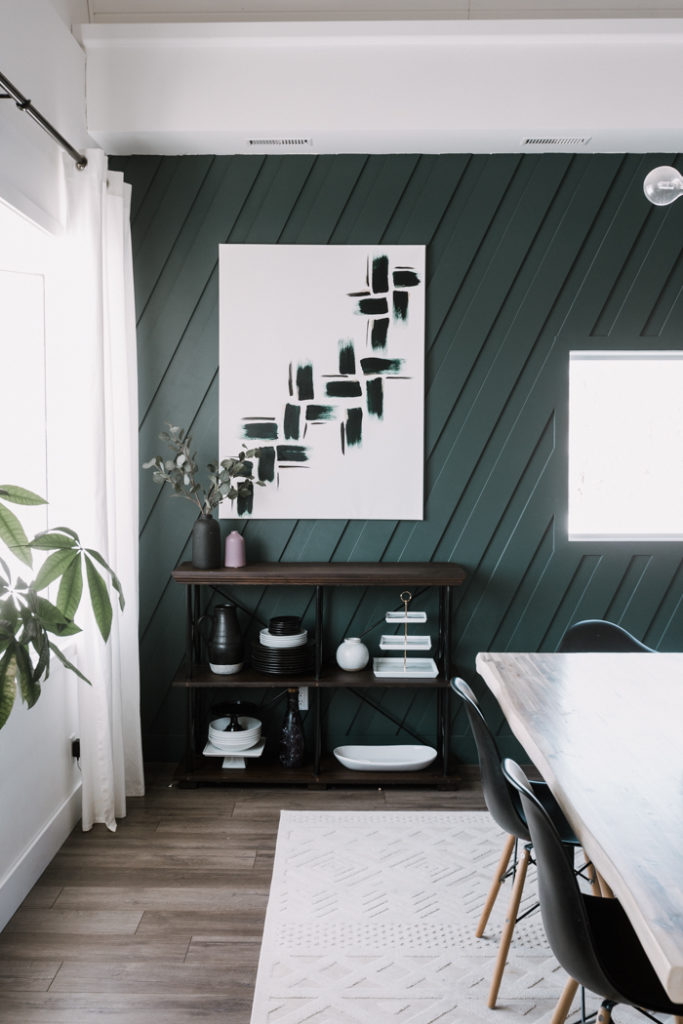
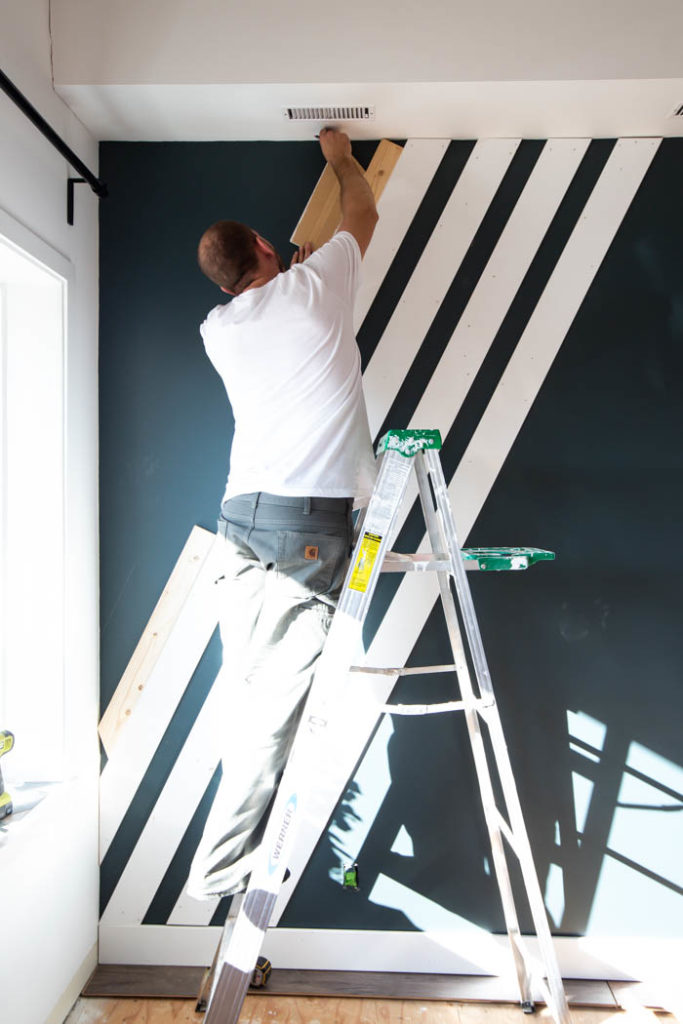
If you’re curious about that beautiful accent wall in the background, we have a full tutorial on How to Make a Moulding Accent Wall!
