Beautiful DIY Candlestick Holders! Great tutorial for how to make your own stunning wooden pillar candlestick holders with thrift store rolling pins!
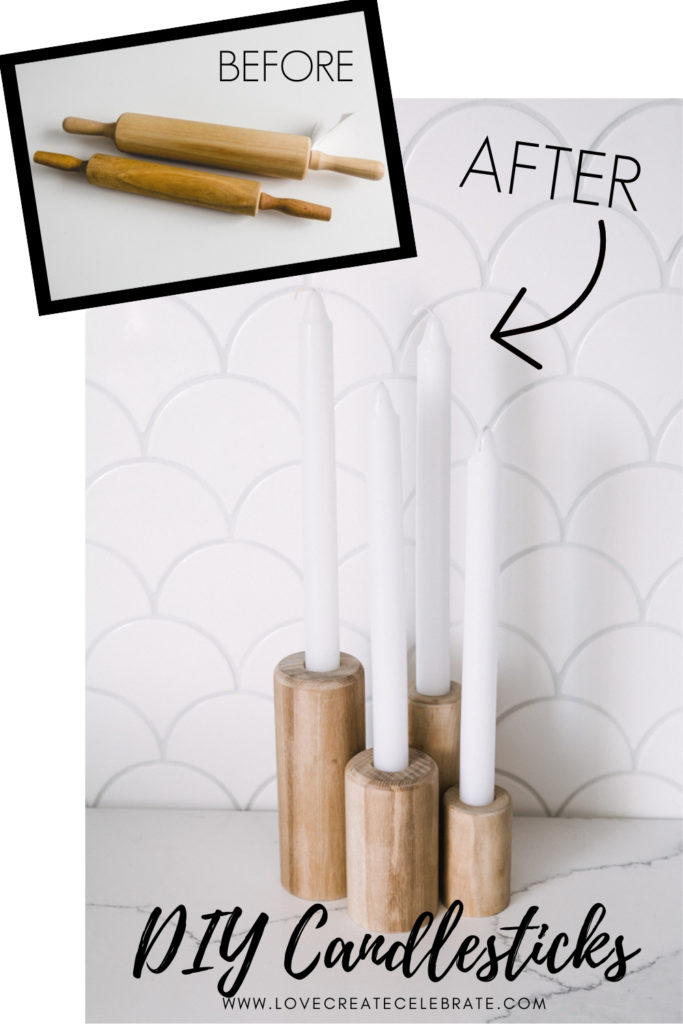
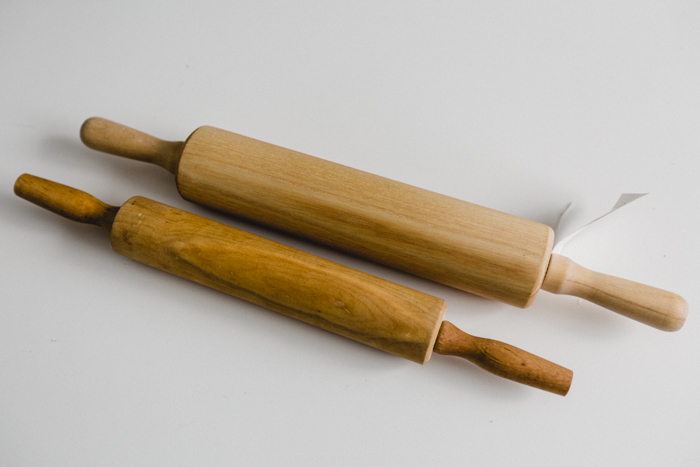
If you’ve been hanging around at Love Create Celebrate for a while, you already know that I love turning affordable items into beautiful home decor. The dollar stores and thrift stores are my go-to places for affordable flips, and this one happens to be a thrift store makeover! I found two rolling pins from our local thrift store, both in different widths, and thought that they could make beautiful DIY candlestick holders!
*This post may contain affiliate links. When you buy a product through one of our links, we get a commission at no cost to you! Thank you for supporting our blog so that we can continue to bring you posts like these. For more information, please see our disclosure page.*
I think almost every thrift store has a rolling pin, doesn’t it?! I’ve seen them all over the place and never picked one up before, but all of the sudden the idea for these tall pillar candlesticks popped into my head and I had to make it happen!
If you want to make a set of four, you need two rolling pins. Each rolling pin will let you make two candlesticks.
Video Tutorial for DIY Candlestick Holders
You can read the steps for creating these candlesticks below, or follow along with this video tutorial! Which also includes a second thrift store flip – a DIY planter!
Watch it all here:
Don’t forget to subscribe to our channel for more great DIY videos!
Instructions for Making Your Candlestick Holders
This project doesn’t require much time or money, which makes it my favourite type of project! We spent less than $5 on both of our rolling pins, and made four candle holders out of them.
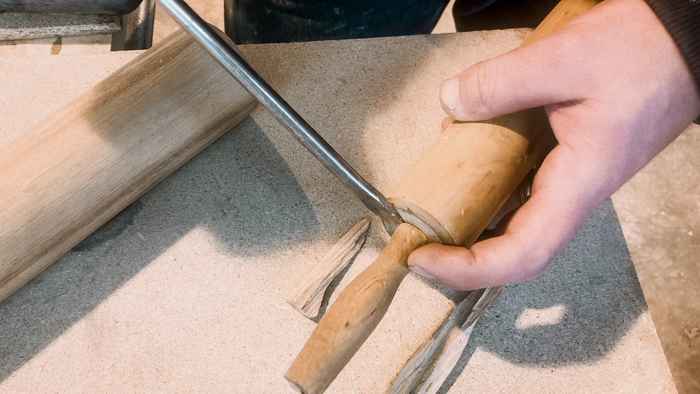
The first step is to remove the handles. Some rolling pins will have handles stuck onto nails, like this one did. If that’s the case, simple pry up the wood with a flathead screwdriver, break it off, and then use the back end of your hammer to pry out the nail.
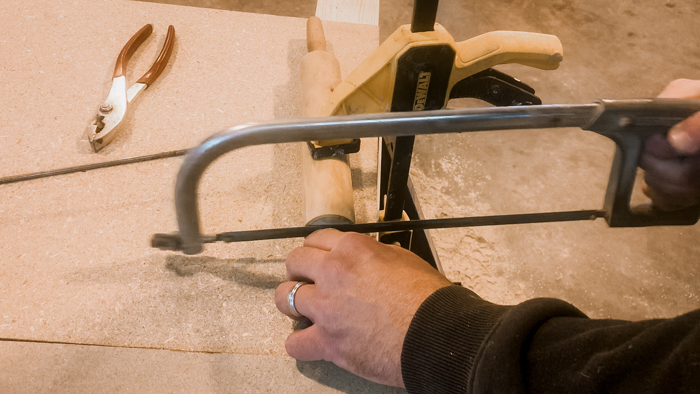
Other rolling pins will have a metal rod all the way through them, in this case you need to cut the metal (we used a handheld metal saw) and slide the rod out.
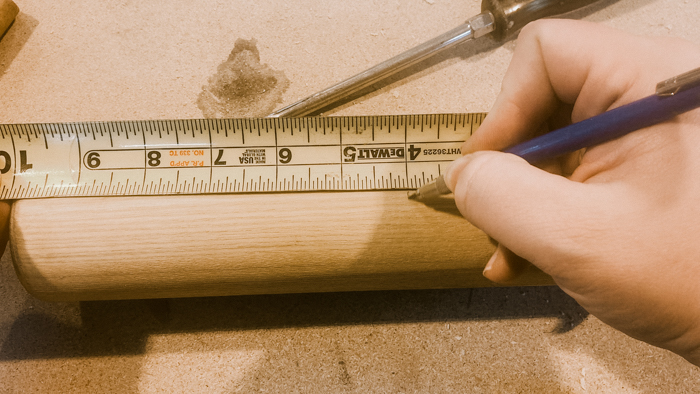
Next you need to decide where you want your cuts to be. For my first two candles, I made a cut mark at 4″. the entire rolling pin was 10″, so that would leave me with a 4″ and 6″ candlestick.
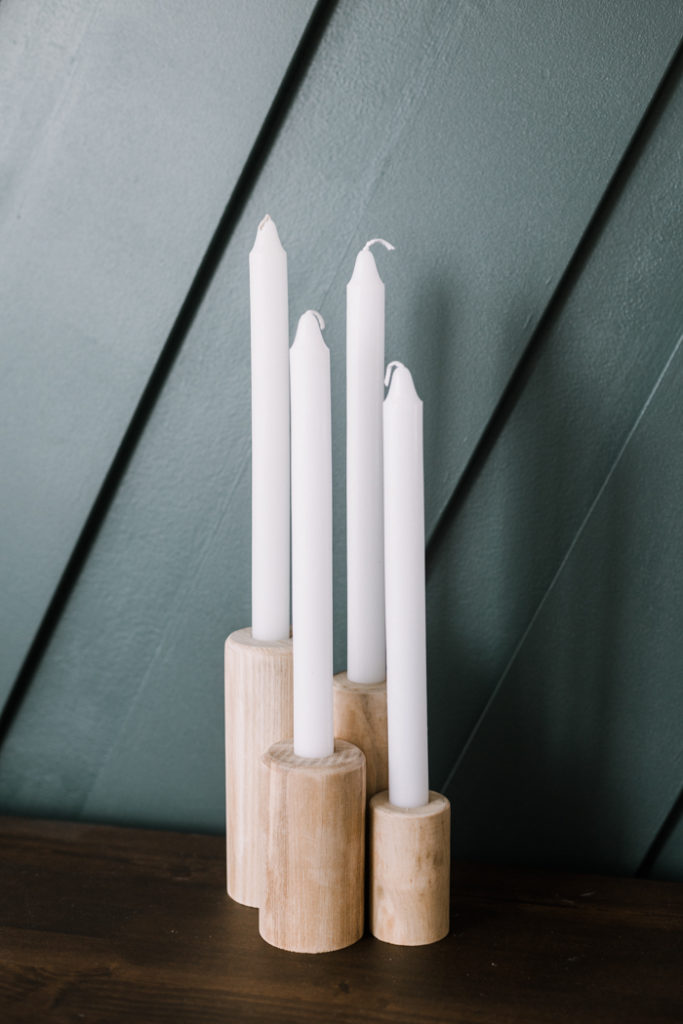
For the second one, since I wanted four candlestick holders of different heights, I cut it at 5″ from one side, and 3″ from the other side. Making sure to keep the ends where there was already a bevel in the wood.
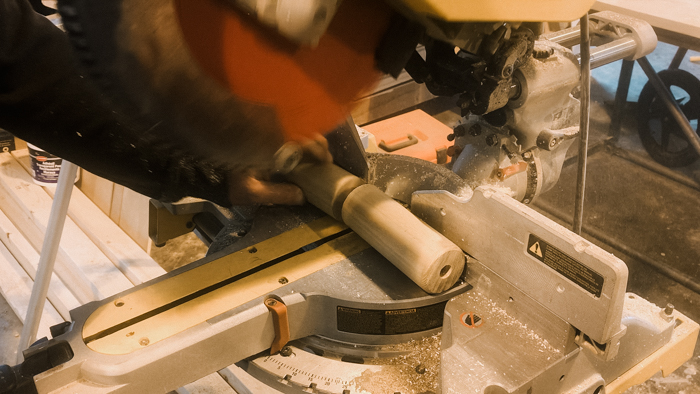
Use a saw to cut the rolling pins to your measured lengths.
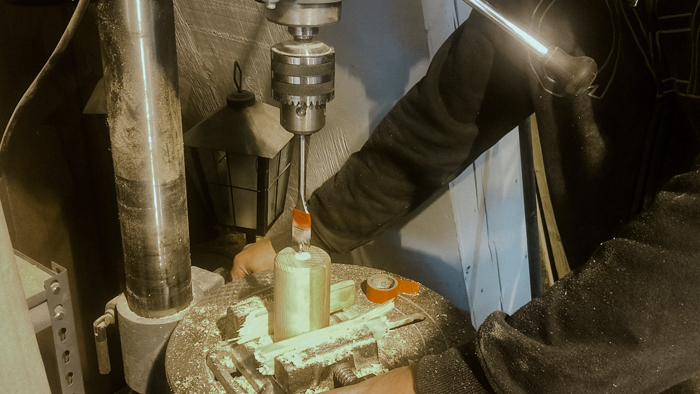
Next, you need to drill the holes for the candlesticks. My candlesticks were 3/4″ thick, which is a pretty standard size, so that’s the size we wanted to drill.
We used the drill press, because it was much more stable than the handheld drill. We only had a spade bit on hand, but a Forstner bit would work even better.
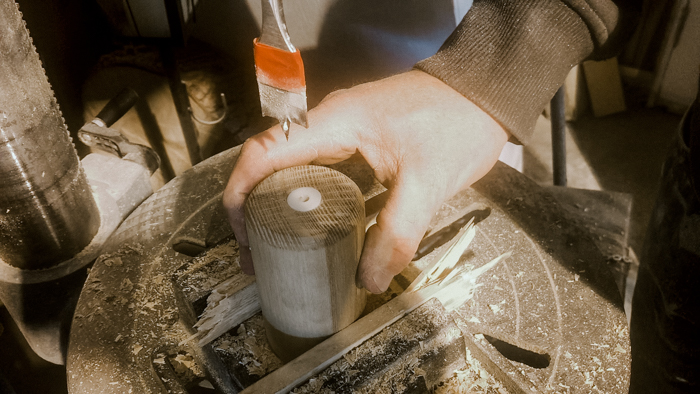
Since we were using the spade bit, and it doesn’t catch as well. We did put the stopper that was originally in the rolling pin, back in, so that it would help stabilize the bit as we lowered it.
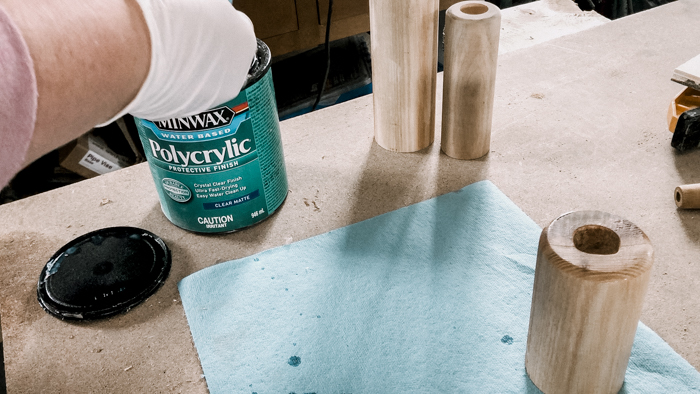
When your candlesticks are ready, you can sand them down, and then stain them any colour you want.
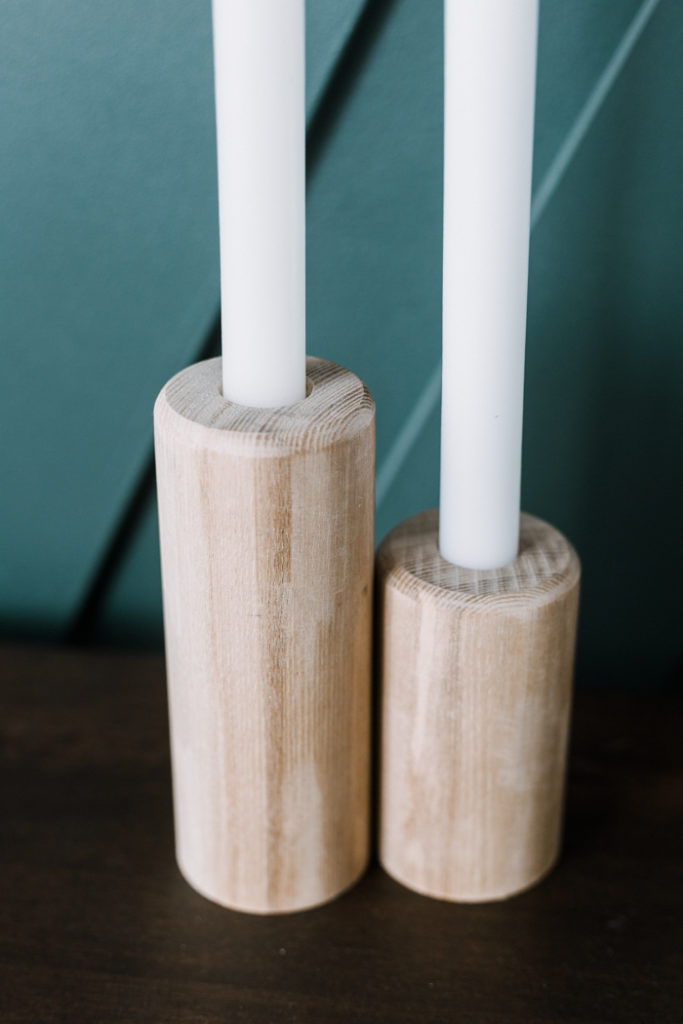
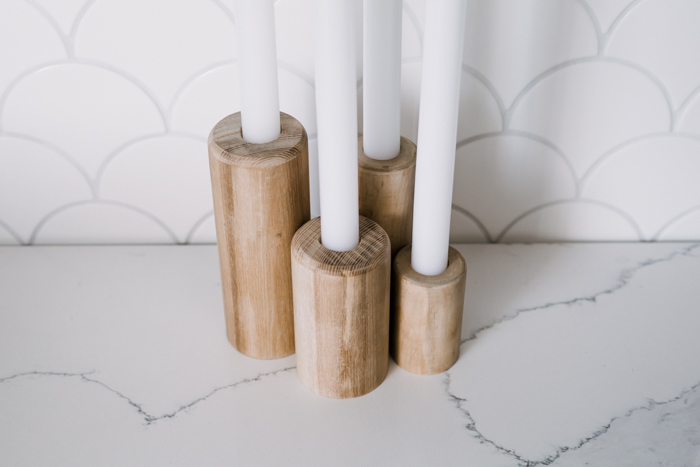
I didn’t stain my candle holders. The main reason was that I was pretty sure that my rolling pins were made out of two different kinds of wood, and I didn’t want the woods to take the stain differently. They looked like a set in their original colour, so I decided to leave them.
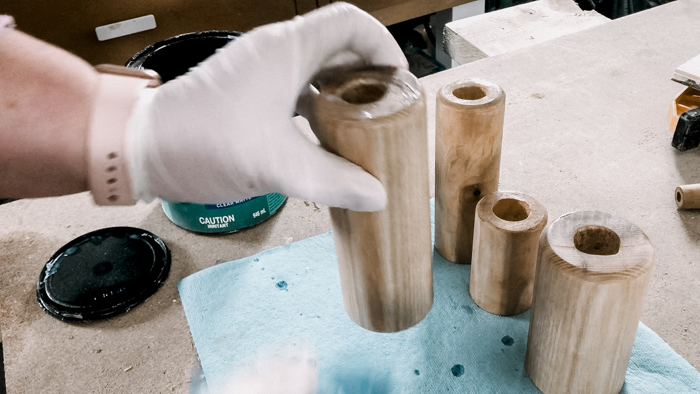
I did apply Polycrylic to them afterwards to help protect them. The finish is perfect because it doesn’t yellow the wood, or change the colouring at all, it just heightens some of the grains in the natural wood.
Our Finished Candlesticks
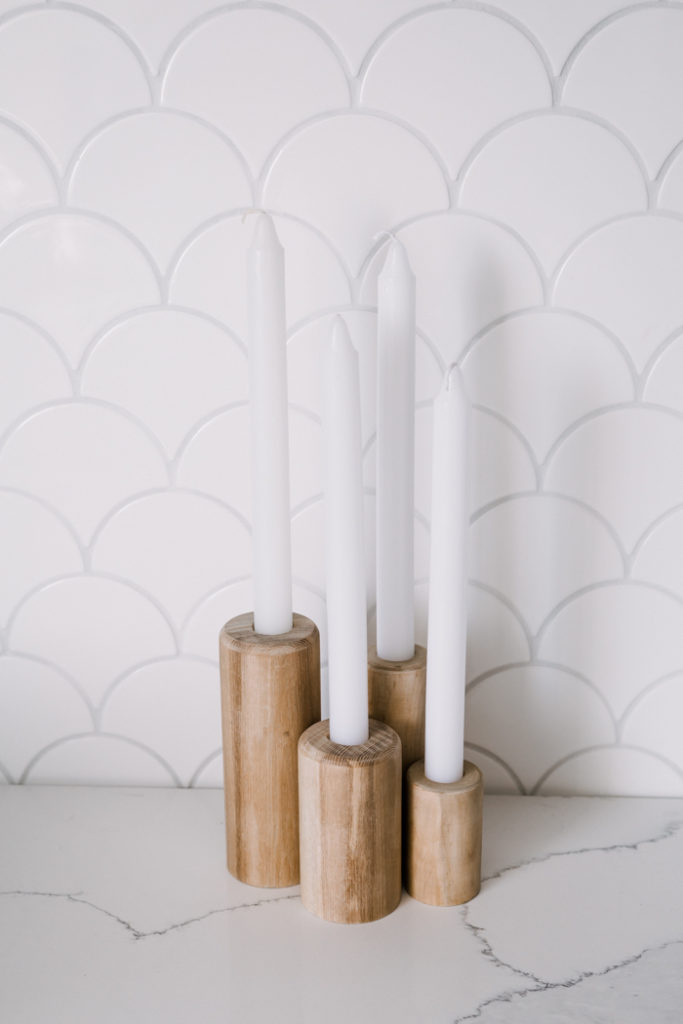
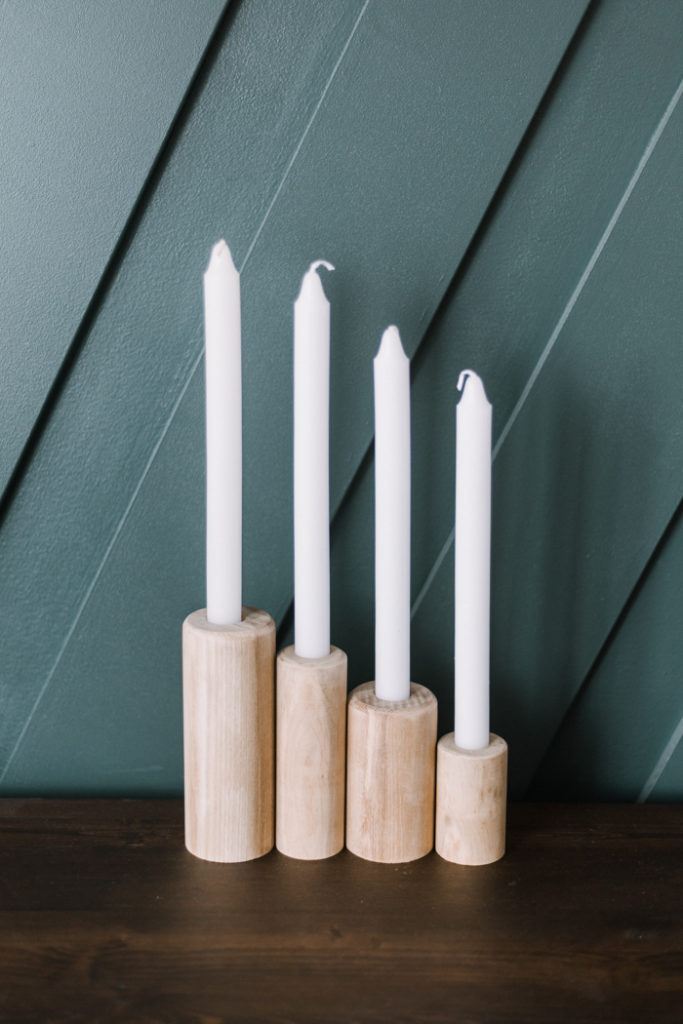
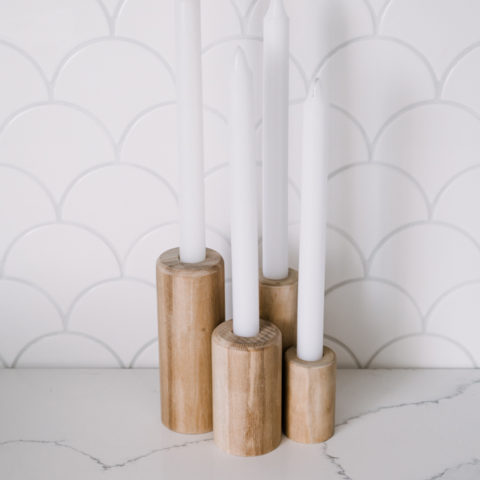
I could not love this project more! I think you could find a rolling pin at almost any thrift store you walk into, and then end result is so beautiful, no one would know that you paid less than $5 for them!
DIY Candlestick Holders
Beautiful DIY Candlestick Holders! Great tutorial for how to make your own stunning wooden pillar candlestick holders with thrift store rolling pins!
Materials
- Rolling Pins (ours are from the Thrift Store)
- Sand Paper
- Polycrylic
- Wood Stain (optional)
- Candlesticks
Tools
- Flathead screwdriver
- Saw
- Drill Press
Instructions
- Remove the handles of your rolling pins. You may need to cut the metal with a metal saw, or pry the wood off with a screwdriver and use a hammer to pull a nail out.
- Measure your rolling pin and decide where you want to cut through to make two candlesticks. We cut ours with a 60/40 split.
- Use a mitre saw to cut the rolling pin into two pieces.
- Use a 3/4" spade bit or forstner bit to drill a hole into the top of your rolling pin, about an inch down from the top.
- Sand and stain your candlesticks in any colour you want. Protect the candlesticks with polycrylic.
Recommended Products
As an Amazon Associate and member of other affiliate programs, I earn from qualifying purchases.
If you’re looking for another great Thrift Store Makeover, try this DIY Pillow Cover!

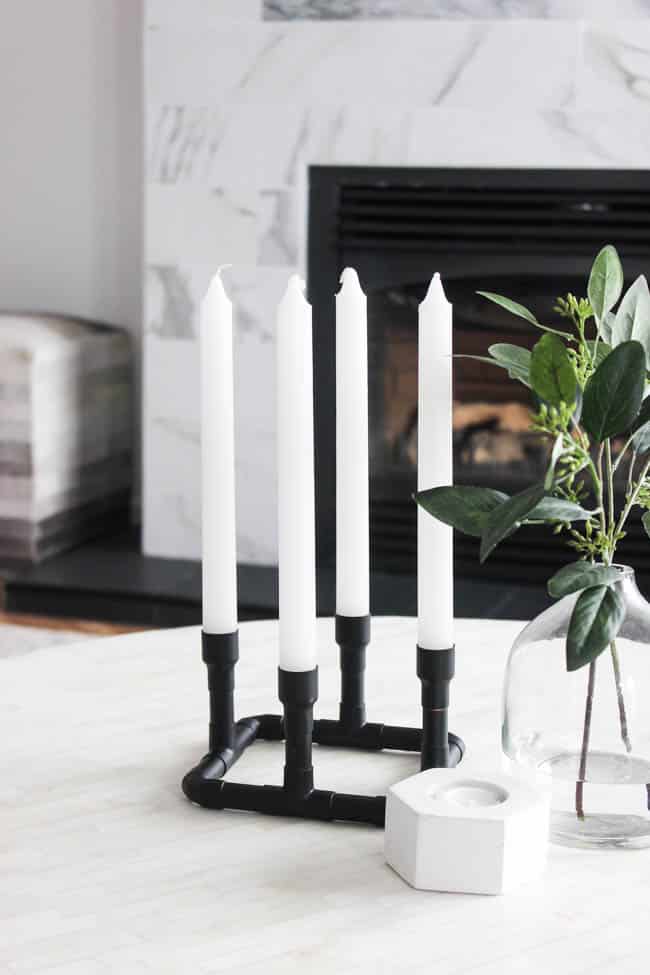
Looking for another candlestick design? Try these ones made from copper pipe!


Jenelle
Saturday 11th of April 2020
Interesting ideas for this quarantine days. I would love to try once. Thank you Lindi for this nice share!