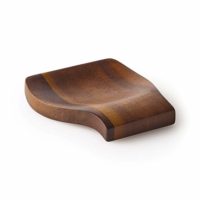
Beautiful DIY Wooden Spoon Rest! Make your own with this simple tutorial! Love this unique piece that fits any style from farmhouse to modern home!
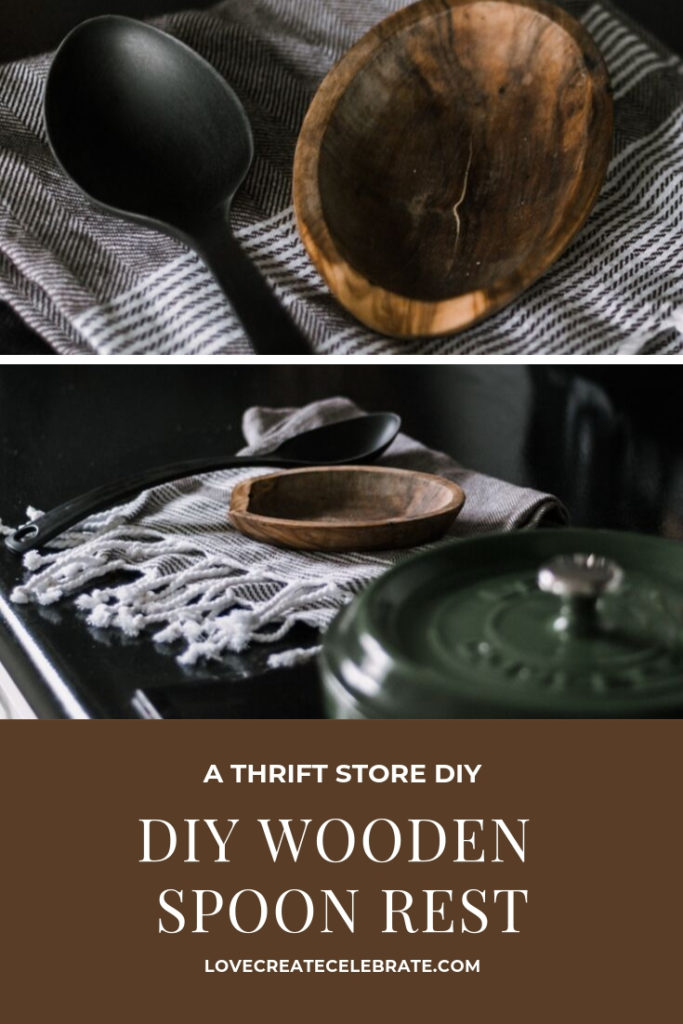
Today is a fun day. I’m sharing a thrift store DIY! I’m joining some friends (who are all linked at the bottom of the post!) to share our DIY upcycles from thrift store finds. If you’re new here, you will quickly find out that I love taking things (anything really!) and transforming them into something amazing and new. That’s why when I hit the thrift stores this month, I was totally bummed to be completely lacking inspiration. I went to FIVE thrift stores and came back empty handed (except for one simple spray paint project that you can see in my home tour next week!). So I took one final trip and found something that I knew would make the perfect DIY Wooden Spoon Rest – just in time for fall!
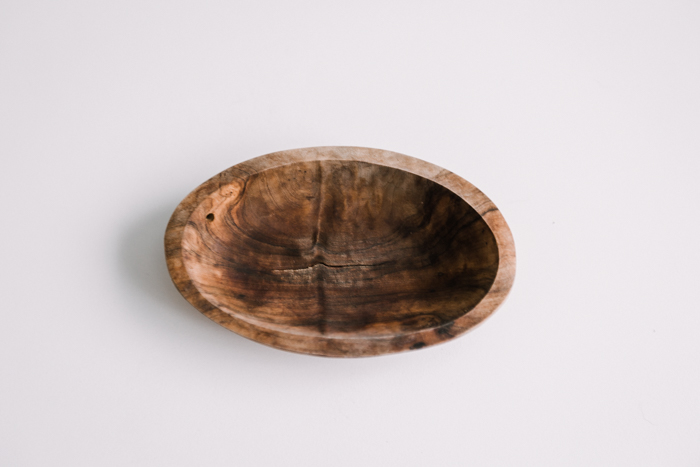
So this is the bowl I found. I was actually searching for a bowl bowl, and found this instead. It’s a old soap dish, and it’s even more perfect for this project. It’s a little worn out, but still totally functional. Honestly, I probably could’ve just left it like this and used it as a spoon rest because of how shallow it was, but I really wanted the iconic dip at the edge and I was sure that I could add one easily.
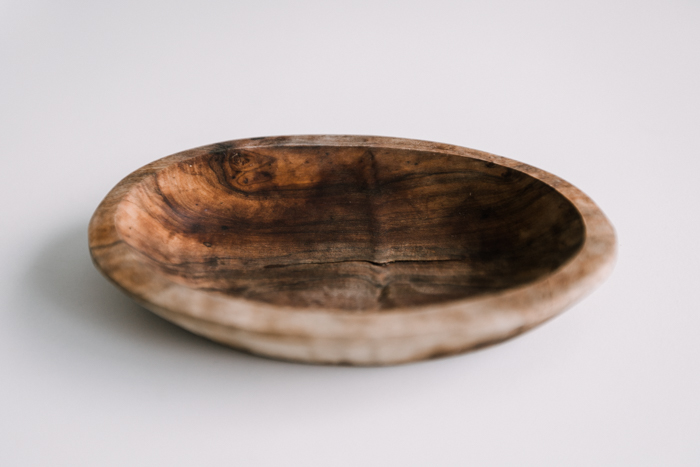
Tools and Materials Needed for Your Spoon Rest DIY
Honestly, this DIY couldn’t be easier! And it only requires a couple of supplies…
- Thrifted wooden bowl
- Oscillating sander (optional)
- Orbital Palm Sander
- Sandpaper
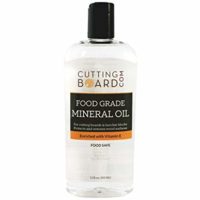
- Mineral Oil
How to Make a Wooden Spoon Rest
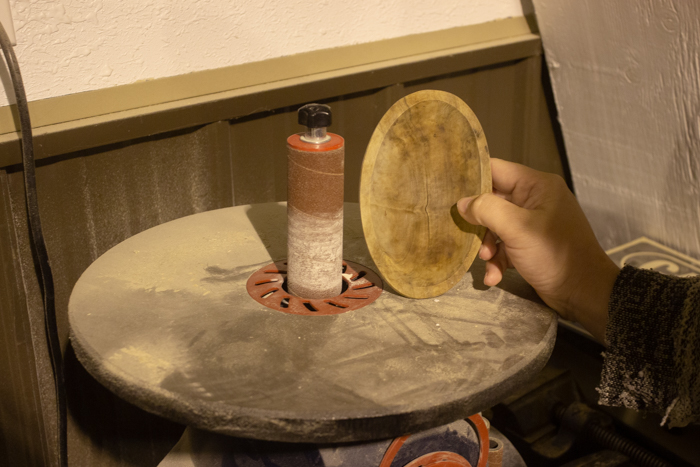
There were a few stuck-on marks, etc, so the first thing I did was give the bowl a good clean. When I was done that, it was time to sand down the edge and make this soap bowl into a spoon rest!
We are lucky enough to have an oscillating sander that we could use for this. If you’ve never used a sander like this one, it basically spins around, while moving up and down. It makes it really easy to sand nice rounded edges and keep everything smooth.
I just placed my bowl at the base of the sander, making sure to only press the bottom edge of the bowl against the sand paper, and carefully sanded the bottom edge.
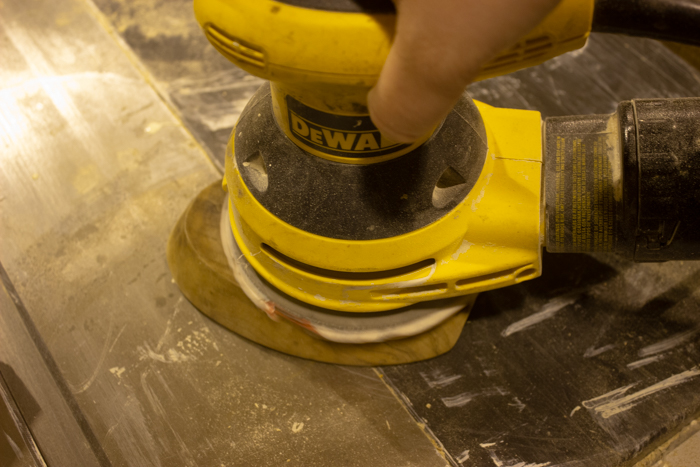
If you do not have an oscillating sander, you can use an everyday orbital sander instead. you have to carefully run it along the bottom edge that you want shaped.
Clamp your bowl to a table if you can, so that you have better control of the hand-held sander, and better control and the angles and speed.
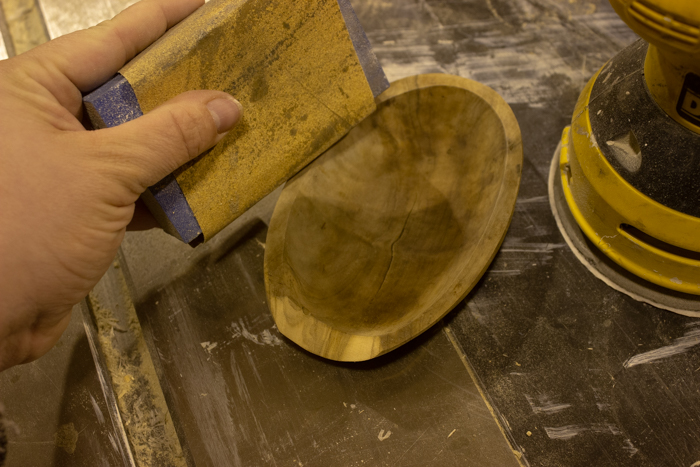
Use a combination of the orbital sander and sandpaper to give the entire piece a light sand. Smooth out any edges that weren’t sanded smooth already.
After your piece is sanded, you should lightly coat it in mineral oil. This will help protect the wood, and is also food safe (it’s the same thing we use on cutting boards). Just use paper towel of a shop rag to rub the mineral oil around all of the surfaces of the spoon rest.
Our Finished DIY Wooden Spoon Rest
I love this DIY! I always try to do pieces that are seasonal and this DIY is perfect for fall. With all of the seasonal soups and warm meals that are about to get cooked, you couldn’t ask for a better piece of autumn decor for your counter.
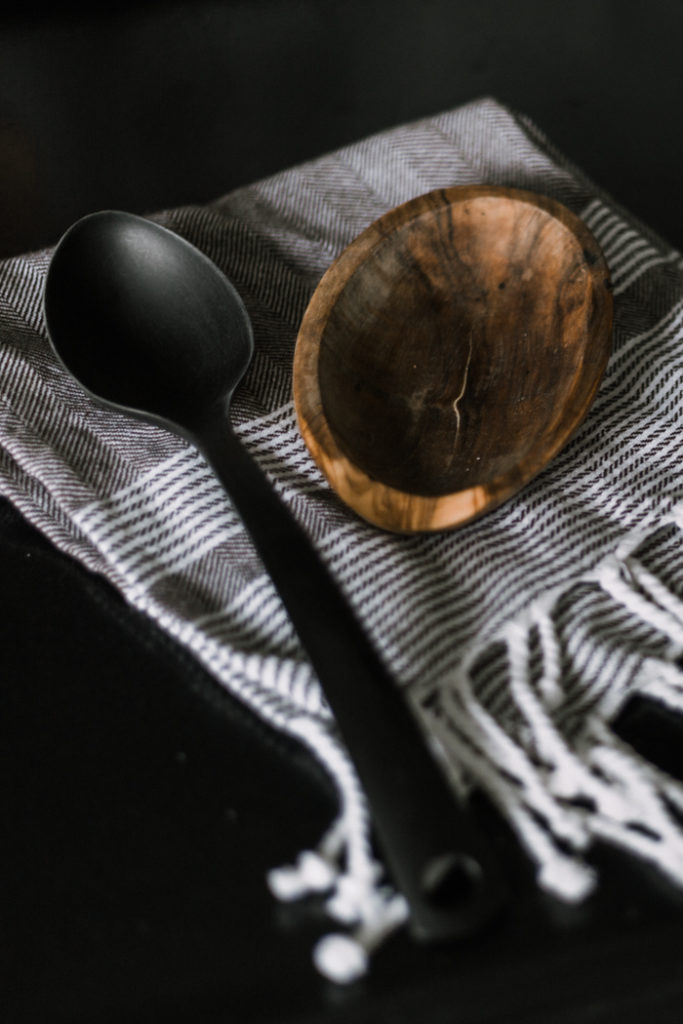
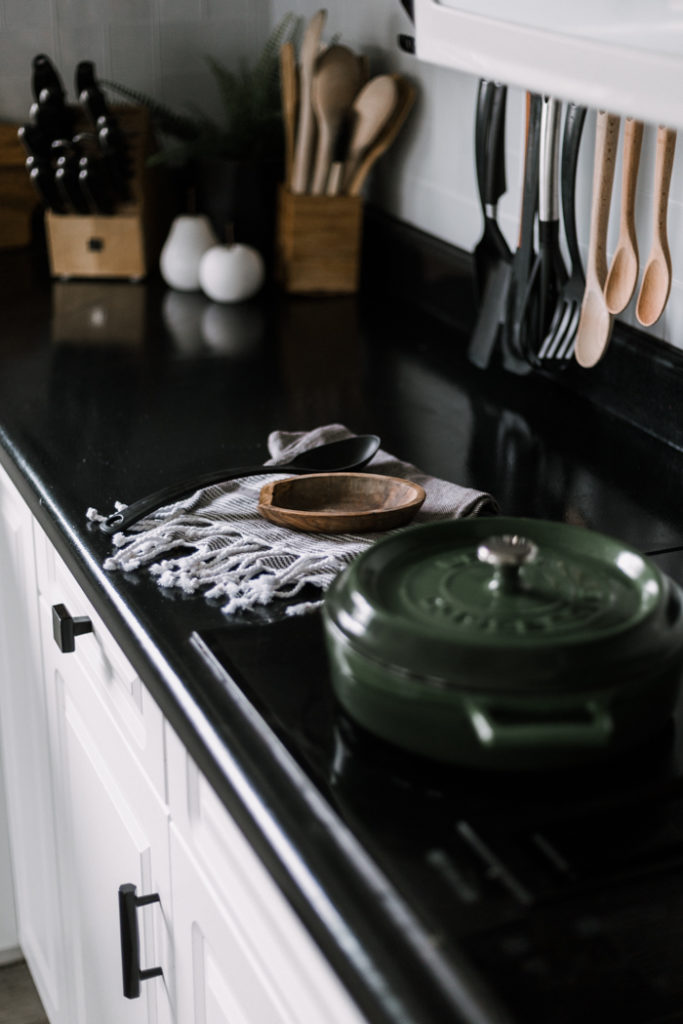
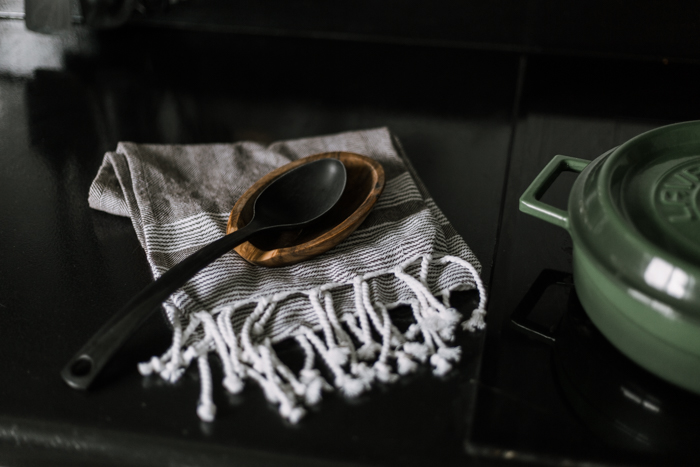
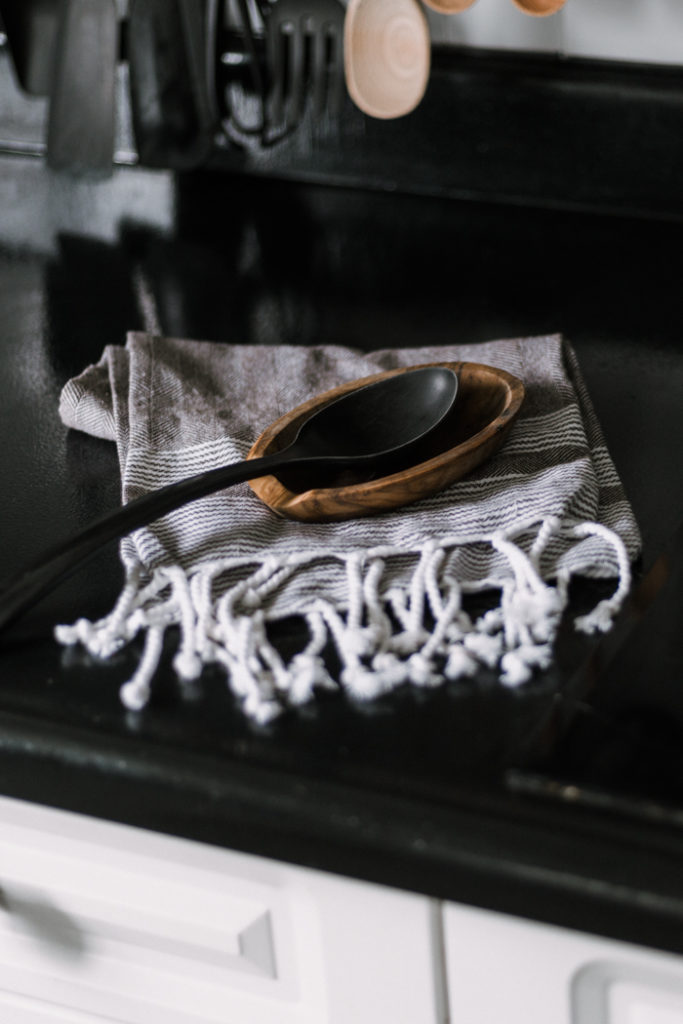
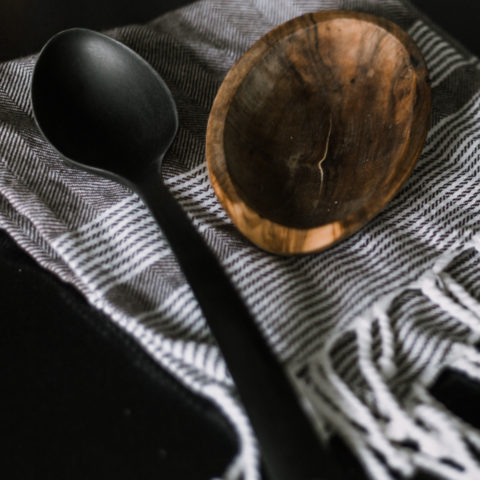
DIY Wooden Spoon Rest
Beautiful DIY Wooden Spoon Rest! Make your own with this simple tutorial! Love this unique piece that fits any style from farmhouse to modern home!
Materials
- Thrifted Wooden Bowl
- Mineral Oil
- Sandpaper
Tools
- Oscillating Sander (optional)
- Orbital Sander
Instructions
- Clean wooden bowl thoroughly.
- Use oscillating sander to sand a perfect groove into the edge of your bowl. Deep enough that a spoon could rest comfortably on top.
- If you do not have an oscillating sander, you can use an orbital (palm) sander, being careful to move it constantly so that your finish is smooth.
- Use sandpaper to clean off the edges and smooth them off nicely.
- Wipe down entire spoon rest with mineral oil so that it is safe for handling food, etc. in the kitchen.
Notes
This was made using a simple wooden bowl from the thrift store!
Recommended Products
As an Amazon Associate and member of other affiliate programs, I earn from qualifying purchases.
Don’t forget to check out the other thrift store DIY projects!
Amber Oliver – How to Turn Dresser Drawers into Shelves
At Charlotte’s House – Flea Market Mirror Makeover
Green with Decor – Painted Christmas Village House
Love Create Celebrate – DIY Wooden Spoon Rest
Love & Renovations – Little Tikes Toy Makeovers
Small Stuff Counts – DIY Pegboard Broom Organizer
Within the Grove – DIY Book Bin
If you’re looking for more thrifted DIY projects, check these out:








Meg Green With Decor
Monday 16th of September 2019
This is so cute!! I love the pretty dark color!
Charlotte Smith
Monday 16th of September 2019
So cute! And because I don't cook... it would look this clean forever! :)
Lindi
Monday 16th of September 2019
Hahahah! Mine will likely get dirty, lol. But it's super easy to clean!
Sarah
Monday 16th of September 2019
I love this so much (also, I loooove these moody photos!!). I had my mom bring me back a couple Hearth & Hand spoon rests from Target because I couldn’t find just a simple one like this.
Lindi
Monday 16th of September 2019
Oh darn! Well... if you ever need another one - here's how to do it! lol
Thrift Shop Challenge: DIY Book Bin - Within the Grove
Monday 16th of September 2019
[…] with Decor – Painted Christmas Village HouseLove, Create, Celebrate – DIY Wooden Spoon RestLove & Renovations – Little Tikes Toy MakeoversSmall Stuff Counts – DIY […]
How To Turn Dresser Drawers Into Shelves | Amber Oliver
Monday 16th of September 2019
[…] Love, Create, Celebrate – DIY Wooden Spoon Rest […]