Paint a room in less than 30 minutes! We’ll show you how to finish your playhouse interior with a paint sprayer the quick and easy way!
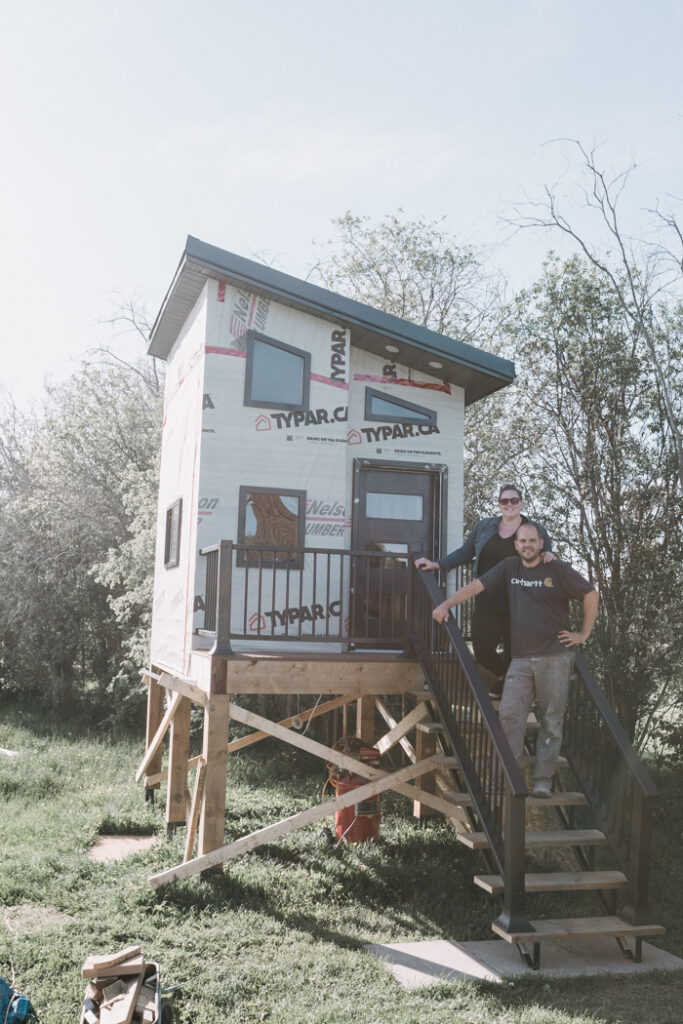
If you’ve been following along with our playhouse build, then you already know that we finished 90% of the playhouse exterior and sealed up the house last week! We’ve only got a couple of weeks left to renovate and we are finally moving inside. This week we’re going to show you how to finish a playhouse interior to get a beautiful modern finish!
*This post was sponsored by Wagner and may contain affiliate links. Thank you for supporting our blog so that we can continue to bring you posts like these. For more information, please see our disclosure page.*
We are in the middle of a six week renovation challenge called the Jeffrey Court Renovation Challenge. We have six weeks to makeover a space, and we chose to build this amazing playhouse. The challenge is hosted by Jeffrey Court, along with Behr Paint and Frogtape!
If you think it’s amazing that we’re building a tiny home in six weeks, then PLEASE vote for us!
VOTE HERE FOR LOVE CREATE CELEBRATE!
Thank you so much!
Catch up on How We Finished Our Playhouse Interior in the Video
We’ve been sharing weekly videos of our playhouse progress! In this week’s video, we share how we were finishing the interior of the playhouse to give it a beautiful modern look! We also get a sneak peek at our kids trying out their new furniture, and the we gave the playhouse a name!
See it all here:
And don’t forget to subscribe to our channel!
How We Finished the Playhouse Interior
While we were super excited to be moving inside the playhouse, there is still a ton of work to get done! Boarding up the walls, painting, tiling, adding railings and ladders to the loft, etc. etc.
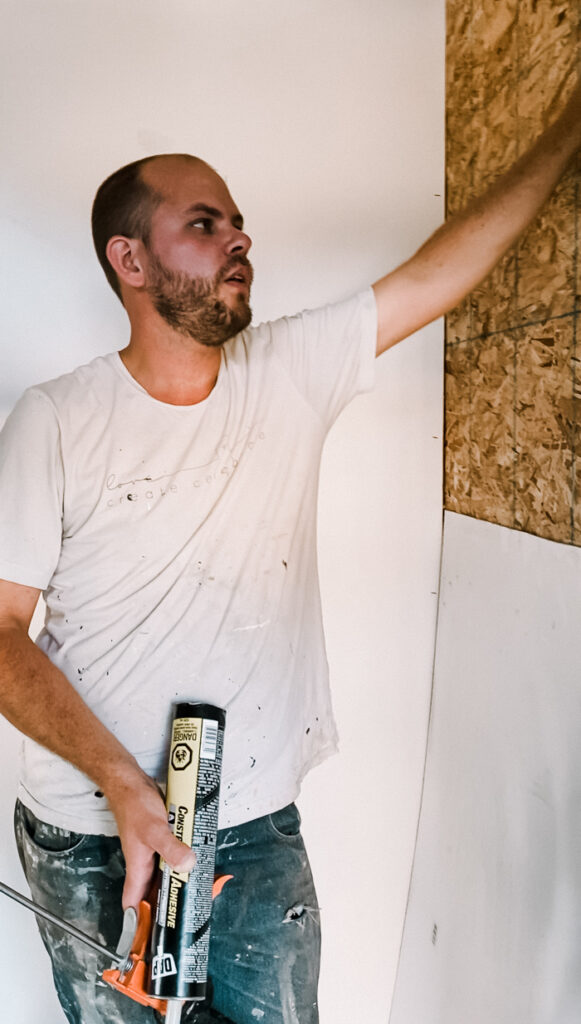
We started by board up all of the walls. And if it feels like we didn’t accomplish all that much this week, it’s because boarding up the walls took a long time.
We decided to board up the house with hardboard instead of drywall, because it would actually stand up better, and was faster to finish. We’ll never be able to get really smooth seams with hardboard, but it’s a playhosue so we weren’t being too picky, lol.
A couple of the walls needed a bit more structure than hardboard. We wanted to put up particle board behind the wall that we were tiling on because we didn’t think the hardboard could handle the weight of the tile.
We also wanted to add particle board behind another wall that would be getting rocks for a rock climbing wall. We knew that the hardboard wouldn’t be enough structure for the rocks to tie into securely.
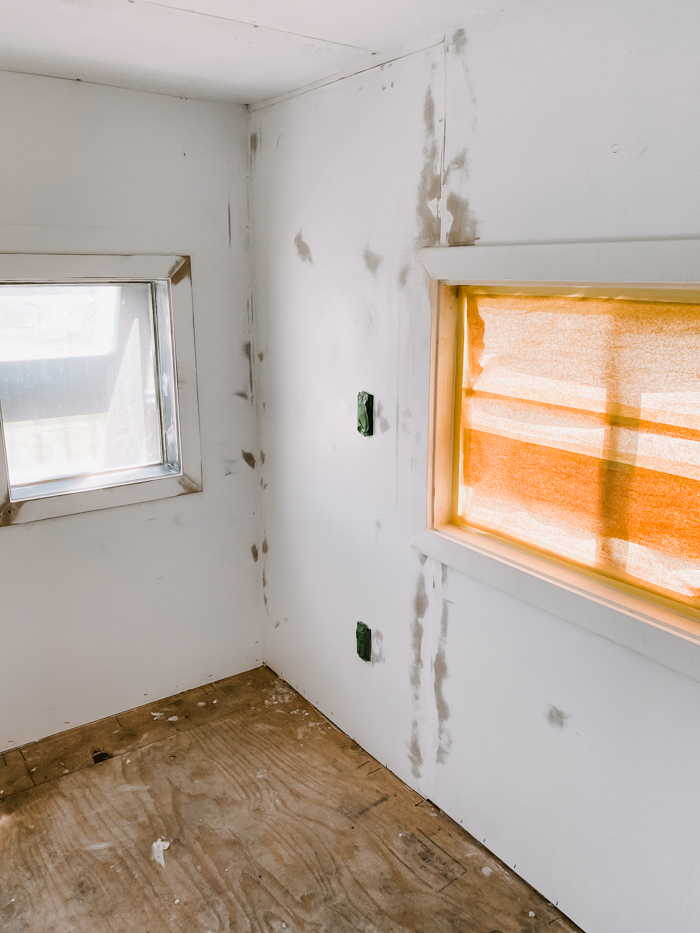
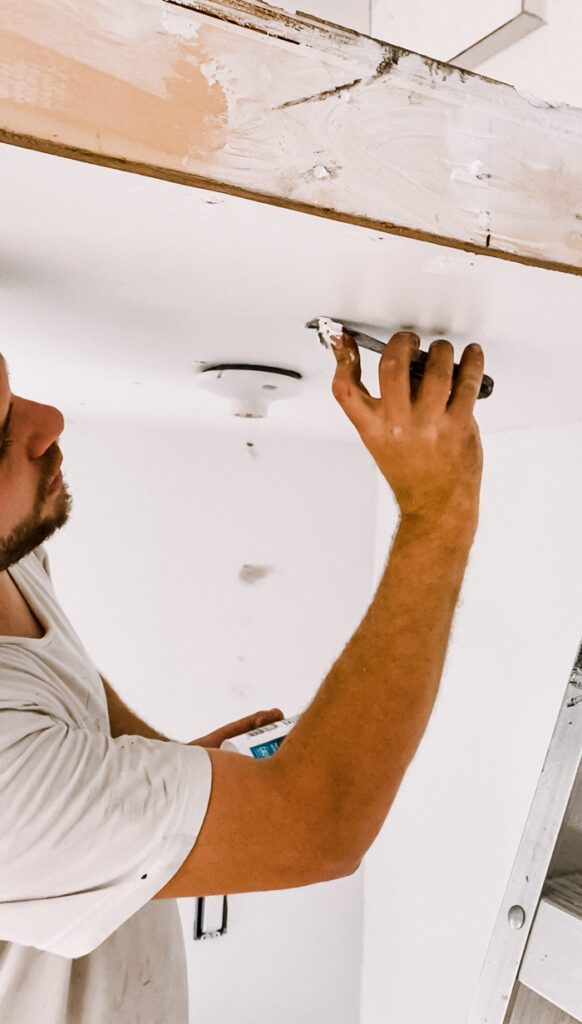
Once all of the boards were up, we trimmed out the windows, framing them beautifully, and then we got ready to paint.
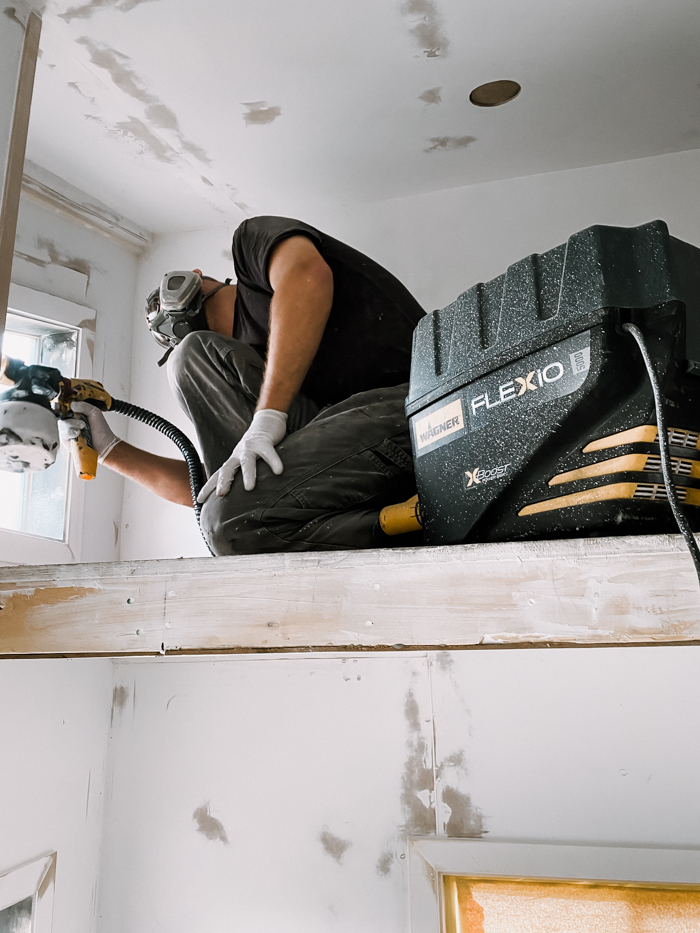
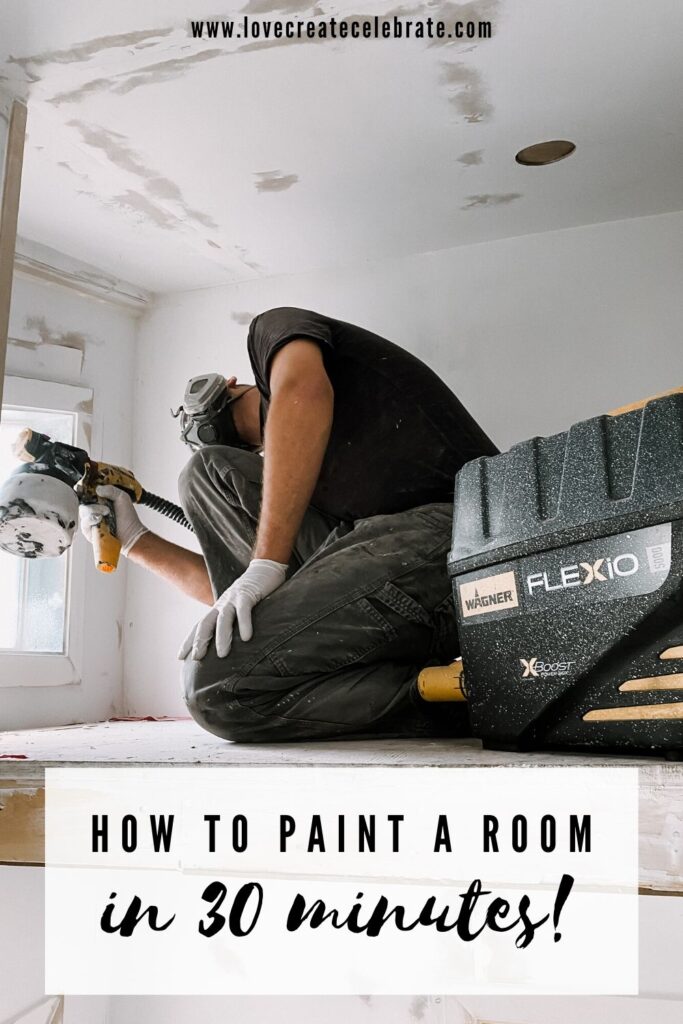
We used our Flexio 5000 to paint the entire interior because it’s so fast and easy. We had to do a prime coat first, then wait at least an hour and then paint the final coat.
We sealed up all of the windows, and the door opening. All of the prep work took about 30 minutes total.
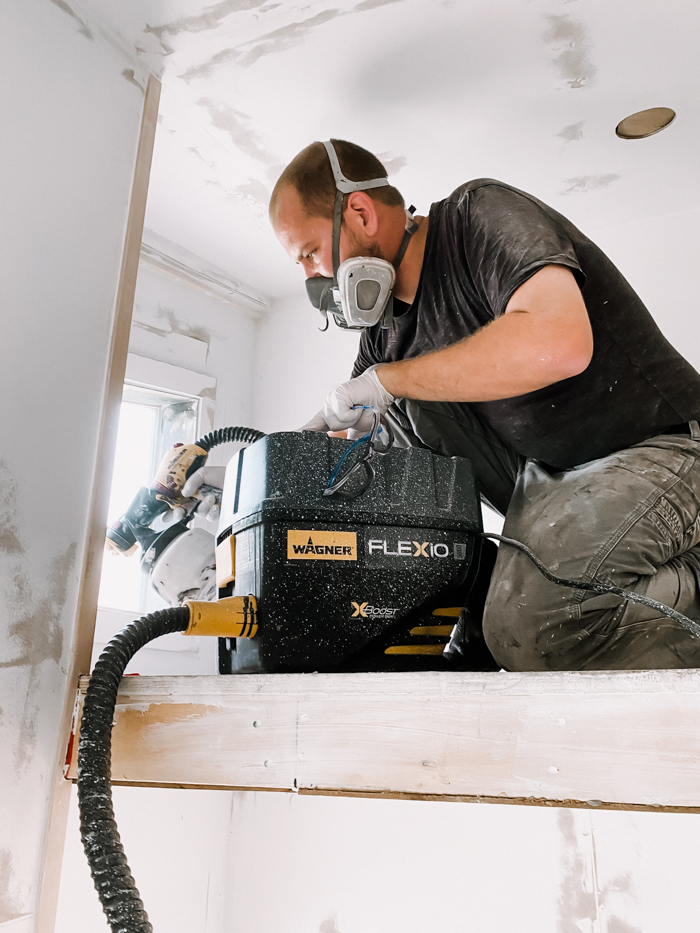
We used the Flexio 5000 with the Kilz primer, which went on so nicely! Sometimes you have to water down primer when going through a paint sprayer because it’s usually thicker. We were painting on a humid day and we did have to add a little water to thin out our primer, and then we sprayed the whole playhouse easily.
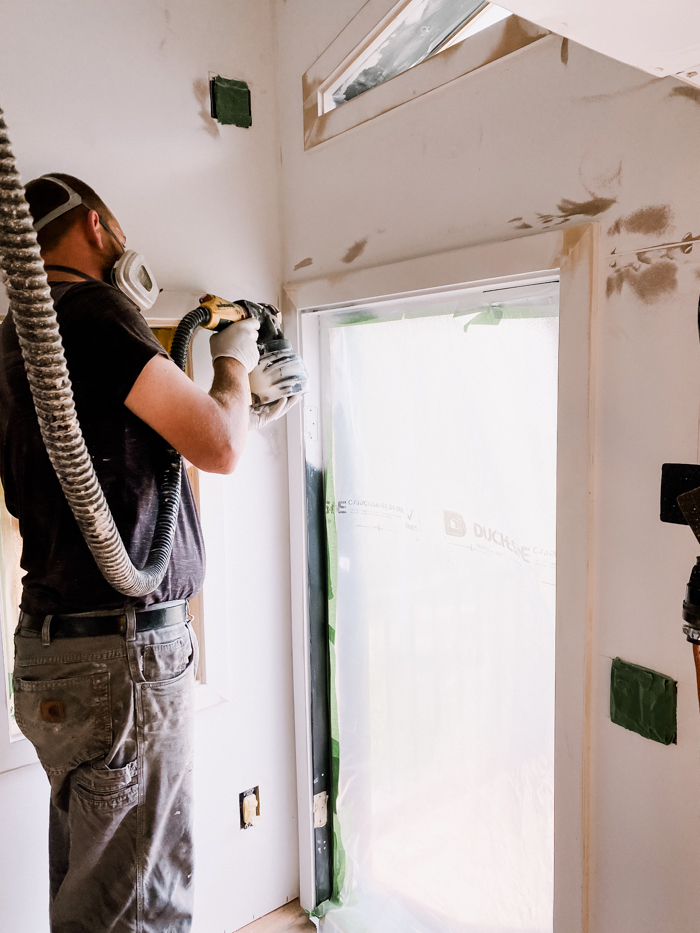
Once the primer coat was done and set, we used the Flexio 5000 to spray the paint. We used the colour Bit of Sugar by Behr paint and it looks amazing on the walls!
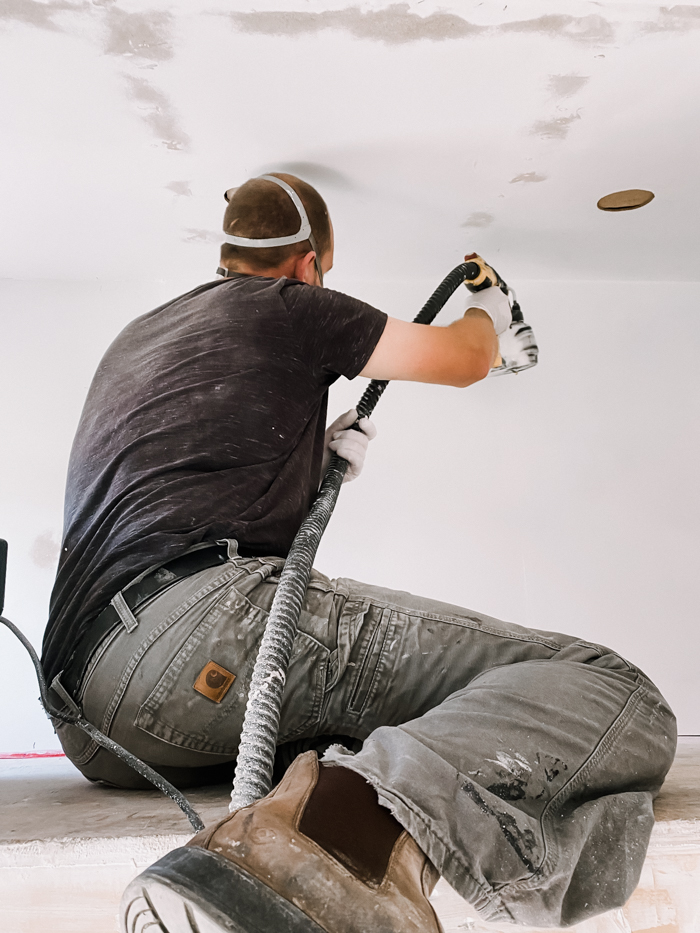
We only did one coat of primer and one coat of paint, and it was definitely enough.
If you’ve never seen a paint spray in action, here’s how to use it:
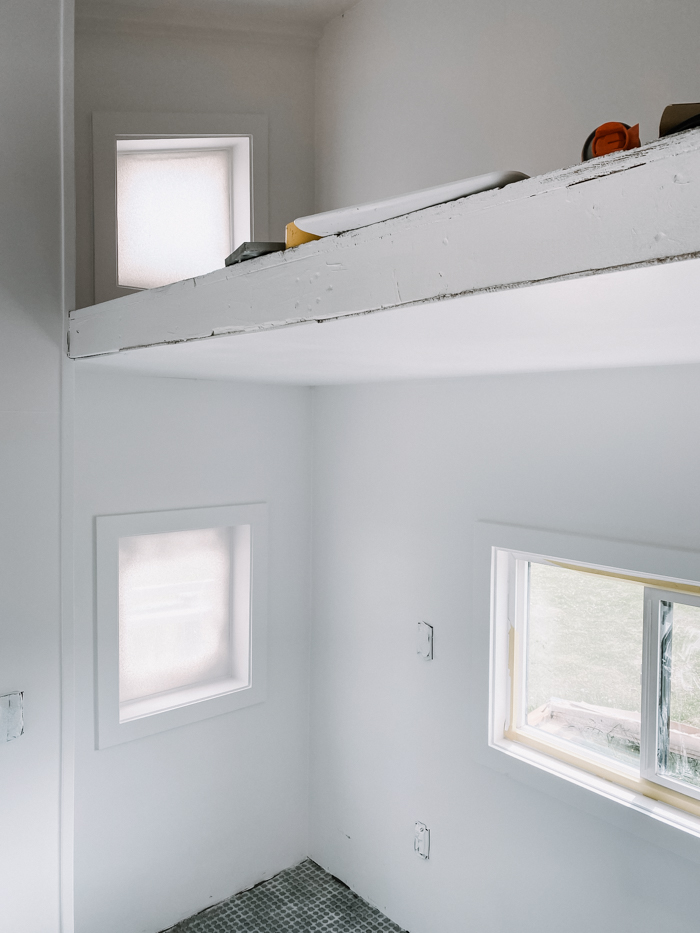
The interior looks soooo good! The paint went on smoothly, and the colour is light and bright! We couldn’t ask for anything more!
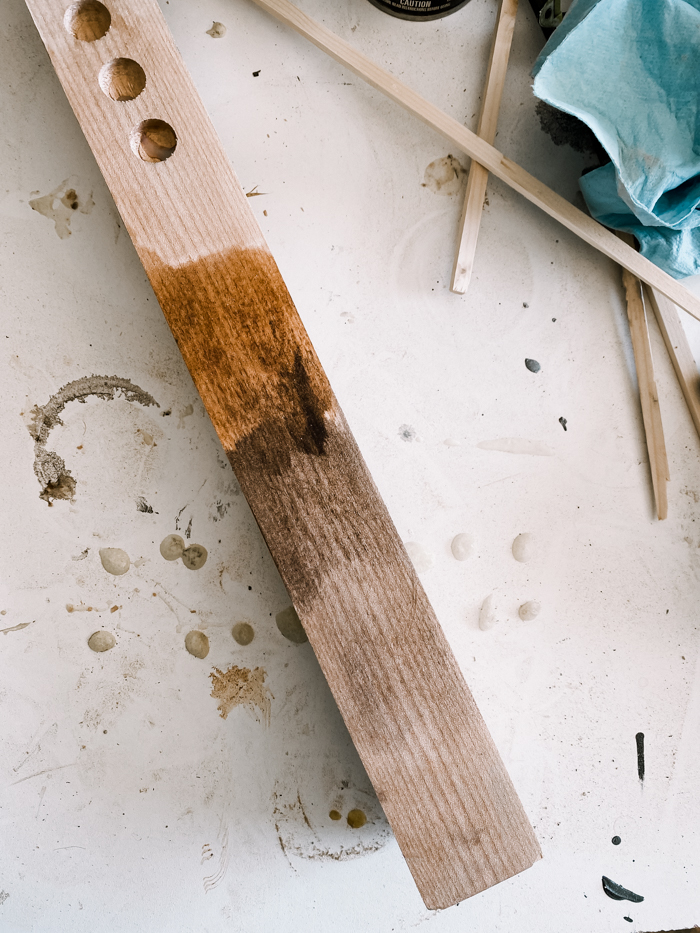
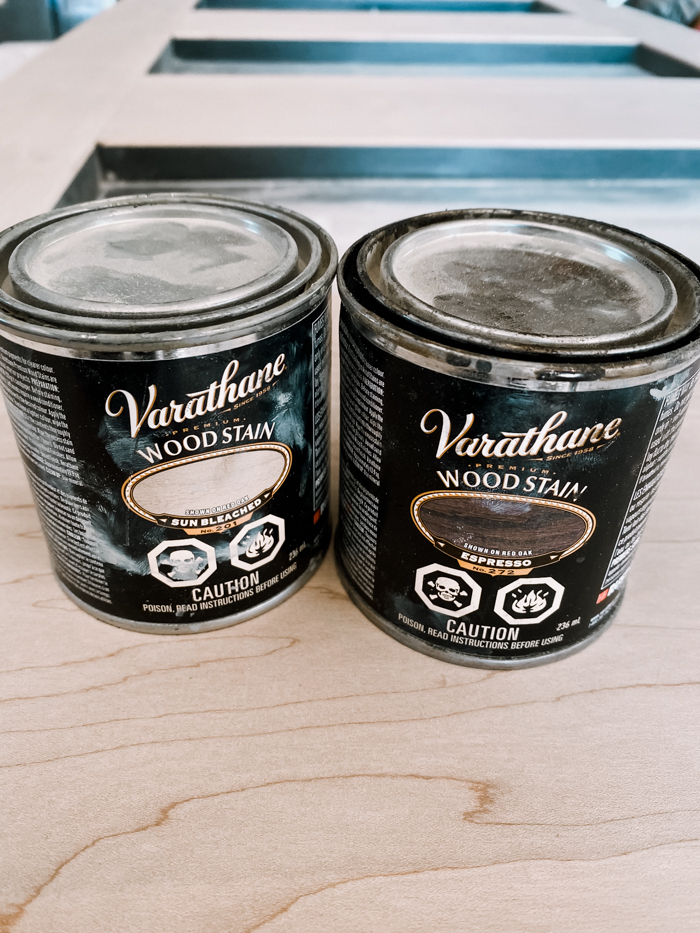
Next, we had to finish the interior of the door. We sampled a few different stain options, and then choose to go with the stain sunbleached, and added espresso overtop.
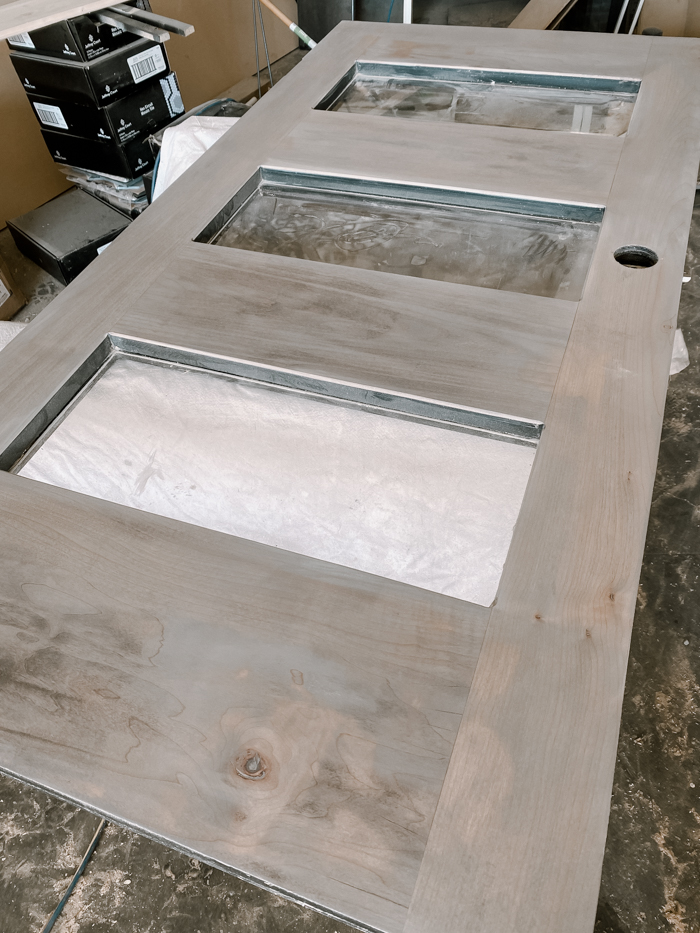
When we added the stain duo onto the door, it was a little darker and more grey then we thought it would be, but it looks amazing against the black on the other side.
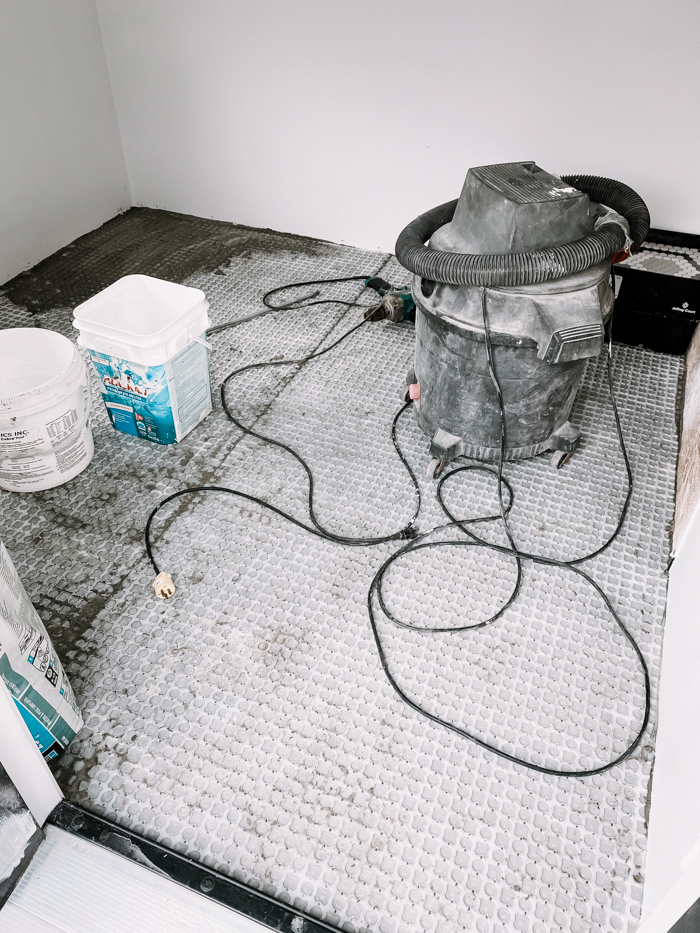
Finally we laid down the membrane to get ready for tile. We laid the membrane first because we are using a mosaic tile on the floors.
Exciting Interior Deliveries
Finally we had a few fun deliveries this week that we wanted to share.
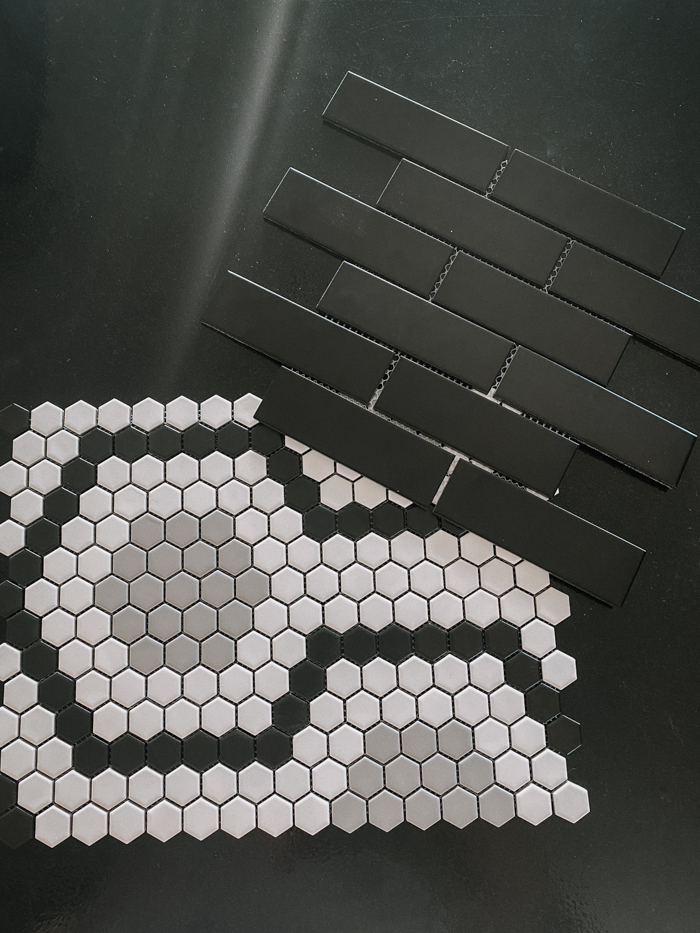
We had our tiled delivered and are so excited to install it! Where better can you put a beautiful bold hexagon mosaic tile than in a kids space!
The mini black subway tiles are for the “backsplash” in the miniature kitchen and I can’t imagine a cuter tile for the space.
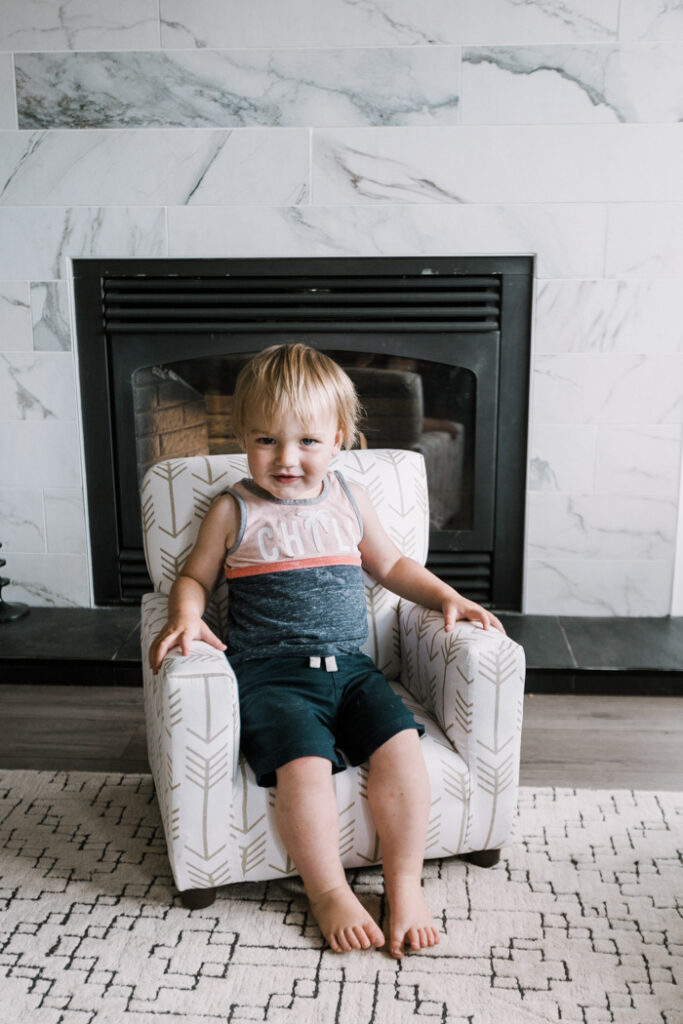
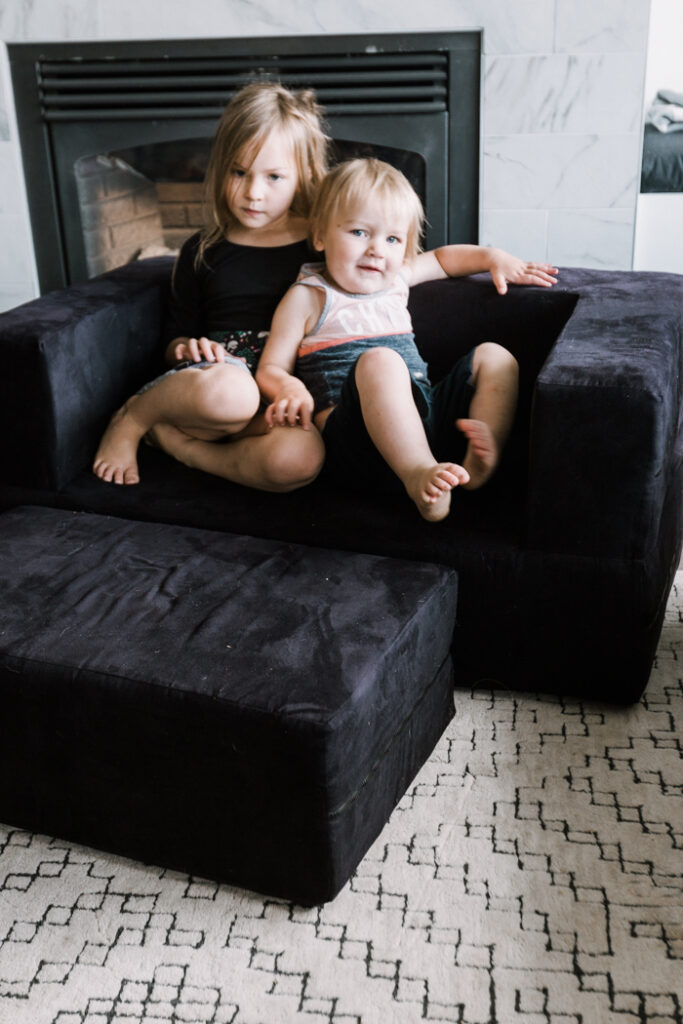
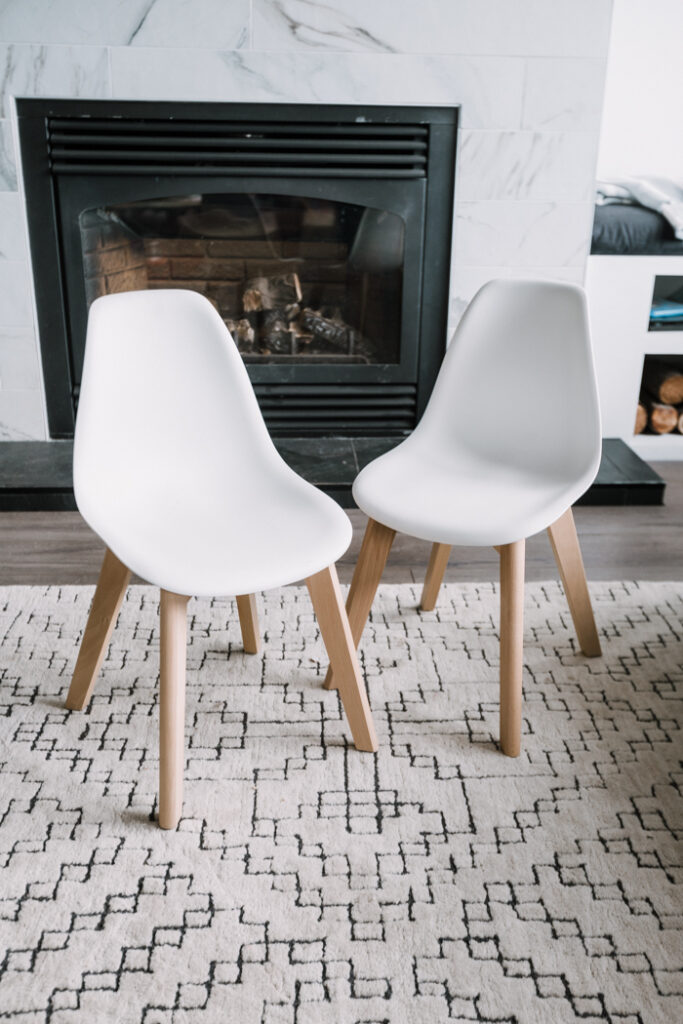
All of our miniature furniture also arrived! The kids were so excited to try out all of their new furniture, and I was more than excited to unwrap it all! These little pieces will be in the playhouse next week!
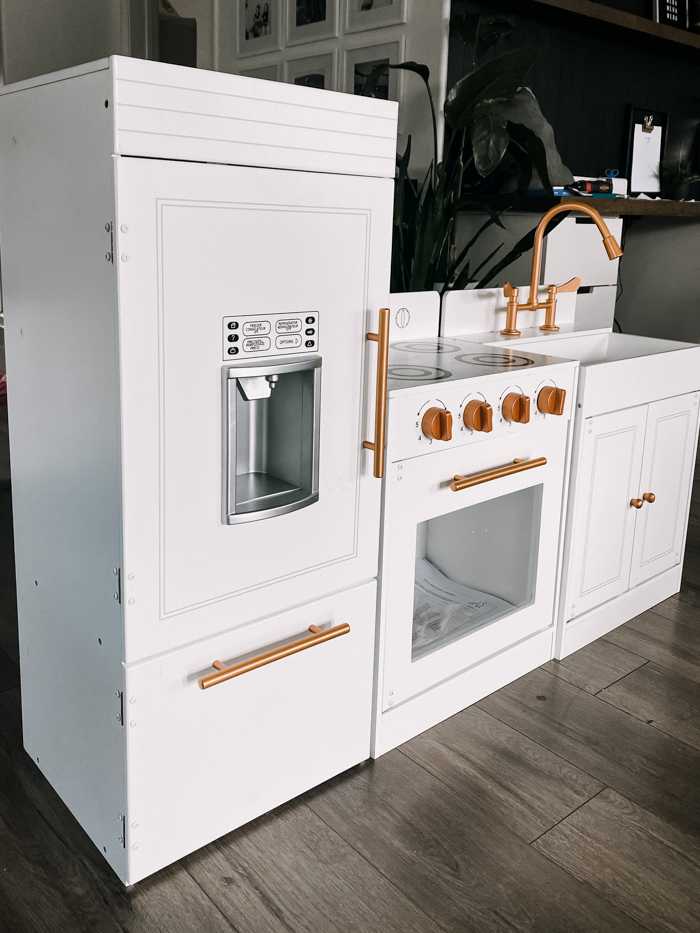
And last but not least, here’s the mini kitchen! My husband and I are basically living vicariously through our children these days. So excited to see it all come together next week!
Here’s how we’re doing after three weeks of building:
Build Frame of PlayhouseInstall FoundationRaise Playhouse onto foundationDeck and railingBuild Mini DoorFinish ExteriorInsulate InteriorInstall WindowsFinish DeckPaint the interiorOrder kids playhouse furniture- DIY Bench inside
- DIY Light Fixture inside
- Tiling
- Paint/design Feature wall
- Furnish and style
If you made it all the way here and you haven’t voted for us, remember that you can vote once a day!
–> VOTE HERE! <–
Want to catch up on everything?
- Playhouse Week 1: Design Plans
- Playhouse Week 2: Raising the Playhouse, plus Deck, Door, and Railings
- Playhouse Week 3: Making it watertight
- Playhouse Week 4: Painting and finishing the interior
- Playhouse Week 5: REVEAL!

