An amazing DIY Raised Playhouse! Come follow the journey as we build the Ultimate Kids Outdoor Playhouse! With design plans and build plans.
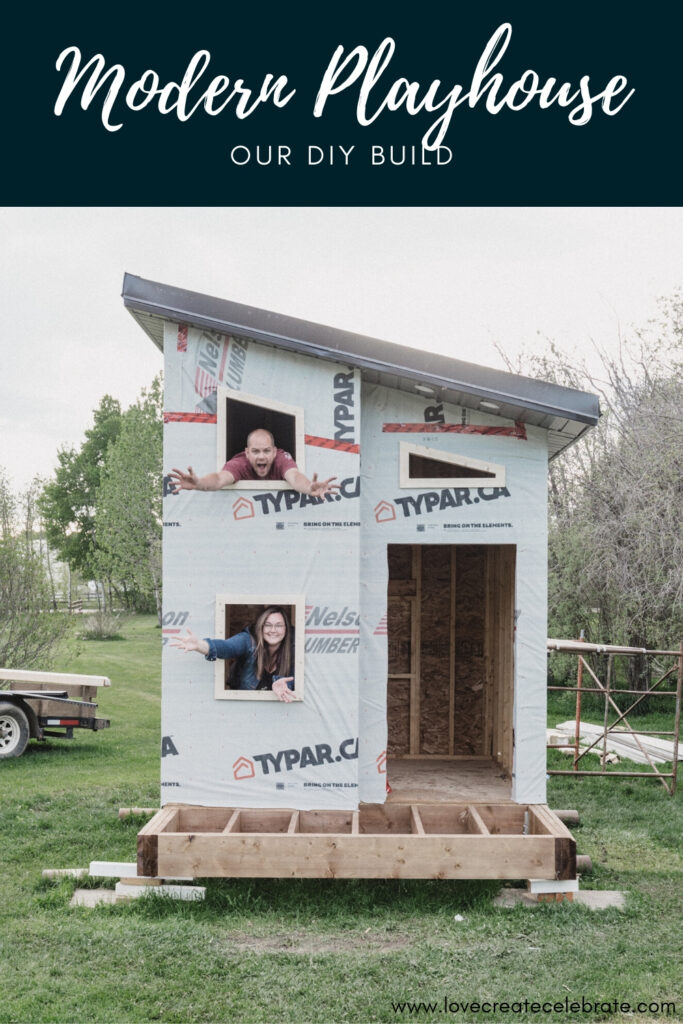
I’m not exaggerating when I say that this is probably the funnest build we’ve ever done! Last week I shared our design plans, and this week I’m sharing how we got from those plans to what we have now: a RAISED playhouse!
*This post was sponsored by Schlage and may contain affiliate links. Thank you for supporting our blog so that we can continue to bring you posts like these. For more information, please see our disclosure page.*
THIS IS THE FIRST WEEK OF VOTING! DON’T FORGET TO VOTE FOR LOVE CREATE CELEBRATE! You can vote once a day if you want!
We got a lot done in just a couple of weeks. And honestly… we’ve a little bit exhausted already. But we only have 6 weeks to pull off this whole build so we’re pushing onward!
As a reminder this is part of our Jeffrey Court All-Star Renovation Challenge! Where we renovate a space with the help of Jeffrey Court, Behr Paint, and FrogTape, who are all providing materials for our build projects.
This week we tackled the framing, raised up the playhouse, AND built a mini modern door and railings.
VLOG UPDATE: Building our Raised Playhouse!
This is week two of our playhouse build and of course, we captured all of it on YouTube!
Scroll below to see the progress and see how far we got on our to-do list.
Building the Playhouse Frame
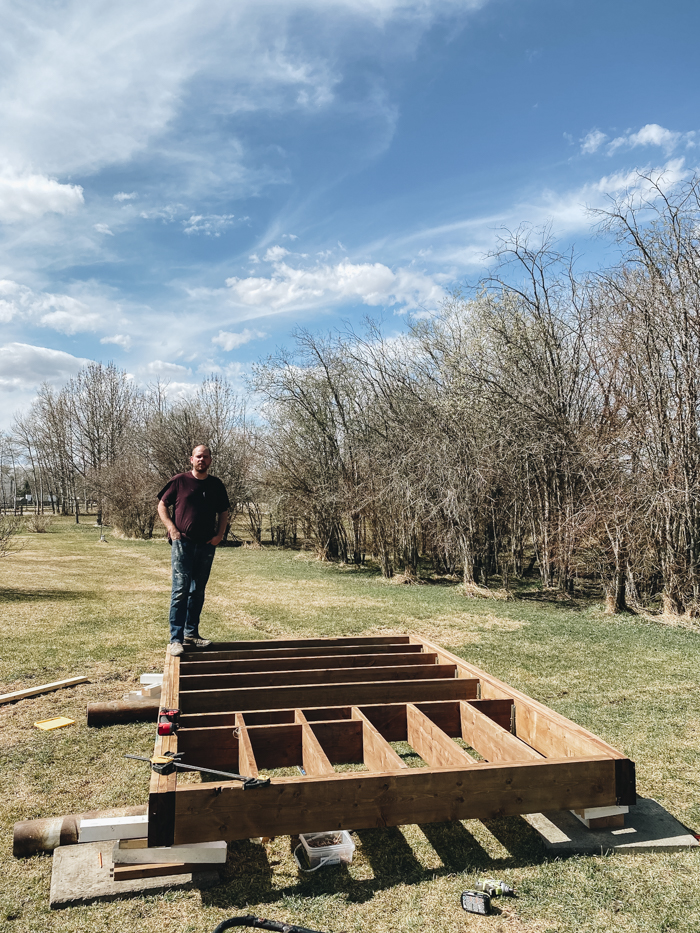
Our first week was all about framing and building! We started by laying down a couple of large steel pipes so that we would be able to easily get underneath the playhouse when we want to raise it later on!
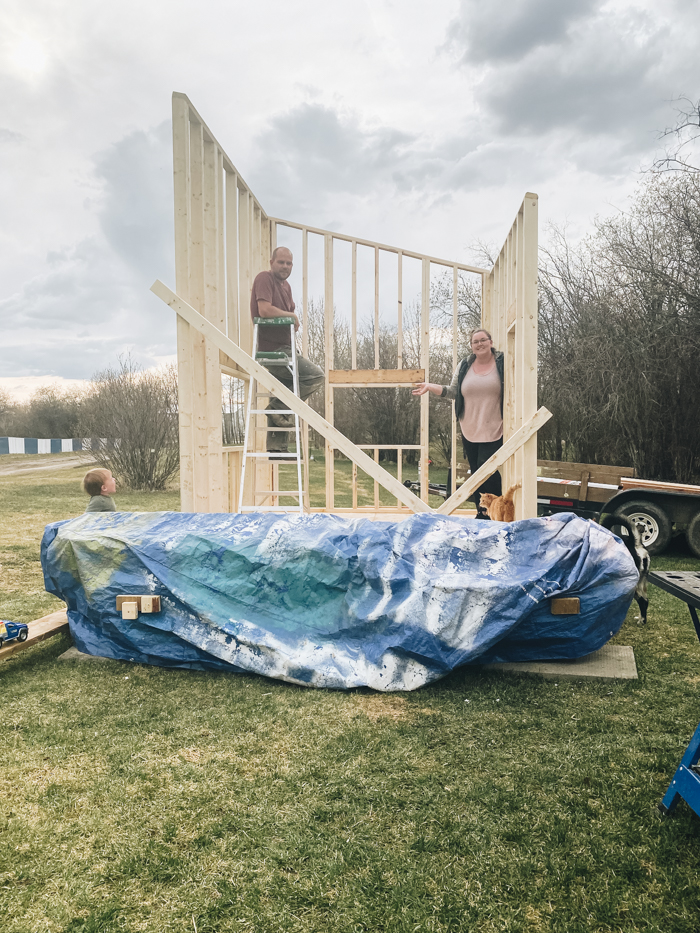
We built the floor frame first, sheeted it, and then built each of the fours walls one at a time before building the roof to close it all up.
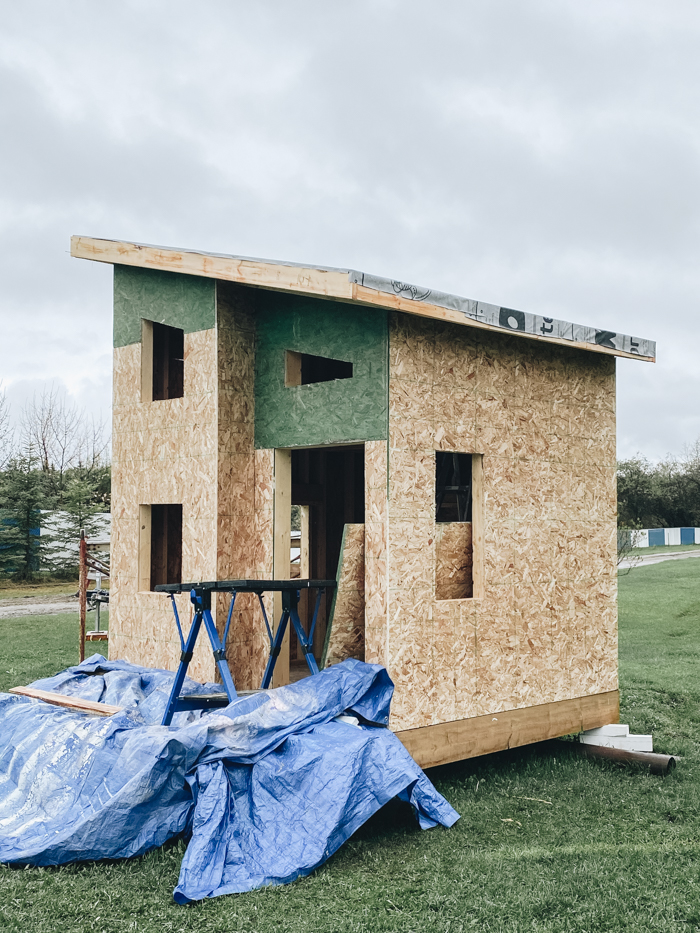
As we built each of the walls we had to take into consideration where our windows were going to go. We have two windows to install that are real windows were are repurposing, and we have a few faux windows we are making for the front face (I’ll share more on this next week!)
Once all of that was planned out and built we were able to sheet the roof and the sides of the playhouse.
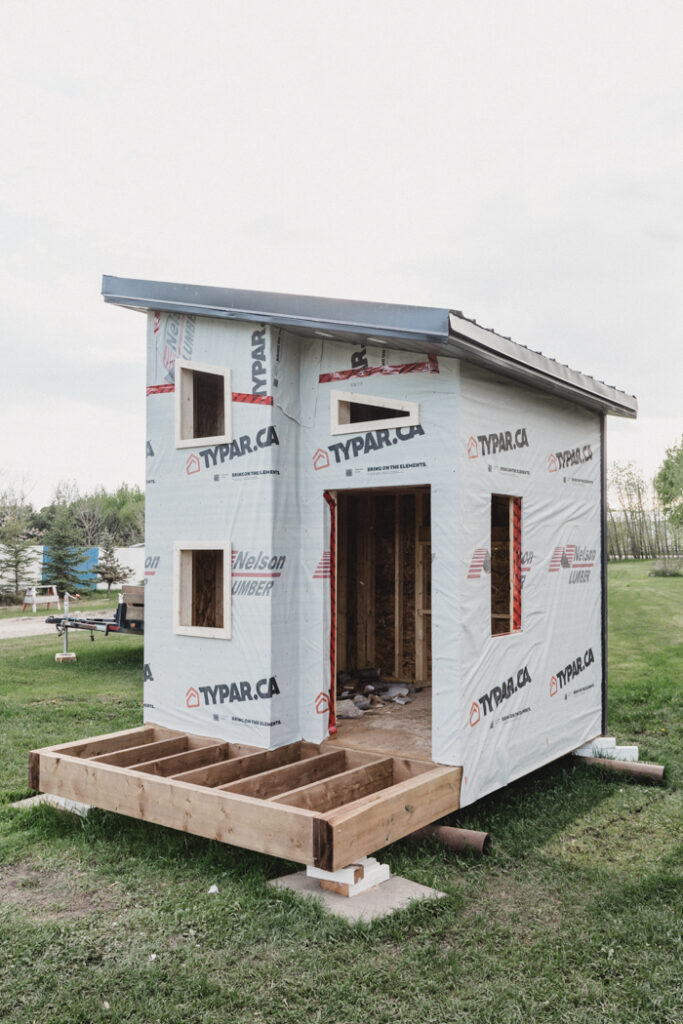
Then we were able to add our tin roof on top, and sheet the outside. Our next step is to put siding on the exterior, but first we got the chance to put our DIY raised playhouse into the sky!
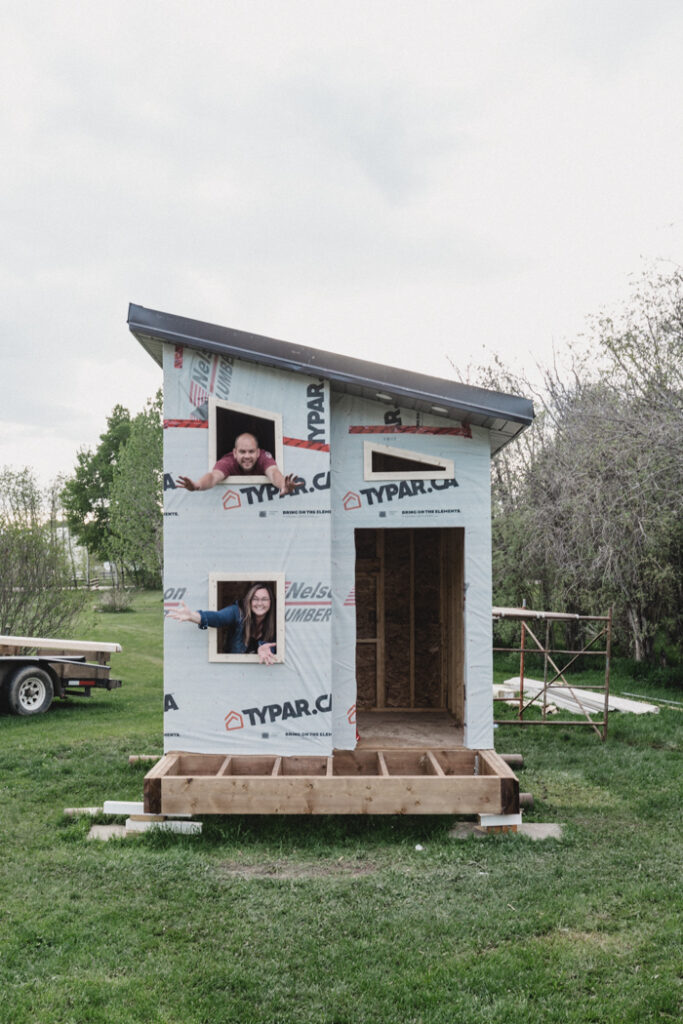
Raising our Playhouse
The next step is one of the most exciting steps of the entire build: raising up the playhouse!
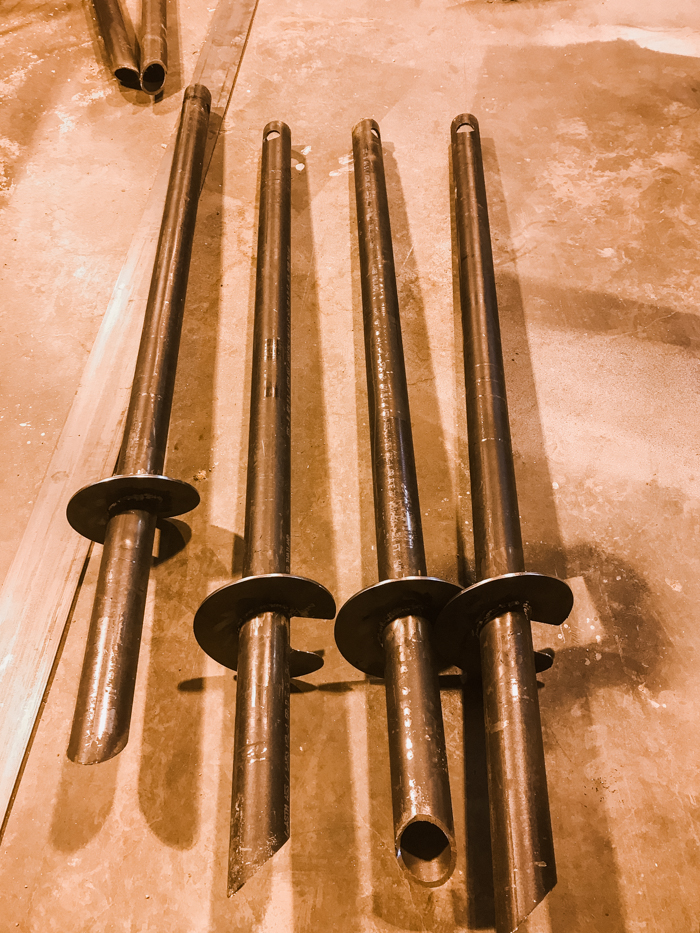
To prepare for this, my husband had some screw piles pieces built by his friend, and then he welded them together. The screw piles will go deep into the ground, below the frost line so that the playhouse doesn’t shift over time.
We tried putting one of these in ourselves, and spent FOUR HOURS spinning round and round (watch the video above to see us making fools of ourselves! lol). It was exhausting and in the end we didn’t even have one done… so we called in reinforcements!
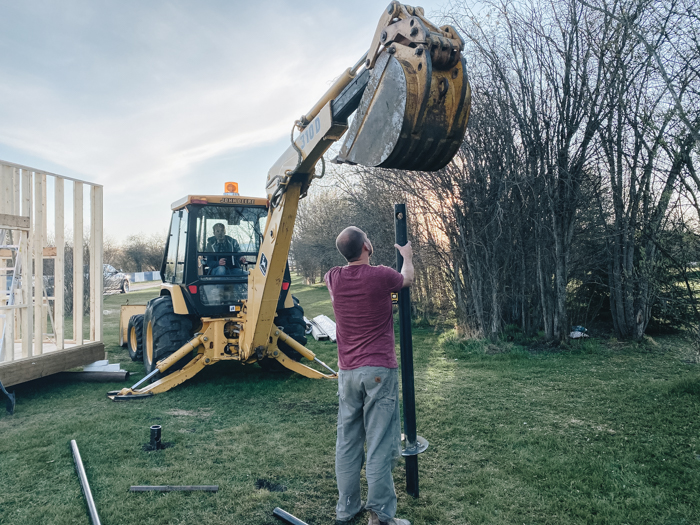
Luckily my brother-in-law owns a backhoe! He actually came over, put pressure on the piles, and helped us get all six in, in less than 3 hours!
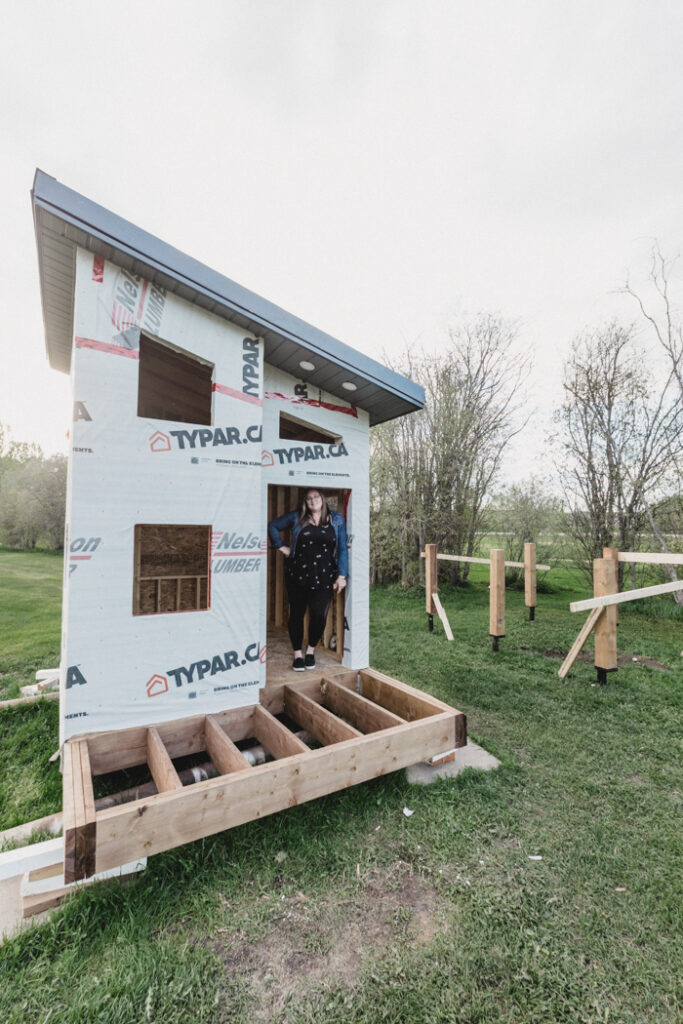
After that, my husband added posts on top of each of the screw piles and we were ready to lift the playhouse up onto them.
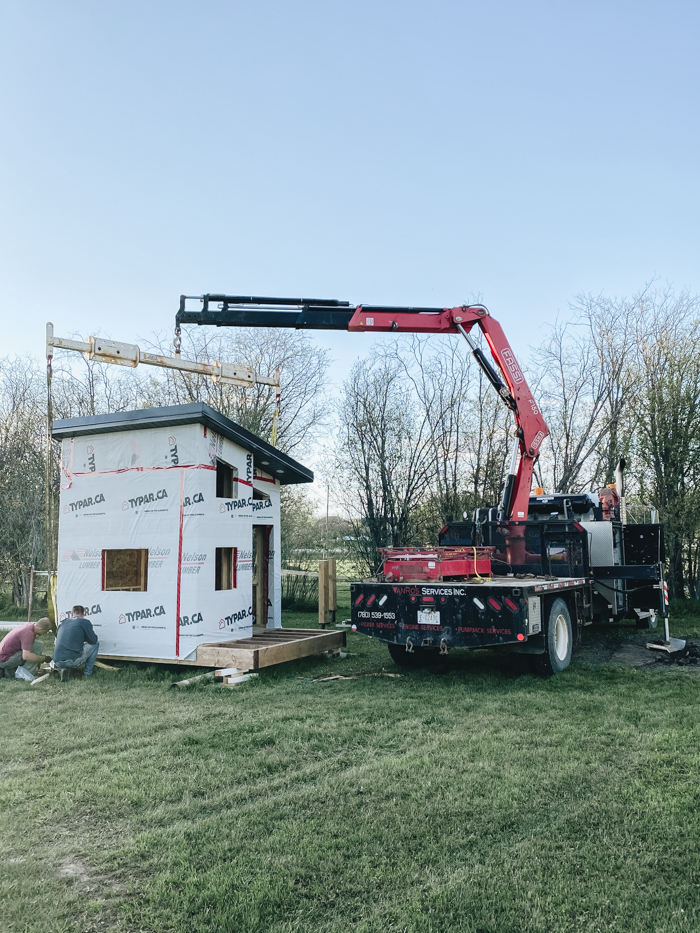
Once again, my brother-in-law came to the rescue on this one! He’s a service mechanic and brought in his picker truck to lift our huge playhouse onto the piles!
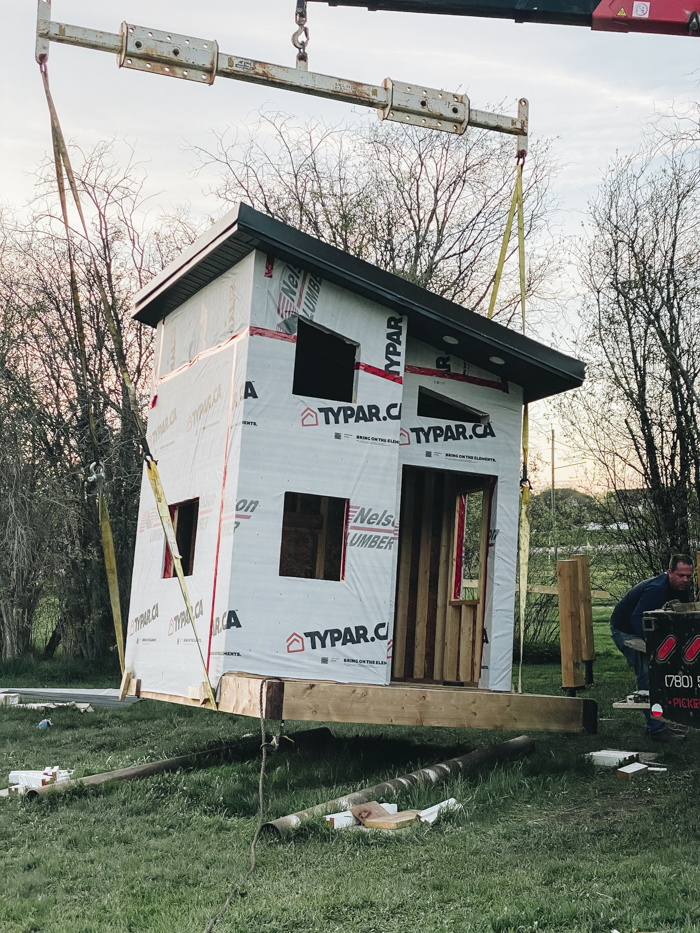
It was actually so fun to watch this happen! It took a lot more time, and small adjustments then we thought it would, lol. But it was so rewarding when it was finally on!
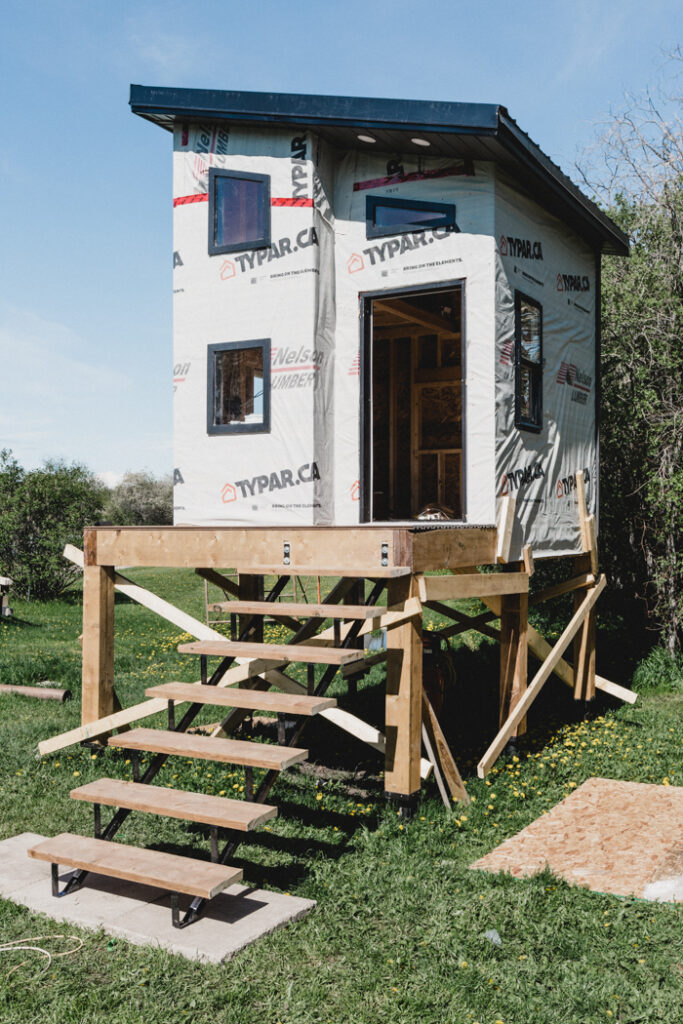
We braced everything with 2x4s while we are waiting to get better bracing in place, but that guy doesn’t shift an inch! It’s so sturdy! It put all of my safety concerns about my kids in the sky to rest…. lol.
We finally have that treehouse feel that my husband always wanted.
Building the Deck, Door, and Railing
Once we had the house raised, there were a few DIYs we could tackle right away so that we could almost be finished the exterior
Materials for the Mini Modern Door Build
I was so excited about building this mini door! We wanted to model the playhouse door after our own front door. If you haven’t seen ours, you can check out our door here!
Here’s what we needed to build our mini version
- Maple (or any wood, but we had leftover maple!)
- Plexiglass
- Silicone
- Matte black doorknob
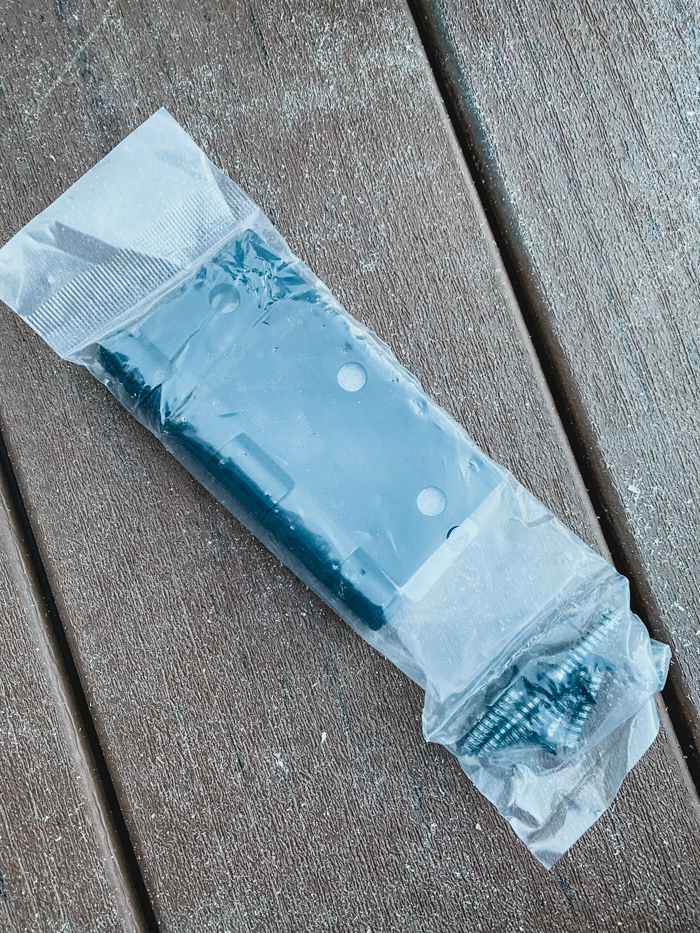
- Matte Black Hinges
- Door Frame Kit
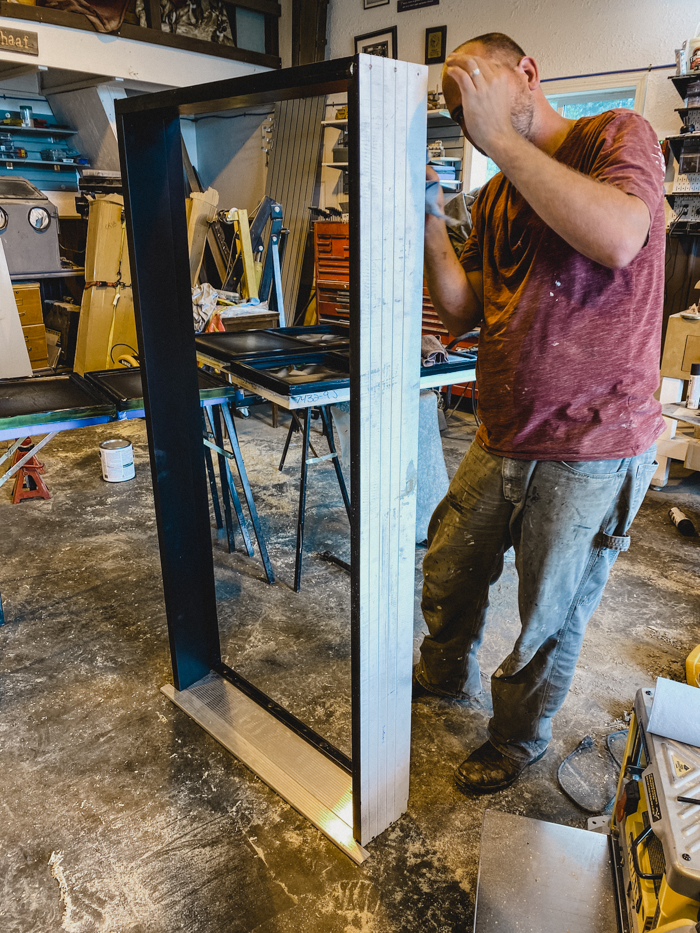
We were SO LUCKY on this one. We found an old door frame kit from our local Habitat for Humanity Restore (we also got tools and windows!). We had to cut down the frame to the correct height, but we sized our entire door build after this amazing find.
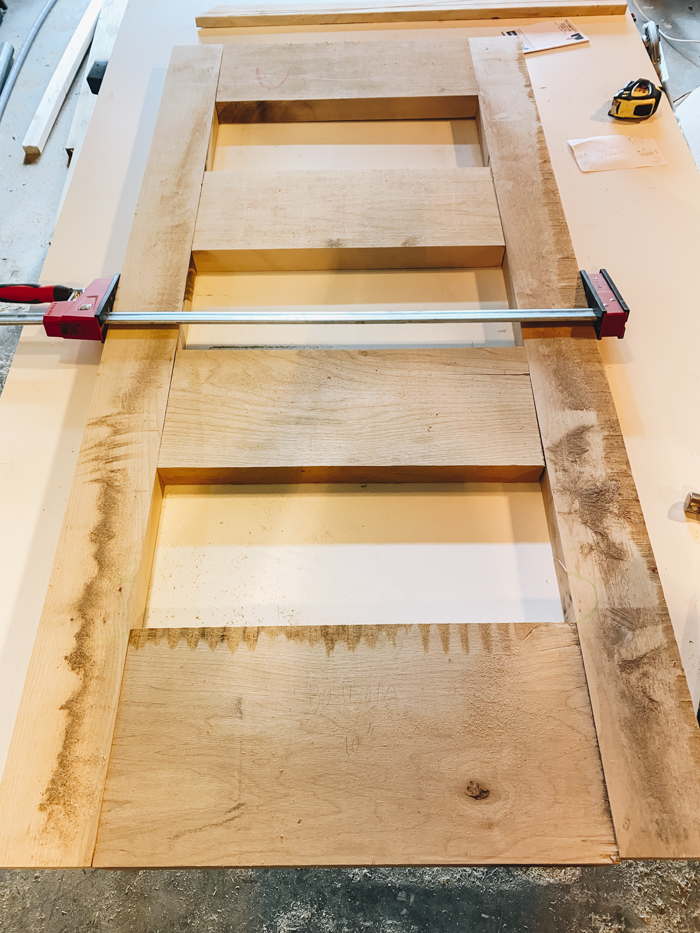
We built the door frame out of maple, with a style to match out own front door, and then routered out the edges around the windows for our “glass”.
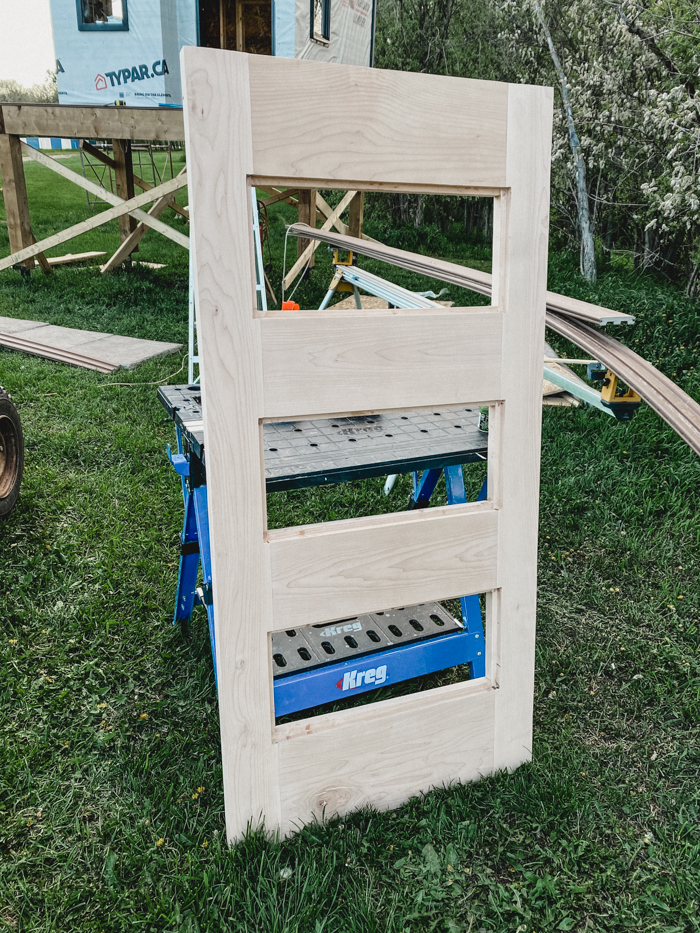
We made our own glass windows out of plexiglass and used silicone to seal them in place. When the window was set, we added little wood trim pieces to the outside of the window so that it would be set between the two sides.
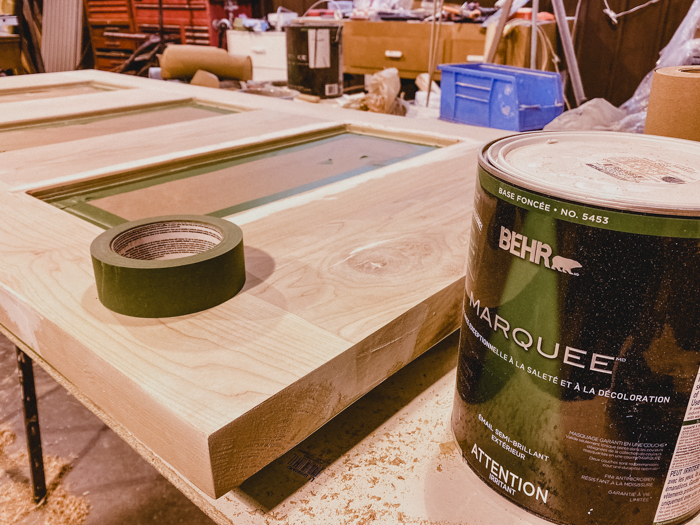
When everything was ready, we tapped off our windows with Frogtape, and painted the door with Behr Exterior Paint.
Since we have a black door, we decided to stay consistent and paint the door with the colour Carbon.
Now we were ready to add our modern hardware! We didn’t go for a lock, because we didn’t want the kids locking each other out, or getting stuck inside, lol.
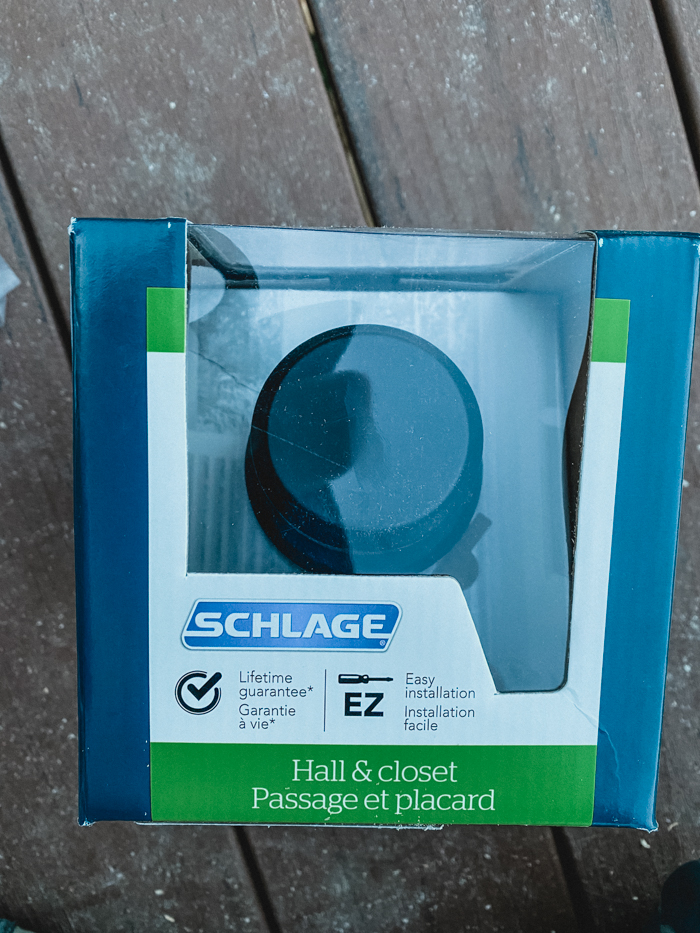
We went with a classic matte black knob – the Bowery knob, and simple, rectangular matte black hinges to finish the look.
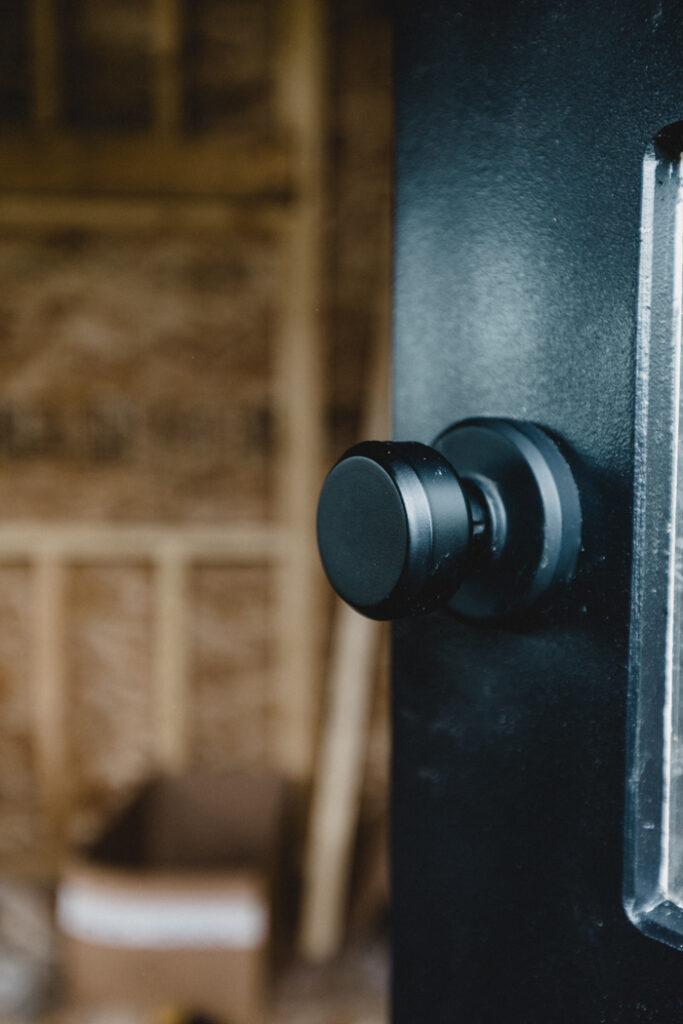
I literally skipped when the knob was installed. It looked so good!! It was the perfect choice for a modern playhouse!
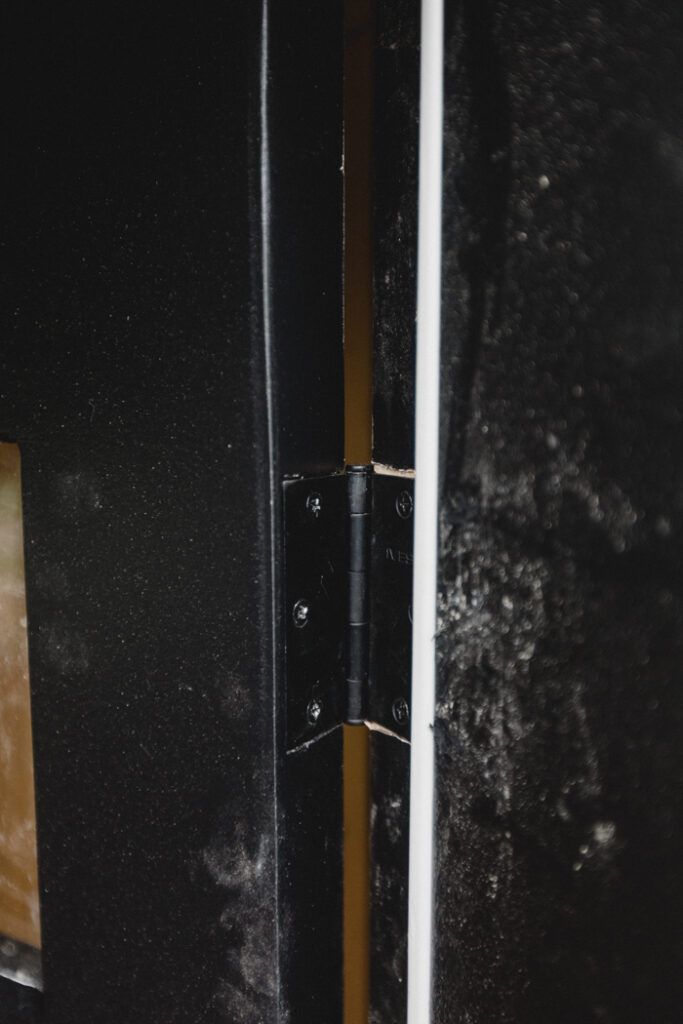
The hinges look amazing too! Clearly we still have to clean the sawdust and fingerprints off of the windows and door frame, but I’m so happy with how these hinges finish off the design!
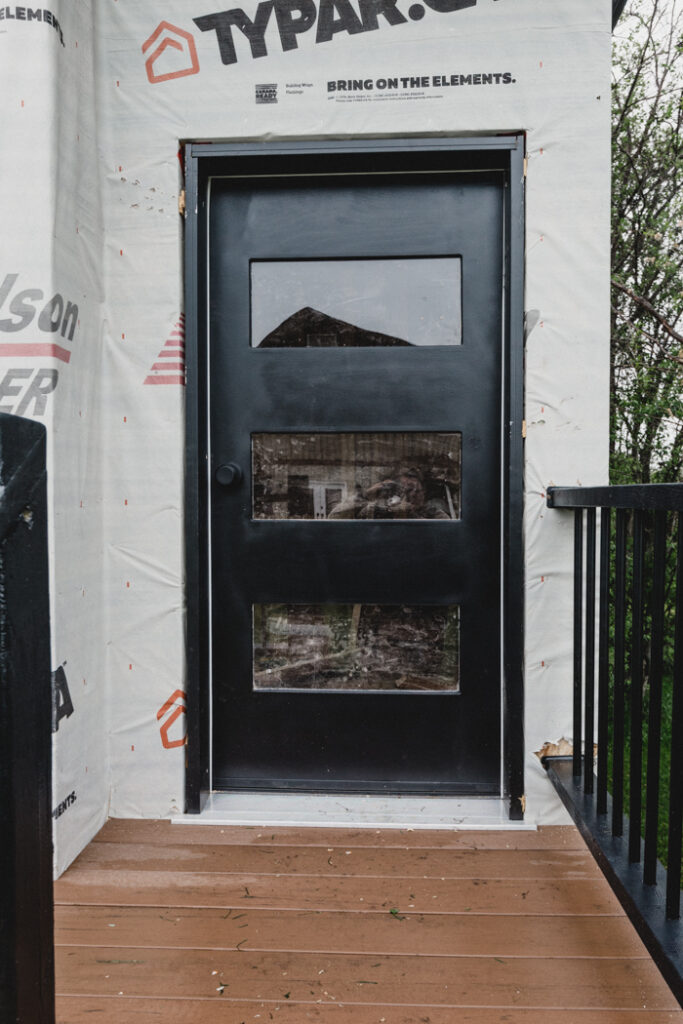
I’ll get to more on this deck and railing in a second (also sorry about the rain and dirty deck! lol), but it all came together so perfectly!
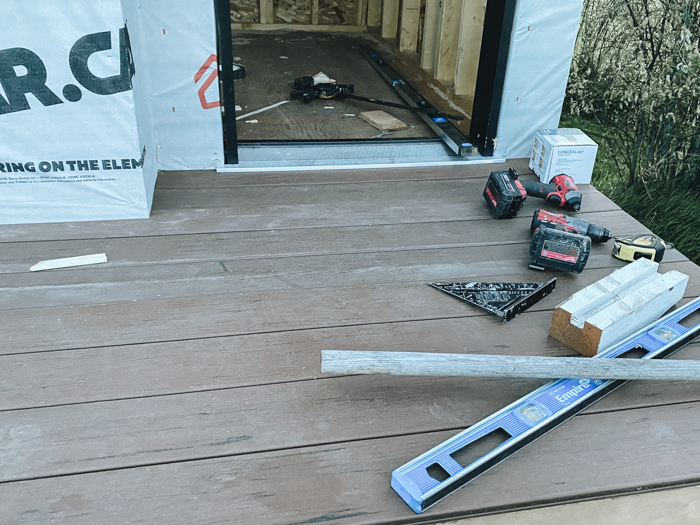
Materials for Deck and Railing
Finishing the decking and railing was another very exciting step for us!
- Composite Decking
- Railing Support Anchors (Canada: here)
- Railing Round Iron Balusters (Canada: here)
- 4x4s for the posts
- 2x4s for the top and bottoms of rail
We started by putting down the composite decking. We chose this instead of wood boards because we knew it would be zero maintainance! No re-staining or painting later on.
We installed the entire deck in just an hour or two. It was so fast and definitely worth it.
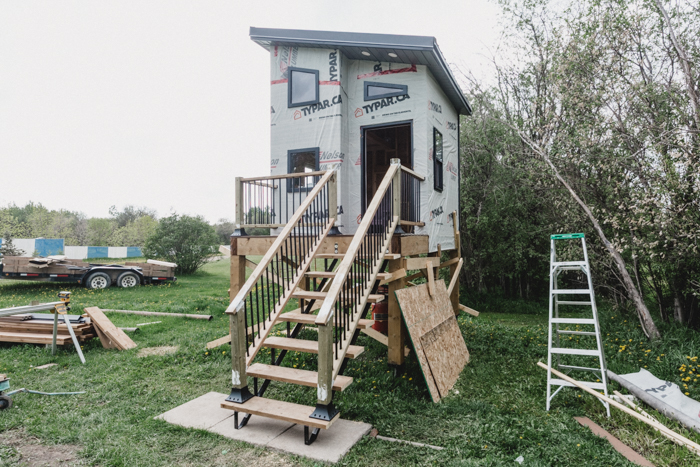
Next, Russel built the railing. We actually built and assembled the entire railing above, in place. We needed to make sure everything was sized correctly,
We bought iron balusters and feet for the bottom of the posts online and it saved us a TON of time (which is precious in a six week reno challenge!).
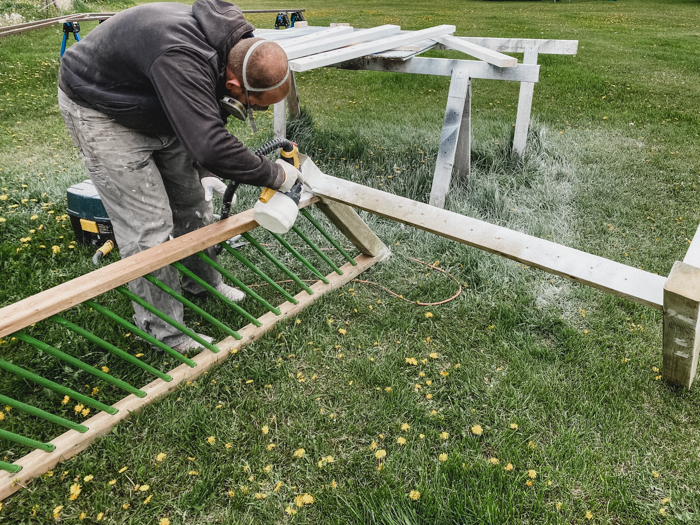
Once everything was assembled, we taped off the balusters with Frogtape, and primed the entire railing with Kilz Primer from Behr, and then Painted the entire railing in that beautiful Carbon colour again.
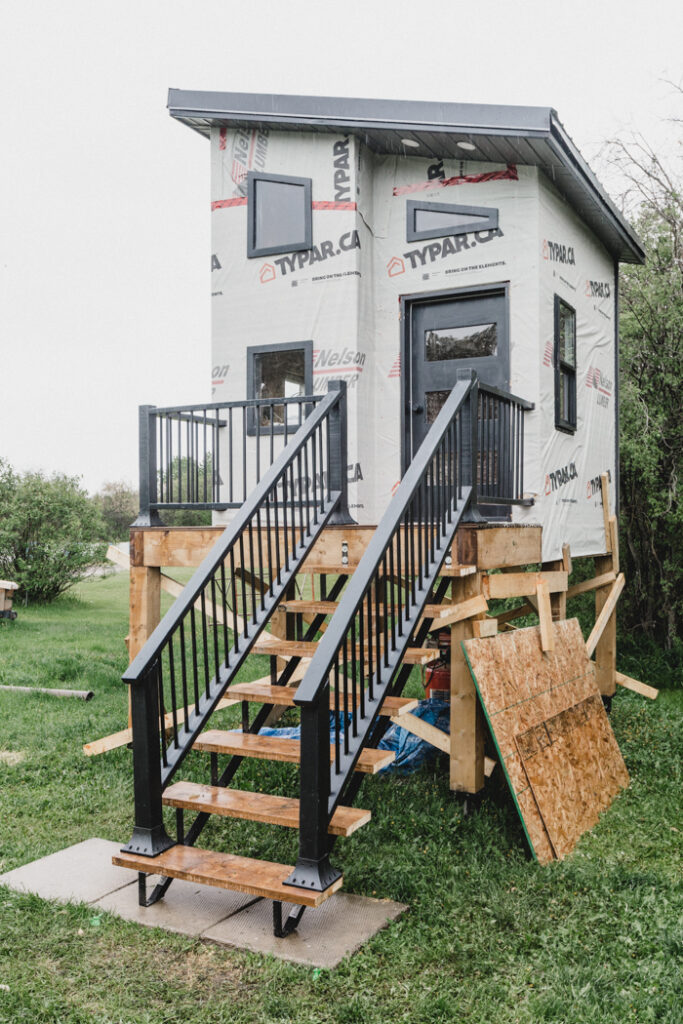
It looks SOOOO GOOD!!!!! I’m dying. I love it so much!
This coming week we are hoping to finish the exterior, and start closing of the interior of the playhouse.
Here’s how we’re doing after two weeks of building:
Build Frame of PlayhouseInstall FoundationRaise Playhouse onto foundationDeck and railingBuild Mini DoorFinish Exterior- Insulate Interior
- Install Windows
Finish Deck- Sandbox underneath?
Order kids playhouse furniture- DIY Bench inside
- DIY Light Fixture inside
- Tiling
- Paint/design Feature wall
- Furnish and style
If you made it all the way here and you haven’t voted for us, remember that you can vote once a day!
–> VOTE HERE! <–
Want to catch up on everything?
- Playhouse Week 1: Design Plans
- Playhouse Week 2: Raising the Playhouse, plus Deck, Door, and Railings
- Playhouse Week 3: Making it watertight
- Playhouse Week 4: Painting and finishing the interior
- Playhouse Week 5: REVEAL!



Chris
Tuesday 14th of June 2022
WOW!!! How much for the blueprints??? (Seriously)
Przemek
Thursday 22nd of April 2021
The kids playhouse is great!. Could you please share the dimensions? Building heights and width and depth.
Courtney
Wednesday 17th of June 2020
That’s the best playhouse I’ve ever seen! You’ll have to sell tickets to have people over to see it. LOL
Lindi
Thursday 18th of June 2020
Hahaha! Just wait until it's done! It's gonna be amazing!