
Upload your own Cricut images and drawings into the Design Space for endless project ideas and options! Here’s a full tutorial to show you how easy it is :)
Good morning! People often ask me what my favorite DIY tool is. I think they expect me to say a tool (in which case I would say scroll saw!), but I usually tell them that it’s my Cricut! Not only is there a huge database of Cricut images to use for DIY Crafts and home décor projects, you can also upload your own Cricut images for your DIY projects too.
If you own a Cricut and you haven’t used this feature yet, you’re going to thank you very soon! You can draw your own images and scan them to your computer, or download pictures that you want to use for your own DIY signs, pillows, artwork – you name it!
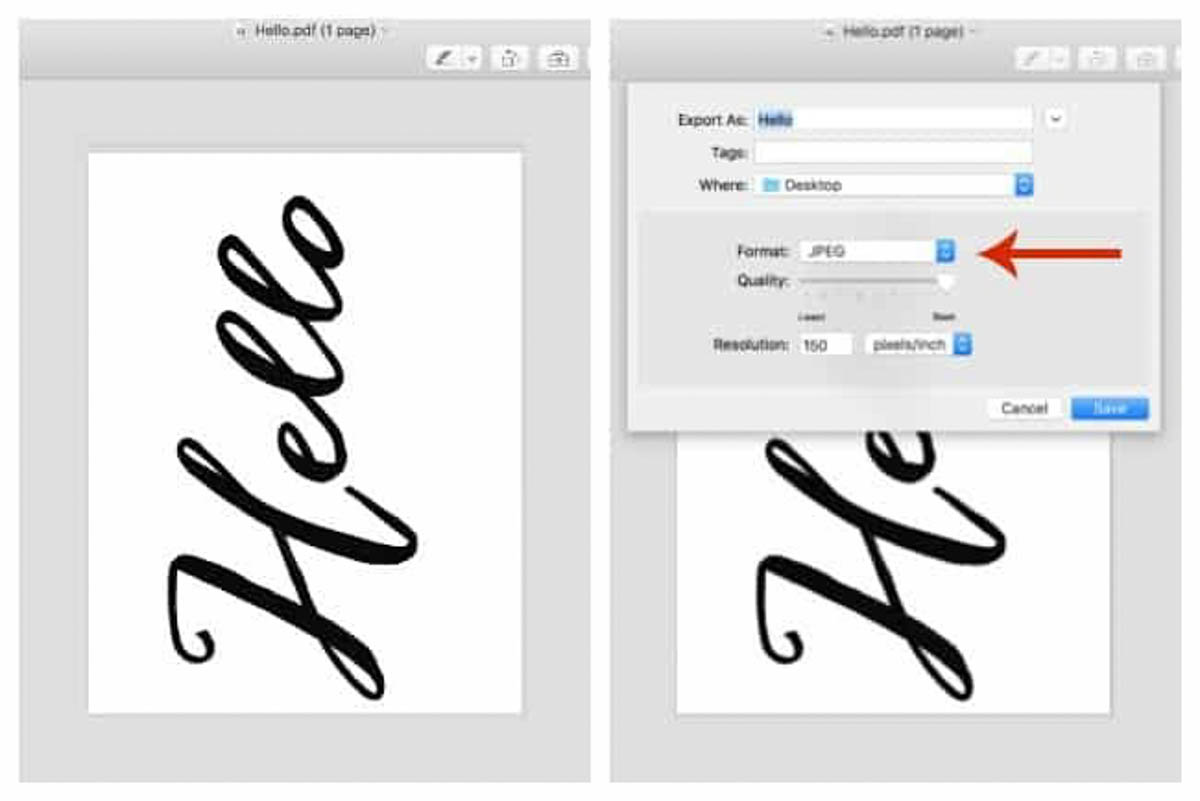
If you have a PDF image, you must save it as an image before you upload it.
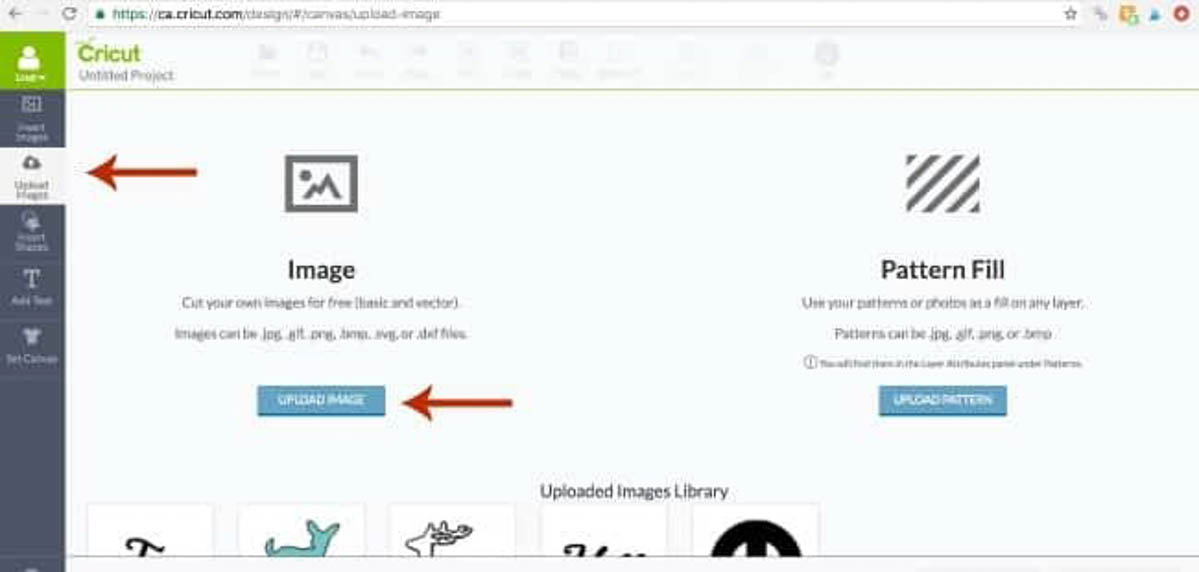
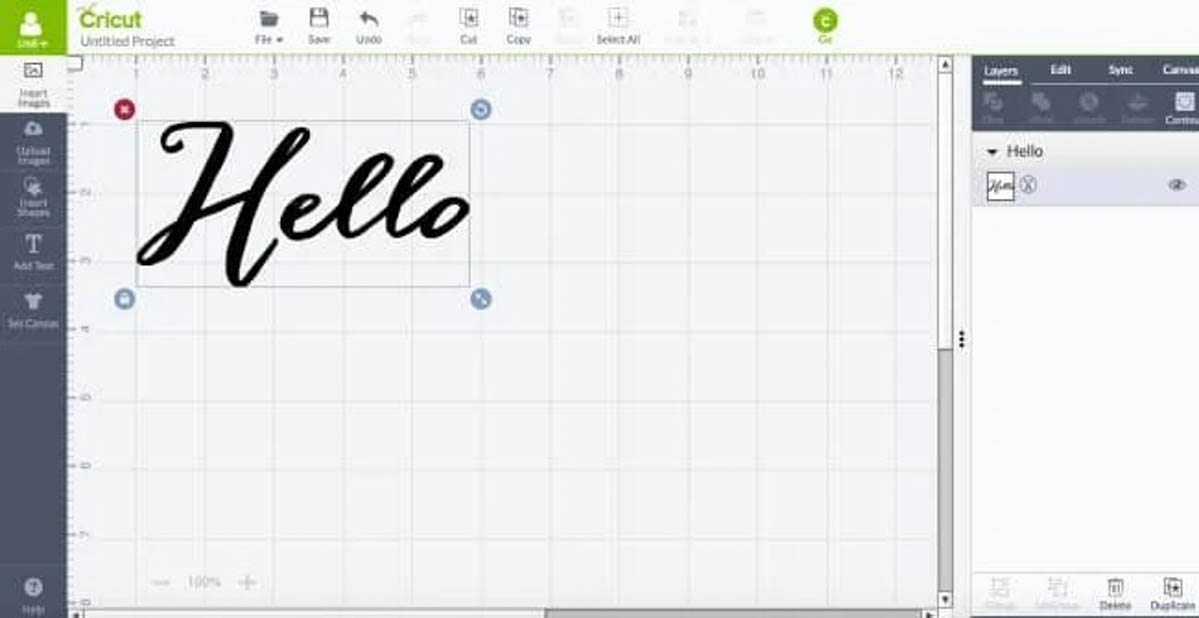
Once you open the Cricut Design Space, chose upload image.
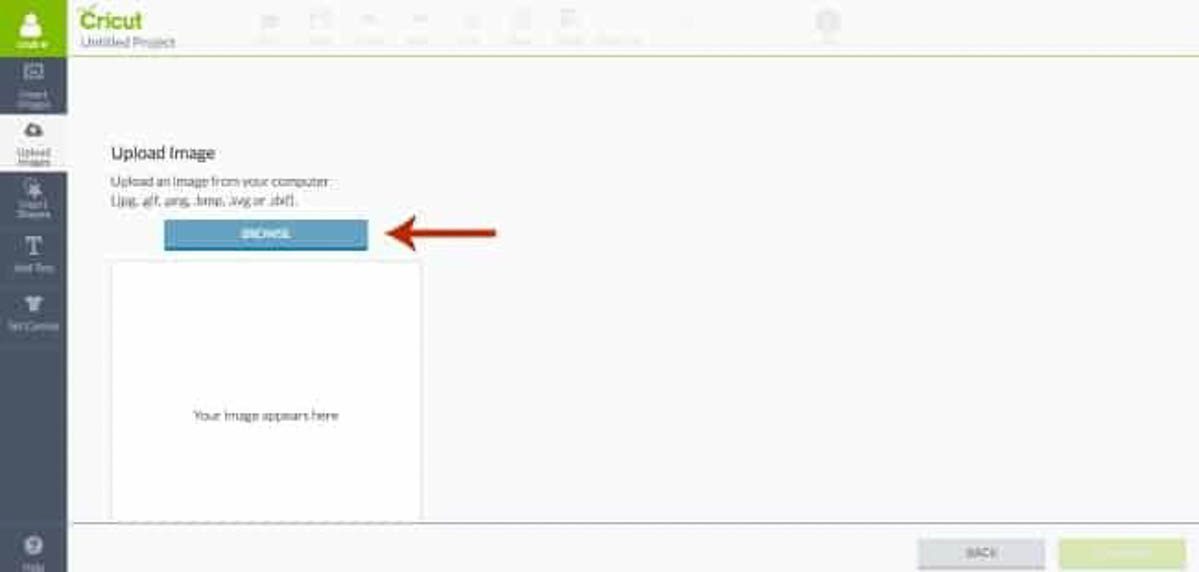
Then you can choose an image from your computer to upload.
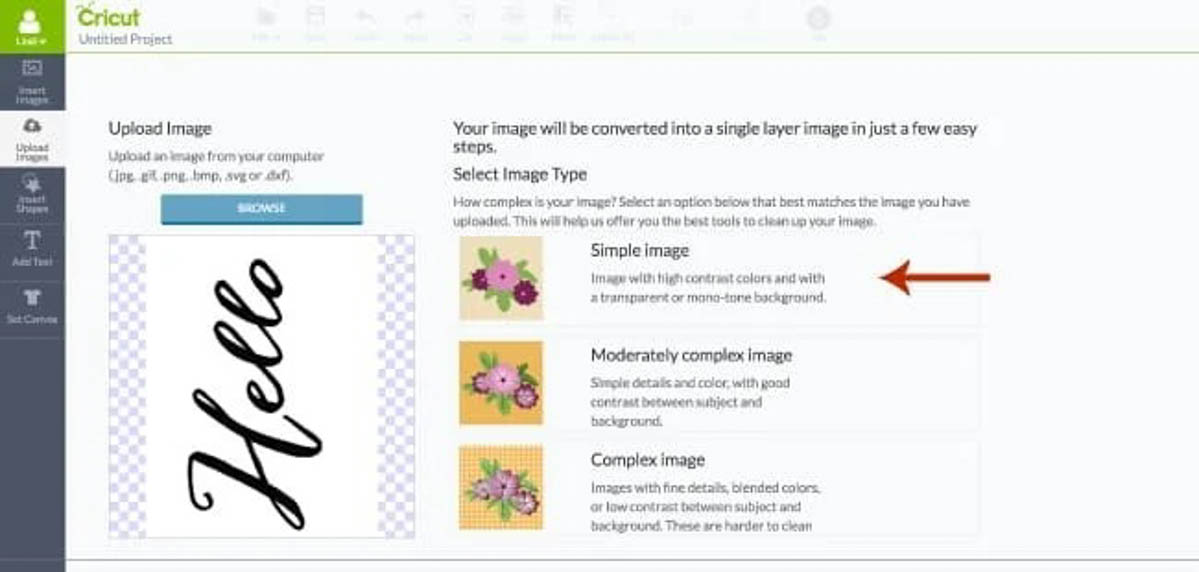
My image was pretty simple, so I selected the simple option.
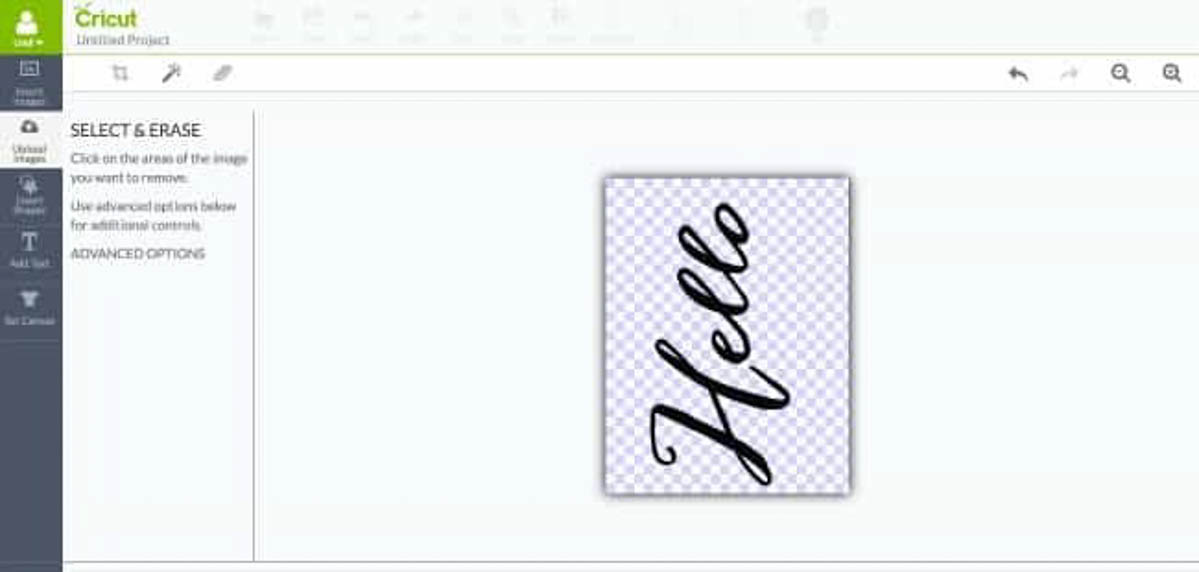
Then you just click on the white areas around your image so that they are eliminated from the image.
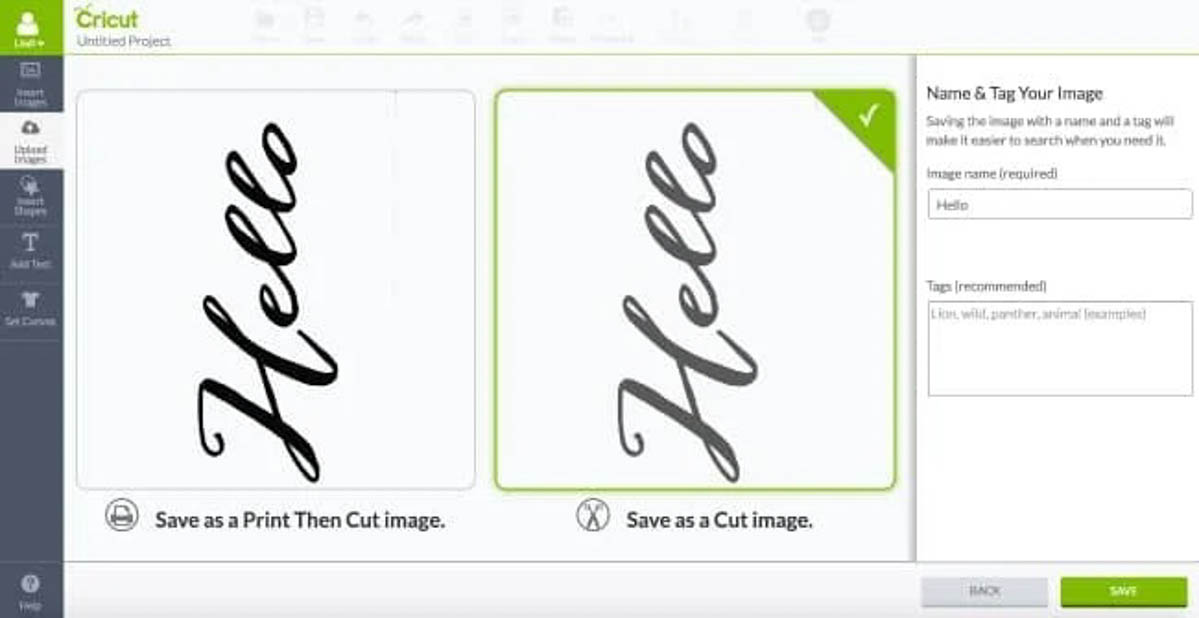
I saved mine as a cut image, but you can also print the image and then cut around it.
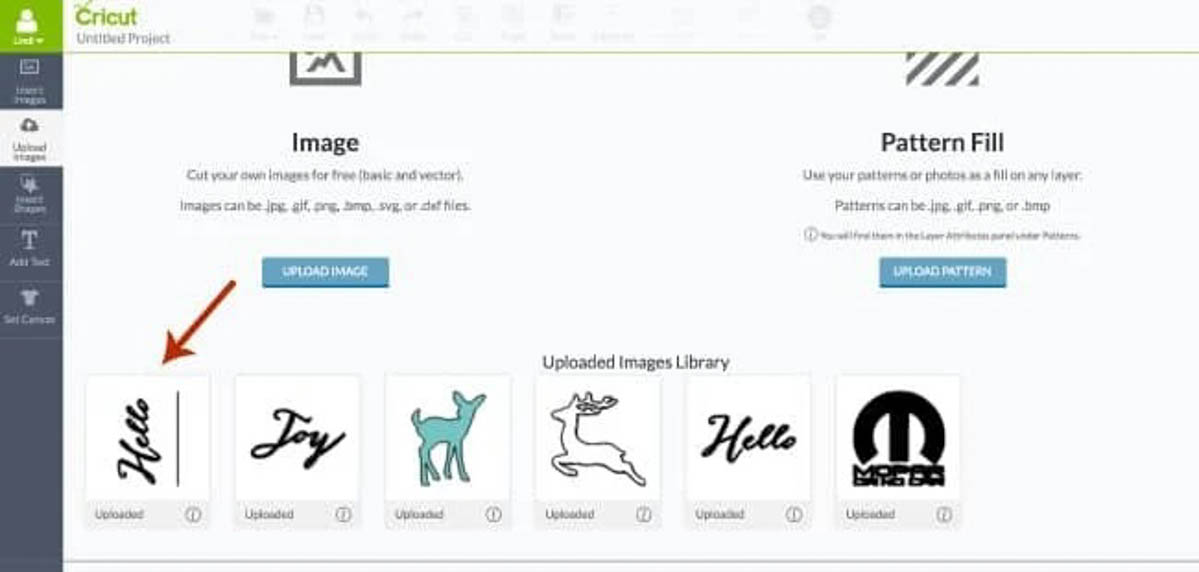
Now that image will be saved in your images, so you can use it in your projects!
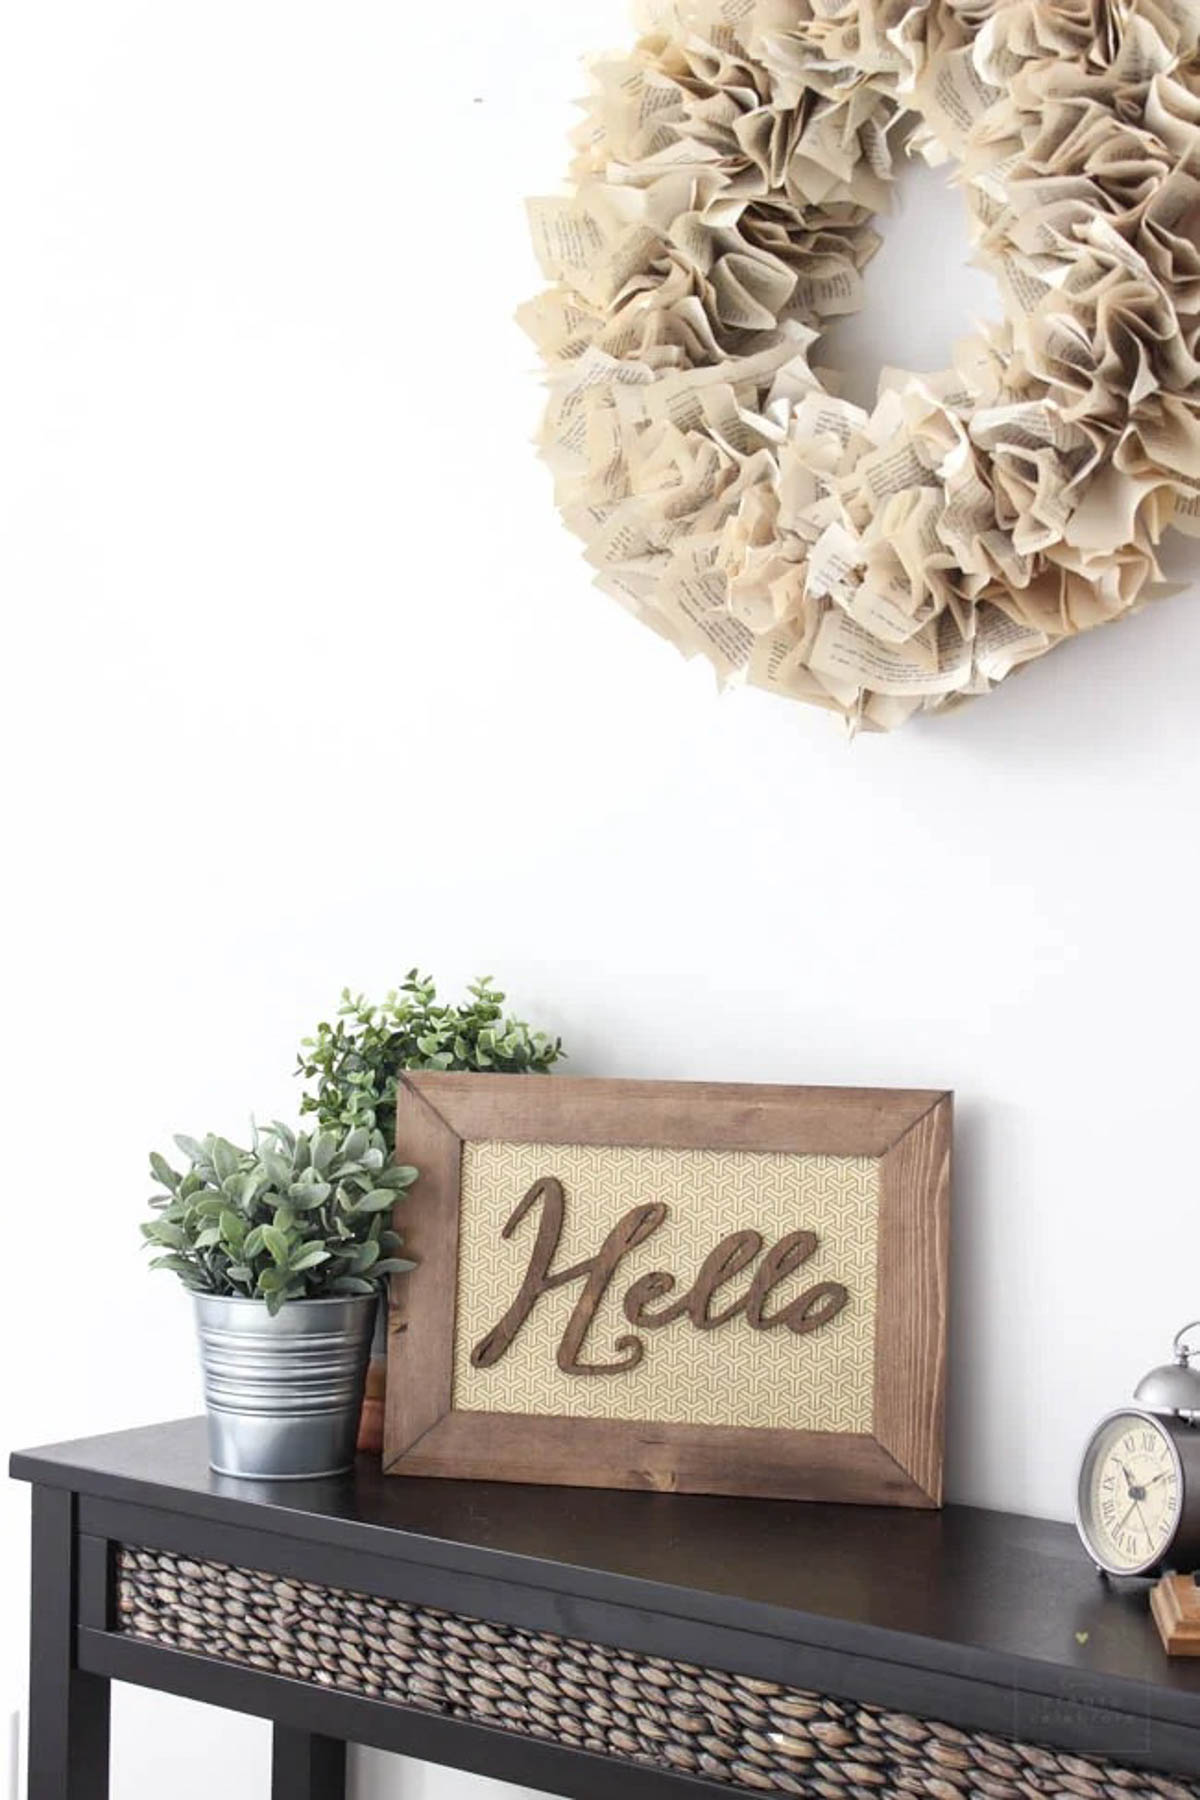
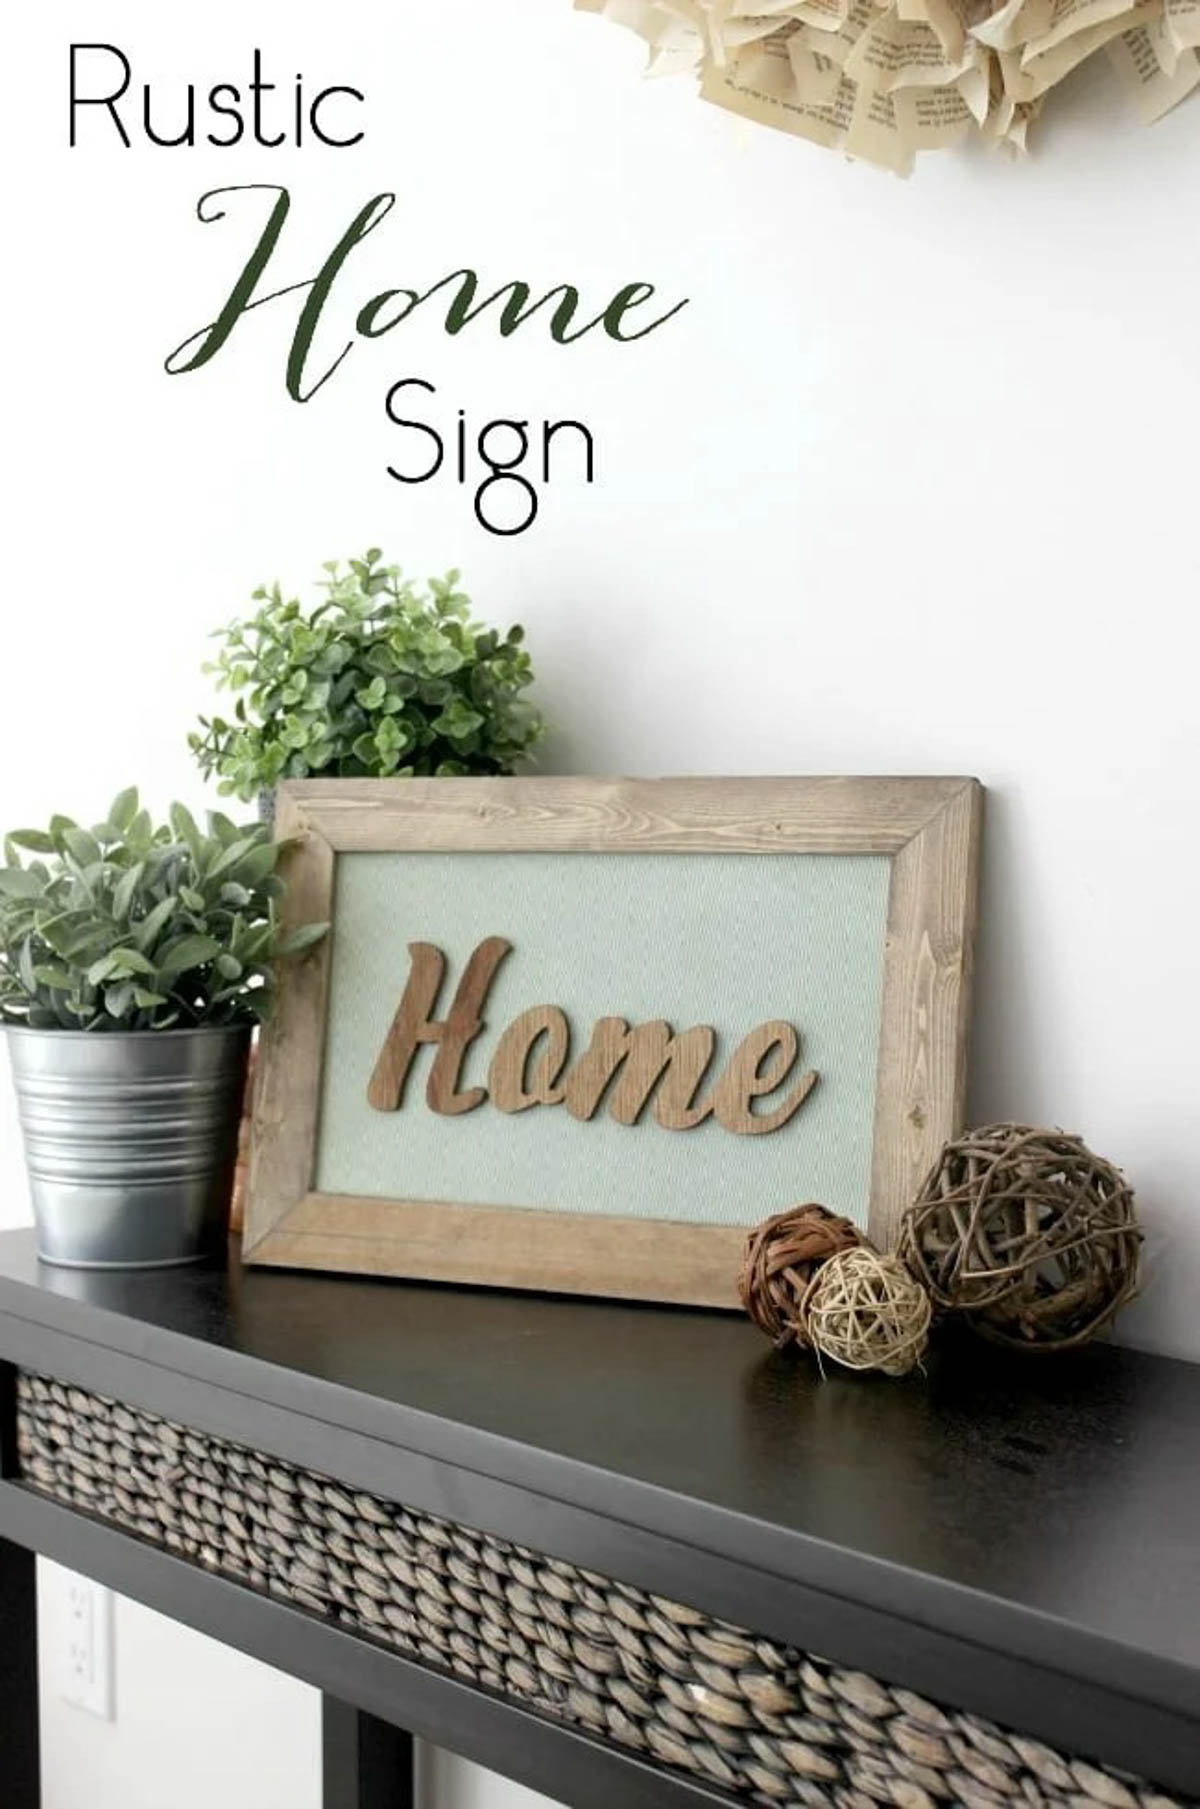
SO simple! See why I LOVE my Cricut Air Explore 2?! I’ve used this feature to make perfect vinyl stencils for wood signs, like the one below.
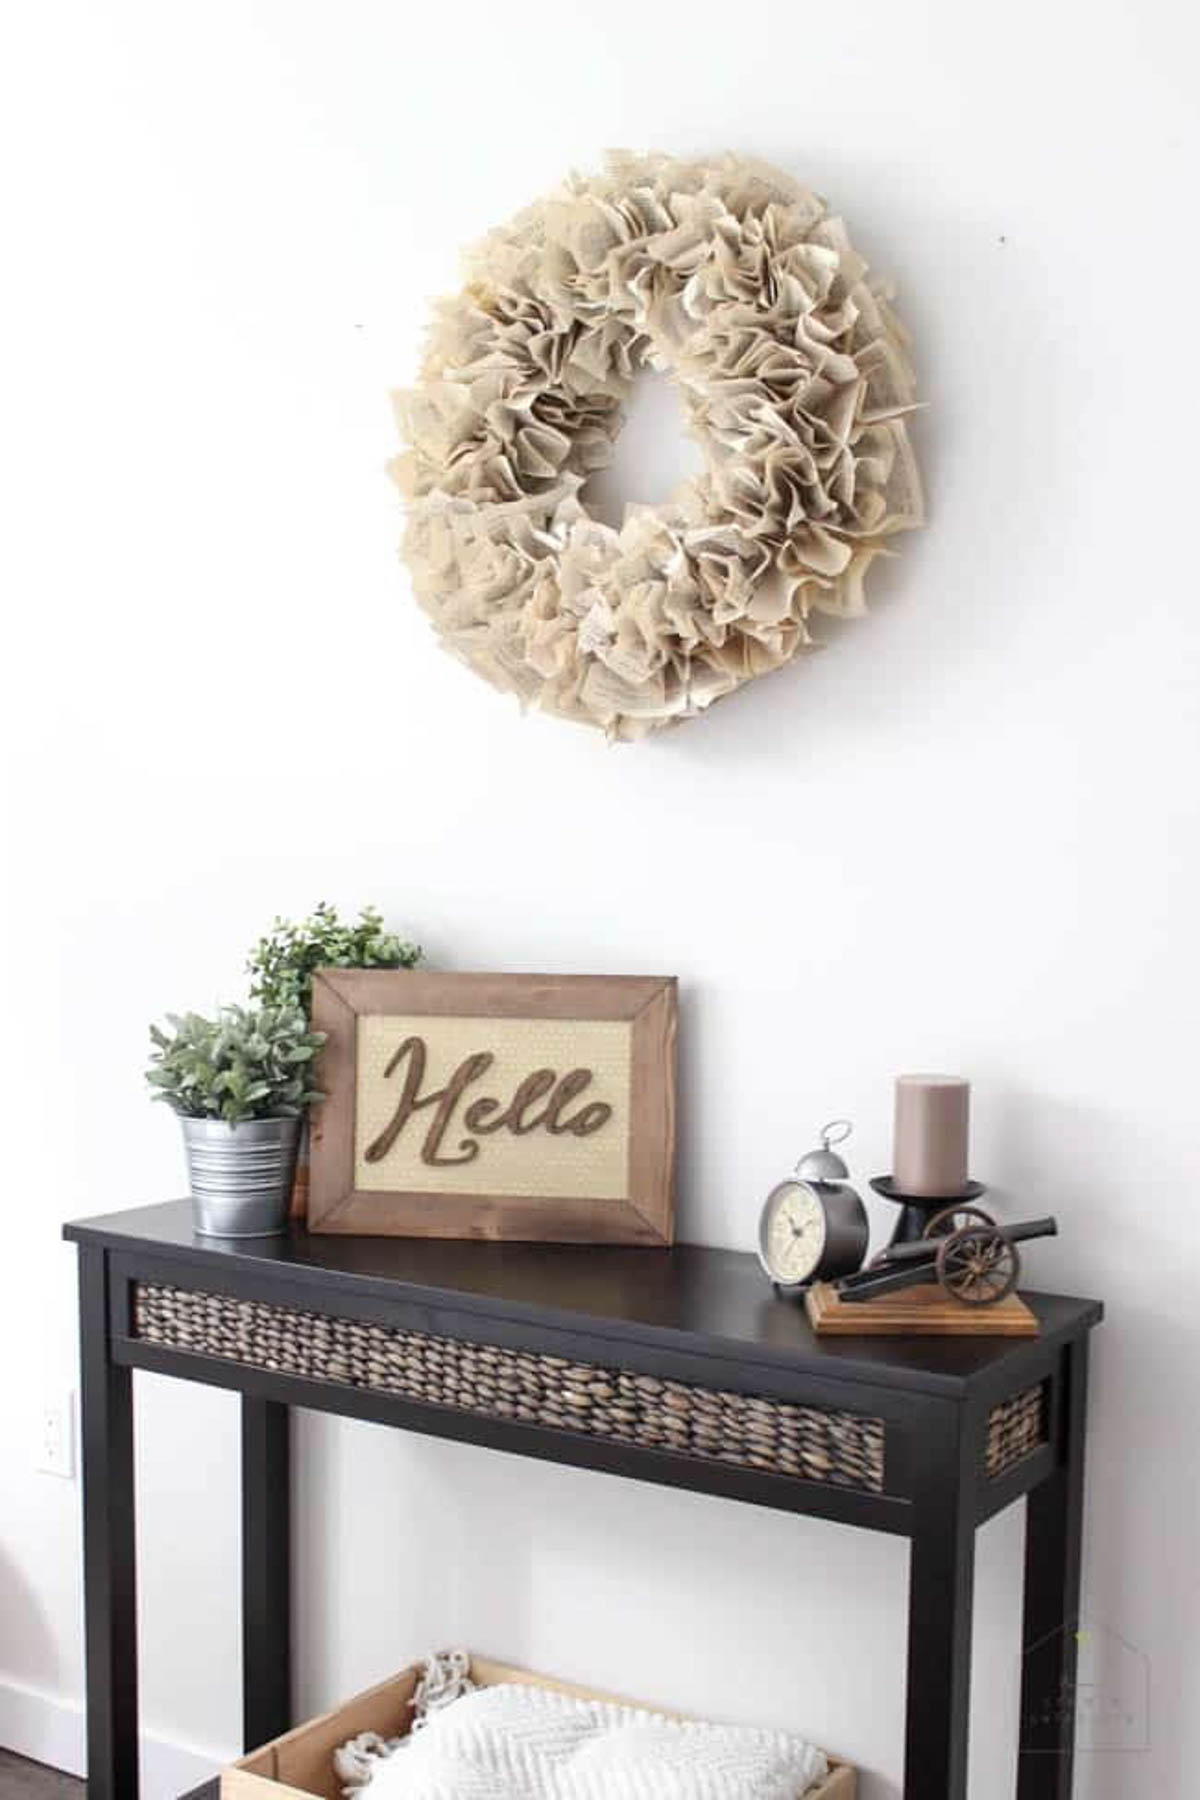

If you want to know how to go from a vinyl stencil to a beautiful Wood Sign – I shared that step by step tutorial HERE.


*This post may contain affiliate links for your convenience. For more information, please read my disclosure policy*
Corinne
Friday 8th of February 2019
I don’t understand “click on the white areas around the image so they are eliminated”. I am definitely stuck in this step. I have successfully uploaded my image but I keep getting an error that my image is too big. I think it is reading the blank space as part of the image? In any event what do you mean here and specifically how do I do it?
Lindi
Friday 8th of February 2019
Hi Corinne,
If your image is too big, that might be what is preventing you from uploading and manipulating it correctly. There are free services, such as PicMonkey.com, that you can use to Crop your images into a small size if you need to. If it's the right size, you should be able to just click on any part of the image that isn't part of the design you want, and it will make it transparent (and put a checkerboard pattern in to represent the fact that you've removed that part of the image). If you have more questions, let me know!
Last Minute DIY Gifts Made With Cricut - Cozy Traditional Home
Saturday 15th of December 2018
[…] Rustic Farmhouse Sign | Love Create Celebrate […]
Karen Tabin
Tuesday 24th of July 2018
Thank you for this! I've been struggling to find a simple tutorial for this, given its the main reason I got my Cricut. I have a question, if you can help! How do you set your Cricut to then draw this custom design instead of cutting it? I make cards and would like to be able to upload my drawn designs and have the Cricut draw them for me when needed (huge time saver!)
I have the Cricut Explore Air 2.
Any help is appreciated!
Lindivs
Tuesday 24th of July 2018
Oh amazing! I'm so glad the tutorial was helpful! Once you have your image uploaded, you go to the layers bar on the right hand side. Beside your image there will be a tiny scissors icon - click on that. It will open another side bar, and at the top you can see "write" with a pen image - click that and the Cricut will switch to drawing your image.
Hope that helps!
8 Beautiful Cricut Projects Made with Wood - Designers Sweet Spot
Saturday 12th of May 2018
[…] sign is a perfect example of using wood with the Cricut machine to create a unique project. Love Create Celebrate shares an amazing tutorial on how to craft a beautiful sign of your own over on her […]
Barb Loveland
Tuesday 21st of March 2017
I love this "Hello" template! Thank you for sharing! I just purchased my first ever Cricut and have so much to learn. I am looking forward to receiving your emails to help me along the way to creating many beautiful things!
Lindivs
Tuesday 21st of March 2017
Oh! I'm so glad! Please ask if you have any questions! I'm so happy to help whenever I can! Also, I'd LOVE to see what you make with the "Hello" :)