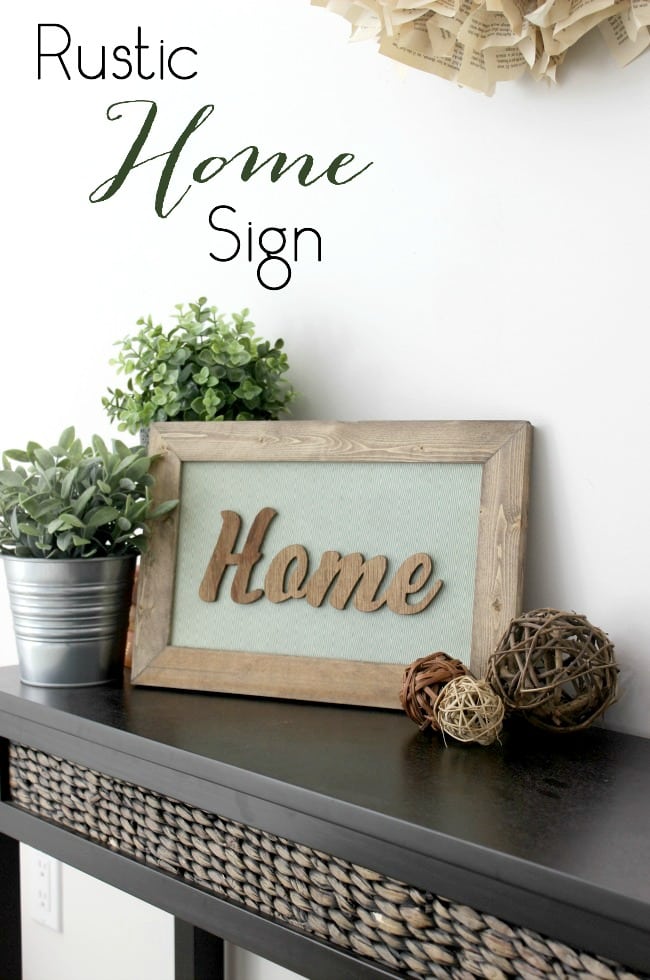
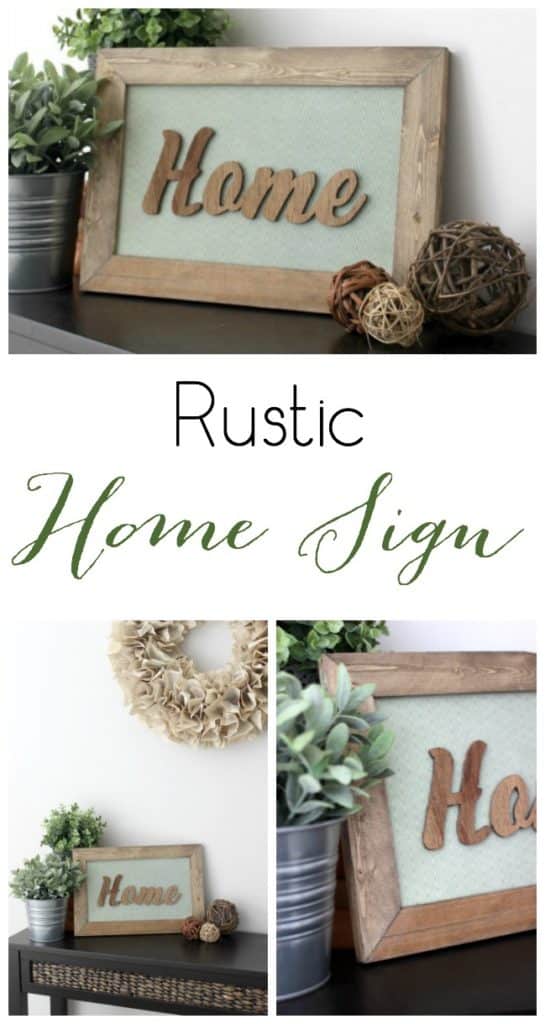
Is there ever such a thing as too much artwork in your home?! I can always find a shelf or a wall that needs something new! I’m back with another 12 Months of DIY Project and this month we are bringing you mod podge projects! Last month we brought you Thrift Store DIYs and I made my Industrial Sconces from old lamps. This month my project is a bit simpler, but staying true to my style… still requires power tools! lol. I’m gonna show you how to make your own wood sign!
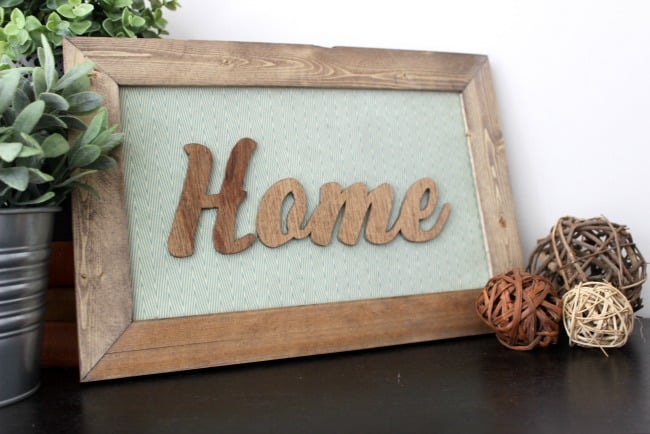
I seriously LOVE this project. I could make a thousand signs like this with different words and happily find places for them in my home. Here’s what you need to get started.
Materials:
1/4″ Plywood (enough for the back and sides)
Scrapbook paper
Mod podge
Foam brush
Wood stain
Wood glue
Tools:
Measuring Tape
Drill
Circular Saw
Scroll Saw
Nail Gun or Staple Gun
Cricut Explore Air 2 (for word stencil – or you can hand draw it)
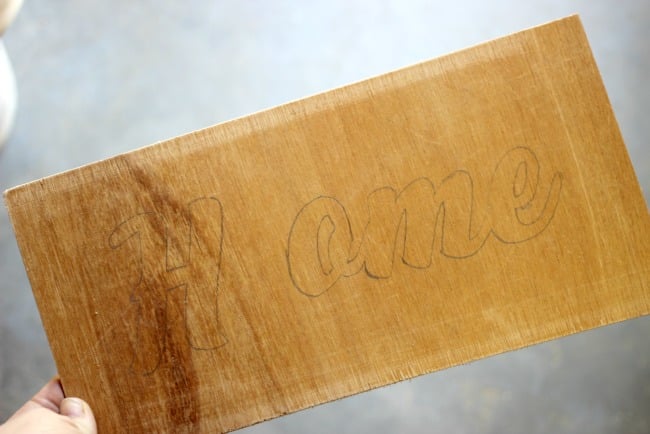
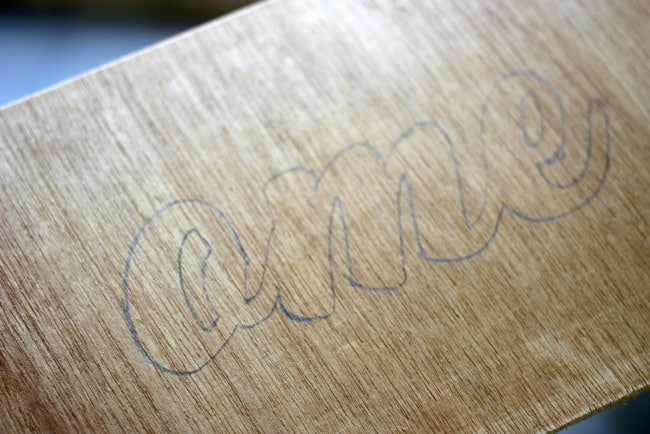
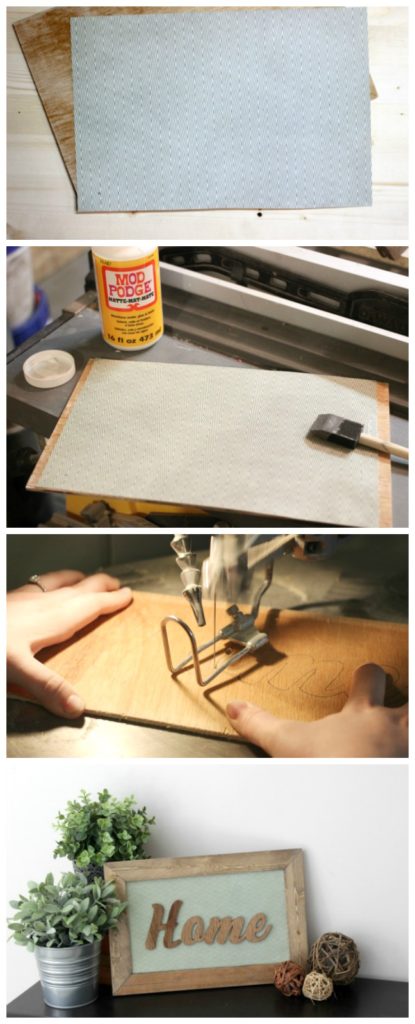
Start by marking or tracing your word on a piece of plywood. I used my Cricut Explore Air 2 to cut a vinyl stencil (see how here!).
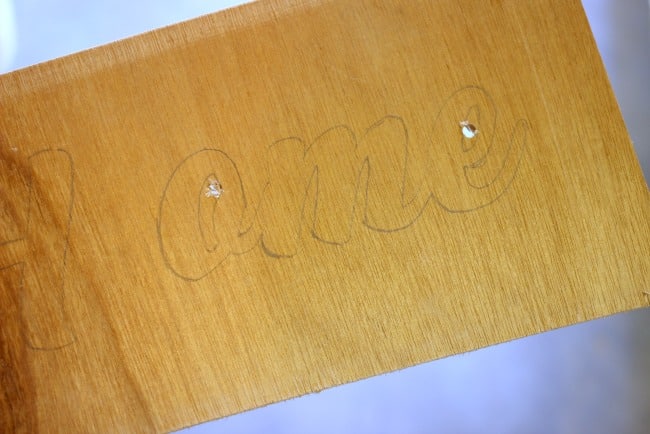
Next, you need to drill holes into the holes within your letters. Use the biggest drill bit you can, without drilling into the stencil edges.
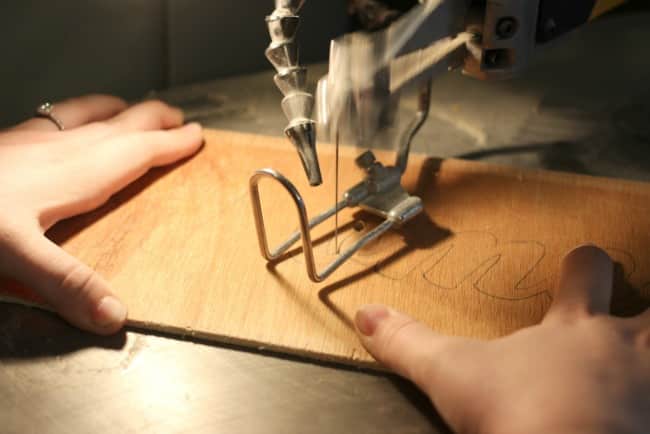
Next, jump on the scroll saw and cut out all your outlines. I used a very fine blade so that it could get into the holes and around the corners easily.
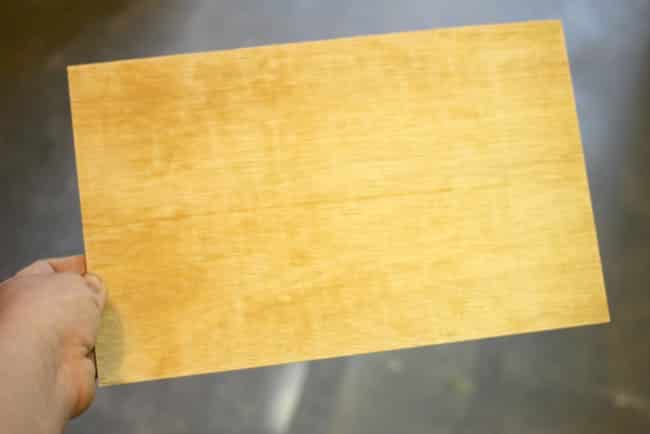
Use your circular saw to cut the bottom board to whatever size you want.
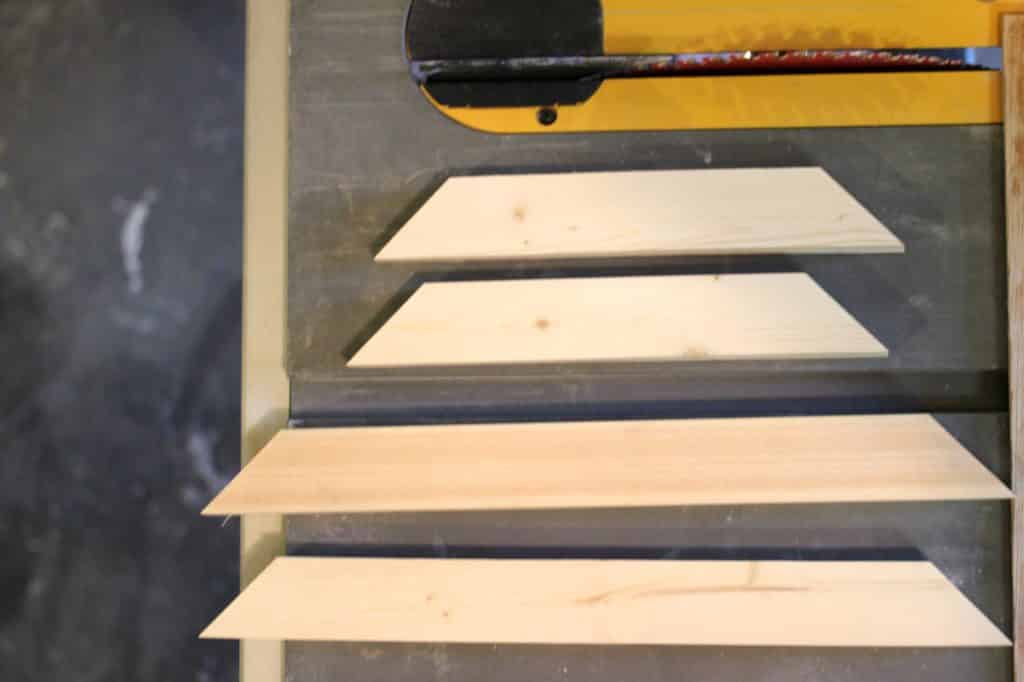
Then use the circular saw to cut your edge pieces. My frame is about 1.5″ around. You can use the same plywood and just nail it on top. Cut the edges so that they are the same length as the base board, and cut the edges at 45 degree angles.
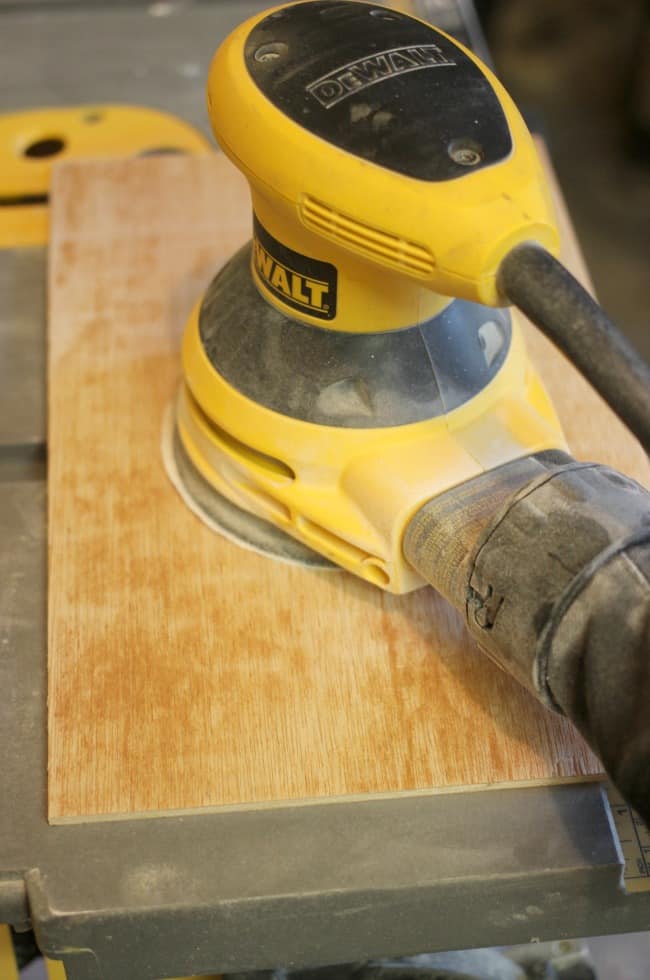
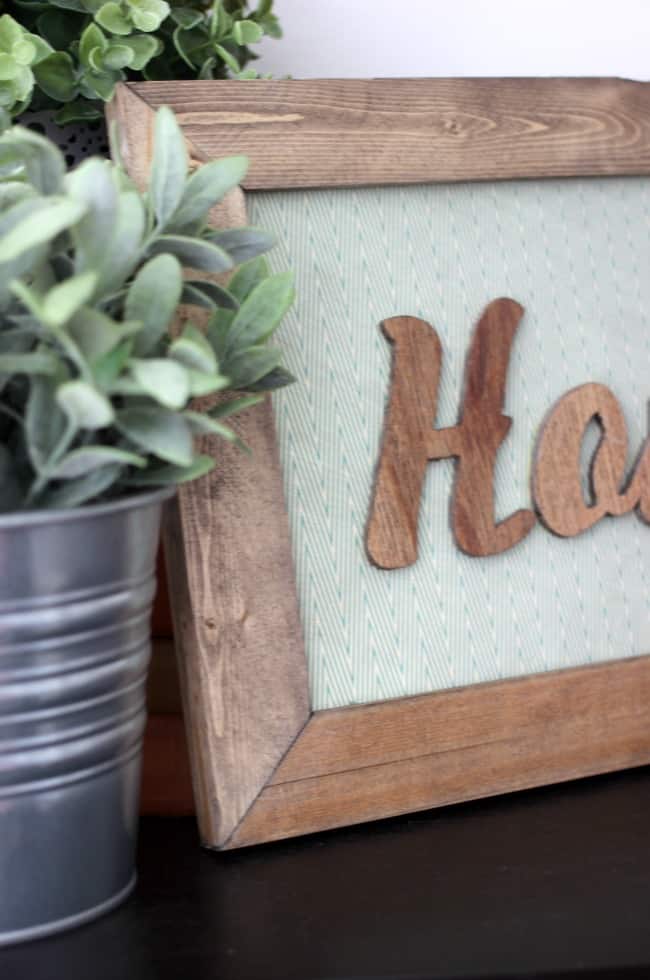
Sand down the bottom base board and the frame pieces. Stain the frame and the “Home” letters in whatever wood stain you choose.
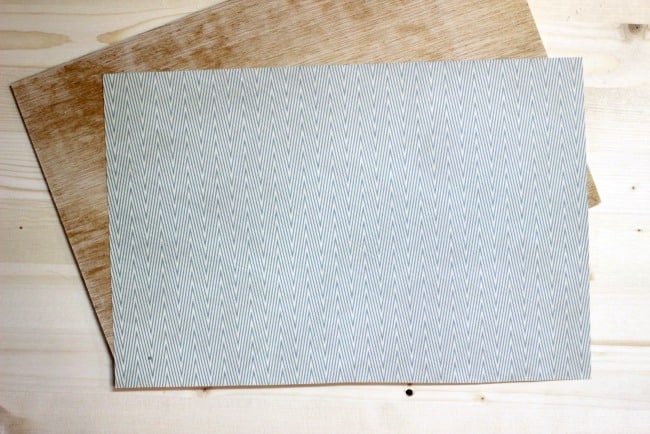
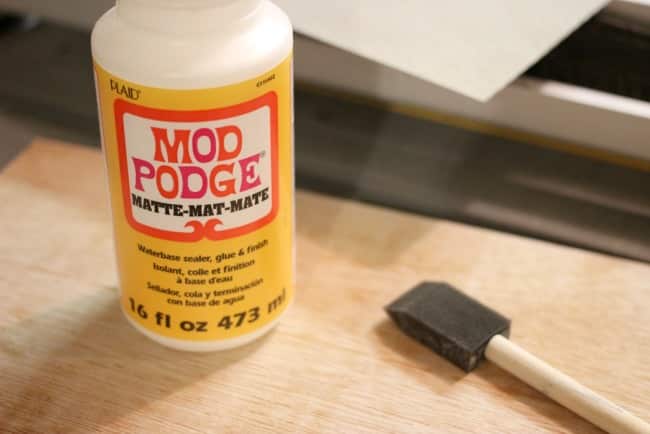
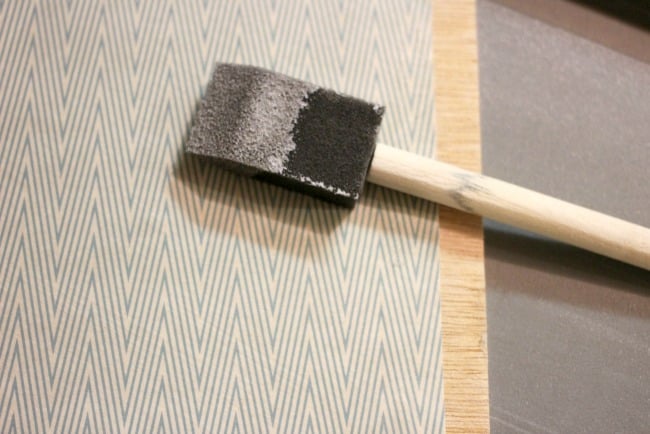
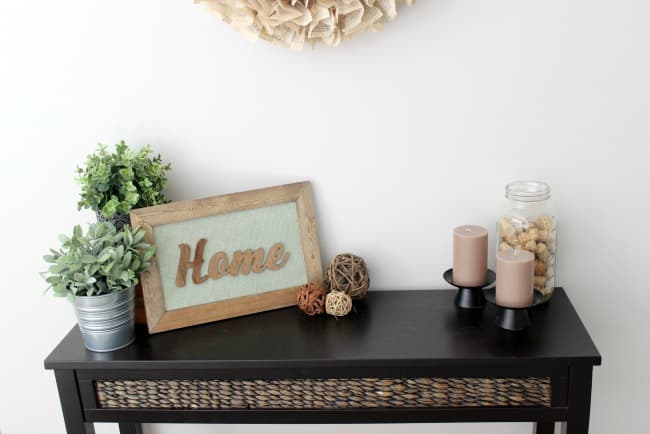
Next, cut your scrapbook page so that it fits on the board. I love this chevron patterned paper! Spread mod podge along the bottom of the board with a foam brush – just lightly. Then place the paper on top, and spread mod podge on top with the foam brush. If you use too much, the page will bubble and lift up. Less is more!
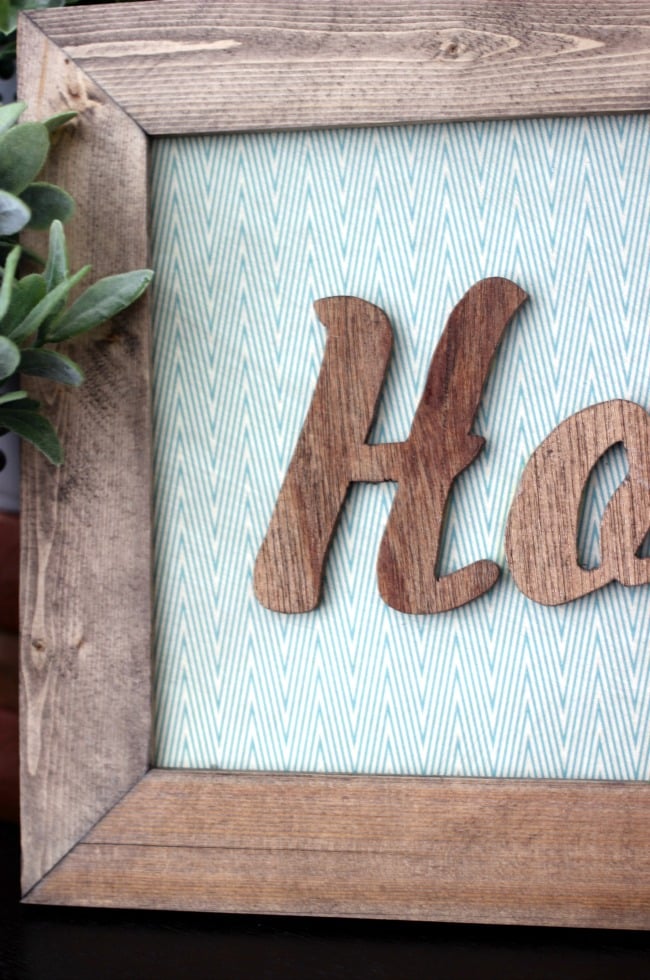
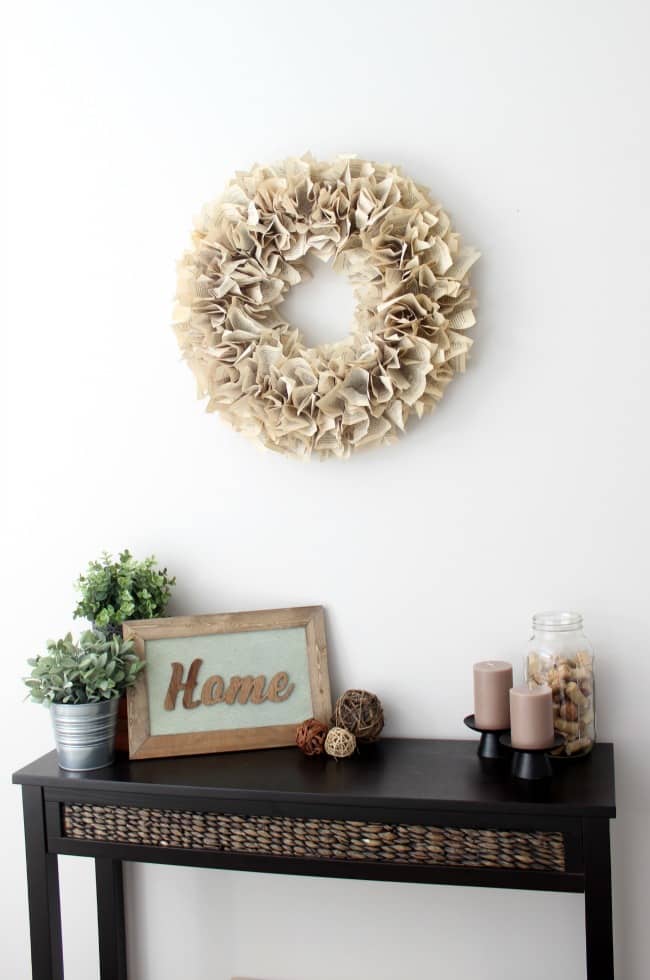
When the mod podge is dry, attach the “Home” pieces with wood glue, and glue and staple (or nail) your frame in place.
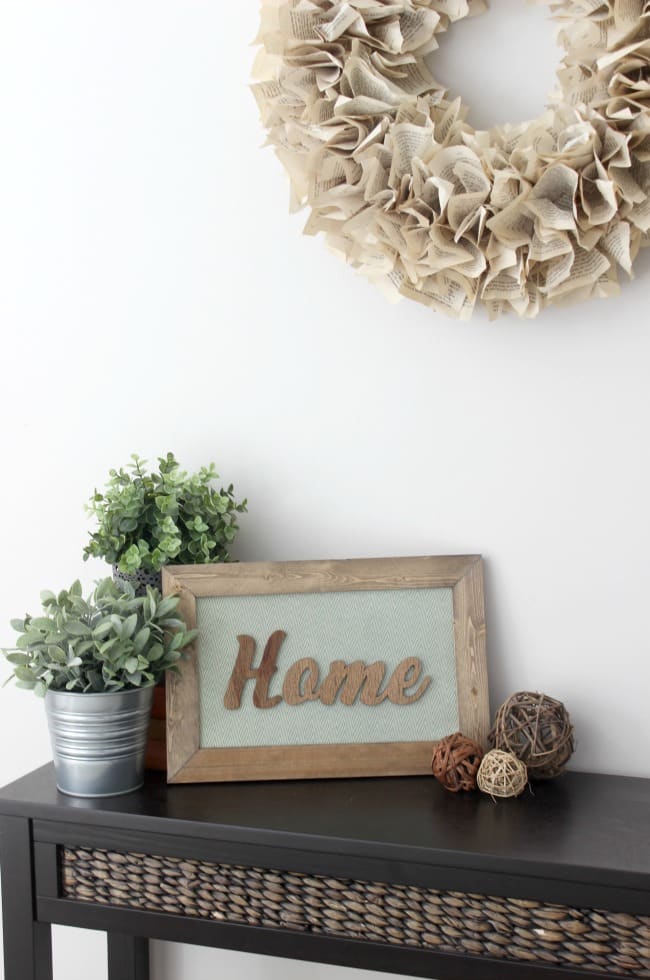
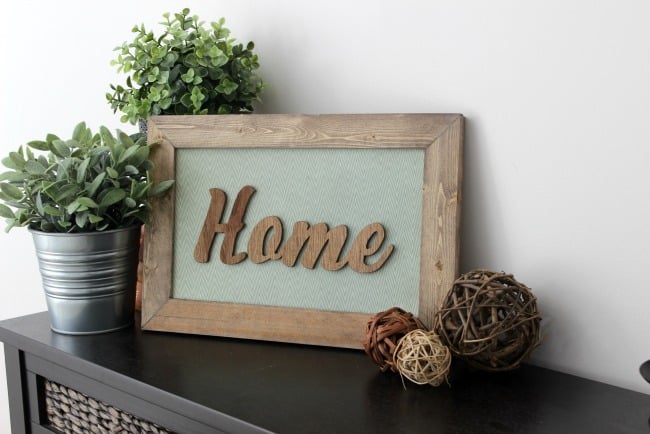
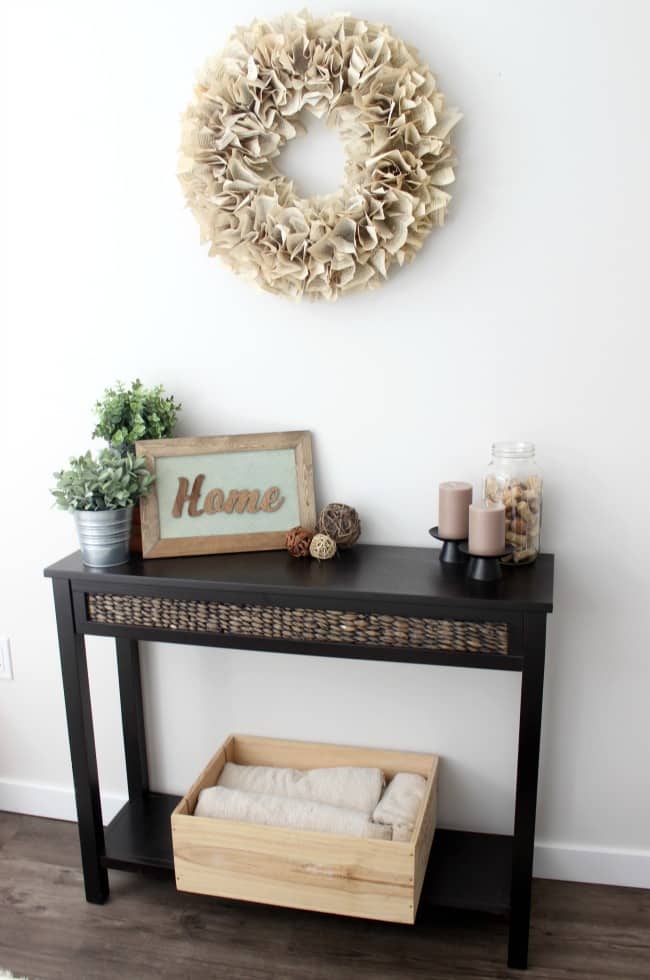
Now it’s time to see the rest of the DIY Mod Podge project ideas from my Canadian blogging friends!
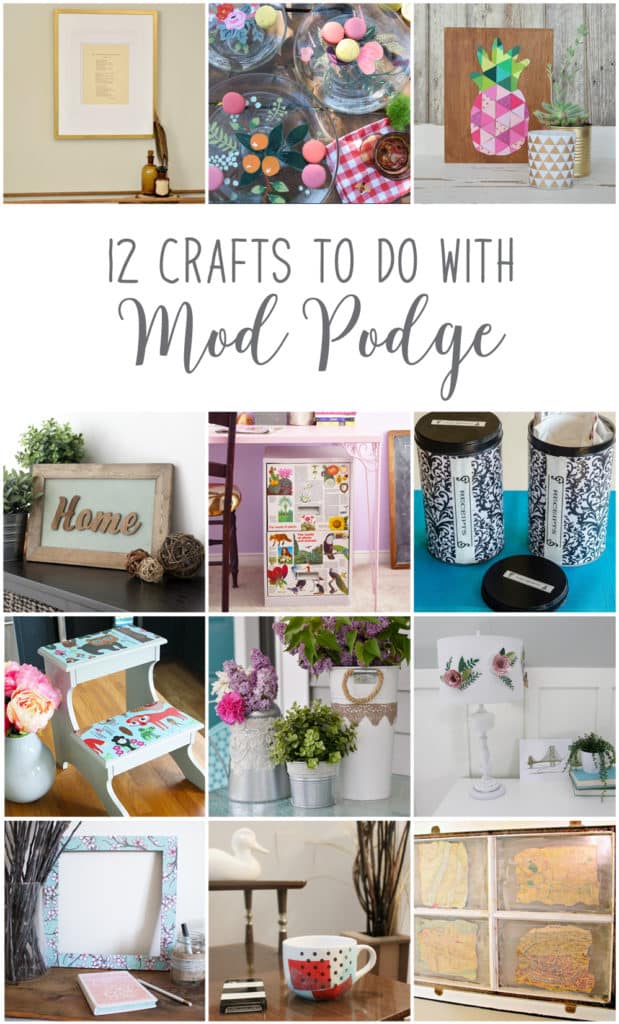
From the top left, they are:
How To Use Mod Podge – A Beginner’s Story from Vin’yet Etc.
Painted Florals on Glassware from PMQ for Two
Geometric Pineapple Art from Life Is A Party
DIY “Home” Wood Sign from Love Create Celebrate
DIY Filing Cabinet Makeover Using Vintage Book Pages from Woman in Real Life
Handy DIY Two Month Receipt Organizer from Time with Thea
Decoupage Foot Stool from Fresh Crush
Make Lace Decoupaged Garden Containers from The DIY Mommy
Paper Flower Lamp Shade from Brooklyn Berry Designs
Easily Upcycled Photo Frames from Sustain My Craft Habit
Kate Spade-Inspired Mug from Mommyzoid
Window Map Art from New House New Home


15 Easy DIY Home Decor Ideas - a Houseful of Handmade
Monday 27th of June 2016
[…] How to Make your Own Wood Sign from Love Create Celebrate […]
Frank
Wednesday 22nd of June 2016
My wife has been on my case because she been asking me to make a couple of wood signs to use as decoration for our new home. Don't get me wrong, I has a collection of power tools which I use to DIY around the house but I've never really done any decorative pieces! But that's how I ended up on your blog :) Thanks for sharing this, your guide will be very useful once I get to working on my wife's requests over the weekend :)
Lindivs
Friday 24th of June 2016
Thank you! This made my day! I'll be sharing a great DIY post to make nicer frames for these photos in the coming weeks too! You might enjoy it :)
Upholstered Headboards, Herb Garden Help, & Recipes | Talented Tuesday #82 - Positively Bliss
Tuesday 7th of June 2016
[…] Make Your Own Wood Sign by Love, Create, Celebrate […]
Kati
Monday 6th of June 2016
A scroll saw is on my wish list! This sign is so beautiful. Thanks for sharing at the Wednesday Showcase!
Jen @ Fresh Crush
Saturday 4th of June 2016
Nice work with your scroll saw! Love this!
Lindivs
Sunday 5th of June 2016
Thanks Jen! I'm actually in LOVE with my scroll saw right now!