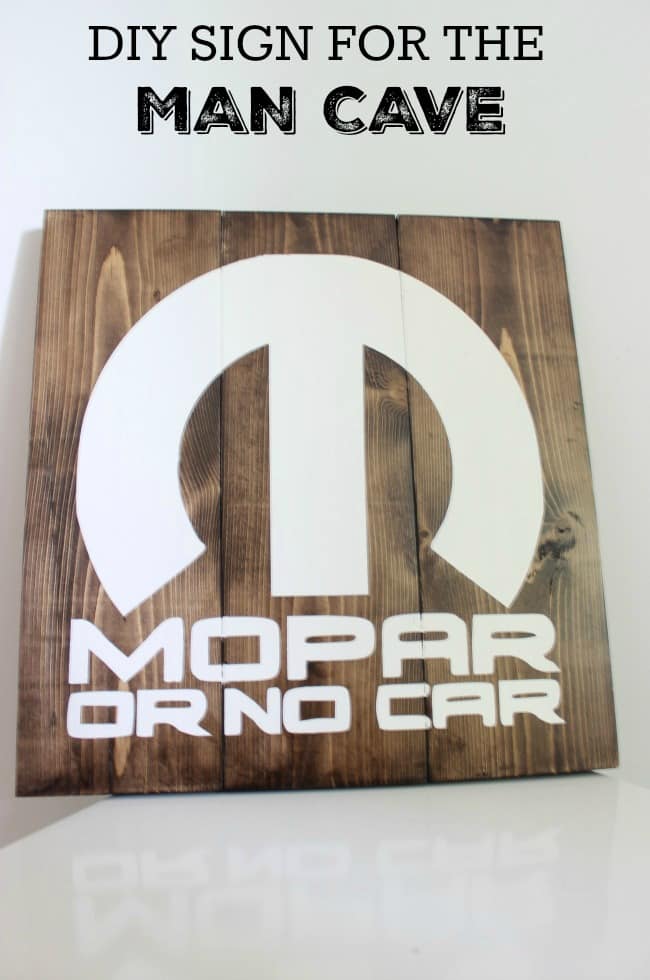
Is your dad a car guy? Would he know what Mopar means? Do you know what Mopar means?! I definitely had no clue until I met my husband. For those of you that don’t know, its a reference to Dodge/Chrysler/Plymouth cars – usually the fast ones! My husband is so into Mopars that my two-year-old has already memorized the phrase “Mopar or No Car!”. Seriously. So I knew I had a great Father’s Day gift idea: new DIY Man Cave Decor!
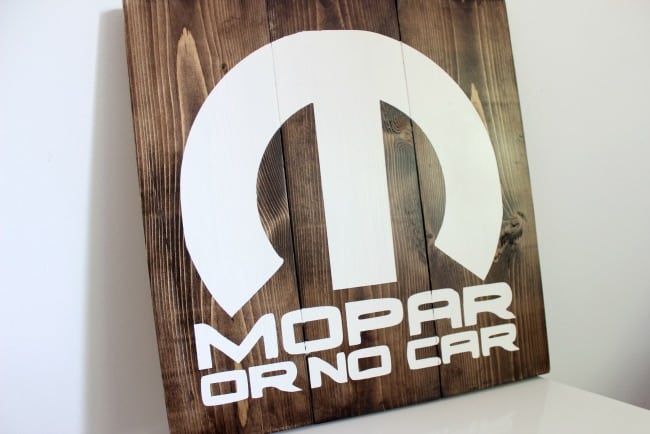
This sign was actually pretty easy to make! I actually gave this to my husband as a surprise birthday gift. The hardest part was sneaking in the garage and working without him knowing I had been there!
Materials:
1×6″ board (at least 42″ of it)
Vinyl
Cricut Explore Air 2
White Paint
Scrap wood (for backing)
Wood Glue
Clamps
(or staple gun)
Hanging hardware
Saw
Wood Stain
Varnish (optional)

My Cricut Explore Air 2 is honestly the best tool I have. I use it ALL the time. For this project, I used their “upload an image” feature, and uploaded an image I found in google search (there are a ton of Mopar images there!). Once your image is uploaded, you just click on the areas that you don’t want cut (all the checkered parts in my pic).

Next, you select how you want the image saved. For this project we really just want to create a new stencil, so I chose “Save as a Cut File”.

I chose to make my image 11.5″ wide. The Cricut Explore can cut up to 12″ by 24″ at once. When I had it sized the way I wanted it, I chose cut, and set my dial to “Vinyl” to cut the vinyl.
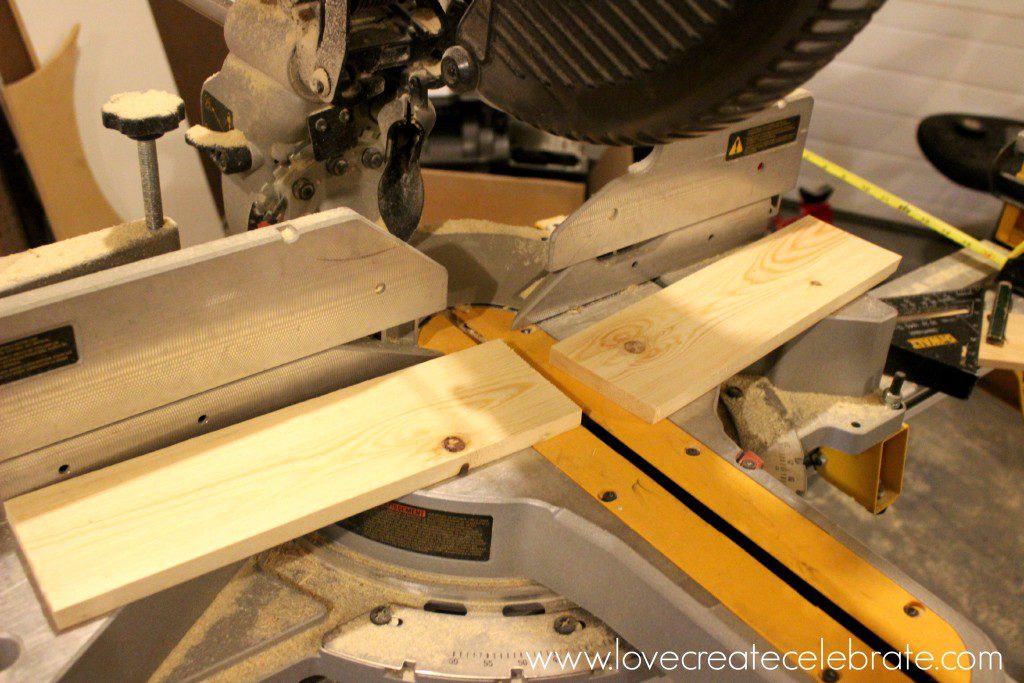
The next step is to cut out your wood pieces for the sign. I used the mitre saw to cut my pieces 14″ long, and then the table saw to cut them down to 4.5″ side. This made my entire sign 14″ by 13.5″ (4.5″ x 3 boards). When I was done I applied my dark stain and let the sign dry overnight (and had to hide it from hubby!).
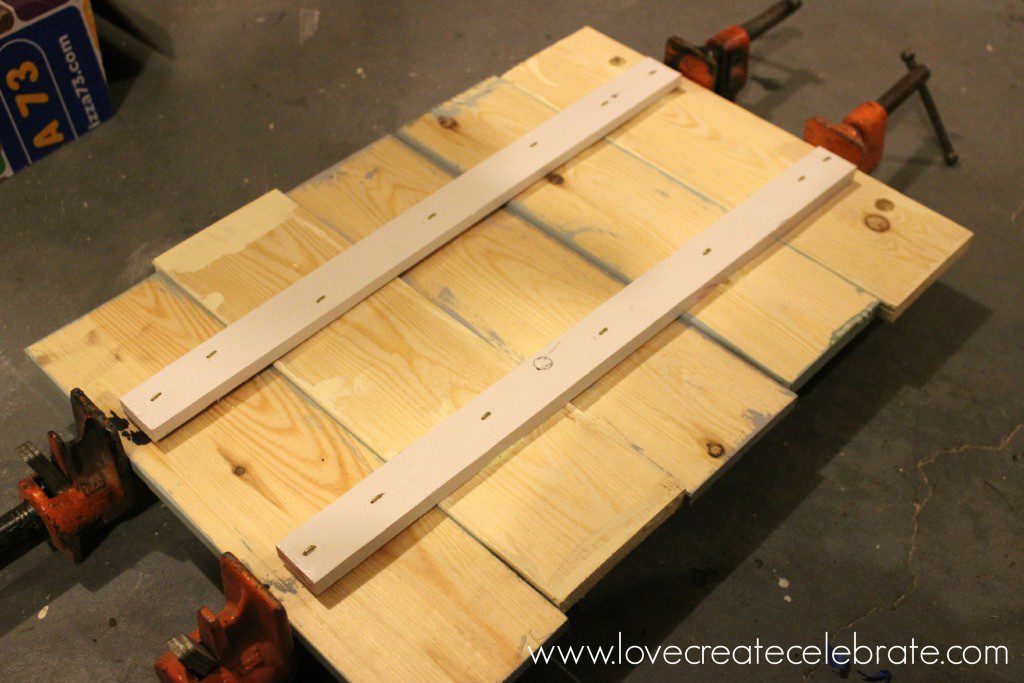
Use your scrap wood to attach the back pieces together. In the photo above, I glued the pieces with wood glue, and also used the staple gun to staple the scrap wood to the boards.
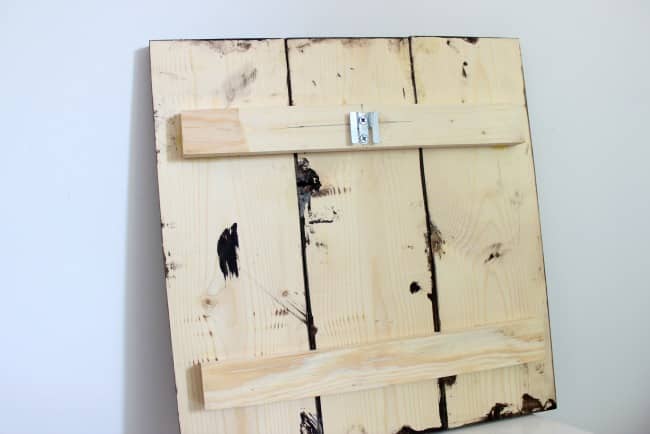
On this sign, I simply used wood glue to attach the back pieces. Either method will work.
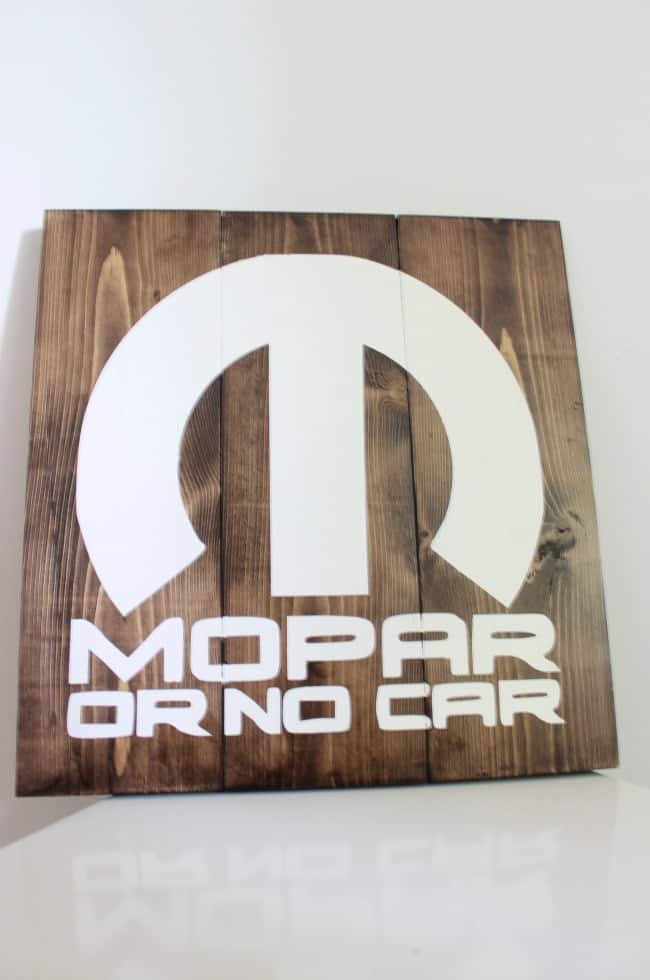
Now, you want to take the vinyl stencil you cut out and peel the outline off to stick it to the boards. You can peel and unpeel a bit until the placement is perfect. Make sure the edges are firmly down. Then grab your paint and paint over the stencil.
[for a more in depth example of how to use the stencil, see this post]
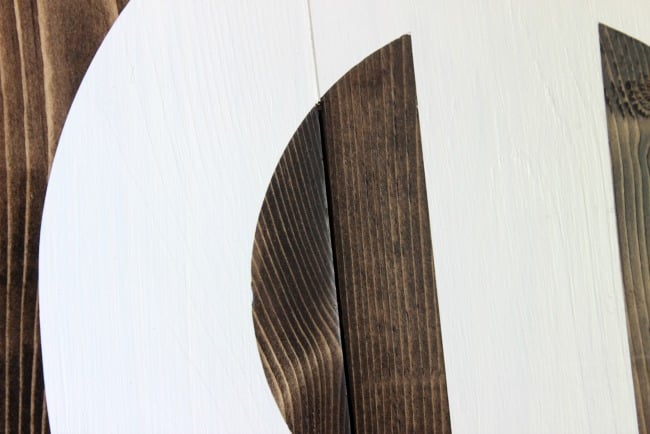
Remove your stencil and you are left with an awesome manly sign. You can varnish over the paint if you like at the end. This will protect the wood from wear and tear.
Go wrap it up! He’ll love it!

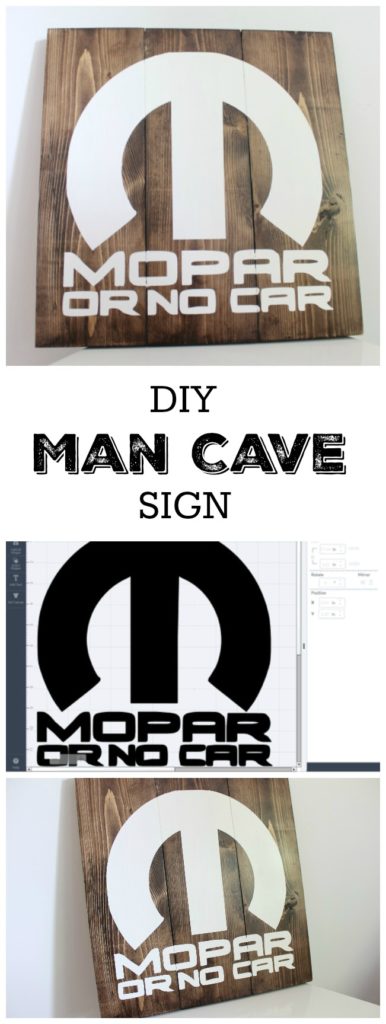
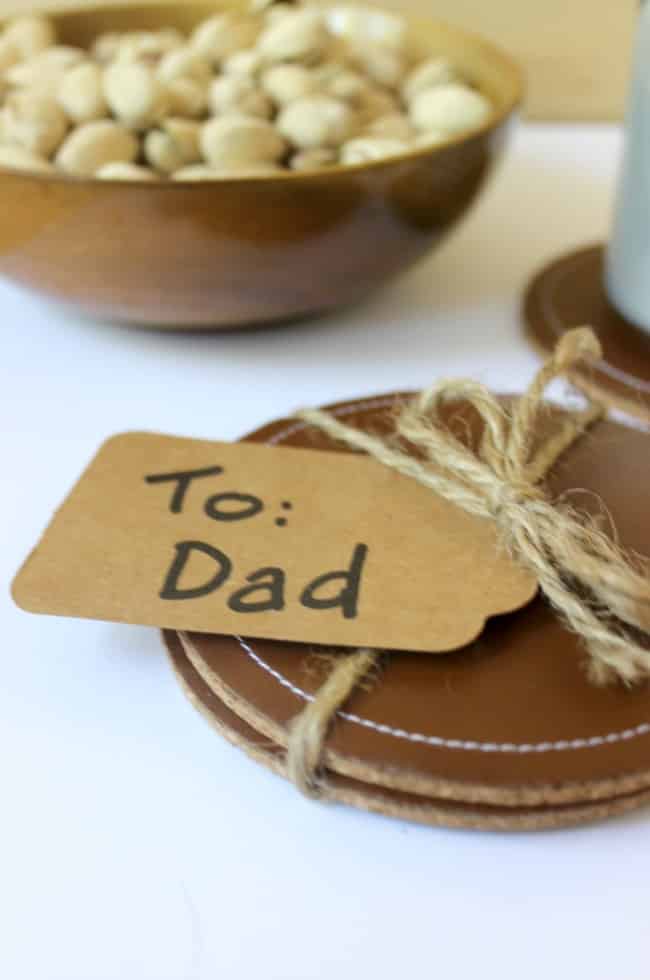
For another great Father’s Day DIY, try these Leather Coasters!


20 DIYs for Father's Day - DIY Adulation
Friday 17th of June 2016
[…] If your dad is into cars, this easy art is the perfect gift for him. Get all of the details for how to make it over at Love, Create, Celebrate. […]
Maria
Saturday 21st of May 2016
This is such a nice gift for your hubby! Very cool, and how did you do this without him finding out. Maria
Lindivs
Saturday 21st of May 2016
Haha. Thank you you! It was difficult! I had to use the planer one night too! Luckily he was aware on home the night I clamped it and let the wood glue dry. Otherwise my pieces were all hiding in the garage! I was really worried he would see it but he never did!
Russel
Friday 20th of May 2016
Bestest sign ever! Thanks Honey!!
Xoxo Russel