
Industrial Pendant Light
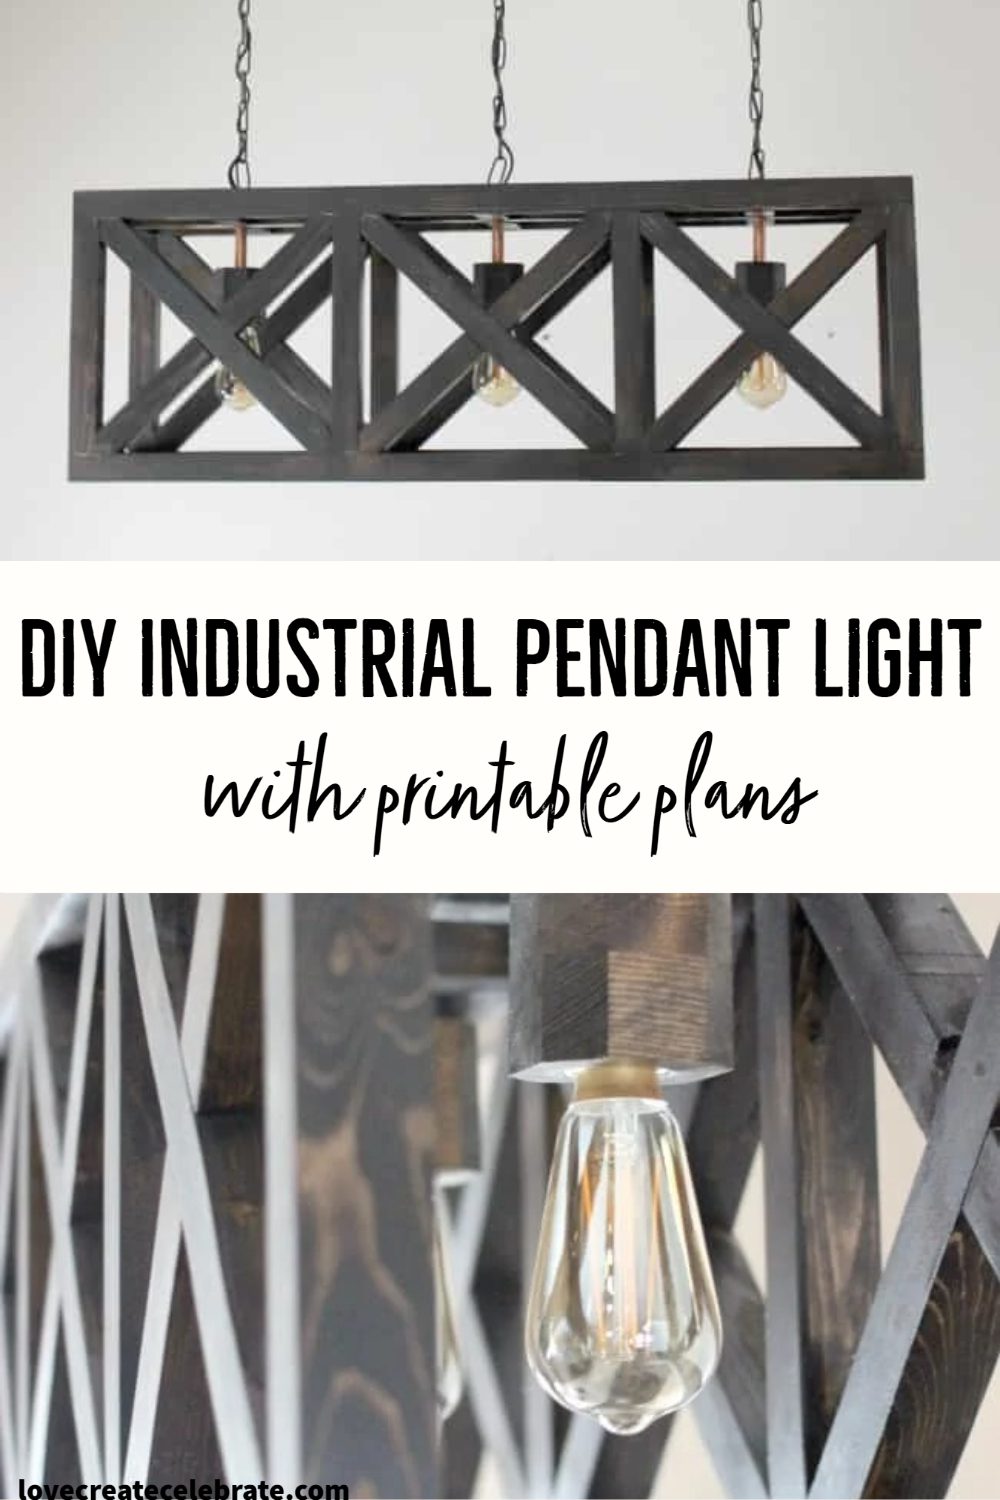
Join me for a step by step tutorial and create your own DIY Industrial Pendant Light. This unique design is a perfect addition to any home.
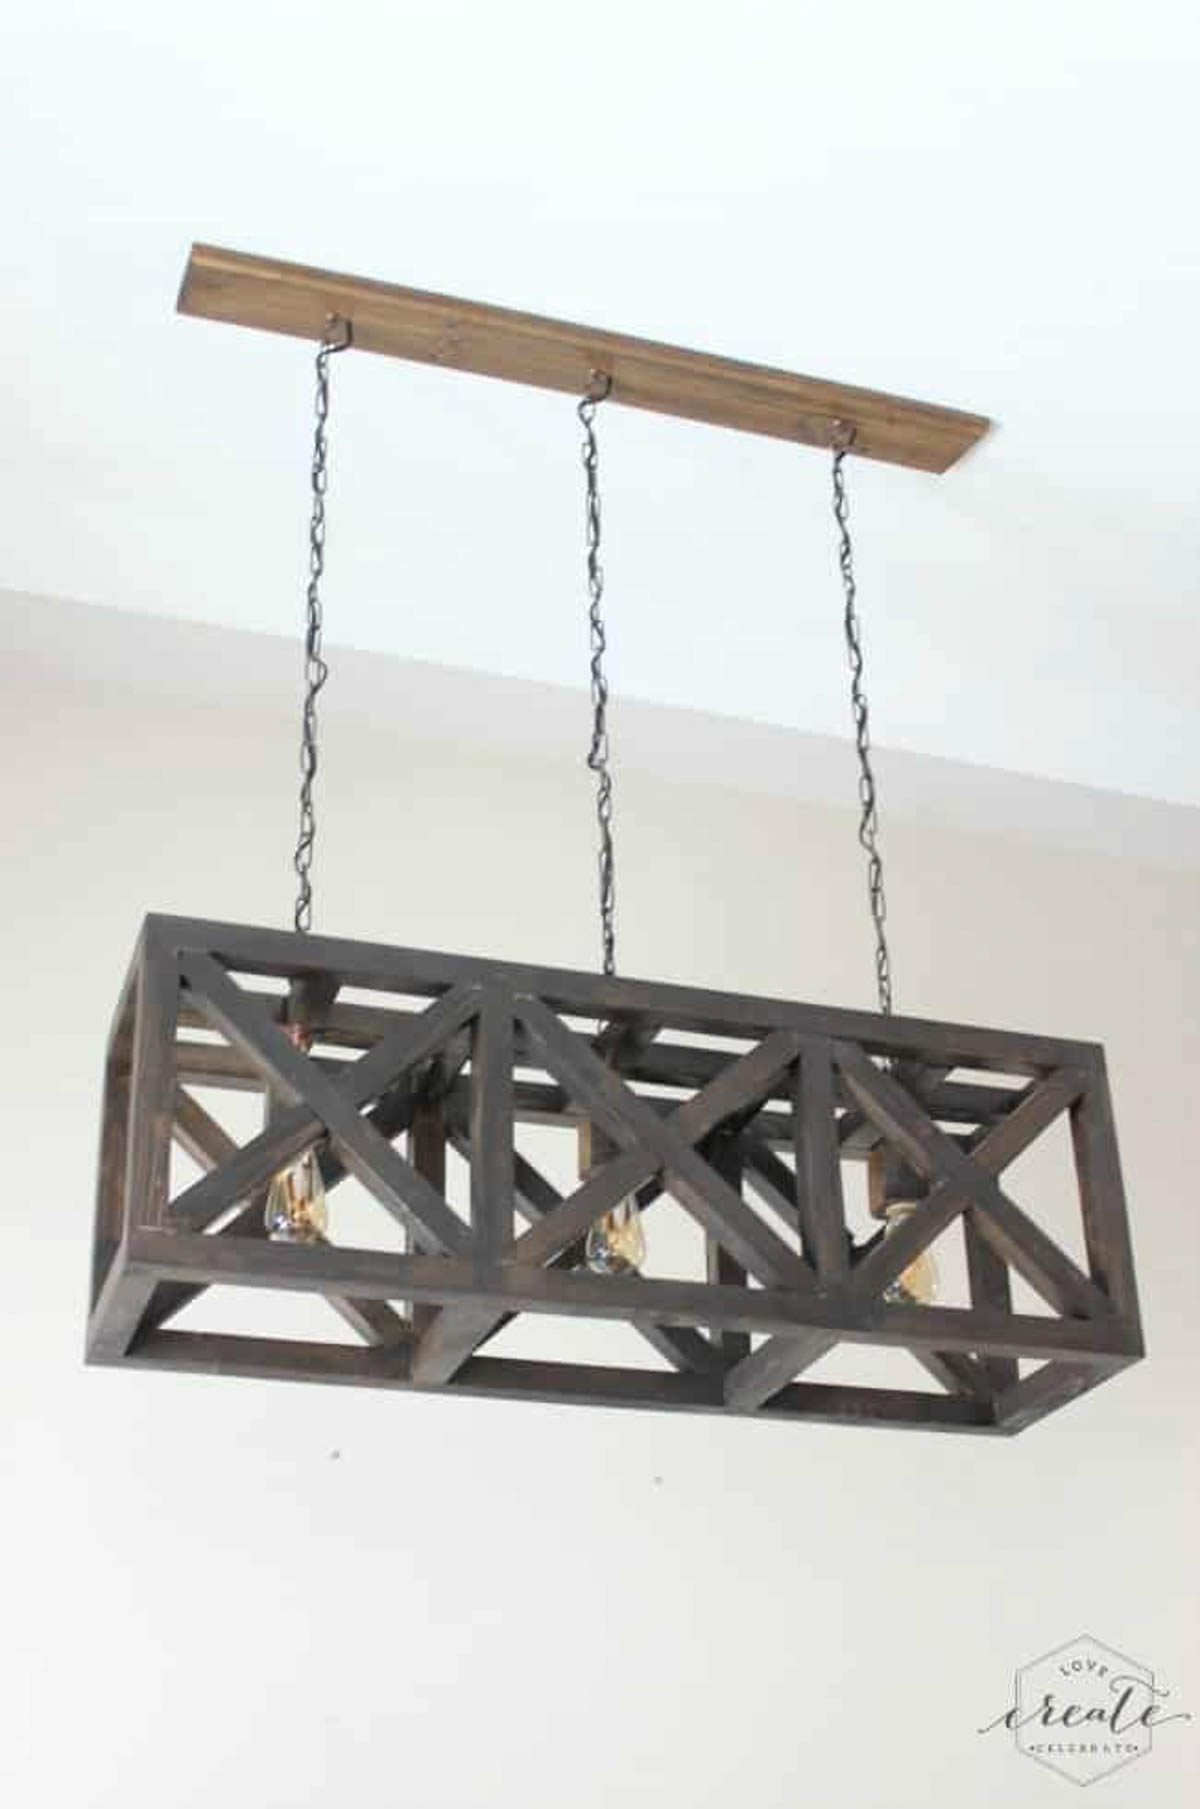
Well friends, it's time for another Home Depot Gift Challenge! This is the challenge when we chose an item from Home Depot (*not sponsored, we just like their products!*) and a creative group of bloggers made new DIY projects form that object. This month we chose chain, which was perfect because I have been wanting to make this new Industrial Pendant Light for a while now!
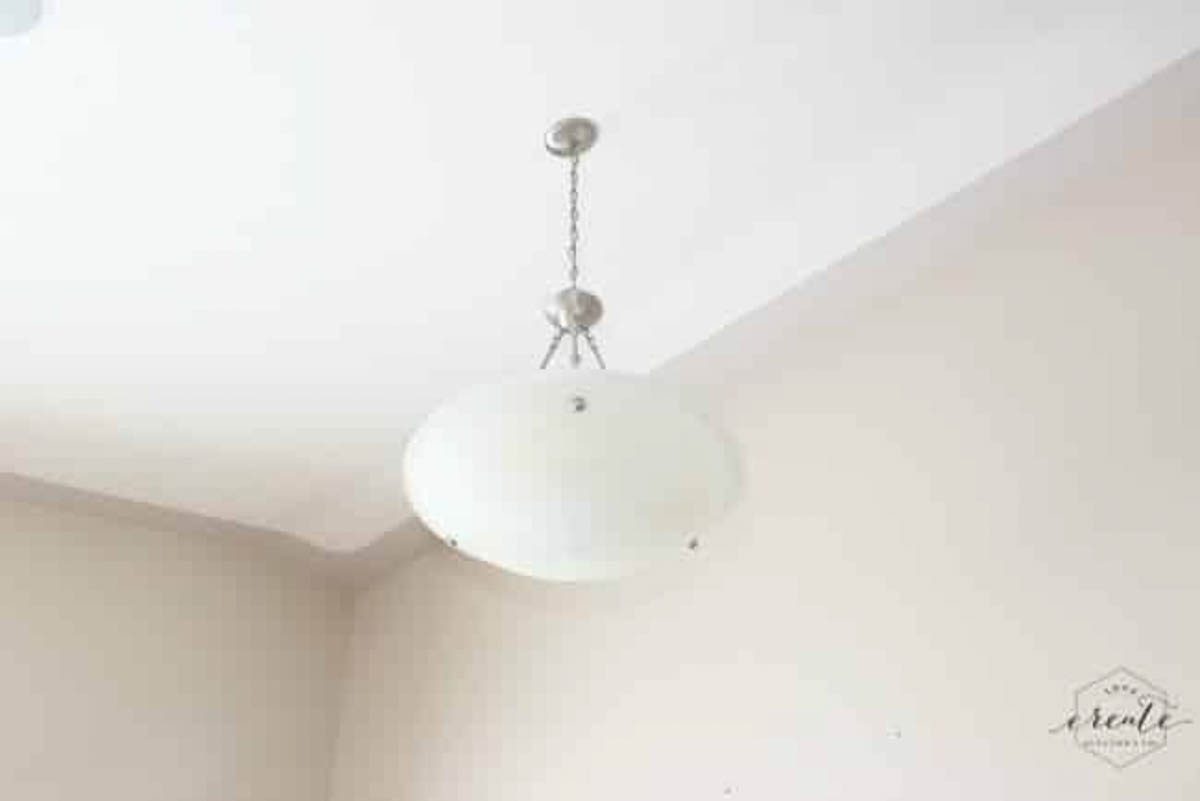
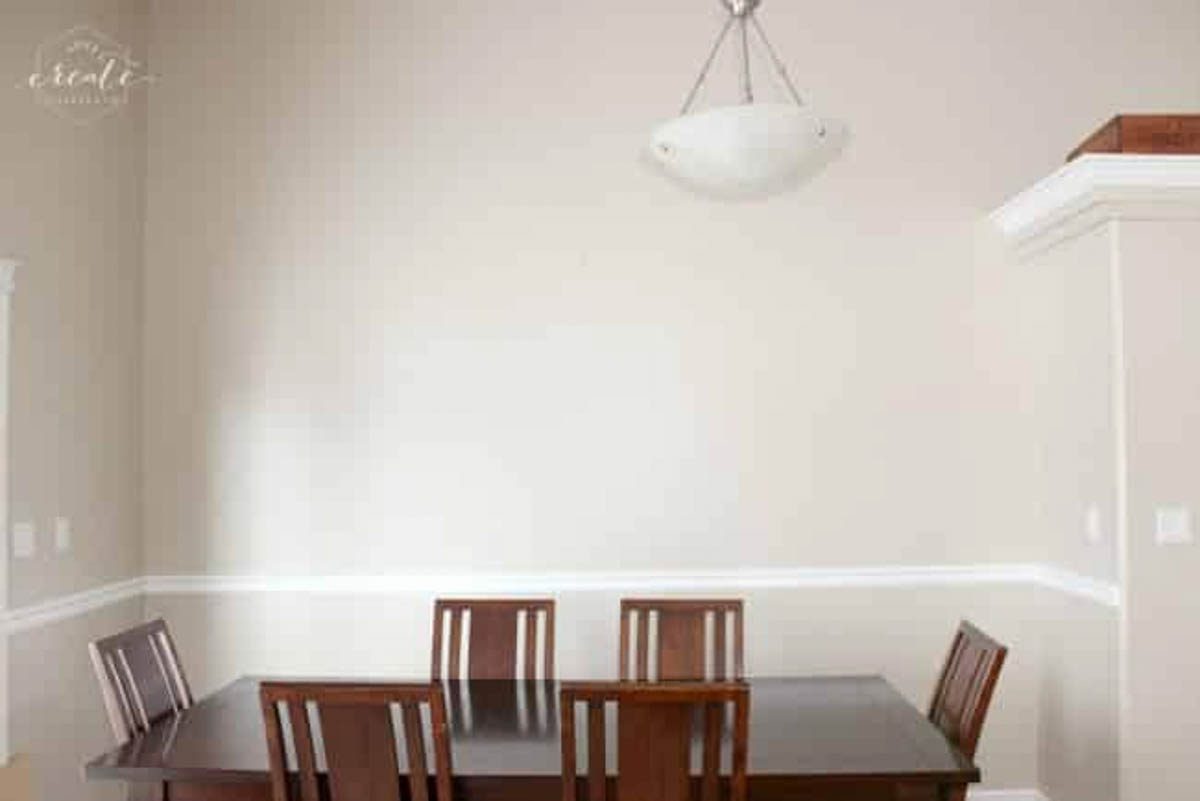
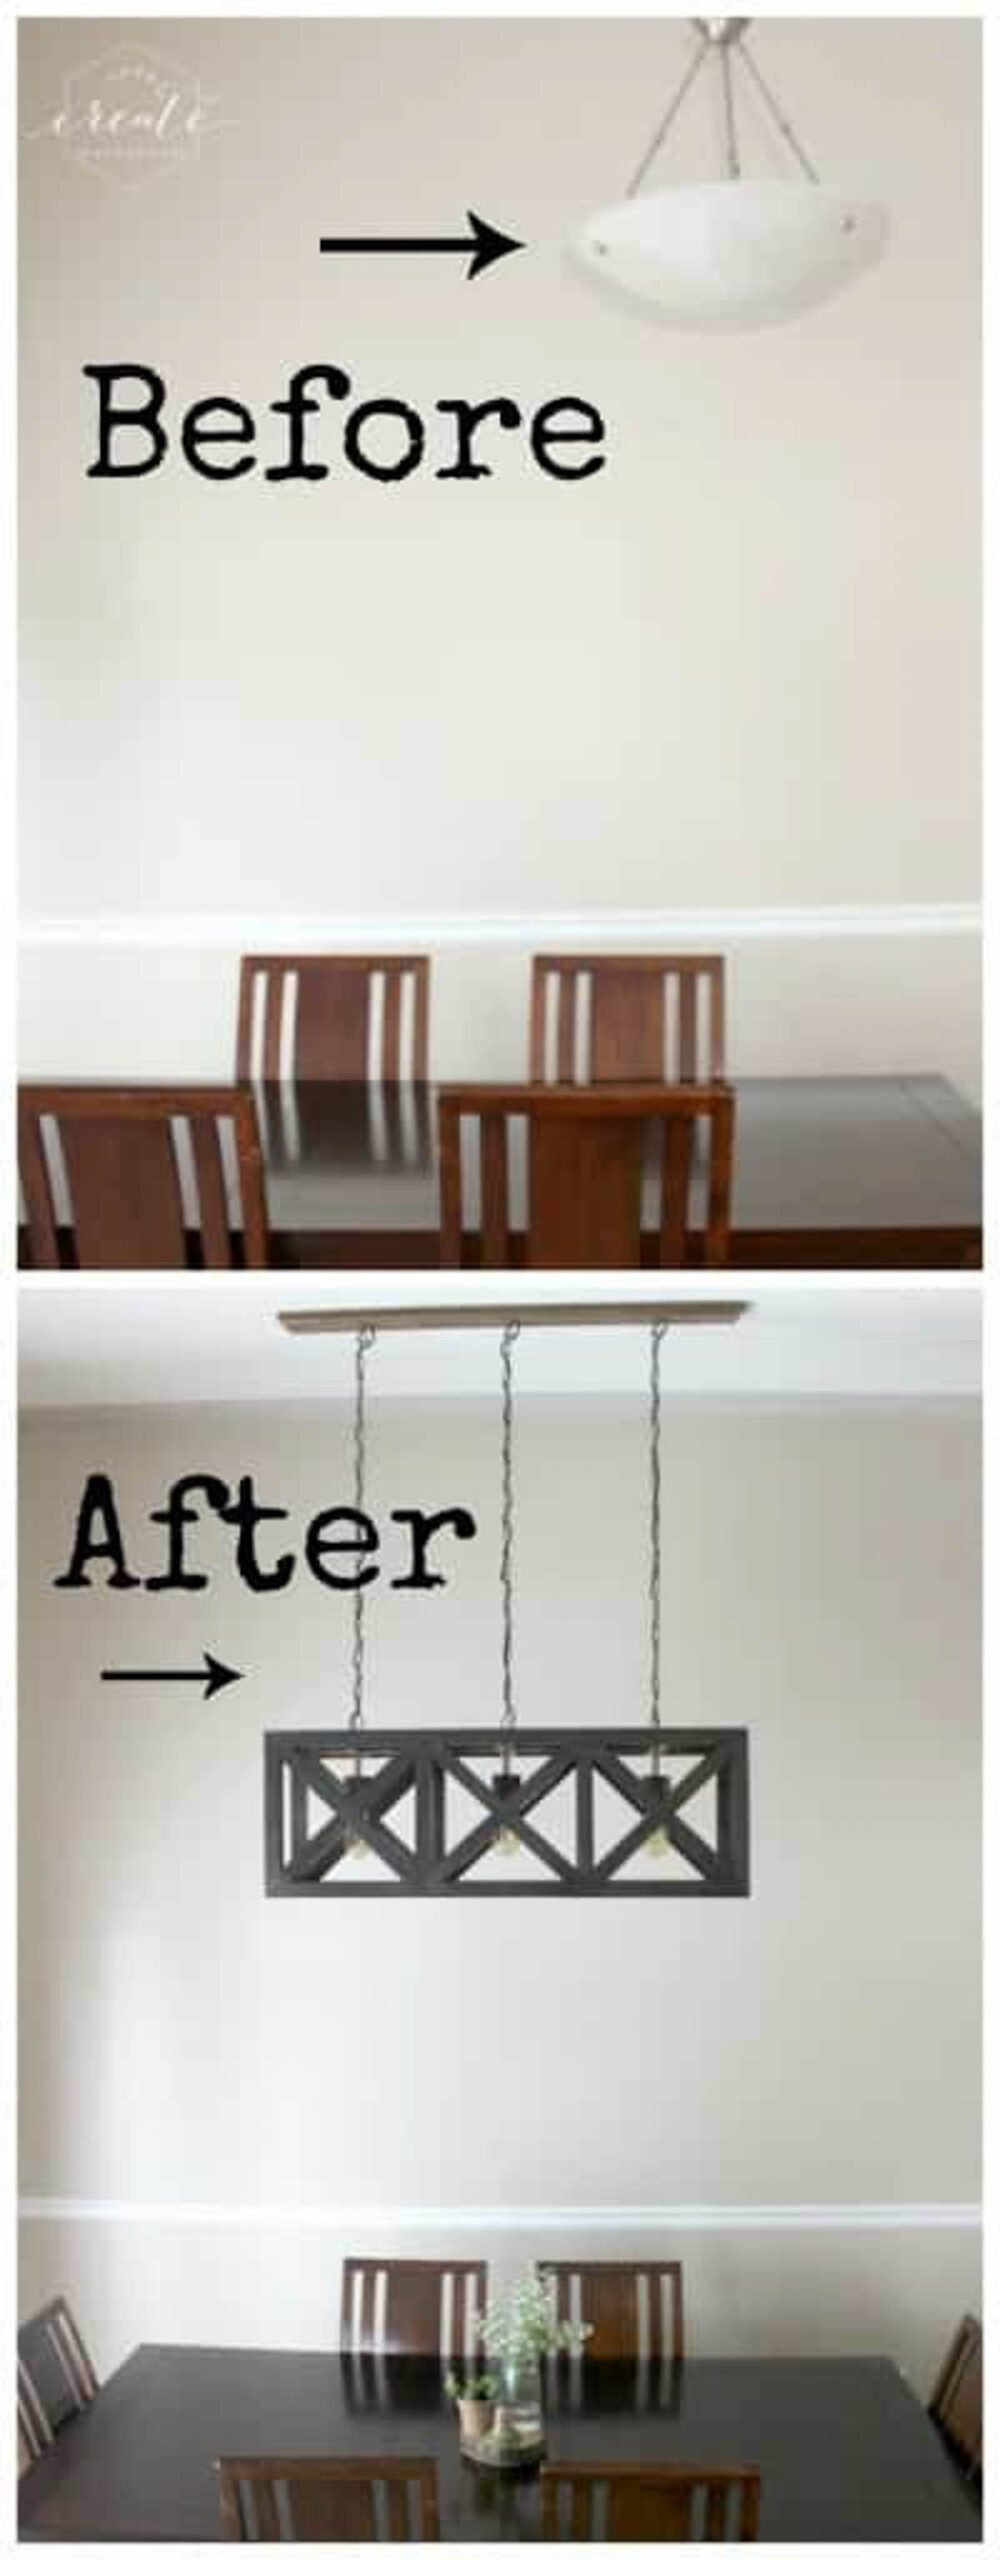
We've had this light in our kitchen since we moved in. Sure, it's pretty... but in my opinion it's outdated. It's not my style. AND it's not centered! That's three strikes. Time for a change.
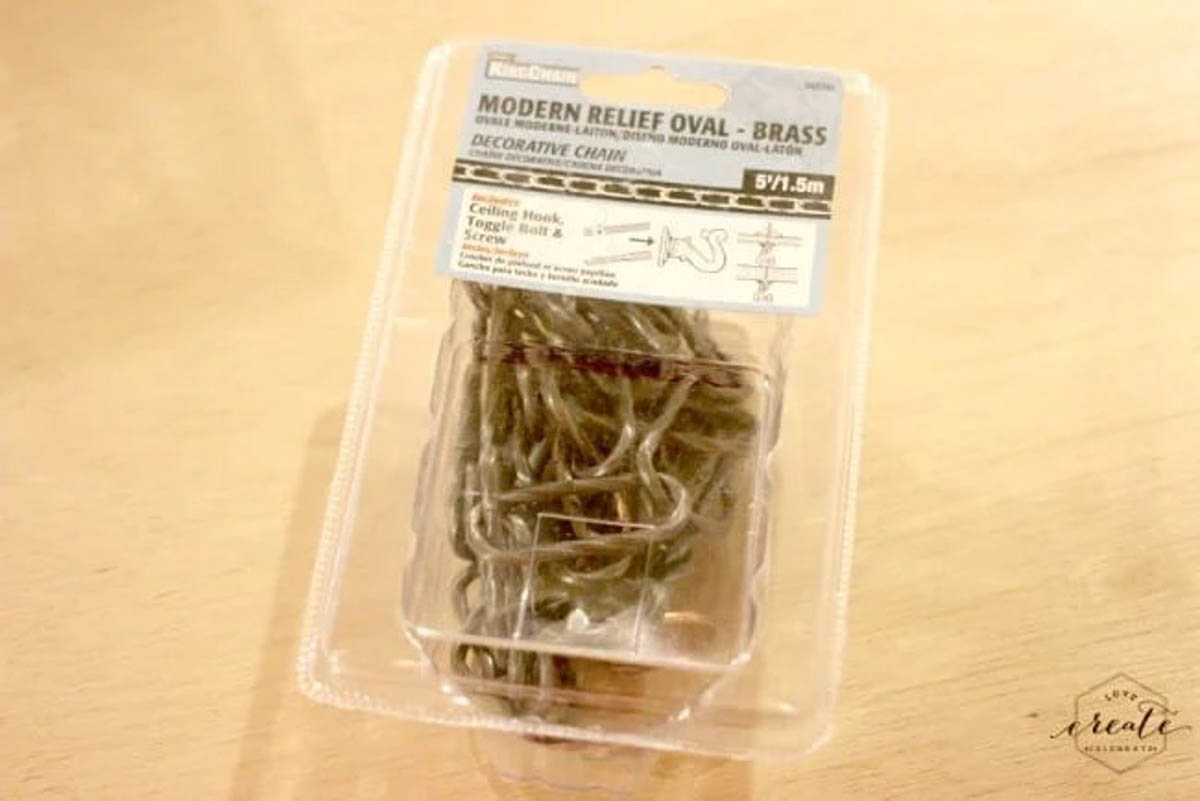
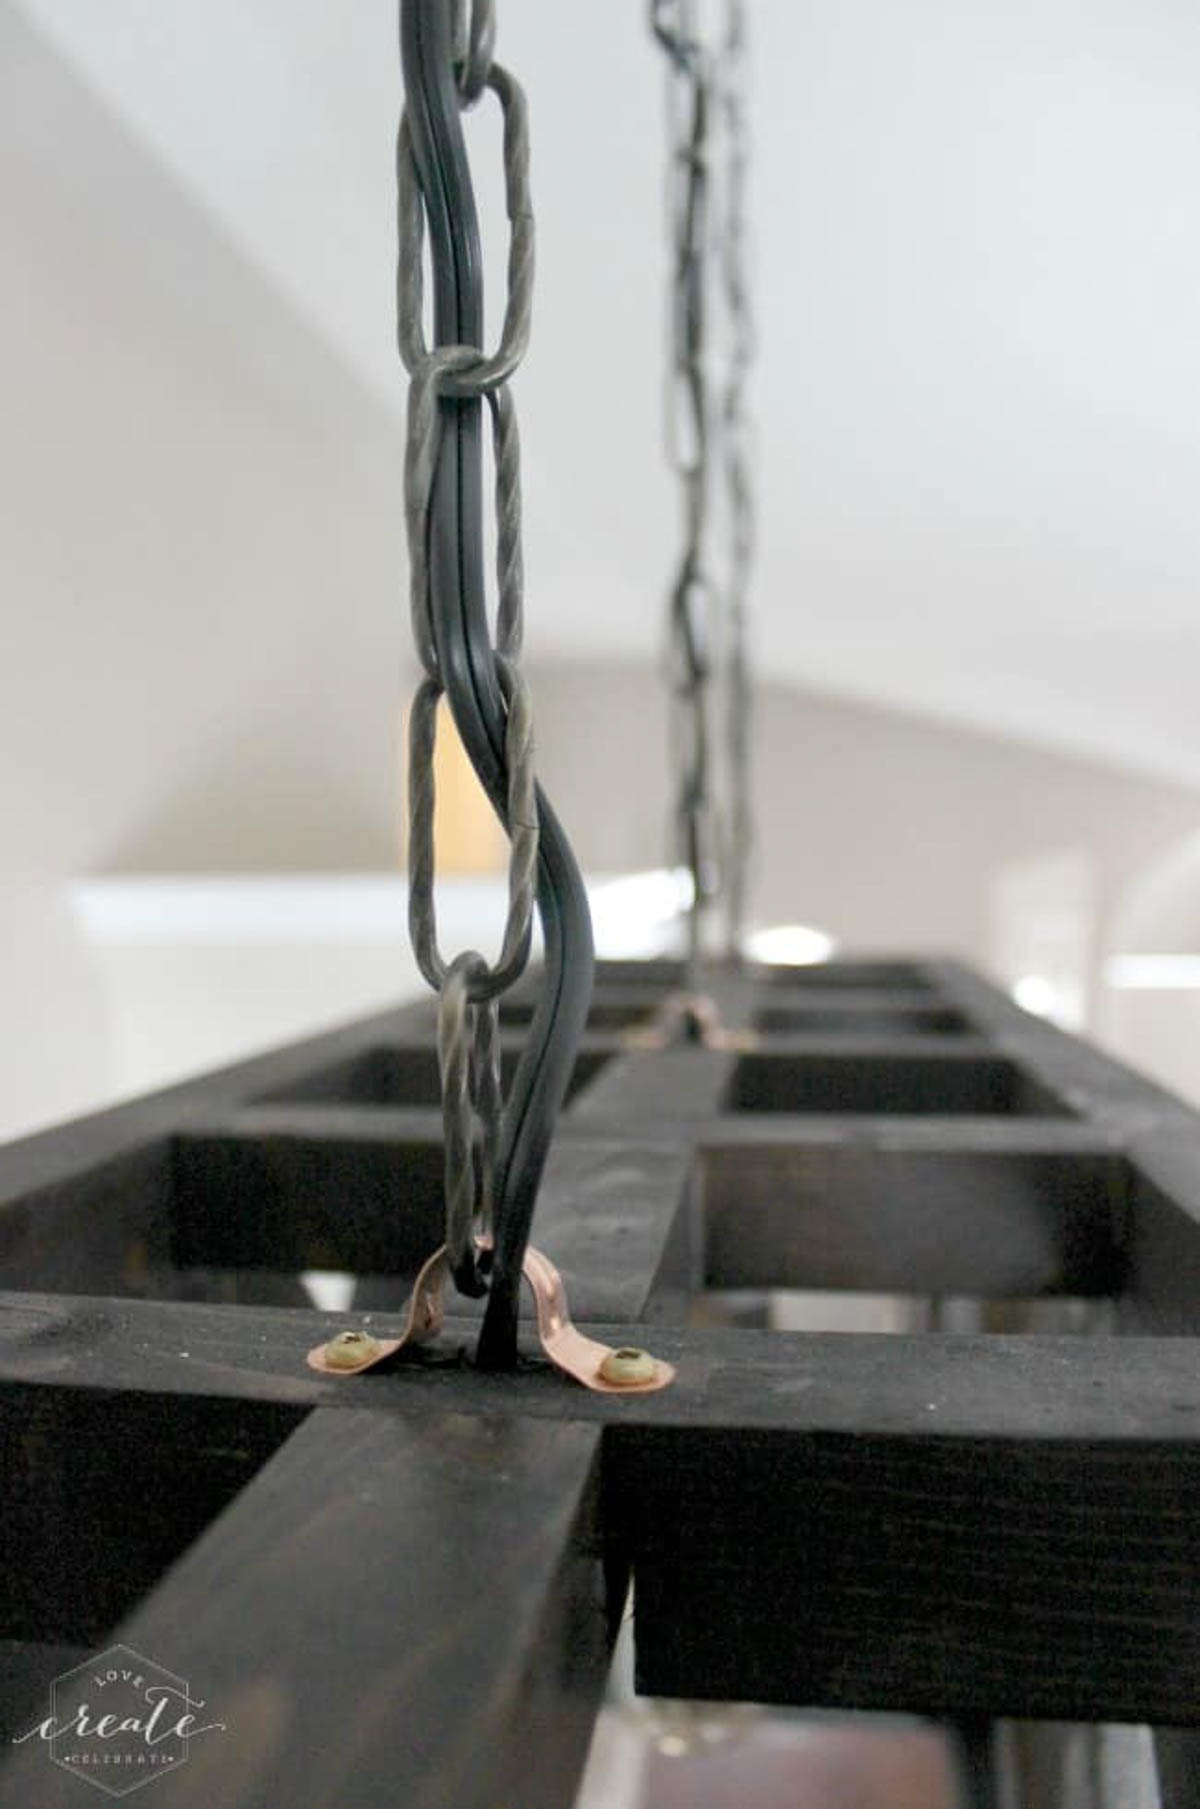
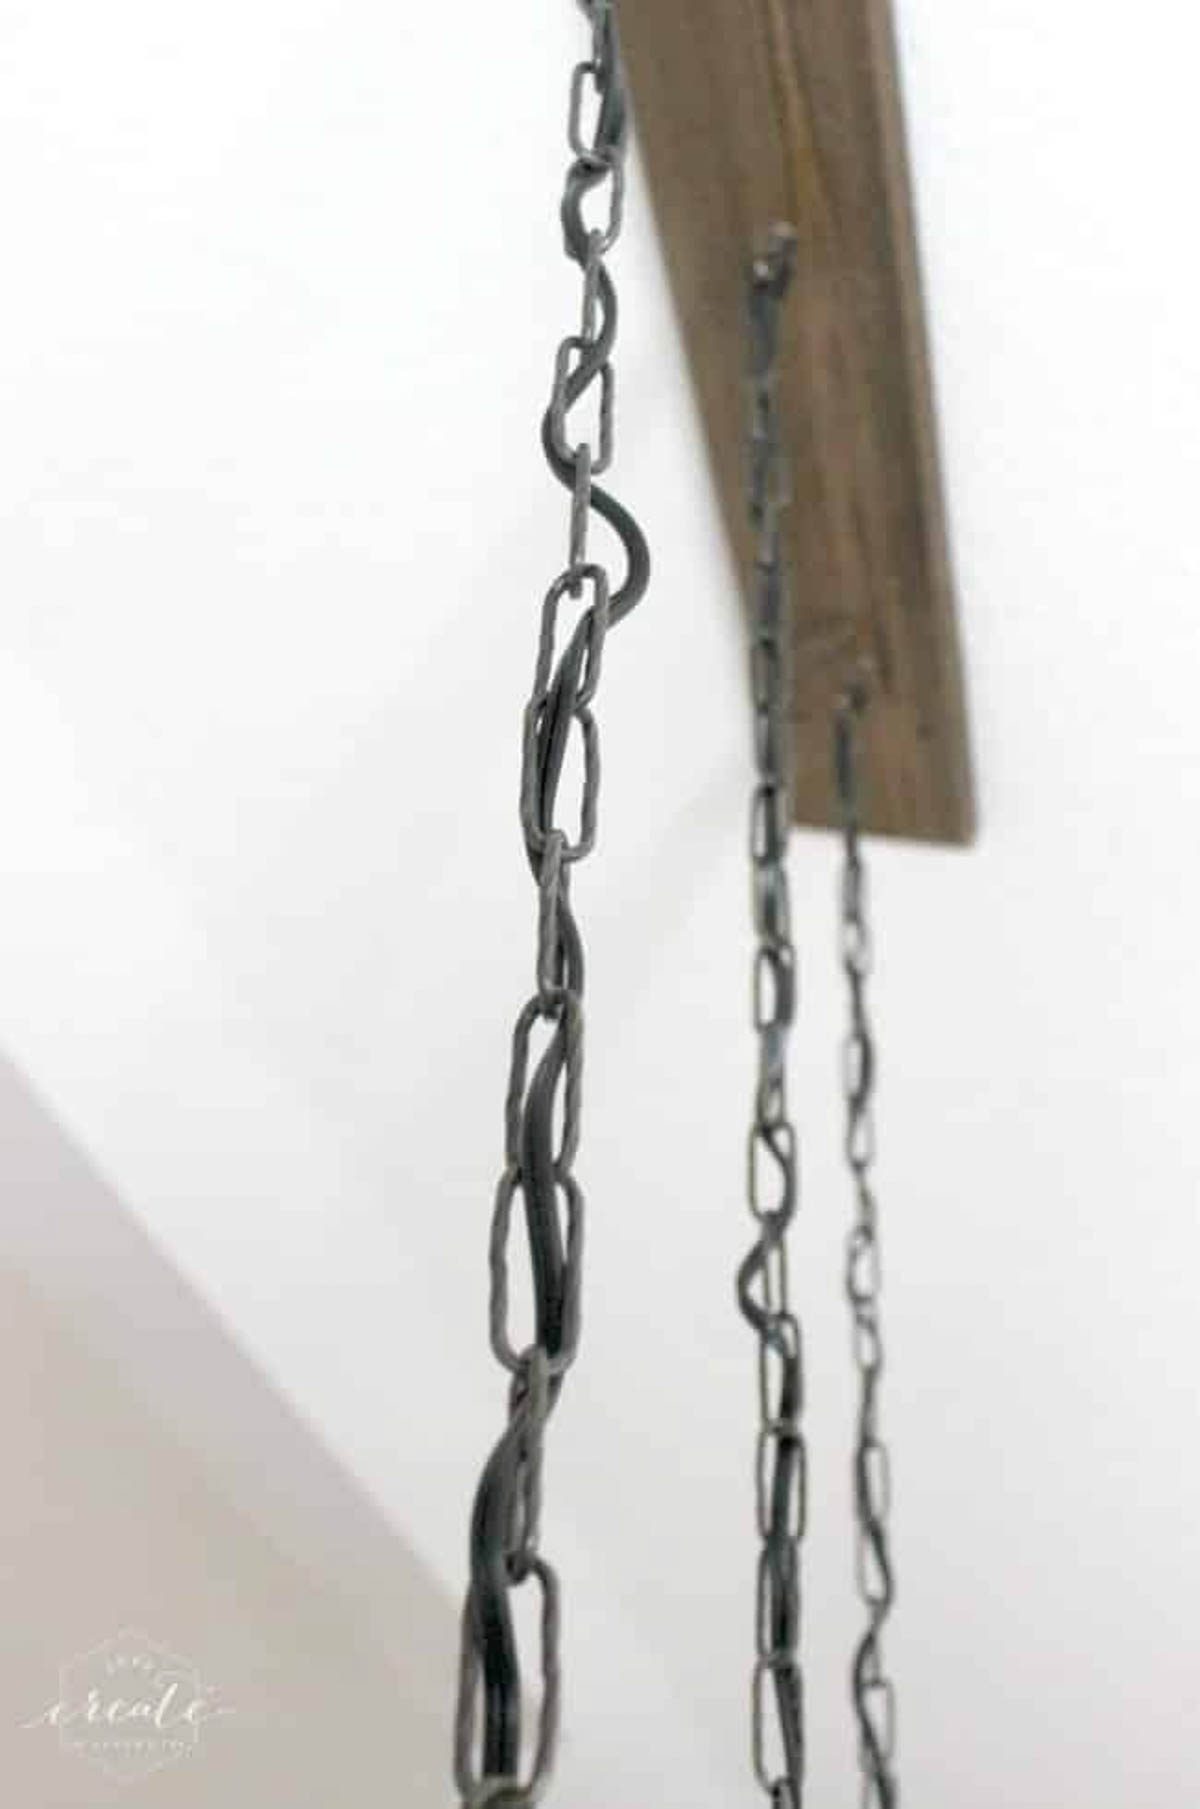
Once I knew we wanted to make a light fixture, I chose this metallic decorative chain from Home Depot to hand the fixture from the ceiling.
Start by downloading your FREE PLANS here!
A list of lumber required for the project is included in the design plans.
Other Materials:
Three 5 ft. chain kits (above)
Three sockets
Three light bulbs
25ft. of wire (how low you hang it will determine how much you need)
Screws
Three ½" copper clamps
Wood glue
Epoxy (to glue copper pipe)
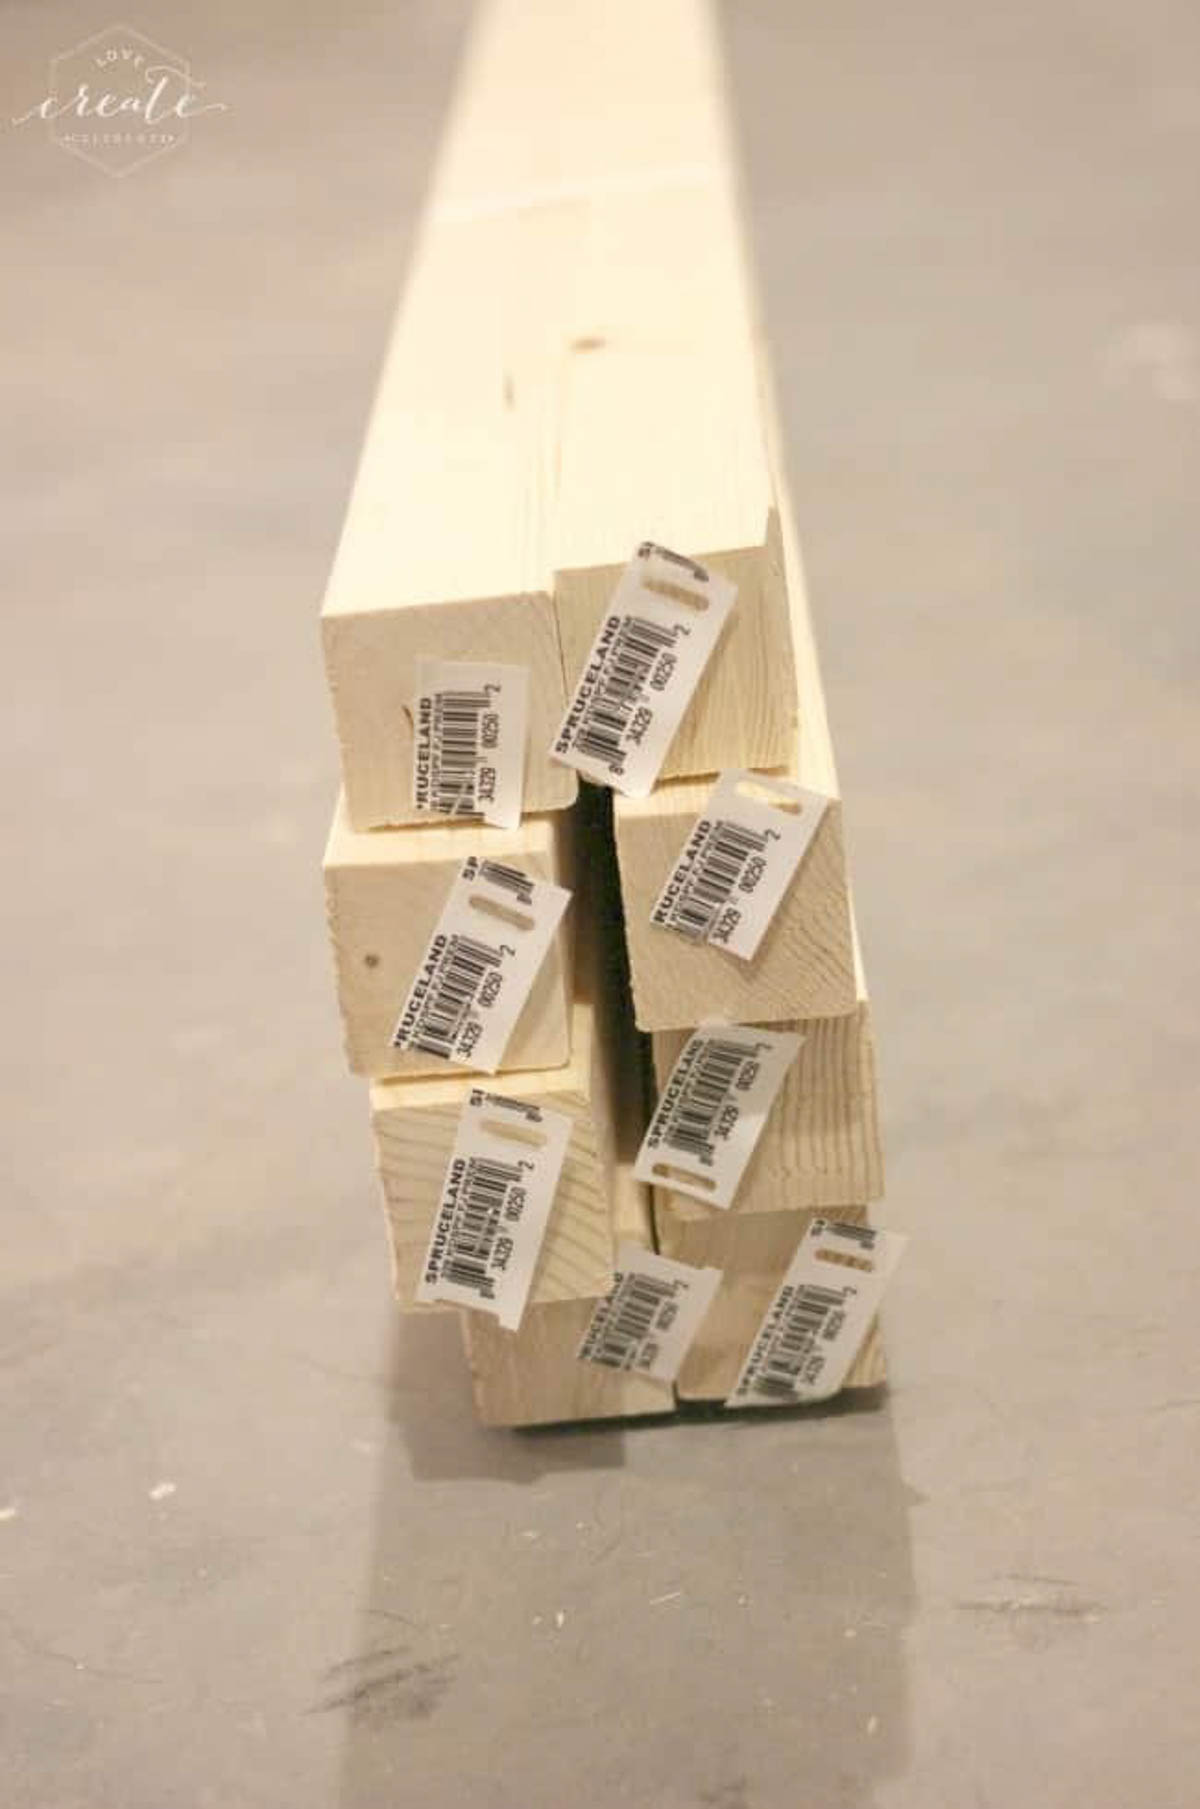
Start by cutting all of your wood according to the "cut list" in the design plans. Sand all pieces prior to assembly.
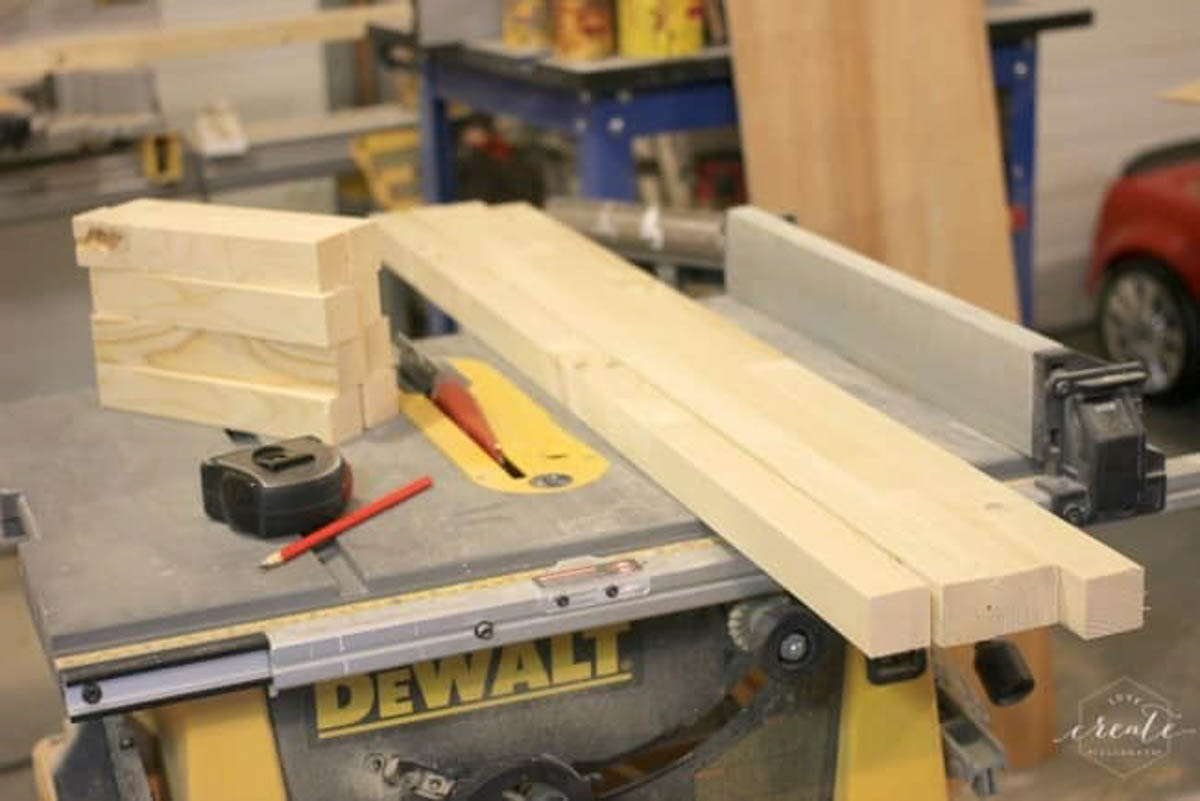
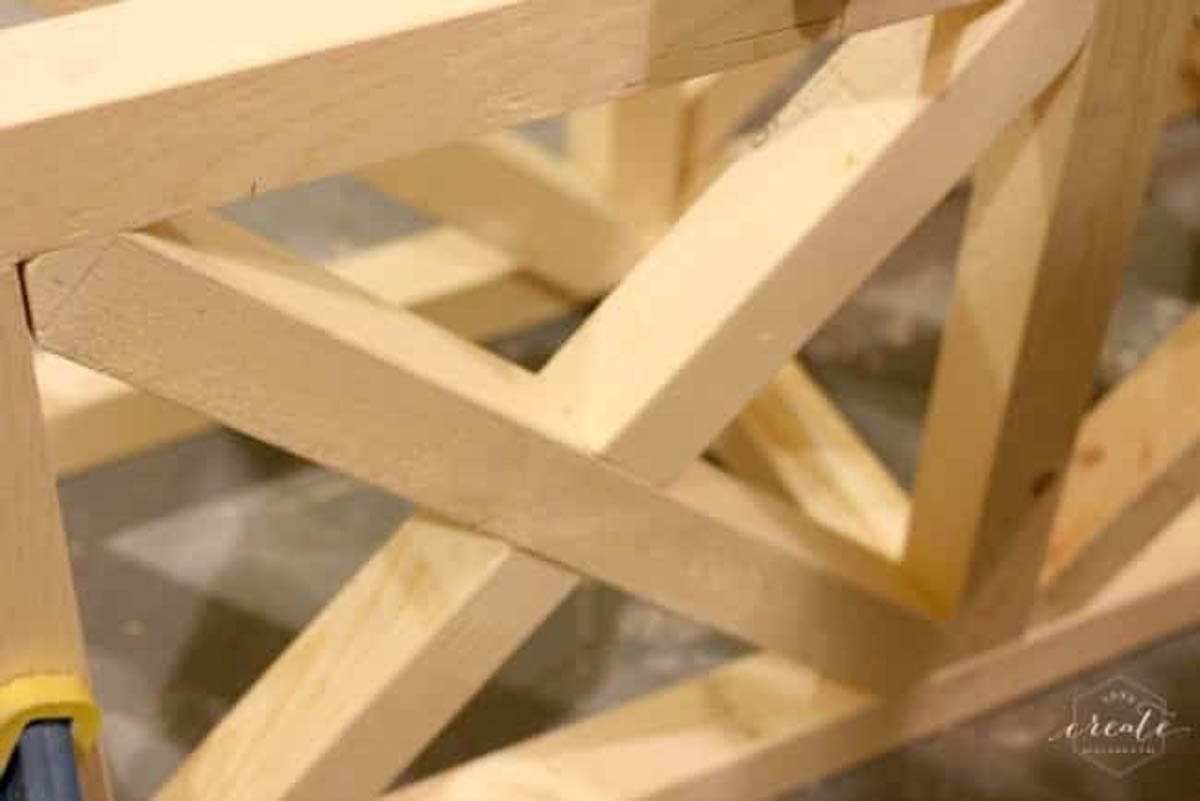
Assemble your side frames (parts C, G, E). Glue and clamp to let dry.
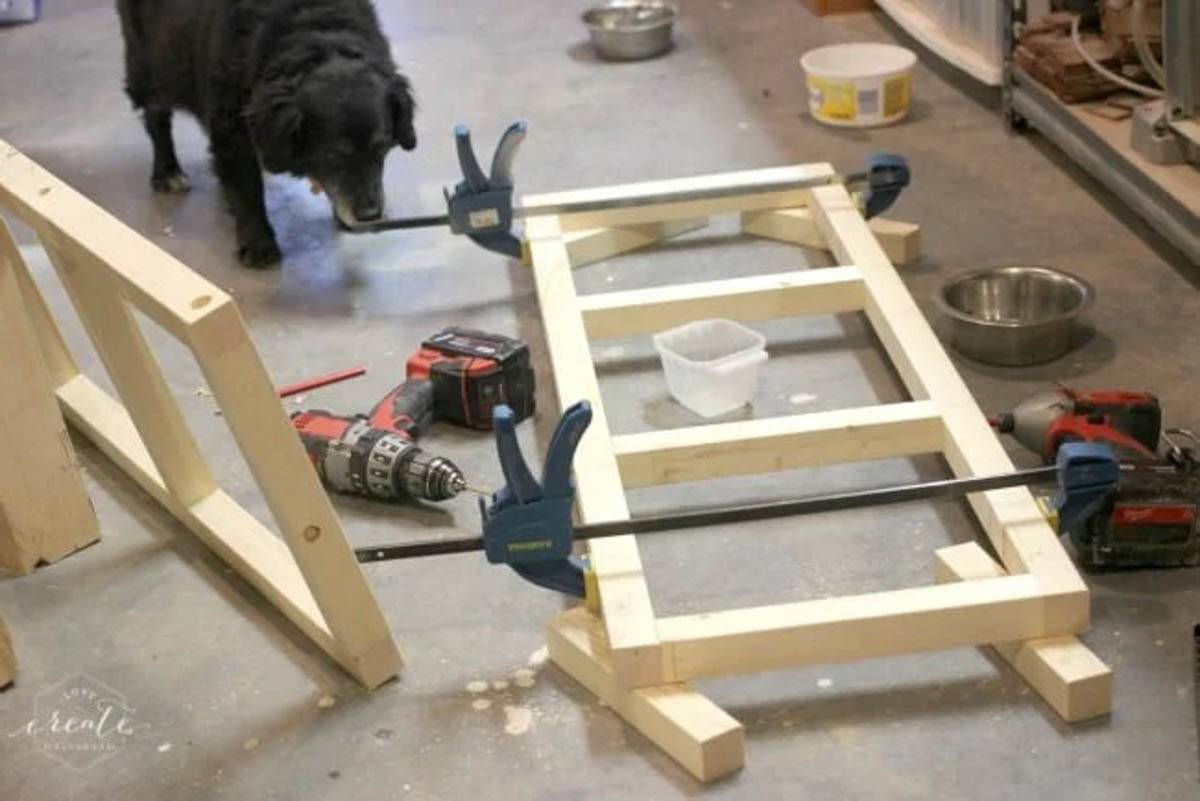
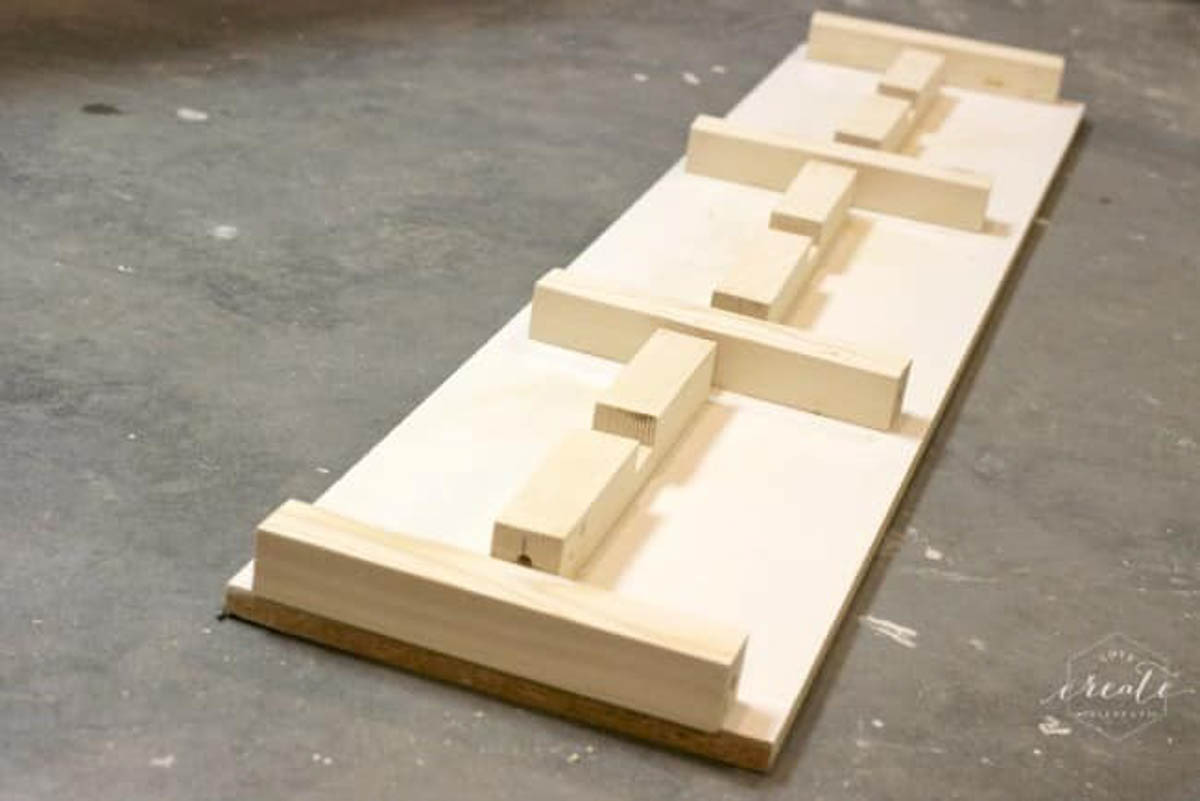
After the side frame was dry, we made a jig to drill all of the holes for our dowels to ensure that they all lined up.
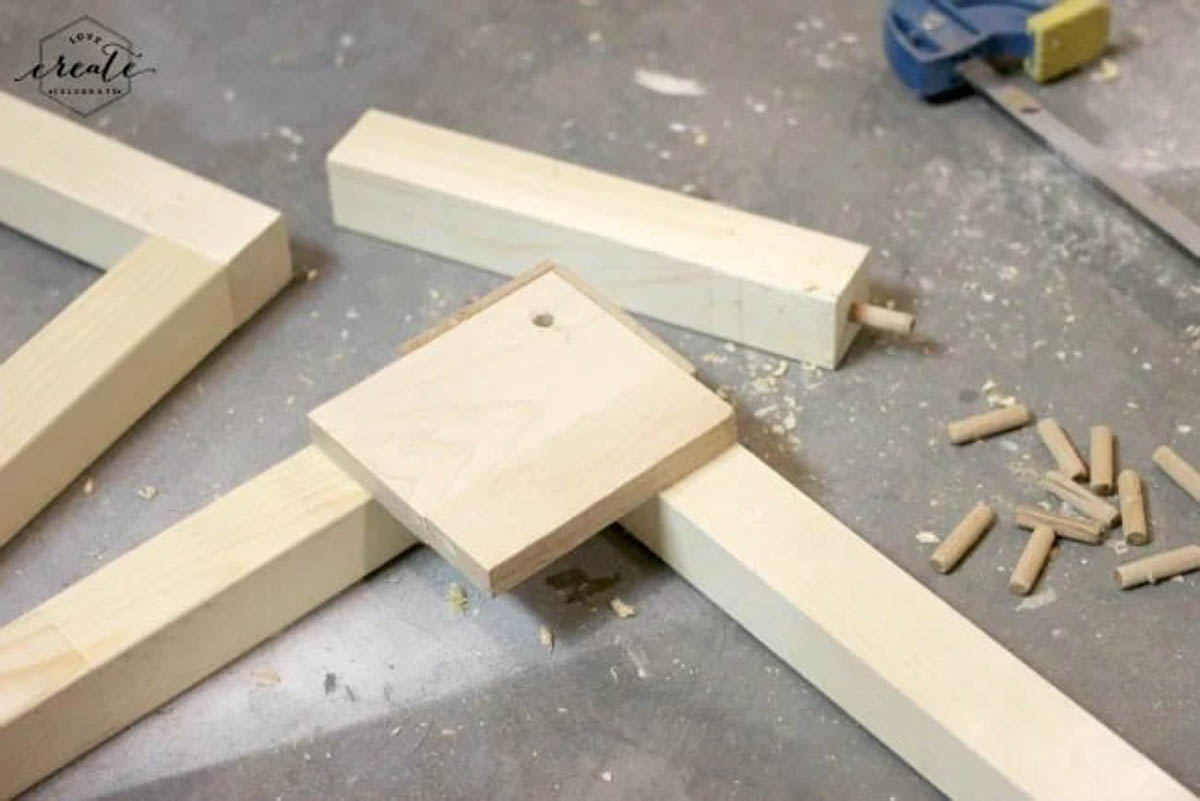
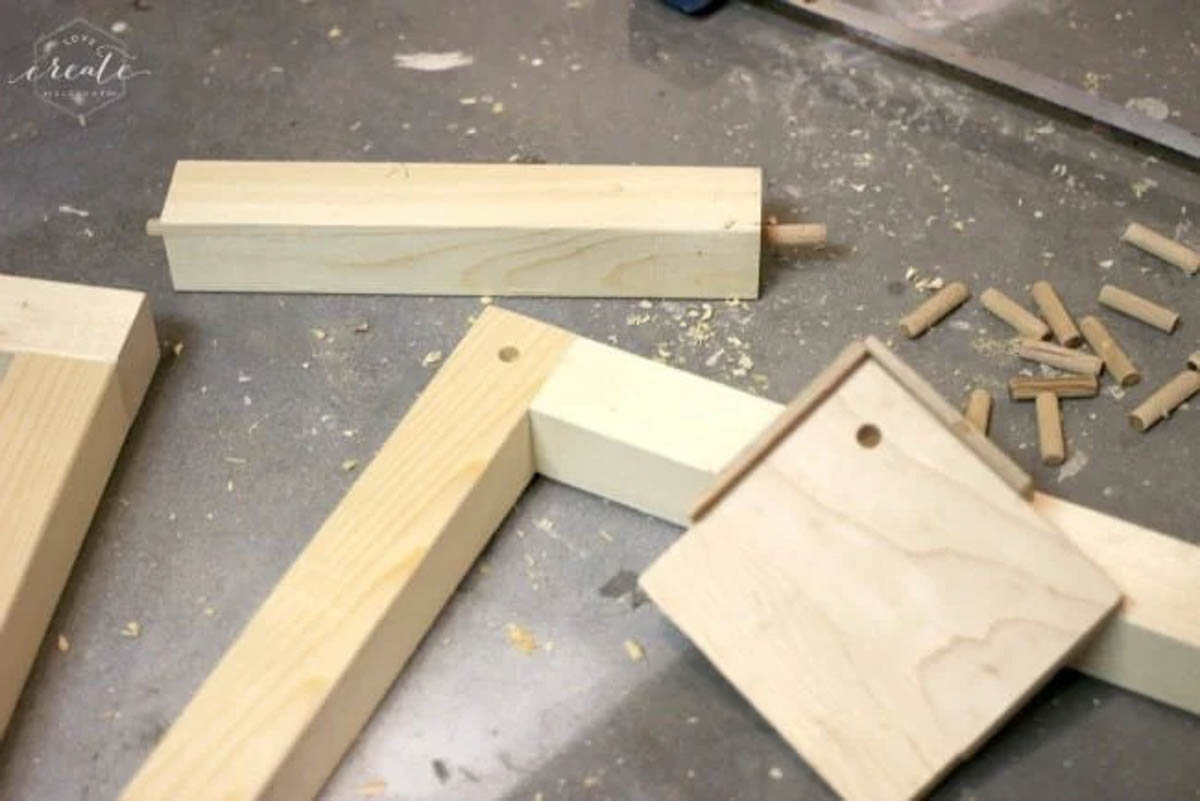
Next, you want to cut out part F and put them in place to mark out the part you want to notch.
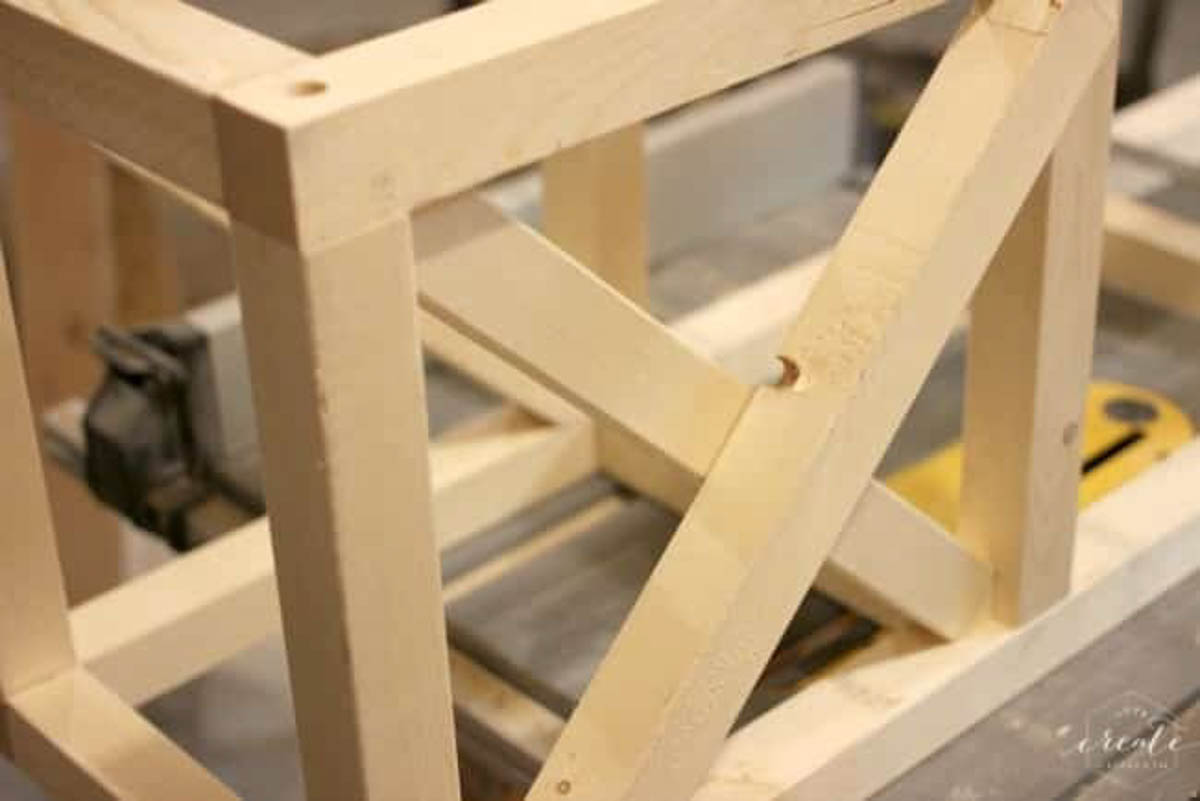
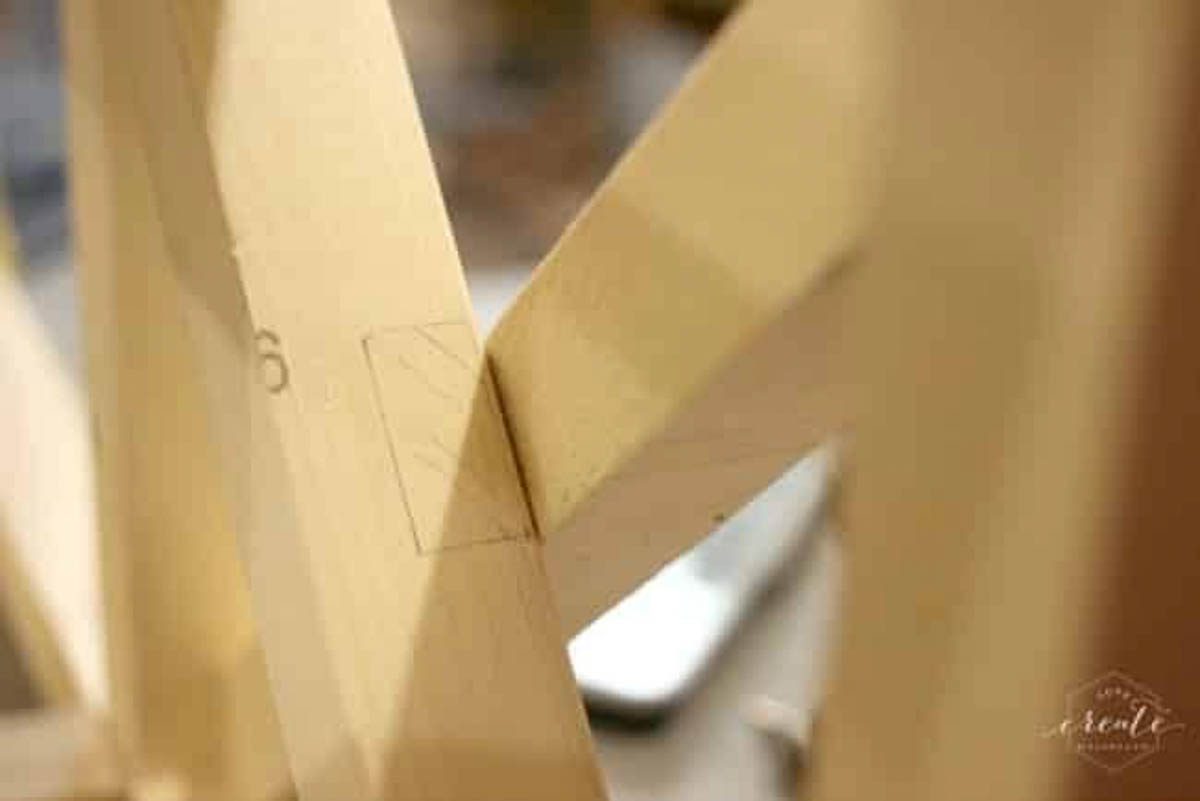
Use your table saw or router to notch out the middles of the F parts. The parts should fit snuggly.
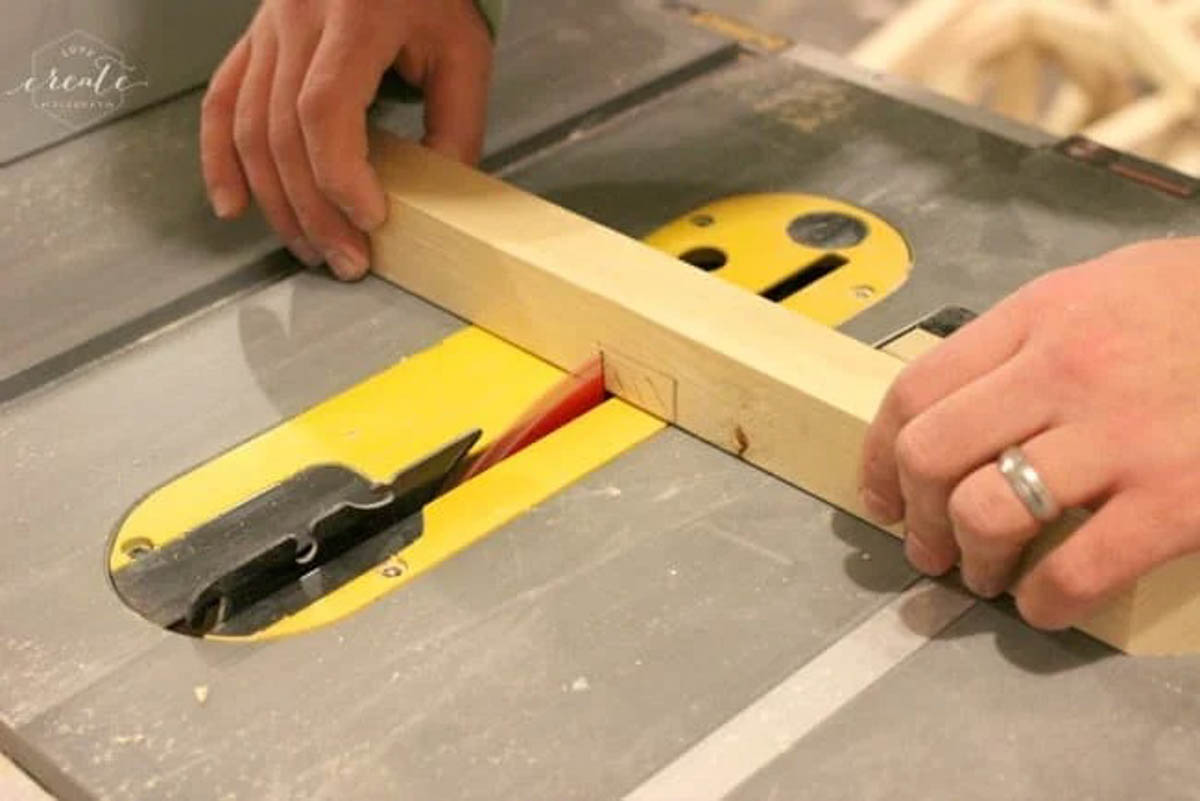
Now, glue two pieces of your 2x4s together to create part I. We started with two larger pieces and cut them down, as per the designs.
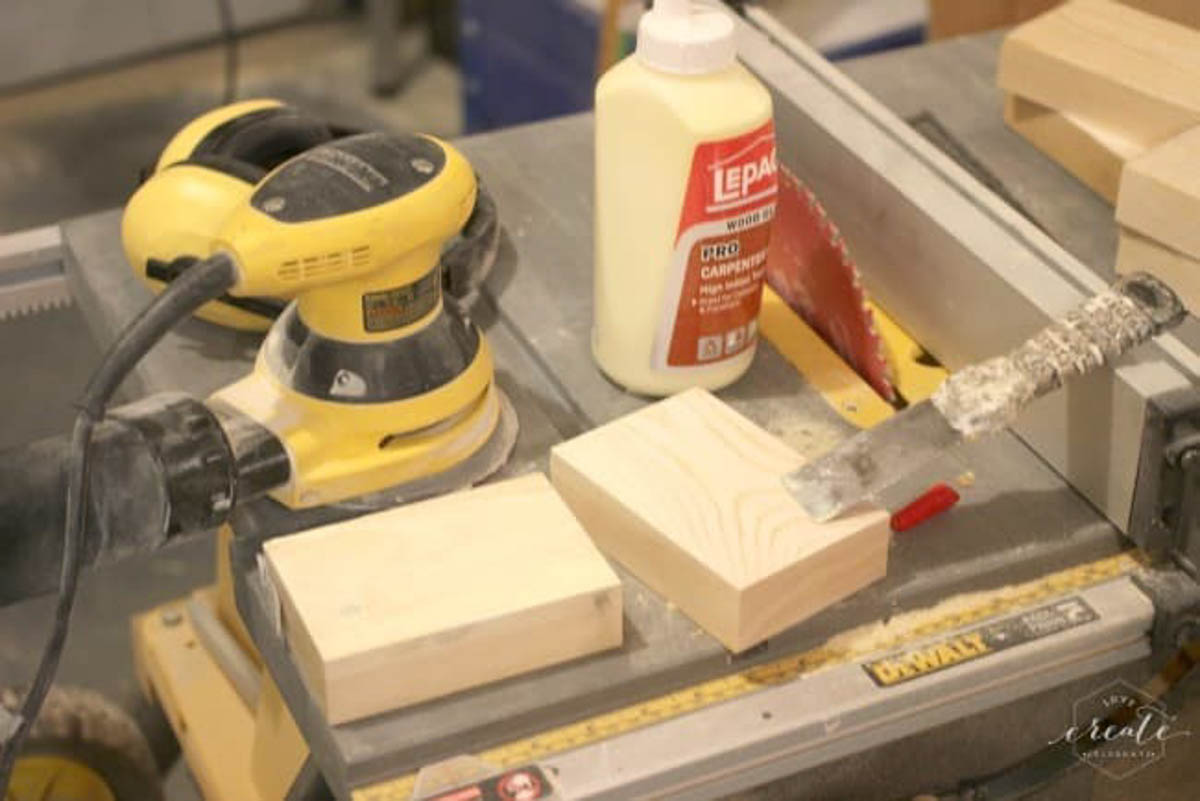
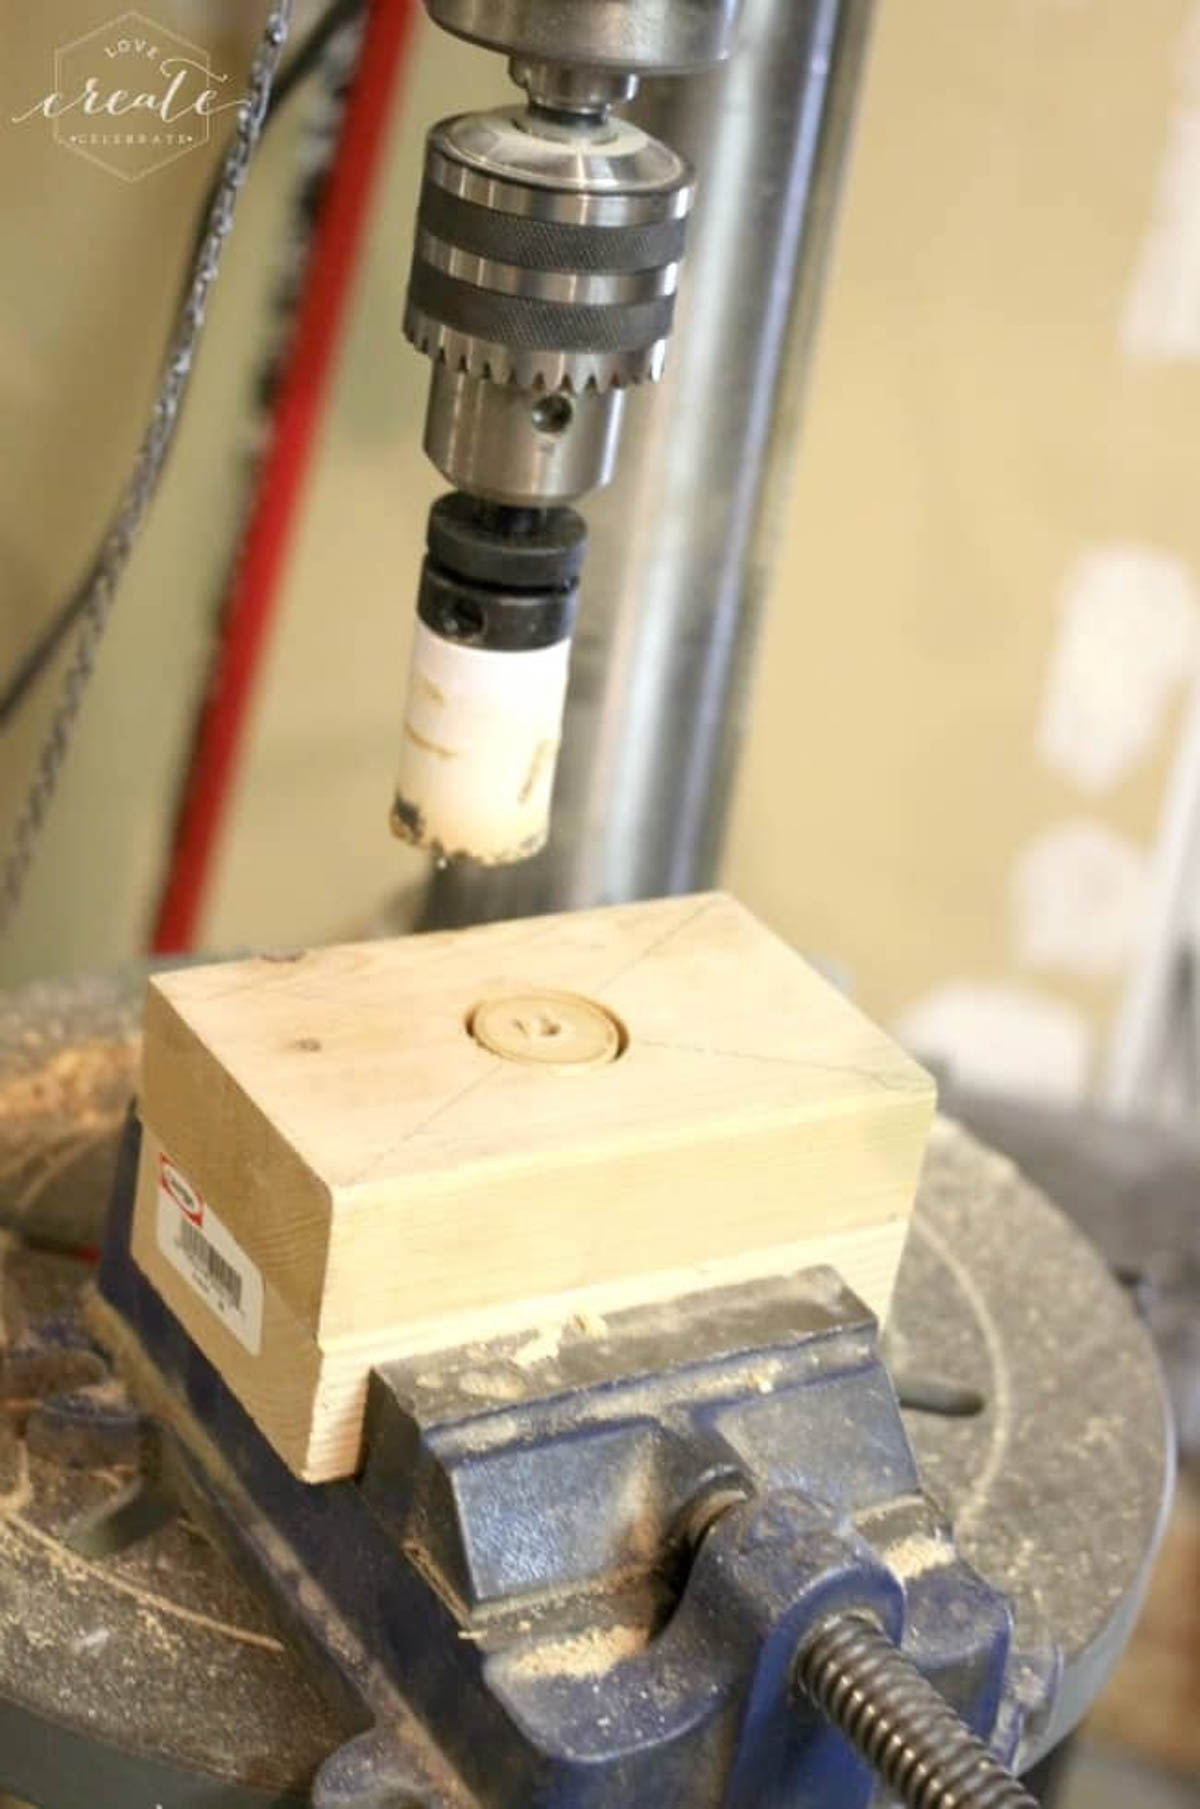
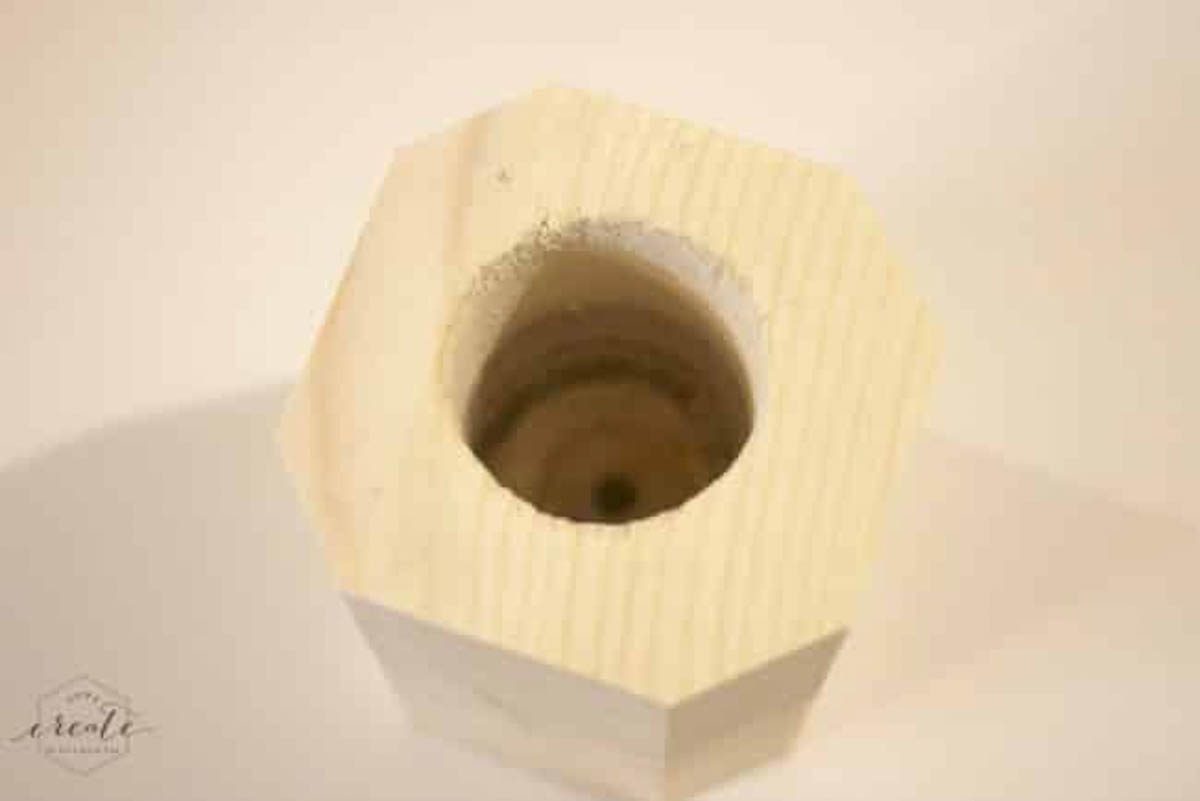
Once the glue is dried on part I, use a hole saw
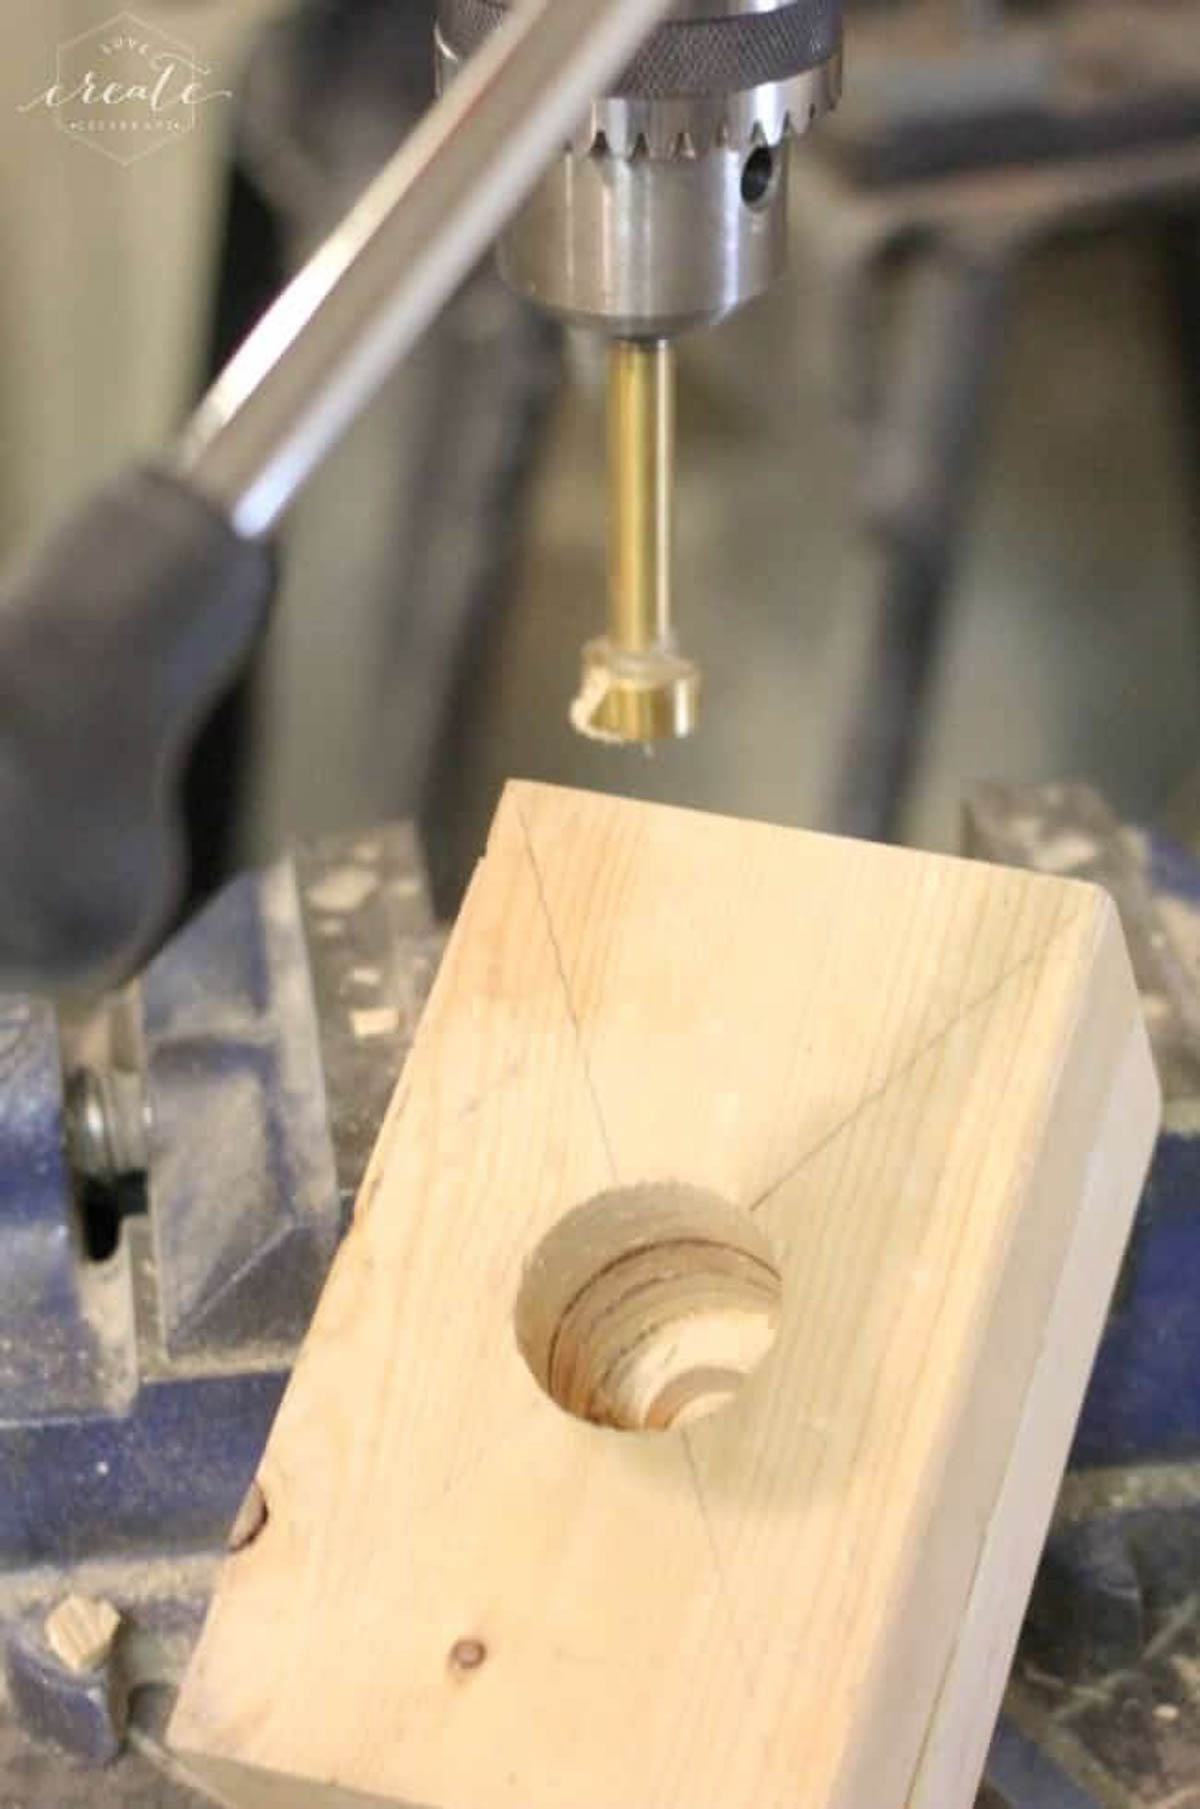
Use a forstner bit 
Cut edges of part I according to design plans.
Finally, cut and assemble parts B and D for the top of the light fixture. Also assemble the bottom of the fixture - parts E and D.
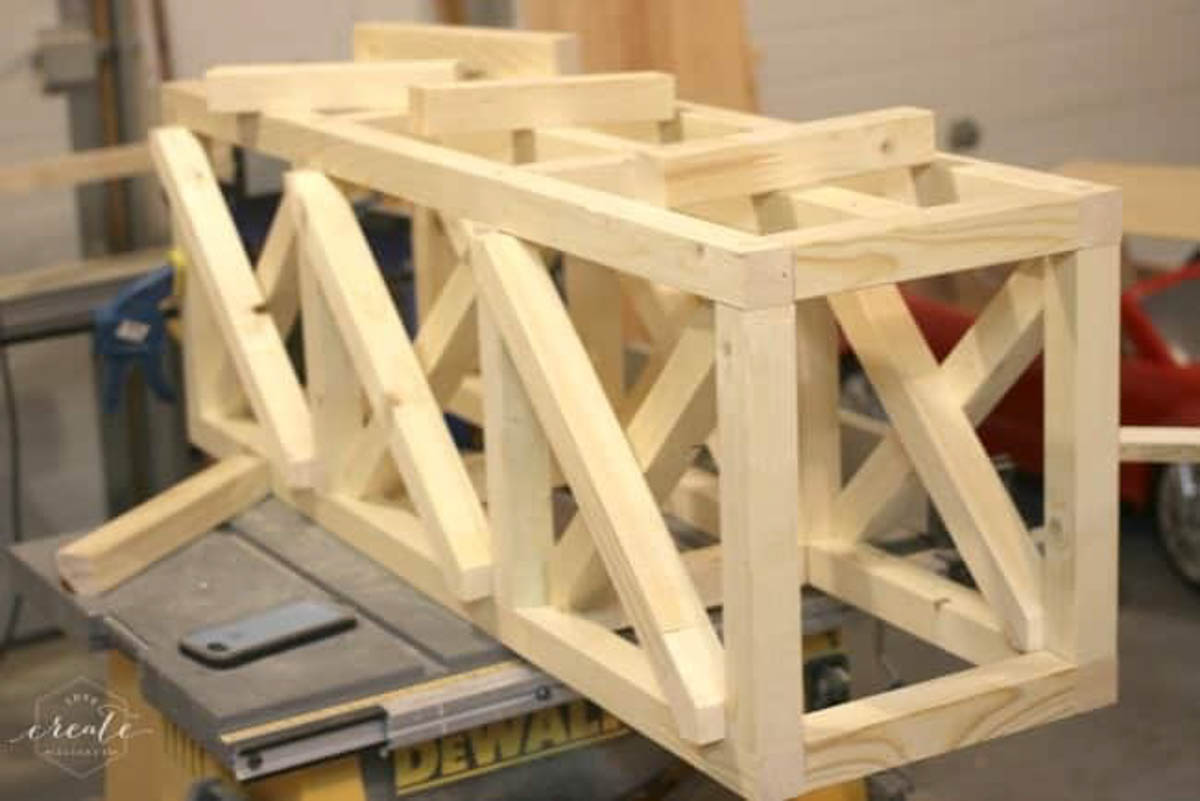
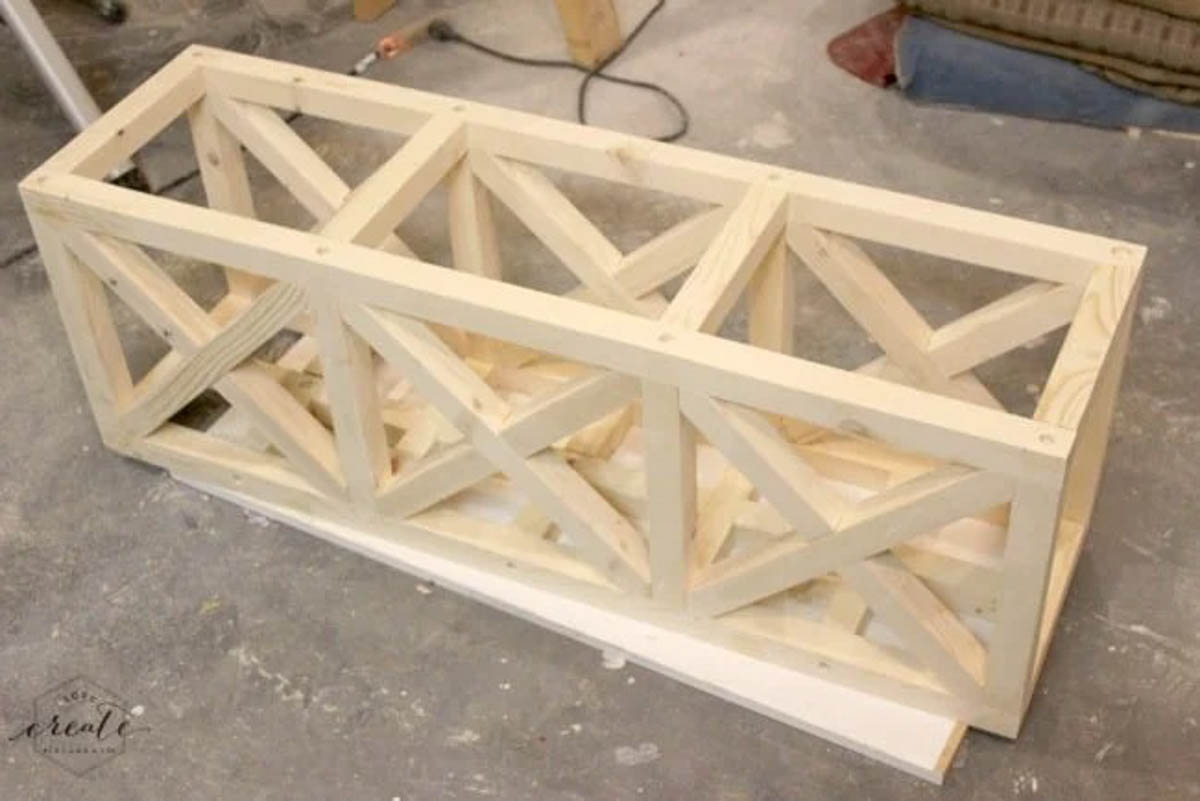
Assemble the sides, top and bottom together. Glue and screw everything into place.
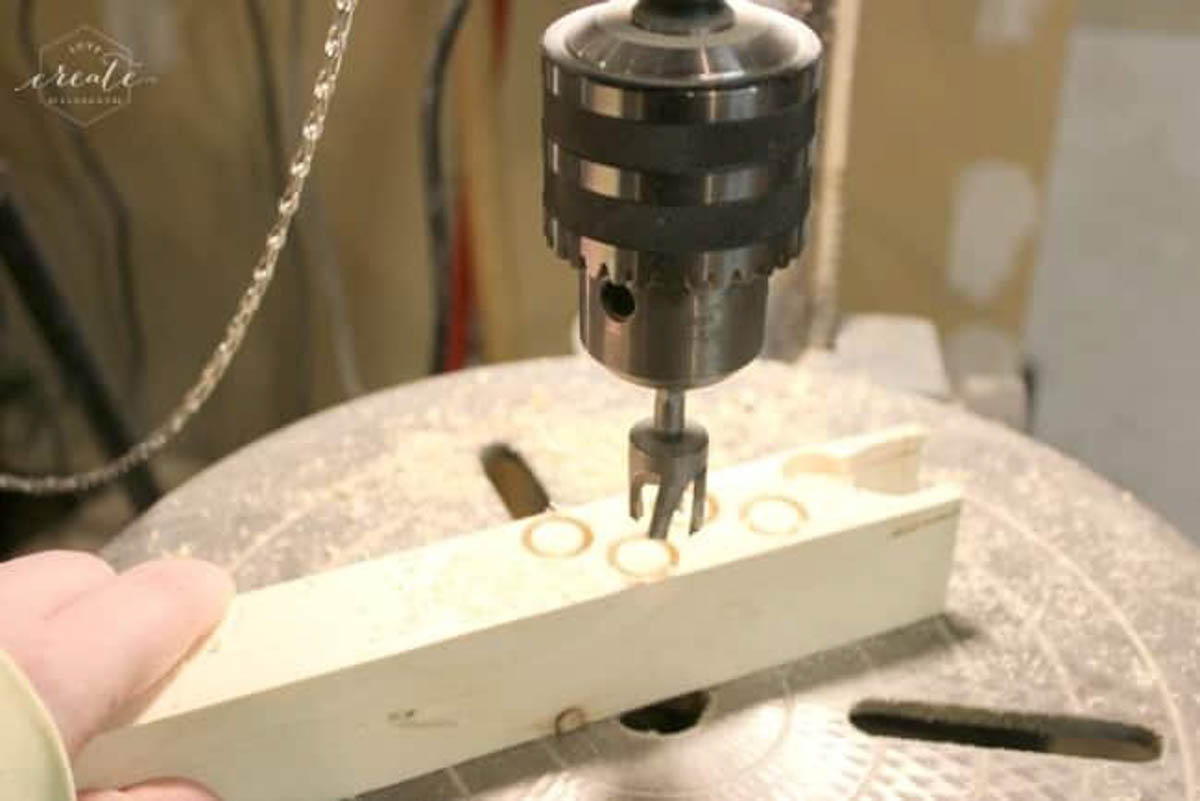
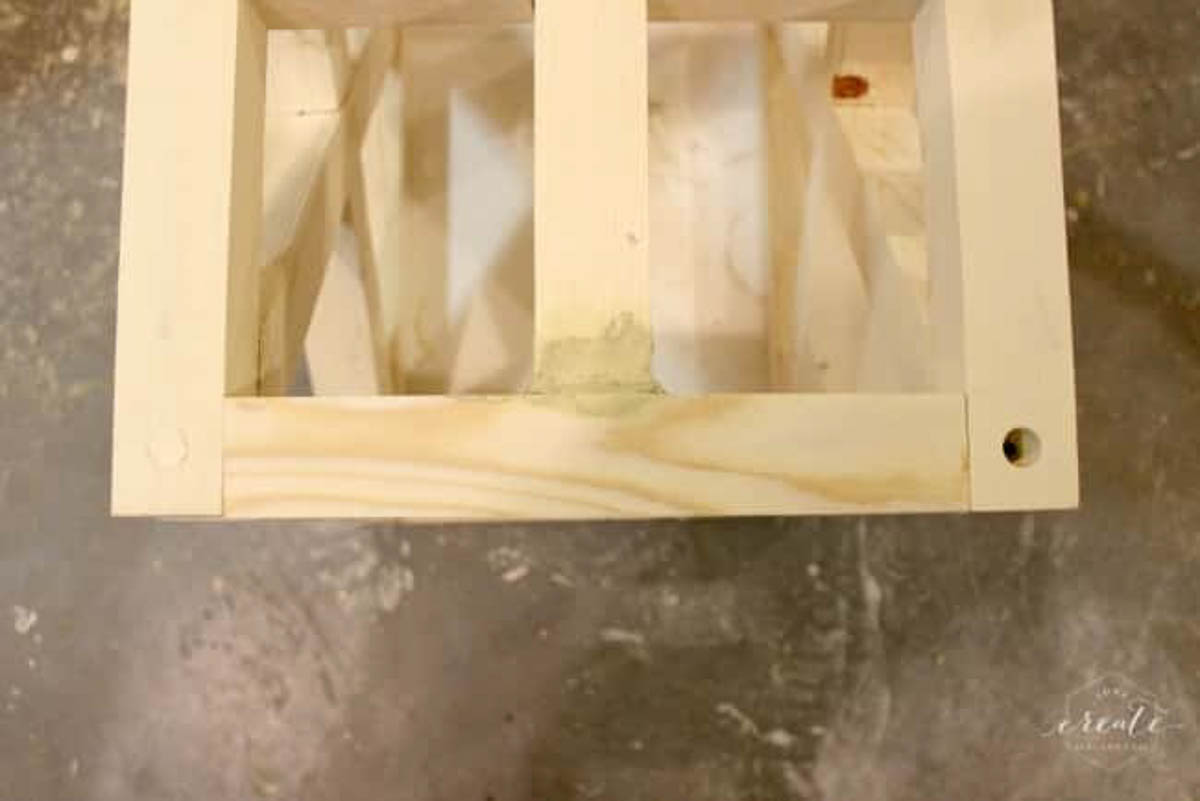
Cut plugs to fill the screw holes. Use wood filler to fill any holes. Once the glue and filler is dry, give the piece a final sand.
When all the parts are ready. Stain and varnish to desired finish. Glue copper pieces (part J) in place after the stain and varnish are dry.
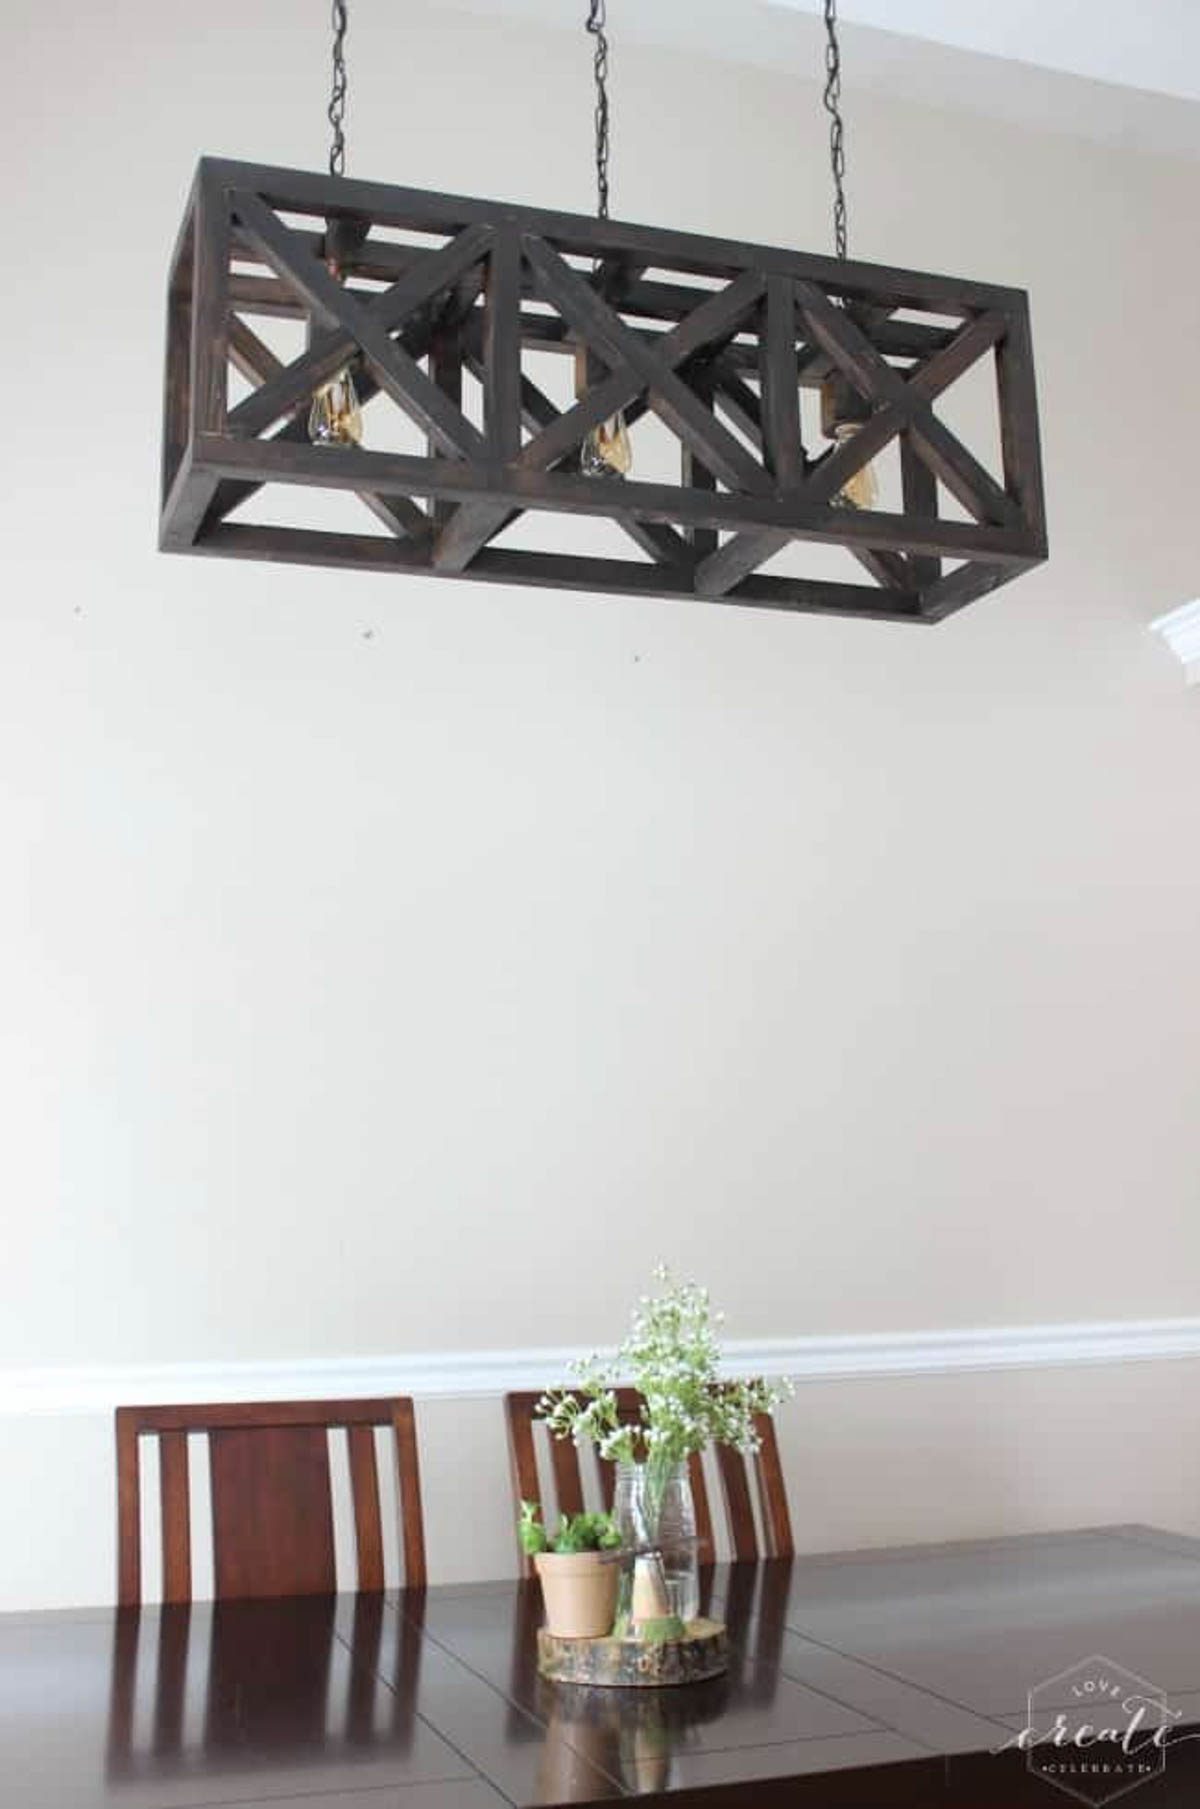
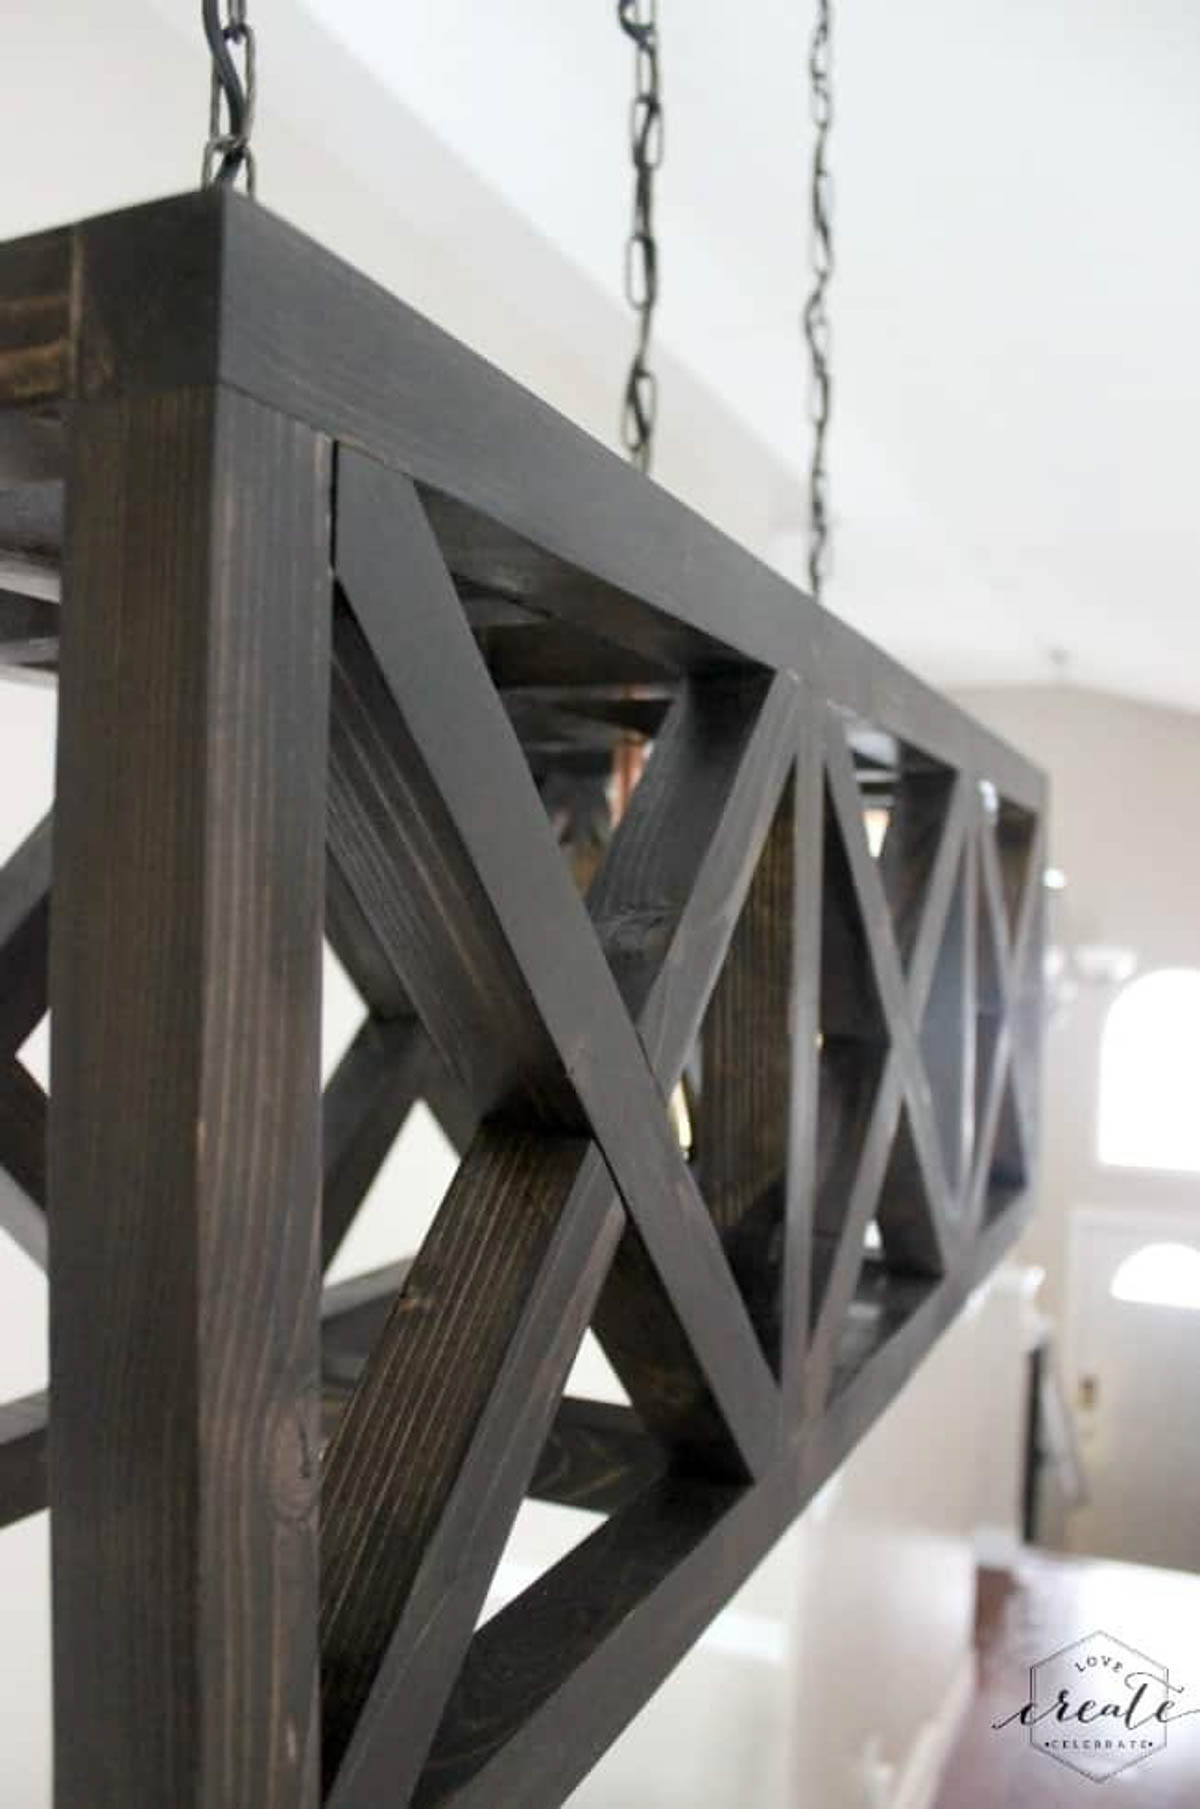
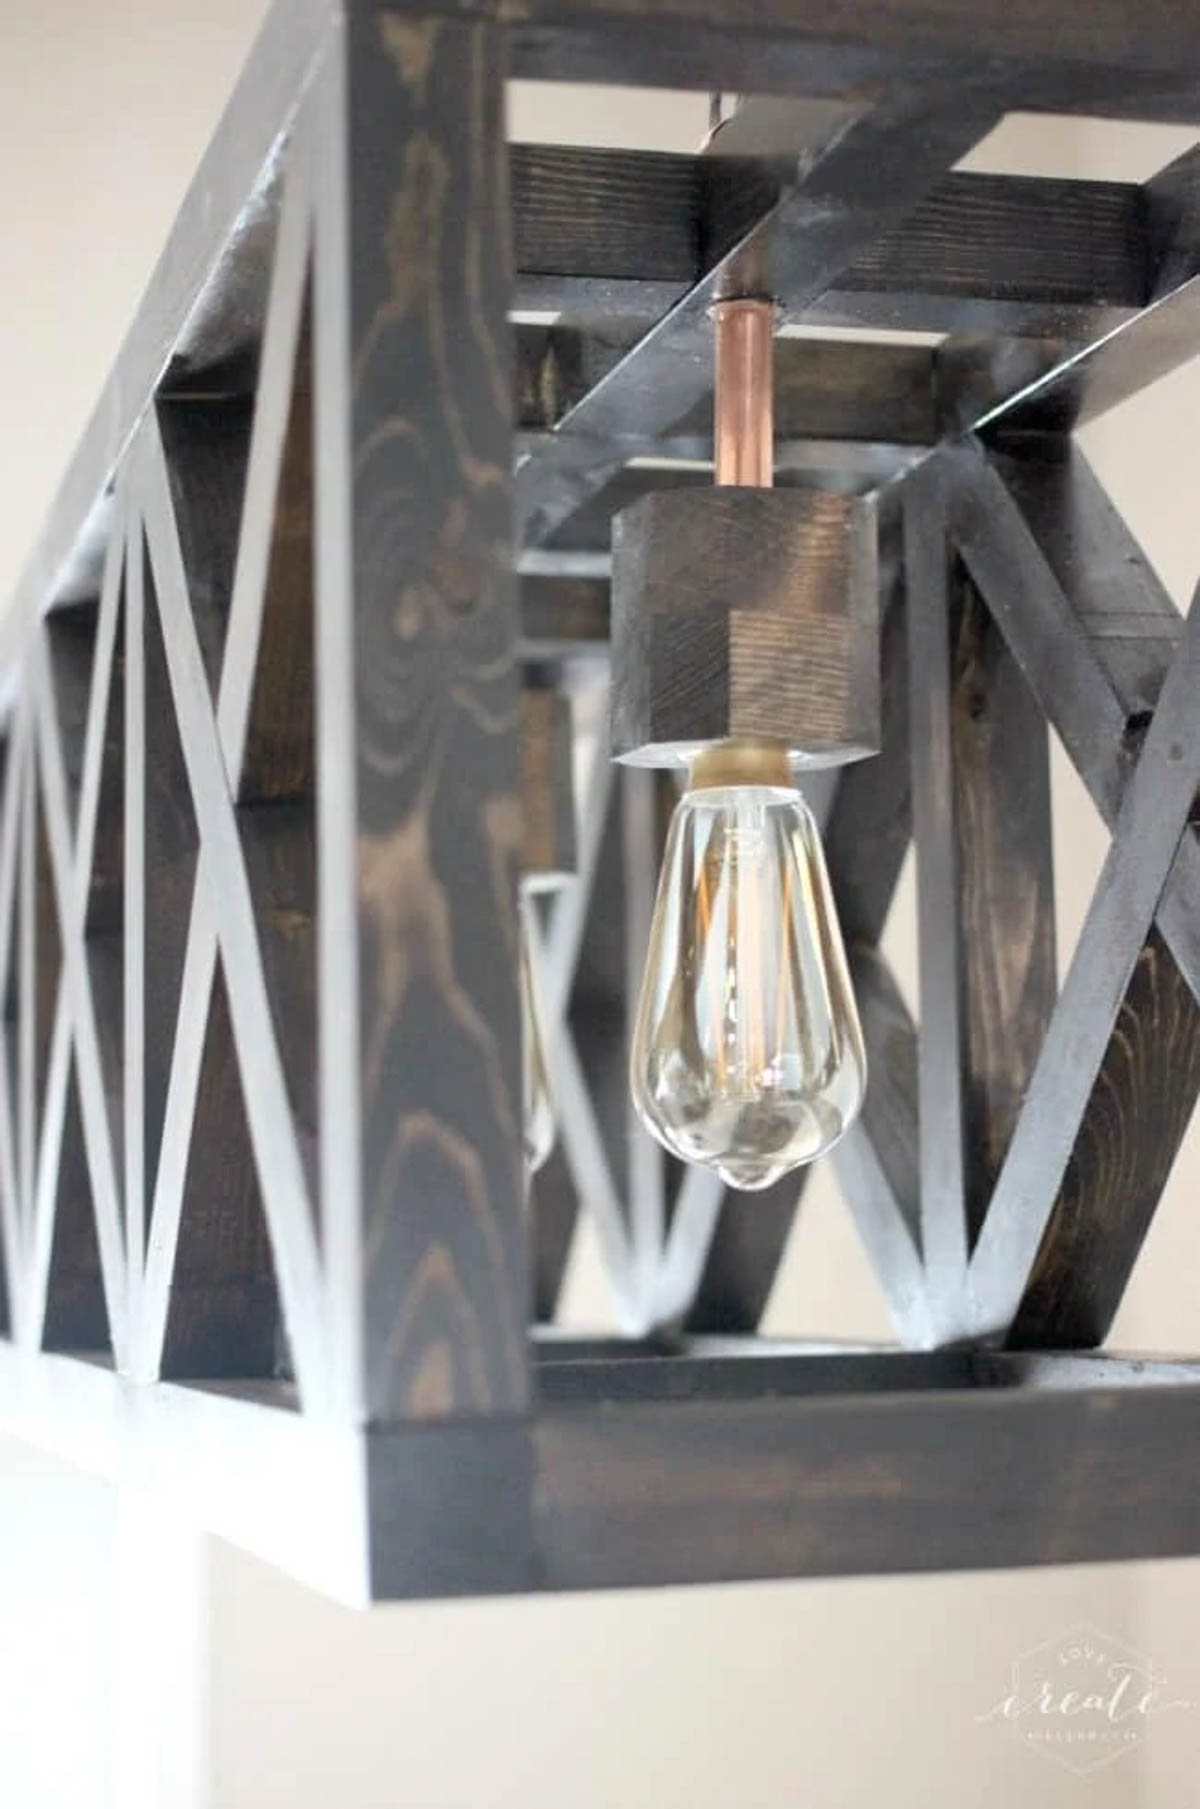
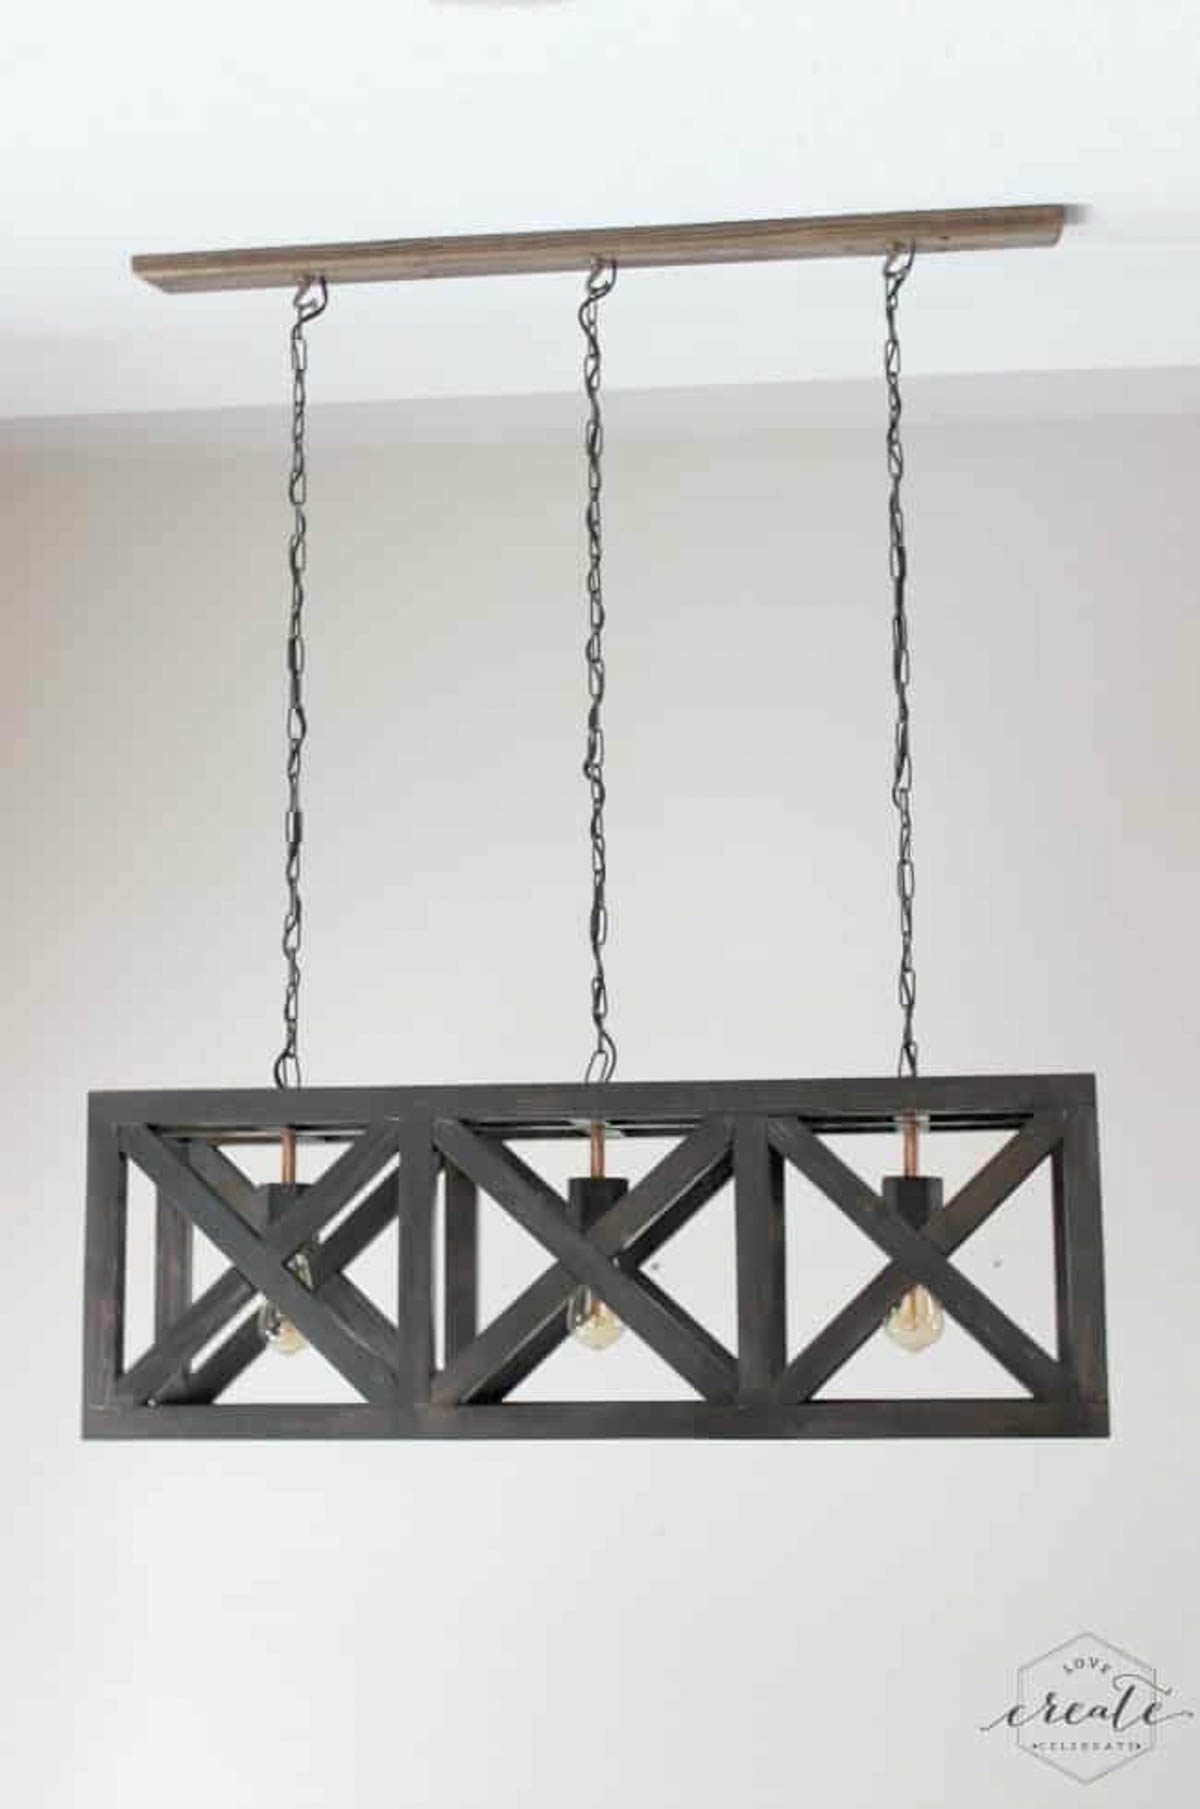
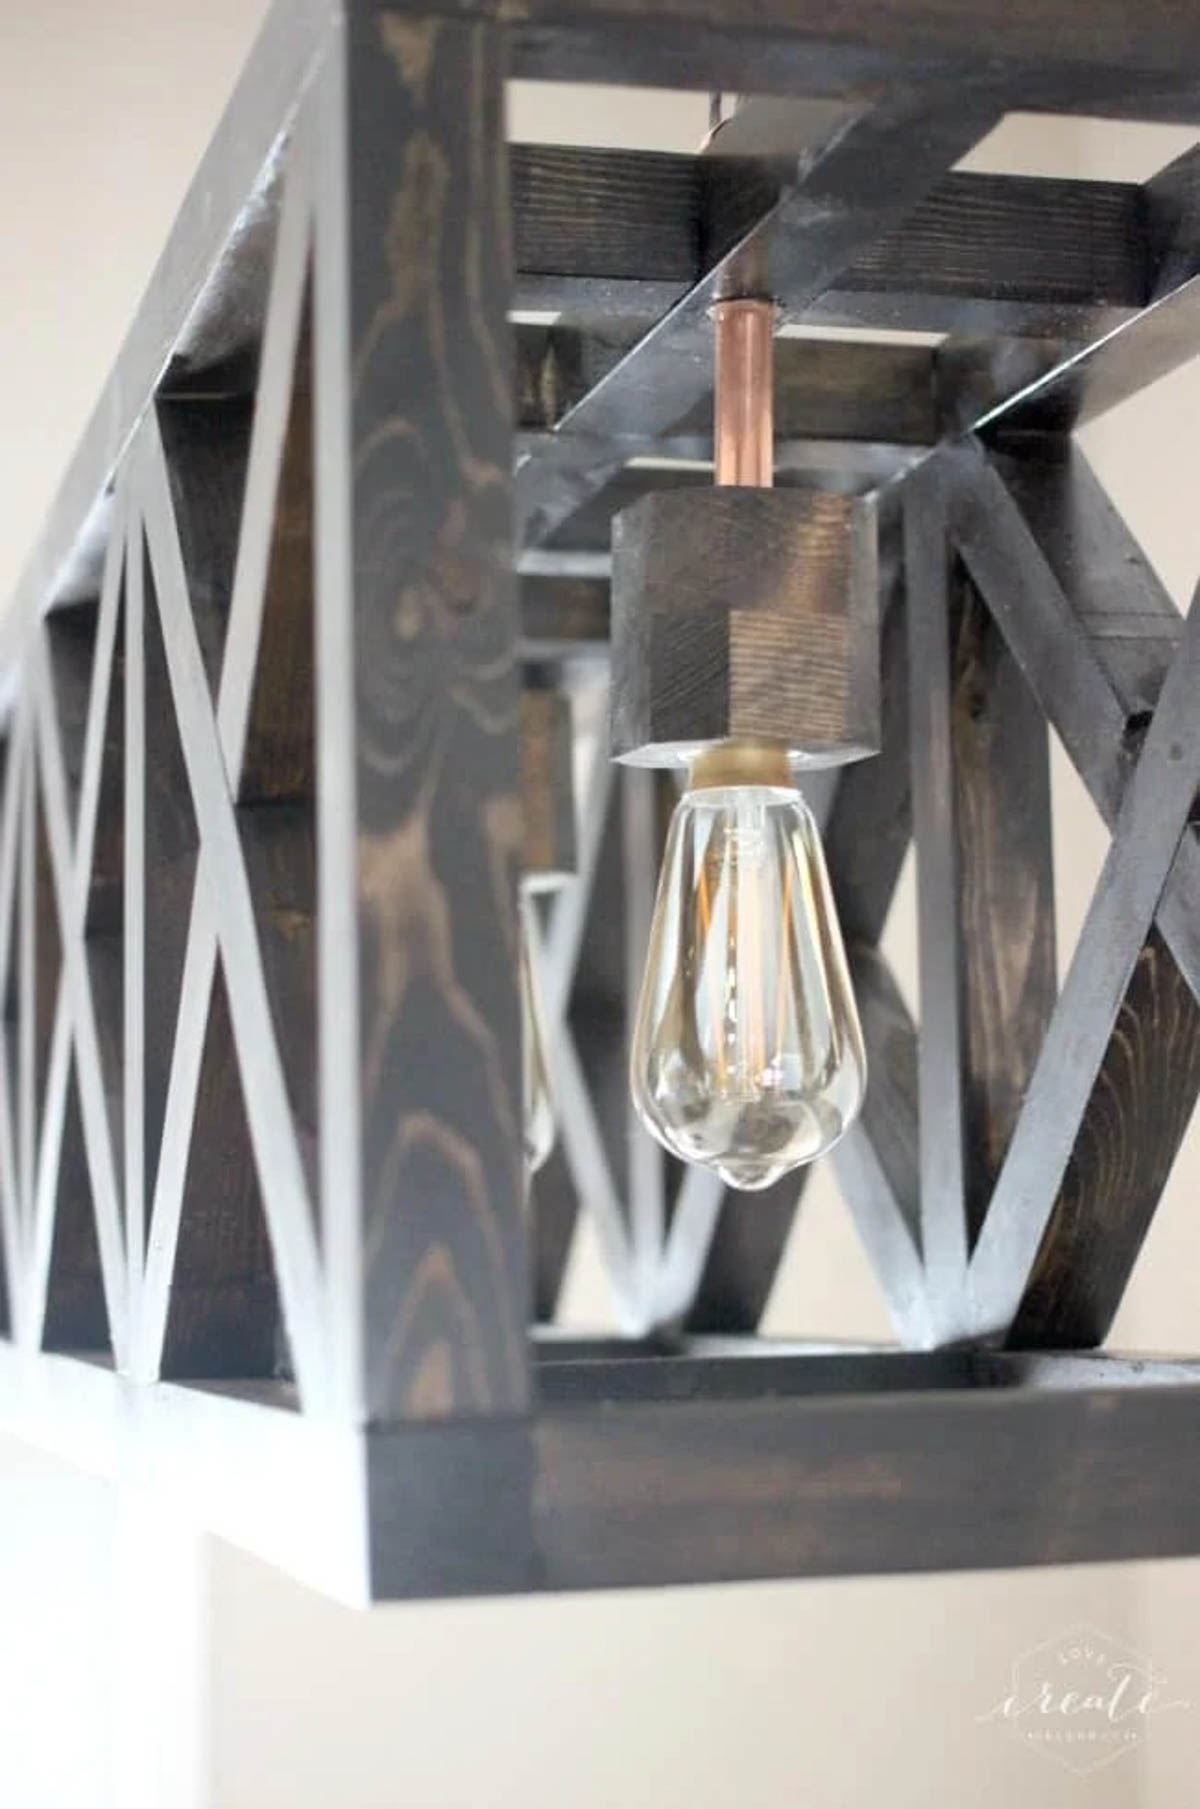
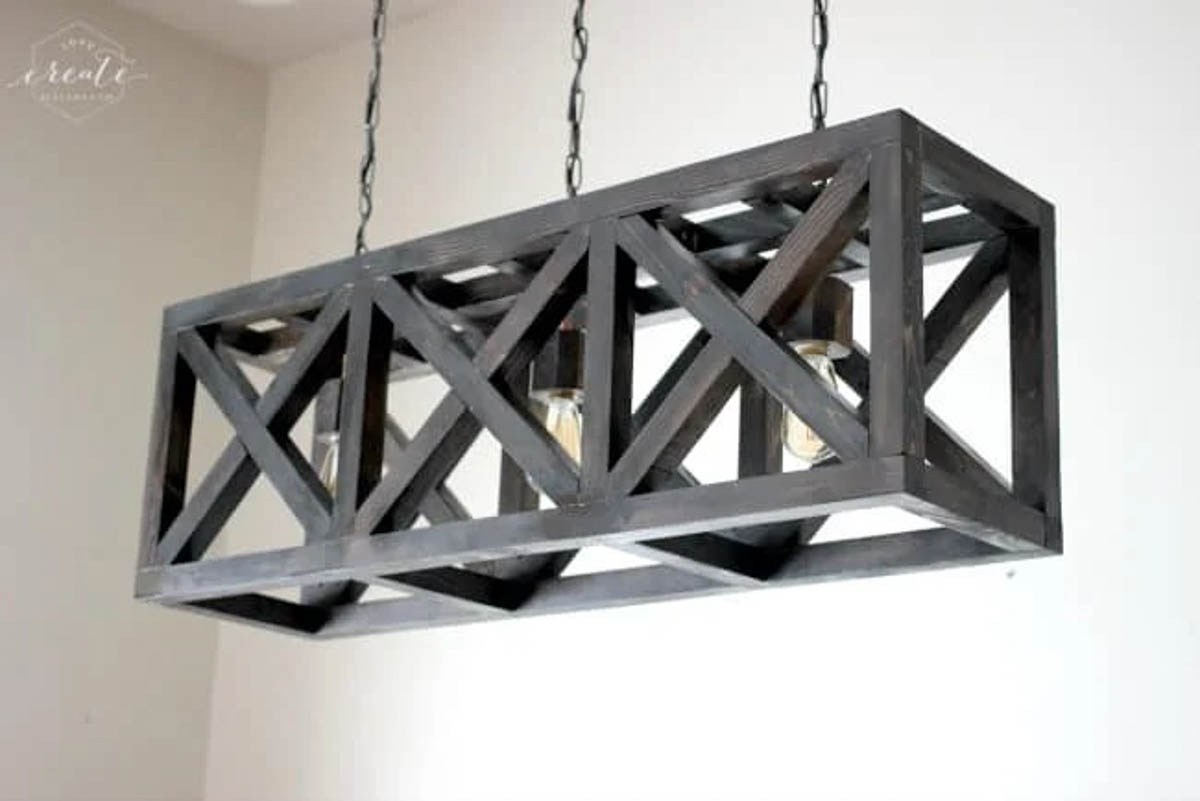
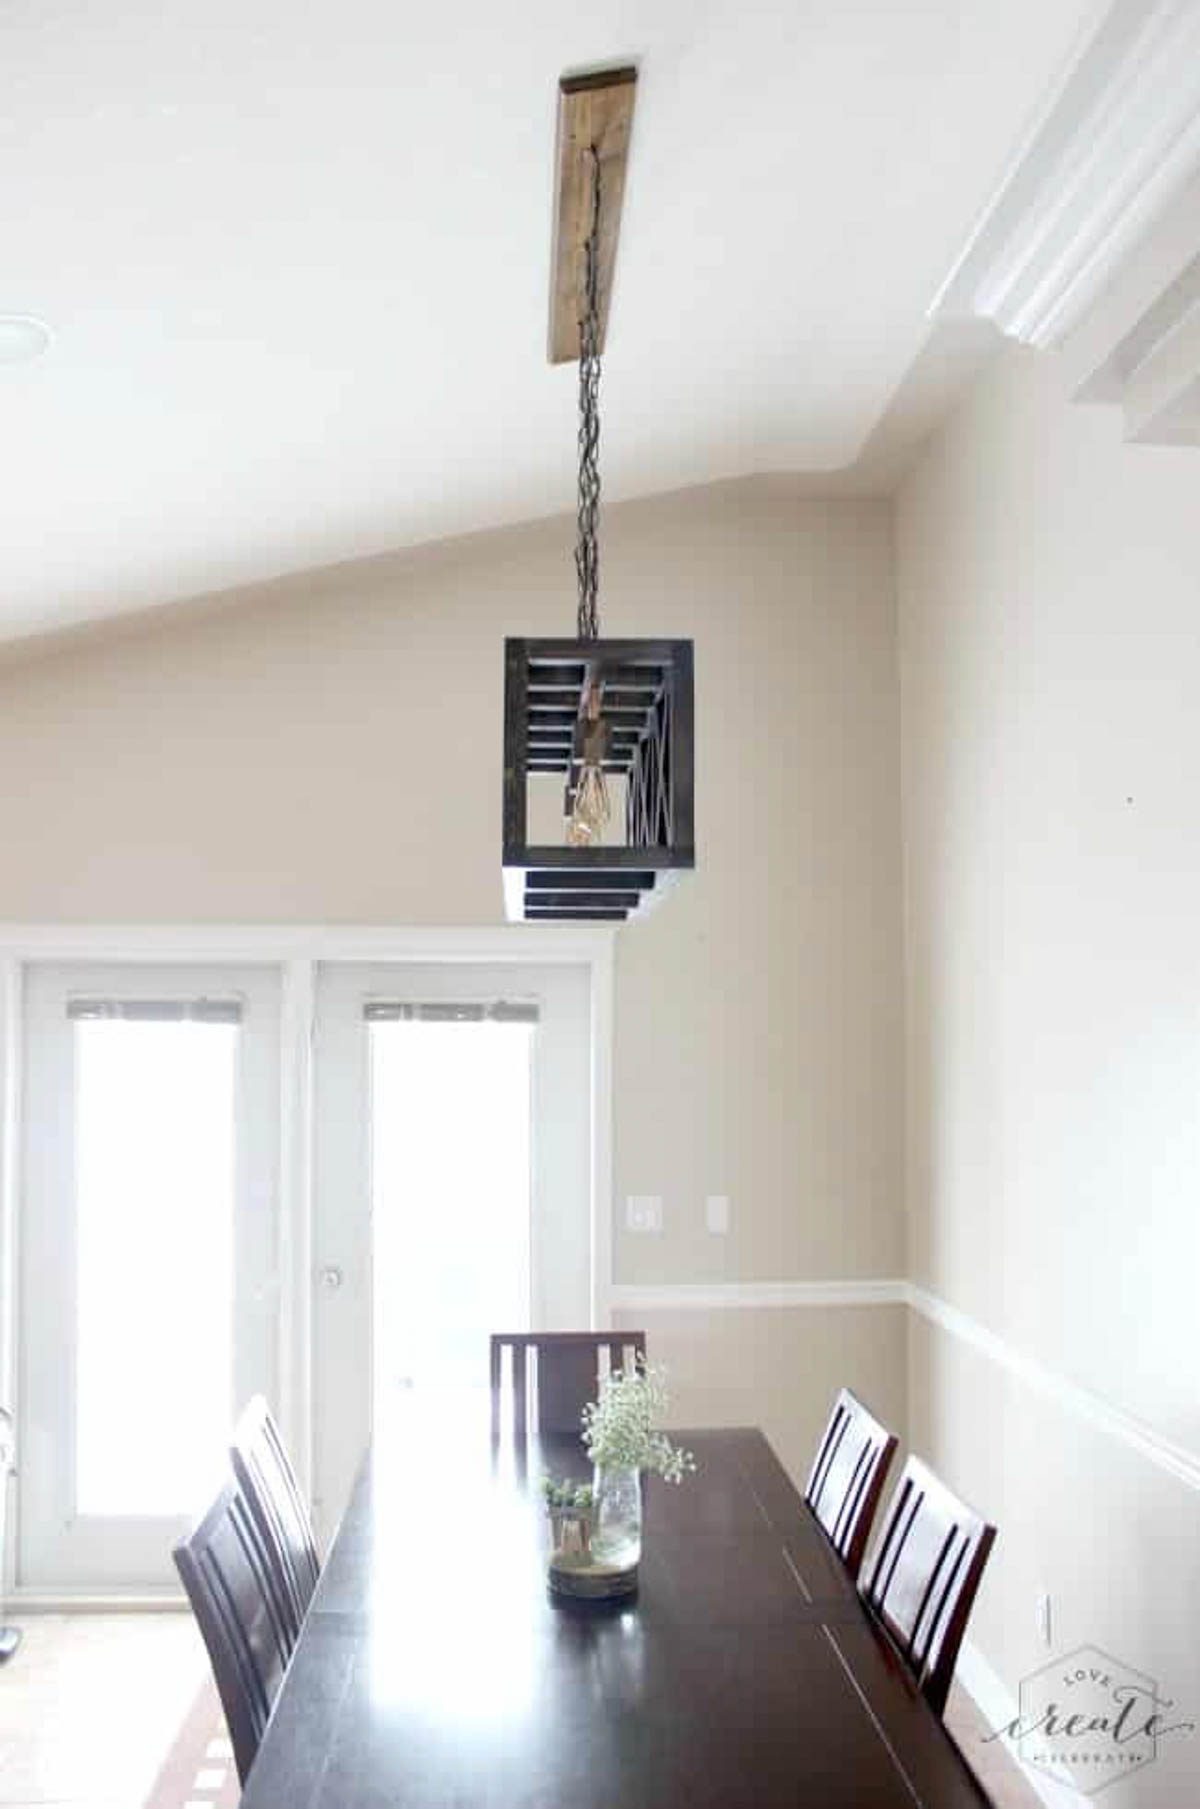
Wire and hang up your beautiful new fixture! I LOVE how ours looks. Such a HUGE transformation! I love the rustic, vintage vibe it gives off, and I LOVE LOVE the new feel of my kitchen :)
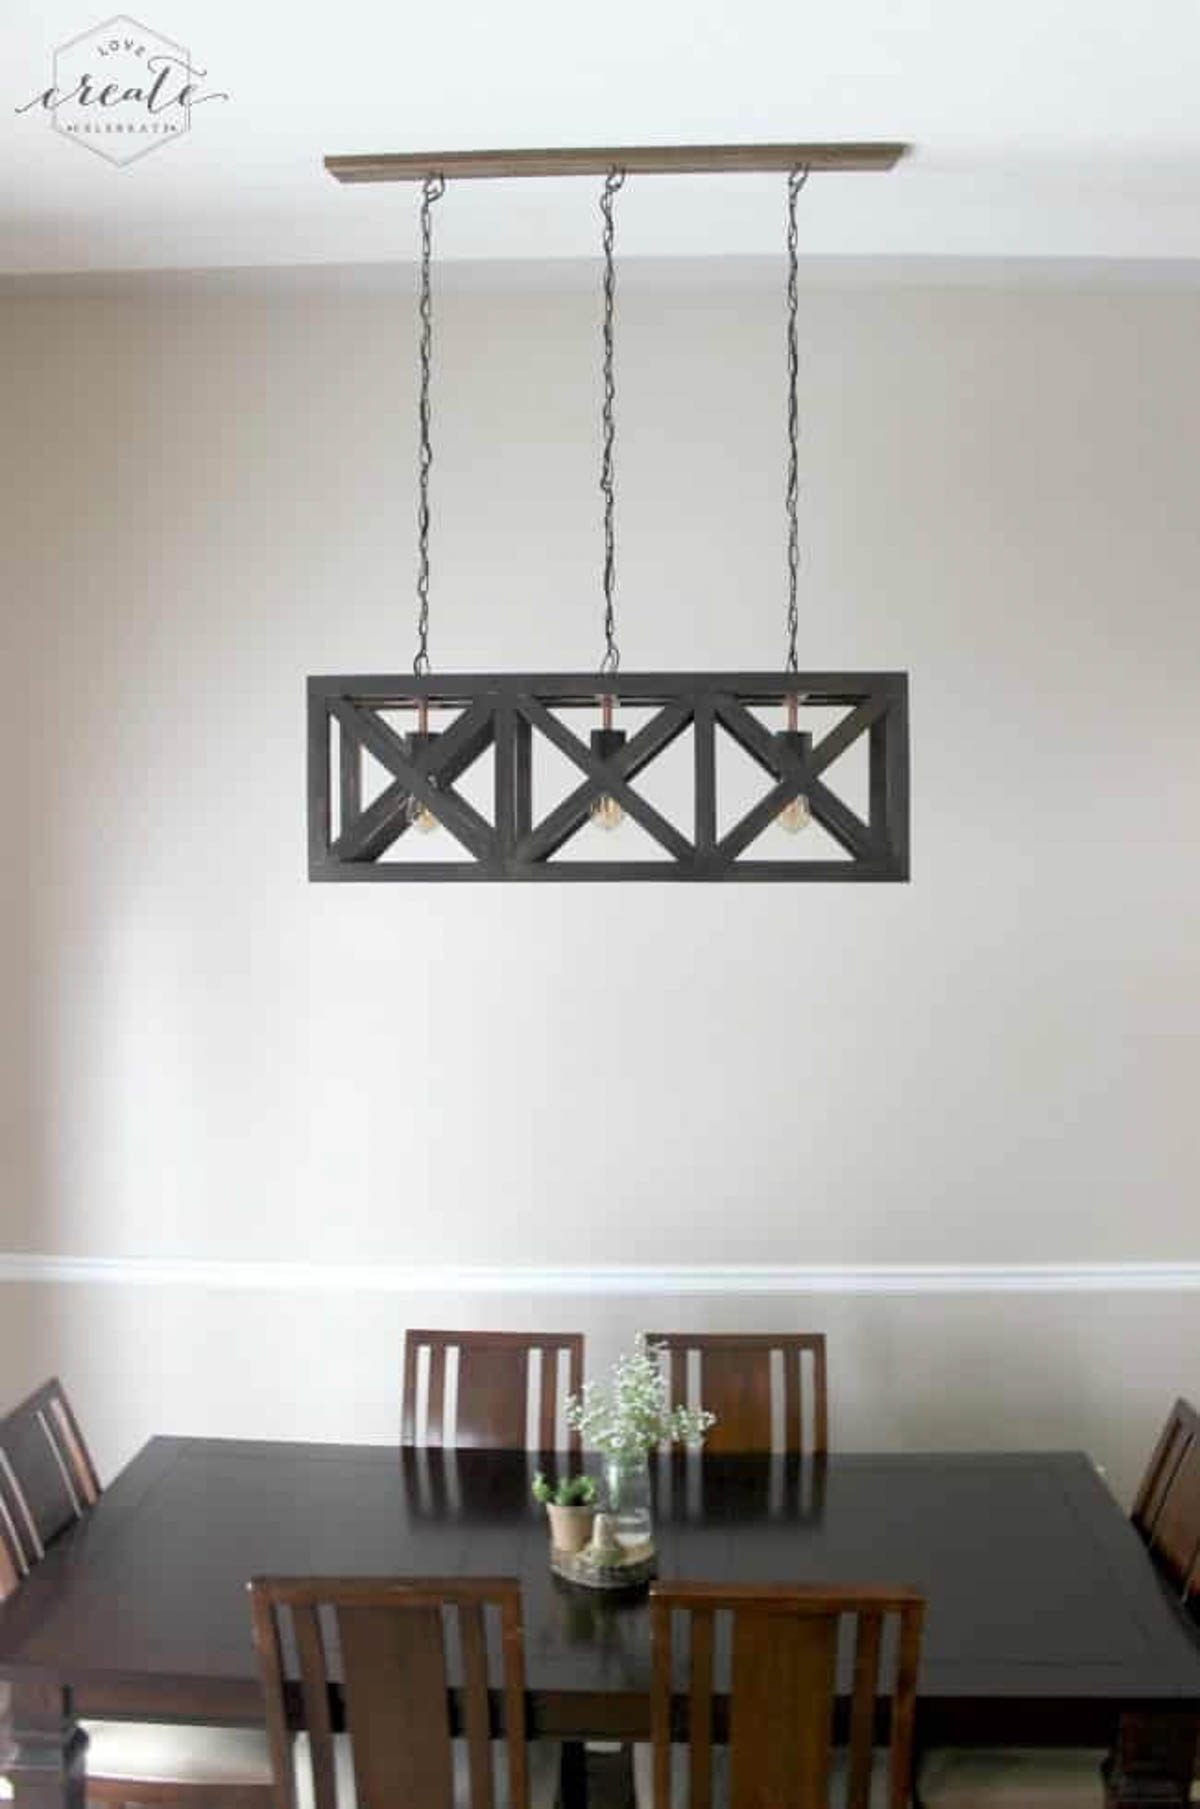
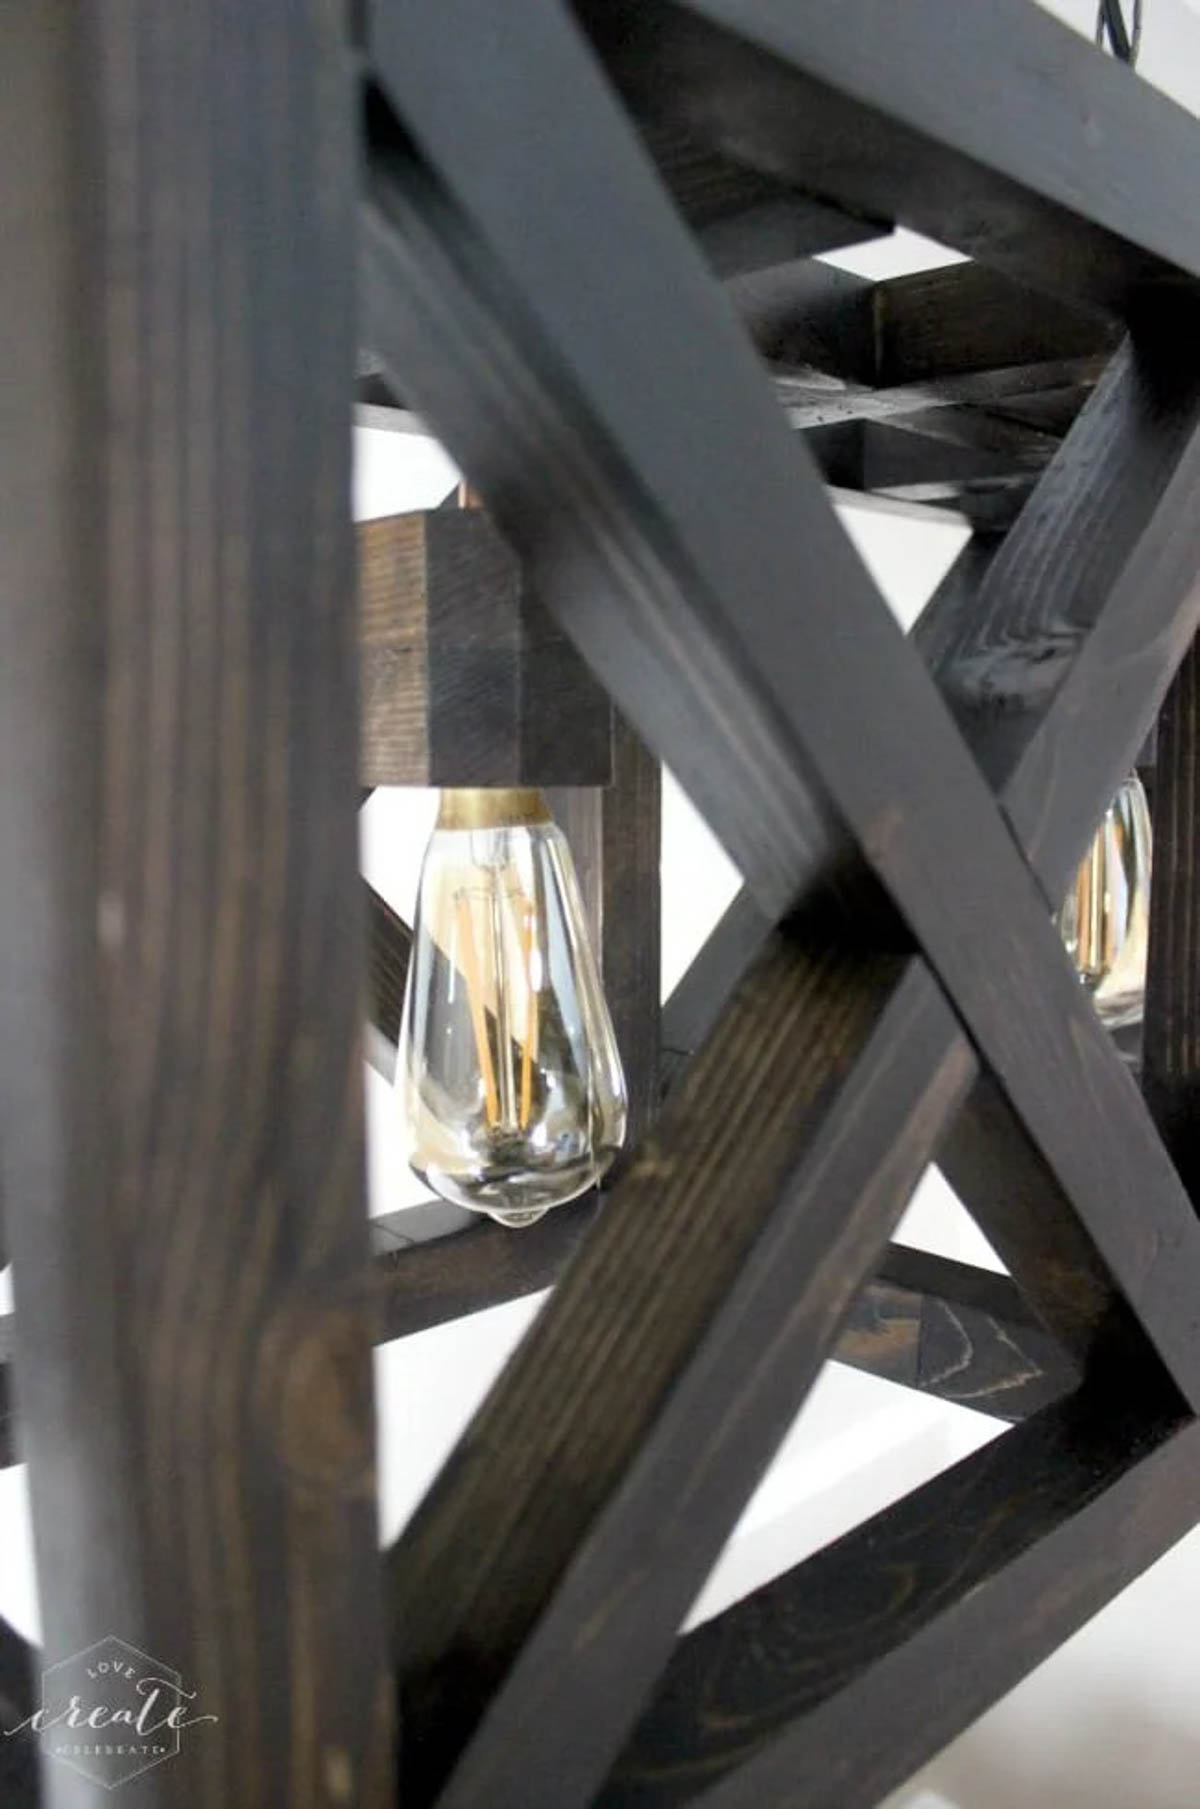
I'm sorry to tell you that this is the final Home Depot Challenge :( It's been SO fun getting creative with new Home Depot projects and working with my fellow amazing bloggers! I'm SO happy that you enjoyed it!
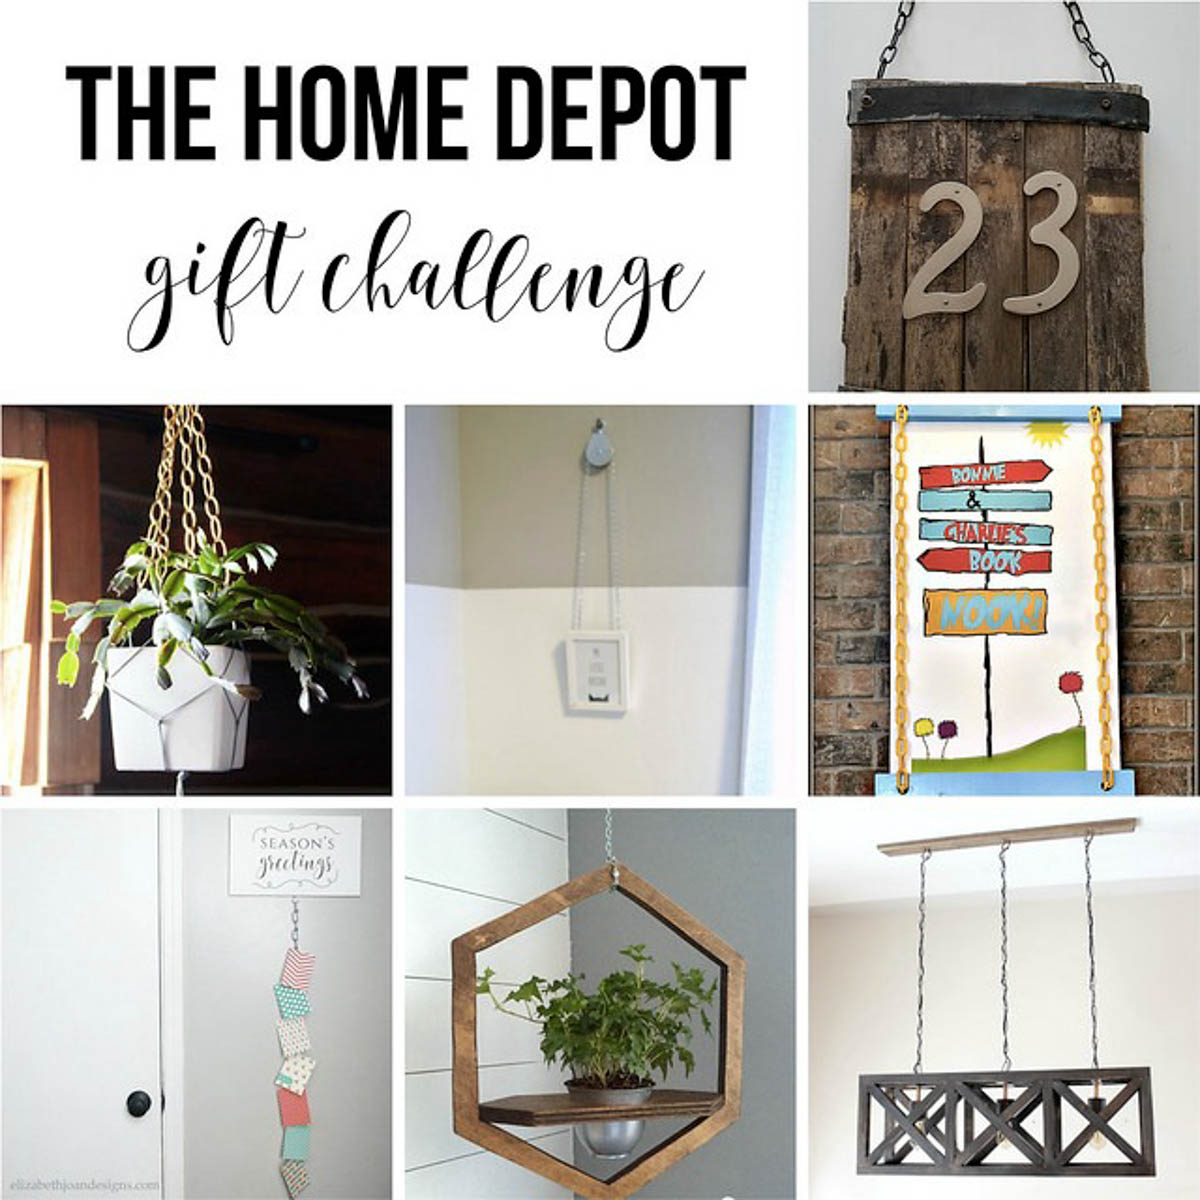
For now, make sure that you check out the other projects from the final Home Depot Challenge. Click the photo below to find the tutorial!

*This post may contain affiliate links. Thank you for supporting Love Create Celebrate. for more information, please read my disclosure policy!*


What an amazing project! It turned out perfect. Thanks so much for sharing with us at Merry Monday.
That light fixture is gorgeous! If only I had better carpentry skills
This is absolutely fabulous!!! You make creating a light fixture so simple. I will definitely be using the info here and creating my own! Love, Love, Love!!!
Currently building a Japanese style fence and gate. Then going to build a dining room table. And now I know what I am going to build after the table. I plan on painting the wood an off white. I will pin on Instagram when done. Gosh I love the Internet! Thanks for the great project. It is awesome!
I'm SO glad!! I would LOVE to see it after you make it!! Thanks so much for letting me know :)
I have a question. In the instructions you have included a top piece out of a 2X6X8 but in the pictures it doesn't look like there is a top. Did you make it without the top?
Great question! The 2x6x8 is the piece that we routered out and mounted onto the ceiling. We planed it so it's a bit less than 1.5" now. If you build it, please tag me! I'd love to see it finished!!
I want to say a BIG Thank You! Thanks for answering my question. I also noticed you have answered others. I really appreciate that. Very thoughtful of you. I promise I will make sure you see my finished fixture. We are going on VaCa in 2 weeks. I am one crazy lady. Between working 40+ hours, trying to maintain the house and yard, and making quilts I am always busy when I am feeling well. I could use a wife. lol.
But I promise you (think Scarlet O'Hara) as God is my witness these projects will not lick me! And when they're over I will make more!
So awesome. But I do have a question about the ceiling mount. My husband recently built me a version of the $1300 Darlana Linear Pendant light, for obvious reasons. It will be going into our new house when its complete, but we aren't sure how to securely attach it to the ceiling. How is the wood Plank attached and what type of electrical box did you use?
Thank you! We attached it all back into the existing sockets. We router out the 2x4 on the ceiling and fed all the wire through to the original box. We anchored the 2x4 into the roof joists (in four spots). Hope that helps!
Precioso trabajo enhorabuena!!!
Thank you!
Can you please tell me what stain/finish you did on the wood?
Yes! It was Kona by Varathane :) If you build it send me a picture! I'd LOVE to see! Or tag me on Instagram @love_create_celebrate
What a statement this makes! Beautiful & pinned!