
A beginner's guide to refinishing furniture. A step-by-step guide to restoring, refinishing, and flipping furniture pieces.
*This post was sponsored by Wagner and may contain affiliate links. When you buy a product through one of our links, we get a commission at no cost to you! Thank you for supporting our blog so that we can continue to bring you posts like these. For more information, please see our disclosure page.*
We wanted to compile a DIY step-by-step guide to lay out 8 simple steps for restoring, refinishing, and upcycling furniture pieces. It all started by visiting some thrift stores and scouring the local buy and sell pages to find some pieces that could use a second chance at life.
Some great places to buy furniture to refinish include thrift stores, garage sales, buy and sell pages, or even a relative (or that piece you inherited from family member that you forgot about). Older pieces of furniture might look intimidating or really worn out but if you know what to look for in good furniture, and with a bit of elbow grease, they can be transformed into a beautiful piece.
A furniture restoration project doesn't have to be a daunting task, following these pro tips will make the entire process simple and give you great results!
- A beginner's guide to refinishing furniture. A step-by-step guide to restoring, refinishing, and flipping furniture pieces.
- Guide to Refinishing Furniture
- Tools and Supplies
- Steps to Refinishing a Piece of Furniture
- Results
- Video for Beginner's Guide to Refinishing Furniture
- More tips for Painting Furniture
Guide to Refinishing Furniture
For this DIY furniture refinishing guide we decided to work on three different types of projects to showcase different tips:
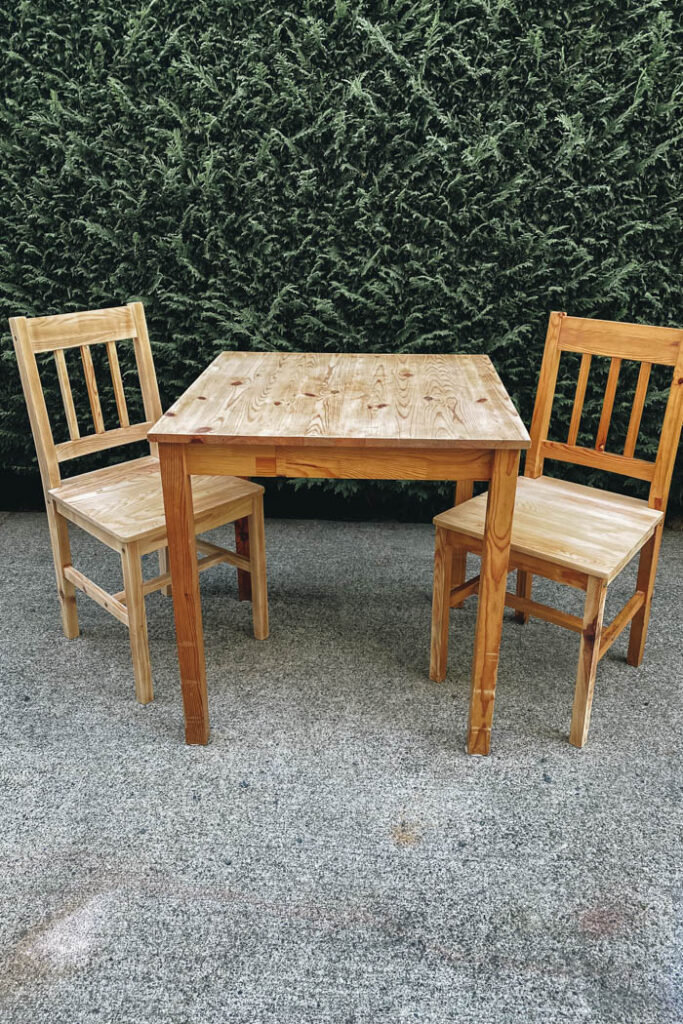
- First project was a IKEA dining room table set that was well used that would be painted by hand
- Second project was an old piano bench that we would turn into a coffee table and would be painted and stained.
- Third project was an oak dining room table we found on a buy and sell page that was fairly rough and needed TLC. This project would be a restoration.


Tools and Supplies
Here is a list of tools and supplies you will want to help refinish those old worn items into amazing custom pieces. If you are a beginner woodworker, here are 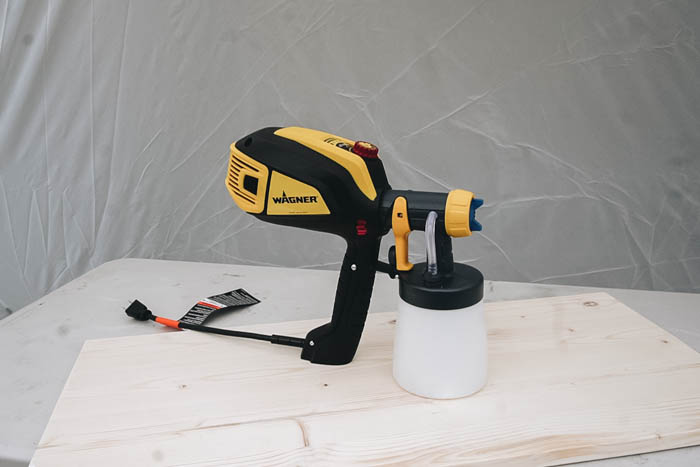

If you need a space to work in, you can also get spray shelters that help keep your piece out of the weather and away from bugs. They also catch all of your overspray so you're not making a big mess.
Make sure you follow all the manufactures safety precautions when using power tools, stripping and cleaning products, and stains, paints, and finishes.
Personal Protective Equipment (PPE)
Power Tools
- Wagner's Flexio 3500 Sprayer
- Wagner's Spray Tent
- Drill
- Orbital Sander
- Sanding Paper (60/100/150/220 grit)
Cleaning and Stripping Supplies
- teaspoon
- Fusion teaspoon Alternative
- Microfibre cloth
- Paint Stripper
- Heavy duty rubber gloves
- Abrasive pad
- Scraper
- Lead Paint Test
- Tack cloth
- Wood Filler (Natural but you can search for filler based on wood type you cre using)
Hand Tools and Supplies
Option Tools
Finishes
- Dark Walnut (Oak Kitchen Dining Table)
- Osmo Finish (Kitchen Dining Tables)
- Coal Black Fusion Paint (Coffee Table Top and IKEA Kitchen Table and Chairs)
- White Linen (Coffee Table Top)
- Polyeurethane (Coffee Table Top)
Plywood 
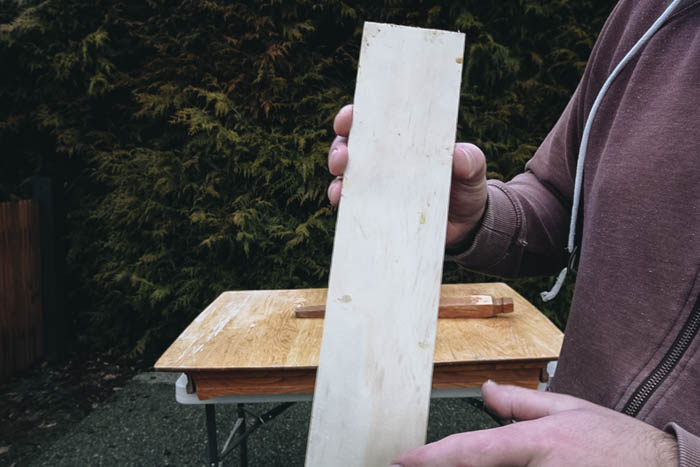
Side/Edge of Plywood Items made of solid wood, plywood, or a veneer can be stained or painted. However for pieces made out plywood or with veneer you need to be careful that you do not over-sand. You can easily sand through the top faux wood layer, making the piece harder to refinish.
You can see if your furniture is made of solid wood or plywood by looking at the edge of the piece. Solid wood will have edge, face, and end grain that all line up (grain match). Plywood or items with a wood veneer will appear like solid wood but when you look closer you will notice that grain doesn't match up or you may see the build-up of layers of wood.
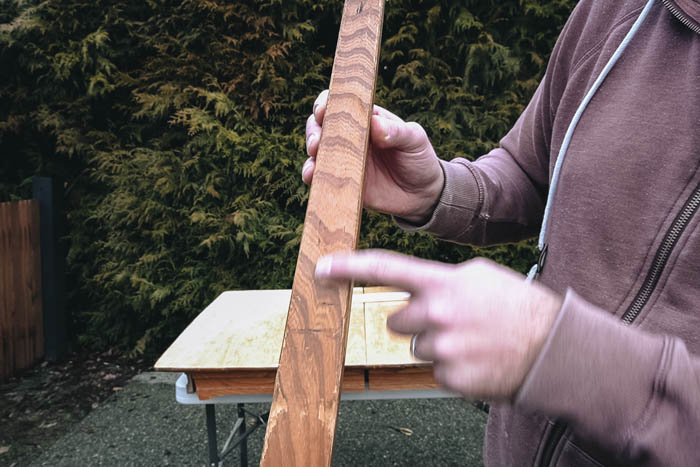
Face Grain 
Edge Grain 
End Grain Type of Joinery
Also check for joinery types. Items with
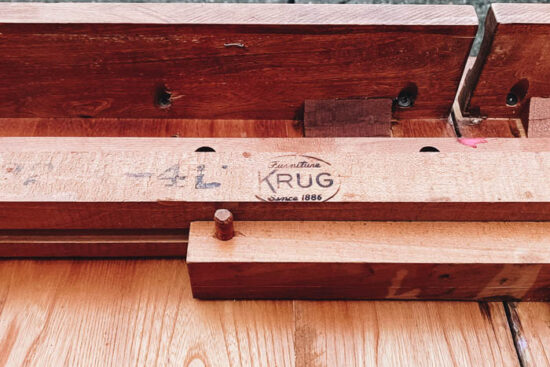
If the wooden furniture piece is a family heirloom or an antique you will want to be careful about you restore it to retain it's value. Depending on the condition of a heirloom piece, your best bet may be to talk to a professional.
Step 2 - Clean and Degrease
In order to get paint bond or to sand without clogging up your sanding discs it is always good to clean you piece before you start. You can use dish soap and warm water, but we like to use a
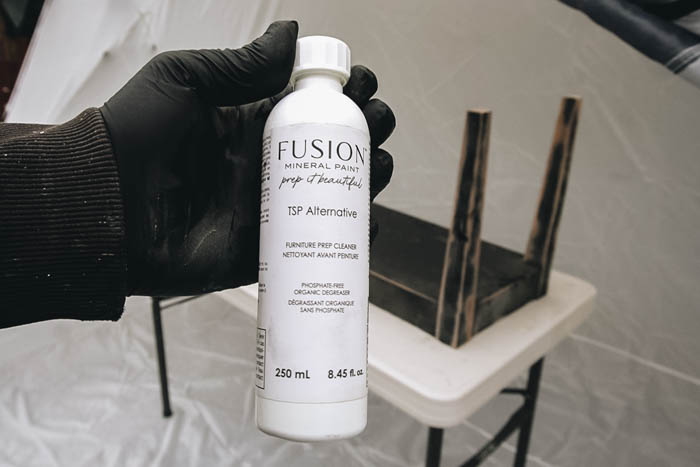


When cleaning you can use a soft cloth, microfibre cloth, steel wool or clean cloth (lint free) to wipe the surfaces down. Try not to use paper towel as it may leave behind residue.
Step 3 - Remove Finish/Old Top Coating
If dealing with old furniture, it's a good idea to complete a lead paint test. It is quick and easy and you don't want to be sanding lead paint and breathing it in as it is very harmful. You can find
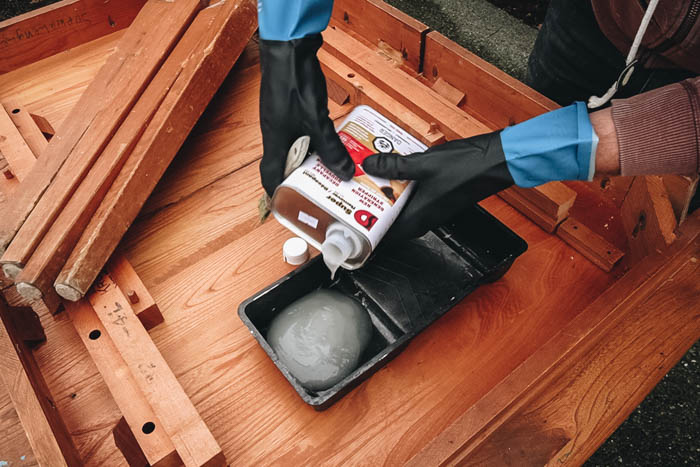
Furniture stripper 
Applying furniture stripper 
Scraping off furniture stripper If the paint stripper didn't remove the finish, you can use a piece of plastic after the furniture stripper is applied to cover the entire piece to increase the effectiveness of the product.
Once the paint stripper has sat on the piece for at least 15-20 mins (or as per the manufactures recommendations) remove the plastic and use a putty knife or plastic scraper to remove the paste and existing finish off the piece. If there is any remaining finish you may need to apply multiple coats of the furniture stripper to remove it all.
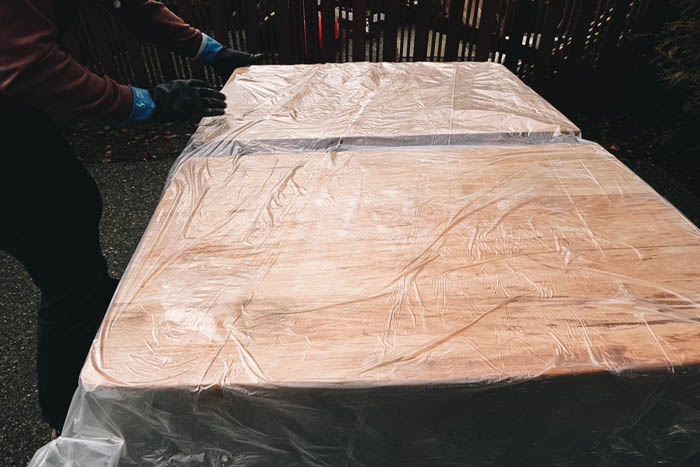
Adding plastic over table once furniture stripper is applied 
Scrapping off old finish once the furniture stripper is ready to be removed 
Rinising off table once scrapping was complete We like to rinse the entire piece off once you are done with the stripper to remove any excess stripping product and debris. Let the piece dry fully until you move onto the next step.
Sanding
You will want to sand the entire wooden furniture piece. This will smooth out all the flat surfaces and remove any left over old finish that still may be present. Start with a coarse sandpaper (like 60-80 grit) and than move to medium (100-150 girt) and lastly a fine-grit sandpaper (200-220 girt). When sanding ensure you following the direction of the grain.
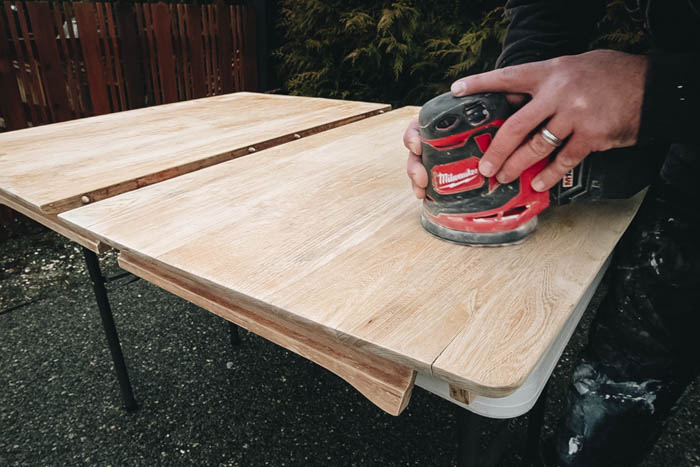

You want to sand along the grain of the wood for the best finish. An easy way to sand is with a power sander. However sometimes you may want use a foam sanding block or piece of sand paper to get into the hard corners, edges, or details of the piece. Once sanding is complete quickly go over the piece with a
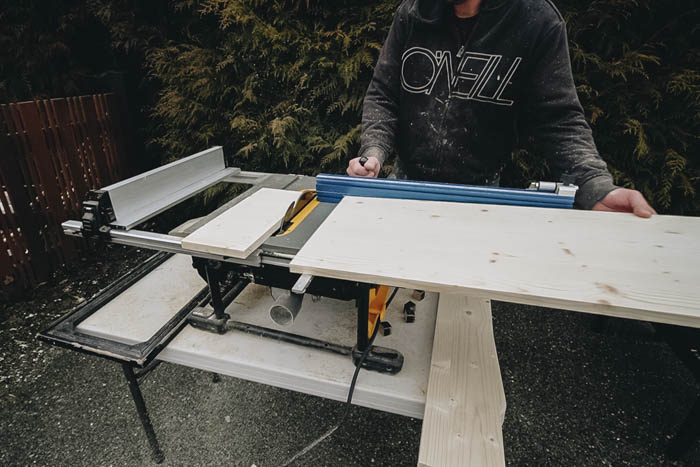

At this point if you need to make any modifications it is the best time to do it. For the piano bench project we had to cut the bench to a lower height and make a custom top to turn it into a coffee table. Things to consider for modifications include:
- custom bases to modify a height of a cabinet, night stand or dresser
- adding wood, dowels, moulding to add a texture or details to a piece
- modifying drawer fronts to change the look of a piece (adding cane, glass, slab front, etc)
- modifying the height of a piece by cutting or making custom legs
- router chamfers, radius, or grooves on a piece
- adding a wood detail to a painted piece
Step 5 - Using Wood Conditioner
It is a good idea to use wood conditioner to help with refinishing soft woods. You apply it with a paint brush over the bare wood and let sit 5-10 mins (or as per manufactures recommendations). The wood conditioner helps open up the pores of the wood. This allows the stain to evenly absorb along the wood surface and prevent a blotchy look in the new finish.
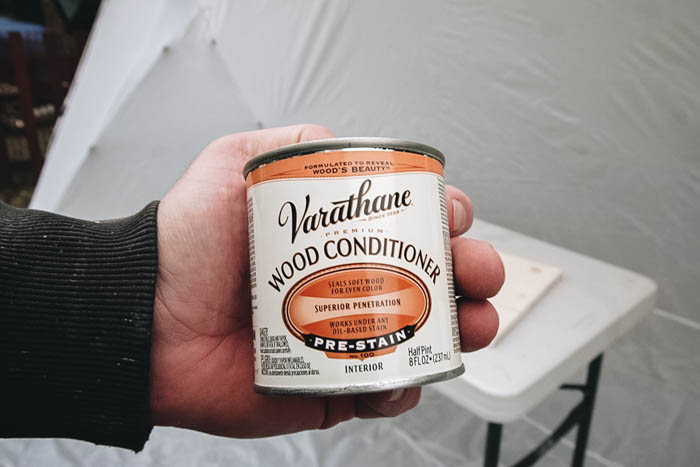

You can do it on hardwood as well, but it doesn't make as big of a difference, due to the tighter grain pattern of the wood.
Step 6 - Painting and Staining
When paint or staining you may want to use a drop cloth under the piece you are working on to catch any drips. Or you can use one of Wagner's spray shelters. These work great to keep the piece you are working on out of the elements and they also act as a drop cloth over the area you are working.
For smaller projects a brush may be just as fast as using a paint sprayer. When using a brush I like to back roll the flat surfaces with a foam roller or a roller
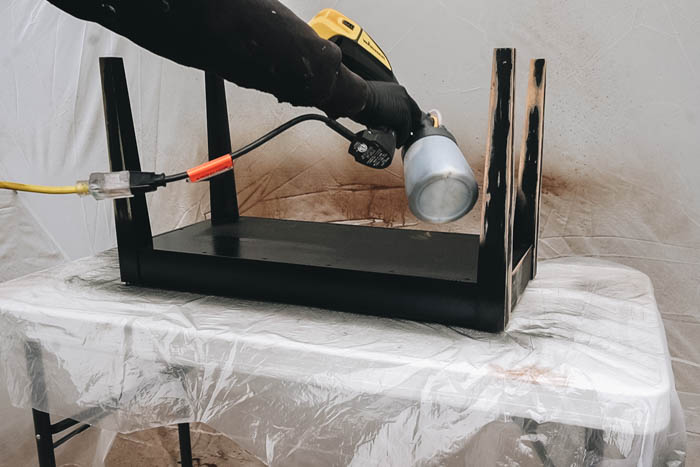

Once you pick your paint type you can apply to your first coat of paint to your furniture piece. When painting try to work with the grain and not add too much paint. The thicker the coat of paint you put on the higher the chance of runs and blemishes on your piece.
Usually you will want to have multiple coats of paint to have the best finish. Give the piece a light sanding between coats after you have ensure enough time has past and the paint is dry enough. Sanding will help give your finial surface a really smooth finish and ensure the coats bond well to each other.
Step 6b - Staining
Stain Types
If you are staining a wood furniture piece you have a couple of options for stain types:
Gel Stain
Gel stains are a good choice for vertical projects, and for any furniture piece where you need to hide blemishes. It does have higher VOC's than other stain types and requires a bit more work for clean up and a product like mineral spirts to clean paint supplies off. Gel Stains will also add some resistance from heat and insects.
Oil Based Stain
Oil based stains are easy to find and come in a lot of colours options. They do contain VOC's and require a mineral spirt or paint thinner for clean up. Oil stain can add resistant from rot, insects, moisture, UV damage. They are fairly easy to use and apply and
Water Based Stain
These are great choices for clean up and affordability. However the water based stains are not as durable and need some kind of topcoat to help protect the stain finish
Lacquer-Based Wood Stain
Lacquer based stains are great when you need a stain that dries fast. The smell is a lot (high VOCs) so used in a well ventilated area and wear the proper PPE. It has strong adhesion and penetrates deep in the wood. Gel stain adds resistant to the piece from moisture, heat, or insects. Due to the fast curing times this type of stain isn't recommend for beginners.
Natural Based Stain and Dye
These stains and dyes are a great environmentally friendly choice. Natural based stains however are not usually as durable and may not hold up as well over time.
Applying Stain
To add a coat of stain you can either apply with a clean rag, brush or sprayer. For larger jobs (especially something with lots of corners and details) a sprayer is definitely the way to go. We use the same
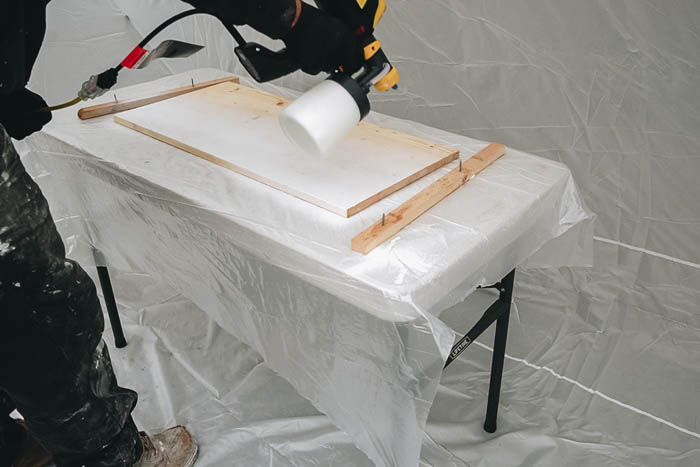

Let the stain sit on the furniture piece for 5-10 minutes to allow the stain to absorb into the wood. Use a clean rag (lint free) to remove any excess stain from the piece. You can mix or layer different stains to get custom colour. Or you can add multiple layers of the same stain to get a darker colour to get your desired color of the wood.
Try to work in a clean dust free work area for the best results.
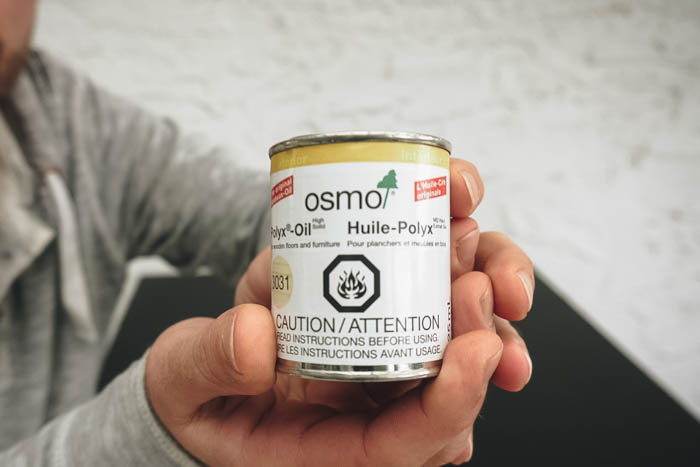

For waxes (Walrus Oil) and wax/liquid combos (osmo) you can apply and spread over the piece with a plastic or metal putty scrapper. You can then use a fine abrasive pad to spread and work into the wood. You can use another fine abrasive pad to wipe off any excess product. Again, at least 2 coats are recommended. These products also work great over painted and stained furniture pieces.
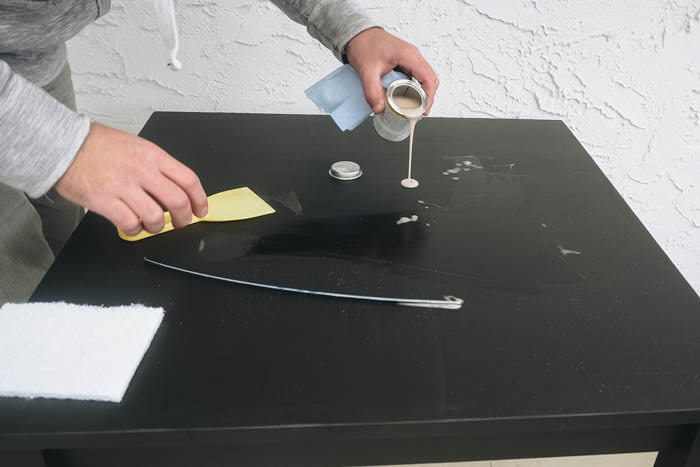


Step 8 - Finishing touches
For cabinets, dresser, side boards, etc. you can further customize your piece by adding unique finishes, including handles, knobs, legs or caning. We upcycled a
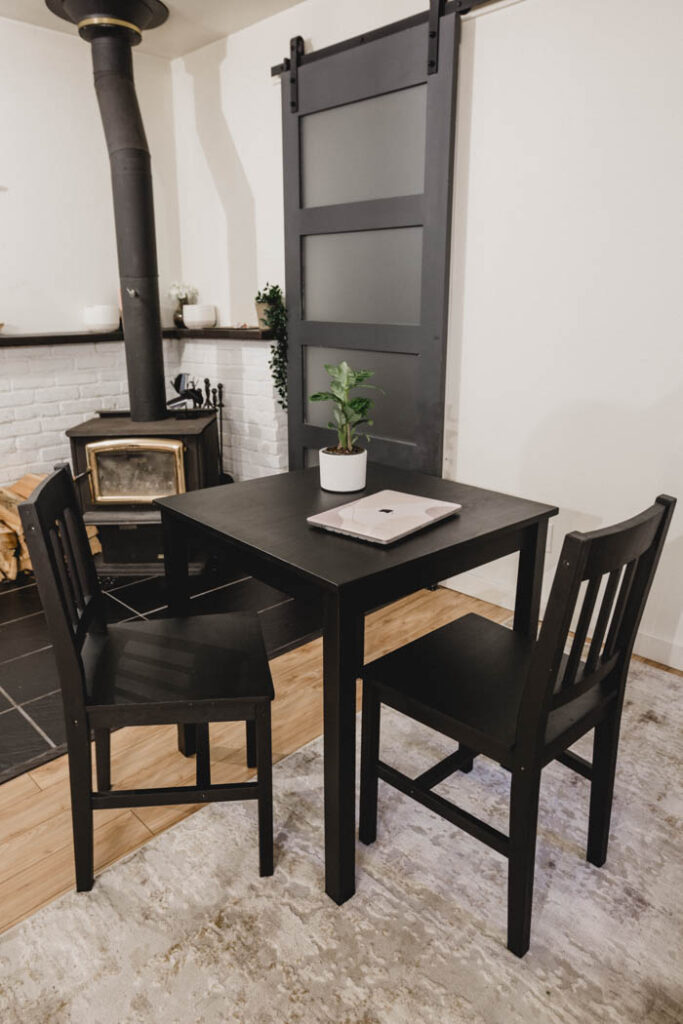

This Ikea set went from boring and worn out to a showstopper. The quick sand and paint job really refreshed this piece. We are really happy with how it turned out with just a coat of paint!
Solid Oak Dining Table
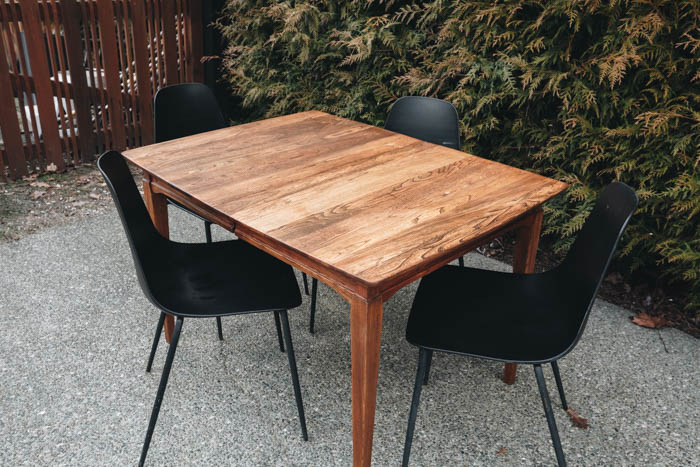

The oak table took a lot of elbow grease but the results speak for themselves! This restoration really took a worn out piece and gave it a second chance at life.
Coffee Table
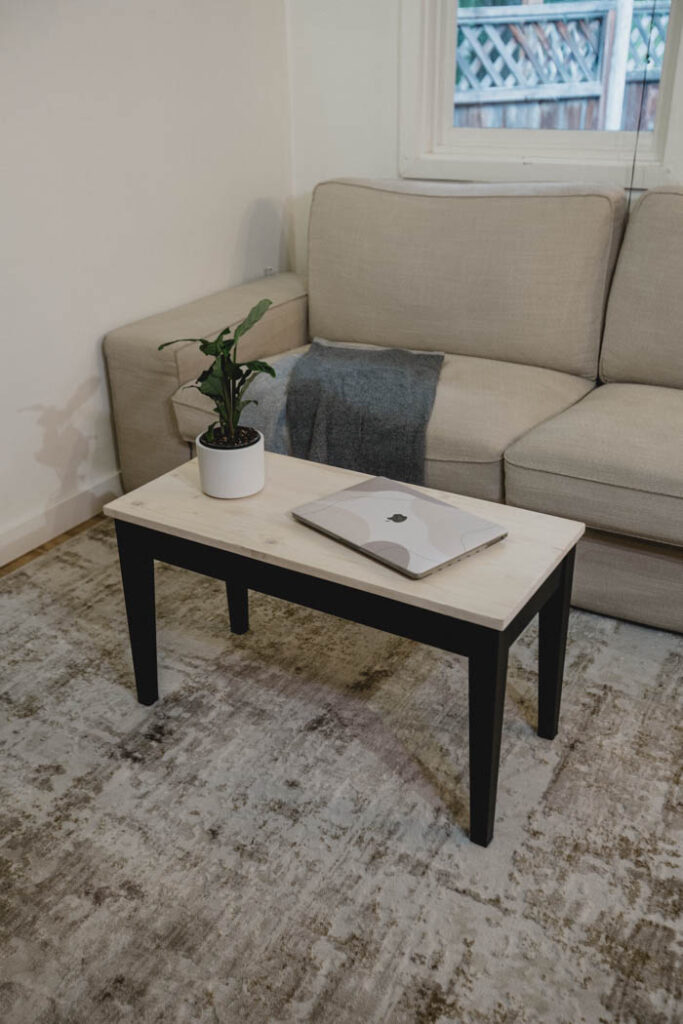


The piano bench turned into coffee table was a great upcycle and fit perfectly in its new space. It was a quick, easy, and affordable DIY. The hidden storage is a bonus cool feature too!
Video for Beginner's Guide to Refinishing Furniture
If you want to see the full video of us restoring the pieces mentioned above and see some of the DIY tips and Tricks for Painting and Restoring furniture be sure to check out this video!
Hopefully these 8 easy steps help you with your restoration of a old piece of furniture. Whether you are working on a old dresser, wood table, hutch, or coffee table this Beginner's Guide to Refinishing Furniture should be a great resource to help you with your next DIY restoration project. Wagner's sprayer and spray shelter really took the finishes to the next level, we can't wait to start our next DIY!
More tips for Painting Furniture
If you have ever considered painting laminate or IKEA furniture, you will want to watch this video to get all of the best tips!