
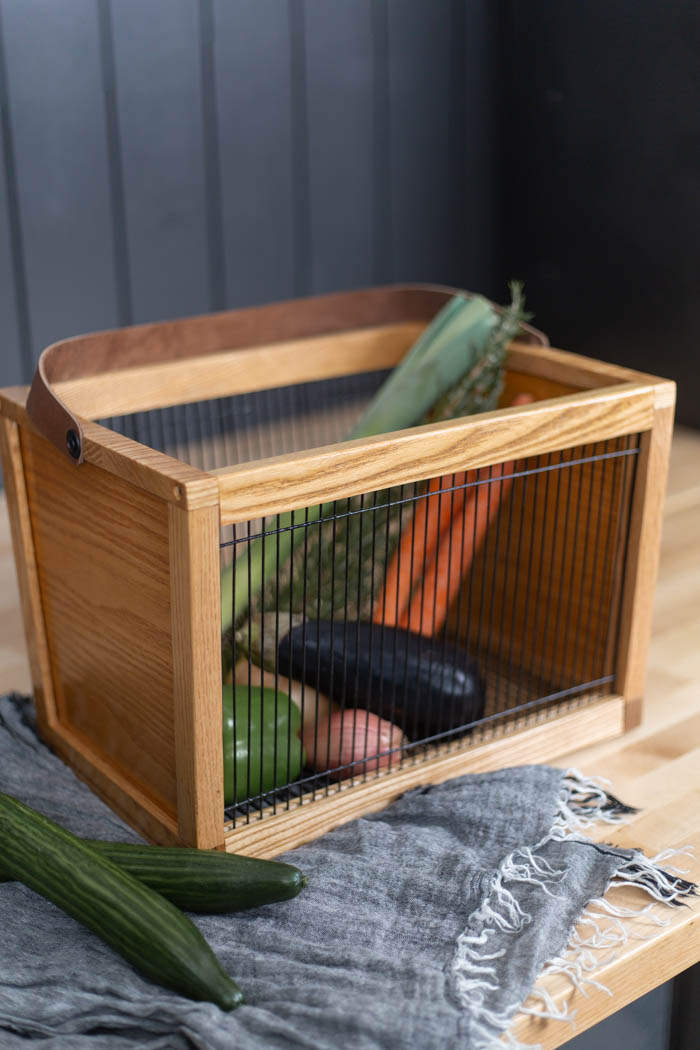
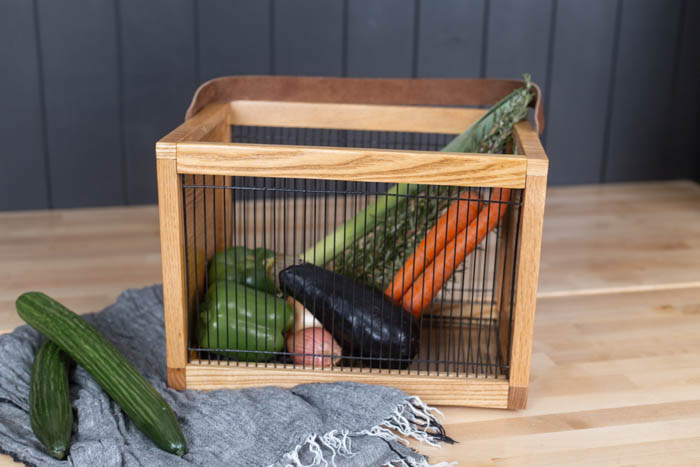
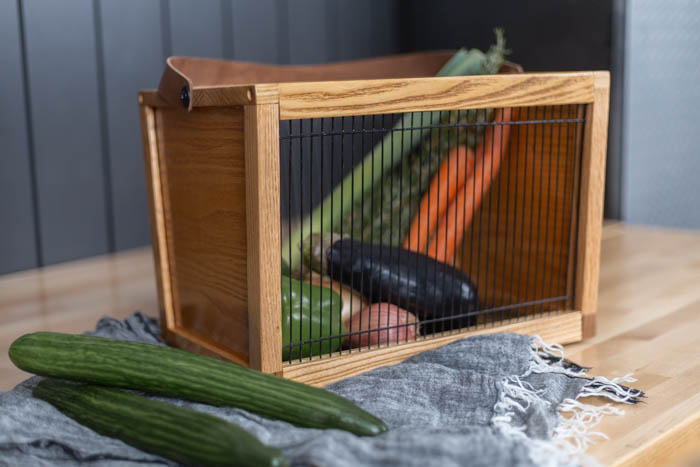
Discover the perfect garden harvest basket to gather your bounty with ease. Learn how to make your own harvest basket with this easy tutorial!
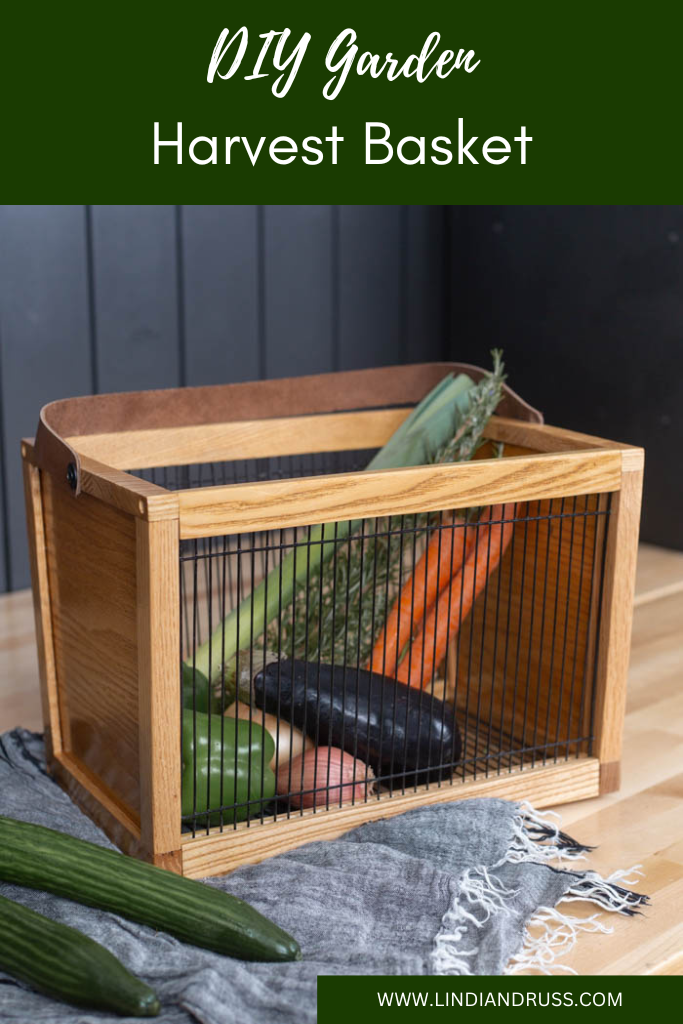
Looking for a unique and personalized gift idea for Valentine’s Day? Or a birthday, or mother’s day, or father’s day? lol. Why not try your hand at thrift store flips? In this blog post, we’re going to walk you through a step-by-step process of creating a charming garden harvest basket from thrifted items. This project is not only budget-friendly but also a thoughtful way to repurpose old items into something practical and beautiful.
Want more DIY garden decor? Try this DIY garden sign!
Supplies Needed to Make a Garden Harvest Basket
Tools:
- Wagner 3550
- Wagner Spray Shelter
- Wagner Steamer
- Clamps
- Router Table
- Table Saw
- Leather punch
- Squares
- Orbital Sander
- Oscillating Spindle Sander
Materials:
- Black Paint
- Dark Walnut Stain
- Matte/Clear Polycrylic Protective Finish
- Sanding Discs
- Wood Glue
- Wood Glue Bottle
- Premium Whiskey Stones
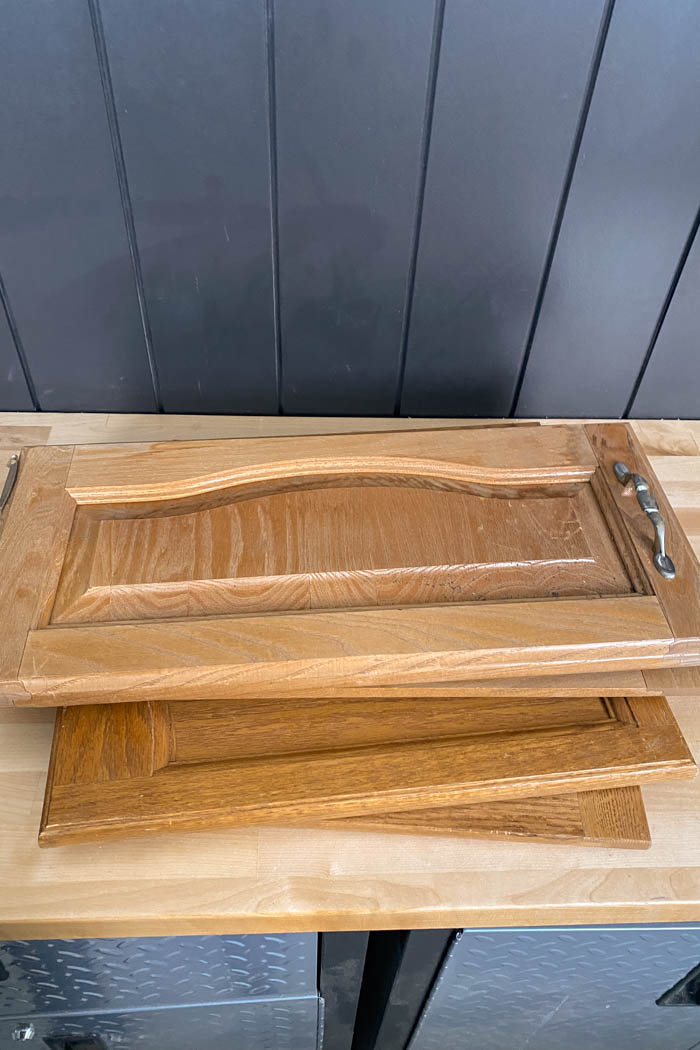
Step 1: Thrift Store Hunt
The first step in this project is to visit your local thrift store and hunt for suitable materials. Look for old cabinet doors and a wire enclosure like a hamster cage. These items might seem unrelated, but they will come together beautifully to create our garden harvest basket.
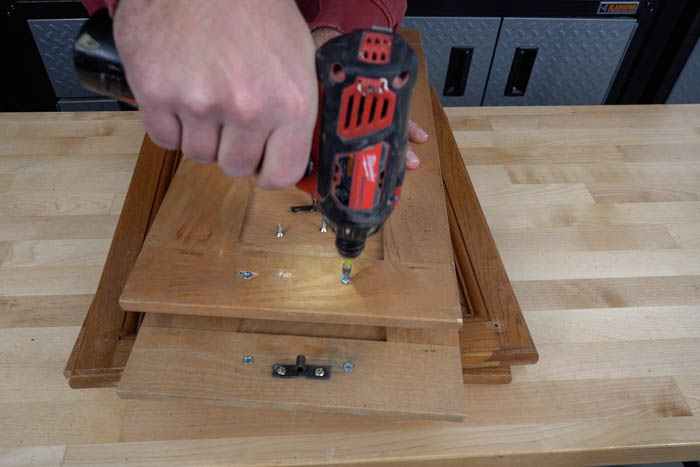
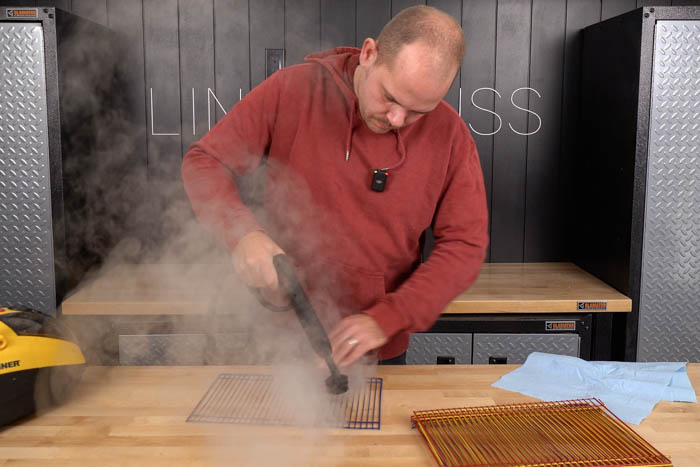
Step 2: Prep Work
Once you’ve gathered your materials, it’s time to prepare them for transformation. Remove any hardware from the cabinet doors and thoroughly sanitize the wire enclosure. A steam cleaner works wonders for this task, ensuring that your project starts off on a clean slate.
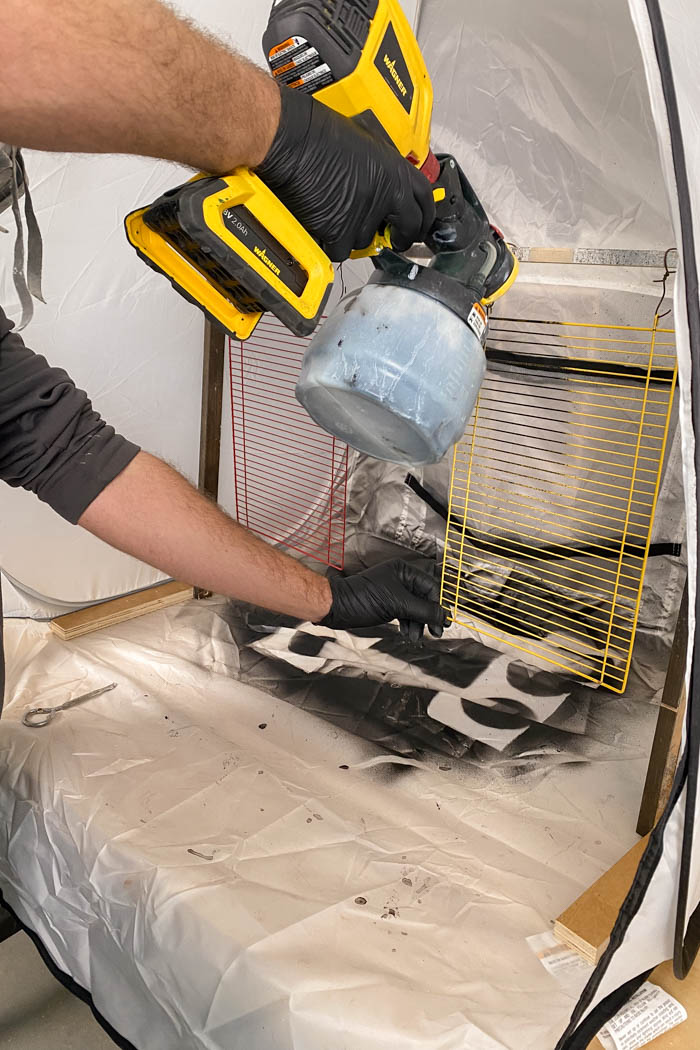
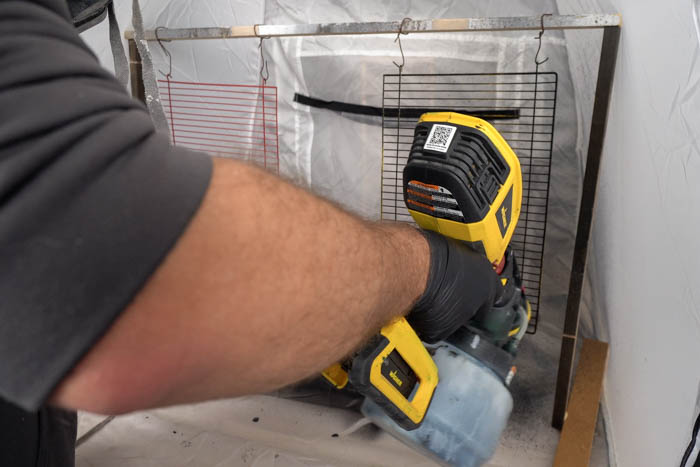
Step 3: Painting
Next, it’s time to apply a fresh coat of paint. Opt for an outdoor semi-gloss paint in black for durability. Use a cordless paint sprayer for easy and even coverage. Don’t forget to set up a paint shelter to contain any overspray and protect your surroundings.


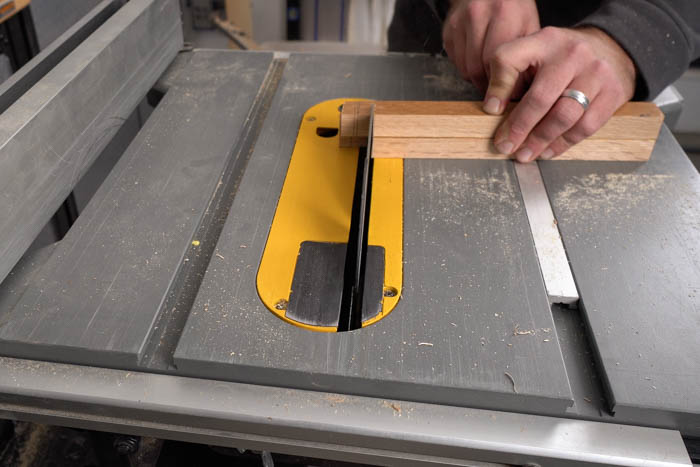
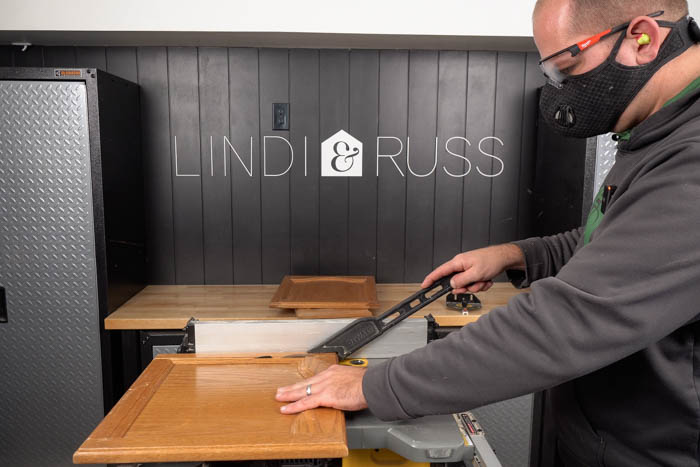
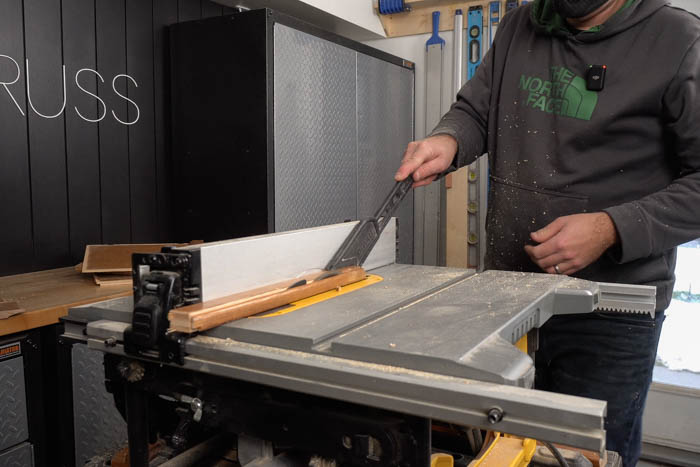
Step 4: Disassembly and Cutting
While the paint dries, disassemble the cabinet doors and carefully cut them to size using a saw. These pieces will form the frame of our harvest basket, so ensure they fit together snugly.

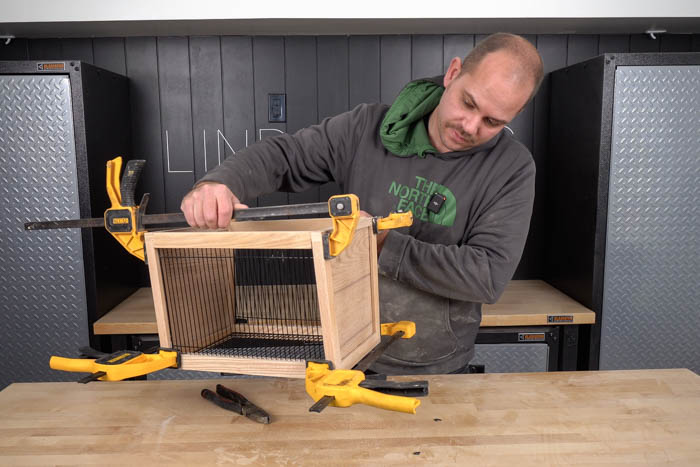
Step 5: Routing and Assembly
To create a sturdy structure, use a router table to add grooves along the edges of the cabinet door pieces. This will allow them to interlock securely when assembled. Once the routing is complete, glue the pieces together according to your desired basket size and shape.

Step 6: Sanding and Finishing
After the glue has dried, sand down any rough edges for a smooth finish. Apply a coat of polyurethane spray to protect the wood from moisture and wear, especially since the basket will be used outdoors.


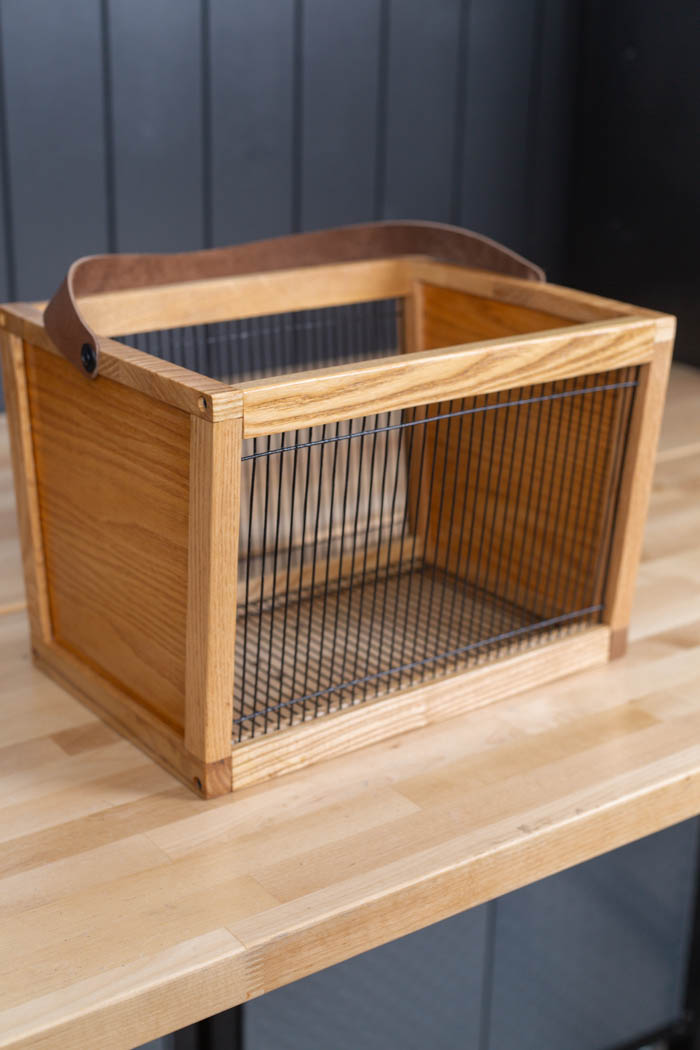
Step 7: Adding Handles
For a finishing touch, attach fabric ribbon as handles to the sides of the basket. This not only adds a decorative element but also makes it easier to carry when harvesting fruits and vegetables from the garden.

Step 8: Final Touches
Once everything is assembled and dry, give your garden harvest basket a final inspection. Make any necessary adjustments and ensure that all components are securely fastened.

Step 9: Presentation
Now that your DIY project is complete, it’s time to present it to your loved one. Whether it’s for Valentine’s Day or any other special occasion, they’re sure to appreciate the thought and effort you’ve put into creating a one-of-a-kind gift.
With a little creativity and some thrifted finds, you can create beautiful and practical gifts that are sure to impress. This DIY garden harvest basket is not only a testament to your craftsmanship but also a sustainable way to repurpose old items into something new and useful. So why not roll up your sleeves and give thrift store flips a try? You might just surprise yourself with what you can create. Happy crafting!
Join our community of makers and let’s turn ordinary into extraordinary, one project at a time! Be sure to to subscribe to our channel for more DIYs, tips and renovations!
