
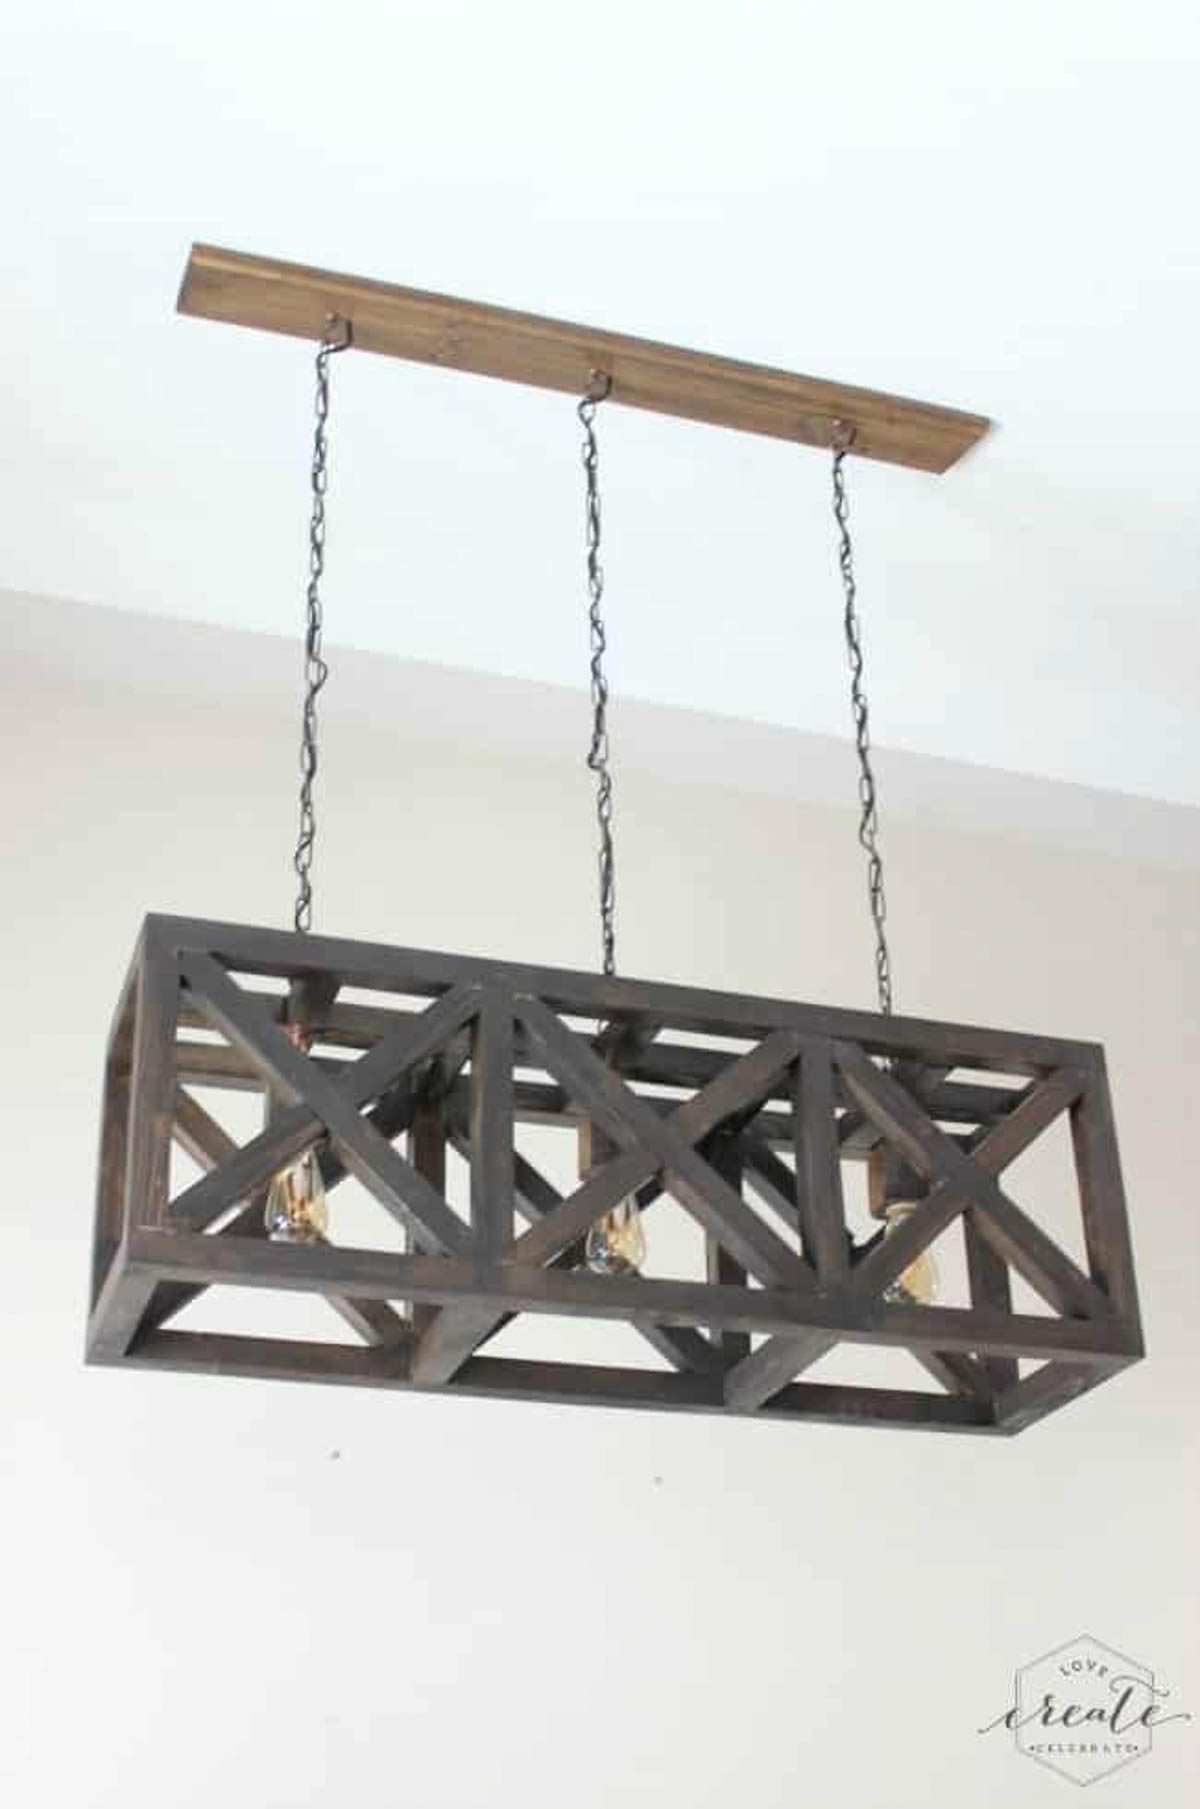
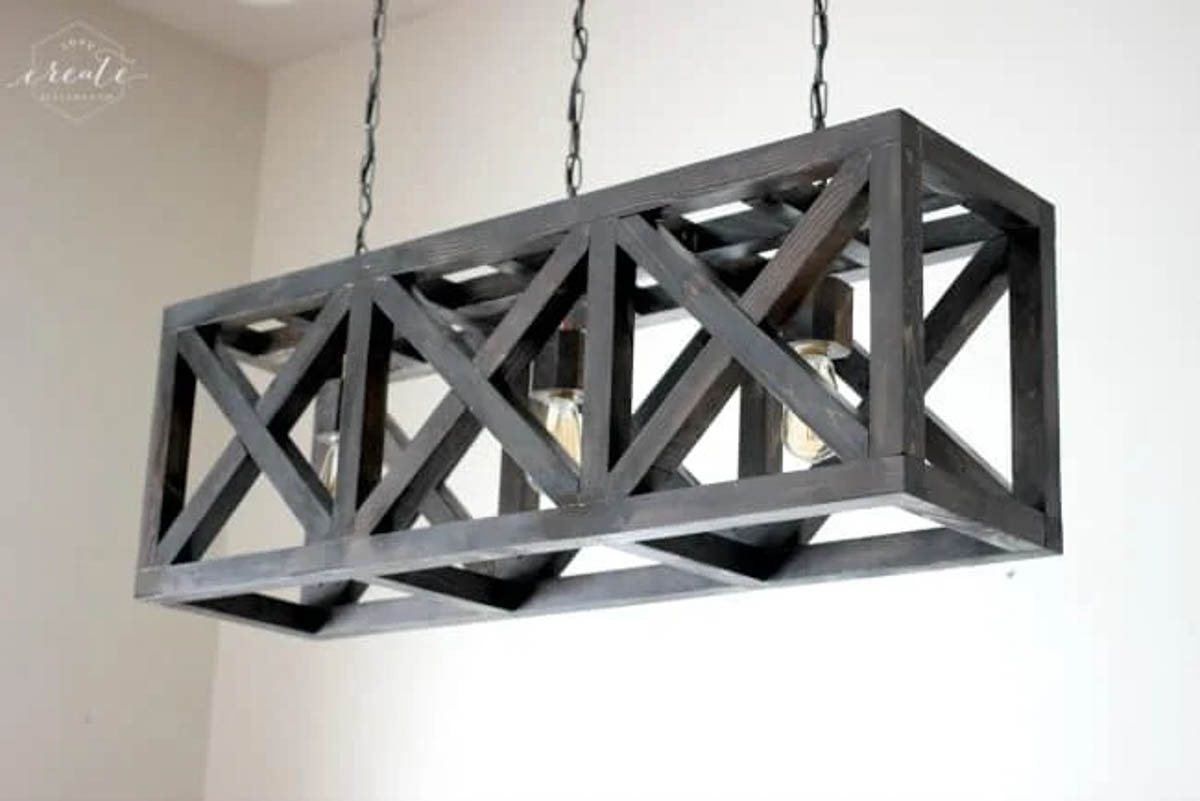
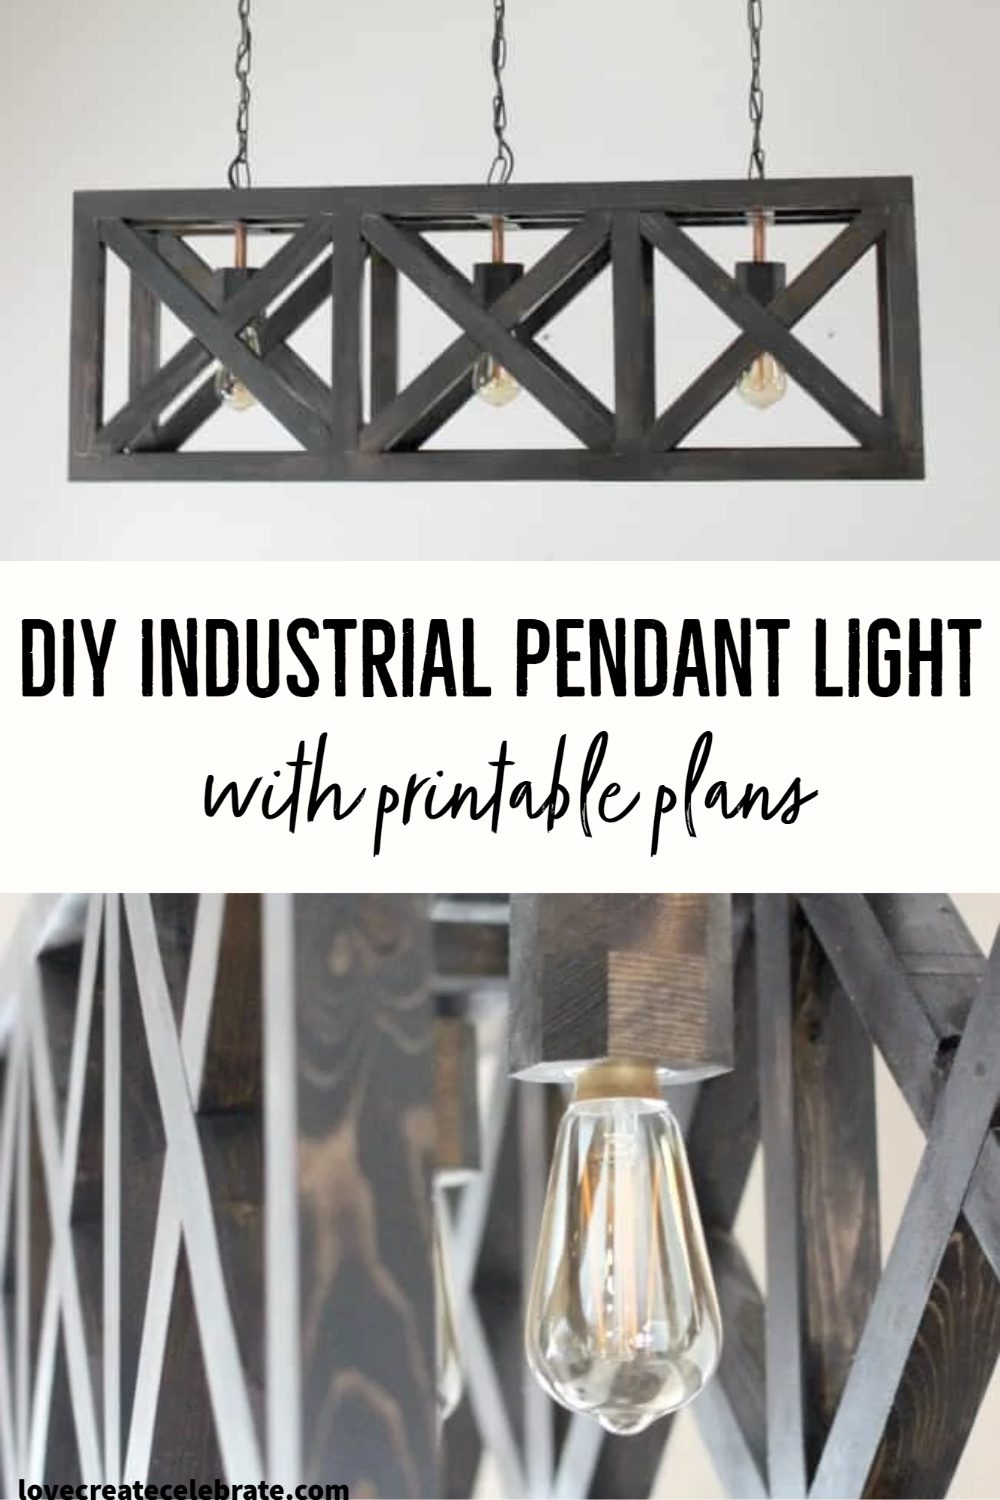
Join me for a step by step tutorial and create your own DIY Industrial Pendant Light. This unique design is a perfect addition to any home.
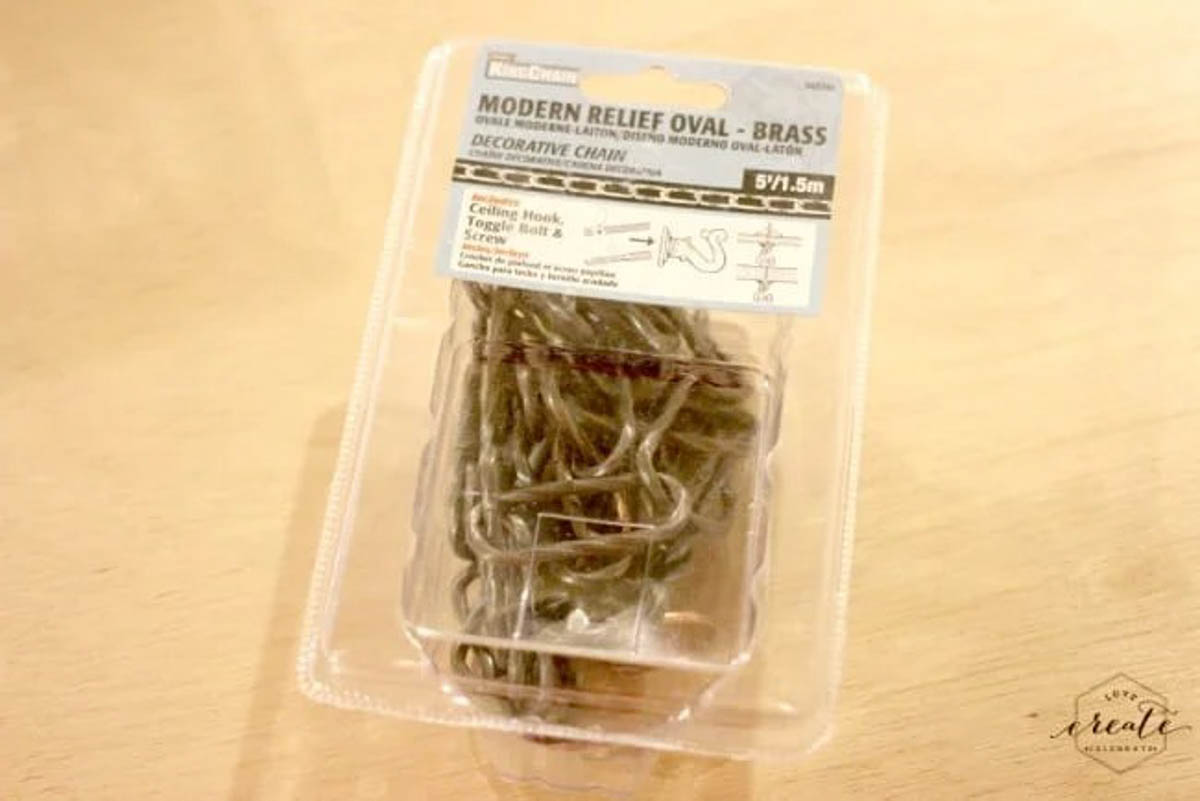
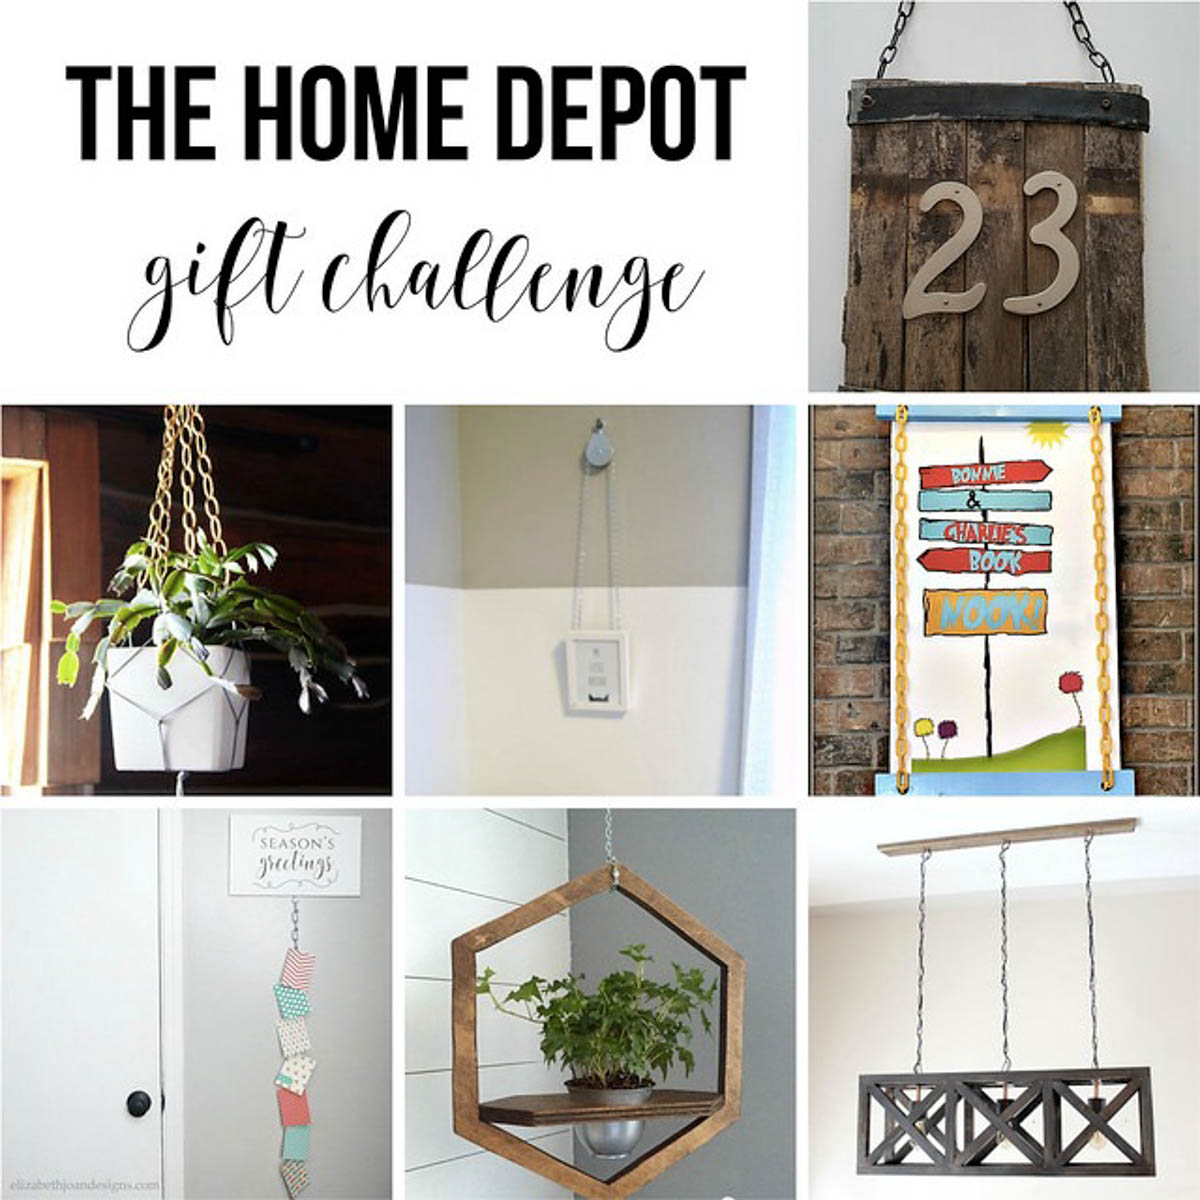
Well friends, it’s time for another Home Depot Gift Challenge! This is the challenge when we chose an item from Home Depot (*not sponsored, we just like their products!*) and a creative group of bloggers made new DIY projects form that object. This month we chose chain, which was perfect because I have been wanting to make this new Industrial Pendant Light for a while now!
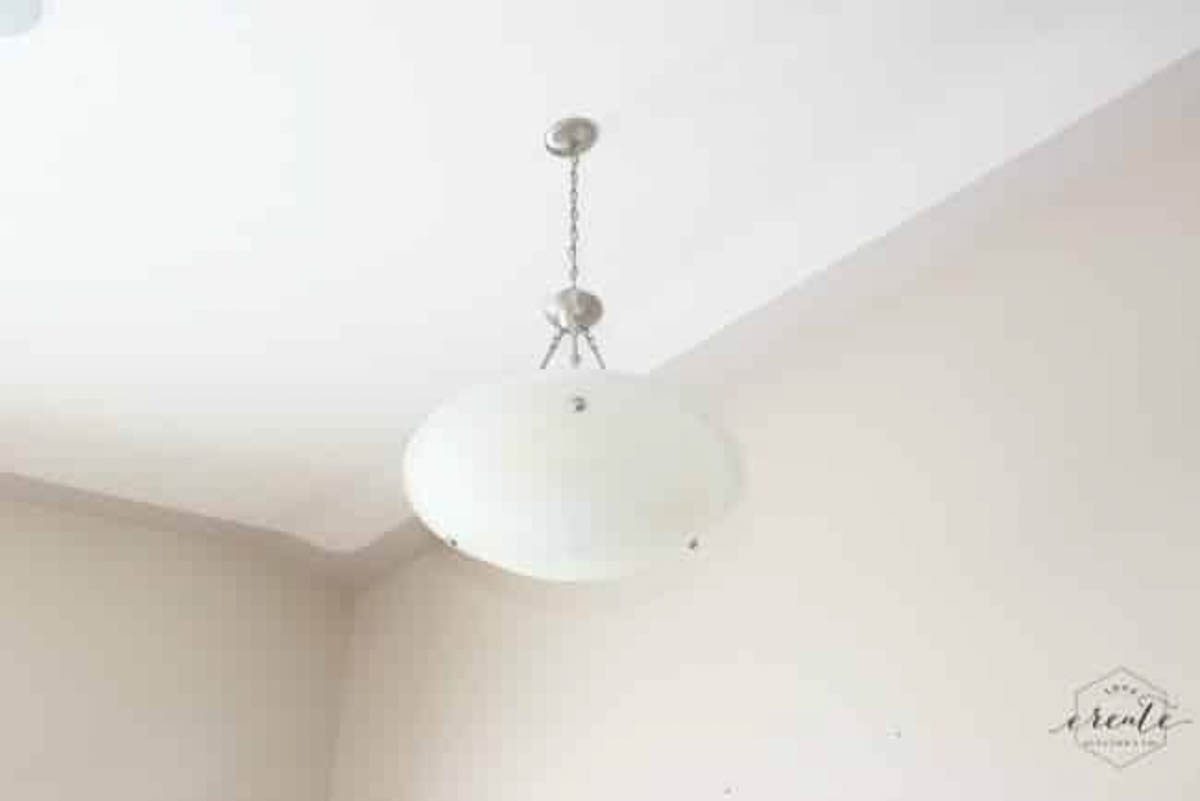
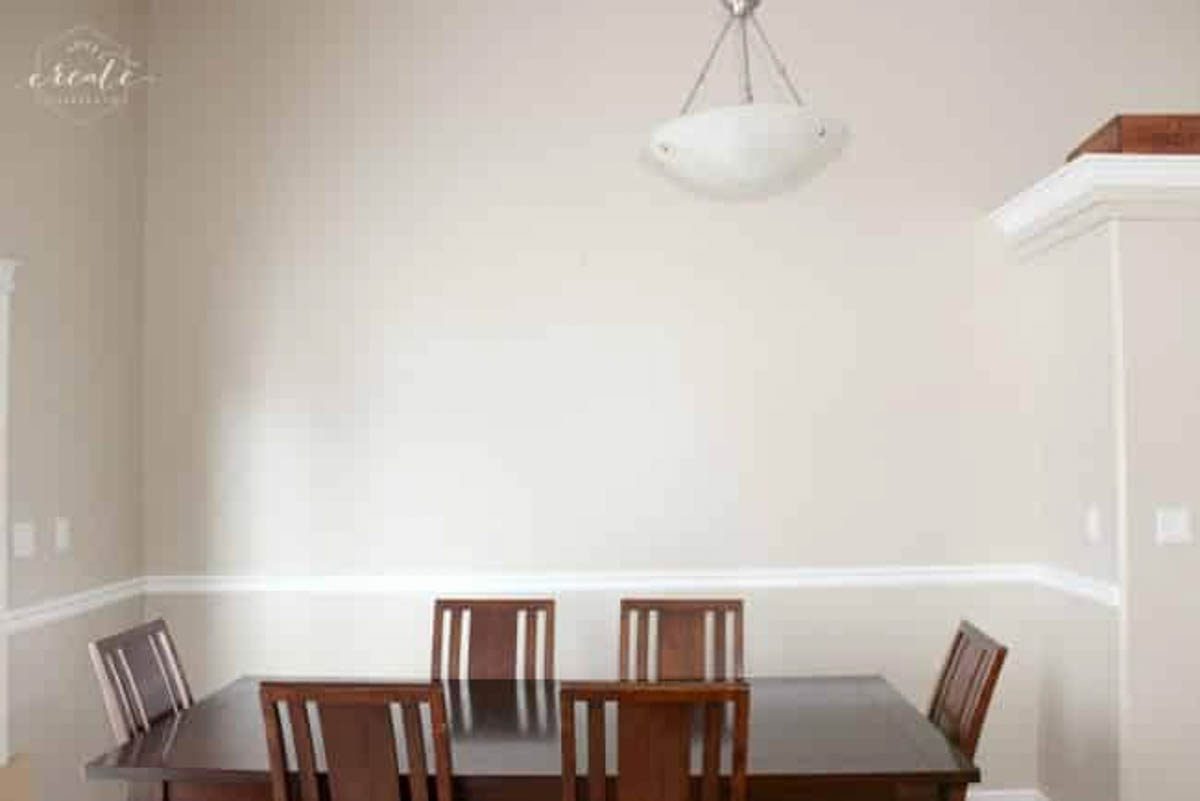
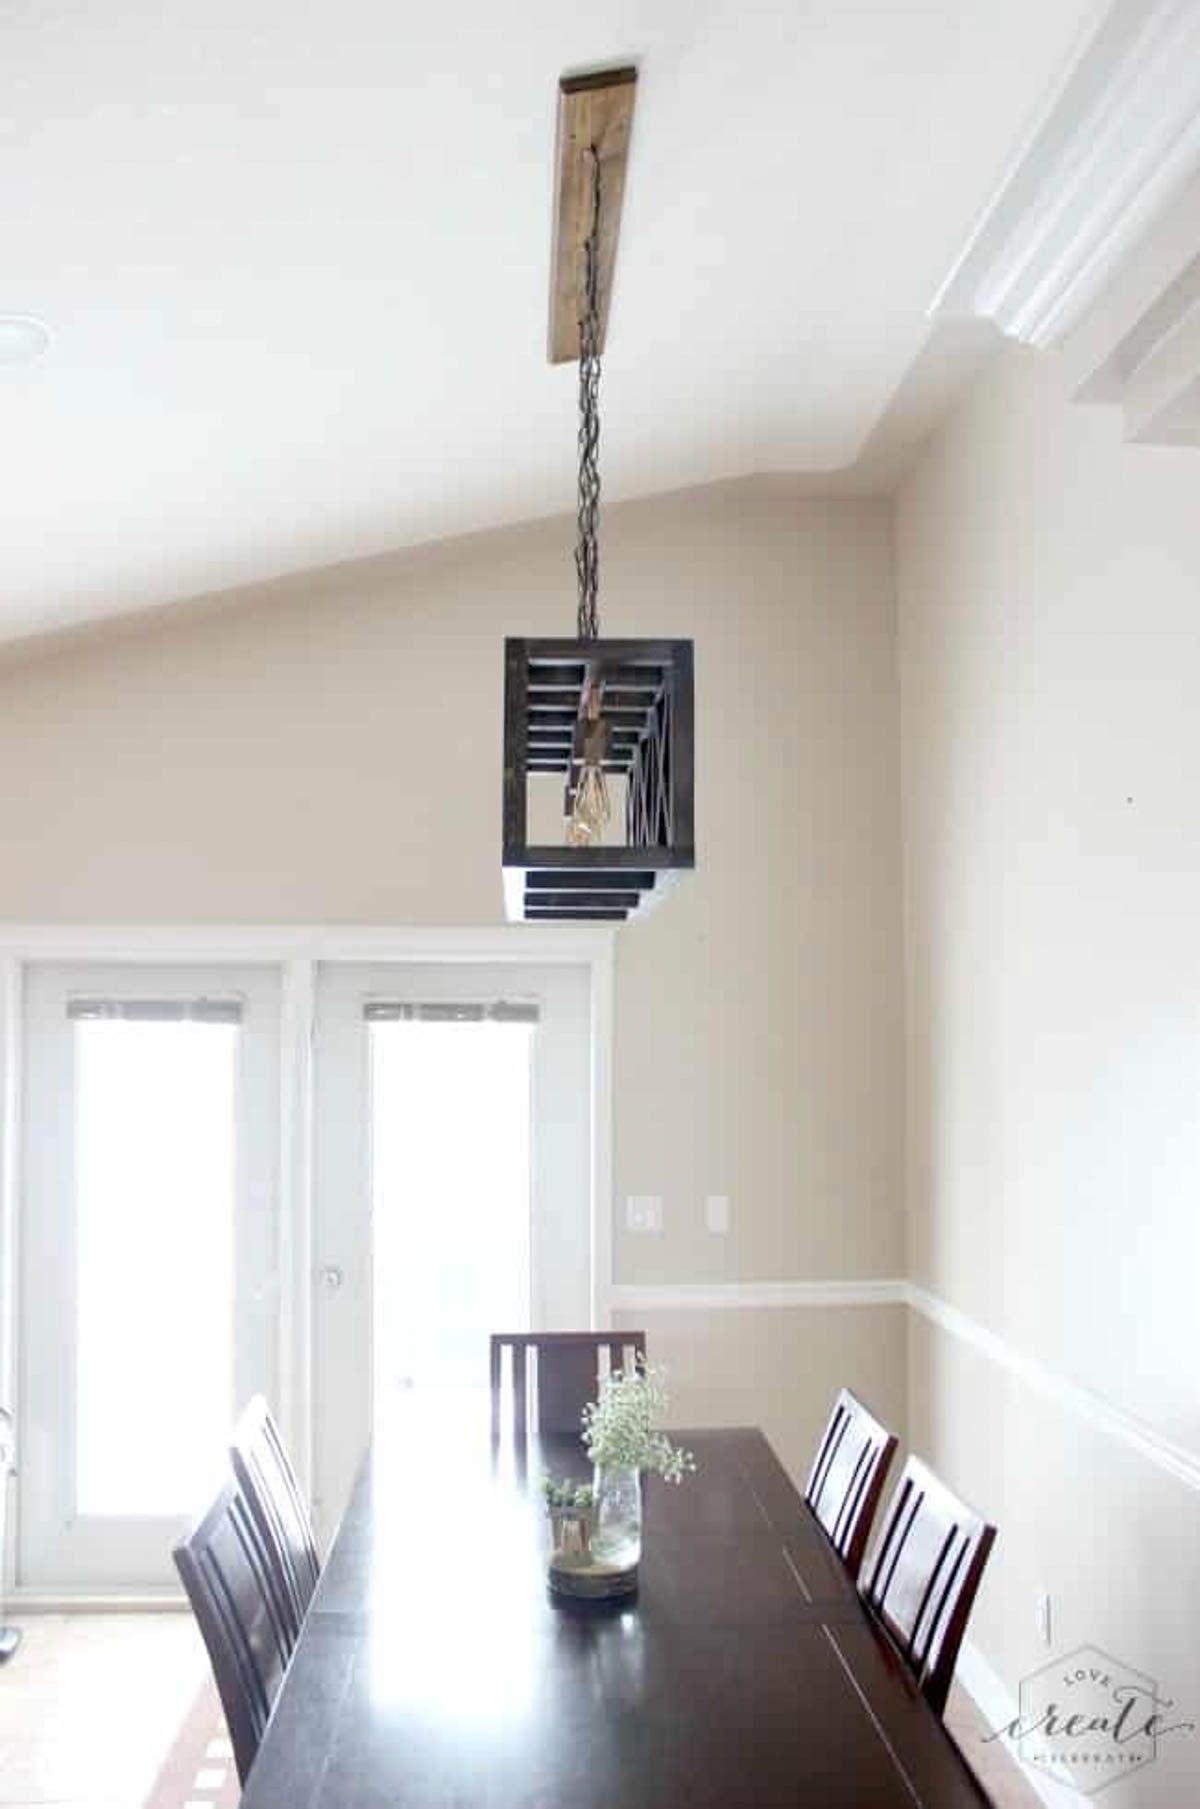
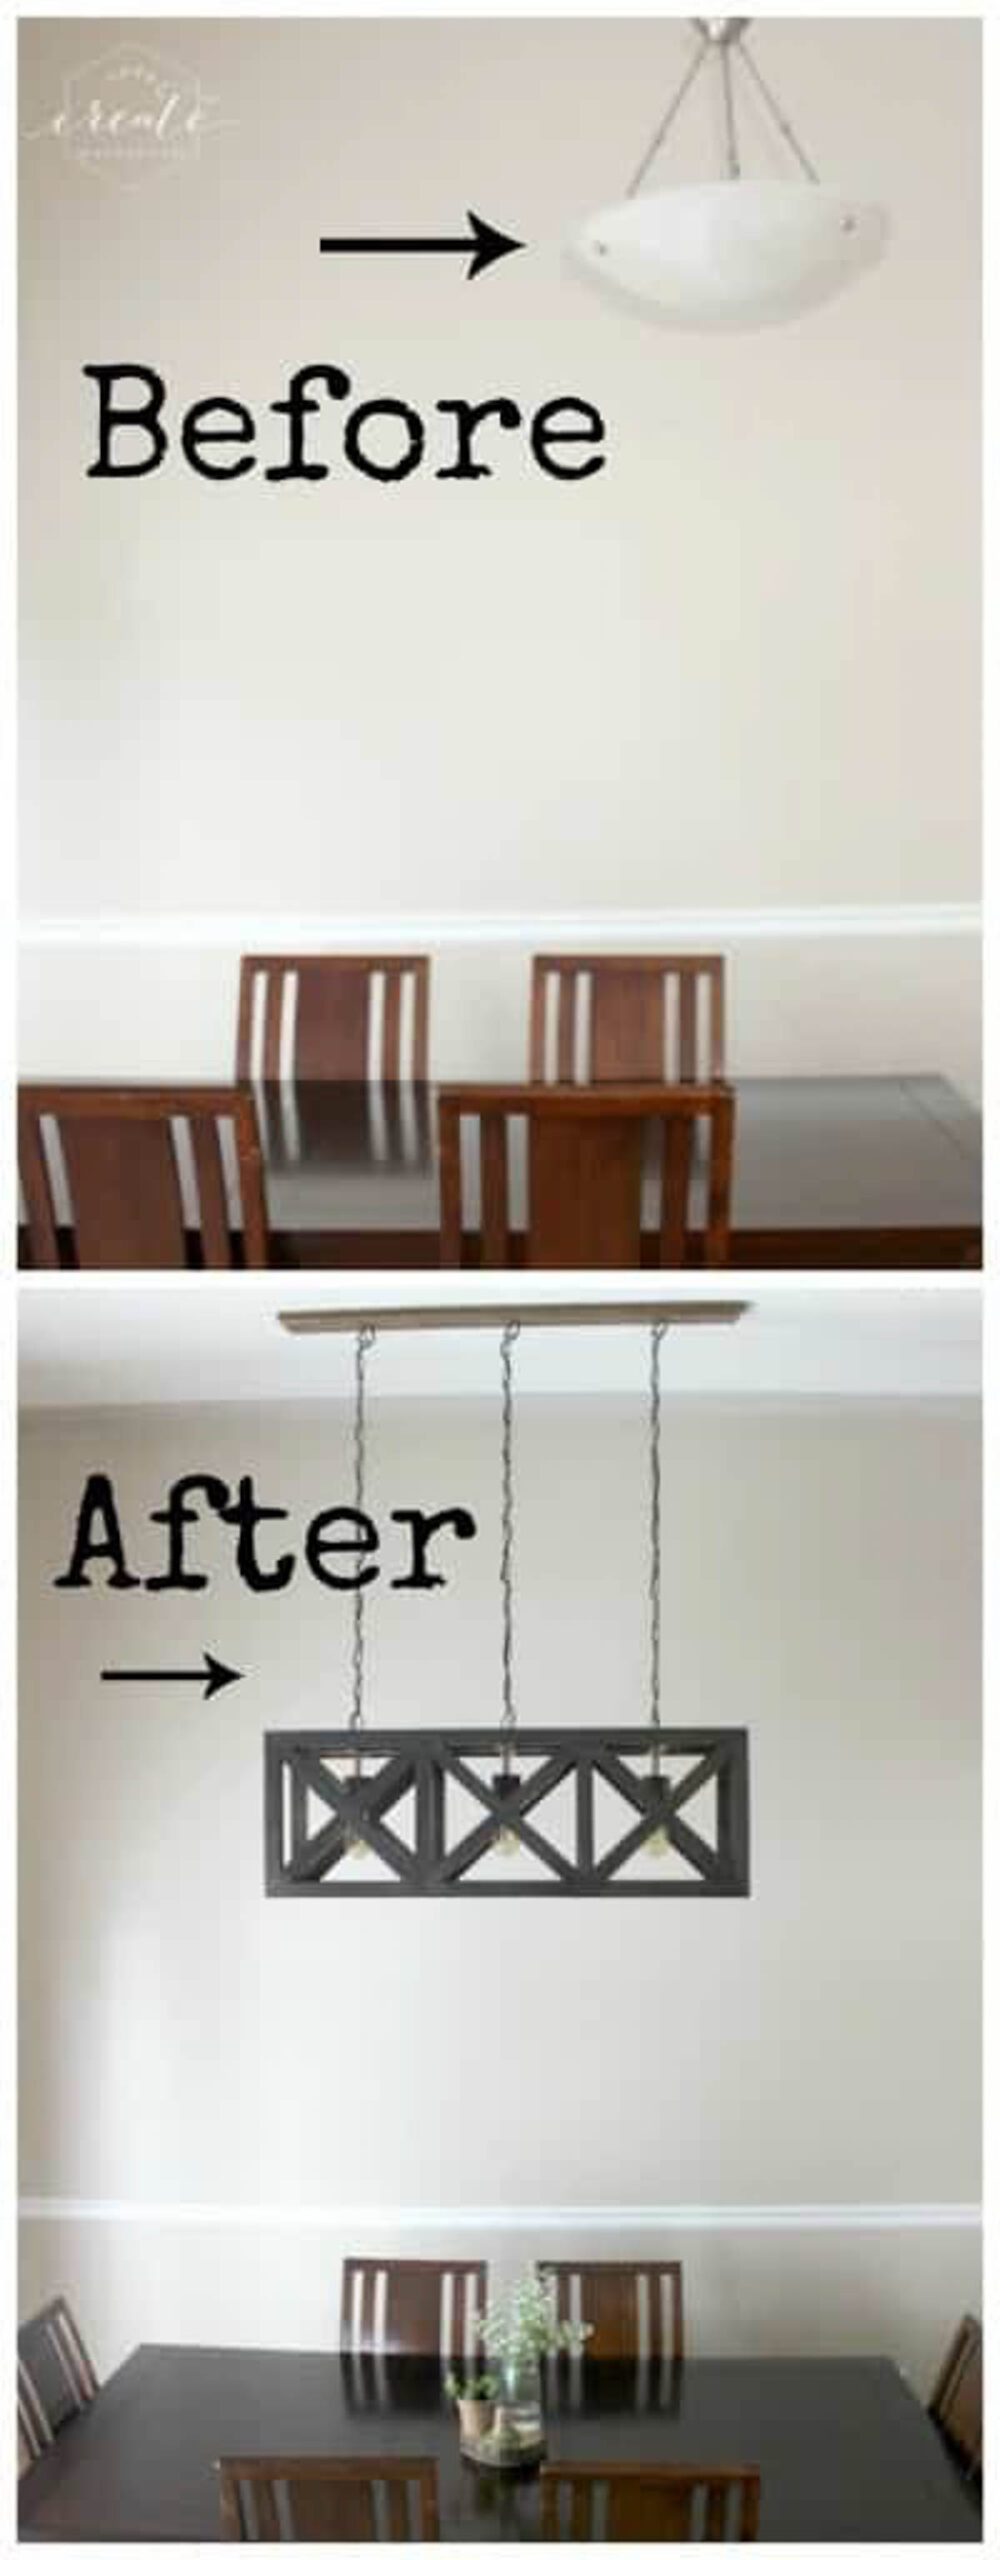
We’ve had this light in our kitchen since we moved in. Sure, it’s pretty… but in my opinion it’s outdated. It’s not my style. AND it’s not centered! That’s three strikes. Time for a change.
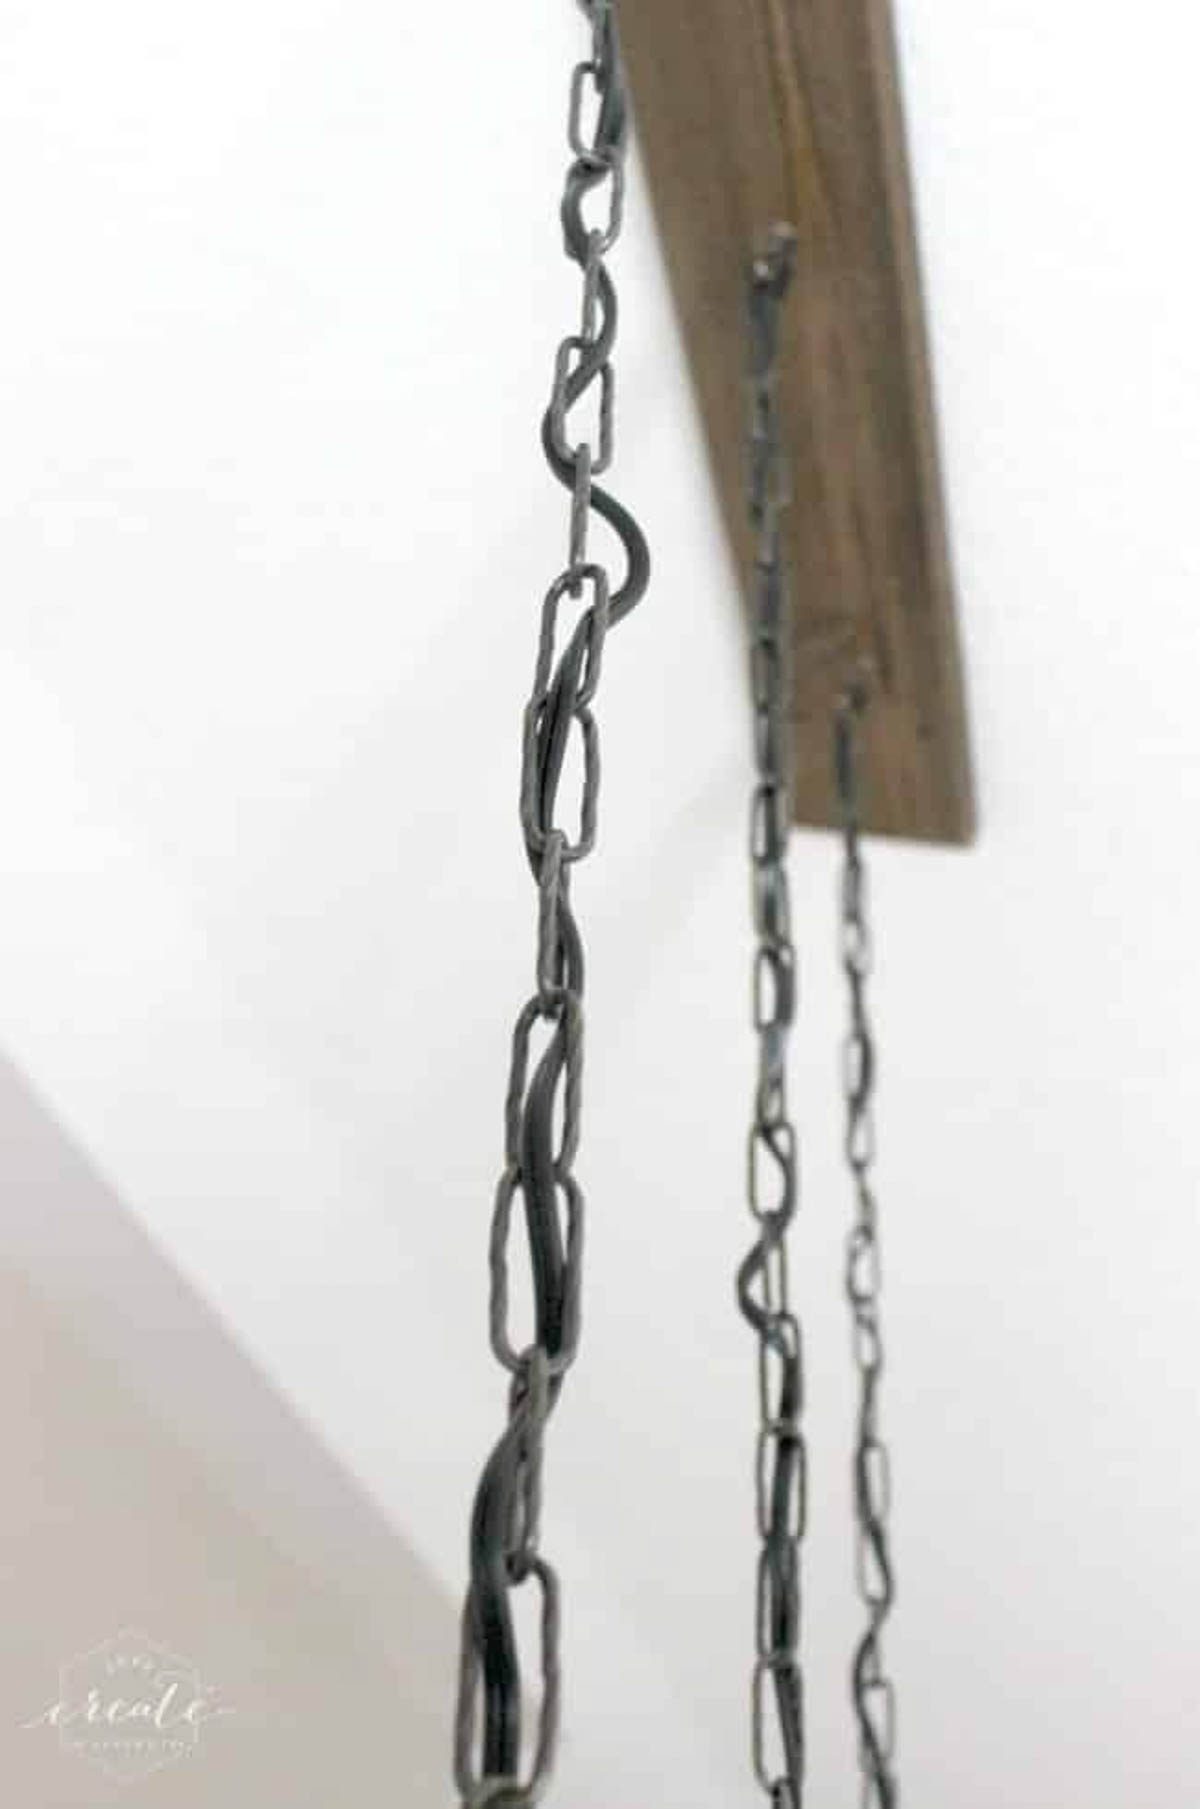
Once I knew we wanted to make a light fixture, I chose this metallic decorative chain from Home Depot to hand the fixture from the ceiling.
Start by downloading your FREE PLANS here!
A list of lumber required for the project is included in the design plans.
Other Materials:
Three 5 ft. chain kits (above)
Three sockets
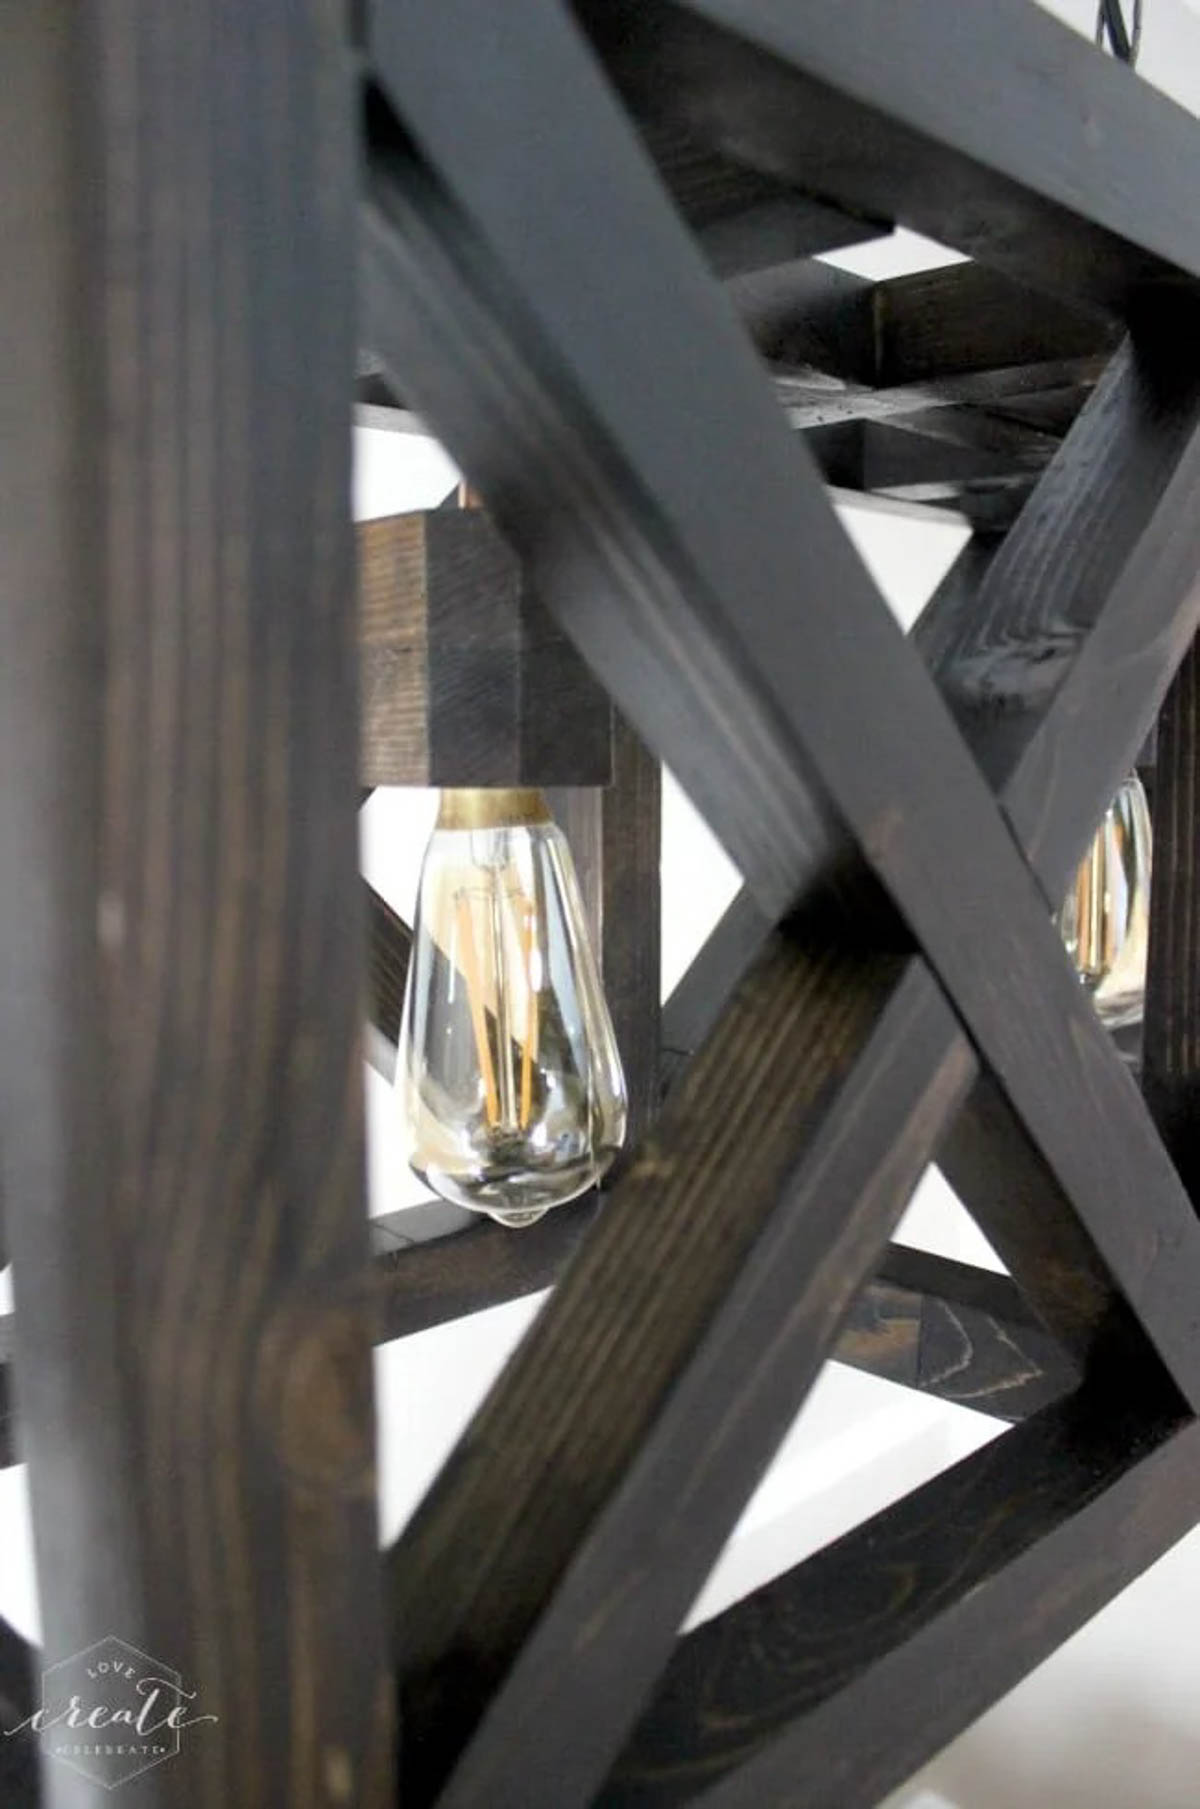
Three light bulbs
25ft. of wire (how low you hang it will determine how much you need)
Screws
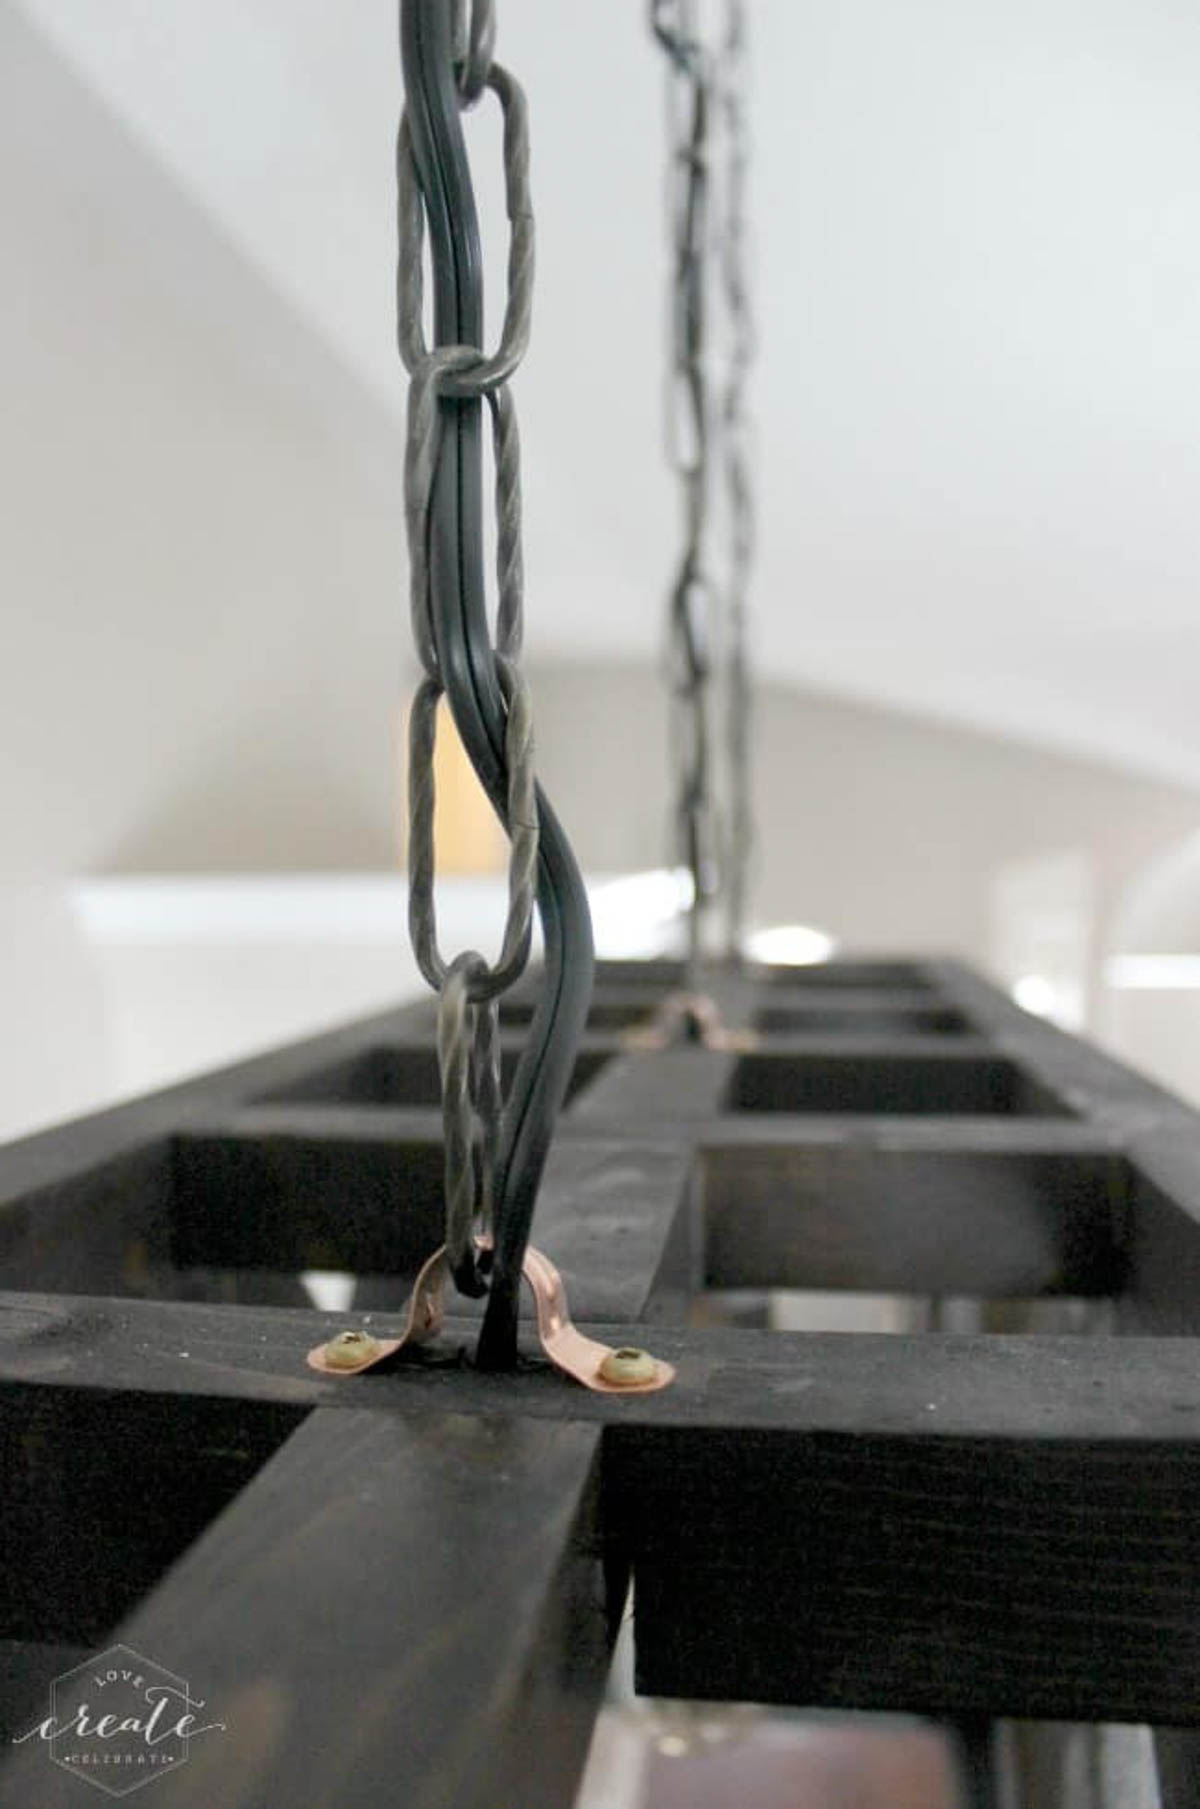
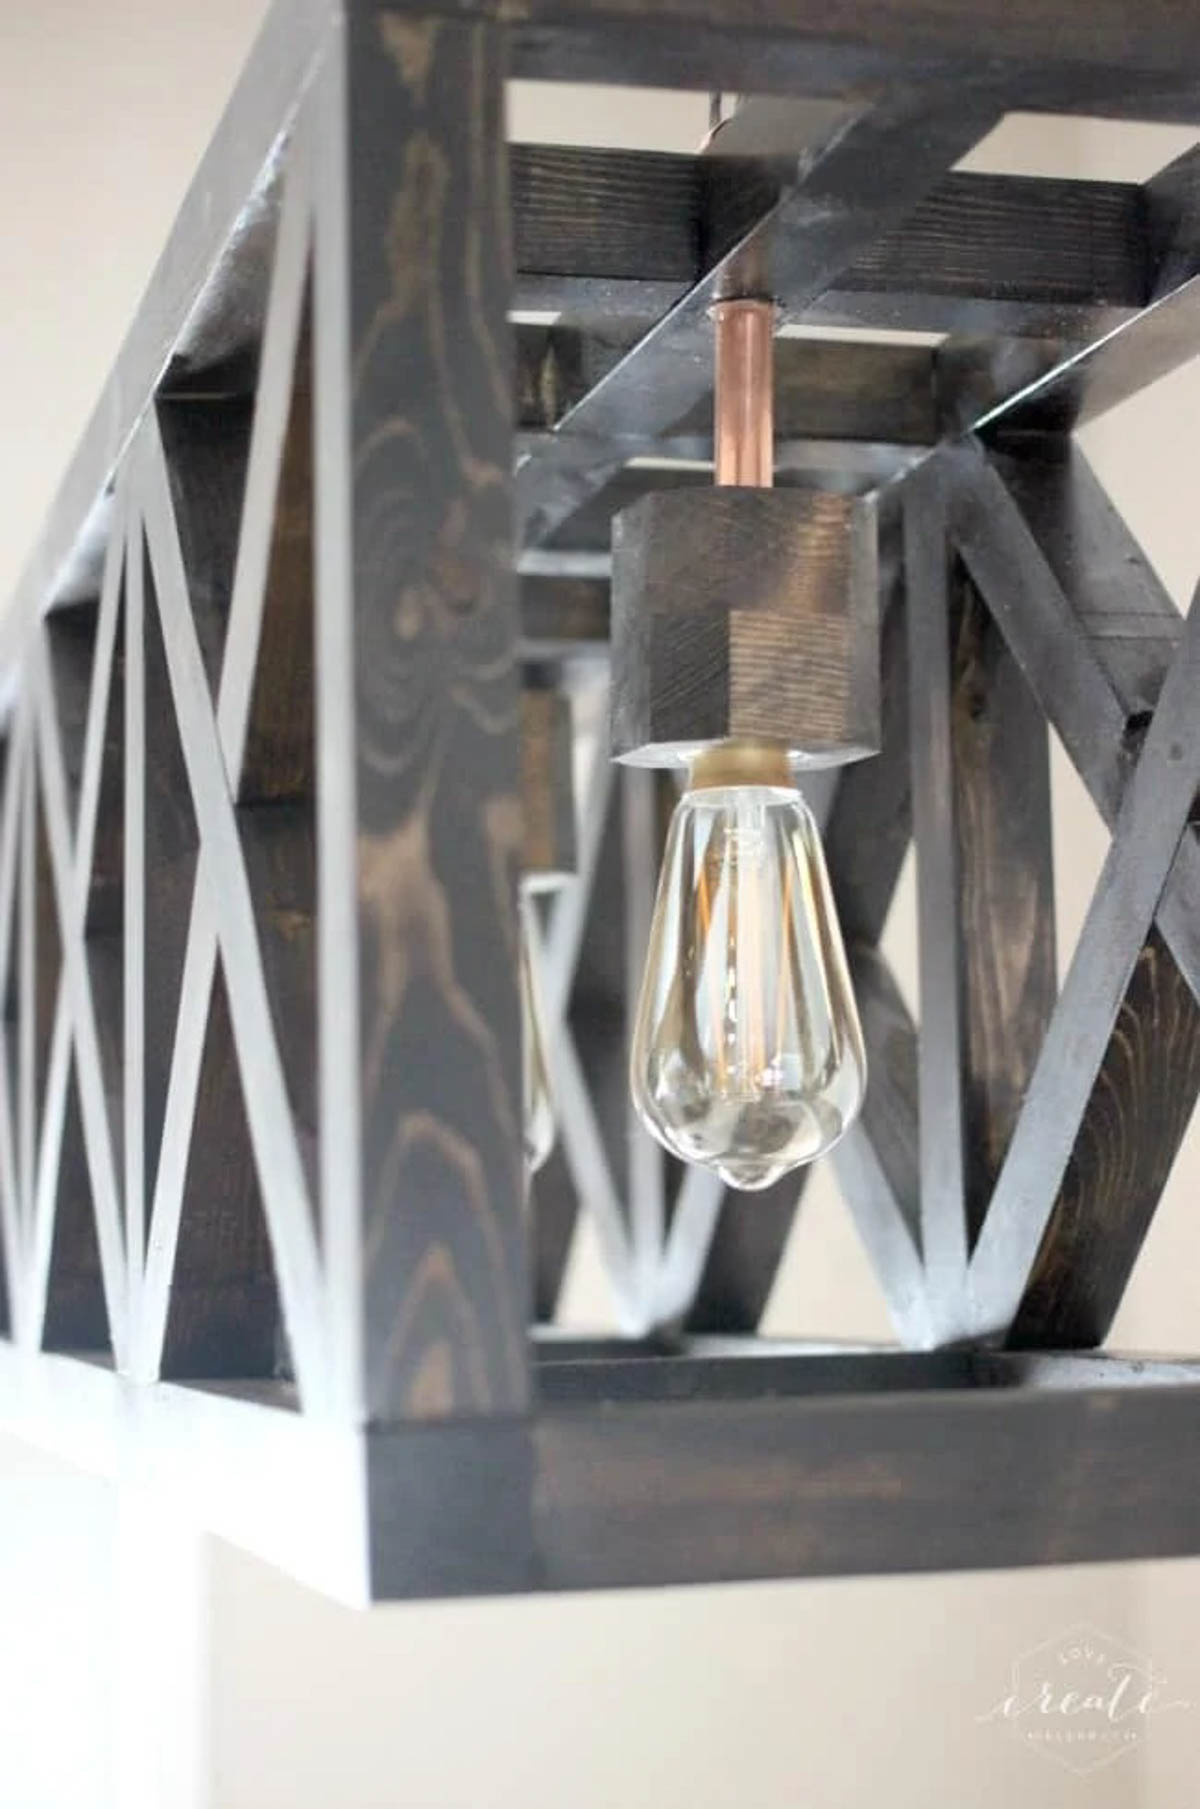
Three 1/2″ copper clamps
Wood glue
Epoxy (to glue copper pipe)
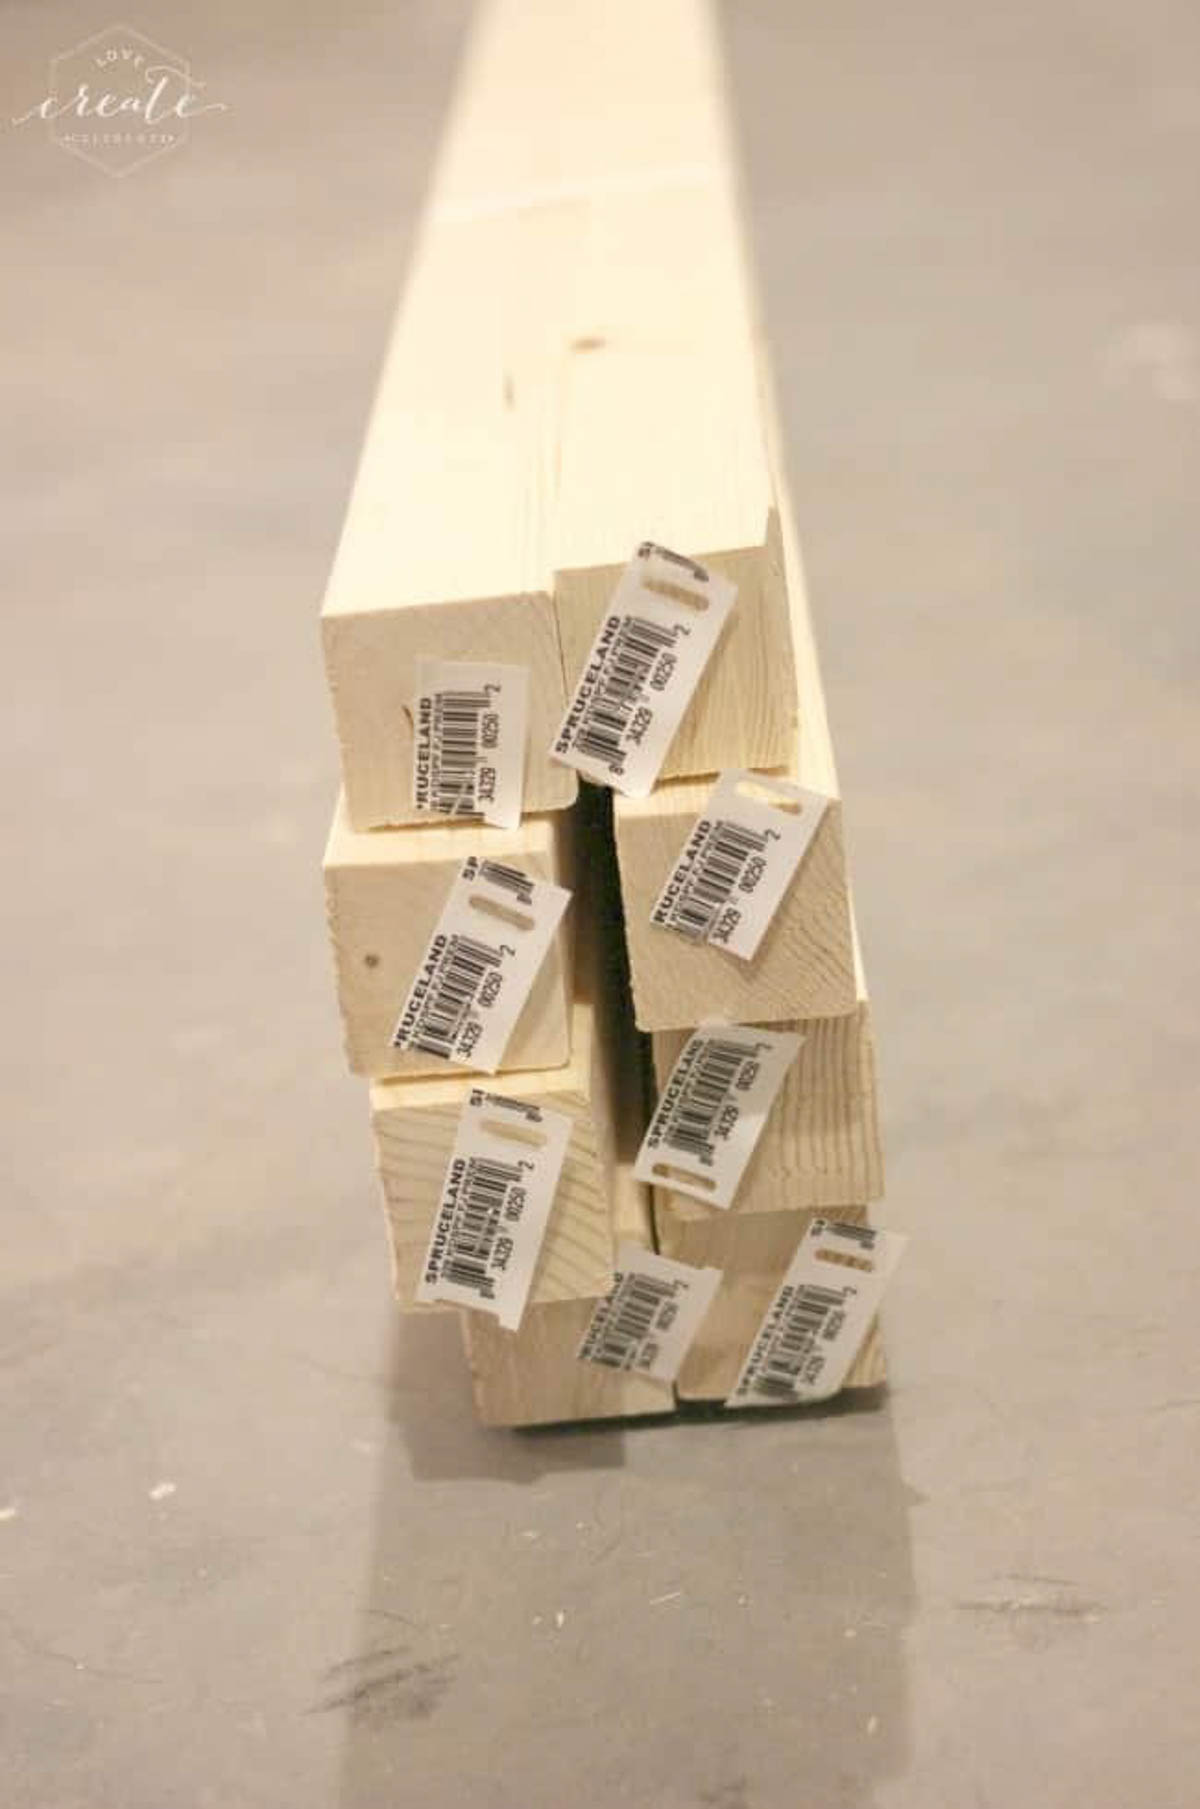
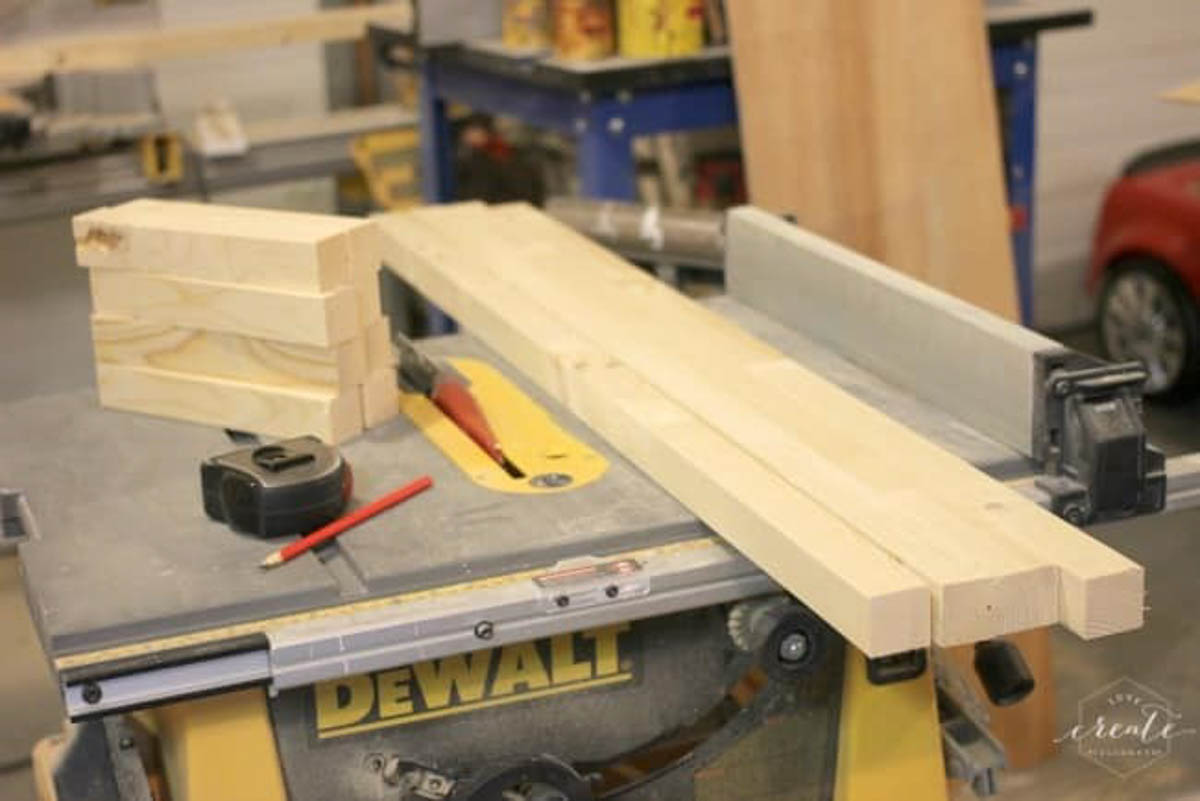
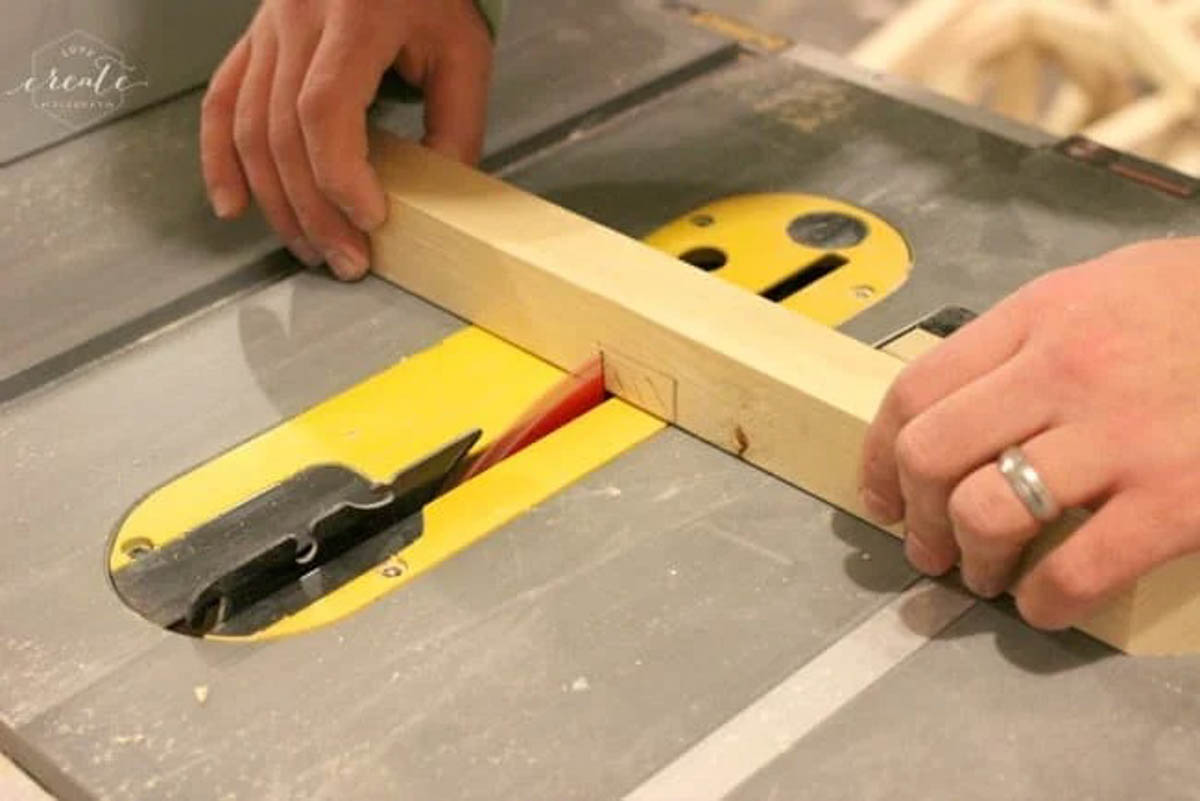
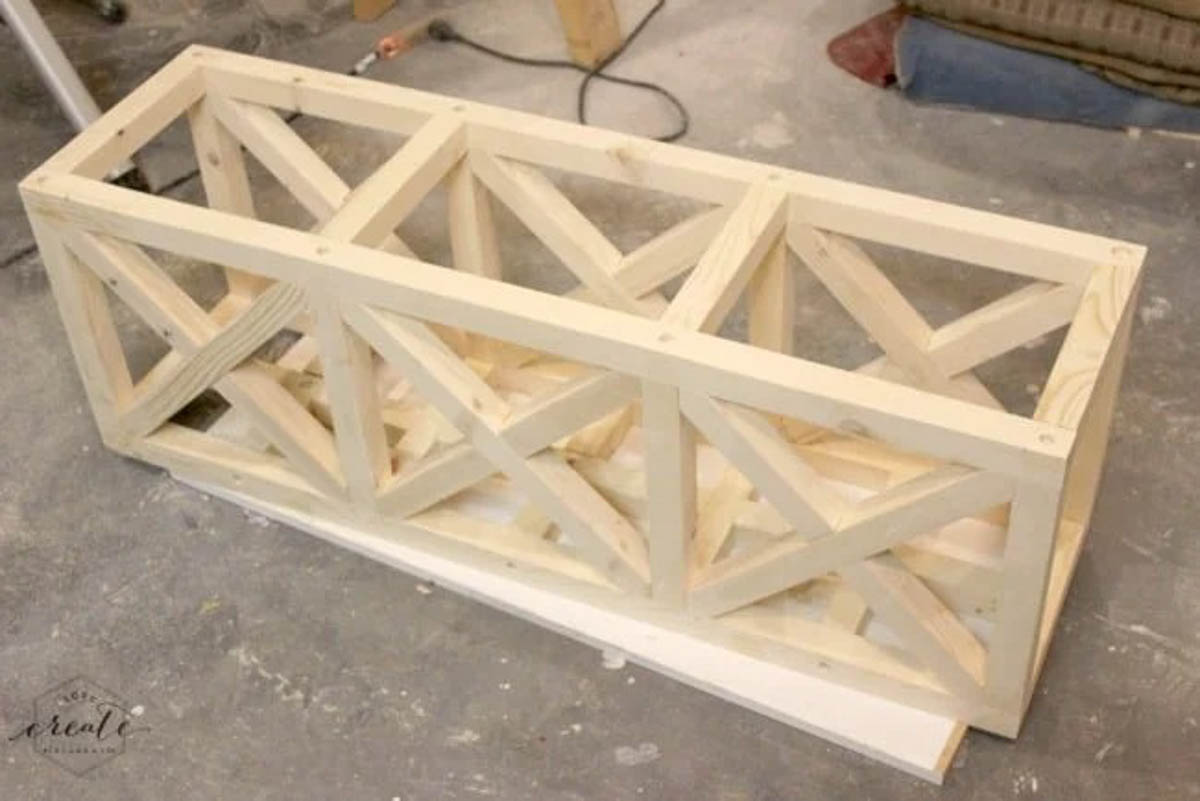
Start by cutting all of your wood according to the “cut list” in the design plans. Sand all pieces prior to assembly.
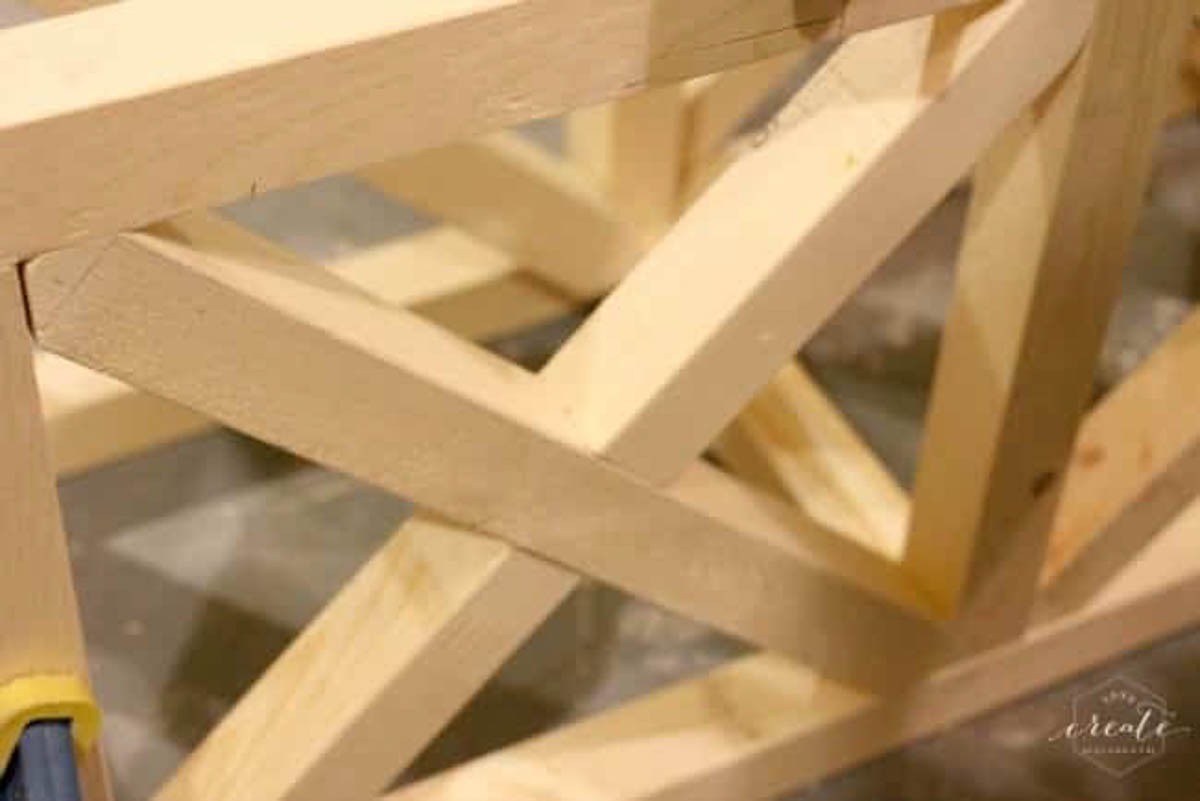
Assemble your side frames (parts C, G, E). Glue and clamp to let dry.

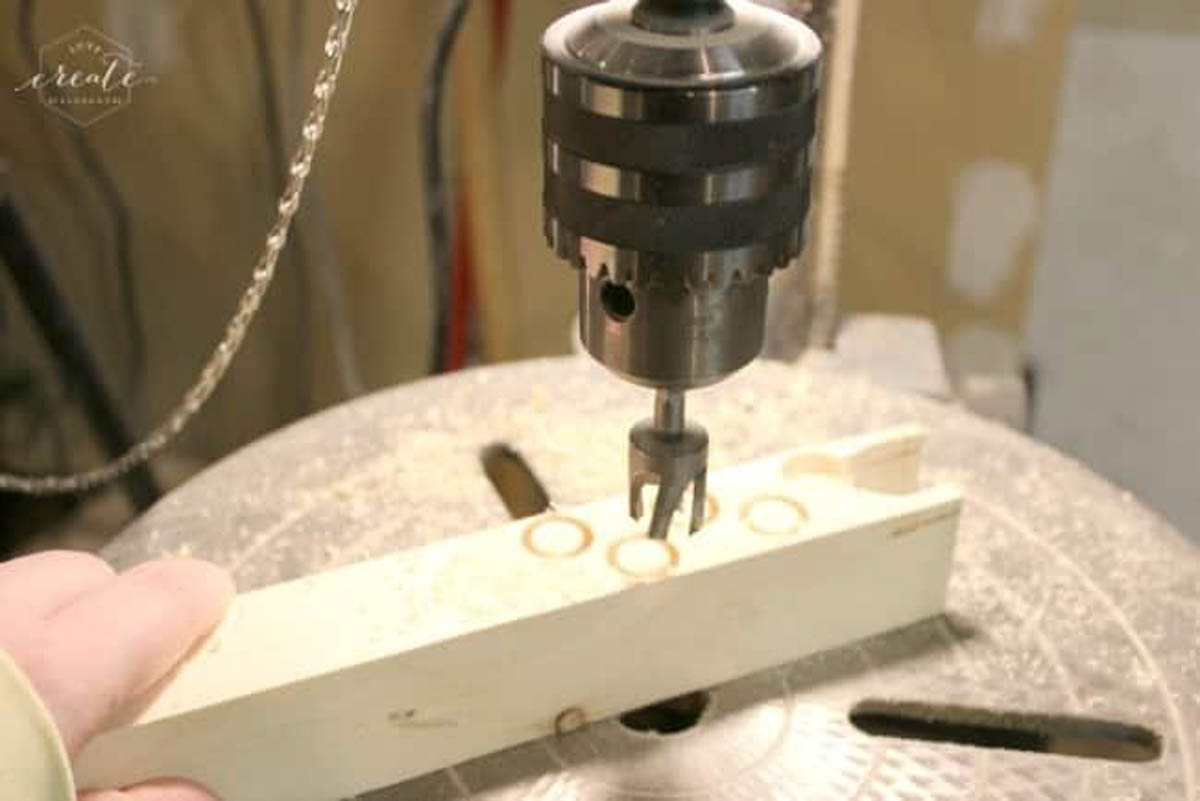
After the side frame was dry, we made a jig to drill all of the holes for our dowels to ensure that they all lined up.
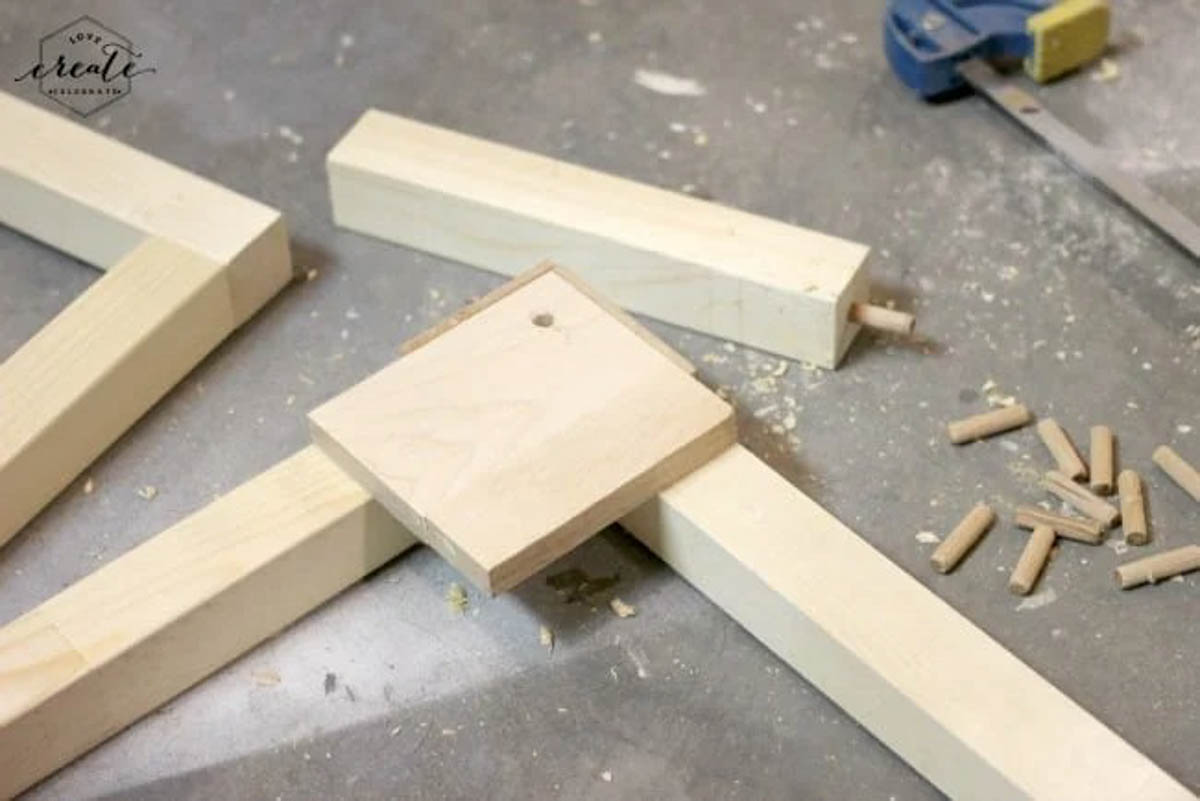

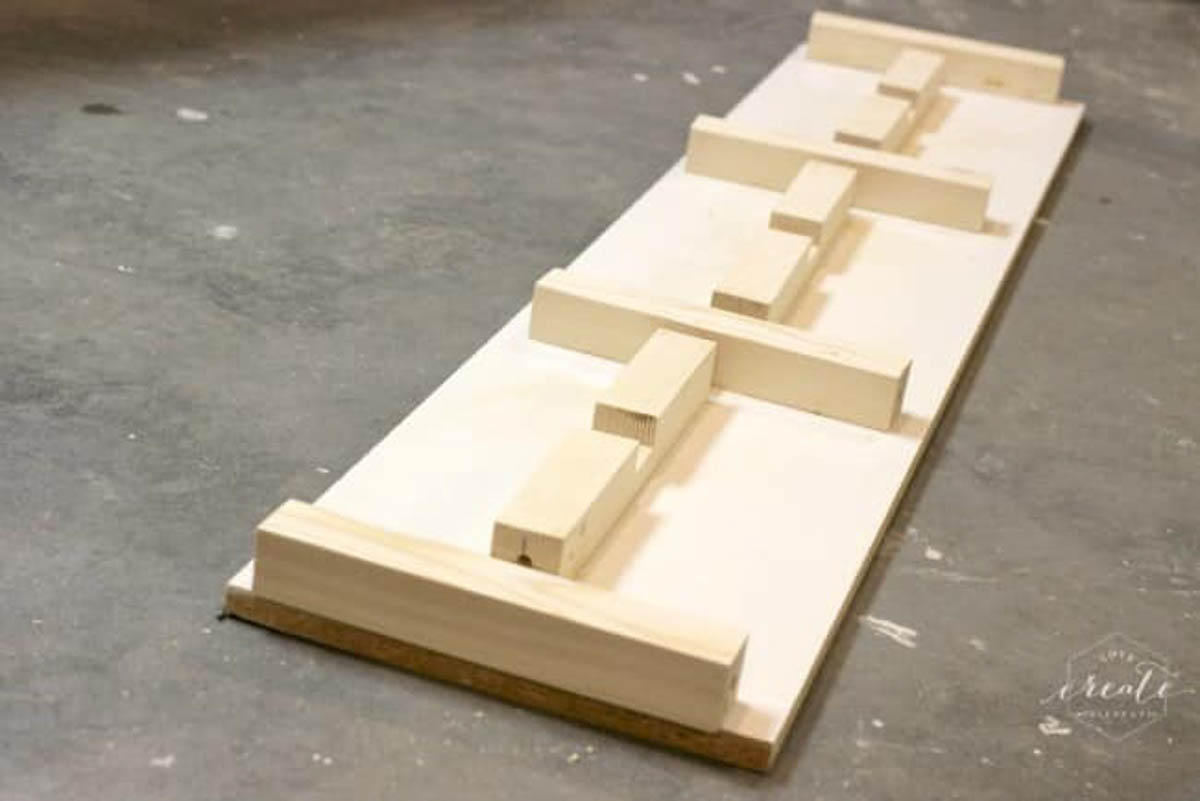
Next, you want to cut out part F and put them in place to mark out the part you want to notch.
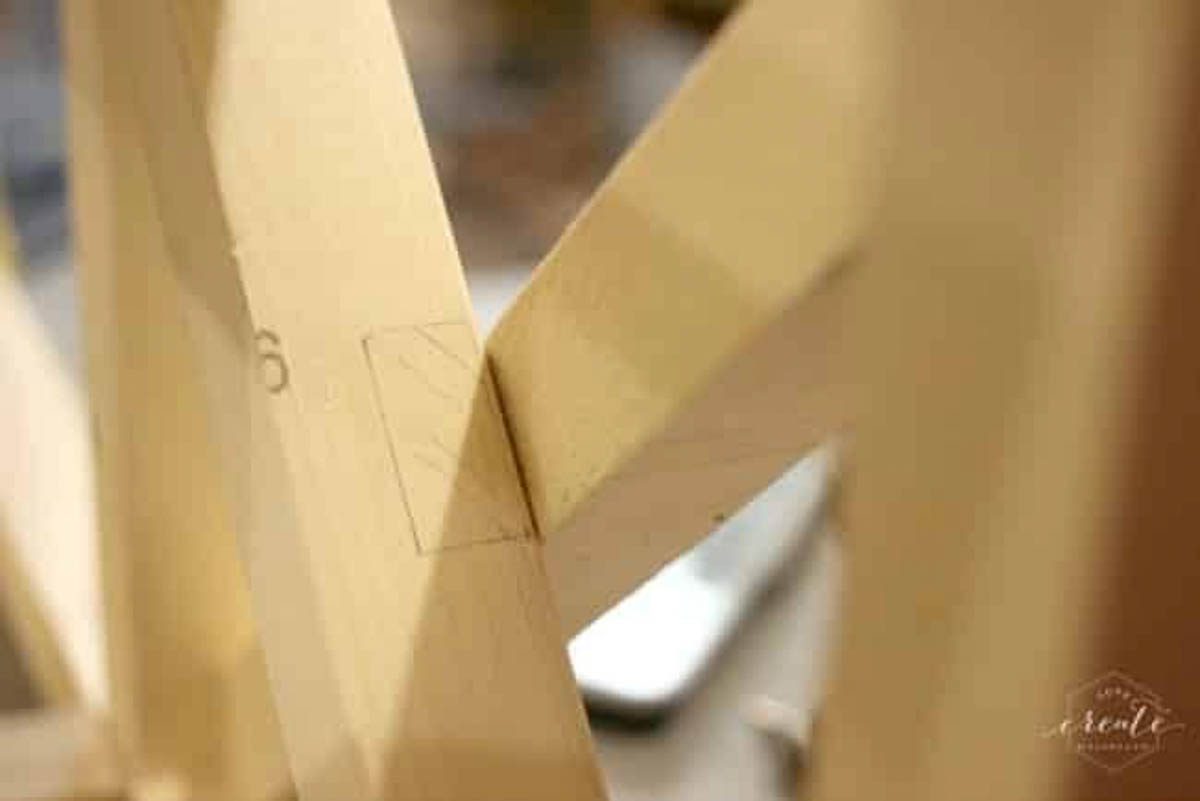
Use your table saw or router to notch out the middles of the F parts. The parts should fit snuggly.
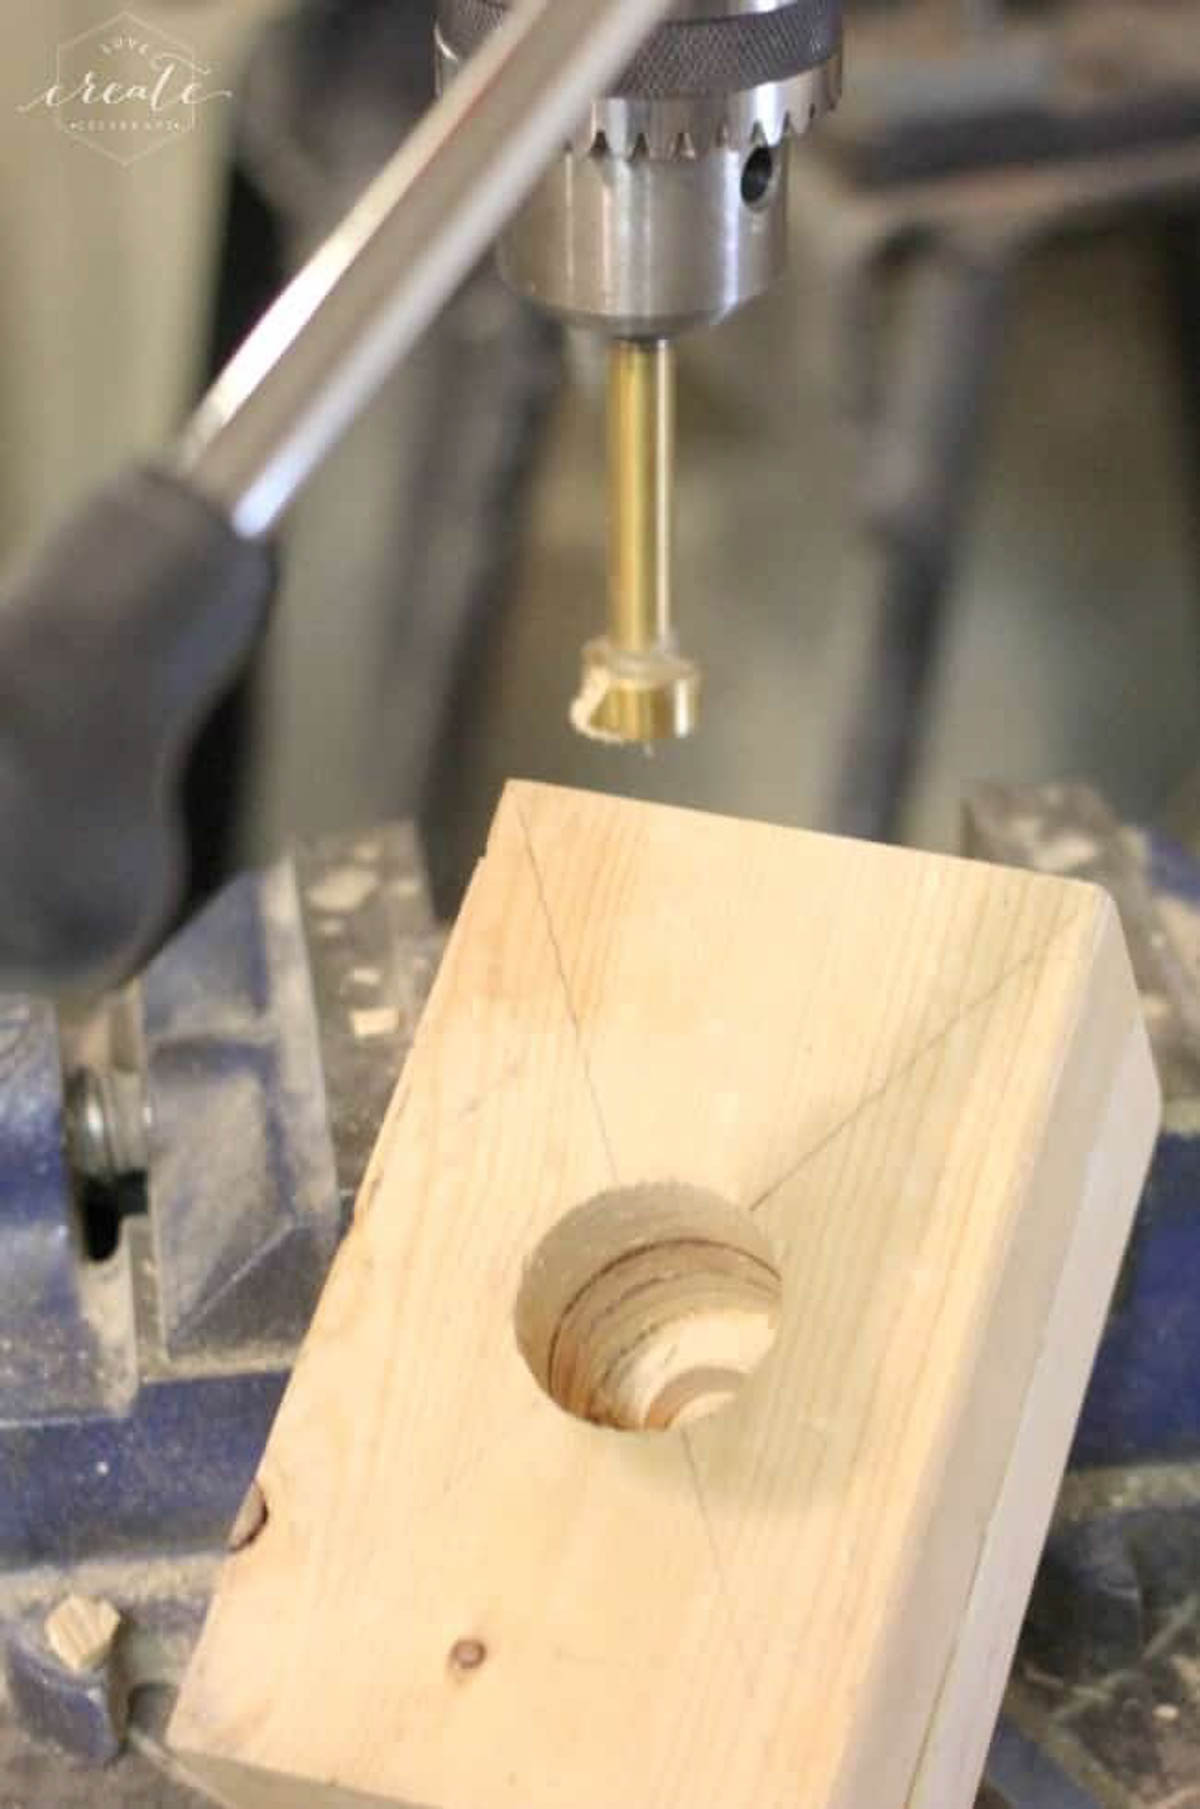
Now, glue two pieces of your 2x4s together to create part I. We started with two larger pieces and cut them down, as per the designs.
Once the glue is dried on part I, use a hole saw to drill a hole into the part. We used a chisel to break out the plug.

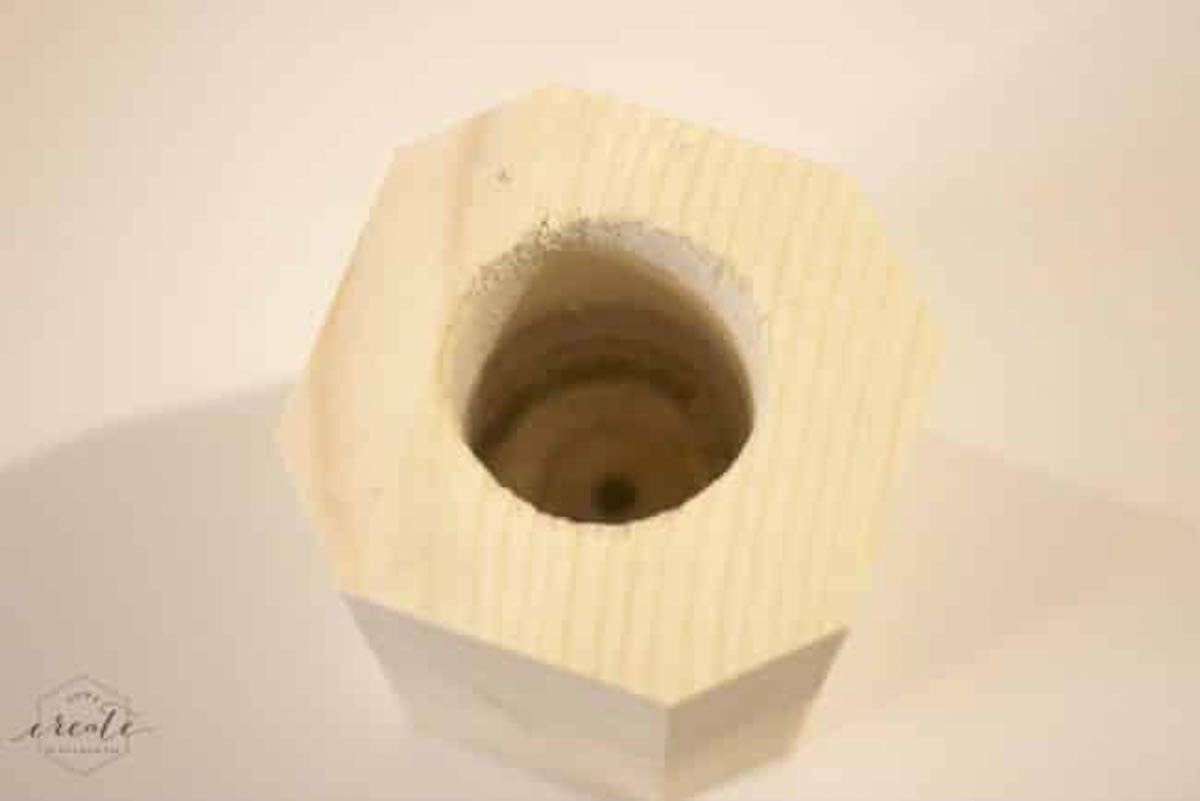
Use a forstner bit to drill out the bottom and allow access for the wiring (see diagram).
Cut edges of part I according to design plans.
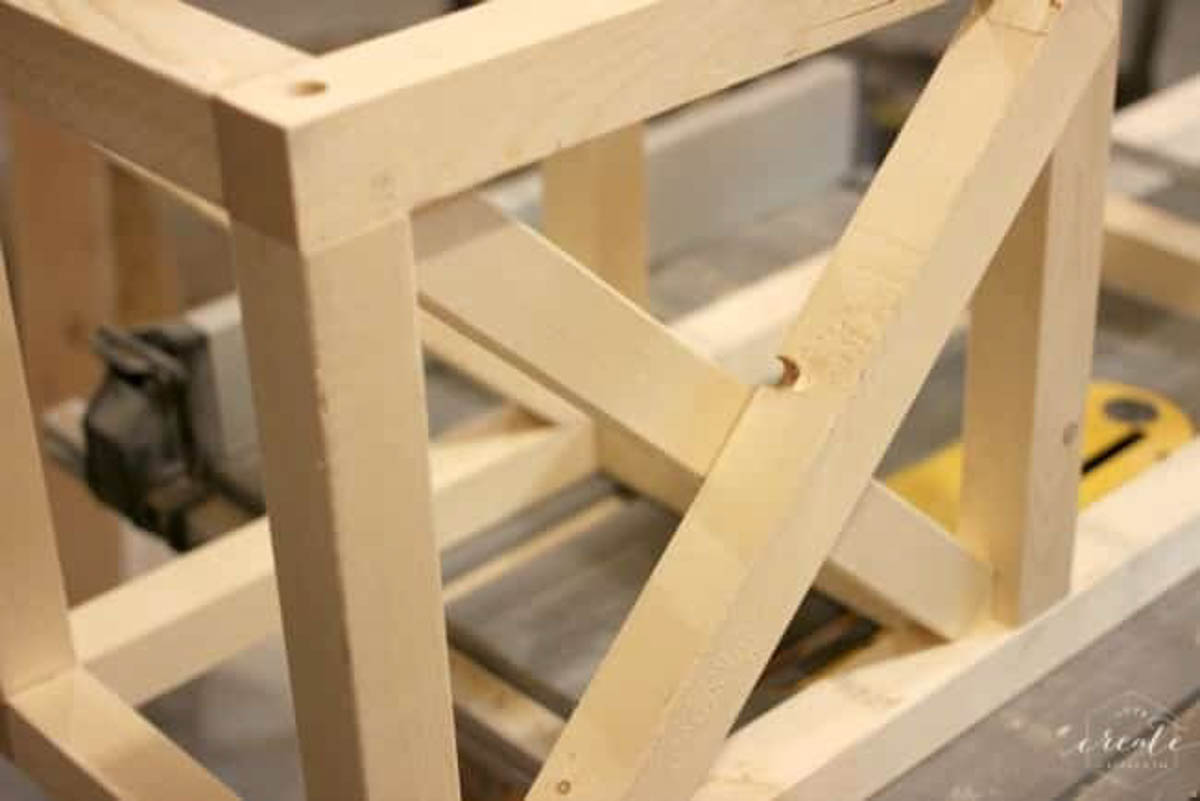
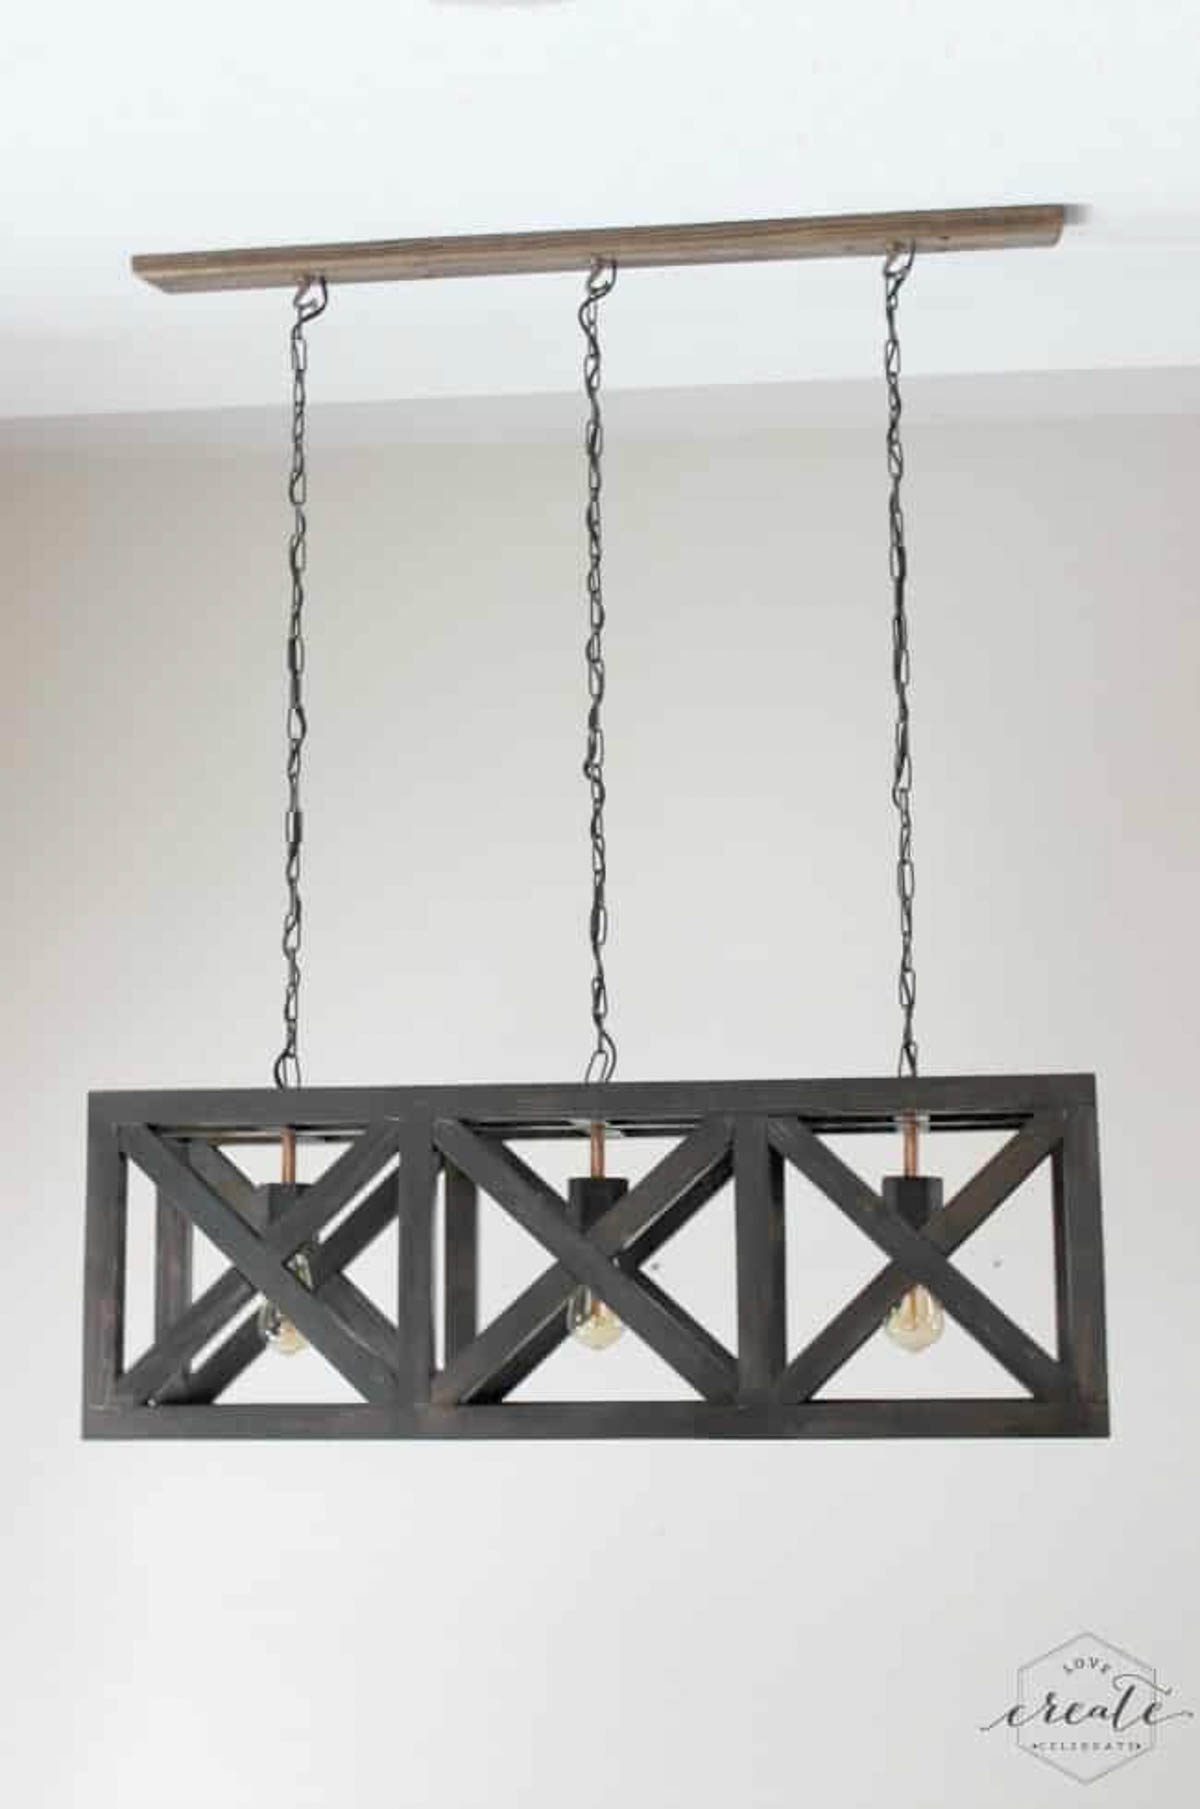
Finally, cut and assemble parts B and D for the top of the light fixture. Also assemble the bottom of the fixture – parts E and D.
Assemble the sides, top and bottom together. Glue and screw everything into place.

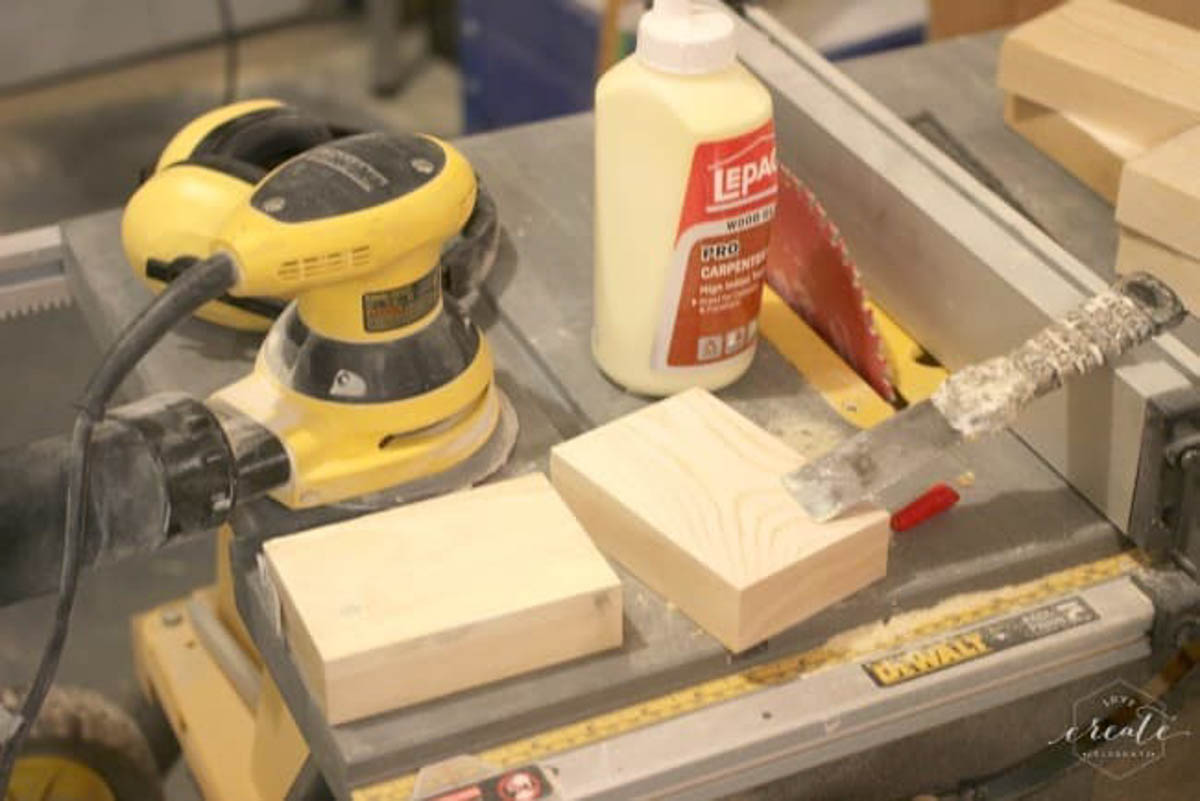
Cut plugs to fill the screw holes. Use wood filler to fill any holes. Once the glue and filler is dry, give the piece a final sand.

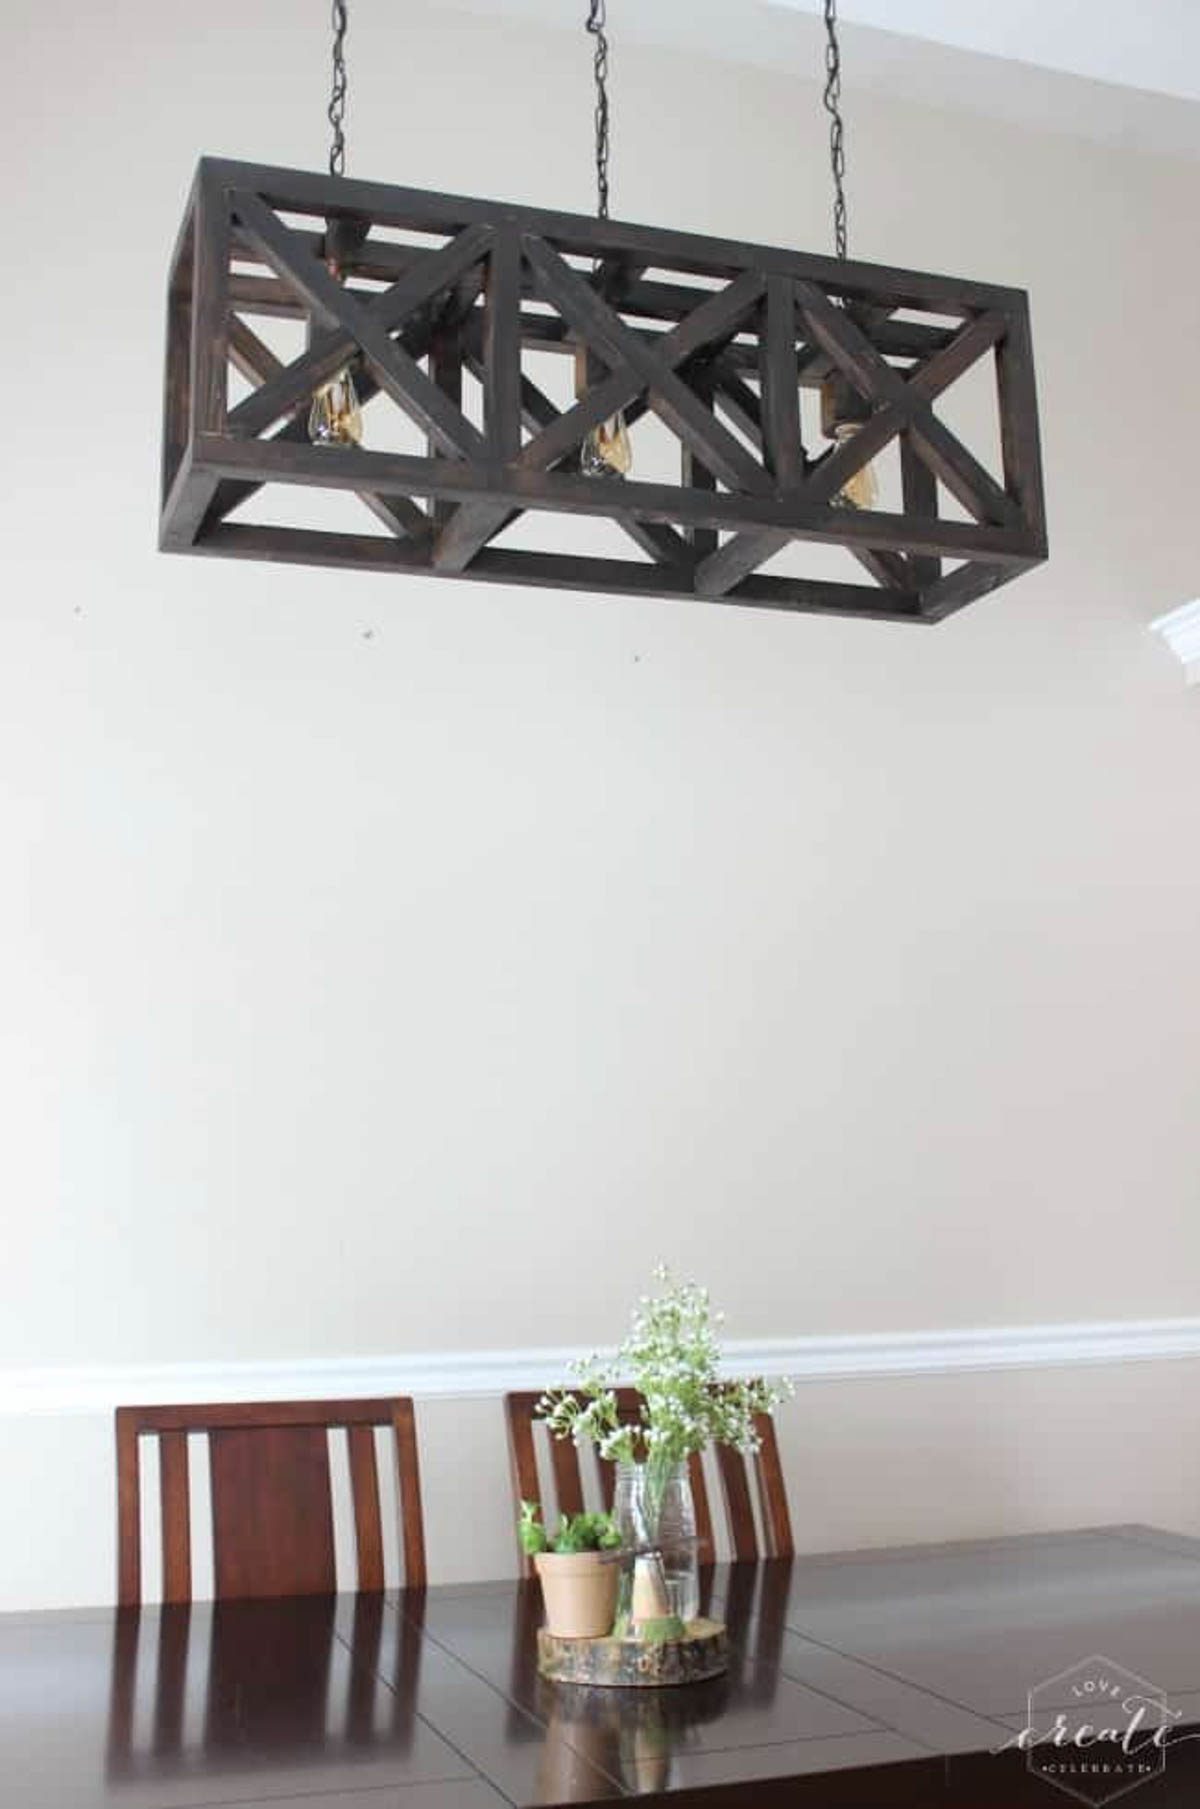
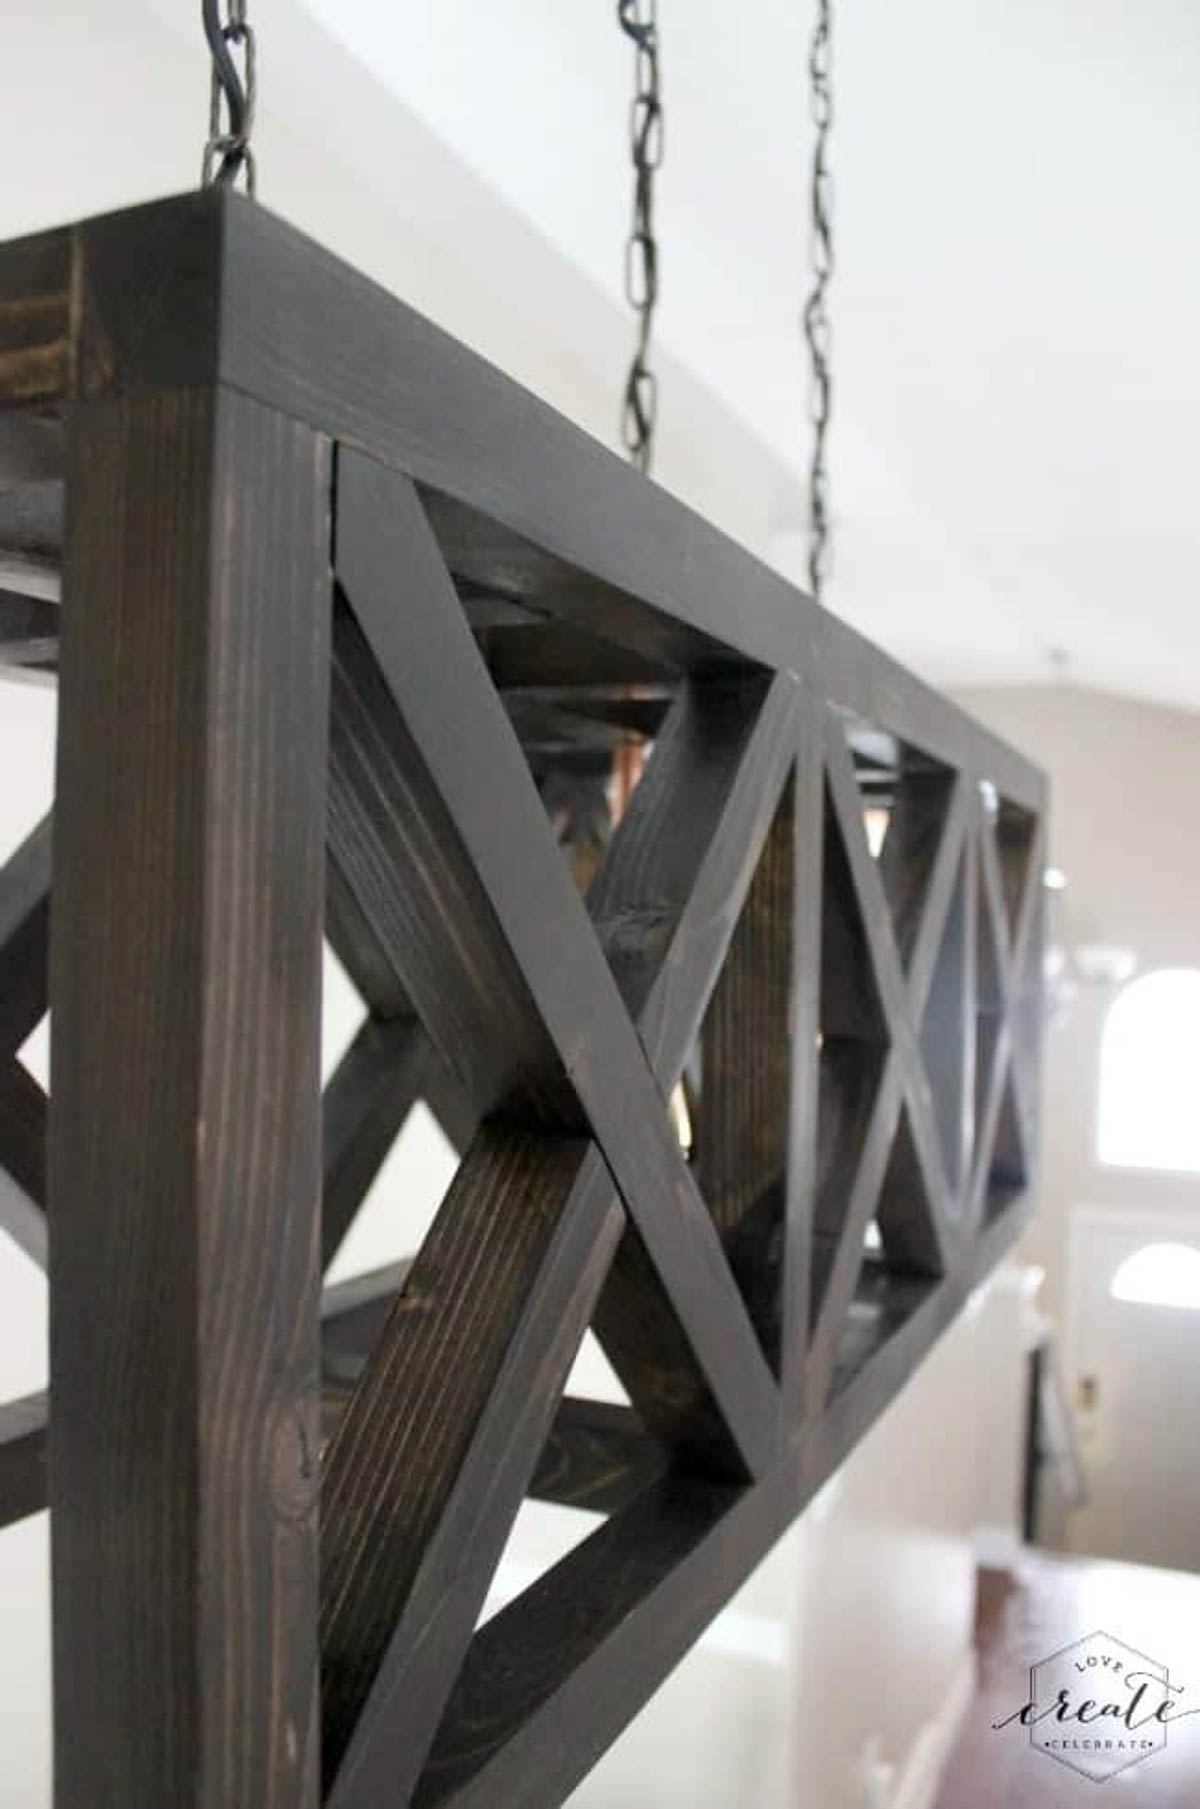
When all the parts are ready. Stain and varnish to desired finish. Glue copper pieces (part J) in place after the stain and varnish are dry.
Wire and hang up your beautiful new fixture! I LOVE how ours looks. Such a HUGE transformation! I love the rustic, vintage vibe it gives off, and I LOVE LOVE the new feel of my kitchen :)


I’m sorry to tell you that this is the final Home Depot Challenge :( It’s been SO fun getting creative with new Home Depot projects and working with my fellow amazing bloggers! I’m SO happy that you enjoyed it!
For now, make sure that you check out the other projects from the final Home Depot Challenge. Click the photo below to find the tutorial!

*This post may contain affiliate links. Thank you for supporting Love Create Celebrate. for more information, please read my disclosure policy!*
Abby
Friday 28th of October 2022
It is one of the best posts for this topic and I really appreciate your great efforts. Thanks for sharing your information.
20 DIY Holzprojekte für Ihre Inneneinrichtung - Homedweb.com | Homedweb
Sunday 1st of December 2019
[…] lovecreatecelebrate.com […]
{link party} The Creative Circle - Week 54 - dev.blueistyle.com
Friday 18th of October 2019
[…] paint your kitchen. I just love how beautifully her kitchen turned out. Lindi’s industrial lighting is so fabulous! This looks stunning in her dining space, but how gorgeous would it look over a […]
Dan
Wednesday 17th of July 2019
any chance of actual plans and wiring instructions? the link just takes me to a cut list and detailed drawings of each individual board, no plans whatsoever.
Lindi
Tuesday 23rd of July 2019
Sorry, those are the only plans available! If you have any specific questions throughout the build, feel free to ask!
15 Easy DIY Reclaimed Wood Projects - Homelovr
Wednesday 14th of November 2018
[…] Industrial Pendant Light with free design plans for this beautiful DIY light […]