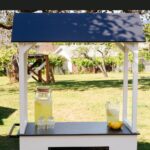
Make a DIY Lemonade Stand, Candy Cart, or Sales Stand with these build plans! A great budget-friendly tutorial for building your own cart at home for your kids or for your business!

We’ve been renovated homes together for over 10 years now, but there are some projects that come up out of the blue, that we need to tackle before we get back to the renovations. One of those projects was our daughters’ request for a DIY Lemonade Stand.
The minute his little girls asked Daddy if he could make them their lemonade stand, I knew it would be the next woodworking project on his list. They told us everything they wanted and we worked together to create a new stand that not only functioned well and incorporated all of their design ideas, but also looked good, because in the words of my daughter, “style is important too”!
*This post may contain affiliate links. When you buy a product throug one of our links, we get a commission at no cost to you! Thank you for supporting our blog so that we can continue to bring you posts like these. This post was sponsored by Wagner. All opinions are our own.*
How to Make a Lemonade Stand
Building the DIY lemonade stand is a a quick and easy project that can be done in a weekend! We made ours almost entirely out of materials we already had at home. We bought the wheels for the cart, and a couple of small brackets for the handles, but made the rest with the wood and paint we had on hand.
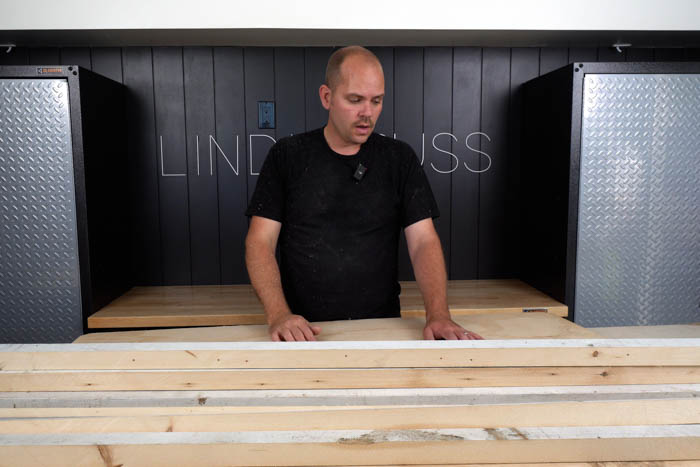
If you have scrap wood, definitely put it to good use for a project like this! You can use anything from spare deck board, to pallet boards, to fence boards (or cedar fence pickets), or even boards from old wood crates, lol. Whatever you can find, as long as the boards are long enough!
The total project cost for our cart was less than $100, but even if you don’t have the materials on hand, you can make the whole piece for only a few hundred dollars. It’s a great way to encourage your young entrepreneurs!
DIY Lemonade Stand Build Plans
- Download woodworking plans for this modern lemonade stand:
Tools Needed
- Tape Measure
- Mitre Saw or circular saw
- Table Saw
- Drill
- Impact
- Nail Gun
- Clamps
Materials Needed
- Wood glue
- 2×4 Pine boards
- 1/4″ and 1/2″ Plywood boards
- Inch round dowel
- Two “L” brackets
- Two wheels
Step-by-Step Guide to Building a Lemonade Stand
Building the Stand
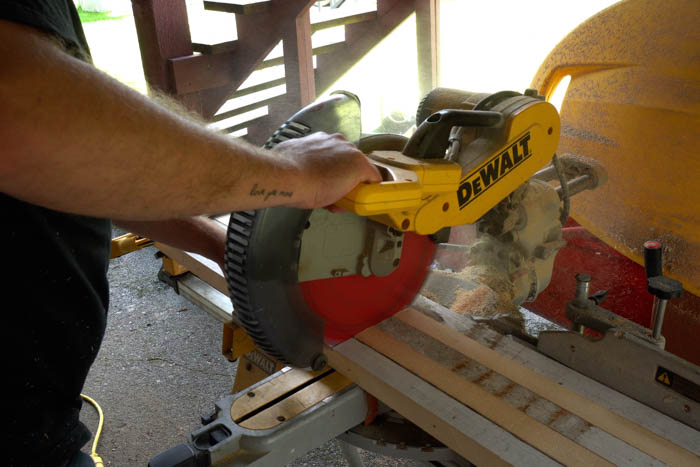
The first step for this lemonade stand project is to download our latest plans for the DIY cart. Once you have the plans and materials, it’s time to measure and cut your boards and plywood to size, according to the plan directions.
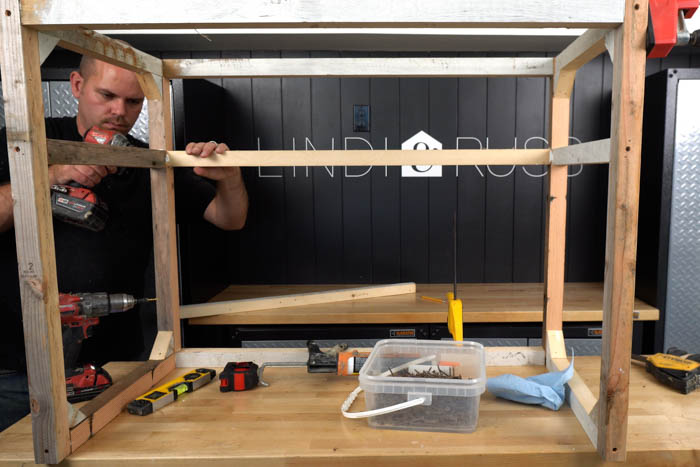
Once all of your materials are cut, build the frame of the DIY stand. Make sure to drill pilot holes before putting the screws in place as you build. A pilot hole allows the screw threads to cut directly into the hole, which reduces the risk of splitting wood near an end or edge. When you need precise screw locations, it’s much easier to achieve that accuracy with a drill bit first, than with the tip of a screw.
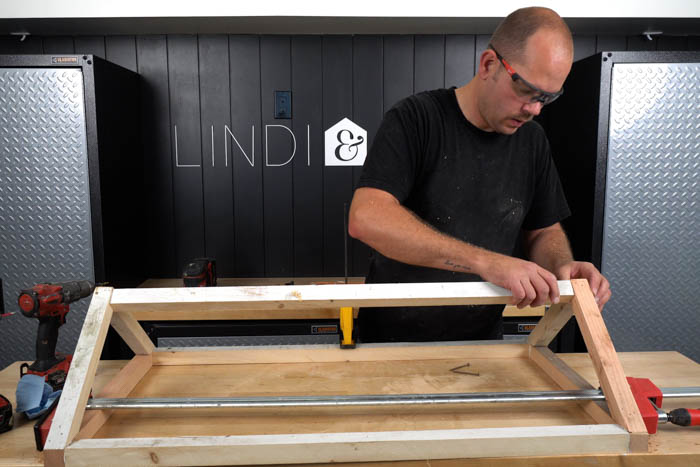
Next, build the frame for the roof structure. The roof on this stand was made so that it could easily be detached and removed. We designed it this way so that it would be easier to store the pieces, and potentially easier to transport if you need to move it. Again, make sure to use pilot holes as you build, following the build plans.
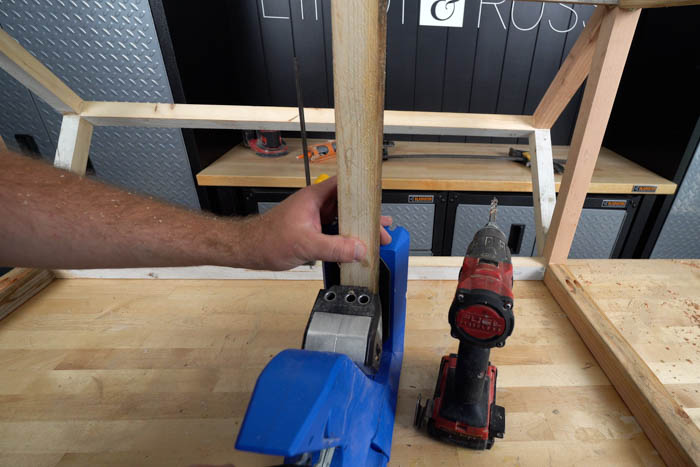
Another quick tip is to use pocket holes for the frames of your structure. Pocket hole jigs allow you to drill the hole at an accurate angle and get a good, solid joint. Using a pocket hole jig also makes it easier to conceal the screws when the piece is built, making for a cleaner appearance, as opposed to being able to see all of the screws on the structure.
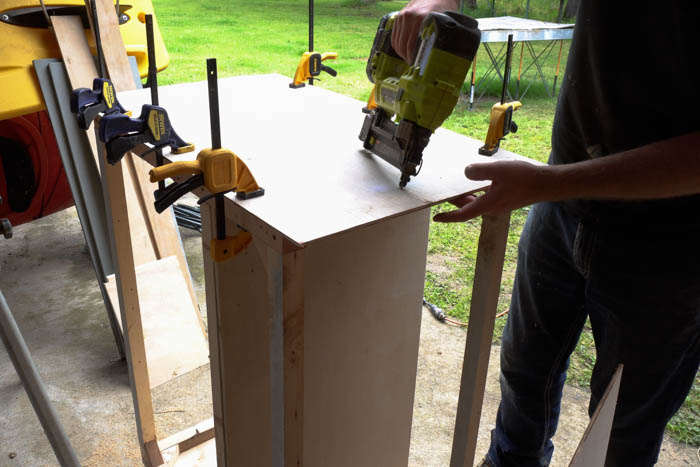
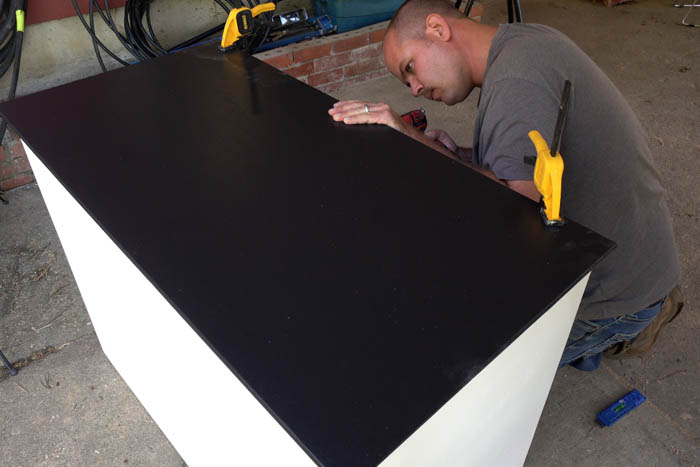
Finally, we added front panel, side panels, and a countertop too. There are two plywood panels to form the roof shape, and three plywood panels for the cart, and one thicker plywood board for the countertop.
Finishing the Stand
Once the stand is built, it’s time to prep and paint everything. First, if you haven’t been doing it while you were building, it’s time to sand down all of your surfaces. You can start with a lower grit, like 60 or 80, and them move to a higher grit, like 120-grit sandpaper. You don’t need a perfect finish here, it will be sitting at the side of the road after all!
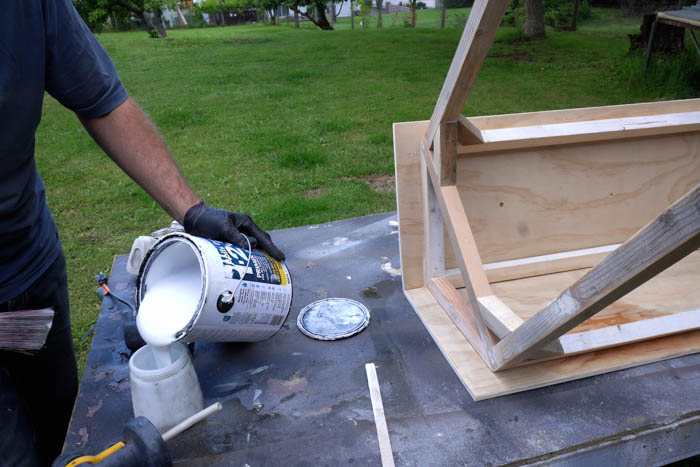
Next, decide if you want to paint or stain your stand. If you want to stain the piece, you’ll want to do a couple of test swatches on the natural wood to make sure that you like the colour of the stain on the plywood and pine side-by-side, unless you are planning to paint one or the other.
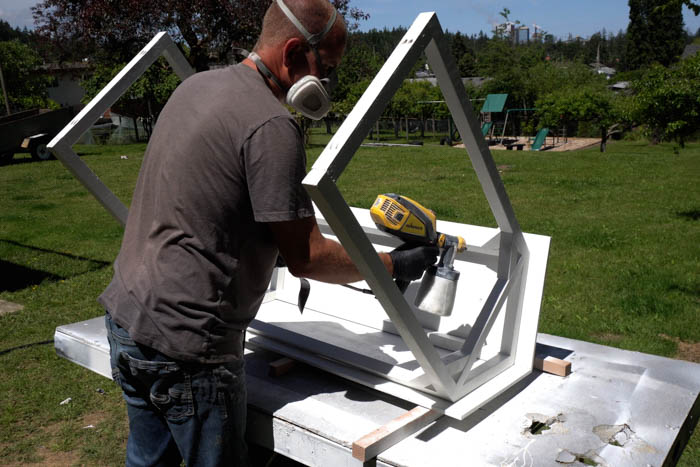
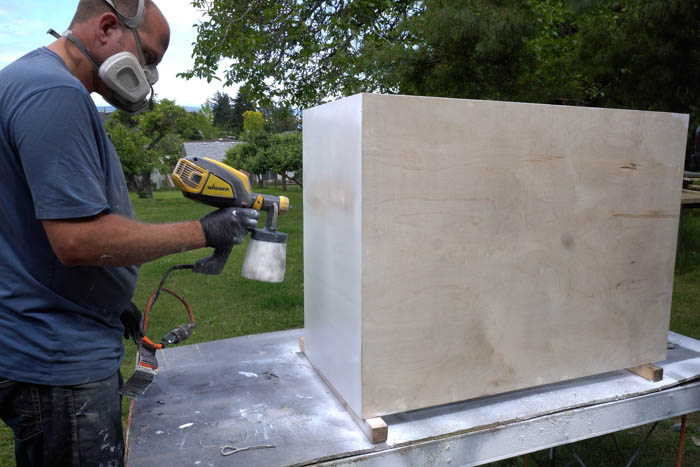
Whether you are painting or staining, the quickest and easiest way to finish the piece is to spray it with a paint sprayer! We love the Wagner Flexio 3500 sprayer. It’s fairly affordable, and we’ve used it for so many projects in and around our home. Best part is that it can spray primer, paint, stain, and protective finish, so you can literally use it for any project!
We chose to prime and paint our piece. We started by priming everything, and when the primer was dry, we painted all of the surfaces with an exterior paint. I’m not sure of the colours of paint we used, because all of it was leftover paint, lol. But we went with the classic, modern black and white combo, assuming that the yellow of the lemonade, or the bright colors of the crafts would pop out against the shades of the stand.
Adding Wheels and Handles
Once everything is painted or stained, you can move onto adding your decorative details. We added little cart wheels and a handle, because they’re cute, but also functional.
We measured out where the wheels should go, and then made a couple of little feet for the other side of the cart so that everything would sit nice and level. Another option would be to add caster wheels or swivel casters, but I loved the vintage look of having wheels on the sides of the cart, so we went with that aesthetic.

For our handle, we used an old dowel we had sitting around plus a couple of “L” brackets from the hardware store, but you can use anything from hardware store, including steel pipe or pvc pipe, depending on your design and style.
Make the Sign for Your Lemonade Stand
Adding a sign to your lemonade stand can be as easy or difficult as you want! The easiest option is painting directly on the front of the lemonade stand. Your kids can even help with this if they want!
Another easy option is to make or buy a quick chalkboard sign. You can buy chalkboard signs for just a few dollars at a craft store, and change up the words every time you bring the stand out.
Another option is making a wooden sign that sits on the front of the stand, you can again draw your own words, or you something like a Cricut cutting machine to make a stencil for your sign. Just add the vinyl stencil to your piece, and paint within the stencil.
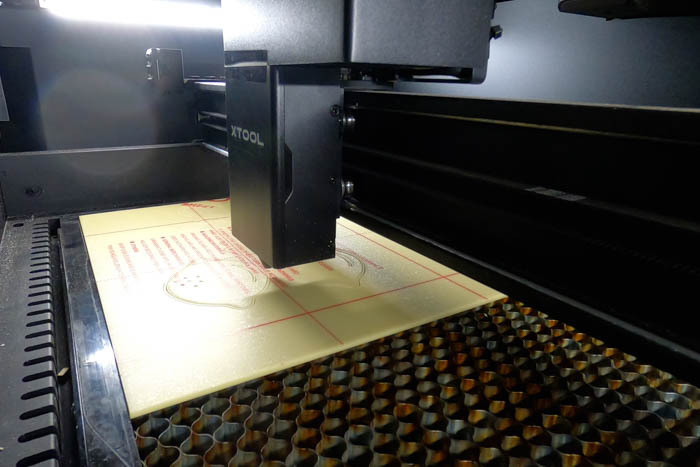
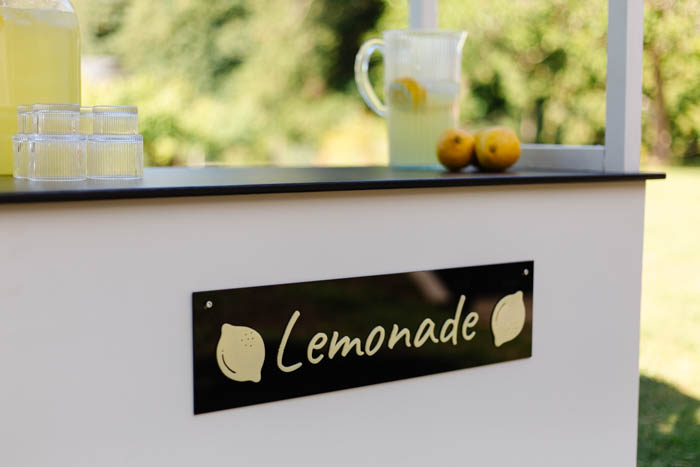
We have an amazing laser cutter that we use every time we have an excuse, and we pulled it out to make a couple of quick acrylic signs for our kids, including the lemonade sign with little lemon icons.
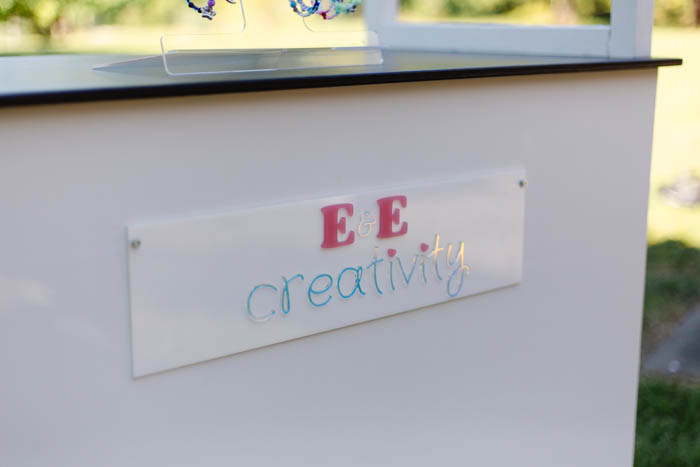
Since our kids are little entrepreneurs, they wanted to make a sign and sell some other fun pieces at the side of the road, like bracelets and keychains. They came up with a “name” for their company, and I helped them design a little logo, and then we cut that sign out as well!
Our Finished Lemonade Stand
We are do happy with how this little stand turned out. Don’t forget to grab the DIY lemonade stand premium plans if you haven’t already! It’s just a quick digital download and then you can start building! The design is functional, modern, and sure to attract a ton of neighbourhood guests on a hot summer day! The only thing it’s missing is a built-in cooler, lol. For now, they will have to make due with a nice cooler by their feet!
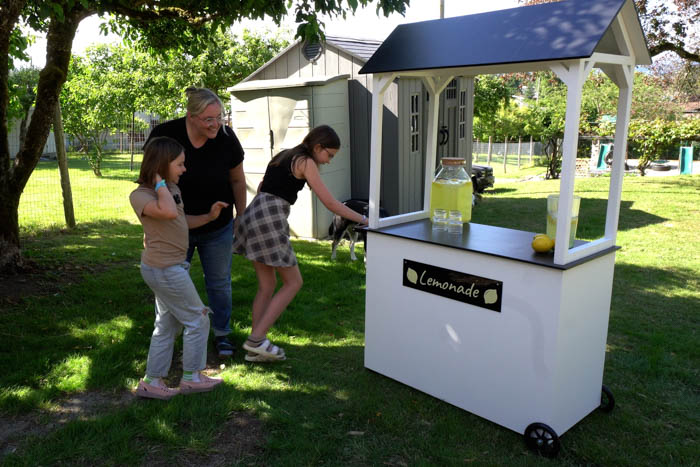
The kids were beyond excited to see their new cart – they were serving their own lemonade in minutes. You can watch the video below to see their reactions!
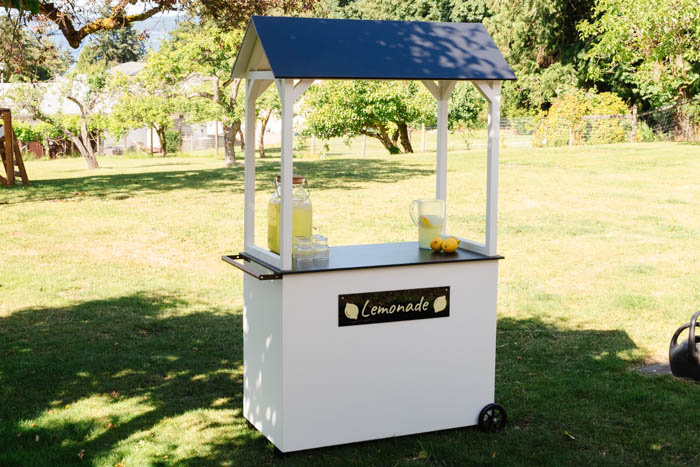
They are already talking about whether they want to sell lemonade or crafts first, but we love that they can change out the sign whenever they want. They even had the idea to give out free lemonade to draw people into their craft business, lol. Love that entrepreneurial spirit! Luckily it was designed for easy transport to the front yard whenever they’re ready to sell!

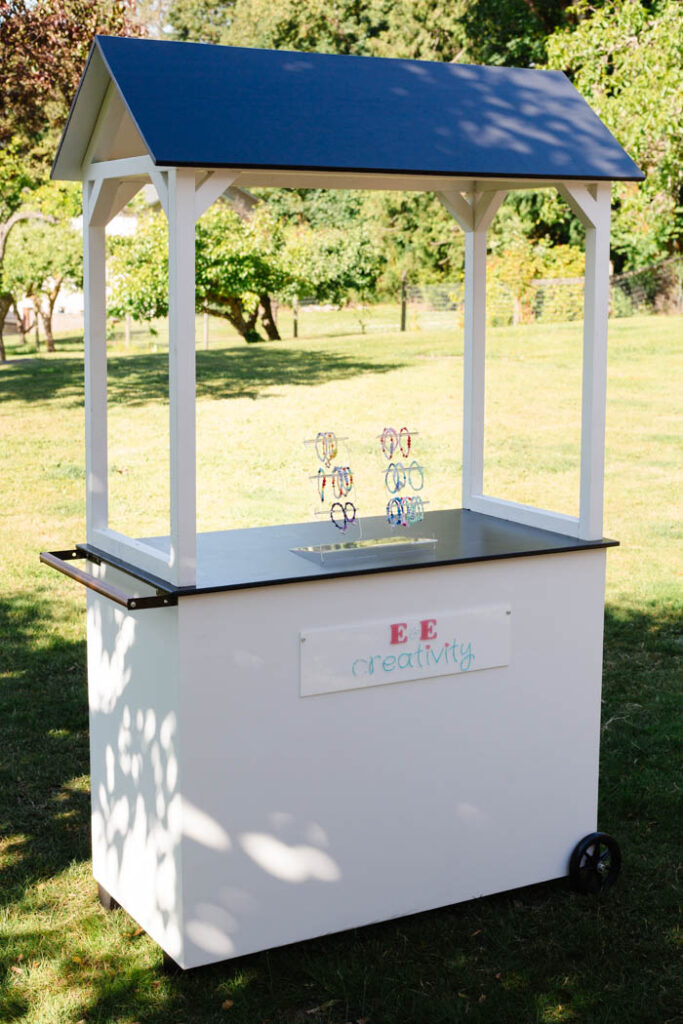
We also made these cute bracelet stands with slotted construction so that they are easy to assemble. They sit on the table top as fun displays for the bracelets the girls have been working away on.

This piece would also make an adorable candy stand for a party or sales stand at the farmers market. It’s a great, versatile piece that can be modified as needed for adults too!


DIY Lemonade Stand Video
We shared the entire lemonade stand build from the design process, including input from our kids, to the build, and the fun reveal reactions of our girls! Check out the whole DIY lemonade stand build below!
Don’t forget to subscribe to our YouTube channel!
If you’re looking for another fun project for your kids, check out this DIY Art Easel!
