
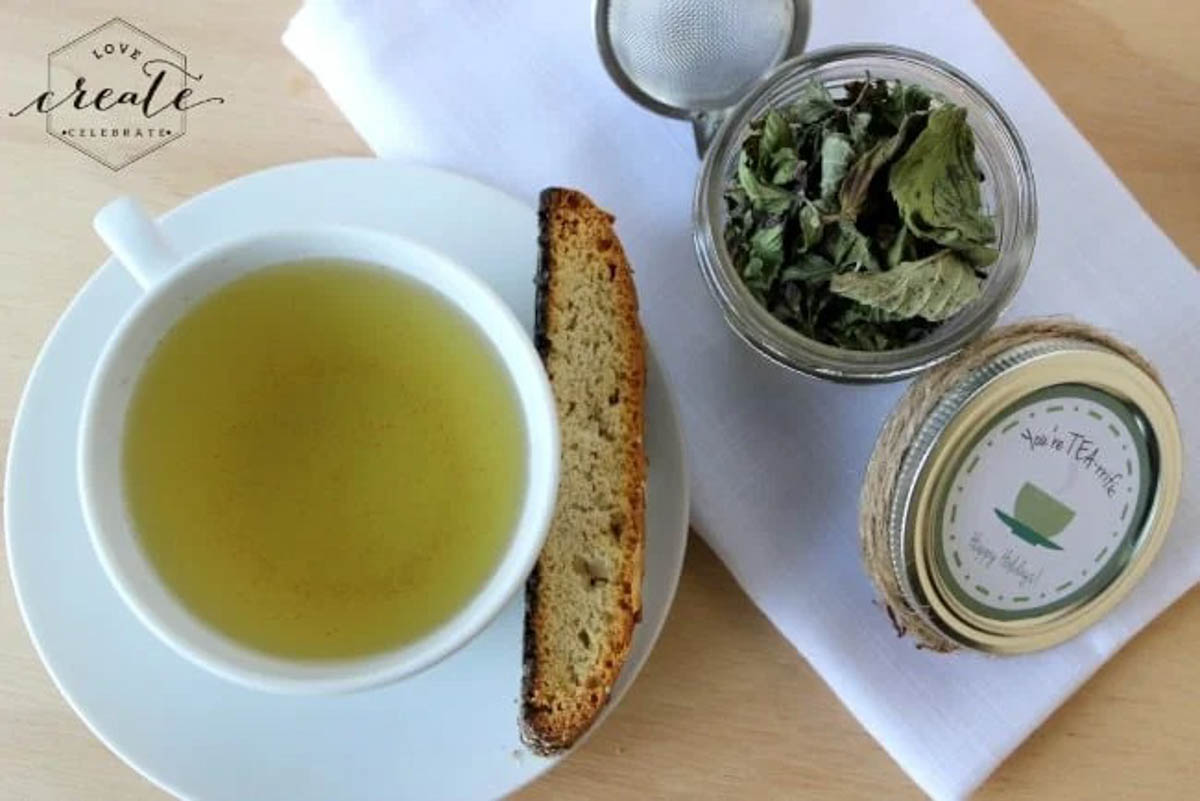
Learn how to make your own fresh peppermint tea right from your garden. This tea recipe makes a great gift for friends and family!
I think we can agree that on a cold winter day there is no better way to spend it than curled up with a warm cup of tea, a good book and a blanket. Now I know you must also be thinking about all the holiday shopping you still have to get done. That is why this fresh peppermint tea is the perfect solution. This tea is made with a few simple ingredients and packaged up in a mason jar to create a quick and easy homemade gift.
*This post may contain affiliate links. When you buy a product through one of our links, we get a commission at no cost to you! Thank you for supporting our blog so that we can continue to bring you posts like these. For more information, please see our disclosure policy.*
To make this homemade tea you have to start with fresh peppermint leaves. If you’re like me and don’t have any peppermint in your garden you can use some from a friend or family member’s garden. The other option would be to pick some up from the local market or grocery store.
Then next year you might want to start growing your own peppermint once you realize how delicious this tea is. Be sure to check out this post on how to create a DIY Herb Garden so you can plant your own peppermint!
For this post, I’ve also teamed up with 11 other bloggers to bring you additional Homemade Holiday Gift Ideas! We want to make sure you are all set for the holidays and that you find the perfect gift for each of your friends and family members.
How to Dry Peppermint Leaves to Make Fresh Peppermint Tea
In order to make this recipe, the peppermint leaves will need to be dried out. This process can be done in a couple of different ways, it just depends on how much time you have.
Hang Dry
If you are someone that tends to be ahead of the holiday rush and you have a bit of extra time you could let the peppermint hang dry. To do this you simply gather the mint into loose bundles and tie the stems with an elastic band. You then hang them upside down in a warm and dry place.
I would suggest using a brown paper bag to cover the leaves which will protect them from dust and the sunlight bleaching the colour out. It is also important to make sure that the bags have slights to allow some airflow and prevent molding.
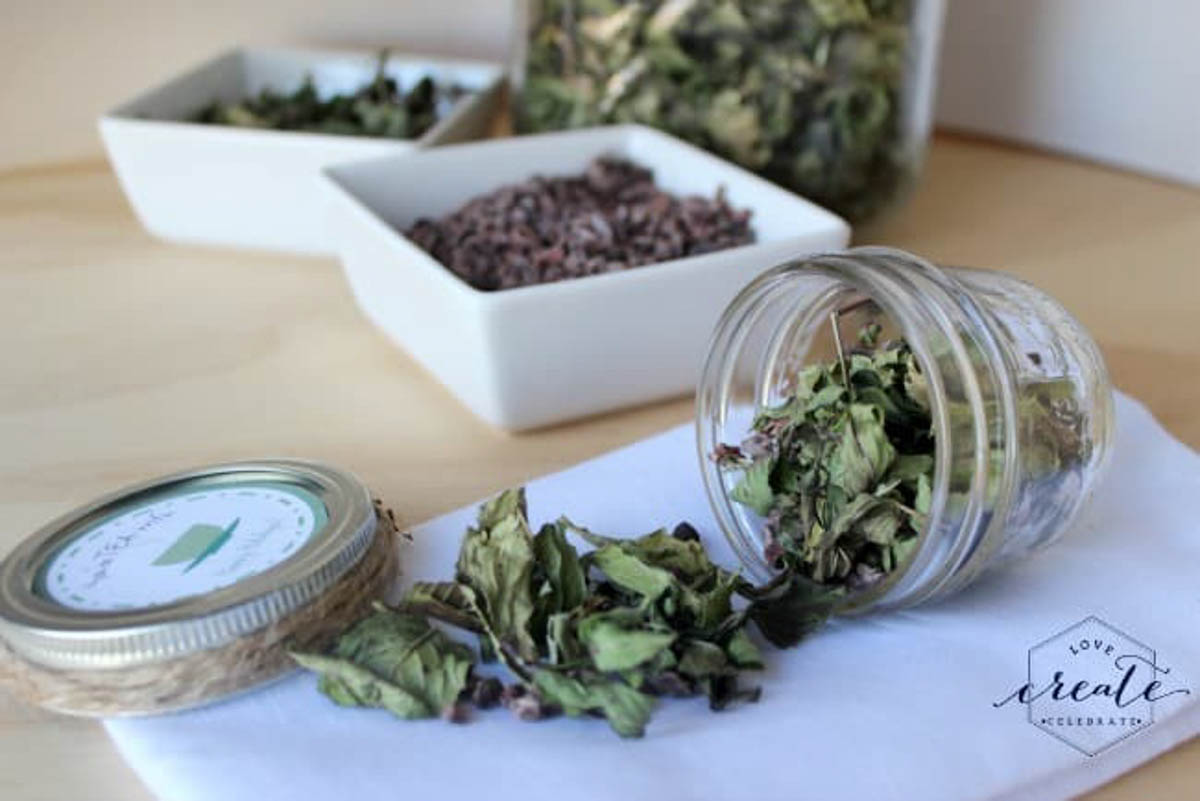
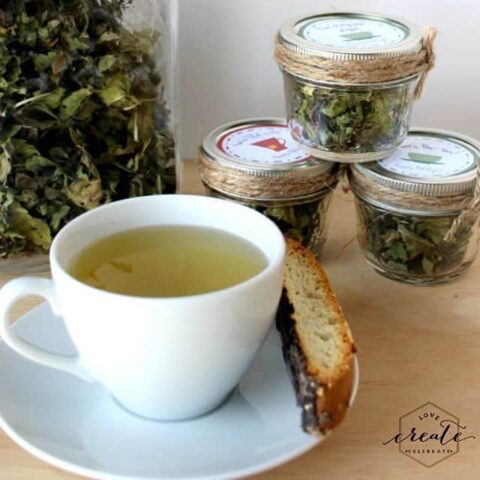
You will be able to tell the leaves are completely dry when they are brittle to the touch and this usually takes about two weeks. When they are dry you will separate the leaves from the tough stems (you can keep small stems) and seal them in a glass jar or pouch.
Oven Dry
Now for those of you who are like me and tend to be constantly strapped for time and doing my holiday shopping last minute, you can also oven dry your leaves. To do this make sure you wash the fresh peppermint first. Following this, you will separate the leaves and small stems (remove tough stems and discoloured leaves) and lay out the peppermint on parchment paper on a baking tray.
Heat the oven to 100F and place the leaves in for 30 minutes. At this point if the leaves are not done, check again every 15 minutes. You know the leaves are dried when they crumble in your fingers.
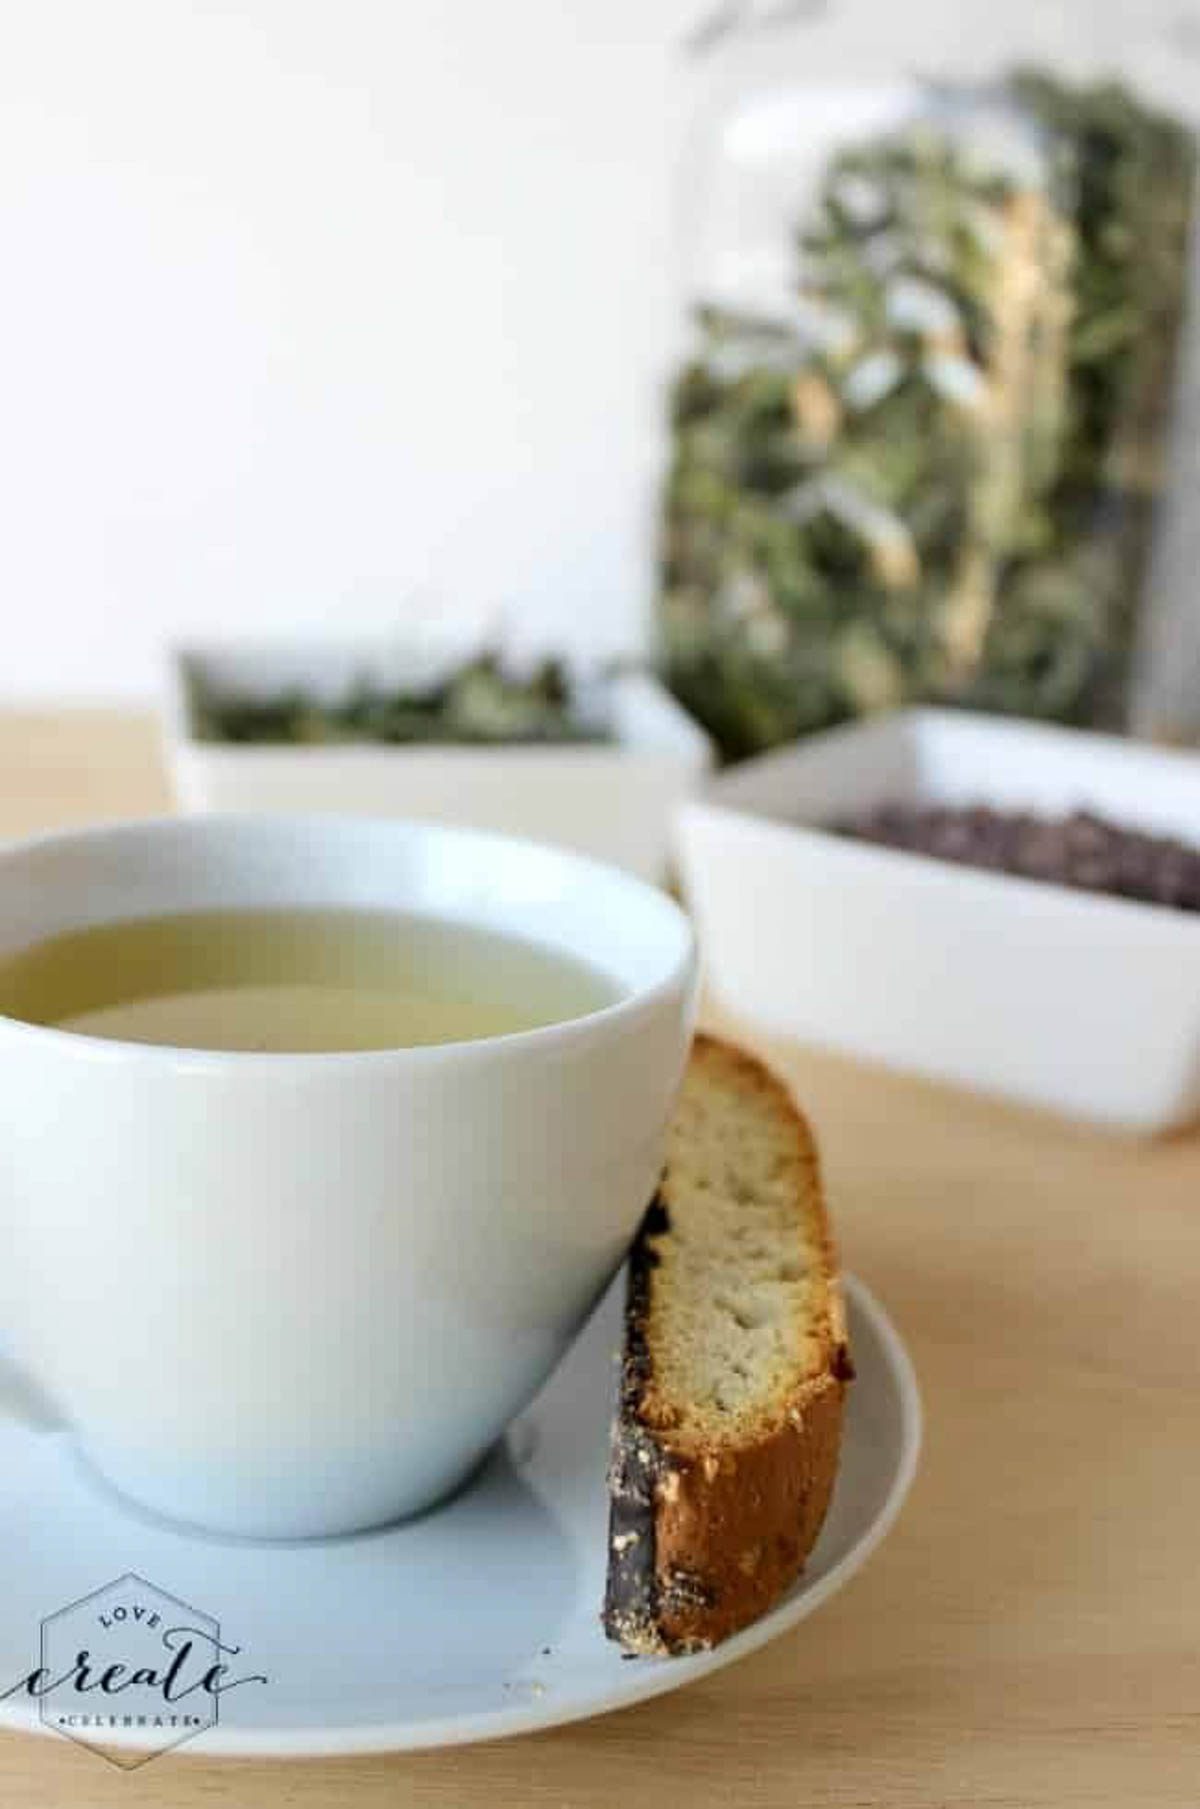
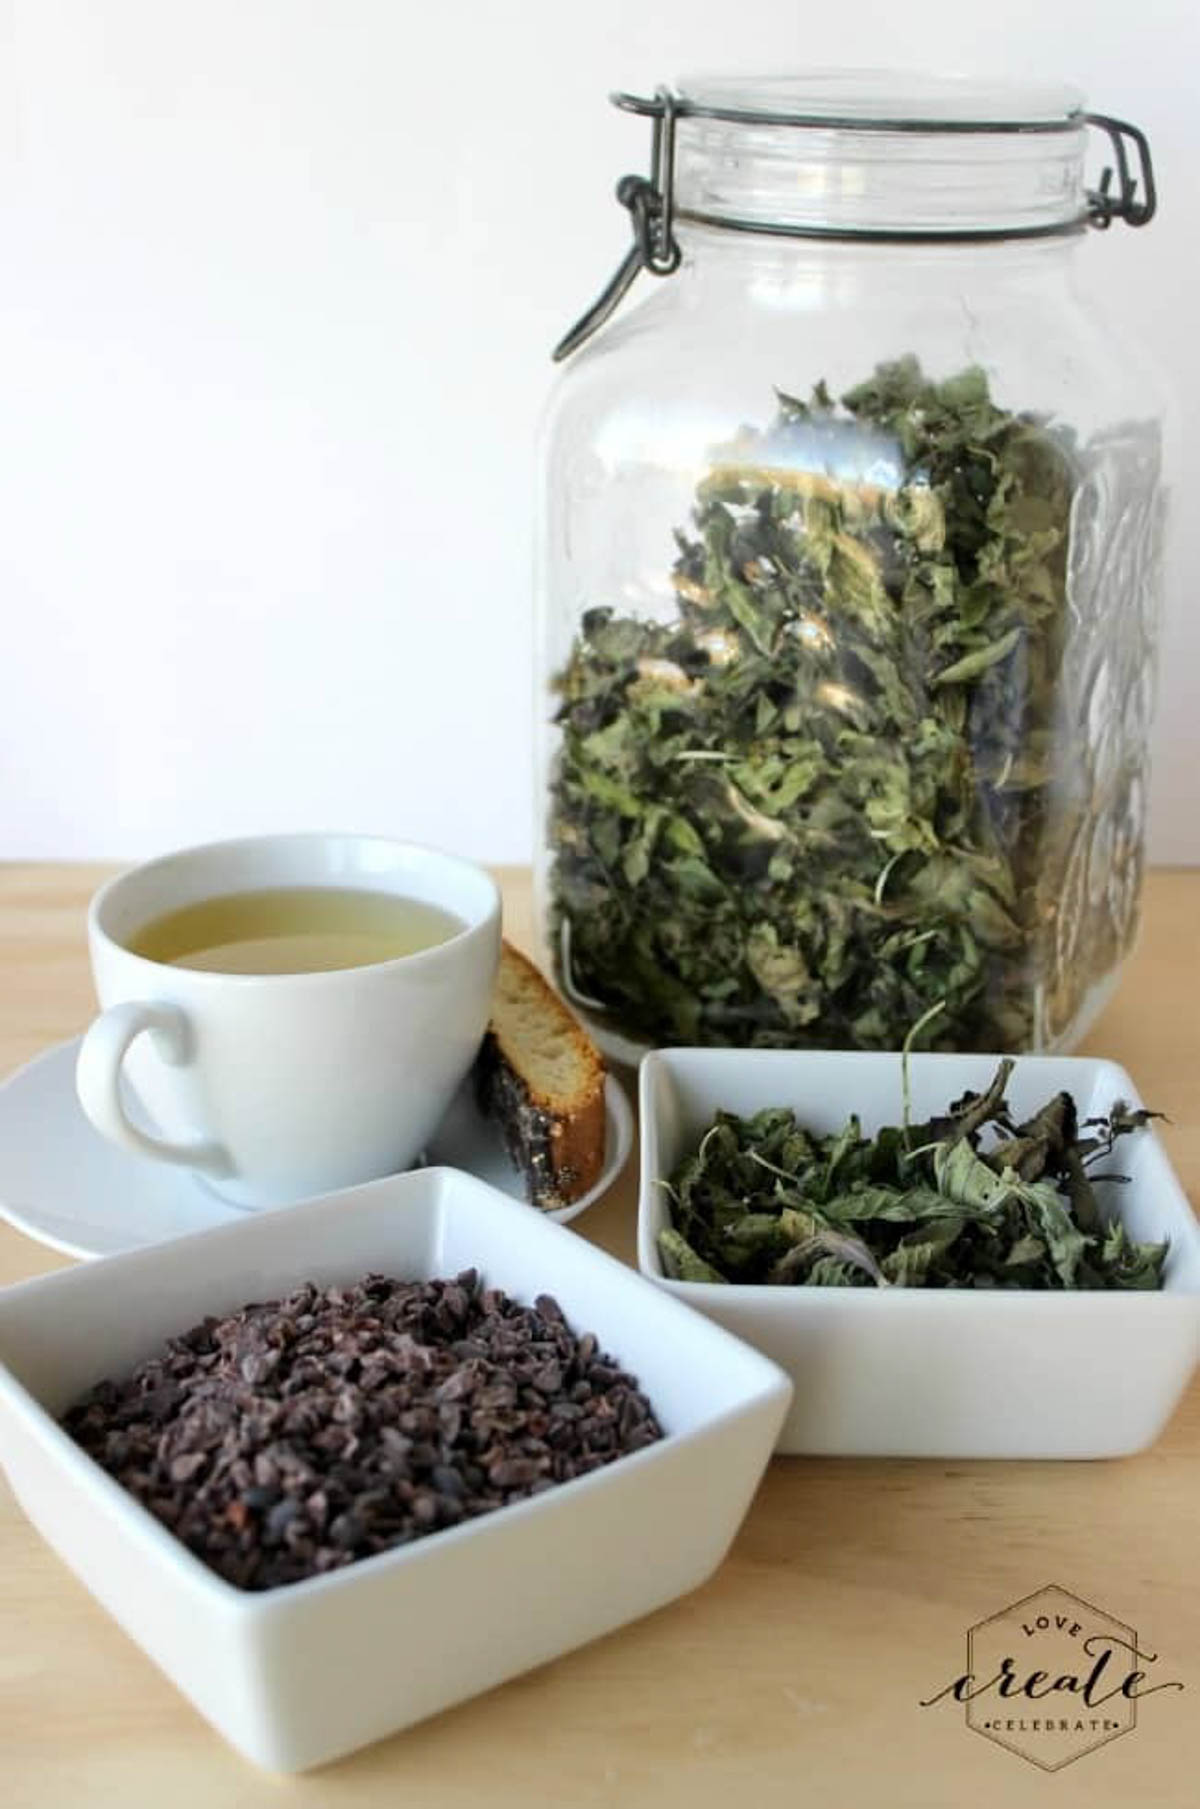
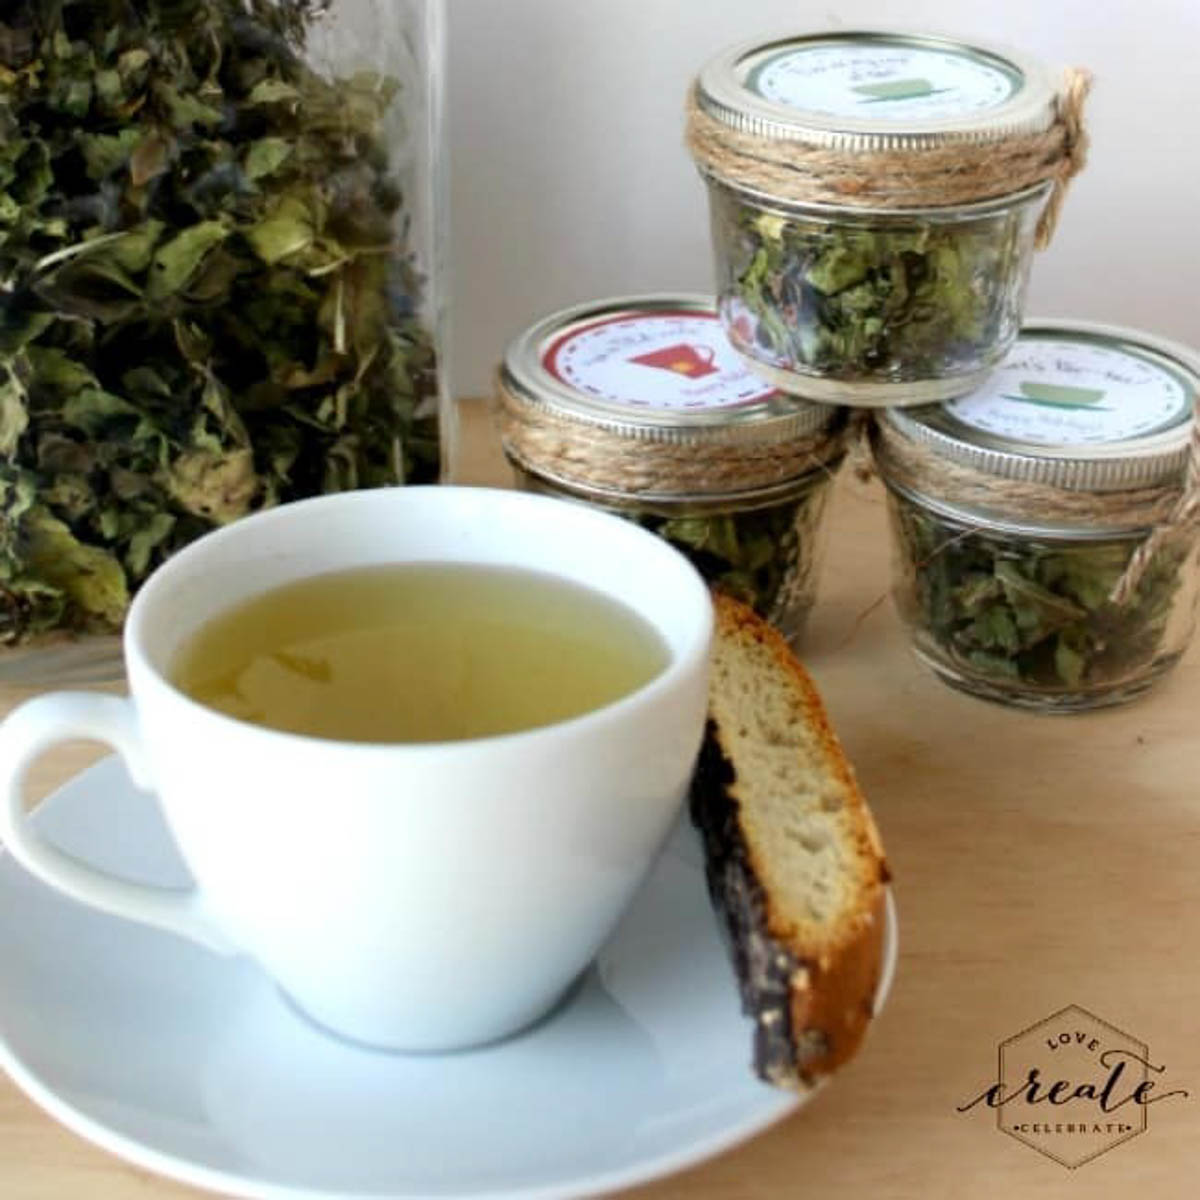
After the leaves are dried you can package the peppermint leaves as is or you can take them to the next level by adding cocoa nibs to make your peppermint tea into a Chocolate Peppermint Tea!
Cocoa nibs are perfect because they add a chocolatey flavour without adding melted chocolate to your tea, how delicious! All you need to do is add about a tbsp of cocoa nibs to a mini mason jar with tea. More if you want a stronger chocolate flavour.
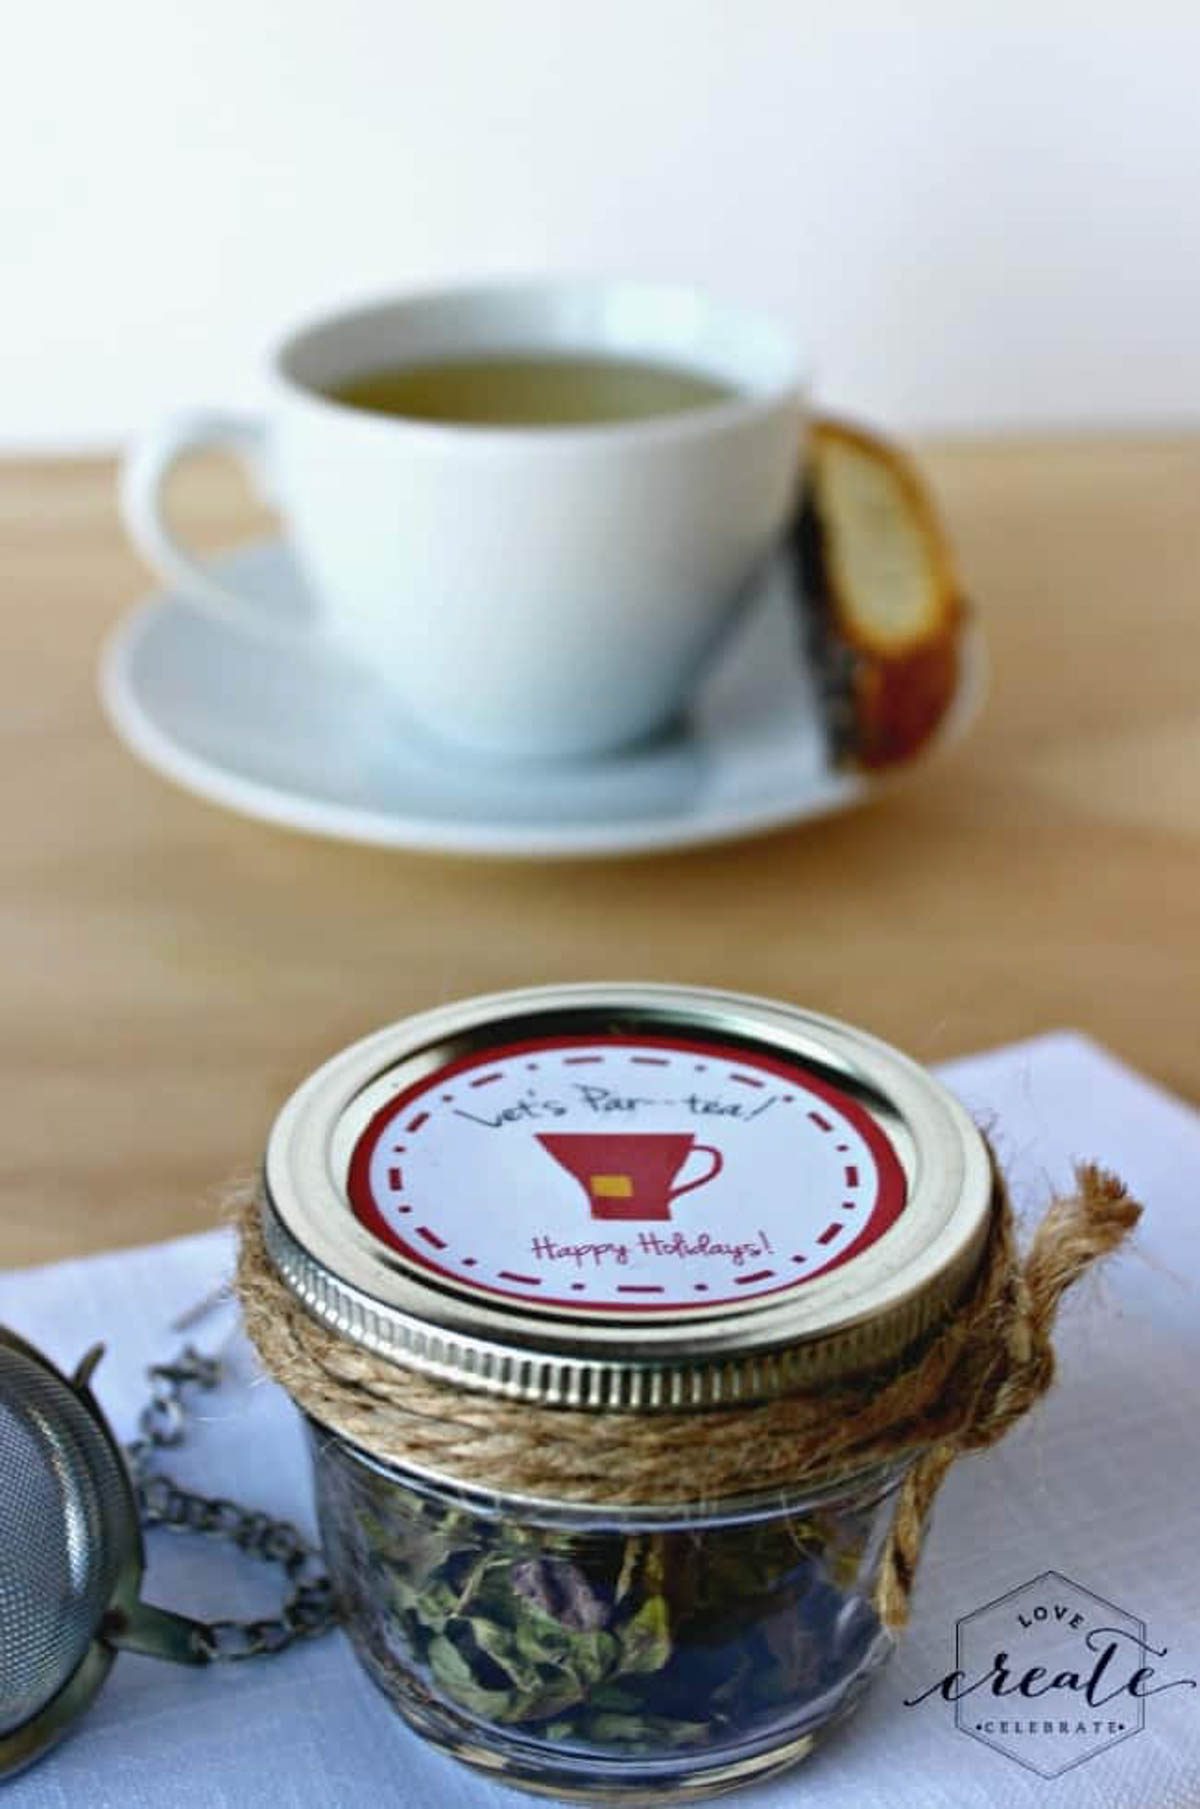
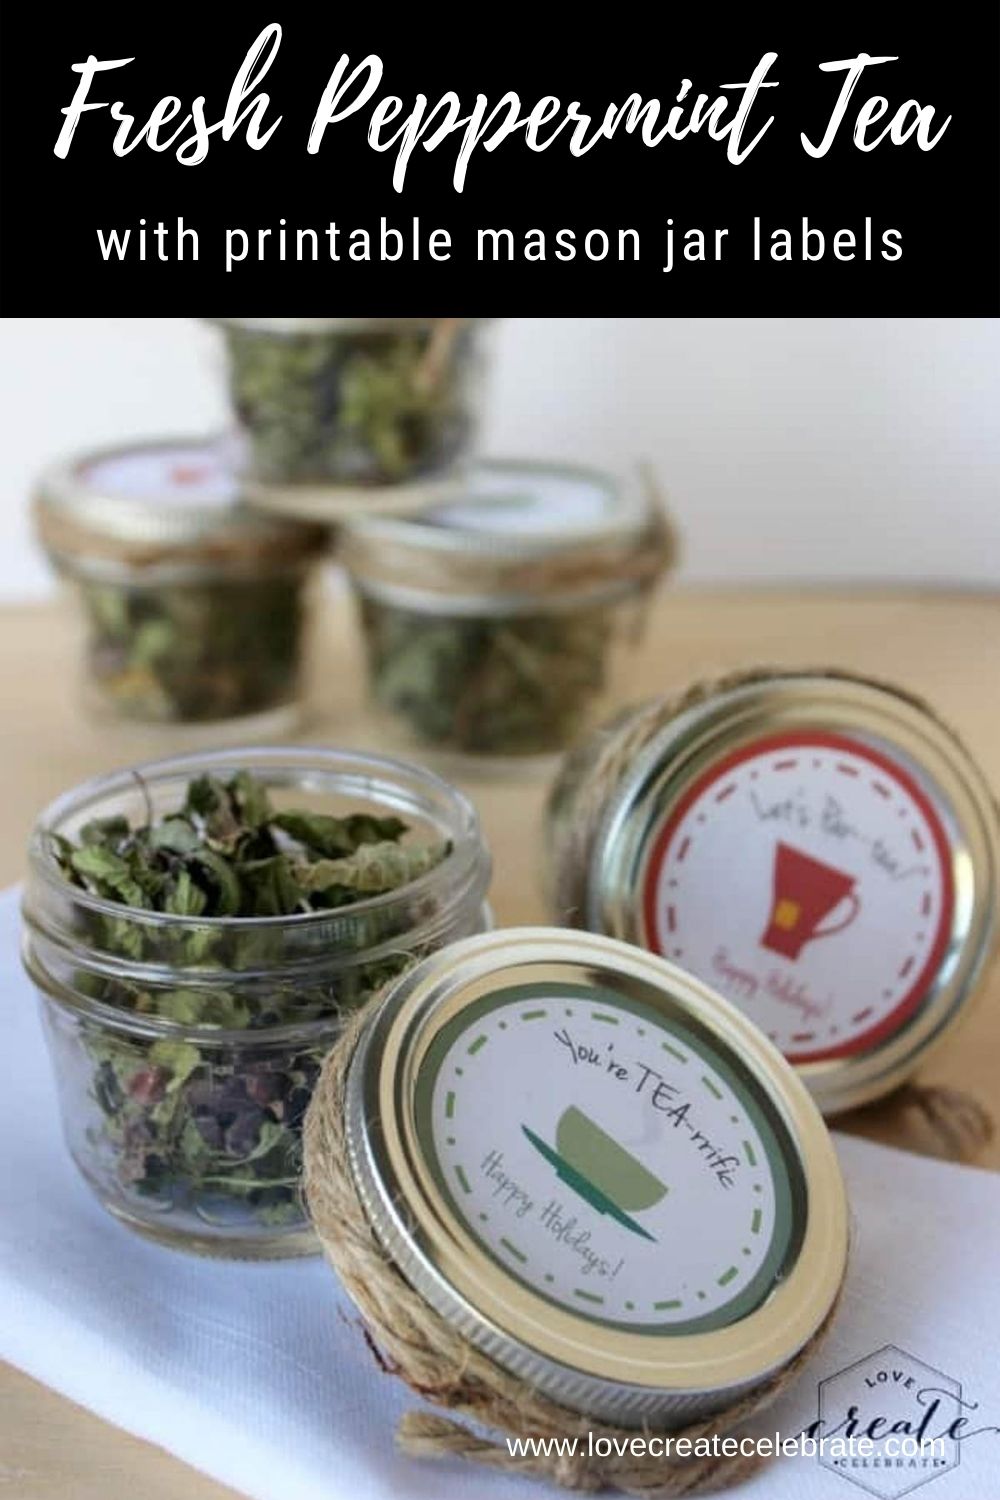
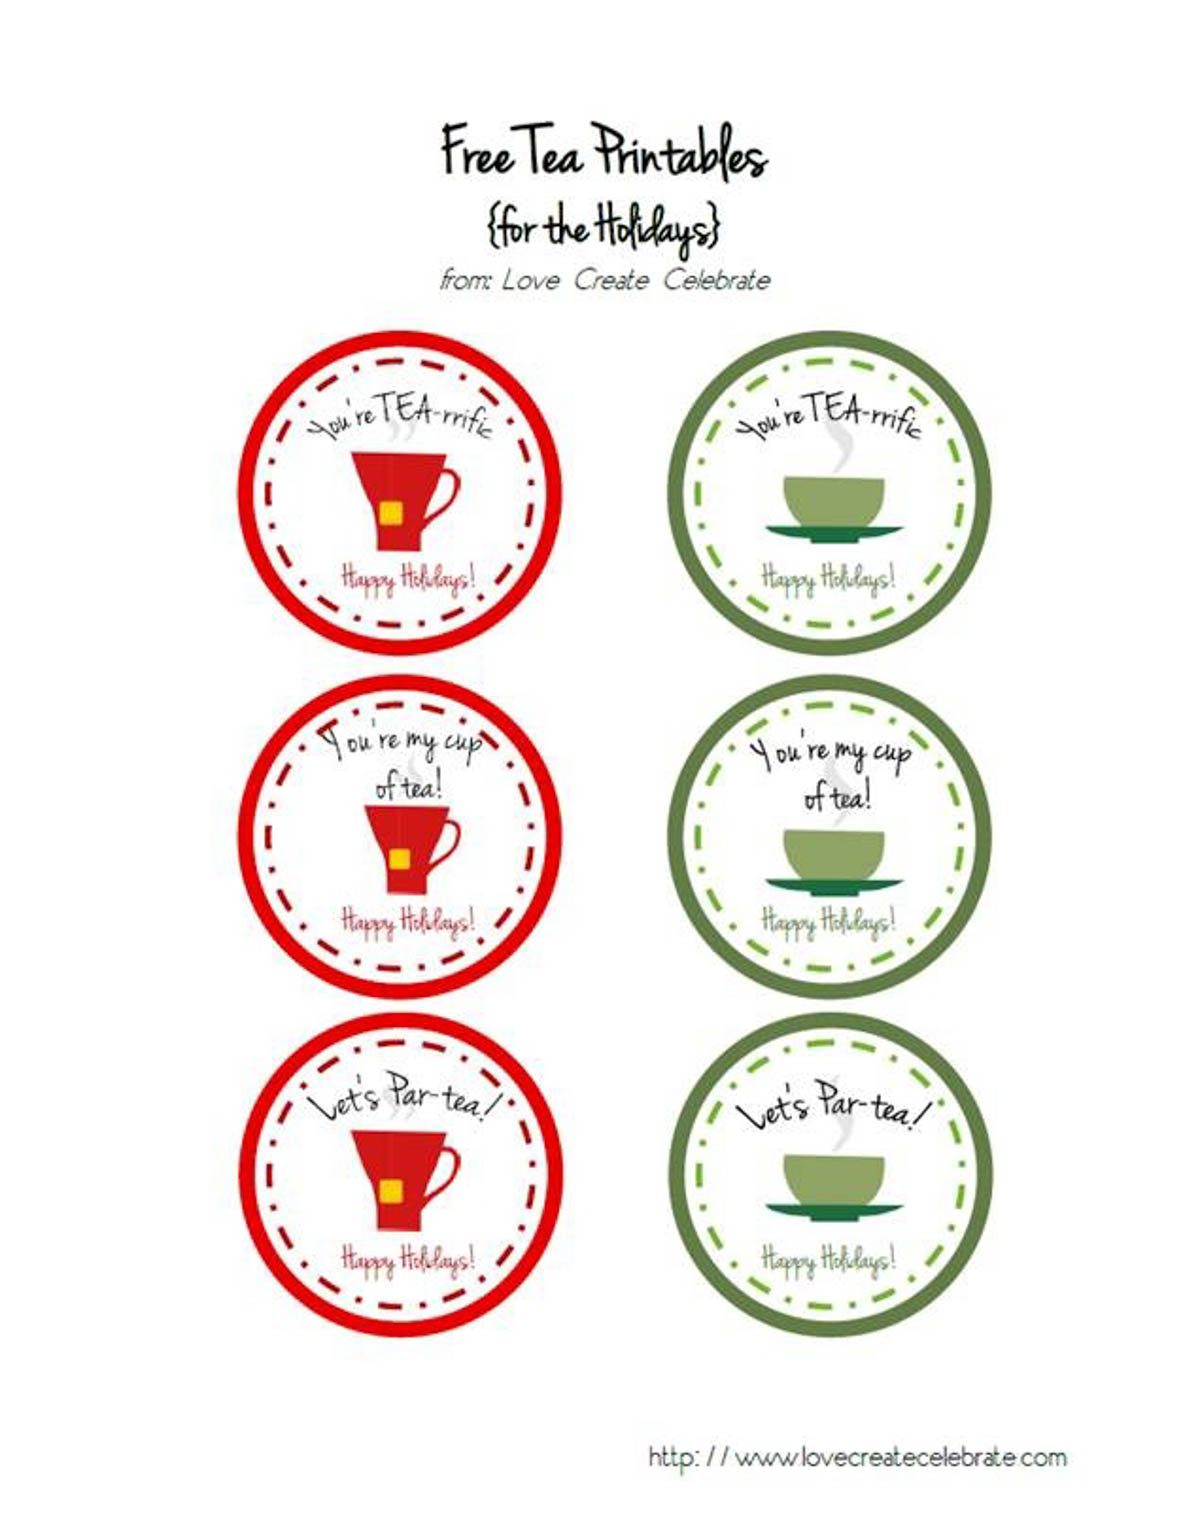
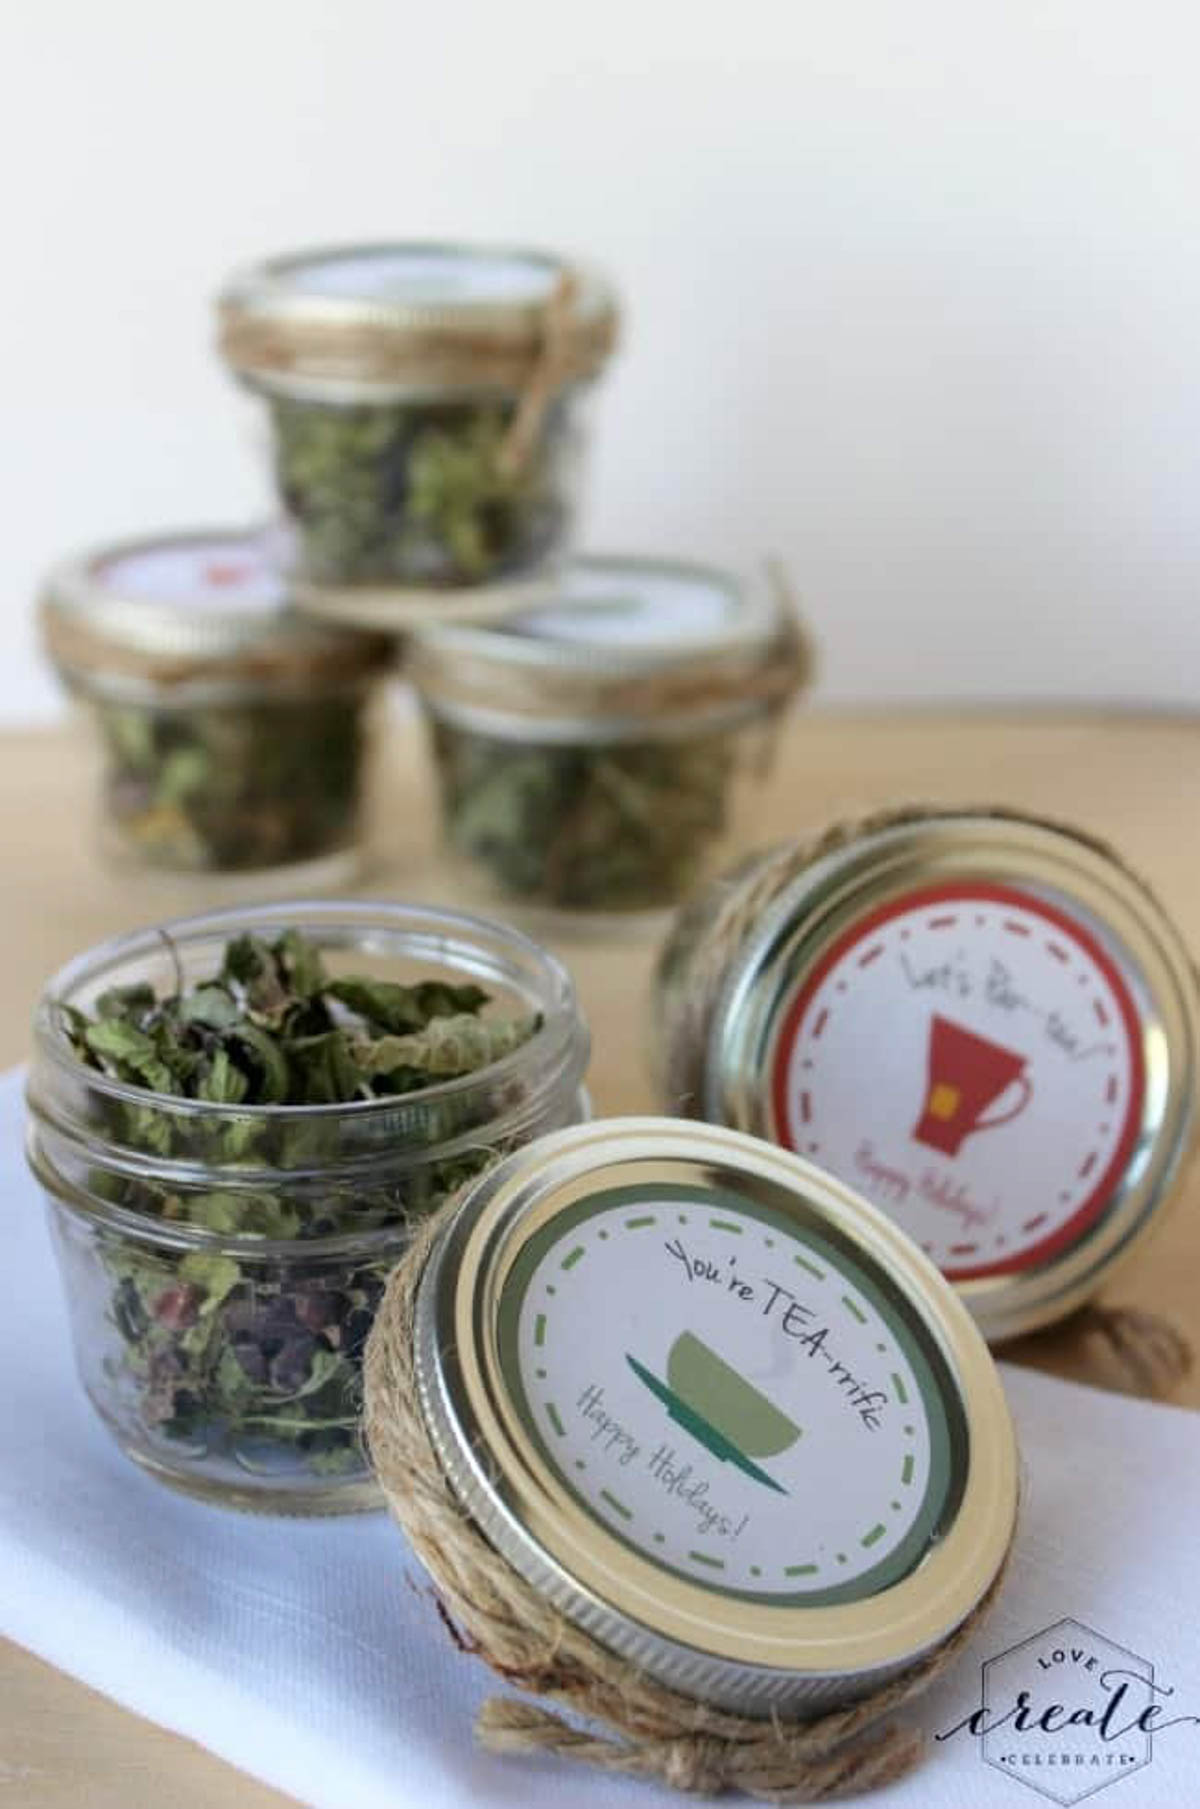
When you have finished making the dried tea to your liking you can now put the leaves into some small boxes or mason jars. You can add some jute string or a ribbon to pretty them up, and then add one of my fun FREE Holiday Homemade Tea labels! Now you’re ready to use these as the perfect stocking stuffer or hosting gift.
Download your free printable here!
Fresh Peppermint Tea
Ingredients
- Peppermint leaves
- Cocoa nibs
Instructions
- Dry leaves by either hanging in a warm space or in the oven until brittle
- Place dried leaves in a mason jar
- Add cocoa nibs to your desired preference
- Print out label and place on jar lid
- Add some jute string and your peppermint tea is ready to gift
If you are looking for more holiday gift inspiration, make sure to check out the links below:
If you like gift baskets, add your homemade peppermint tea to a Tea Lover’s gift basket! Here are a few more ideas to buy your tea loving friends and family members:

- Mr.Tea Loose Tea Leaf Strainer
- Tea: History, Terroirs, Varieties
- Stylish Glass Water Bottle with Tea Strainer and Sleeve
- Disposable Drawstring Paper Tea Bags
- Green Tea Mini KitKat Bars
{I had these in Japan and they are delicious!}
- Glass Teapot
Now it’s time to check out some more DIY Christmas gift ideas from my Canadian blogging friends. Get ready for some wonderful handmade gift inspiration for your holidays!
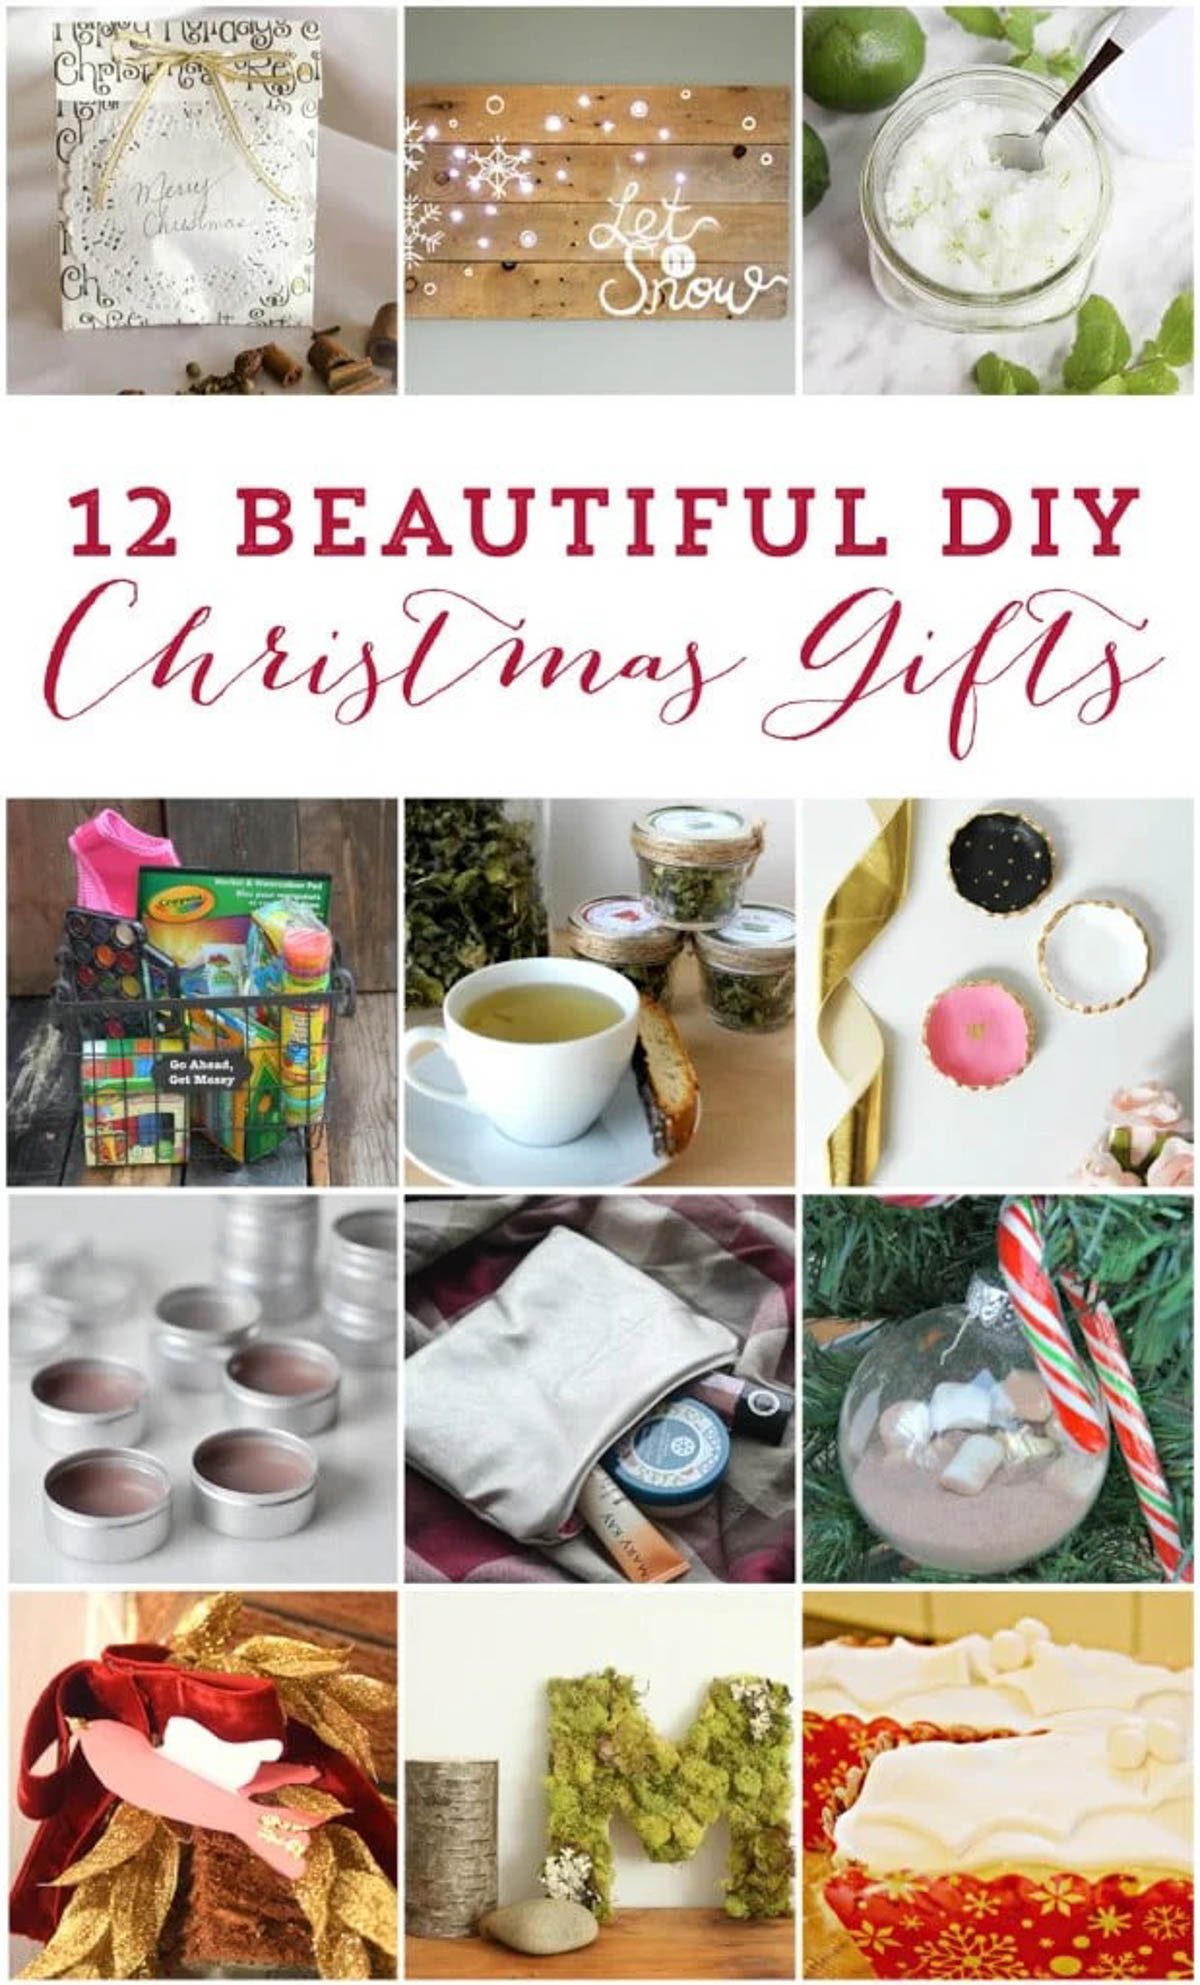
From the top, they are:
Christmas Scented Paper Sachet DIY Gift Bag from Time With Thea
DIY Holiday Pallet Sign from Fresh Crush
DIY Lime Mint Sugar Scrub from Setting for Four
Go Ahead, Get Messy Family Gift from The Inspired Home
Homemade Peppermint Tea from Love Create Celebrate
DIY Clay Jewelry Bowls from The Sweetest Digs
Homemade Honey Lip Balm from Lifeovereasy
DIY Metallic Pouch from The DIY Mommy
Hot Chocolate Ornament for One from Bette Creek
DIY Glitter Bird Garland from PMQ For Two
Monogram DIY from Mommyzoid
Traditional Fruitcake from New House New Home New Life

The top 30 Ideas About Diy Holiday Gifts - Home, Family, Style and Art Ideas
Sunday 26th of January 2020
[…] Best DIY Holiday Gifts from Homemade Peppermint Tea [with FREE printable] Love. Source Image: lovecreatecelebrate.com. Visit this site for details: lovecreatecelebrate.com […]
DIY Pallet Holiday Sign
Saturday 5th of December 2015
[…] Homemade Peppermint Tea from Love Create Celebrate […]
Julie
Wednesday 18th of November 2015
I love peppermint tea but have never thought to make my own. I have regular mint in the garden but not peppermint, I am assuming they are different. I might try making mint tea this year and then look for peppermint in the spring ready to grow next year. I love your beautiful packaging for a gift too.
Andrea @ personallyandrea
Wednesday 18th of November 2015
What a pretty idea! I always manage the herb growing part but by the end of summer they're a bit neglected :( I even had chocolate mint this summer! This idea is worth buying some more mint for though. Thanks for sharing! xo
Laurie @ Vin'yet Etc.
Wednesday 18th of November 2015
Peppermint tea is my very favourite tea! Thanks for this recipe! PS I grew chocolate peppermint one year, you aren't kidding, it spreads like wild flower... I ended up tearing it out, now I know what to do with it. :)