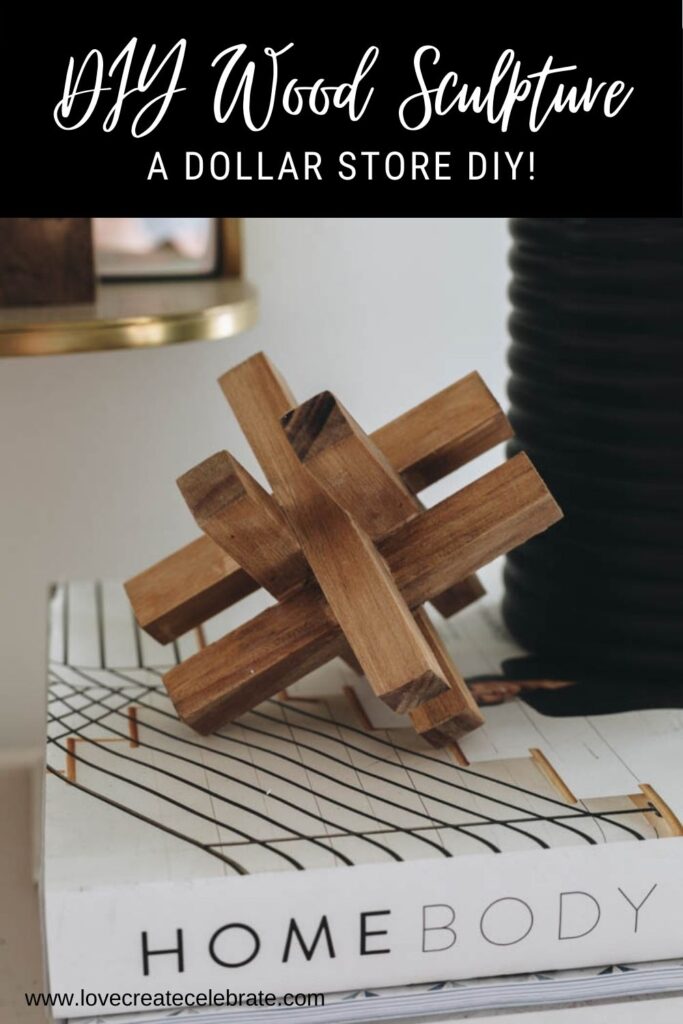
Make your own wood sculpture using dollar store supplies. Add a high-end decor piece to your home with this fun and easy dollar store DIY!
I like having wood sculptures to use when I'm styling shelves or tabletops. They are great conversation pieces and I love the look of the modern wood sculptures I have seen online. I am not crazy about the price, so whenever I can DIY one, I will.
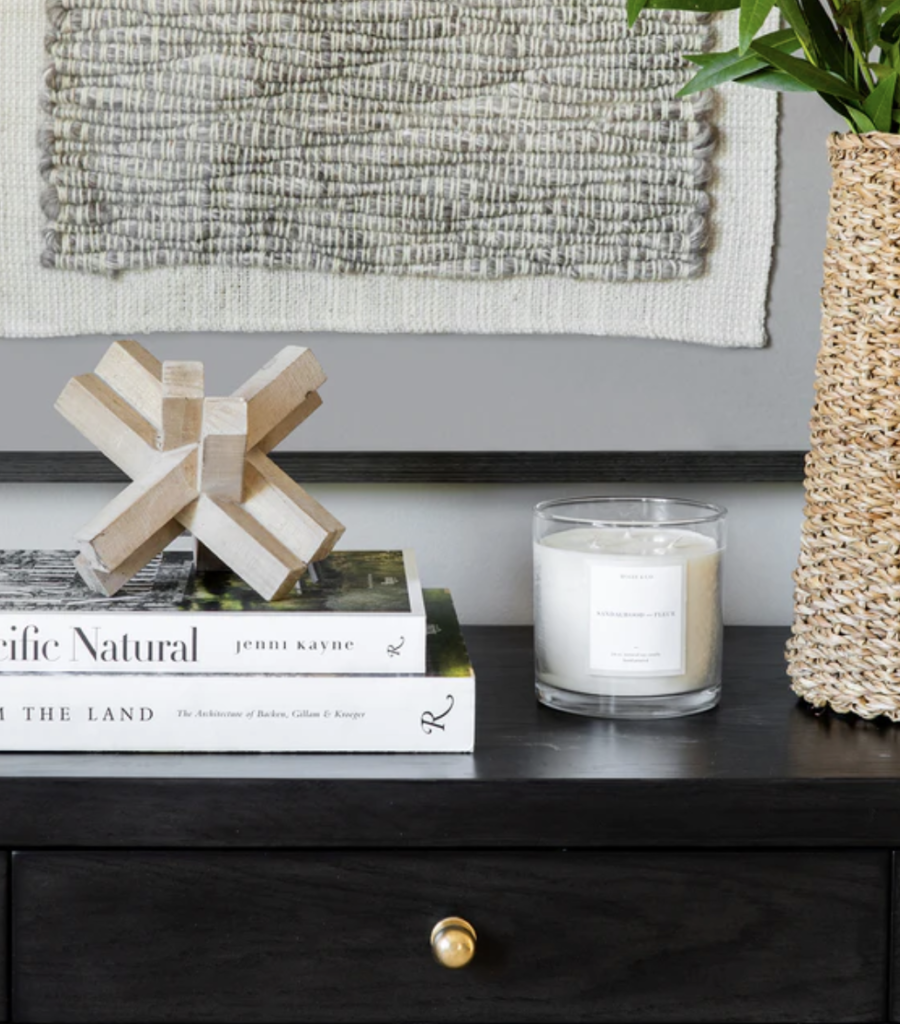
I saw 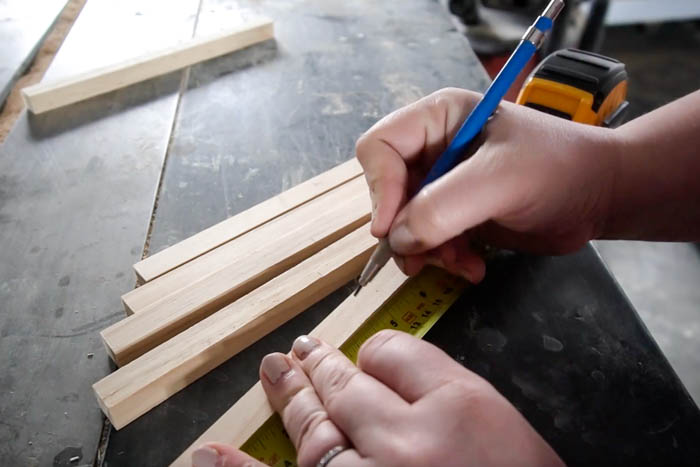
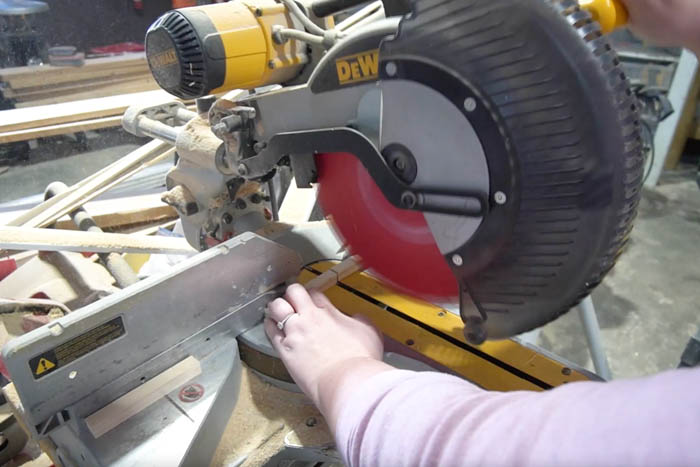
I used my mitre saw for all of the cuts, but any saw will work.
For the design to work, on all sides, there's going to be three overlapping dowels. Mark 3 of the dowels in the center to use as a guide when gluing them together.
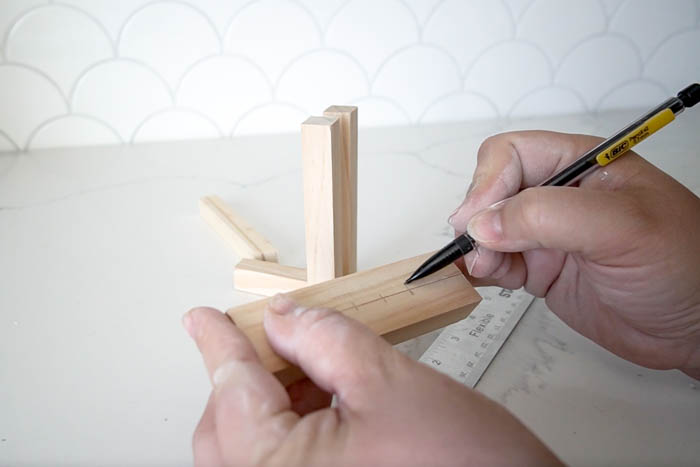
Getting the configuration of your wood sculpture is a little tricky, there are a lot of moving parts. Once you figure out the configuration for your sculpture, glue the dowels together. Remember, you marked 3 of the dowels earlier so you would know where to glue them together.
I highly recommend using 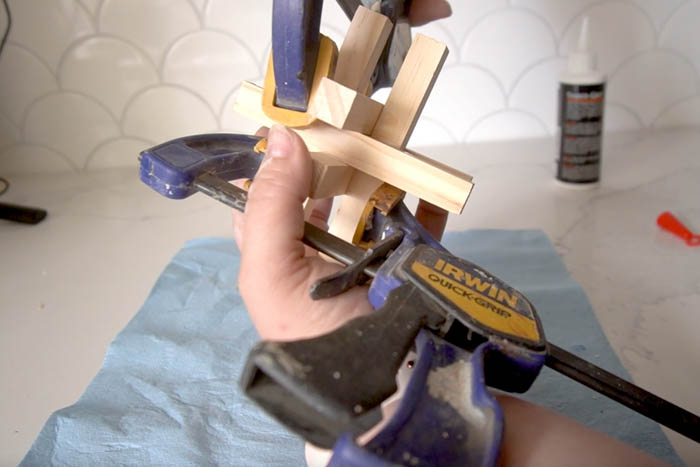
Be sure to wipe off excess glue. This will reduce the amount of sanding you may have to do later and allow the wood to take the stain better.
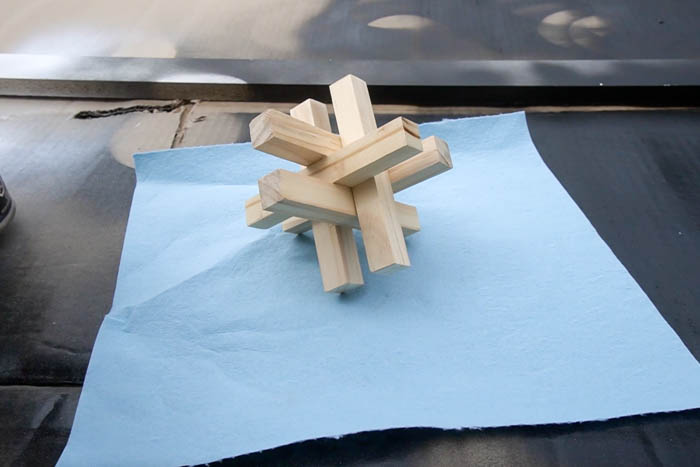
Stain in the color of your choice. I used a golden oak stain, but it turned out a little too orangy so I added a white pickling stain to tone it down and now it is perfect!
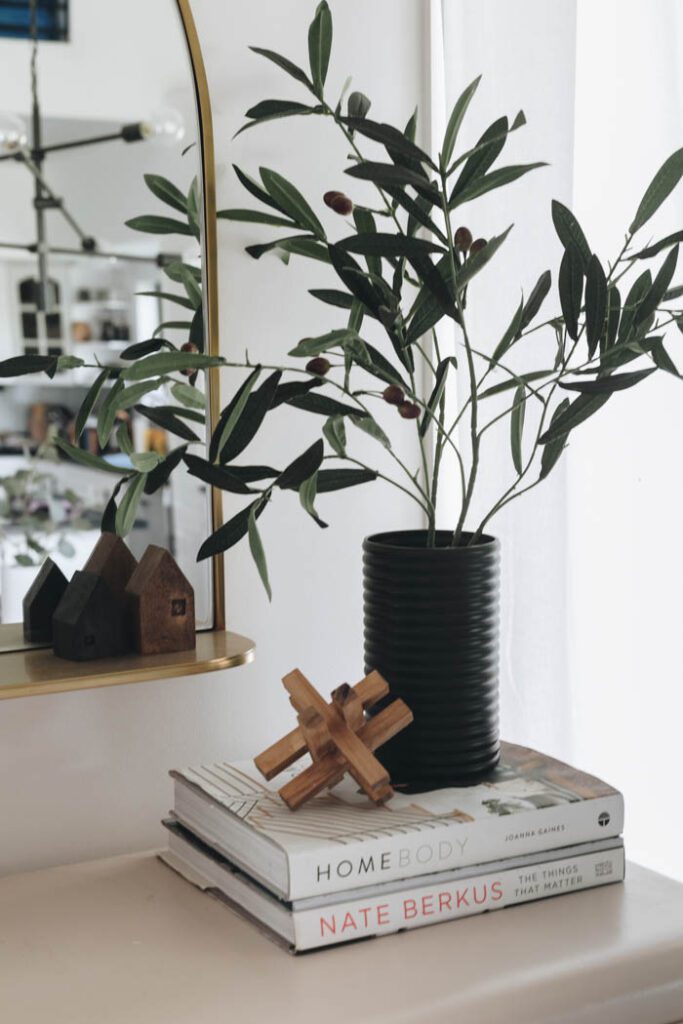
My Finished DIY Wood Sculpture
I'm genuinely so happy with how this turned out! I've used this little cross hatch sculpture to decorate countless vignettes, and it always looks sooo good!


Video Tutorial for a Dollar Store Wood Sculpture (and 4 more dollar store DIYs!)
Whenever I share my dollar store DIYs on YouTube, I tend to share 4 or 5 projects at the same time. In June I shared 5 dollar store projects, including a decorative box, a pedestal, a dollar store vase, a pedestal bowl, and this dollar store wood sculpture.
Watch the video below for more dollar store DIY inspiration!
If you’re looking for more affordable DIY home decor, check out these