Easy DIY dollar store vases with a high-end finish using dollar supplies and spray paint. Make any decor look high-end with this easy tutorial.
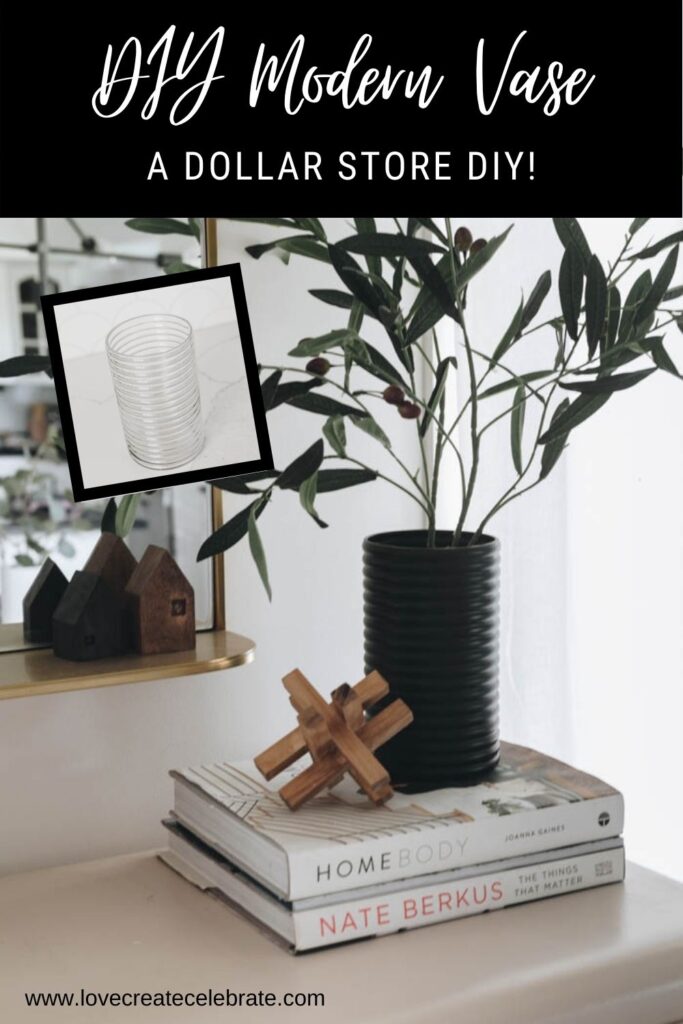
I always think flowers in clear vases look odd, you can see all the stems and when the water gets dirty after a couple of days…well that just isn’t pleasant to look at, yuck! Artificial flowers or stems really look weird when there is no water in a clear vase. Do these things bother anyone else, or is it just me?
Ribbed Vases to Buy
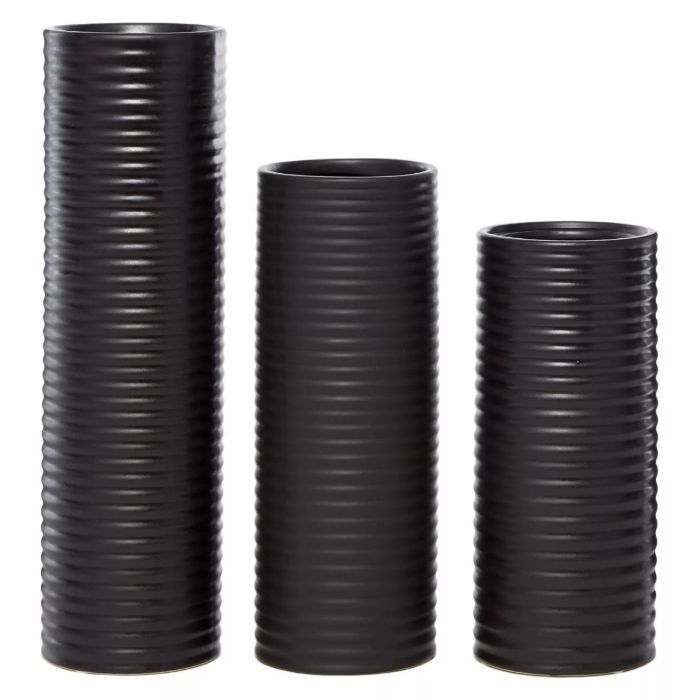
I really like the look of these vases from Target, but the price for the three of them is $70 and I knew I could make one for much less!
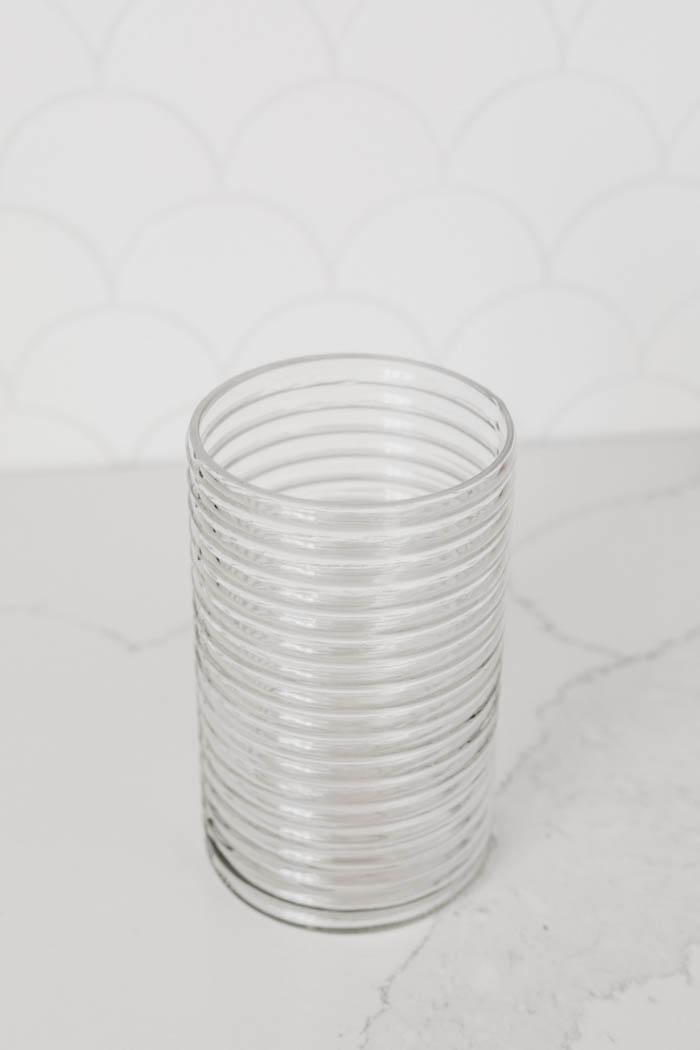
I picked up this clear vase at Dollarama and knew I could transform it into a modern vase better suited to my style. One that you can’t see the yucky water or faux stems. And of course, it has to be black because you know how much I love black decor.
*This post may contain affiliate links. When you buy a product through one of our links, we get a commission at no cost to you! Thank you for supporting our blog so that we can continue to bring you posts like these. For more information, please see our disclosure page.*
Can You Spray Paint Glass?
Absolutely! There are all types of different spray paints for glass. You can make your own mirror with looking glass spray, get a frosted look, or create decorative art objects with sparkle and shine. You can make an item look like sea glass or even stained glass. It’s pretty amazing the effects you can make on glass using spray paint.
My dollar store vase is going to get a modern upgrade so I’m not doing anything fancy, but you will love how it turns out!
Materials for Dollar Store Vase Makeover
- Clear glass vase from the Dollar Store
- Rust-Oleum Flat Black Primer
- Spray paint handle (optional)
- 180 grit sandpaper
- Gloves
- Small spray paint tent (optional)
- Rubbing alcohol
How to Makeover Your Dollar Store Vase
Cover your work area or set up your spray paint tent to avoid overspray. You could even do this outside on a sunny day like I did and it will help the paint dry even faster on your dollar store vase.
Wash your dollar store vase and dry completely. You want to make sure there is no residue on the glass that might keep the paint from adhering.
Lightly sand with 180 grit sandpaper to help the paint adhere better, then wipe it off with a tack cloth.
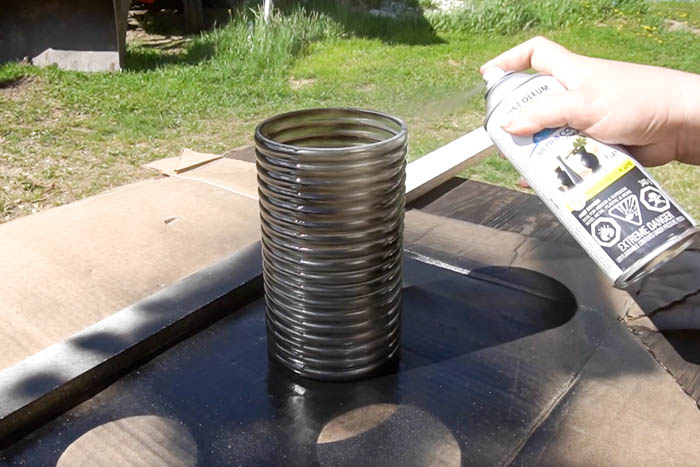
As you can see, I didn’t wear gloves or use a comfort grip handle. I would recommend gloves to keep the black from getting all over your fingers if you don’t use a handle.
Hold the can 6 inches from the dollar store vase and be sure to paint in even, single passes to avoid creating drips. Let it dry completely between coats.
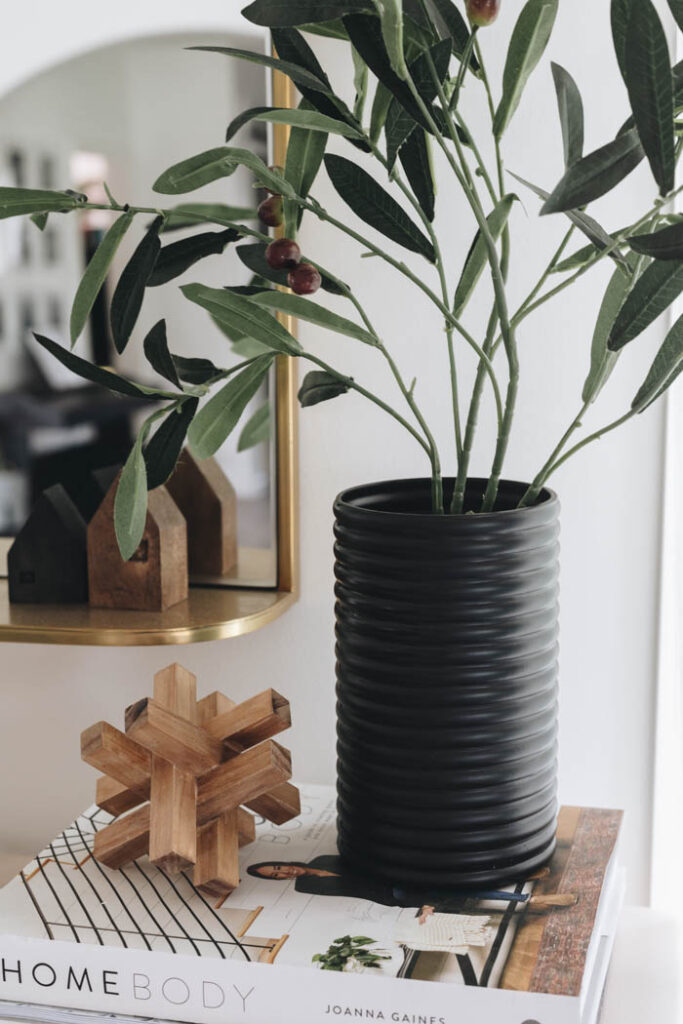
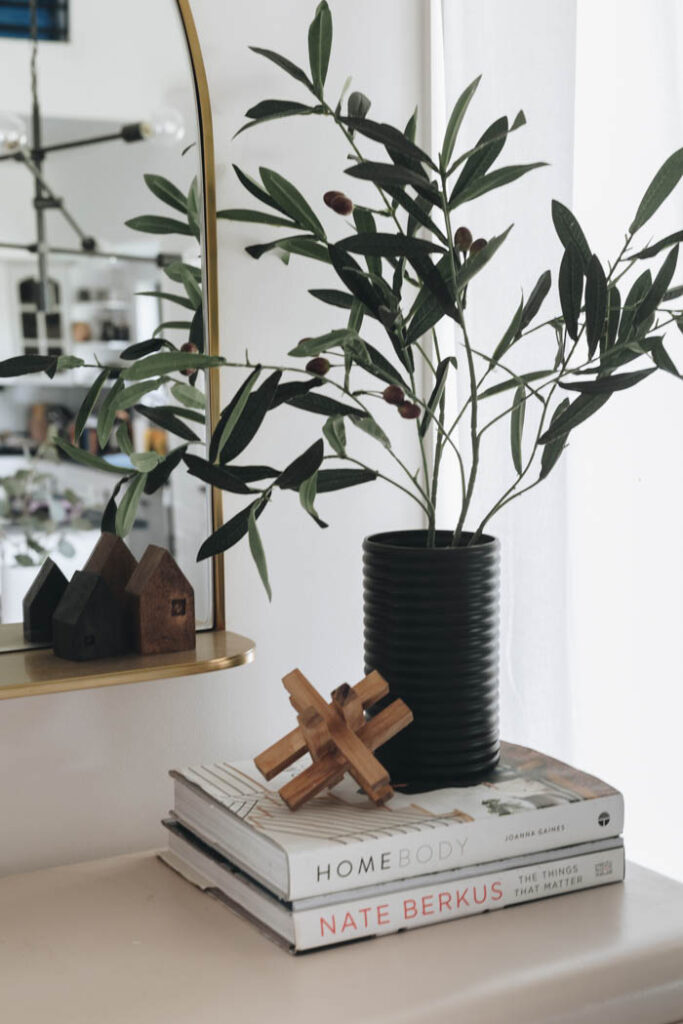
Once it’s completely dry, add your greenery and it’s done! I really love how it turned out and may go back and buy some more vases.
I sat the newly transformed modern dollar store vase on books to elevate it and give it a more visual presence. Looking at it now I realize I’m definitely going to need a few more of these!
Video Tutorial for a Dollar Store Vase DIY (and 4 more dollar store DIYs!)
Whenever I share my dollar store DIYs on YouTube, I tend to share 4 or 5 projects at the same time. In June I shared 5 dollar store projects, including a decorative box, a pedestal, a sculpture, a pedestal bowl and this dollar store vase
Watch the video below for more dollar store DIY inspiration!
If you’re looking for more affordable DIY home decor, check out these 10 Modern DIY Home Decor ideas that are both beautiful AND budget-friendly!


Things to do
Friday 13th of August 2021
I love this idea!! That's a huge improvement!