Learn how to make your own DIY pillar candle holders using Dollar Store supplies. Get the look of expensive decor on a budget when you make your own.
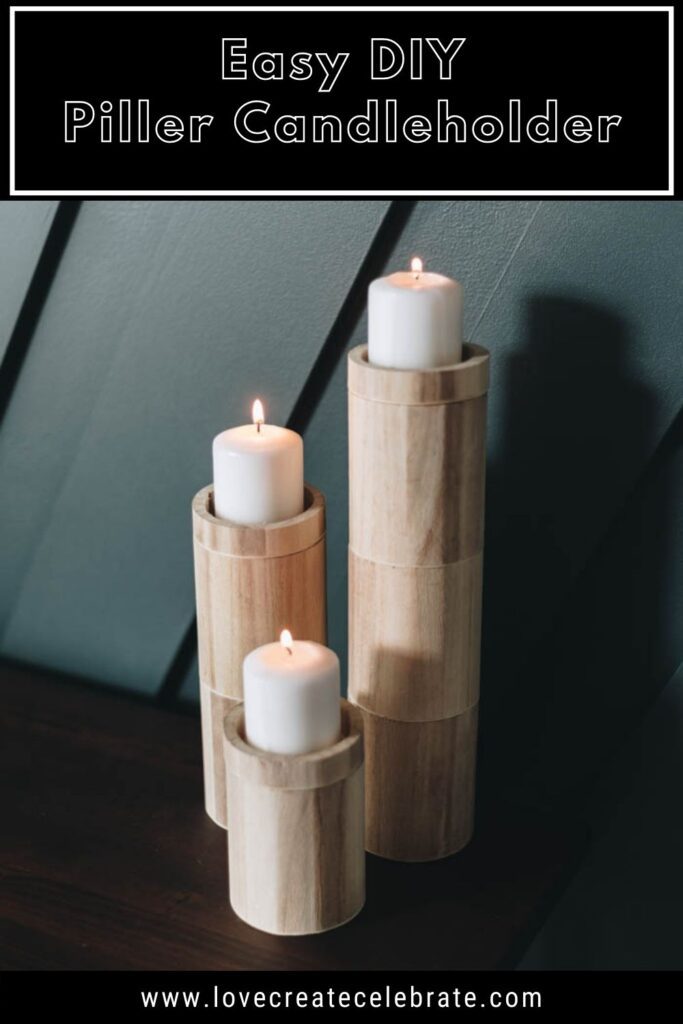
We have had a ton of exterior projects going on lately, we have shared a lot of them on our YouTube Channel and we will be sharing them all here too. I needed a break from those huge outdoor DIYs and was having the urge to get crafty. So I did some Dollar Store DIY projects over the last couple of weeks which included these amazing DIY pillar candle holders.
If you have been following along for a while, then you know that I love turning ugly, cheap dollar store stuff into beautiful decor. I have been working on these projects for our fall or Thanksgiving tablescape. I love how they turned out!
*This post may contain affiliate links. When you buy a product through one of our links, we get a commission at no cost to you! Thank you for supporting our blog so that we can continue to bring you posts like these. For more information, please see our disclosure page.*
How to Make Pillar Candleholders
Supplies
- Wooden cups from Dollar Tree
- Best craft glue
- Clear coat spray
- Sandpaper
- Miter saw
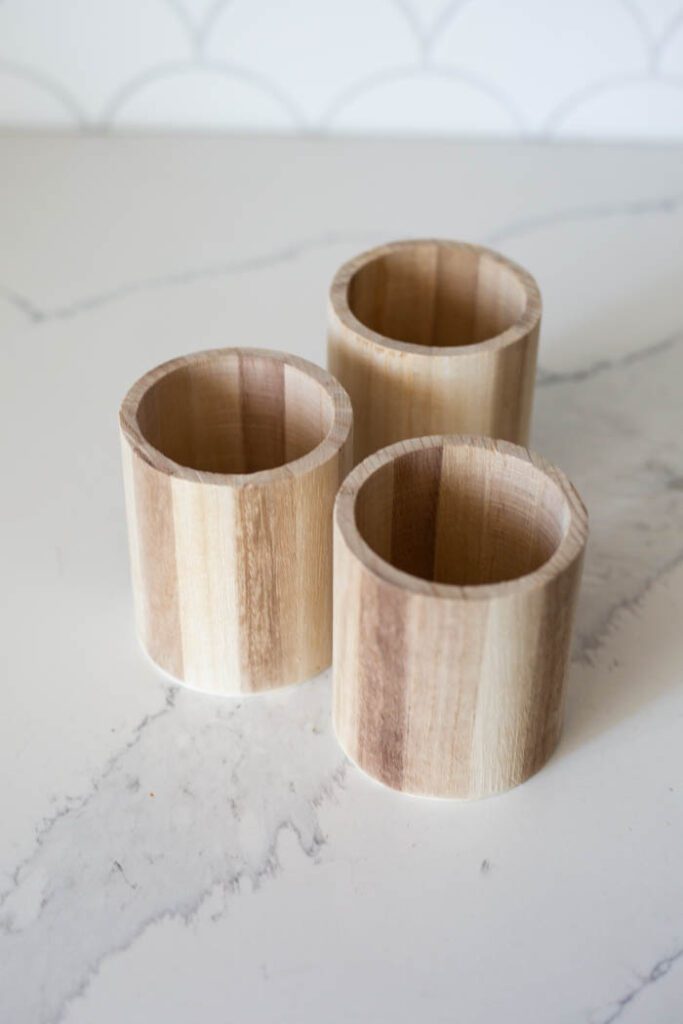
This project involves these wooden cups from Dollar Tree. I’ve used them before and I love them, so I’m going to use them again.
Step-by-Step Instructions for DIY Pillar Candle Holders
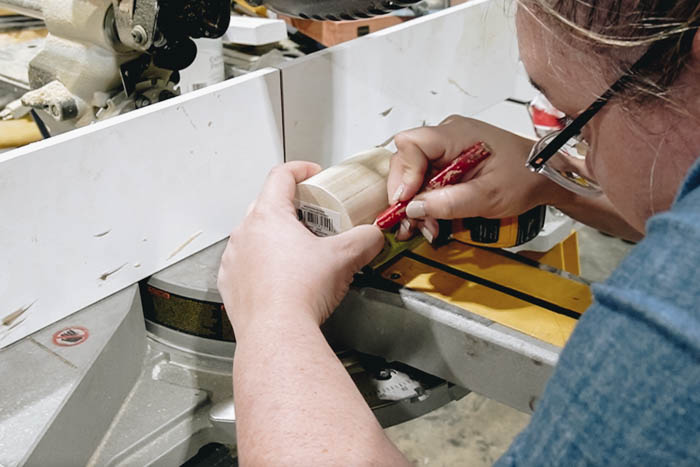
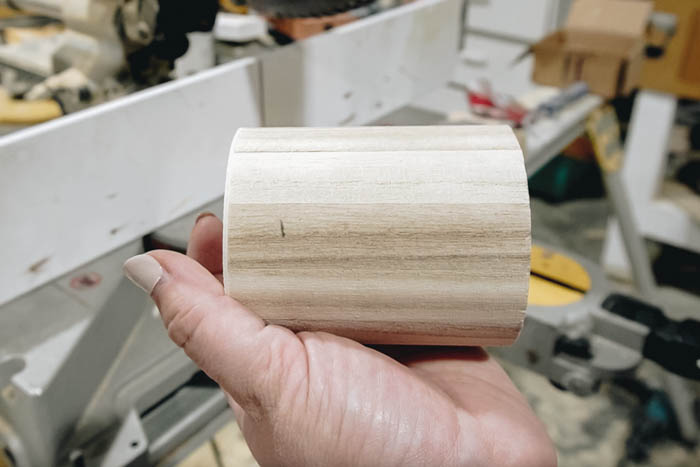
I started by cutting a small piece off the bottom of each cup using a miter saw. Most miter saws have a gap at the back on either side of the blade, so I attached some boards to the front of the saw. You have screw holes at the back that you screw it into. There’s a little slot that we cut where the blade will go, so now I can cut smaller pieces as long as I keep my hands out of the dangerous yellow area.
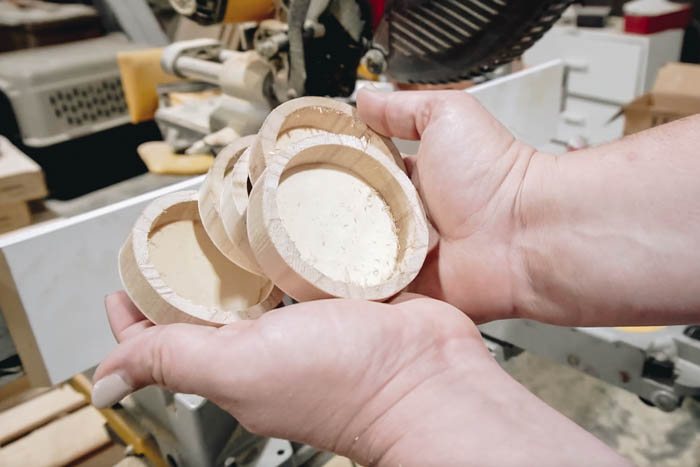
I cut the small piece off the bottom of these wooden cups that would act as the plate on the top of the pillar candleholder for the candle to sit on. Once I had a few of those cut, I sanded them and then brought them inside to plan and assemble my candlesticks
Using my favourite craft glue that works super well and does not burn your fingers, I attached a couple of the cups together, stacking them one on top of the other to finally create the DIY pillar candle holders
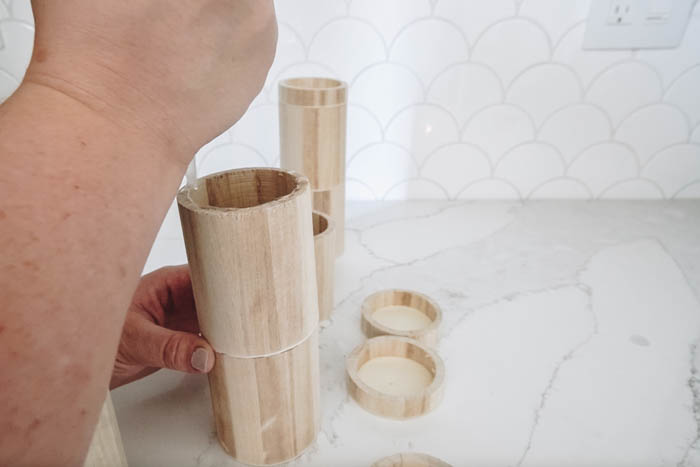
I planned on staining these after so I had to make sure there was no glue seeping down the sides because the glue will not take the stain.
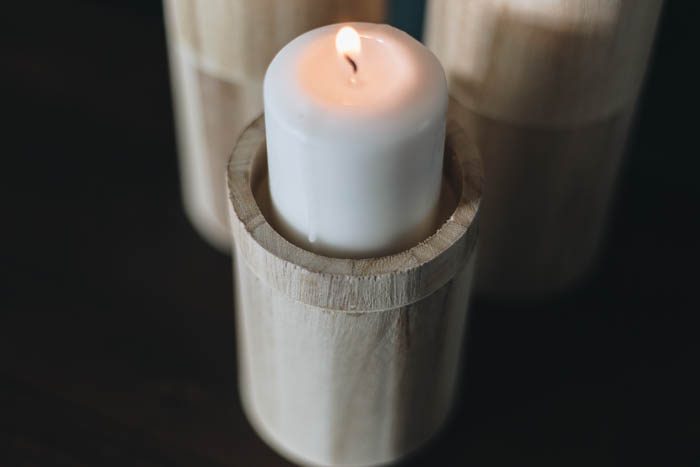
I decided to make three different size pillars. For one of the pillars, I used three wooden cups, for one of them I used two, and for the third one I used a single cup. I put the little cut bottom cup pieces on top of each pillar to hold the candles.
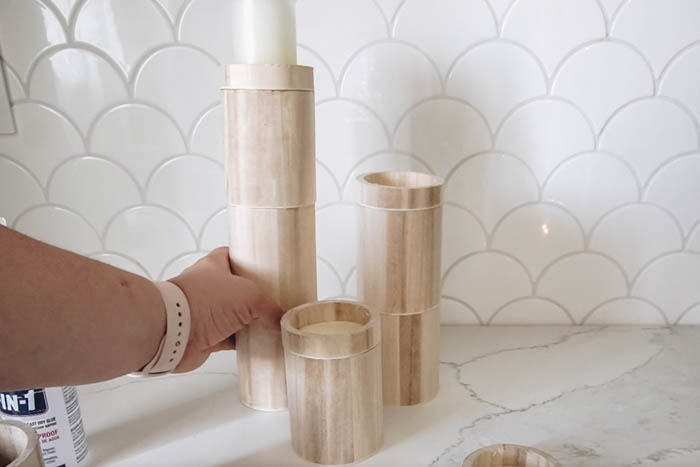
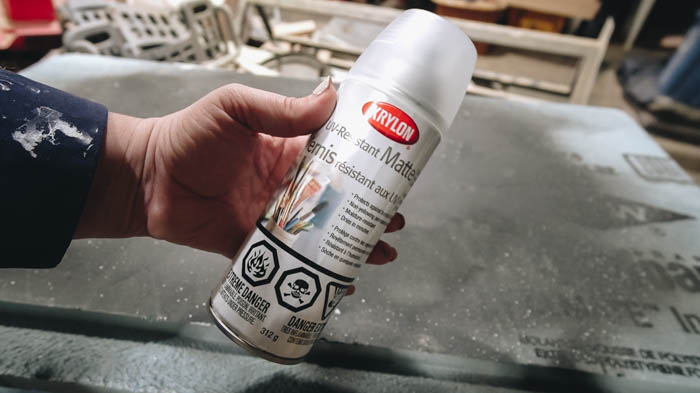
Instead of staining the candle holders I decided to just spray them with a clear coat to protect the candlesticks from any dripping wax and to keep the natural original colour.
Our Finished DIY Pillar Candle Holders
I love adding wood tones in my fall decor and I love adding candles. This is the perfect DIY for this season. They look amazing all together or on their own individually. I’m just really happy with how these DIY Pillar Candle Holders turned out.
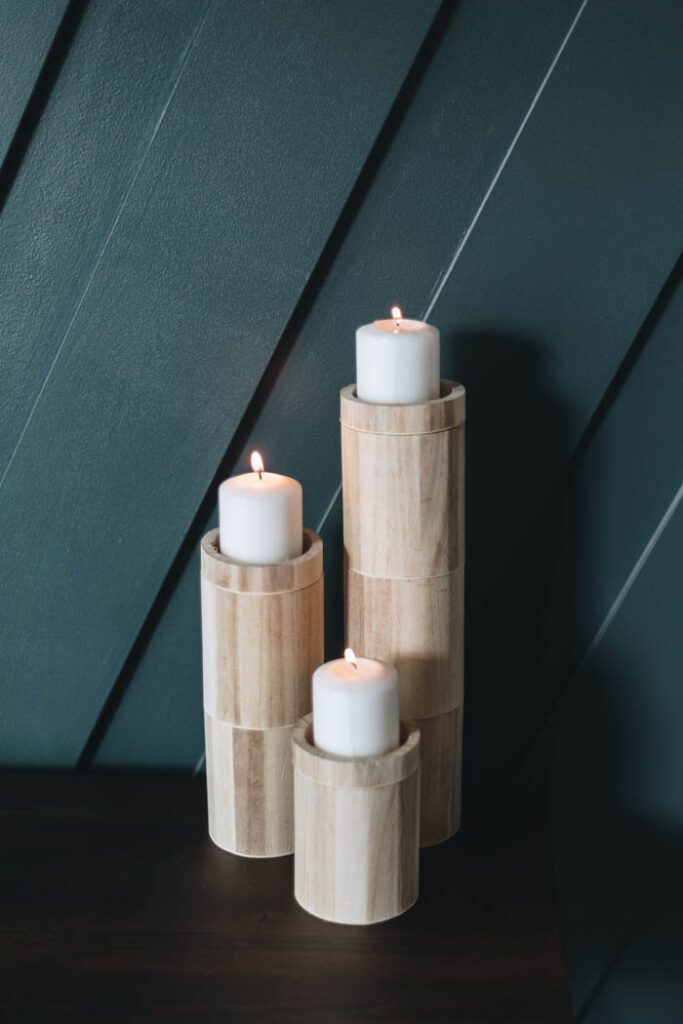
When I do Dollar Store DIYs, I always do a bunch at once. You can see me make these pillar candleholders along with a a whole Thanksgiving tablescape in the video below!
Print off the directions to make your own DIY pillar candleholders.
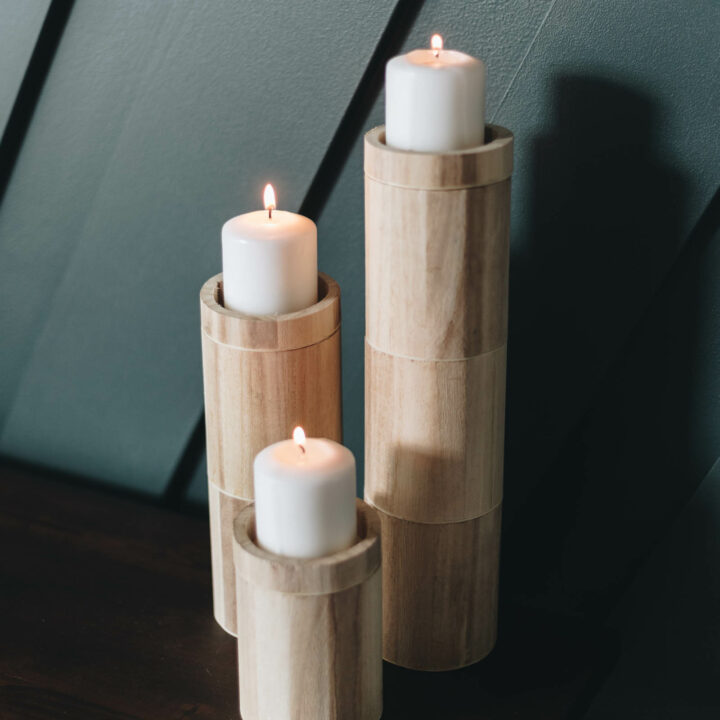
DIY Pillar Candleholders
How to make your own DIY pillar candleholders using Dollar Store supplies. Get the look of expensive decor on a budget when you make your own.
Materials
- Wooden cups from Dollar Tree
- Best craft glue
- Clear coat spray
- Sandpaper
Tools
- Miter saw
Instructions
- Cut the end off each cup and sand them.
- Use craft glue to put them together. Use the bottom piece you cut off to sit the candles in by gluing them to the top.
- Spray them with a clear coat to protect against wax dripping
- Add a candle and they're ready!

