
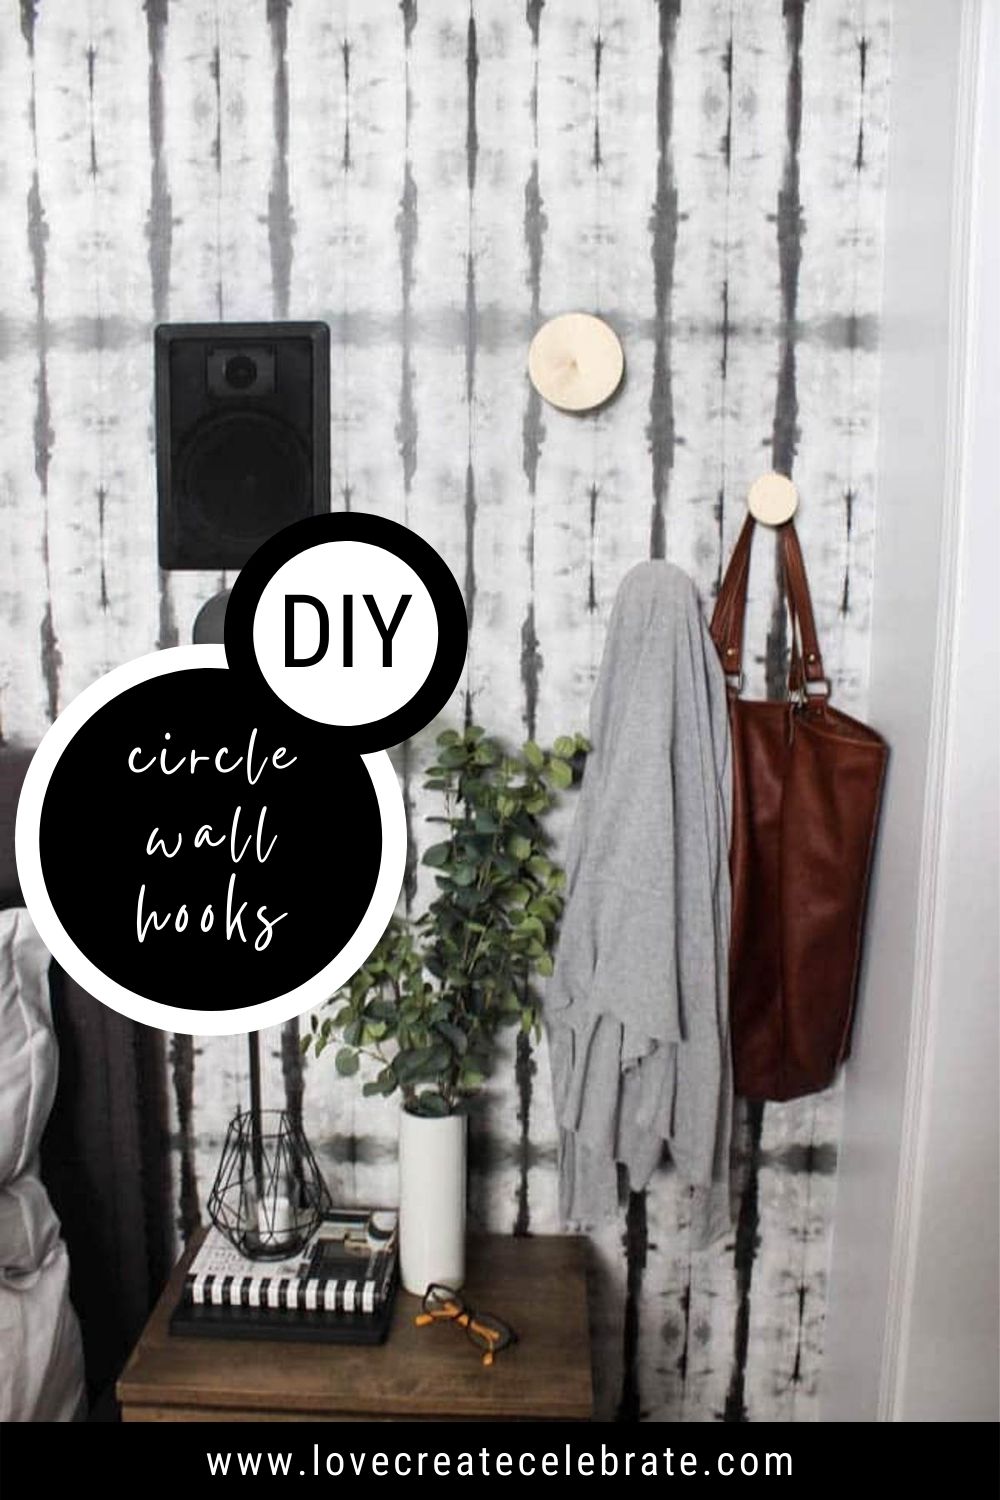
Looking for a modern wall hook to add some style to your space? These modern DIY wall hooks are so easy and look fantastic in almost any room of your home.
Fact: every bedroom needs wall hooks. This is my theory anyway, lol. Without hooks everything ends up on the floor. The housecoat, the belt, the hair towel, the pair of pants that you only wore for 3 hours so they’re not quite dirty enough for the hamper… they all end up on the floor!
When we were planning our Master Bedroom Makeover, I knew something was missing, but it wasn’t until the room was almost done that I realized we needed wall hooks! About a week before the big reveal, we whipped some up in just one evening. These Modern DIY wall hooks are simple, practical, and beautiful.

*This post may contain affiliate links. For more information, please read my disclosure policy*
Modern wall hooks are expensive. Have you looked at them online? A set of three hooks similar to these ones can easily cost you over $75! The set we’re showing you today cost us almost nothing because we used scrap pine boards that we already had in the garage.
We made these so quickly that I didn’t really take enough pictures, but I’ll try to be very clear with the tutorial! And if you have any questions, just ask.
Materials Needed to Make Your Hooks:
- 3/4″ thick pine board (or MDF)
- 3/8″ diameter dowel (only 3/4″ long)
- 1″ diameter dowel (only 1″ long)
- Wood Stain of Your Choice
- Polycrylic
Tools Needed to Make These Hooks:
- Jig saw
- Scroll saw or router table (for circles)
- Drill
Time: 1 hour (plus time for stain to dry)
How to create DIY wall hooks
We wanted a natural wood look, so we used scraps of pine shelf board that we had left over from this previous project. If you plan to paint them you can use MDF too.
Selecting a Size
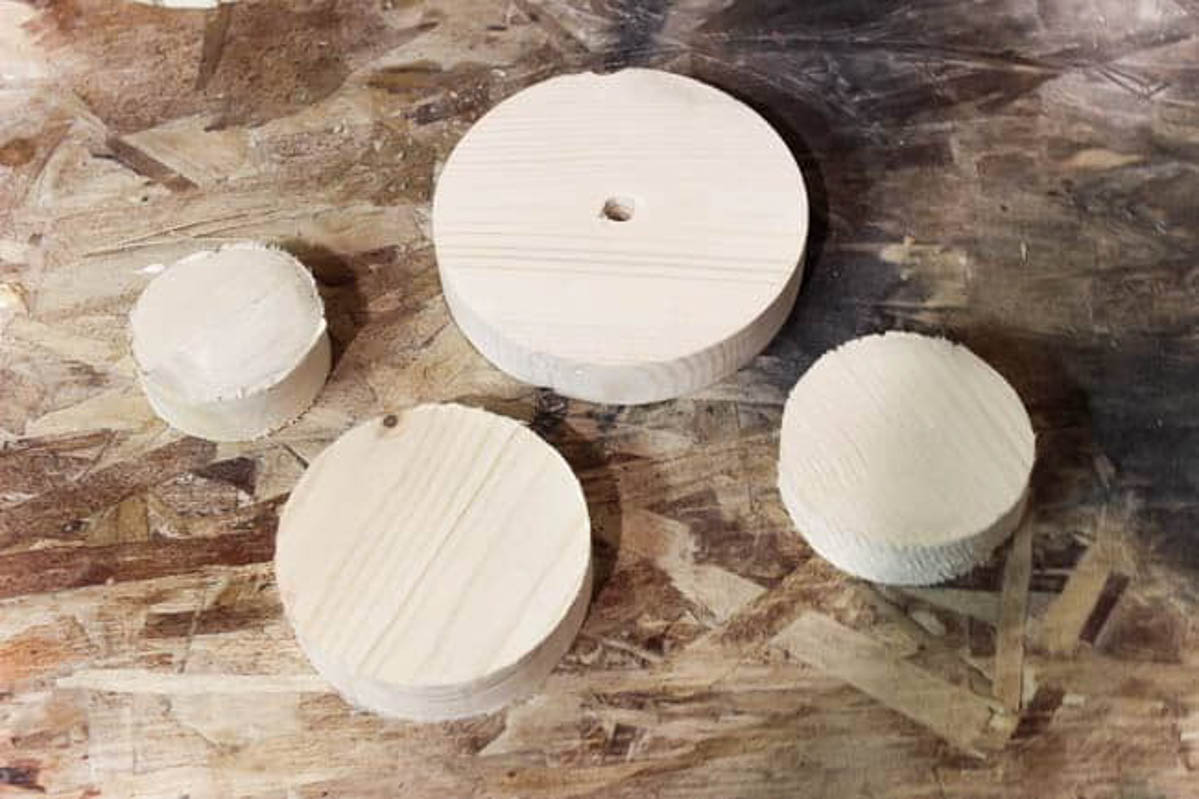
Determine your desired diameter of your circle hooks. We weren’t sure what sizes we wanted, so honestly we made a whole lot with different dimensions! We cut out a ton of circles until I was happy with a little set of three of them. You can make your own sizes to suit your space. The ones we will show you here are 2″, 4″, and 6″ in diameter.
Trace your circle onto you material using a compass. If you don’t have a compass, find any material that has approximately the diameter that you want. This could mean using plastic containers, tape rolls, glass, etc. to act as a template.
Cut your circle out using a scroll saw, jig saw, or router table. If you are using a jigsaw, make sure to clamp down your piece and rotate the circle between cuts.
Drilling
The next step is to drill holes into the backs at the center of the circles. Our plan was to make one wide circle (any size wall hook you want), one 1″ center dowel, and one tiny dowel to sit between the two pieces holding them together (this small pieces will be completely hidden at the end).
Drill a 3/8″ hole on the back of the circle, going about 1/4″ to 3/8″ in depth. We used 3/4″ thick wood so we knew we could go that deep. If you use thinner wood, adjust drill depth to ensure holes does not go through the thickness of the board (see the drilled hole in the large circle above).
Cutting
The next step is to cut the two dowels to mount the hooks to the wall.
Use a saw to cut a 3/8″ diameter dowel down to approximately 3/4″ in length. Part of this dowel will go into the circles you just cut, and part will go into the 1″ dowel. This is the connecting piece that will be hidden when you are done the wall hooks
Cut a 1″ diameter dowel to 1″ in length, drill a 1/8″ hole all the way through the dowel and then a 3/8″ hole on the back of the 1″ dowel, going about 1/2″ in depth (or halfway through the dowel).
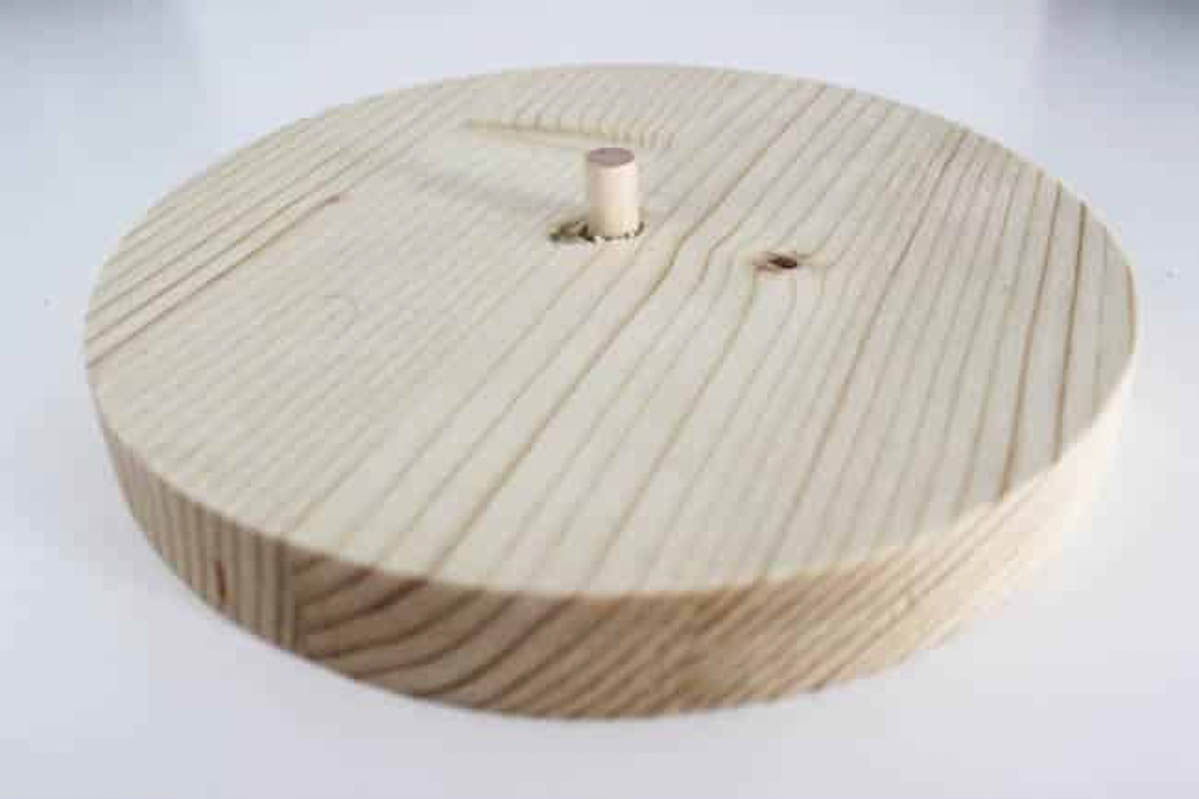
Take the 1/4″ diameter dowel and glue one end. Place the glued end into the back of the circle wall hook.
Stain your wood any colour you want (I used a natural wood stain), then finish with Polycrylic.
Mounting
When everything is stained and ready for the wall, here are the final few steps to add your modern DIY wall hooks into your room.
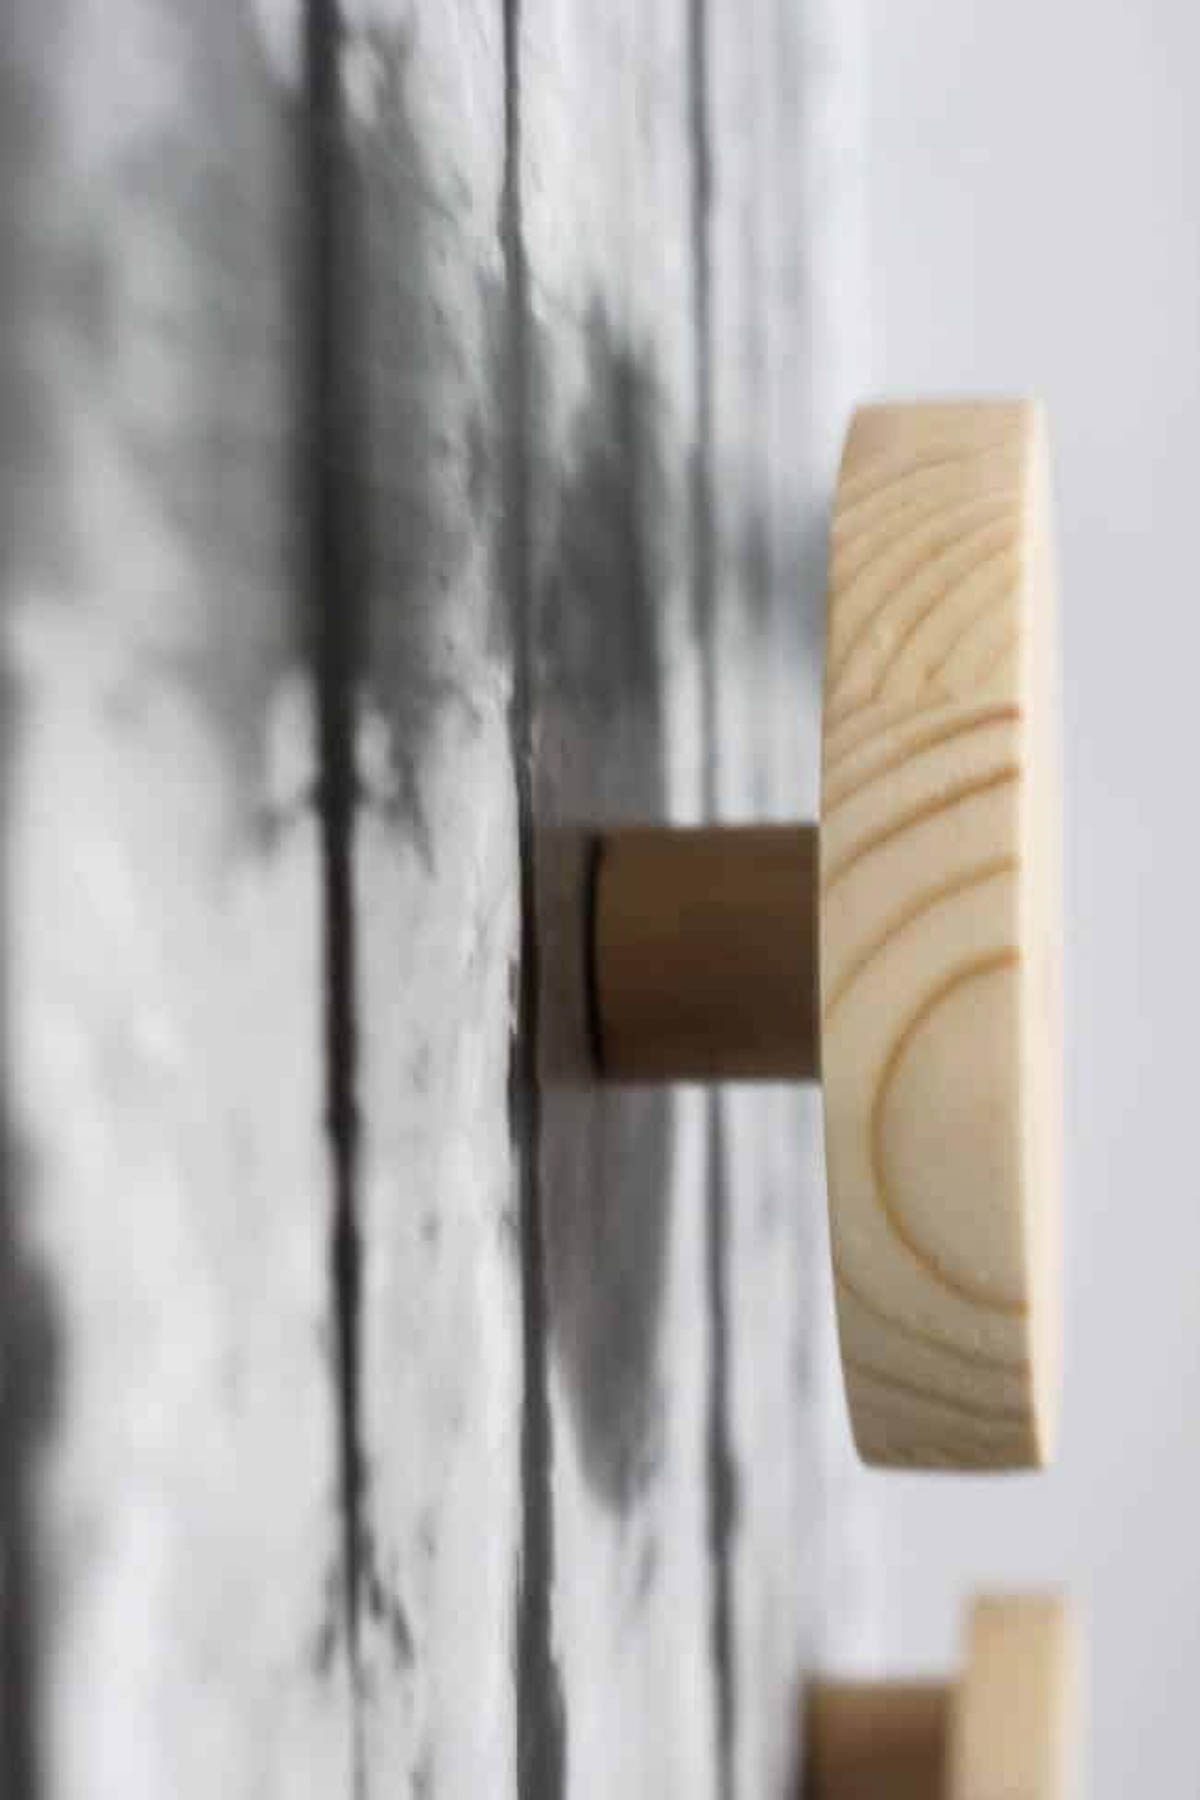
Screw your 1″ dowel to the wall with the 3/8″ diameter hole facing outwards. Ensure you screw into a stud behind the drywall or use a drywall anchor for your screw, as you will definitely be hanging items on these hooks.
Now grab the other circle with the dowel sticking out of the back. Insert the 3/8″ diameter dowel (the one in the back), and put it into the 1″ diameter dowel. When you are done, the 3/8″ dowel will be completely hidden.
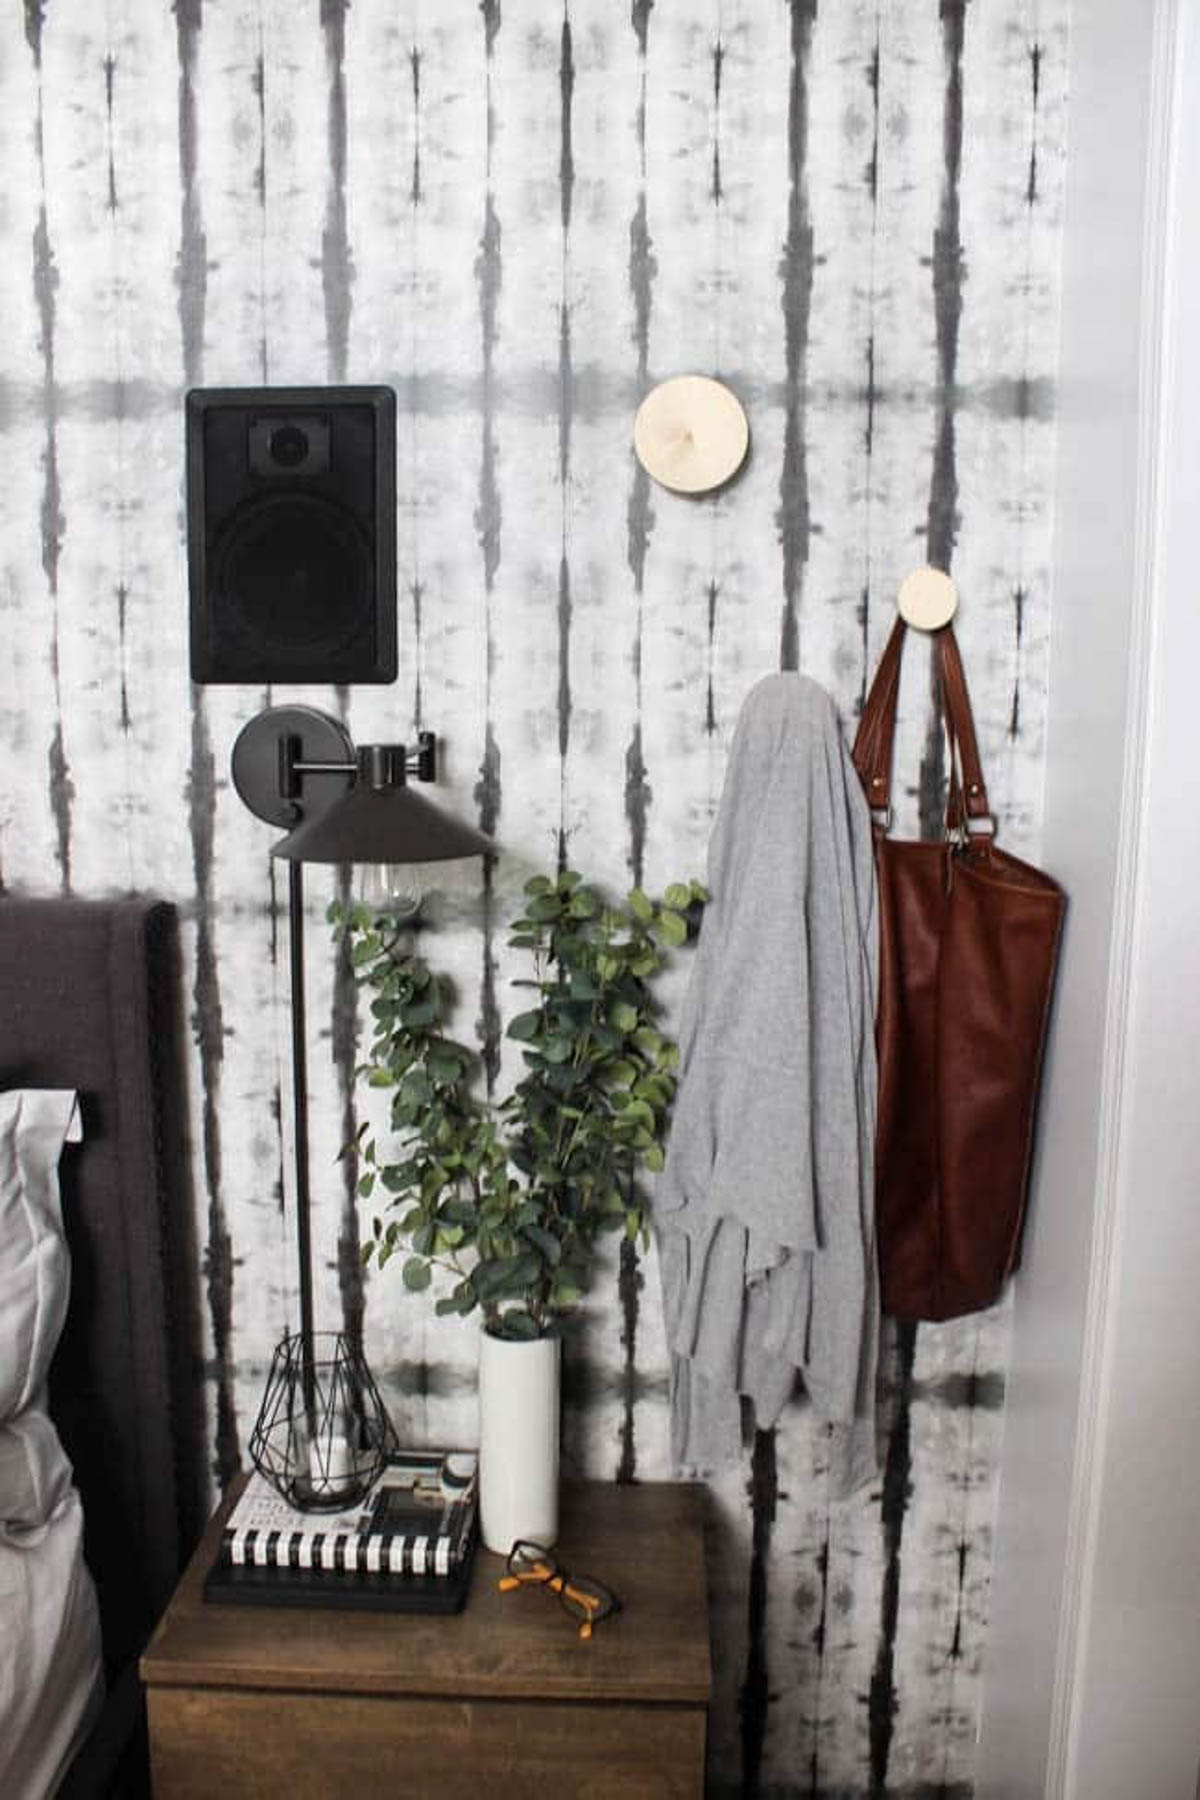
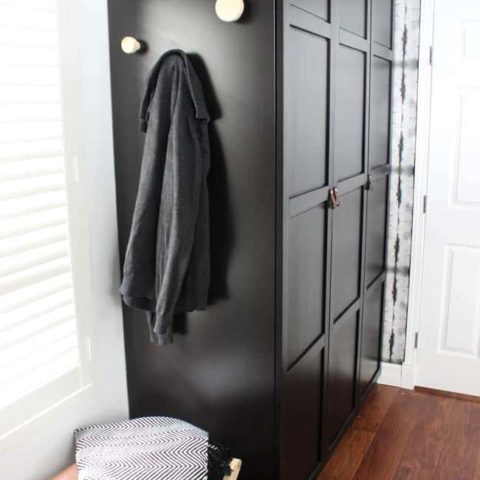
Our Finished Modern DIY Circular Wall Hooks
I honestly could not be happier with how these turned out. They may have been a last minute addition, but they blended into the space perfectly. Now we don’t need that chair in the corner where we always pile the clothes, lol. We have actual hooks to pile onto!
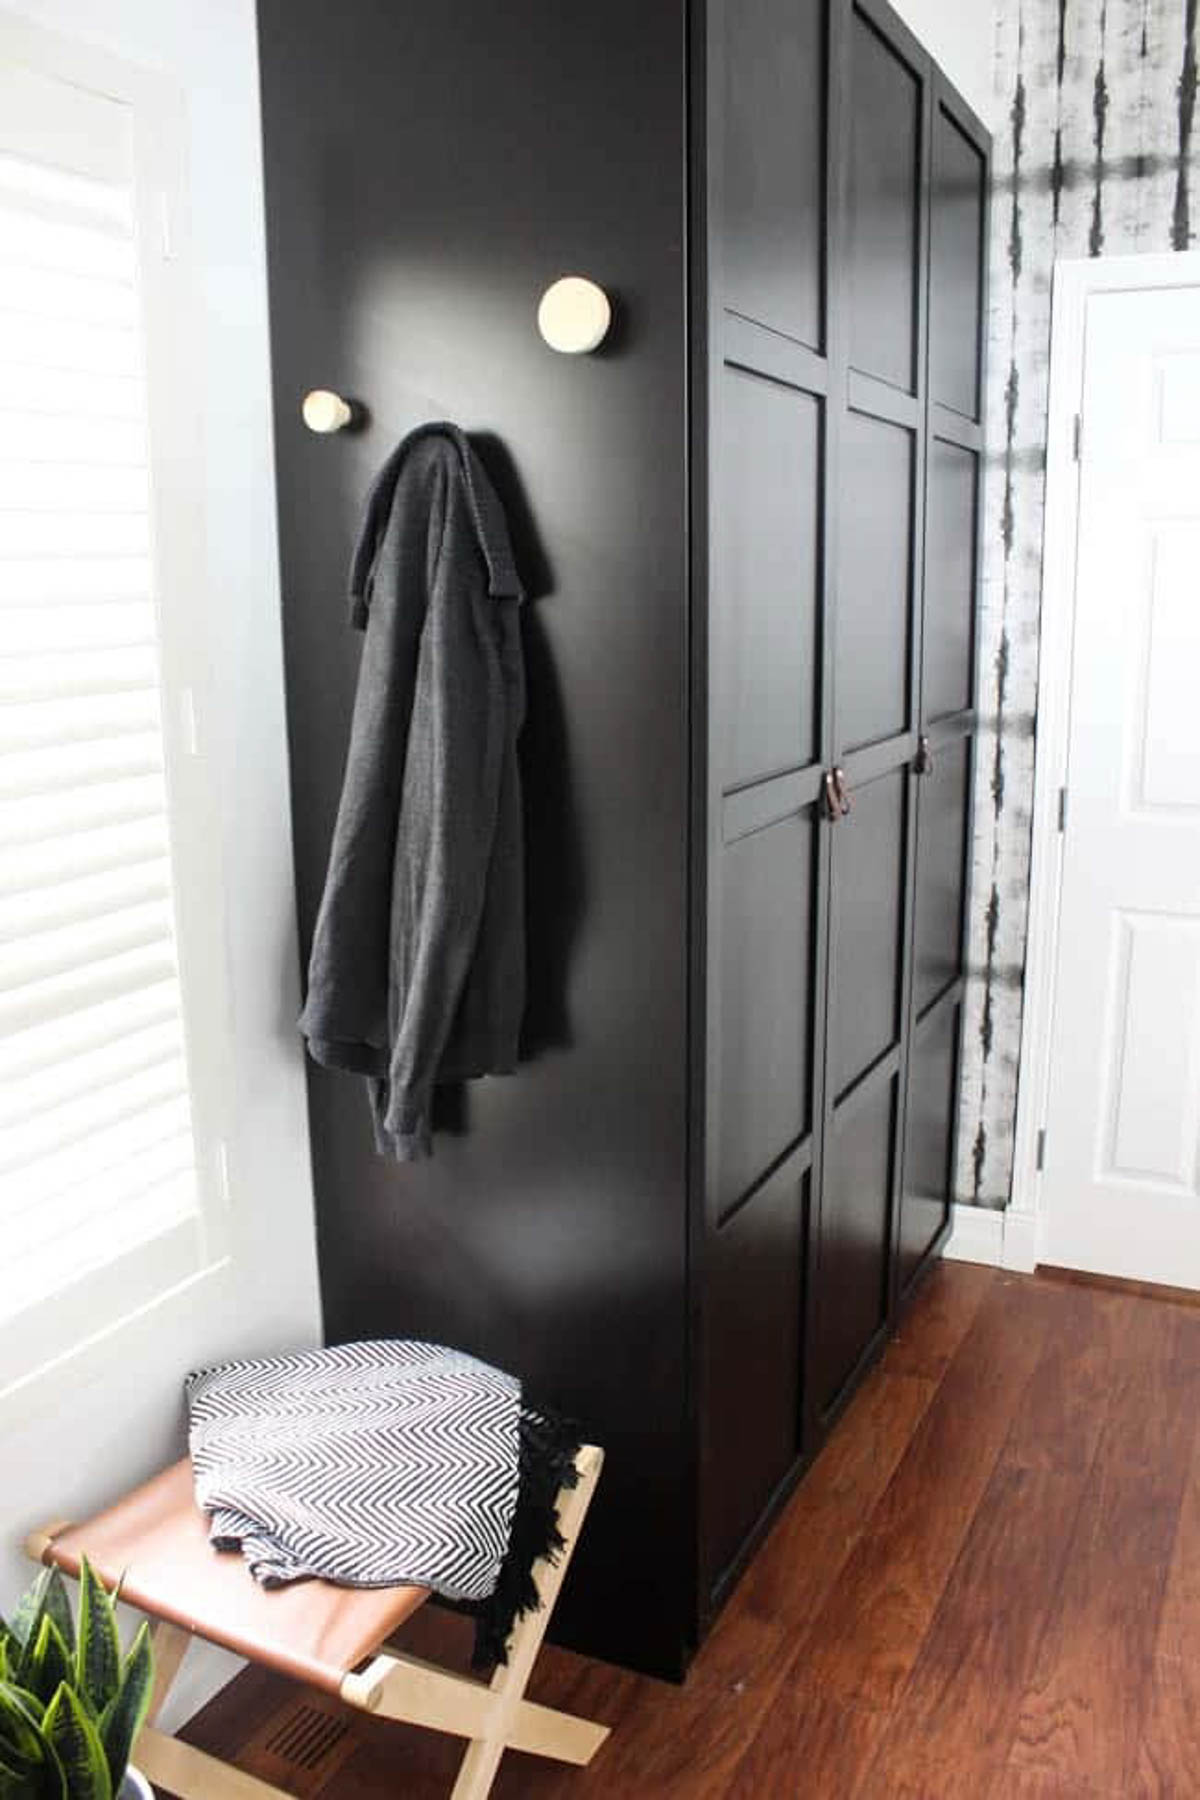
We had made a few different sizes, and when they were done I loved them so much that I ended up putting a group of three wall hooks onto both sides of our bedroom!
Modern DIY Wall Hooks
Looking for a modern wall hook to add some style to your space? These modern DIY wall hooks are so easy and look fantastic in almost any room of your home.
Materials
- 3/4" thick pine board (or MDF)
- 3/8" diameter dowel (only 3/4" long)
- 1" diameter dowel (only 1" long)
- Wood Stain of Your Choice
- Polycrylic
Tools
- Jig saw
- Scroll saw or router table (for circles)
- Drill
Instructions
- Determine your desired diameter of your circle hooks. We made a set of three with 2", 4", and 6" diameters. Trace your circle onto your wood using a compass, or any round object with the right diameter.
- Cut your circle out using a scroll saw, jig saw, or router table.
- Drill a 3/8" hole on the back of the circle, going about 1/4" to 3/8" in depth.
- Cut a 3/8" diameter dowel to a length of approximately 3/4" long. Part of this dowel will go into the circles you just cut, and part will go into the 1" dowel.
- Cut a 1" diameter dowel to 1" in length, drill a 1/8" hole all the way through the dowel and a 3/8" hole on the back of the 1" dowel, going about 1/2" in depth.
- Take the 1/4" diameter dowel and glue one end, place in the back of the circle wall hook. Stain your wood as desired (I used a natural wood stain), then finish with Polycrylic.
- Screw your 1" dowel to the wall with the 3/8" diameter hole facing outwards. Ensure you screw into a stud behind the drywall or use a drywall anchor for your screw.
- Take your circle, insert the 3/8" diameter dowel (the one that was glued into the back of the circle), and put it into the 1" diameter dowel. When you are done, the 3/8" dowel will be completely hidden.
Recommended Products
As an Amazon Associate and member of other affiliate programs, I earn from qualifying purchases.

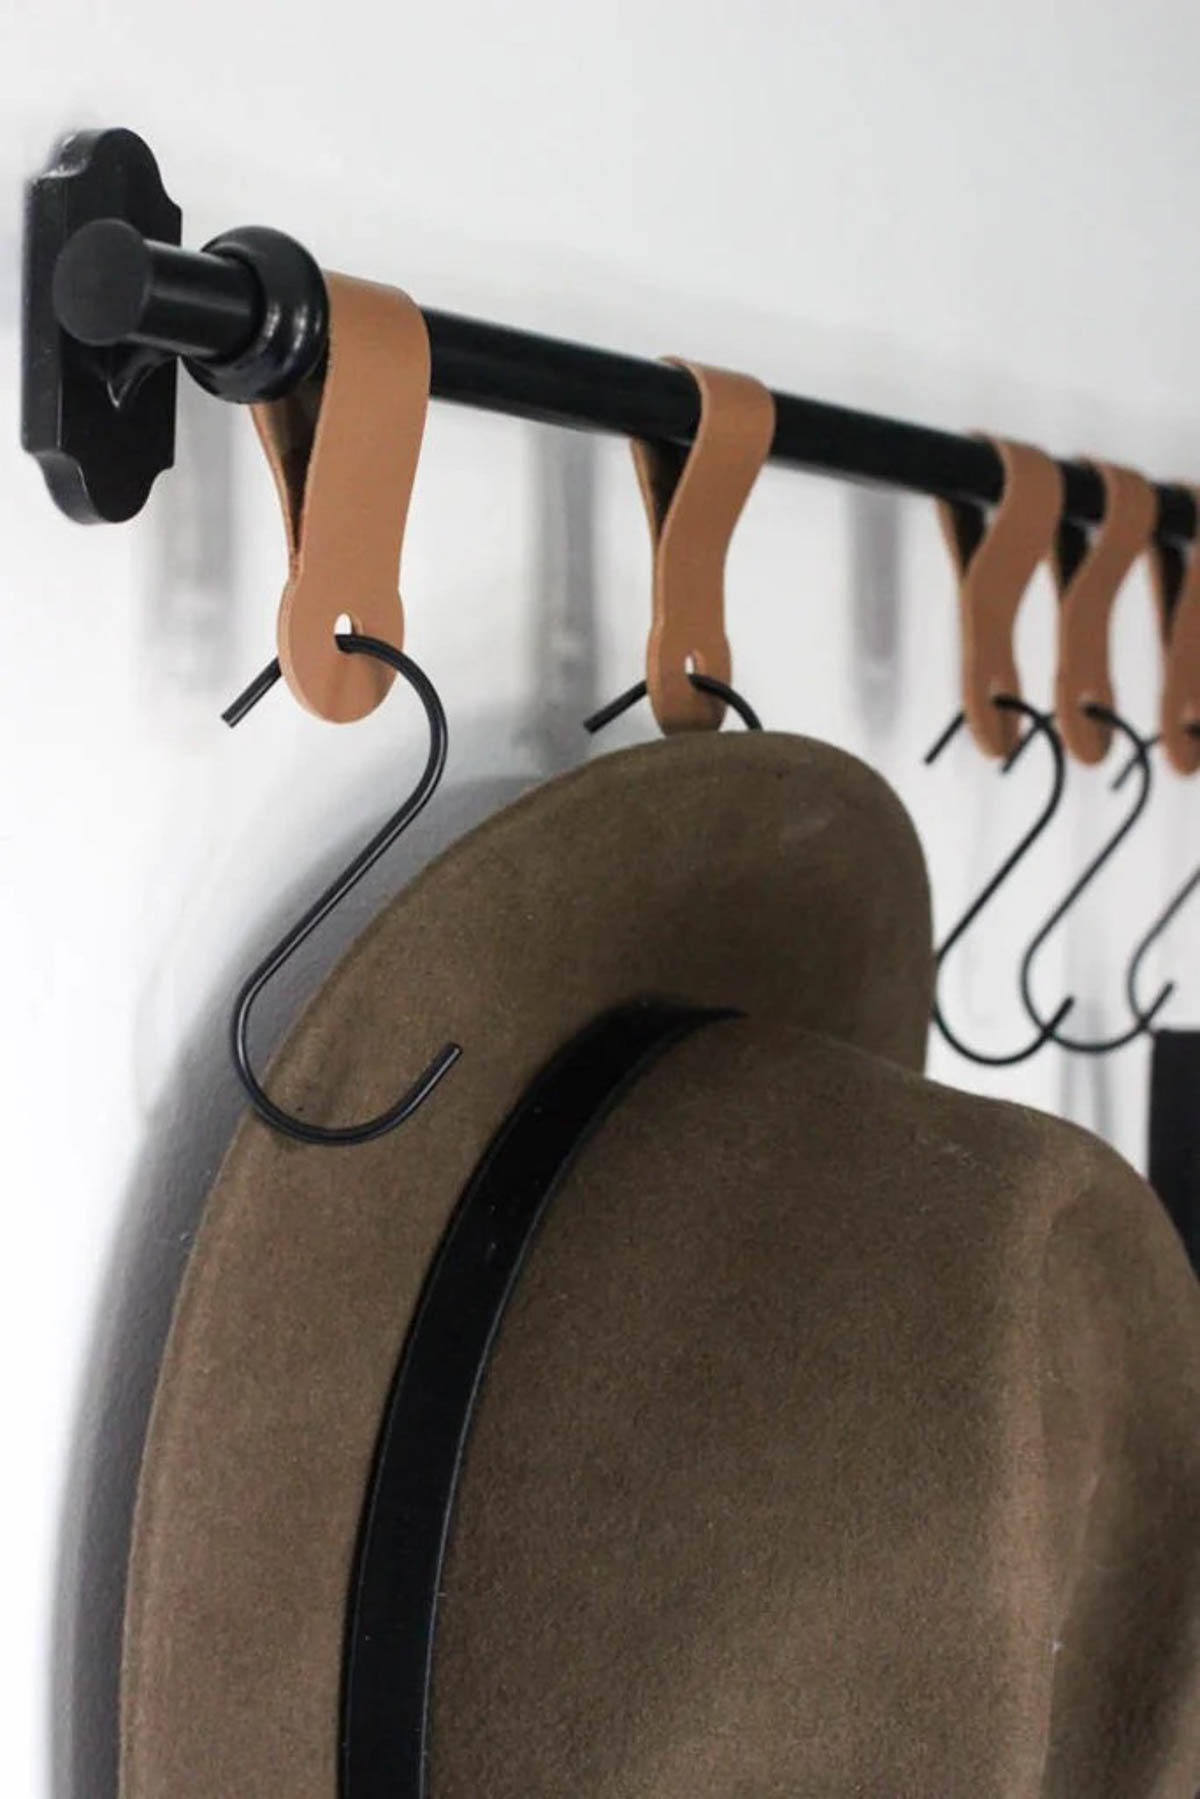
Another one of my absolute favourite Wall Hook projects is these Leather Hooks!
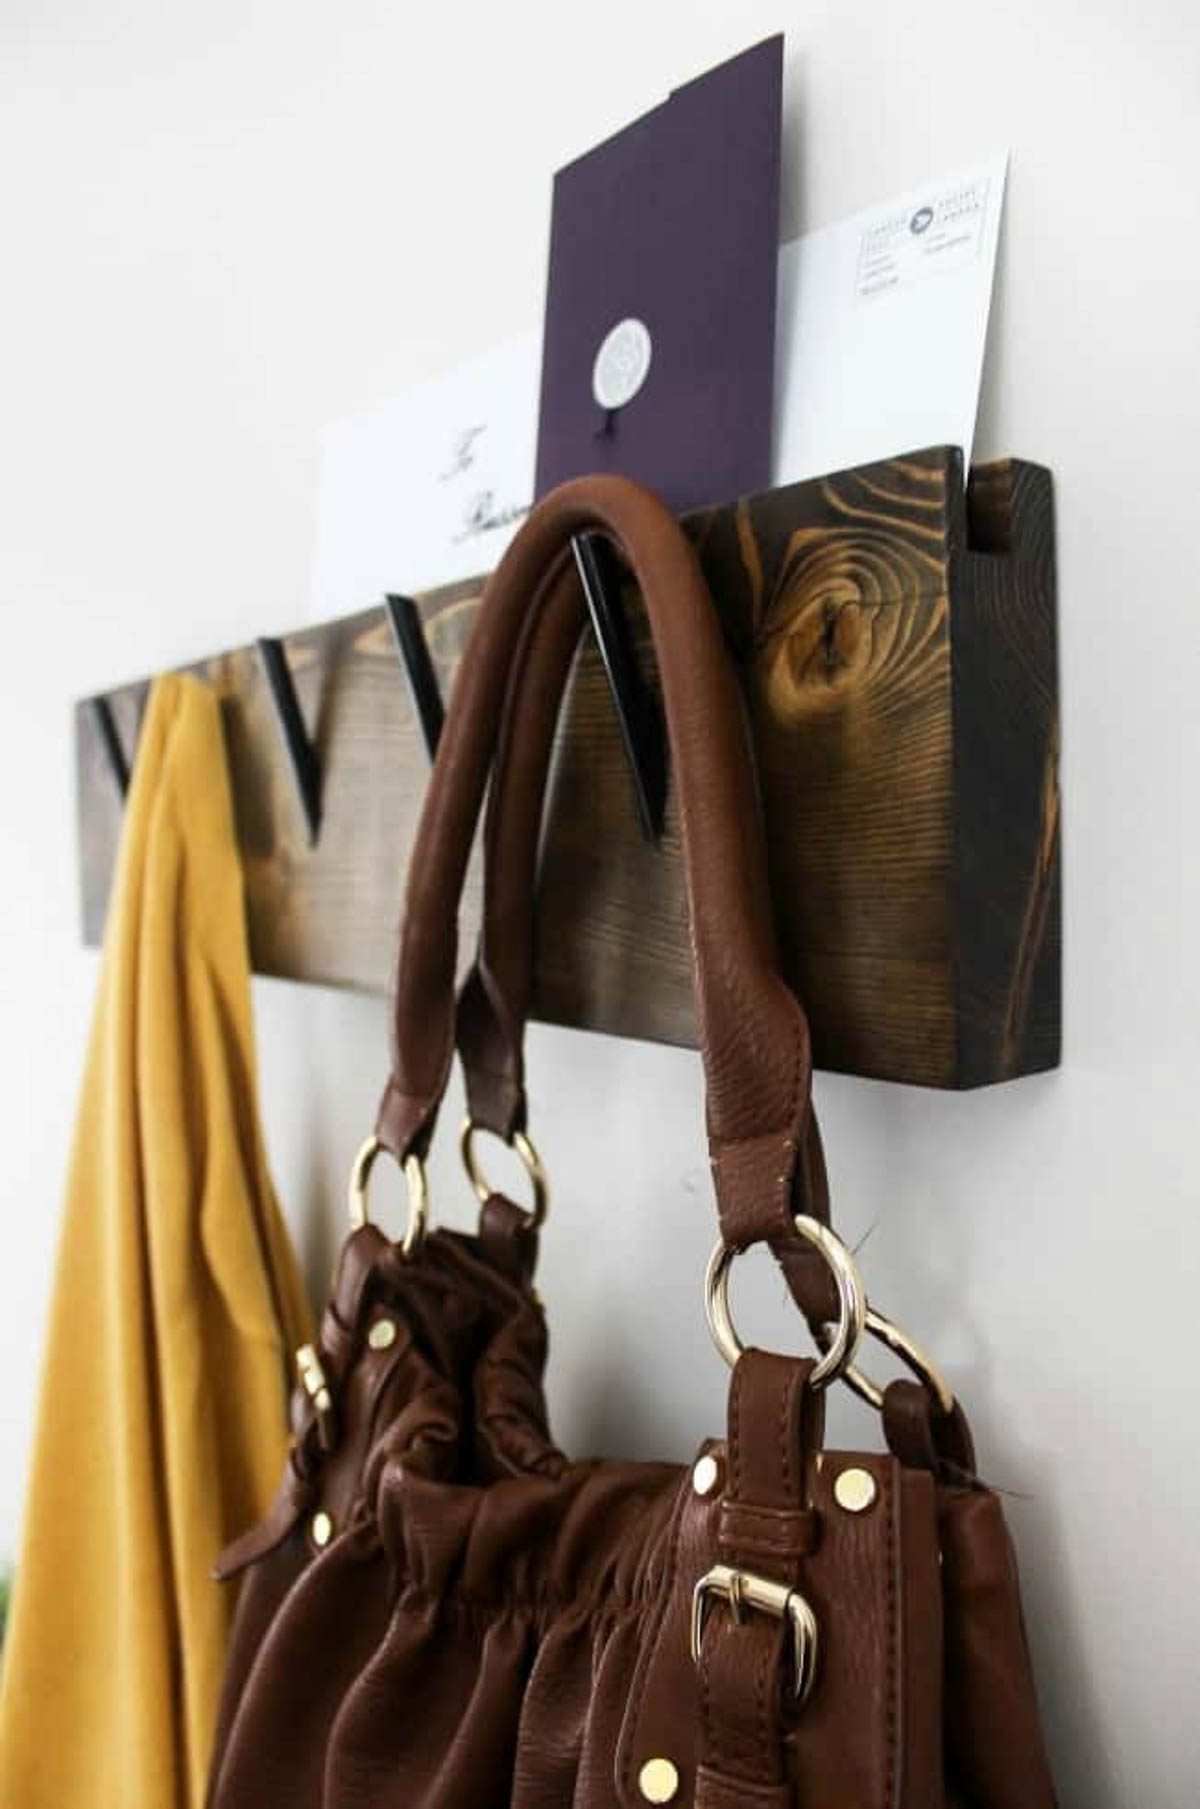
Don’t forget to check out this great Coat Rack Idea.
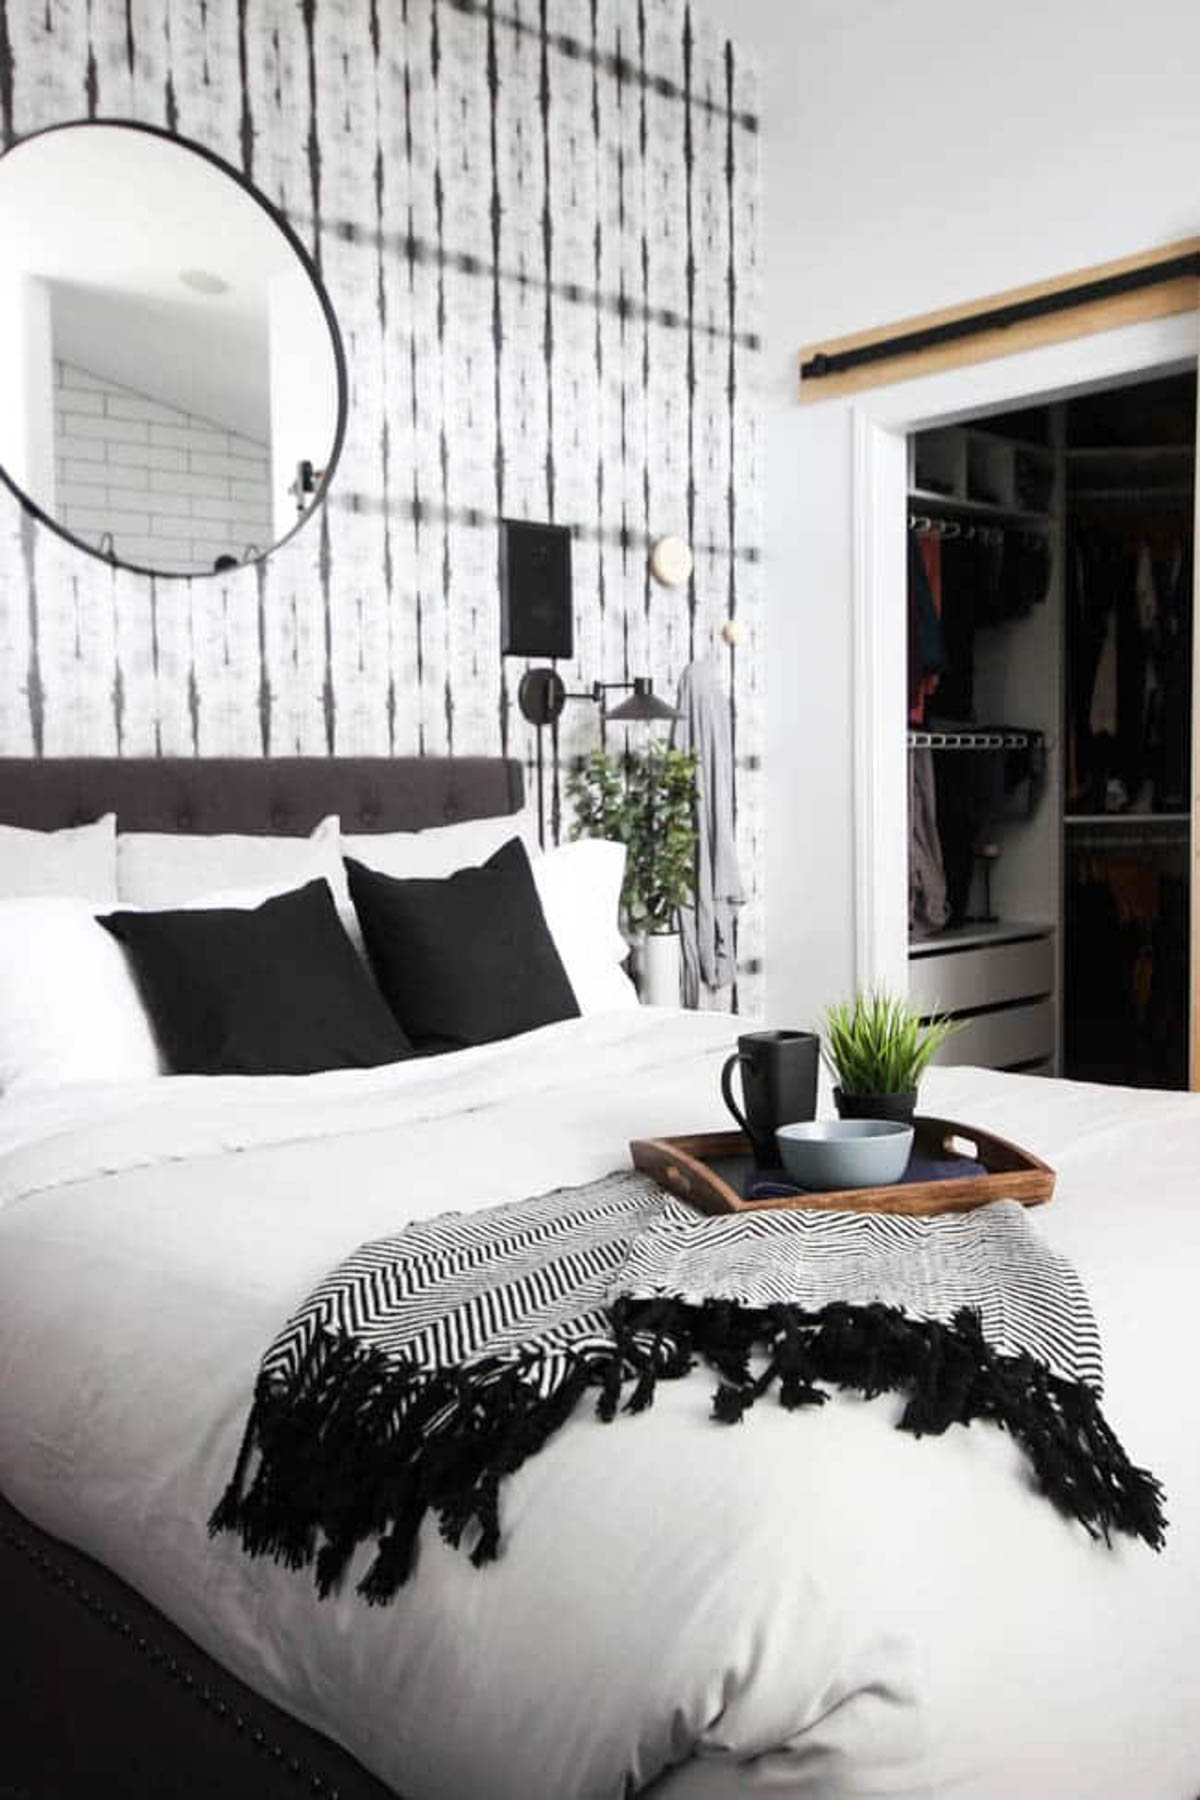
Pop over and see the bold and beautiful Master Bedroom Renovation.

Richard Rhinehart
Sunday 18th of November 2018
Thanks for the blog post. The decor ideas you have given, are fantastic. I like it. Keep sharing!
Steven
Saturday 26th of August 2017
It's an amazing coat rack idea. I'm very excited to make it. Thanks, Thanks and Thanks for the great idea.
Lindivs
Monday 28th of August 2017
Anytime! I'm so glad you liked it!