Love this beautiful shared kids bedroom makeover! Completely transformed in just one weekend, featuring stencil walls, a slat wall, a play house, & more!
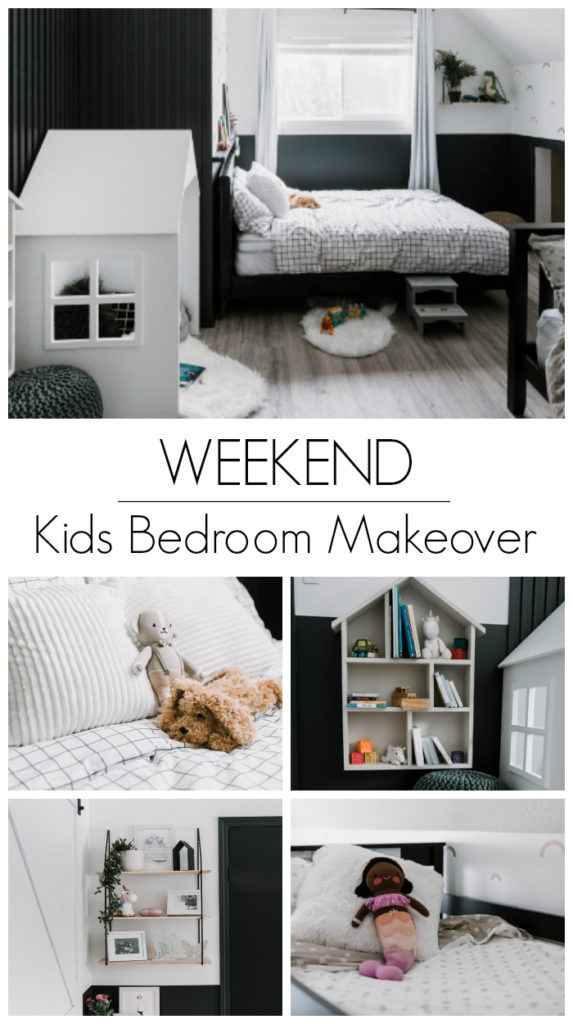
Well… we did it again! We completely transformed a space in a weekend! Our kids were moving into our old master bedroom together (because we didn’t have enough space for three kids in our only other bedroom! And we decided to give the space a HUGE transformation in just THREE days! Our shared kids bedroom makeover was ambitious (as they always are!), but we got it done!
*This renovation was sponsored by Jysk Canada and Valspar Canada. For more information, please see our disclosure page*
This is our third time tackling a renovation in a weekend! We also tackled our kitchen, and our dining room, so when we had to re-decorate our kids bedroom, a weekend renovation seemed like the best idea!
This used to be our master bedroom, that we shared with the baby (see the post for crib photos!), but our baby has turned into a toddler, and we needed our own space again!
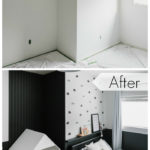
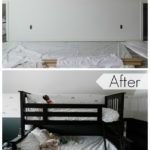
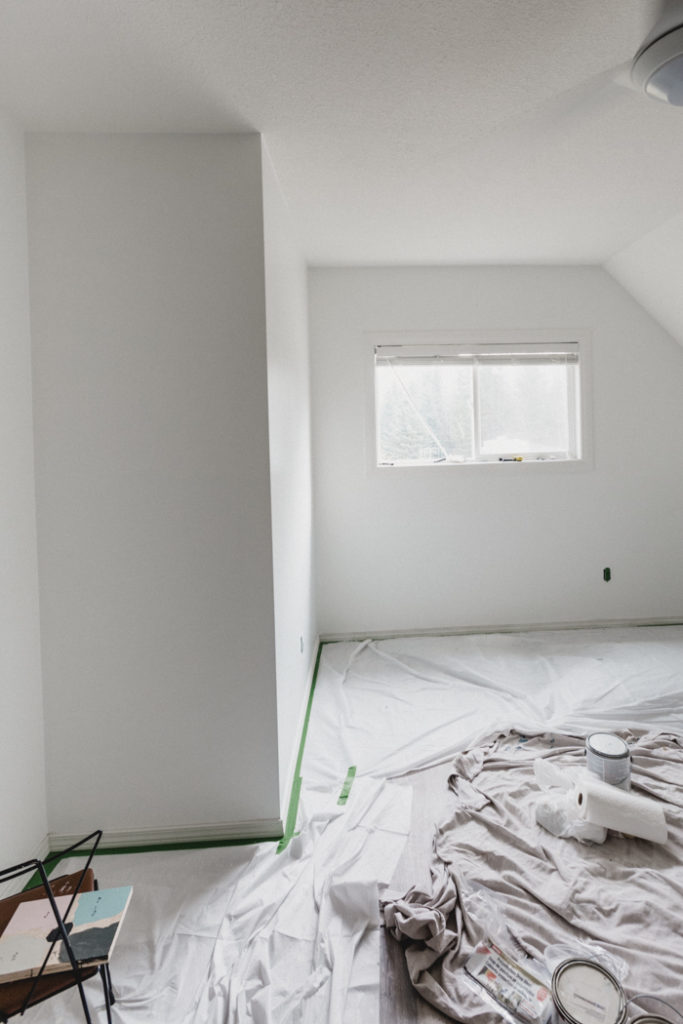
So we emptied everything out, and this is where we were before we started the weekend renovation (photos above). It was a totally blank slate, and we were stretching what we could get done in three days.
The Shared Bedroom Reveal Video
We shared the entire renovation on Instagram, and saved it all to our highlights called “Kids Room”, but if you missed it, or want to see why we made some of our design decisions, we made a quick video to share all of the details!
In the video we also share our kids’ reactions to the space, you don’t want to miss their reactions when we finally let them into their new room!
Our Kids Bedroom Makeover After ONE Weekend
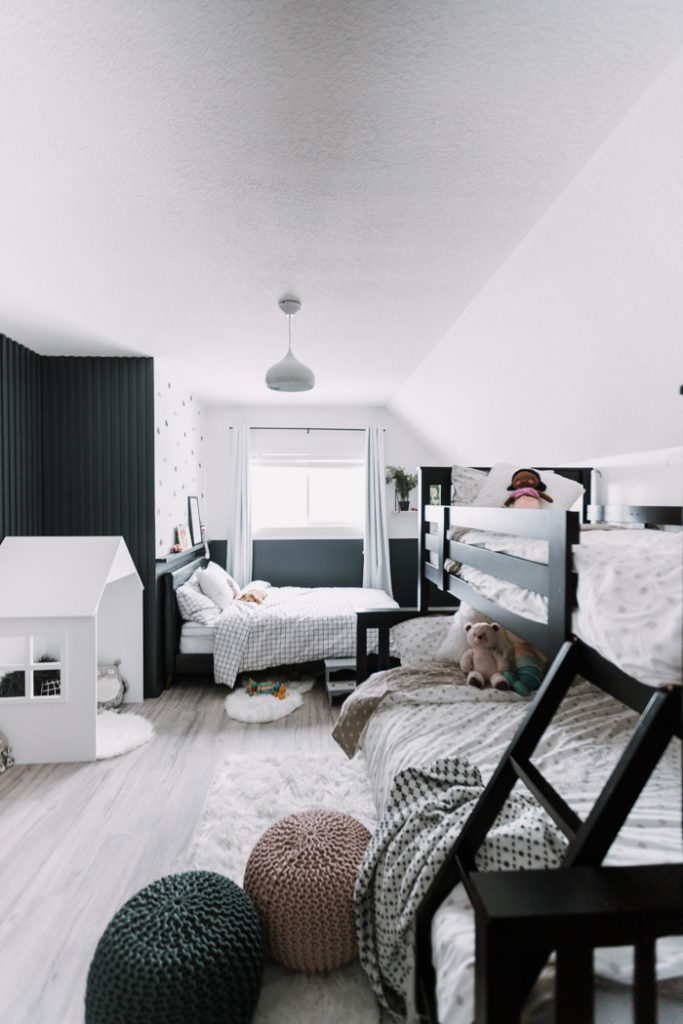
We felt very ambitious in what we were taking on this time. My husband even said to me (on more than one occasion!), that he thought I was tackling too much.
Honestly, maybe we were… because we did stay up past midnight for two nights just to get it all done…. but it was worth it!
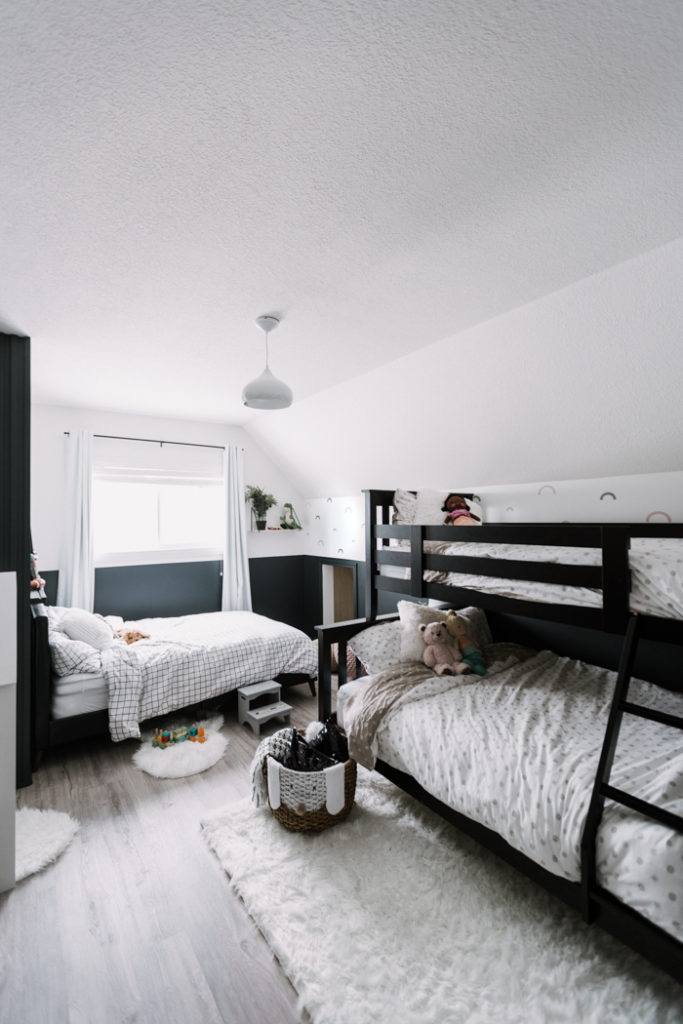
We shared all of the bedroom design plans before we started. Here are all of the things we wanted to accomplish during the three day renovation
- Paint Walls
- Make Stencils
- Paint TWO Stencil Walls
- Build Feature Wall
- Build Play House
- Paint existing bookshelf
- Paint small houses
Make some DIY artwork?- Make some DIY pom-pom garlands?
- Assemble furniture (beds, side table, shelves, etc)
Style the space
We didn’t get to the one with the strike through it (although we made the space work anyway! And we didn’t end up using the small houses, or the pom-pom garland (yet!), although I’ll probably add both to the space eventually!
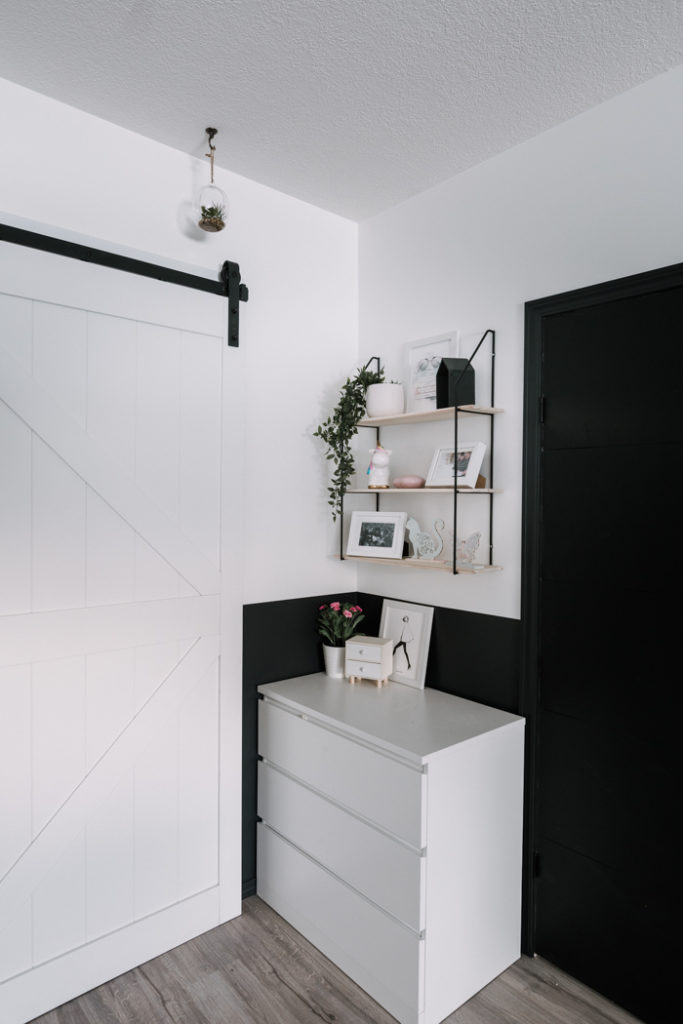
The corner of the bedroom has a dresser that we already had, and we added a little shelving unit to add some girly touches to this side of the room.
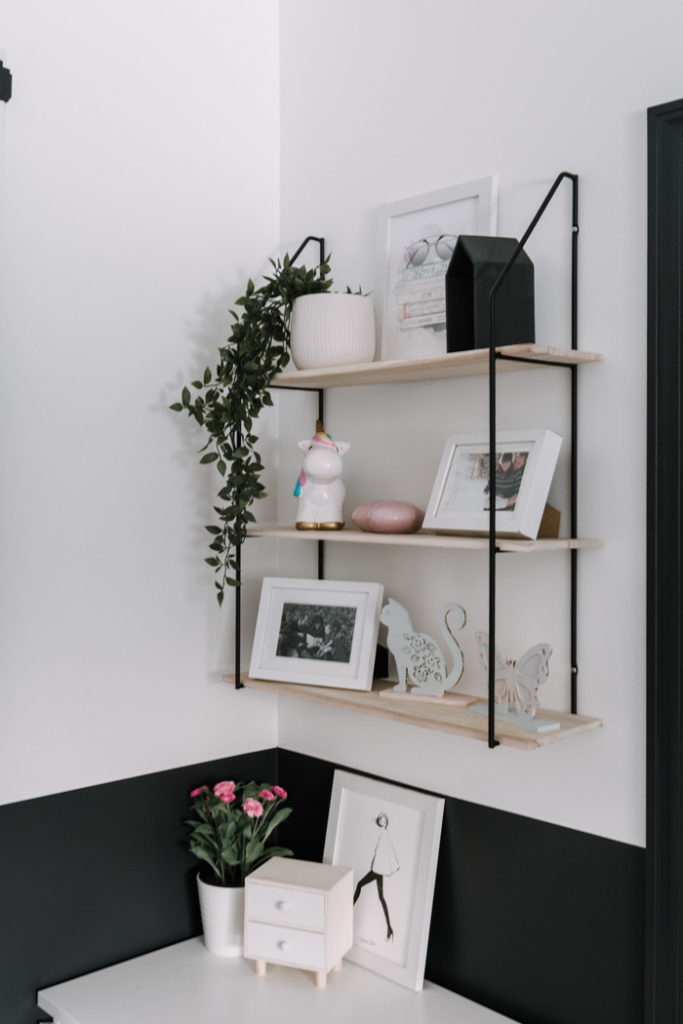
Piggy banks, animals that the girls painted, and some accessories from their old bedroom filled out the shelves beautifully!
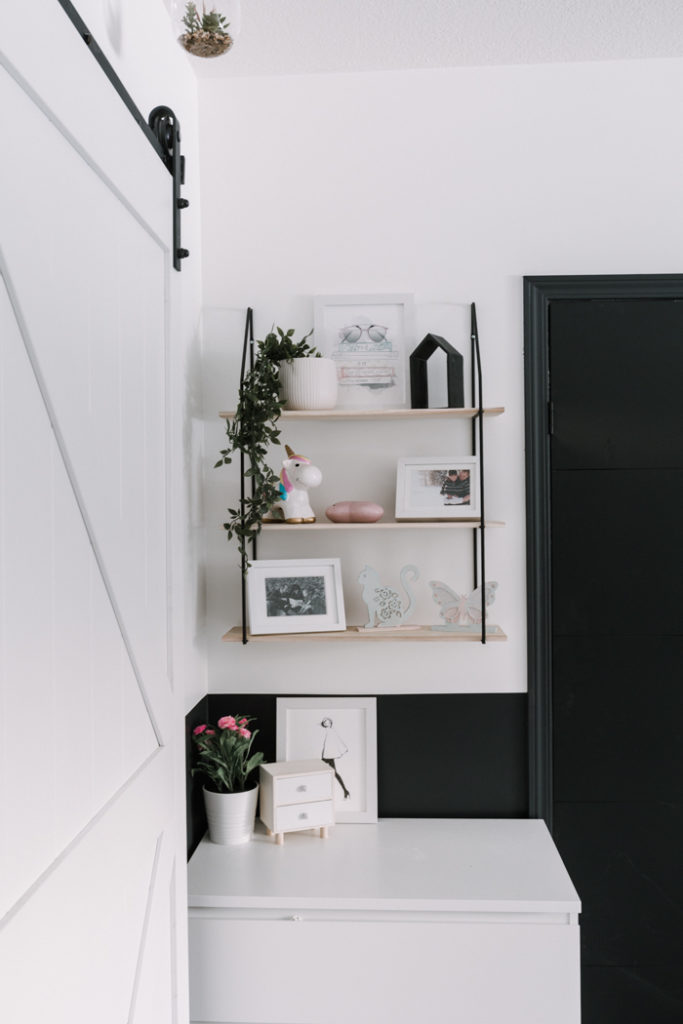
Before we started anything, we made that simple black strip across the wall. For me, black is a neutral colour – it belongs in every room! So adding a half black wall around the entire space was an easy way to join both sides of the room together.
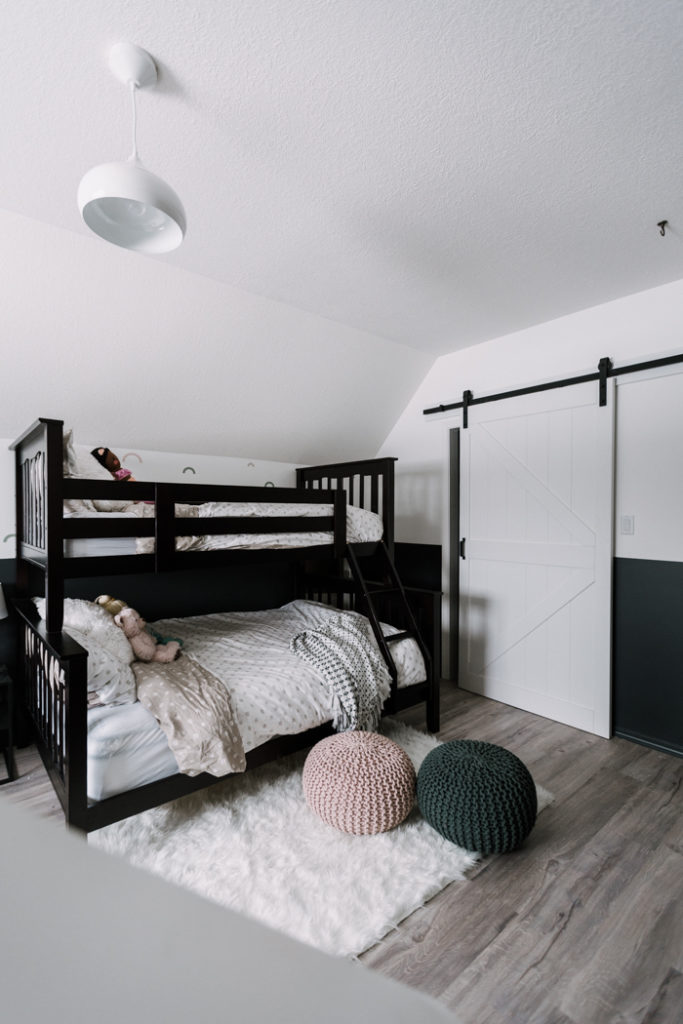
The huge closet with the sliding barn door was already there (thanks to a previous makeover that my husband and I did! So we didn’t have to add any extra dressers or storage to the space.
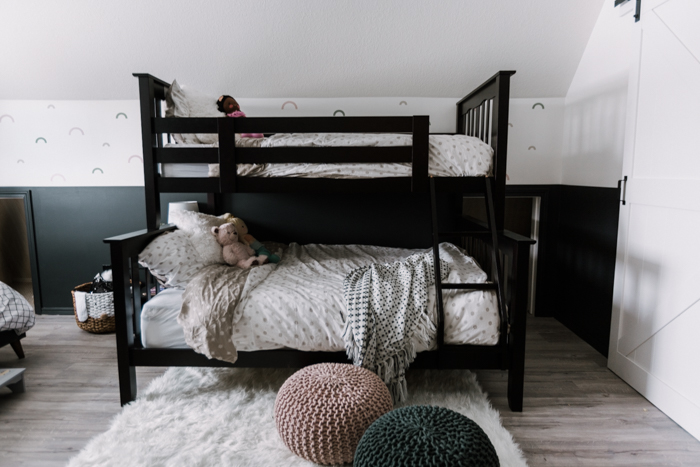
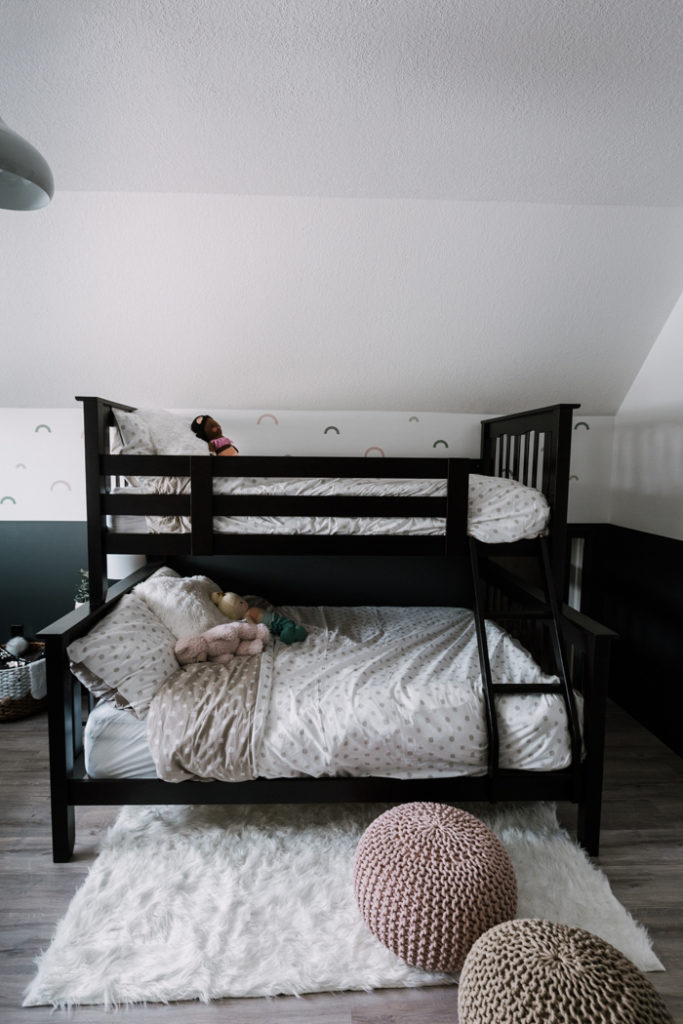
The girls got a brand new bunk bed that they love! The big double bed on the bottom makes it easy for us to let guests or friends use this space when needed (as we can shift the kids downstairs to sleep for a day!).
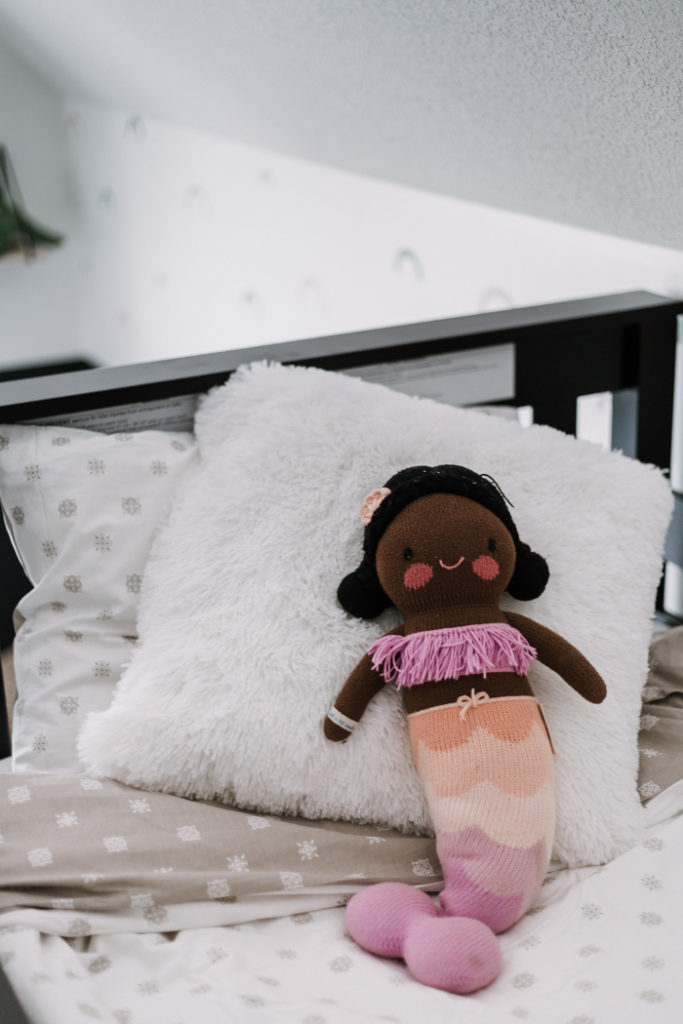
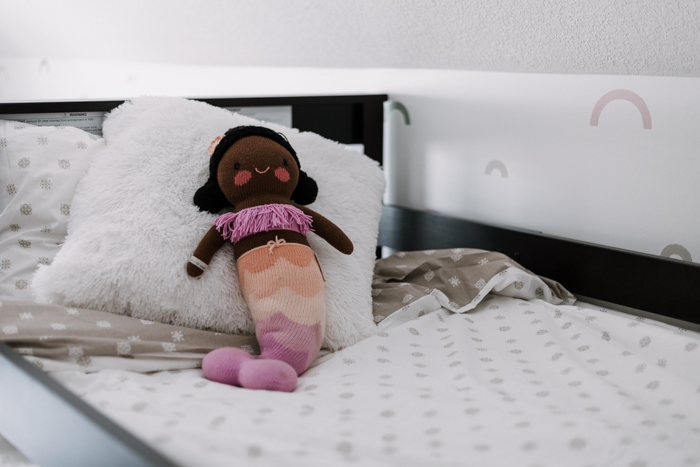
The cute scandanavian bedding was a PERFECT match for the paint colours I had already chosen, and adds a sweet, feminine touch to the room, as do the fluffy white pillows (which actually might be some of the softest pillows I’ve ever had!)
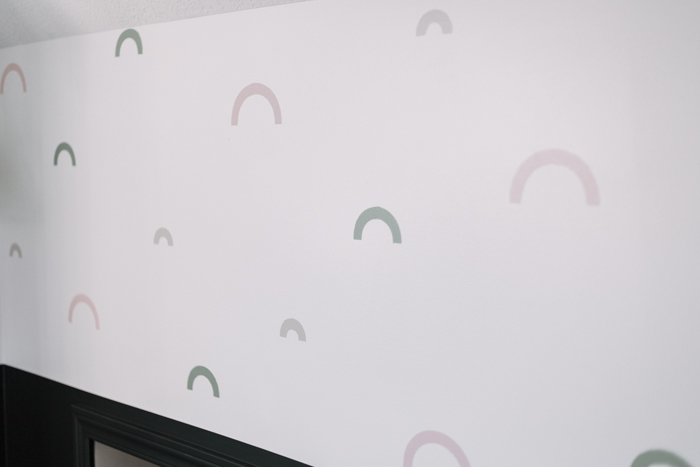
We asked the girls what they wanted in their bedroom and they both said “rainbows!” They also said, “a castle” which was where my artwork was supposed to come in… lol. But they can still get that one day!
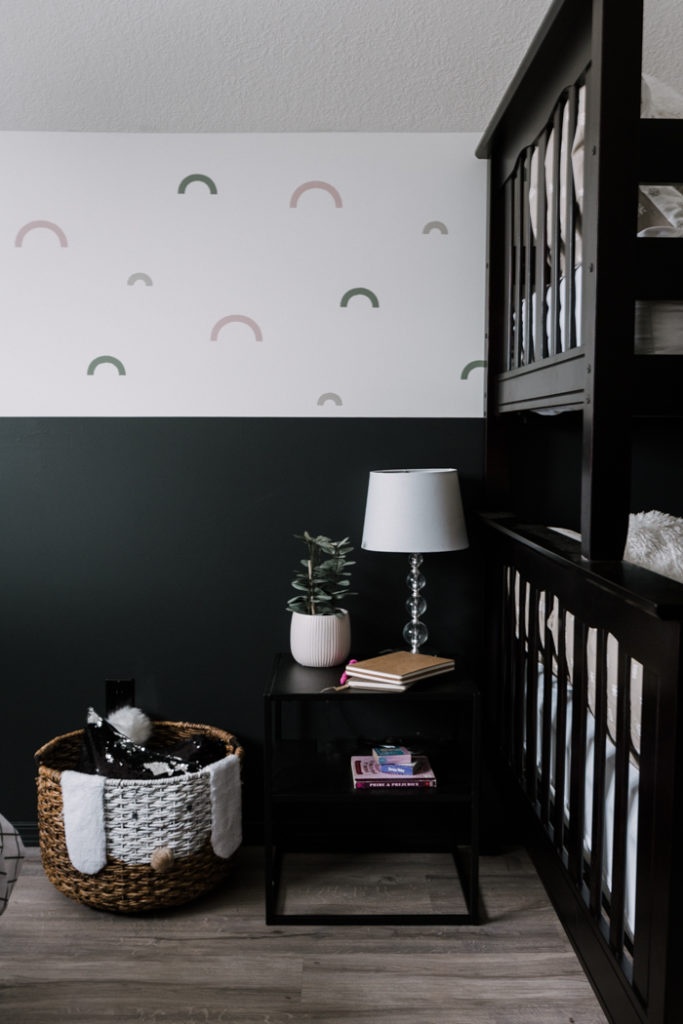
I created my own stencils, and added these “deconstructed rainbows” to the entire half wall behind the bed!
I used beautiful pink, green, and beige colours from Valspar (all linked at the bottom), and they looked beautiful together.
We also added a cute little nightstand for the girls to put their books and lamp on.

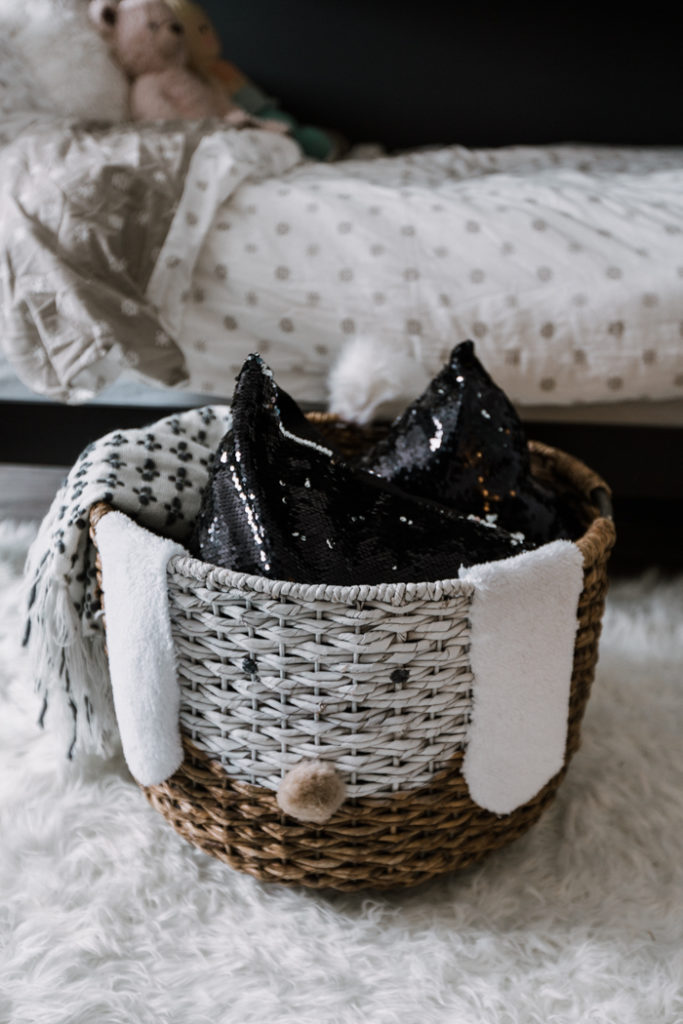
This little bunny basket DIY was something I made with the girls. I tried to involve them in as many ways as possible. It is their room afterall!
But I also just like to keep them involved in the creative process. They loved making this little basket, and I think it turned out pretty cute!
I love the way that the rainbows frame the bunk bed in this space. It was the perfect choice!
The rooms merge in this corner of the room. The two walls that the beds currently sit on, were the only walls that the beds could fit on. So we didn’t have a lot of choices in terms of layout.
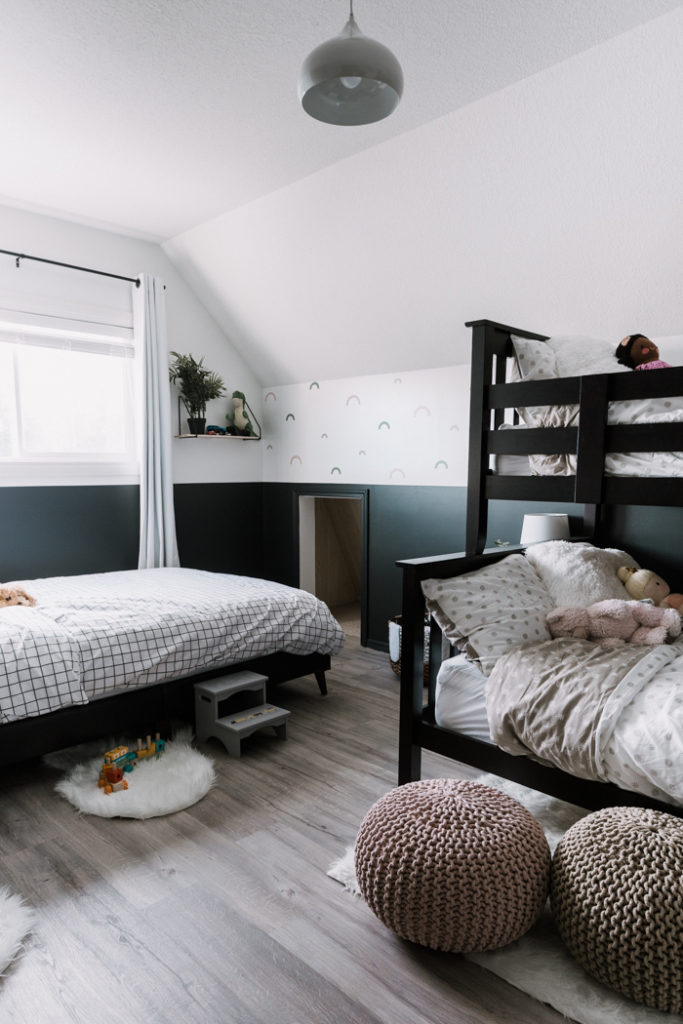
Since, I know that someone is going to ask! Those little openings, on the angled walls, are storage cubies. They were built into the home in all of the upstairs rooms to maximize storage.
My hubby and I still want to make doors to close them off, but they are necessary spaces for us to store all of our extra bins. For now, the kids will just be crawling in and out of them like it’s a secret fort, lol.
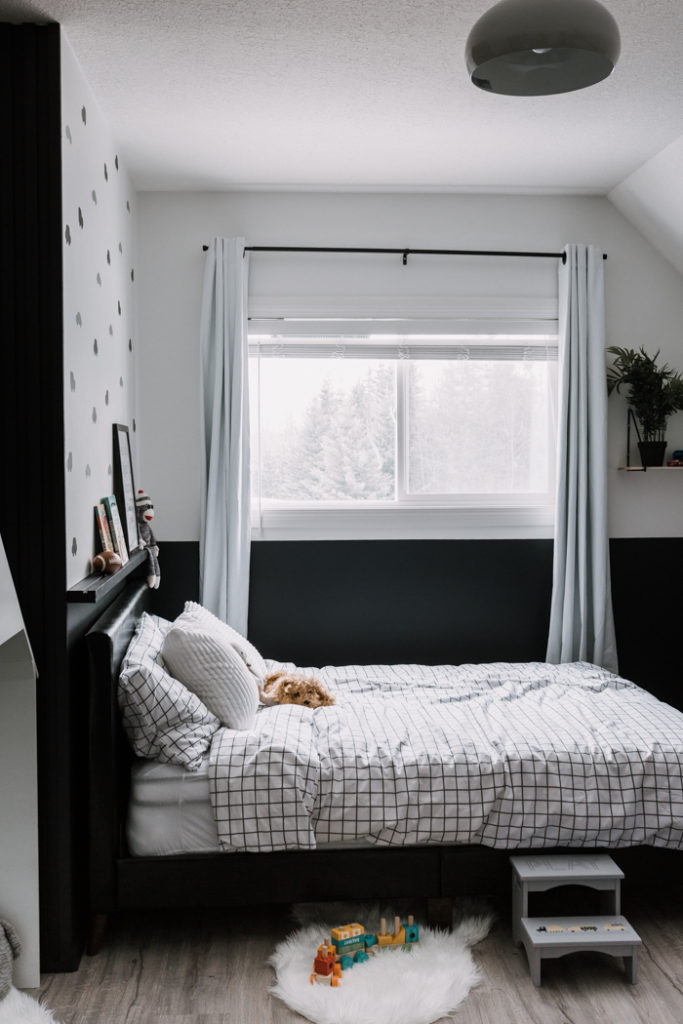
Having boys and girls share a room was a bit of a challenge because I didn’t want to make the space feel overly girly or overly boyish.
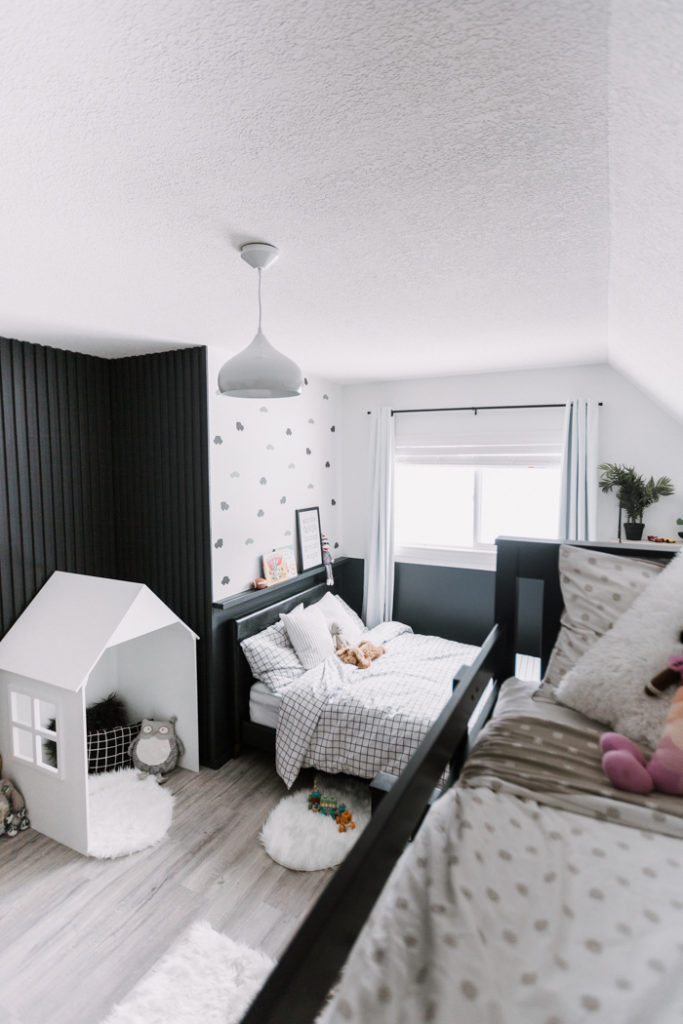
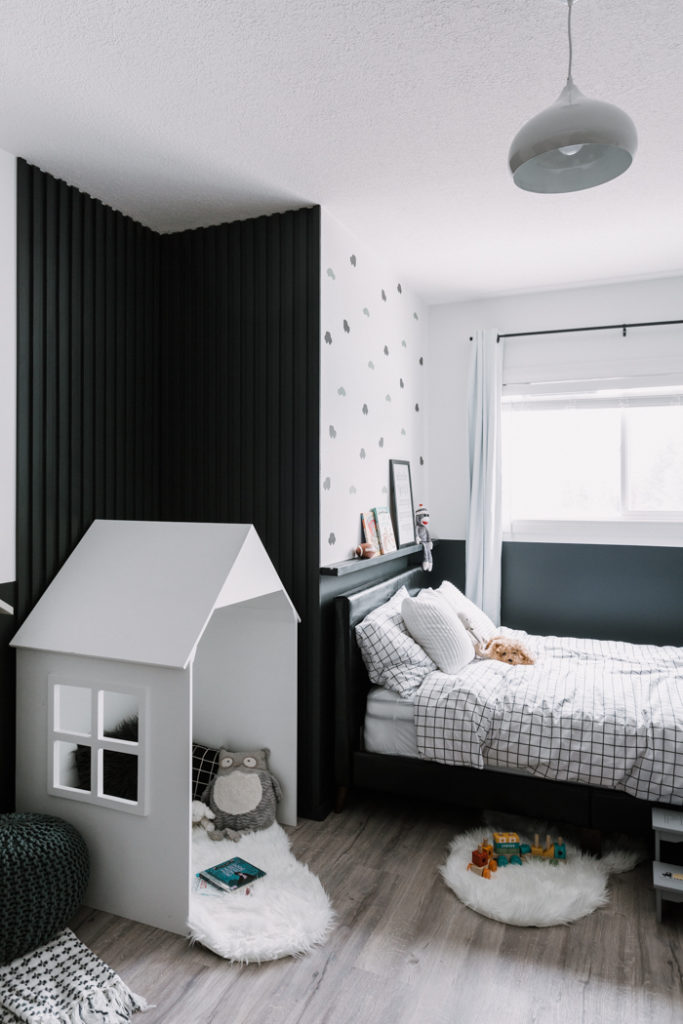
Again, we gave our son a little shelf for all of his own boy-ish toys to be displayed, and then we created a stencil wall that we thought he would love!
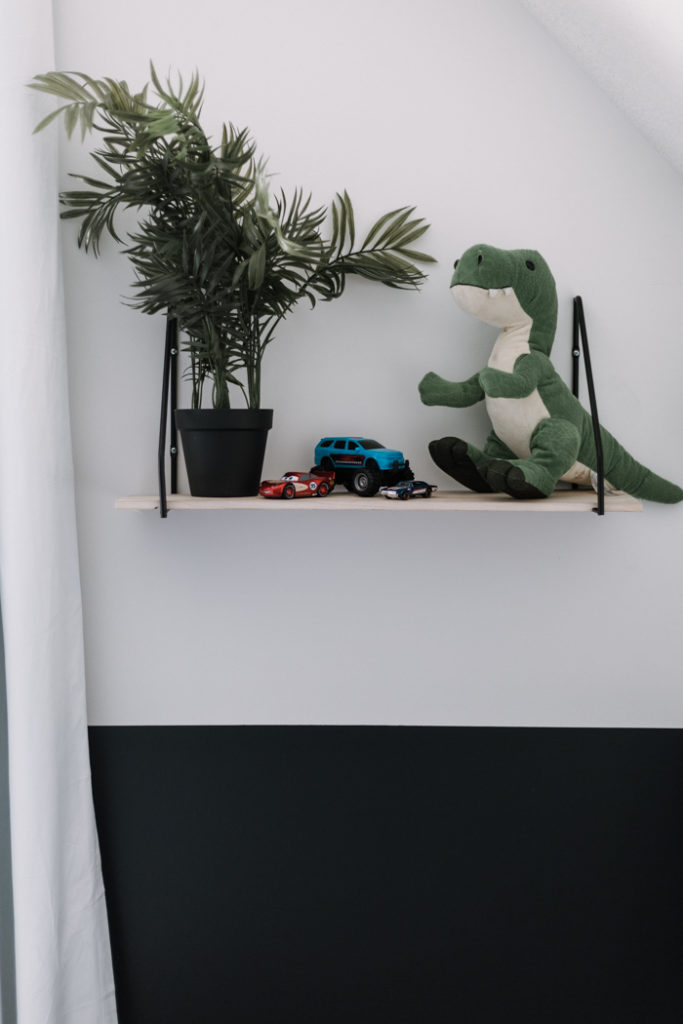
Since our sons first word was “vrooom” (if that counts, lol), I was pretty sure that he was going to be happy with cars and trucks on the wall!
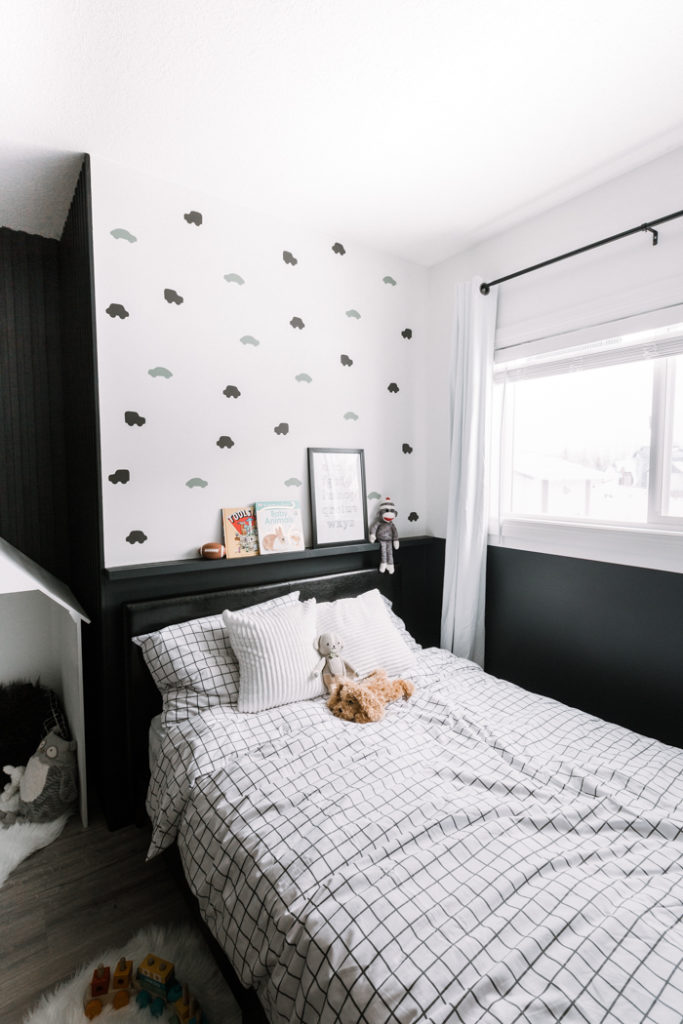
Again, I made my own stencils to create the design, and we added them to the wall in just a couple of hours!
To keep the two spaces cohesive, we used the same green colour in both the car and rainbow stencils, which is a great trick when doing a shared kids bedroom makeover!
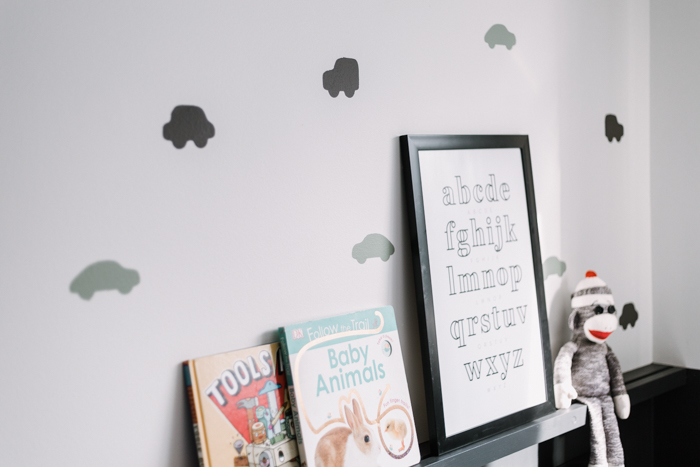
We also added a simple photo ledge that sat right on top of the black half wall. It adds some character and dimension to the space, and is a cute way to display a few of his things.
Make no mistake, this ledge will soon be filled with cars… lol. And just for the concerned mamas out there, that photo frame weights about one pound, and there is no glass or front to possibly fall on him, lol.
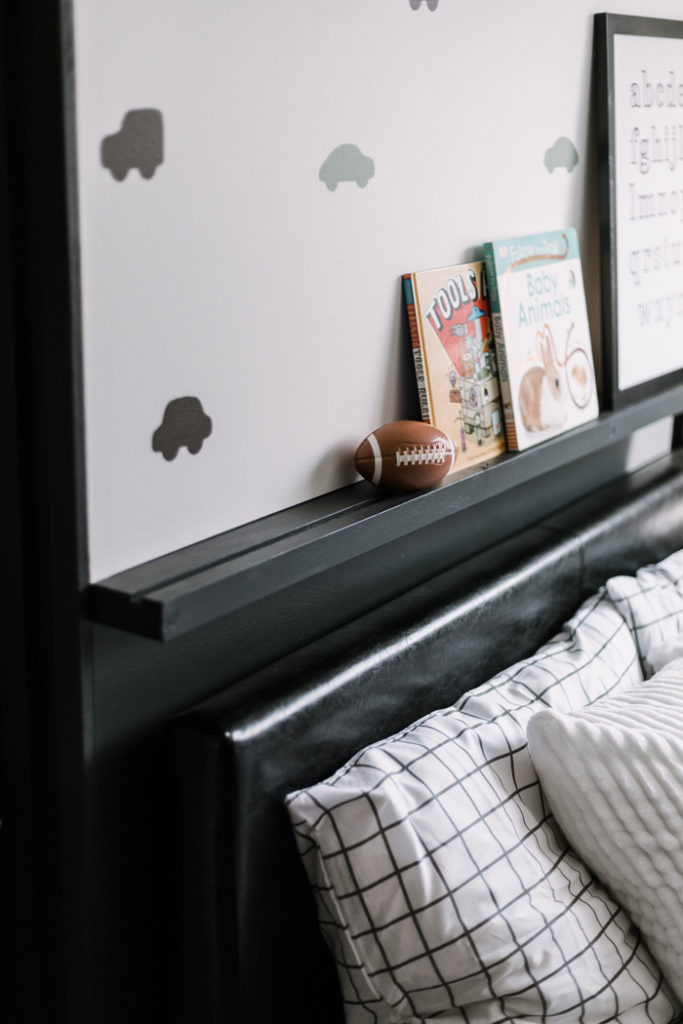
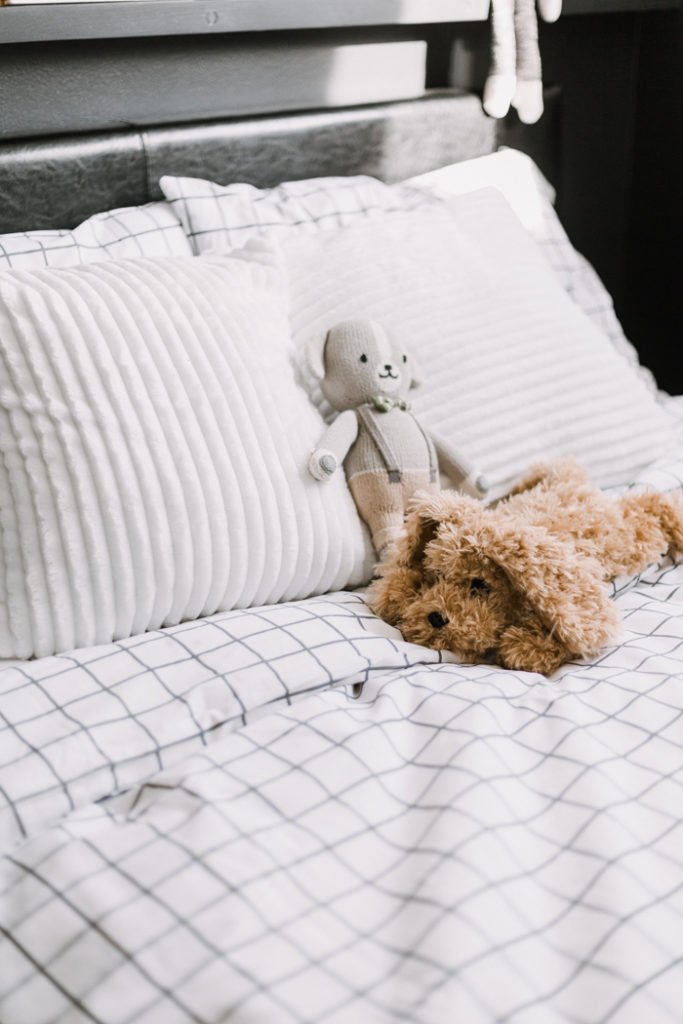
We also gave him his own bedding that still fit the space, but was less feminine than then girls’ duvet sets.
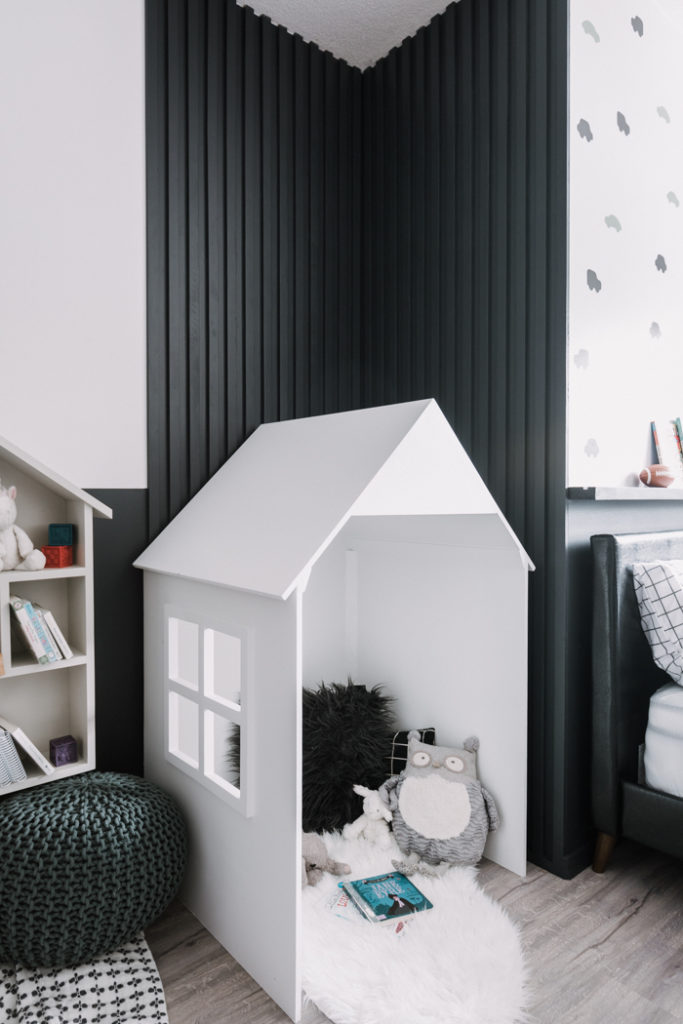
Finally, the part of the room that I’m most proud of… is the little reading nook on the side!
We created this amazing black slat wall. If you’ve been following Love Create Celebrate (us!) for a while, then you know that we love a good feature wall!
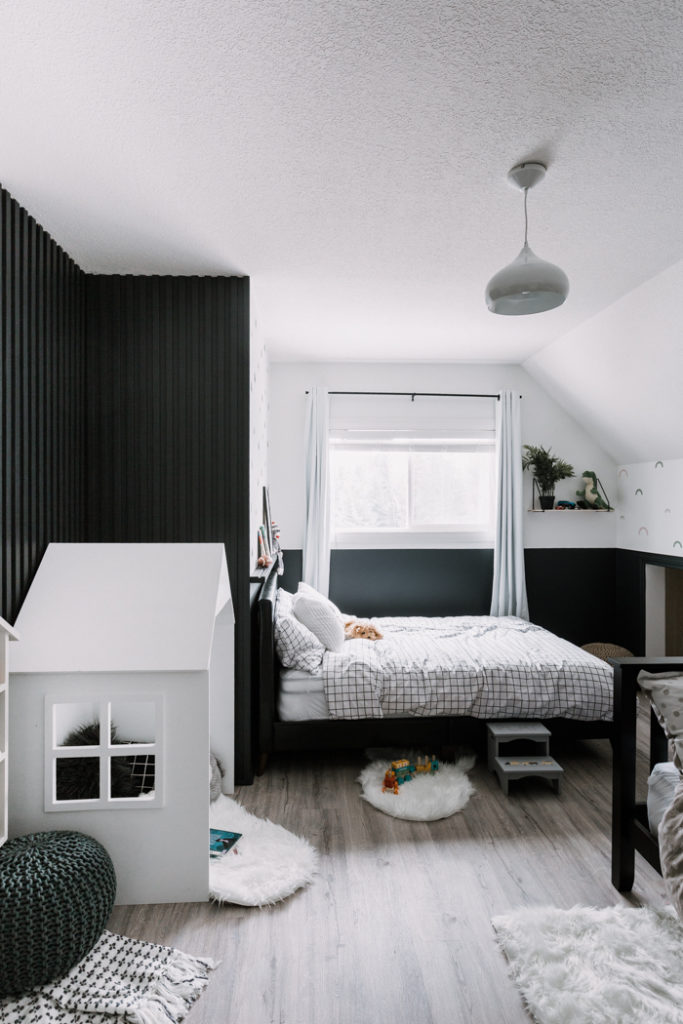
The stencils themselves acted as feature walls too, but I wanted to create more depth and character in the space! More than paint can do on it’s own.
All it took was some cut up pine boards (we will share the entire tutorial soon!) to create all of this texture, but I absolutely LOVE the finished design.
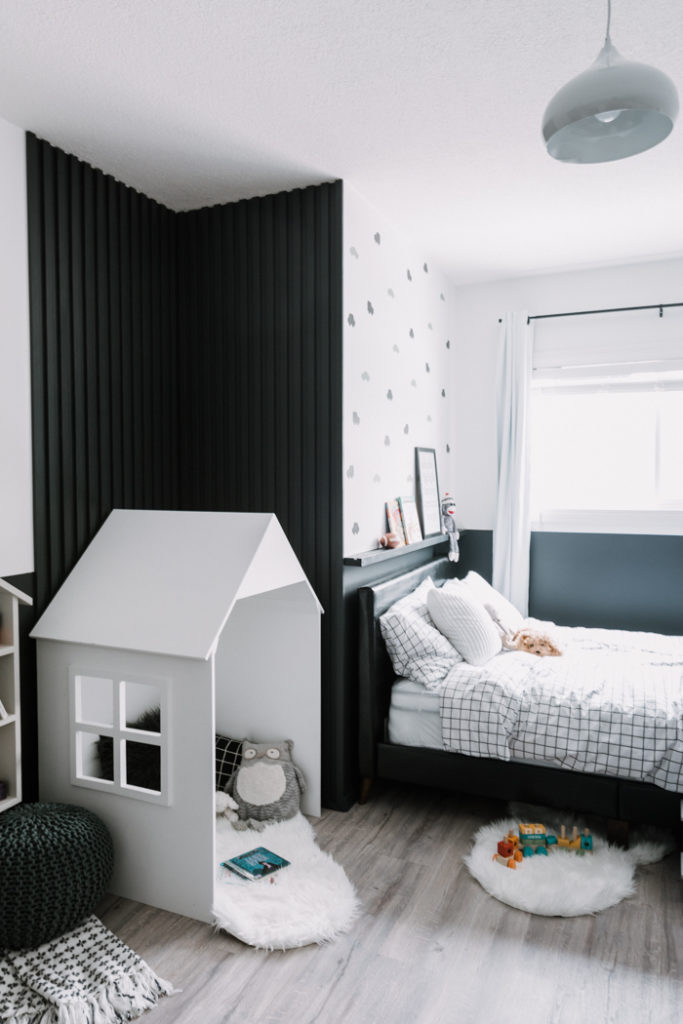
And then we come to the rest of our little reading nook! We’ve never really had many toys in our kids’ bedrooms, because we have a play space downstairs, and we like to keep their bedrooms for sleeping and reading.
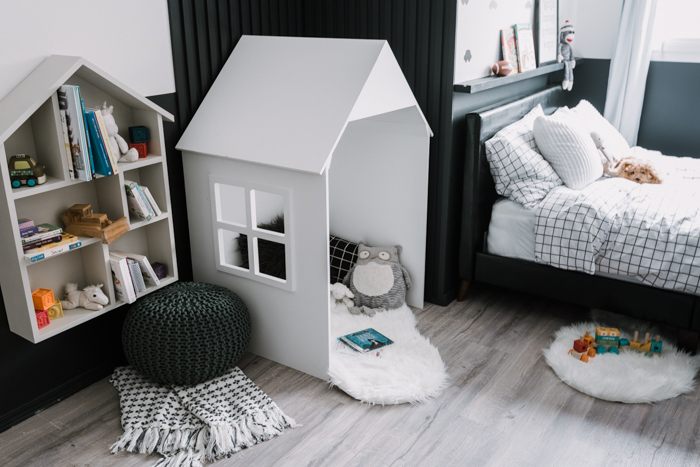
Creating a fun little space for them to curl up and read was really important to us. So we built this little house to help define the space, and give them a cozy place to hide.
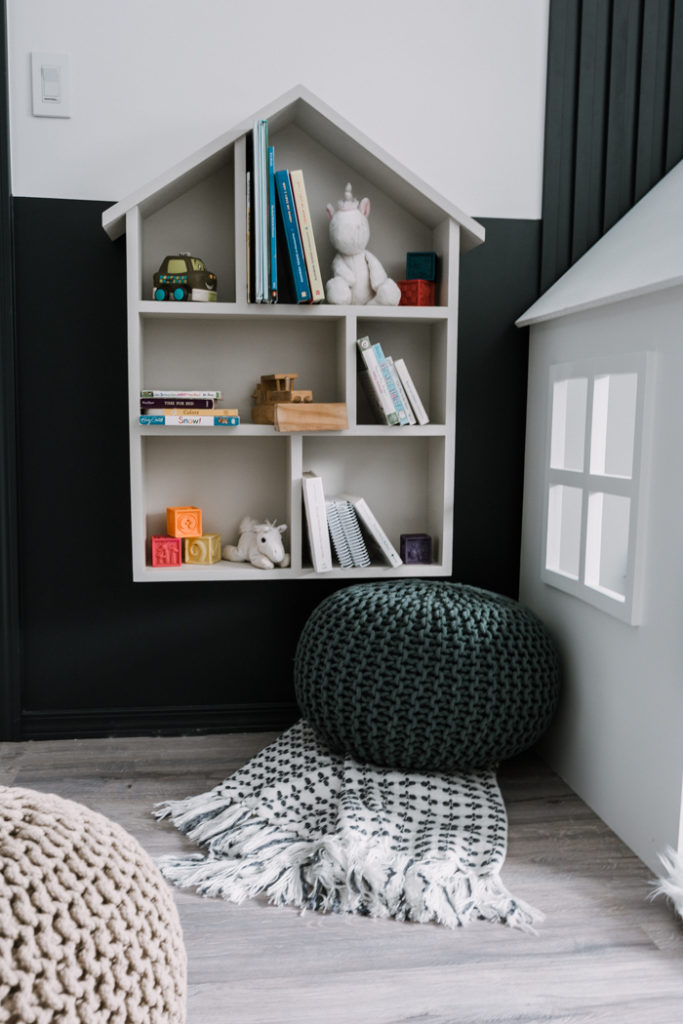
Every book nook needs a bookshelf, right? Luckily we already had one on hand!
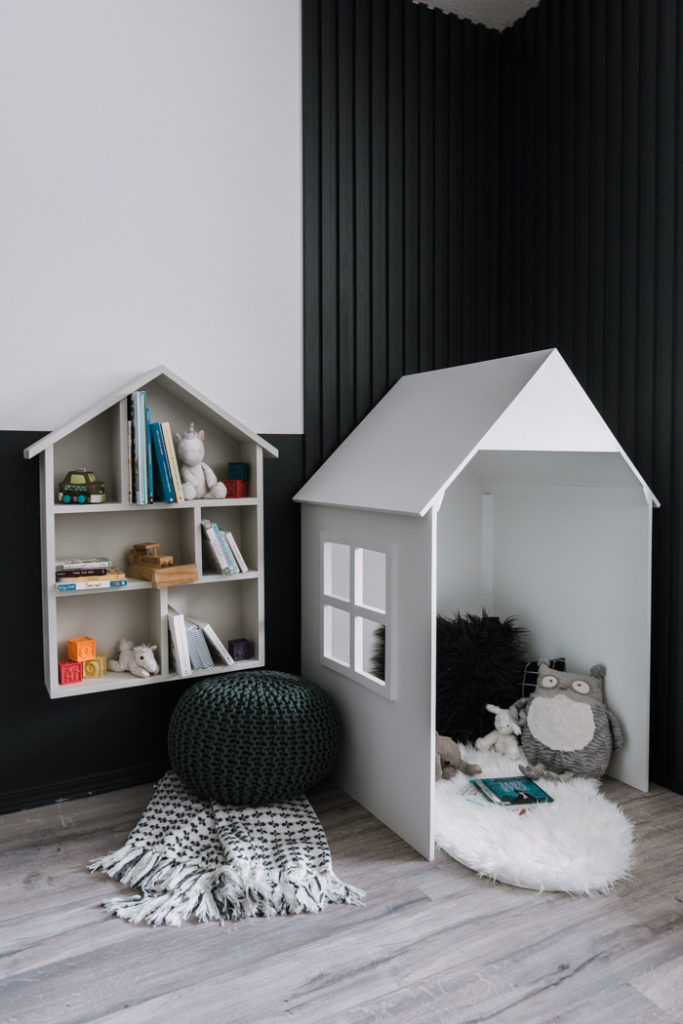
This little house shaped bookshelf was one that we build for our girls years ago! It was painted pink, and hung in their bedroom ever since. As we were doing this renovation, we figured that we could easily move it over here, and freshen it up with a new coat of paint to match the new space.
That’s the whole space! I hope you all love it as much as we do! What’s your favourite part? Would you attempt stencils on your walls? I’d love to hear!
Bedroom Product Sources:
Paint colours
Furniture and Decor
- Double Bunkbed
- Double Black Frame Bed
- Night Stand
- Girl’s Duvet Set
- Boy’s Duvet Set
- Poufs
- Large Shelf
- Small Shelf
- Blanket
- DIY Play House (tutorial coming soon!)
- DIY Slat Wall (tutorial coming soon!)
- Car Stencils (tutorial coming soon!)
- Rainbow Stencils (tutorial coming soon!)

If you liked this makeover, you might love seeing our other Weekend Renovation projects!
Our Kitchen Renovation in THREE days!
Our Dining Room Renovation in THREE days!
