A quick and easy Master Bedroom Makeover! Change your space in less than 24 hours with these quick and inexpensive ideas for decorating!

Do you remember what my master bedroom looked like a year ago? Of course you don’t…. no one does, lol. That’s because I never share it. I’ve never really felt like the room was cohesive or finished, and I’m not a huge fan of sharing unfinished spaces… although I did share everything in our home tour! A bedroom makeover was long overdue, and since we didn’t have a ton of time or money, a budget-friendly, quick update was exactly what we needed!
*This post was sponsored by Emerson Fans and may contain affiliate links. As always, opinions are 100% my own. For more information, please see my disclosure page.*
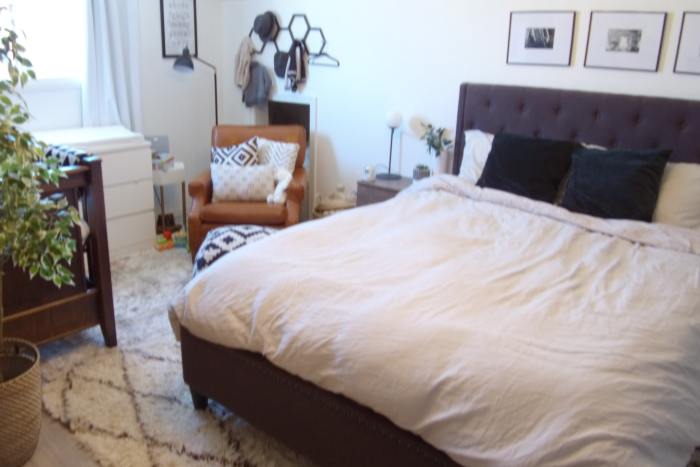
I’m sorry for this grainy before photo…. it’s an awful screenshot from the video below (where you can see the BEFORE much better!). But you get the idea… our bedroom left something to be desired.
If you haven’t heard our long term plans for this home, we are planning to build an addition onto the house in a few years. The addition would include a master bedroom and ensuite, so we don’t want to put too much money or effort into our current master bedroom in case we change anything down the road.
Since we only have two bedrooms, we currently share our master bedroom with our baby boy, but one day we plan for our two older daughters to share this room whenever we have a new master bedroom.
Bedroom Makeover Video
When we got the opportunity to work with Emerson Fans, I knew exactly what I wanted to do! We ordered a beautiful Sweep Eco fan, and used it as an excuse to finally do a little master bedroom makeover!
We filmed a quick before and after video of the space and chatted about our quick and easy updates below:
3 Quick Updates for a Master Bedroom Makeover
Confession… originally I was hoping to do this all in one evening (and you 100% could at home!), but children and life forced me to take a break and finish everything in the morning – which is actually better because DAYLIGHT!
We made three quick and easy changes to the space:
- Installed a new light/fan
- Switched out the rugs (for one from another room!)
- Switched up the bedding
Installing a new light and fan
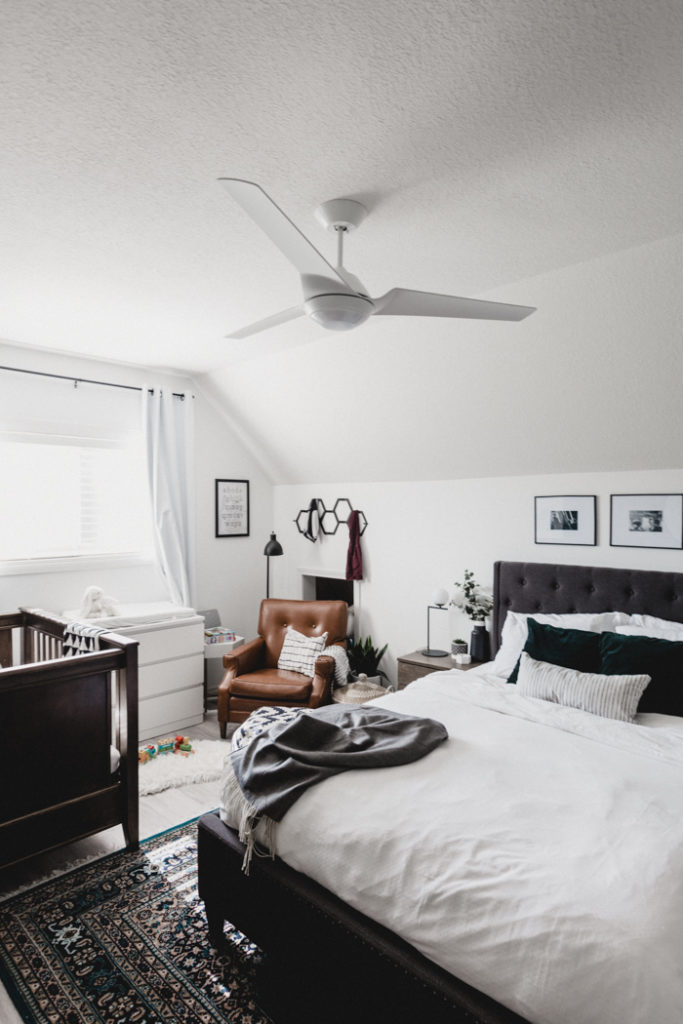
I you watched the video above, then you would’ve seen the gold light fixture that we used to have in the bedroom. It was a beautiful light! It just never quite fit the space.
The light is centered to the room, but since we share with the baby’s nursery, the light was never centered to the bed, and the gold fixture made it stand out in a bad way.
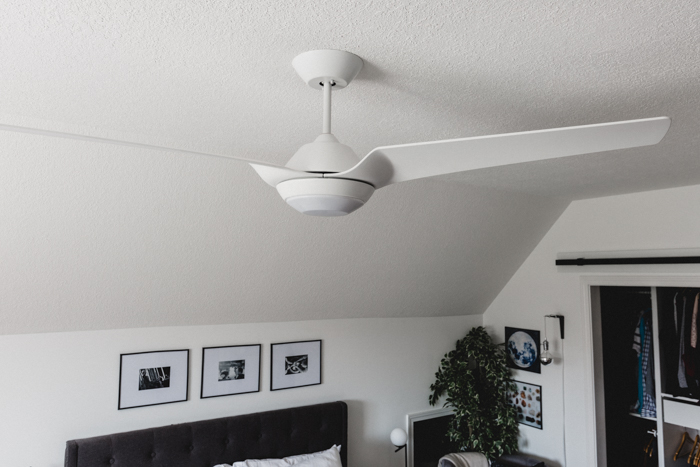
We chose to install this beautiful, modern white fan instead because it has a much sleeker profile. I knew the new fan would blend into the surrounds better and not draw as much attention to the “off-centeredness” of the fixture.
I didn’t know how much the other light was bothering me until I removed it. This fan feels much better. It feels like it was always meant to be in this space.
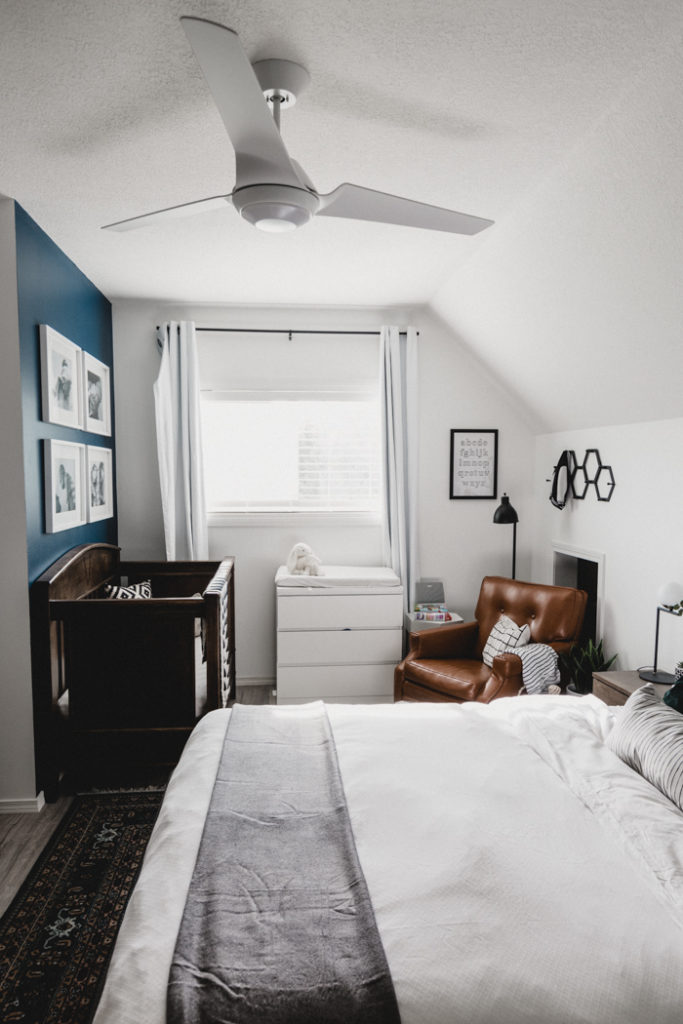
Plus, it gets really hot upstairs in our home. We used to have a small stand up fan, and I knew it wasn’t the best for circulation in the room, but I had no idea how much we were missing out on!
We don’t have air conditioning and this fan has already made a HUGE difference. If it’s a warm day… you might just find me hiding up there, lol.
Switching out the rugs
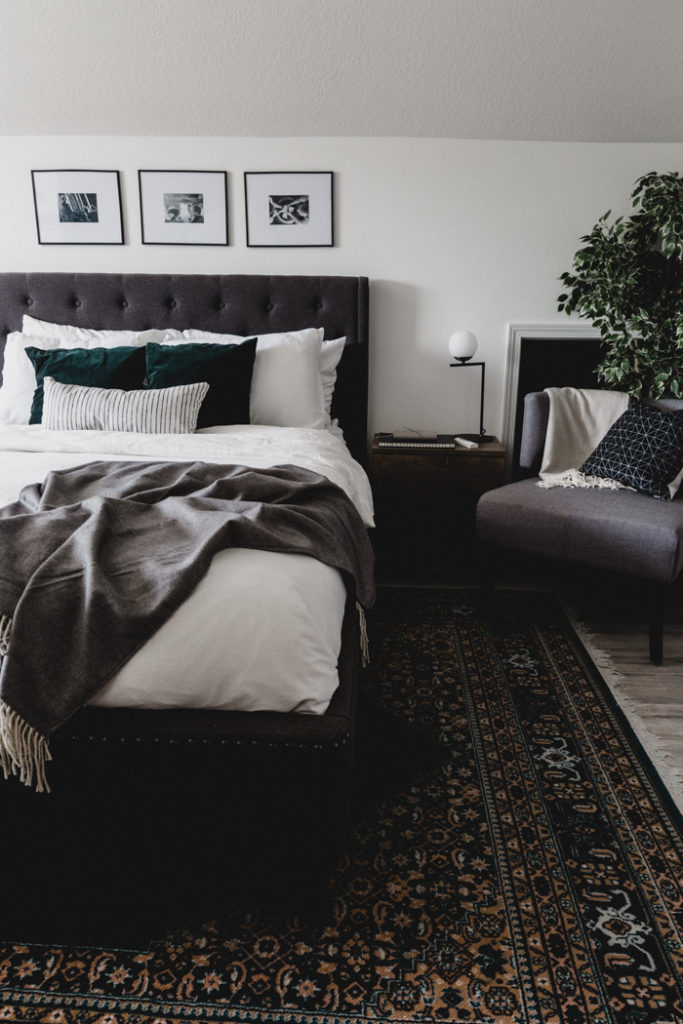
I wasn’t sure if this part of the makeover was actually going to work, but I had my fingers crossed!
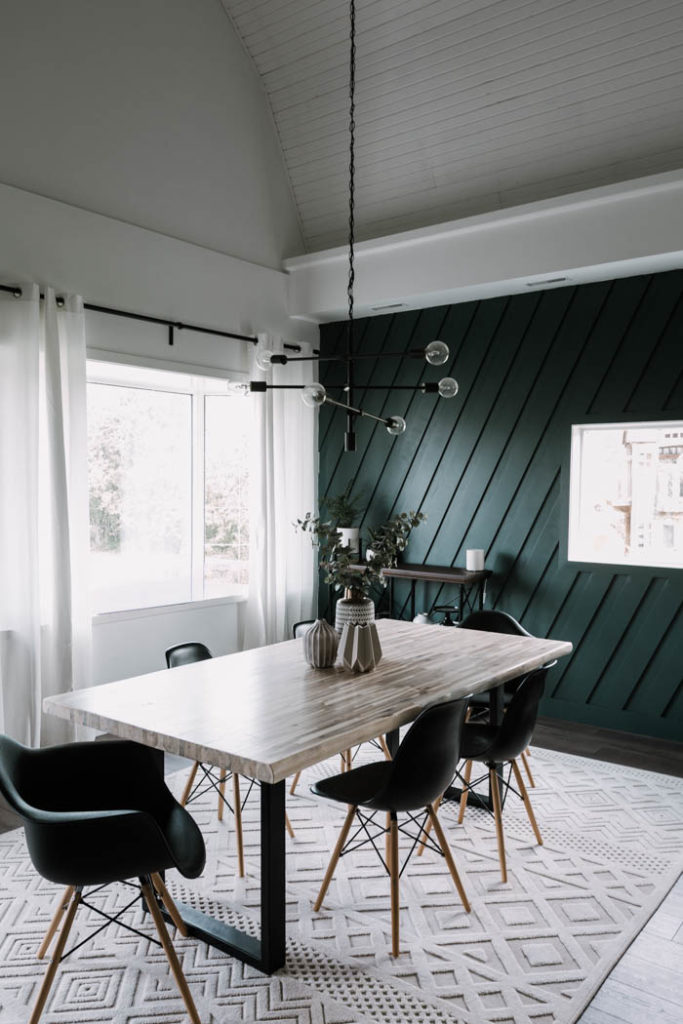
When we renovated our dining room (In just ONE WEEKEND!), we ended up taking our rug out of the room. This rug was inherited from my Mother-in-Law. It’s not an expensive piece, but I LOVE the colours in it. That deep green gets me every time!
The rug that had been sitting in our bedroom was well past it’s prime (and may or may not have been peed on several times when we got a new puppy last month….). It was time for a new one and I was really hoping that this one we already owned would fit in the room.
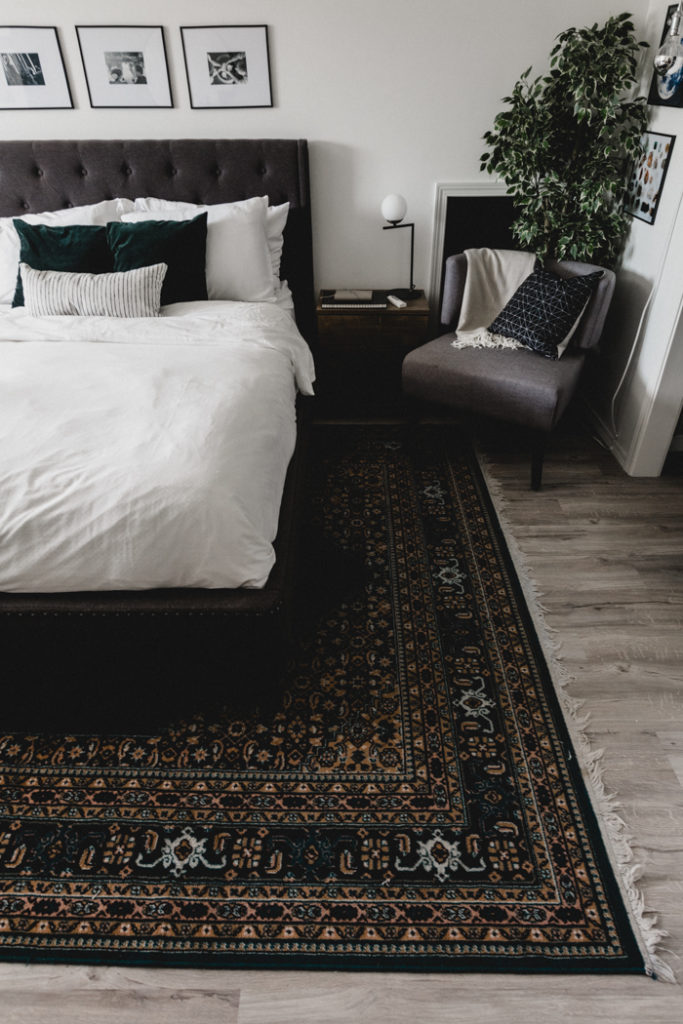
We tried the rug in a couple of different locations and directions (e.g. under the nursery half of the room as well, and in a different orientation) and we settled on this layout.
To be honest, I think it’s a bit big for the bed frame, but we have a big bedroom and the space to let the rug spread out, so I think it still works. It’s tucked under a side chair, and a tiny bit into the nursery area so it fills the space nicely.
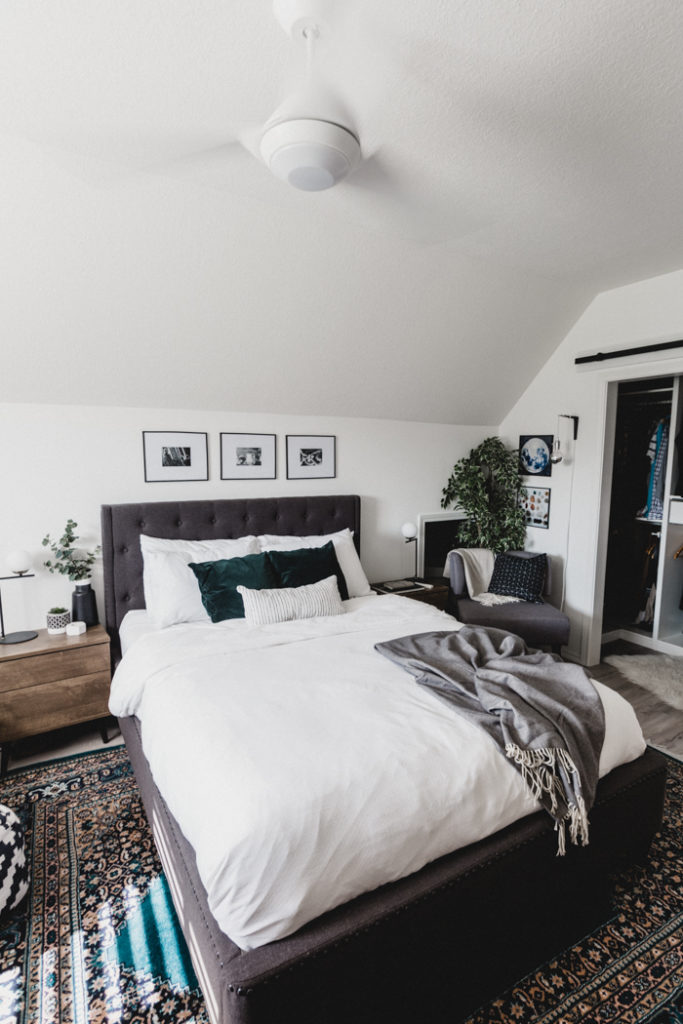
Since we reused something we already had, this part of the master bedroom makeover was completely free, but still makes a huge difference in the feel of the space! Always shop your home first!
Switching out the bedding
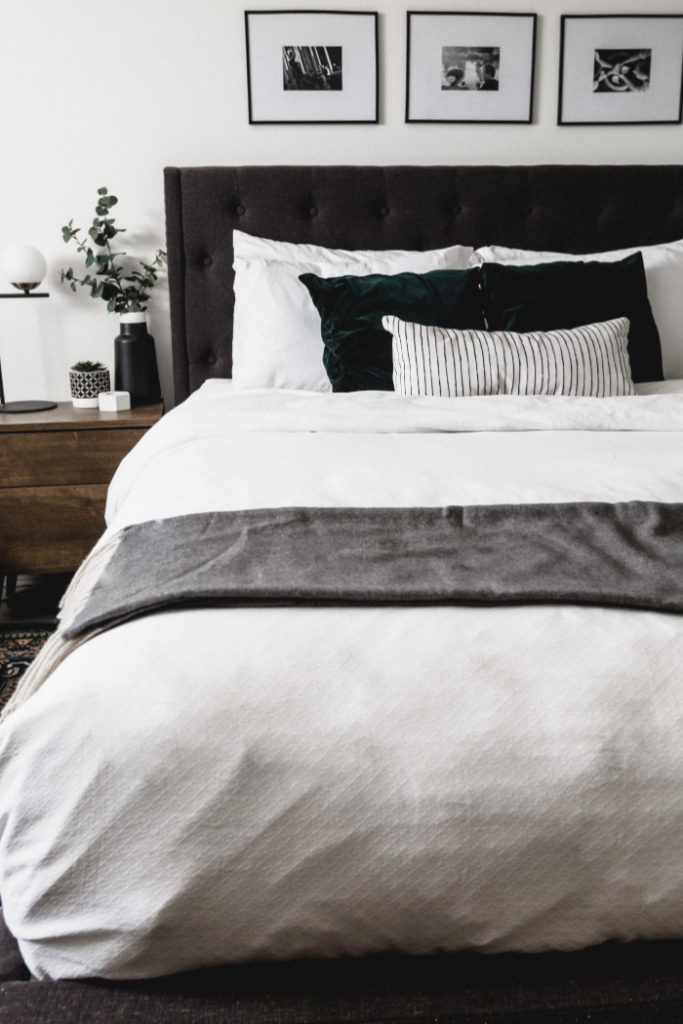
Switching out the textiles in a room will always make a huge difference! We were still using the same duvet that I had before we were married seven years ago, so it was time for a change!
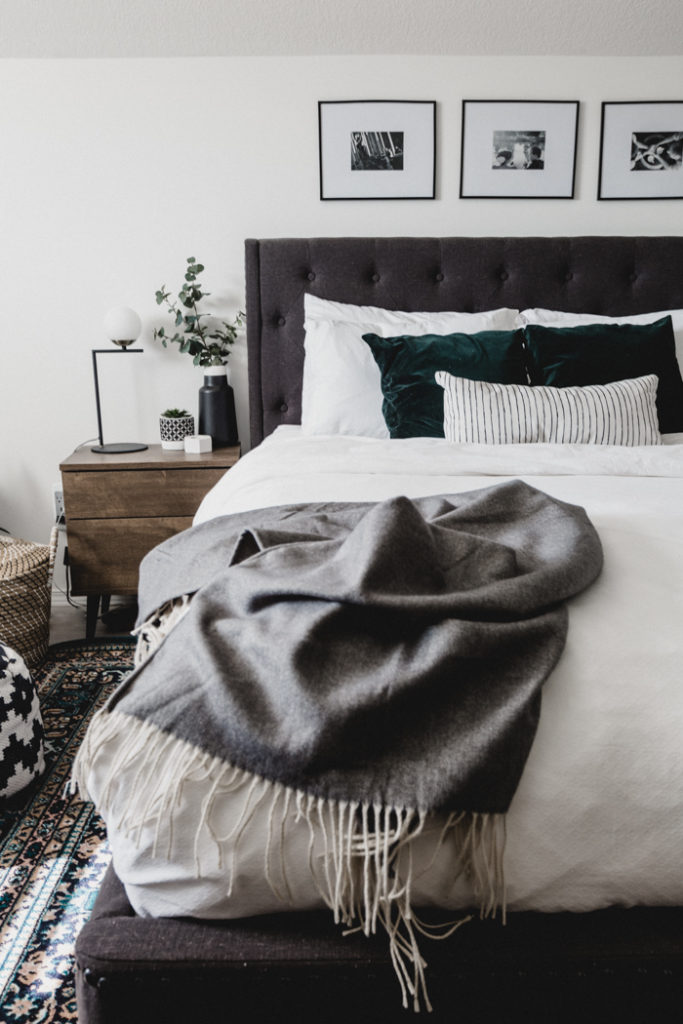
I spent money on a new duvet cover set, because we didn’t have one lying around, but then shopped my house for a few of the other items:
- White striped lumbar pillow (from the Love Create Celebrate shop!)
- Green velvet pillows
- Grey throw blanket (similar)
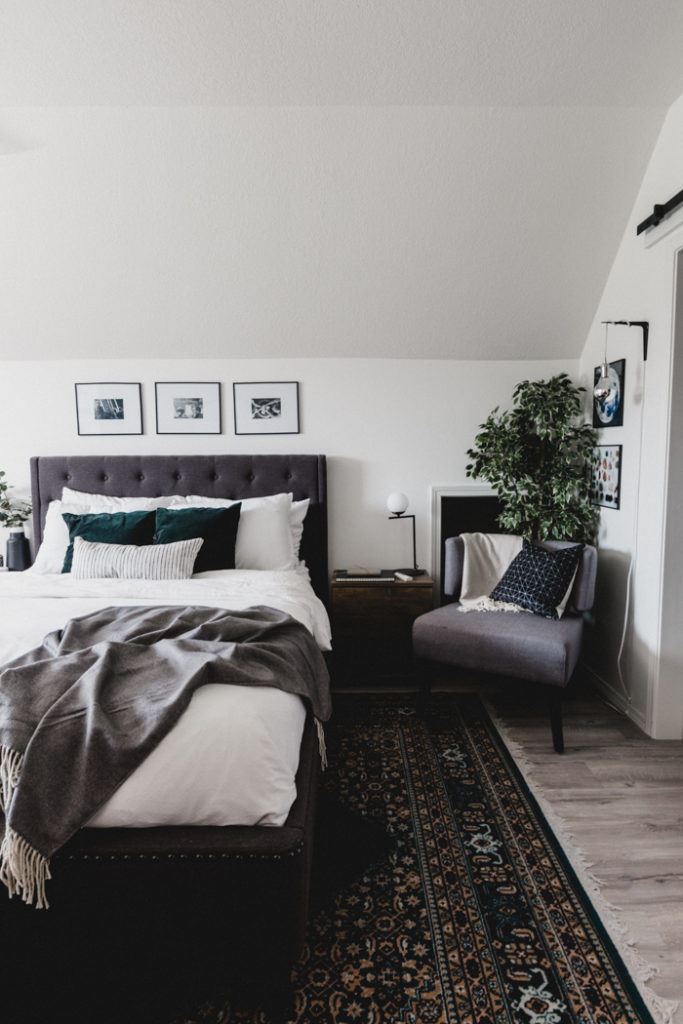
I also snuck a little faux tree behind the chair, and a patterned black pillow onto the chair to add some more character to the bedroom!
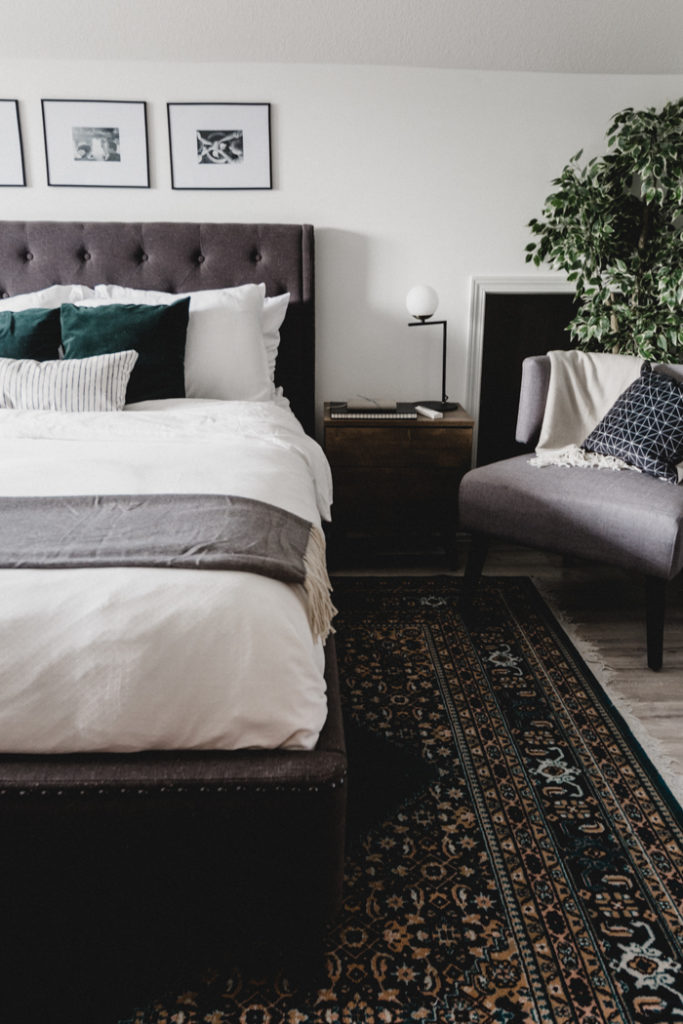
This Easy Master Bedroom Makeover was part of our Modern Handmade Home series!
Don’t forget to check out the other three amazing projects, showcasing these beautiful modern fans!
- Installing a fan by Lemon Thistle
- Tips for Choosing a Ceiling Fan by Harlow and Thistle
- New Bedroom Fan by The Learner Observer

If you enjoy these quick makeover projects, you will love these other spaces that we renovated in ONE WEEKEND!
Our Weekend Kitchen Renovation
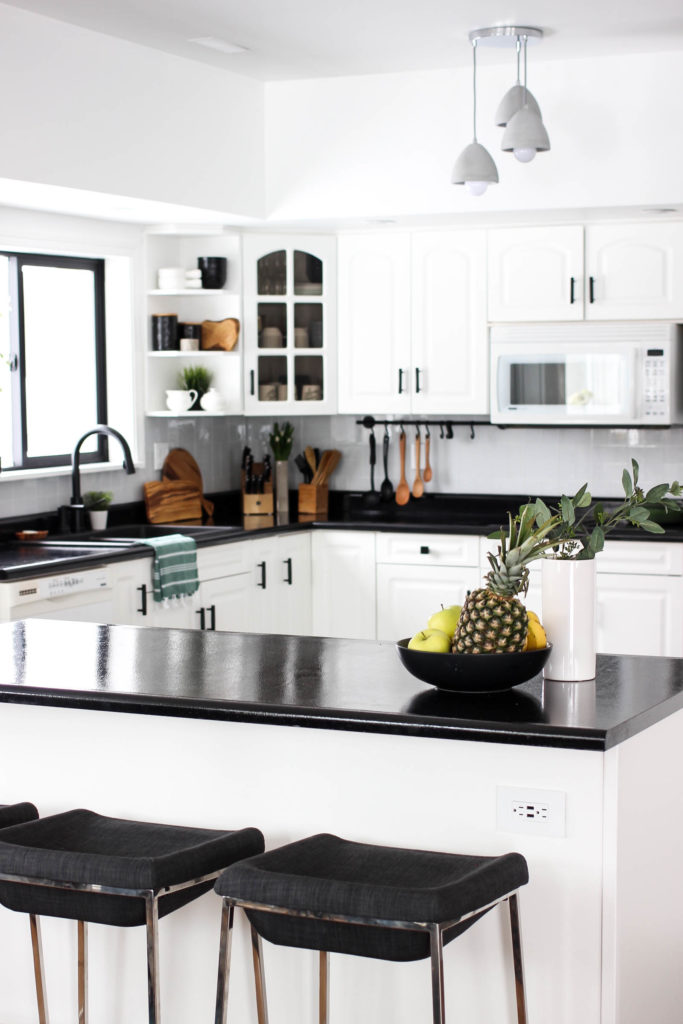
Our Weekend Dining Room Renovation


Jen
Monday 5th of August 2019
Hi Lindi! I've nominated you for the Sunshine Blogger Award. Please visit https://thistimeofmine.com/the-sunshine-blogger-award/ to see what's it about. I love your projects, especially this one and your recent office!
Why I love having a ceiling fan in my bedroom - The Learner Observer
Saturday 27th of July 2019
[…] LOVE CREATE CELEBRATE | HARLOW & THISTLE | LOVE CREATE CELEBRATE […]