Excited to share our new DIY Computer Desk! You won’t believe this transformation! Turn any wall into a functional space with these budget-friendly ideas.
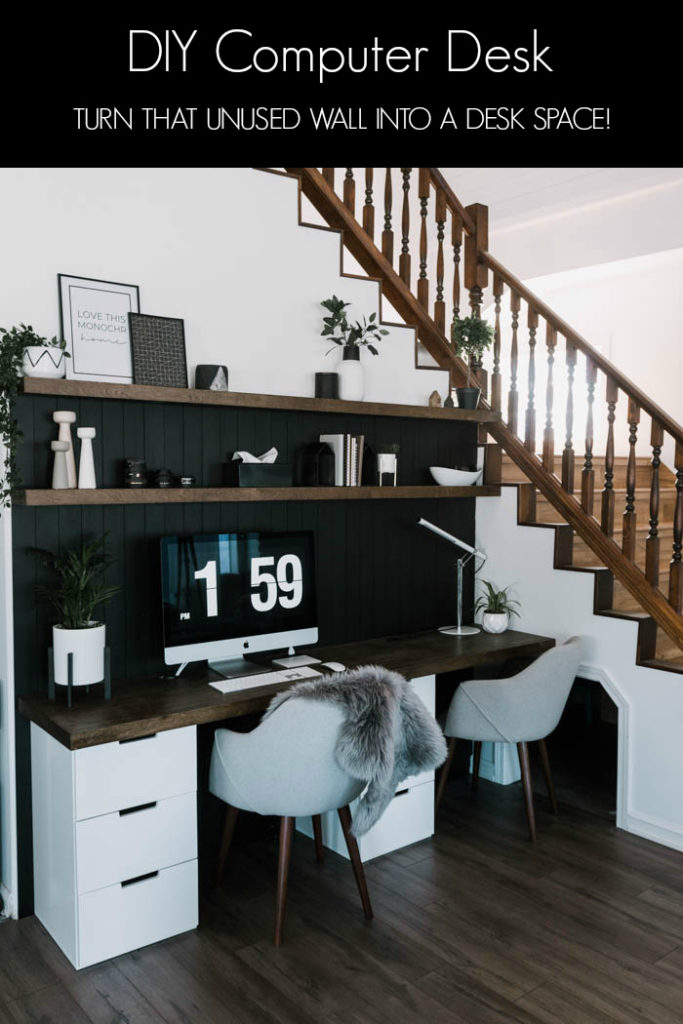
I’ve said it before, and I’ll say it again – renovations need to be functional! Of all of the renovations we’ve done, our favourite thing about every space is always in the small details. The clever way we added storage in the bathroom or the way we saved money by re-doing an old piece of furniture. This DIY computer desk is no different. We spent less than $600 to make this space come true (I’ll break it all down for you at the bottom of the post), and we made use of some of the dead space in the house! This wall was just blank! and didn’t have a great function beside our living room, but now it’s beautiful and sooooo functional.
*This post may contain affiliate links. When you buy a product through one of my links, I get a commission at no cost to you! Thanks for supporting my blog so I can continue to bring you posts like these. For more info, please see my disclosure page.*
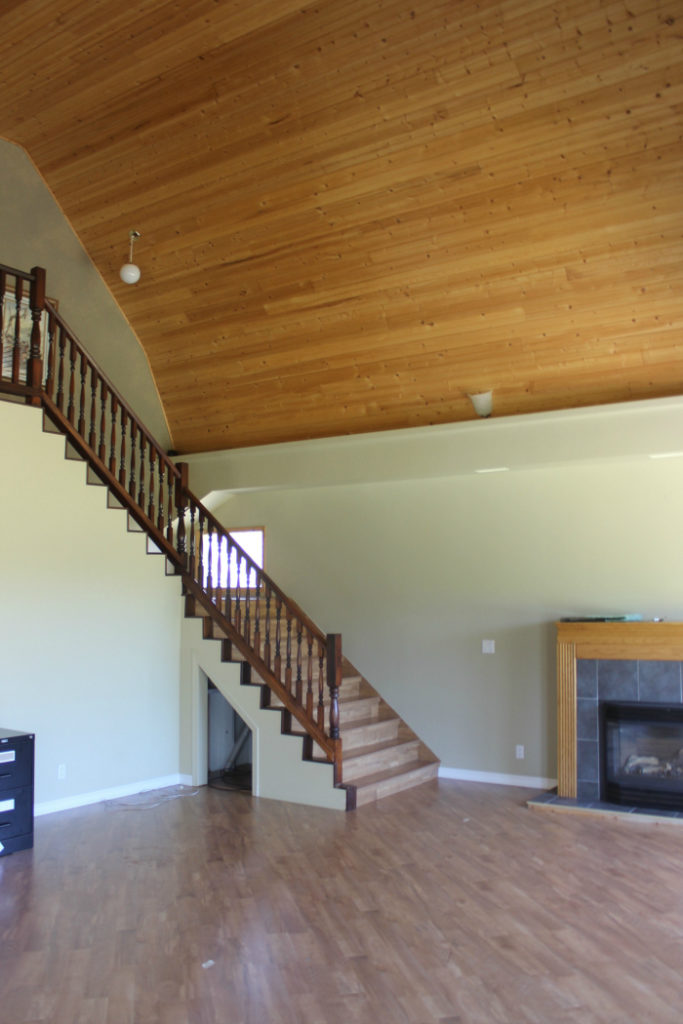
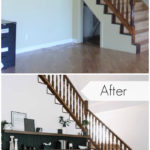
Does this space look familiar? I can’t even recognize this room! But those are the very same stairs that we built our new office nook beside, and that’s the very same little Harry Potter entrance to our children’s playroom.
The fireplace is in the same spot in our renovated living room. So you can imagine how this little piece of real estate to the side of the living room wasn’t being used to it’s full advantage!
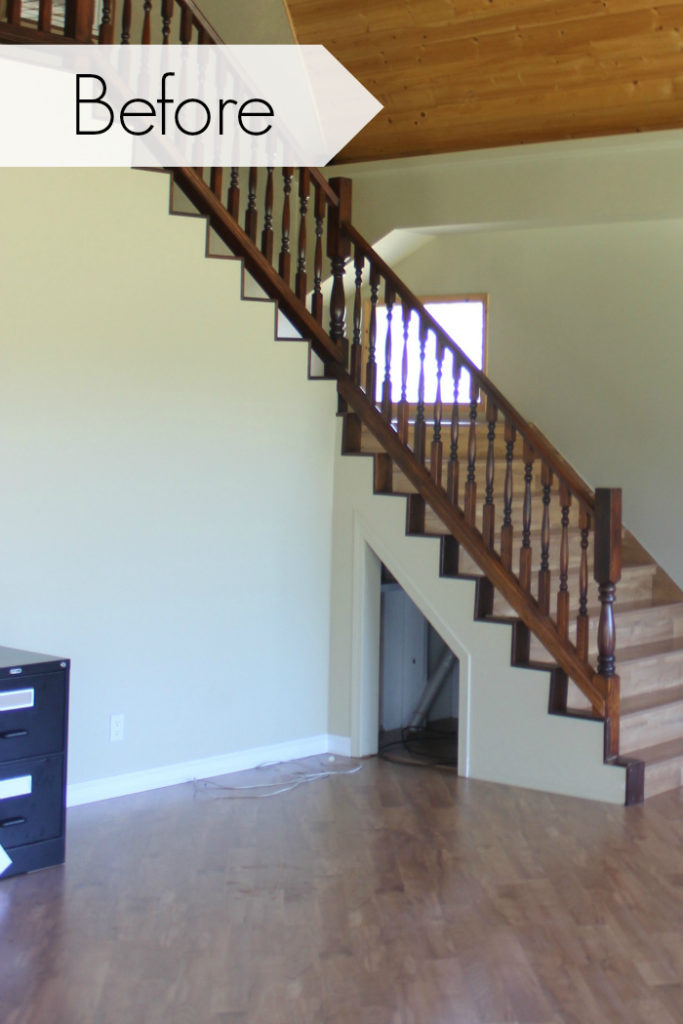
Since we renovated our living room, we’ve also changed all of the flooring by laying new laminate. Then, as part of this computer desk DIY, we switched up the entry into our children’s “secret place” and floored inside their Harry Potter room too.
When we first moved into this home, two and a half years ago, I remember thinking, “what are we going to do with this random space beside the stairs?” But as our renovations continued, I started seeing a vision for the space. In our open concept main floor, there isn’t really a spot to “work”, and as our kids grow and start to go to school, I knew they would benefit from a space to sit and do homework. I also hated that every time I was editing photos I had to move into another room and be away from everyone. This was the perfect solution!
What we wanted from our DIY Computer Desk:
We had a few things in mind when we built this desk space:
- Make sure that our children’s secret entrance was still there, and still accessible (meaning we couldn’t put the desk right up against the kids’ doorway)
- Budget-friendly (which is always our goal!)
- Comfortable to work at
- Chairs that are multi-functional… that we can turn around, and use as extra seating in the living room as well
- Somehow “define” the space (we did this with our vertical shiplap feature wall!)
DIY Computer Desk Reveal:
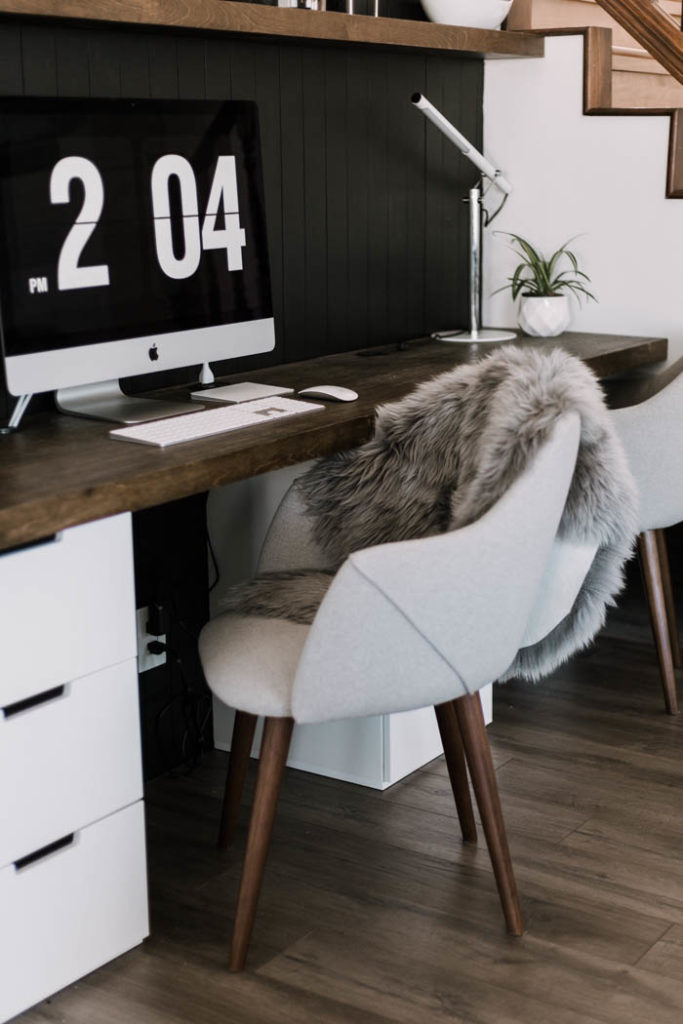
So here’s what we came up with! If you want to watch the whole build, we shared all of our steps on Instagram in our “Desk/Shiplap” highlight. But we will be sharing tutorials for that vertical shiplap, the floating shelves, and the desk very soon!
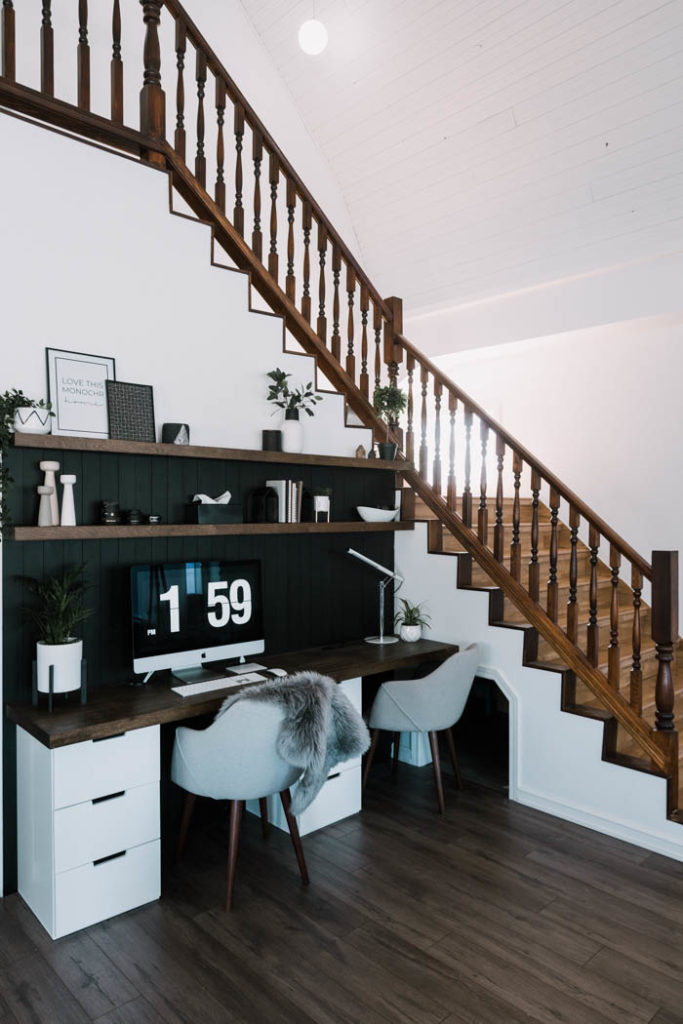
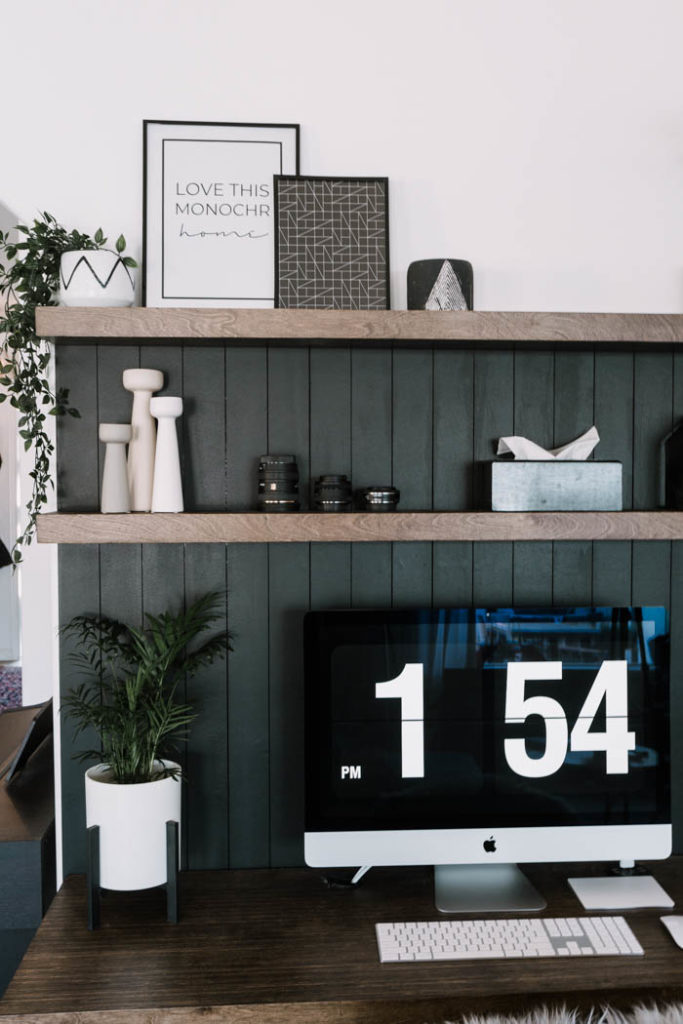
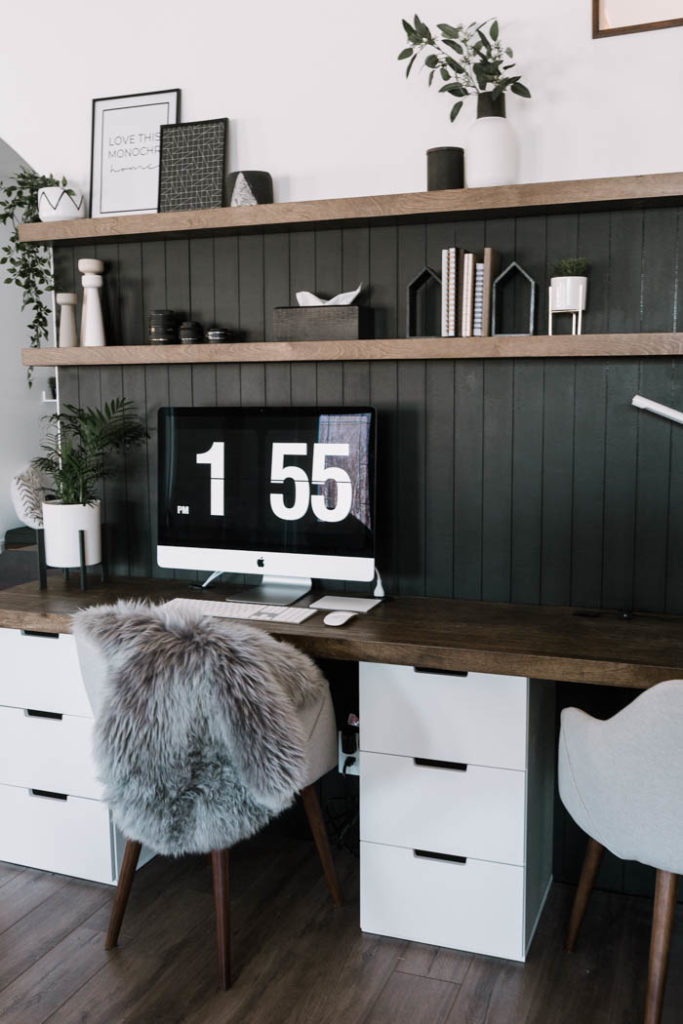
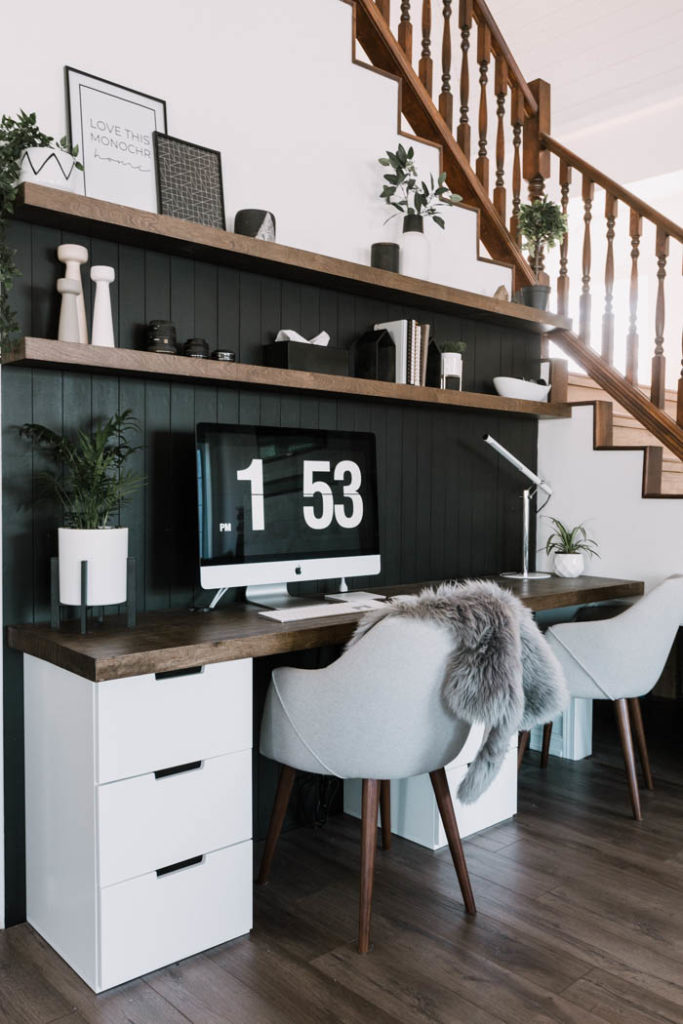
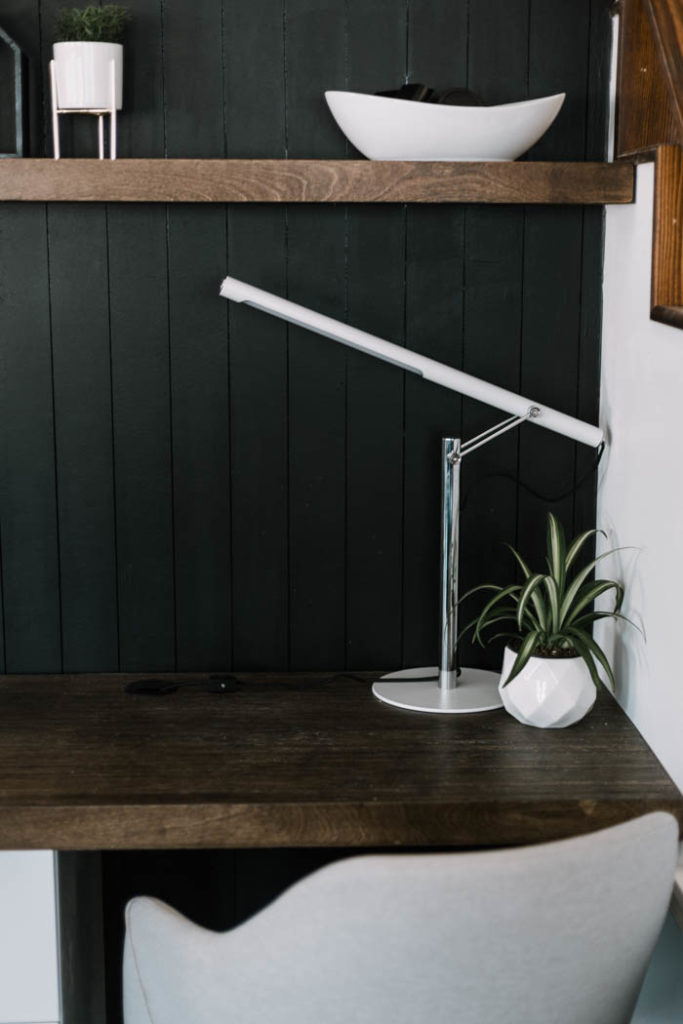
The vertical shiplap is a project we took on by ourselves and cost us less than $80. We will definitely be sharing how we did it, but our version of modern shiplap made a HUGE difference in defining the space. Since the wall is continuous, we needed to somehow “end” the desk area visually, and we used the floating shelves to do that. We put them up as far up our staircase would allow us and planned to end the shiplap there.
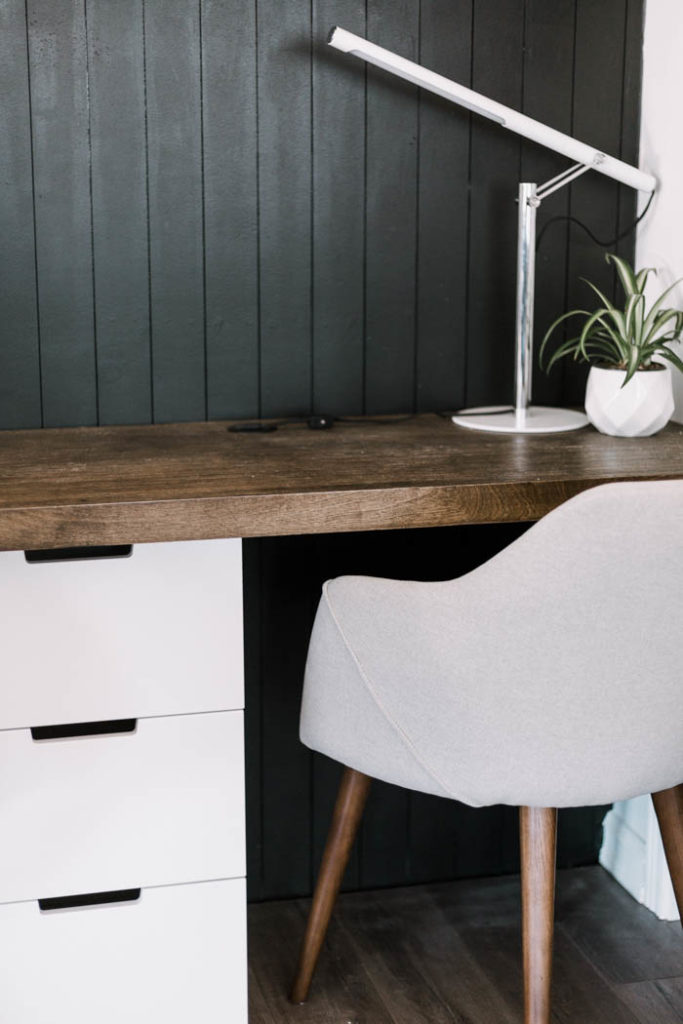
The desktop and floating shelves were both FREE to us. We had some 8ft. plywood boards from a previous project, that all had small, leftover off cuts. We cut those scrap wood pieces into strips and glued them together for the desk. We will share a full tutorial on that soon with some photos of the project, but we’re so proud of how we built a desk for next to nothing!
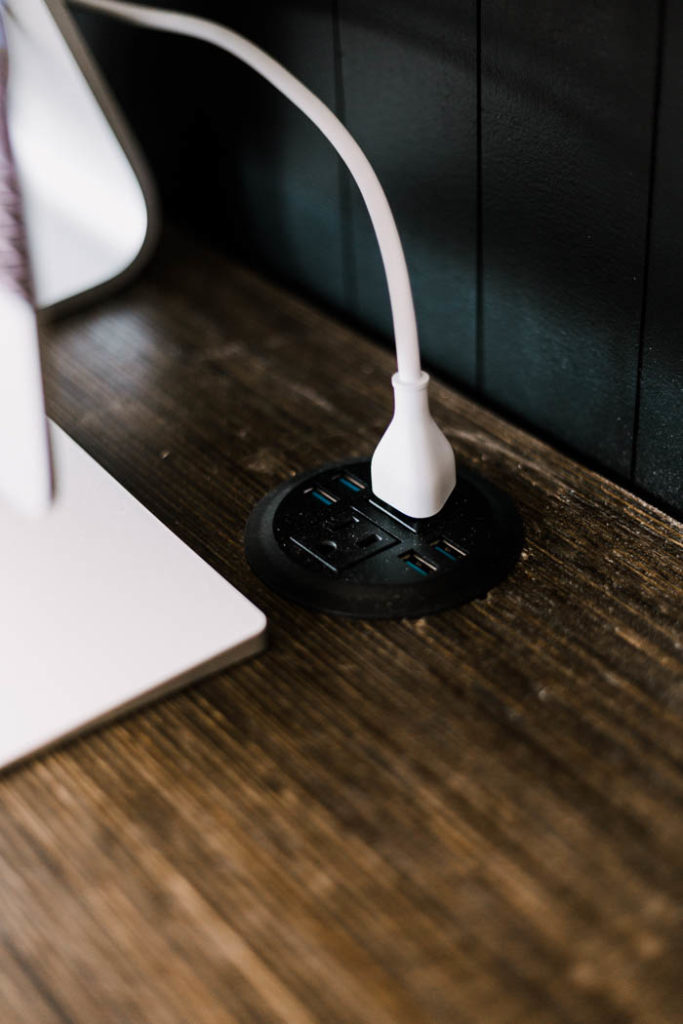
We made a couple of splurges, including the outlet for the top of the desk that sits flush with the desktop, and the chairs. I justified the chair splurge because I wanted comfy chairs that I could flip over to the living room as extra seating. If it’s multifunctional, you can spend a bit more money on it, right? lol.
Total DIY Desk Budget:
The total cost for the project was:
- Desk = FREE (see tutorial!)
- Floating shelves = FREE (see tutorial!)
- Shiplap = $80
- Outlet = $50 (here’s a link to it!)
- Shelf Hardware: $60 (here’s a link!)
- Chairs = $300 (here’s a link to them!)
- Stain, varnish, and paint = FREE leftovers
- Misc. = $40
TOTAL = $570!
I’m pretty proud of that total! A project always feels better when you can do it on a budget.
If you want to see see how we made the desktop and floating shelves, we shared the entire tutorial HERE!
If you want to see another budget-friendly renovation, we transformed our Kitchen in just ONE WEEKEND with our Kitchen Weekend Renovation! You won’t believe how easy this project was!


ED
Thursday 23rd of April 2020
Very cool. How did you mount the floating shelf? Are they boxed out (where you frame it out and slide it on) or did you just use some Floating shelf hardware and drill 1/2 in holes in the wood?
Lindi
Thursday 23rd of April 2020
Hey, glad you like the project! We made a groove along the back and drilled holes for some heavy duty shelf hardware. You can see exactly how we did the shelves here: https://lindiandruss.com/diy-wood-desktop/
Kristie
Tuesday 7th of April 2020
What is the color of the back wall on the shiplap?
Lindi
Tuesday 7th of April 2020
It was Forge Black by Para Paint :)
Kristie
Tuesday 24th of March 2020
What color/brand did you use for the back wall?
Taylor
Monday 23rd of March 2020
Hi, awesome blog! Have you posted the desk video yet? I would love to see the assembly for this. Thank you! Have a great day
Lindi
Monday 23rd of March 2020
No! I'm sorry, we haven't! It's been on our to-do list, but somehow kept getting moved down the list! Thanks for the reminder!
Jessi
Friday 20th of March 2020
Hi there! Beautiful work- we are looking to do something similar. Did you just place the wood on top of the cabinets or did you do something to fasten the desktop to the wall and/or cabinets? Thanks!
Lindi
Sunday 22nd of March 2020
We attached the cabinets to the wall and then the desk to the cabinets with screws :)