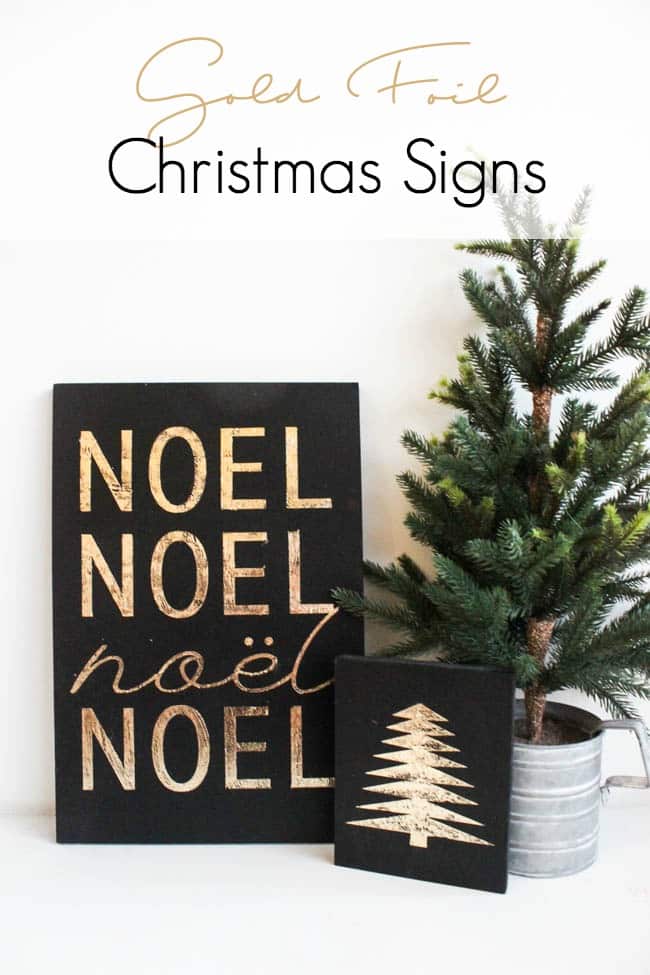
I know it’s still early November, but you know me and Christmas, right?! lol. I’m was soooo excited for this post. This kicks off our amazing Modern Holiday Home series! What is that you ask? I’ve joined with four other amazing Canadian bloggers with a modern flair and together we are bringing you five amazing weeks of holiday DIYs and decor ideas. Honestly, you guys are going to LOVE these bloggers. We’re starting off our series by sharing some rad gold foil projects [see ALL of the blogger projects with links at the end of the post plus a GIVEAWAY].

*This post was sponsored by Thermoweb. The post contains affiliate links. When you buy a product through one of my links, I get a commission at no cost to you! Thanks for supporting my blog so I can continue to bring you posts like these.*
It doesn’t matter what you holiday colour scheme is, gold goes with everything! Last year I used a ton of red and black, and this year I’m moving to blues, whites, and golds, but I know these gold foils signs would look great in either space!
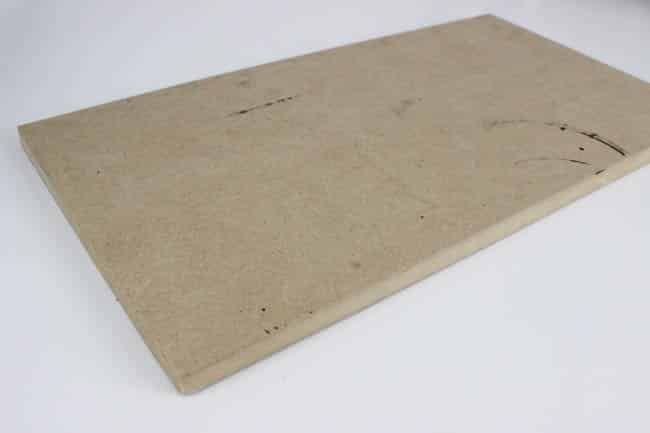
Here’s everything you need to make this project:
- Scrap wood (I used MDF)
- Americana Decor Classic Black Paint
- Champagne Deco Foil Transfer Sheets
- Deco Foil Liquid Adhesive
- Cricut Machine
- Cricut Transfer Tape (optional)
- Adhesive Vinyl
- Foam Brush
- Scraper (optional)
How to make a gold foil sign:
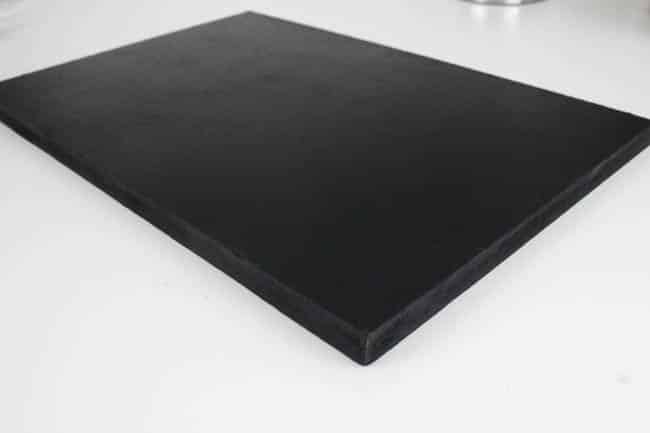
Start by painting your scrap wood with your black paint. MDF is what I used and it’s a really great option because it’s very smooth!
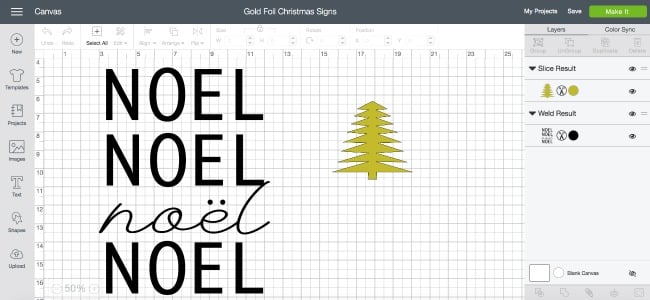
Next, you need to open your designs in the Cricut Design Space. You really can use any design you want, or if you have a stencil you want to use that would work too.
If you love my designs, you can access them HERE.
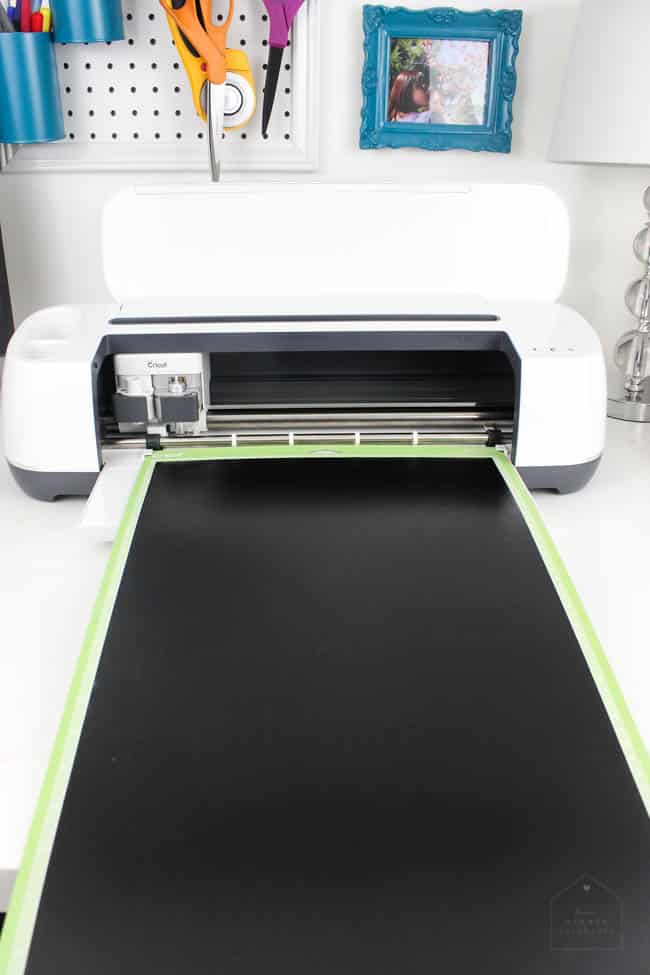
You may need to resize the designs so that they fit onto your wood. When you are ready, load the adhesive vinyl into your Cricut and print the designs.
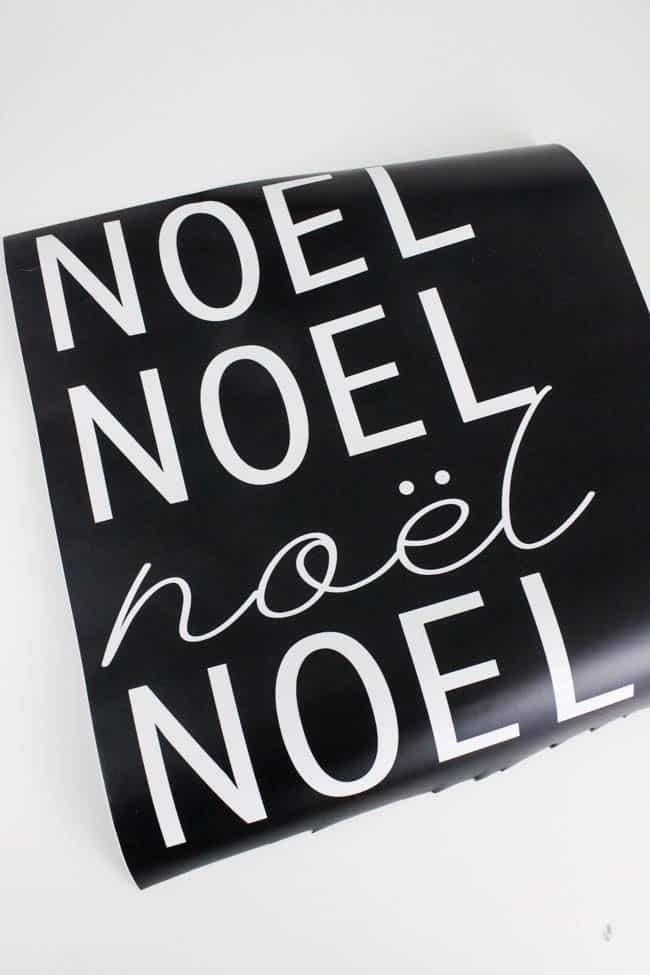
Once the design was cut, I removed the vinyl letters so I was left with the stencil of the words.
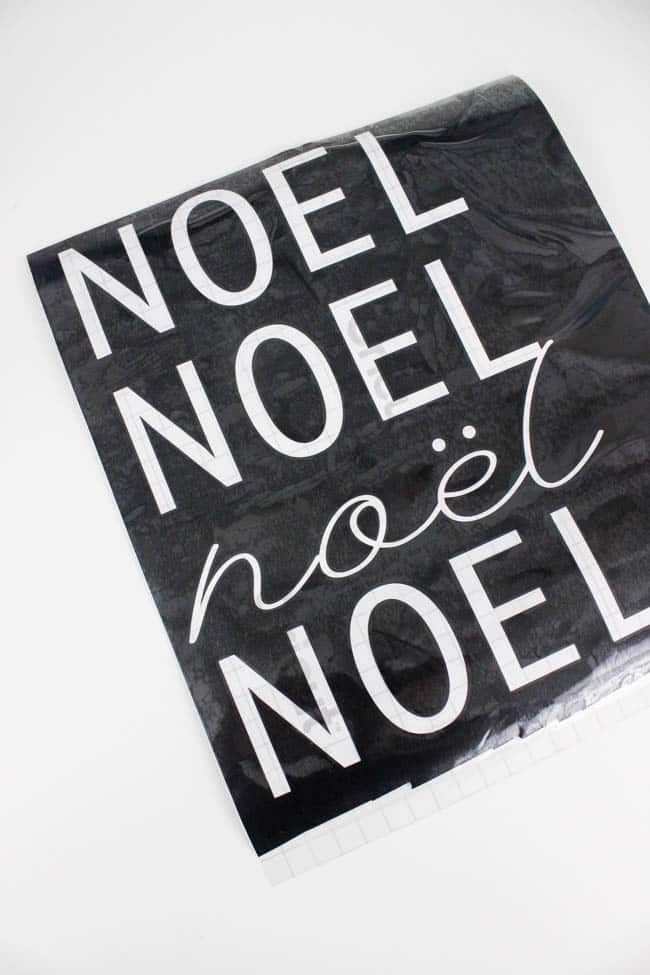
It’s a bit tough to see, but do you see the grid on top of the design in the photo above? That grid is from a sticky paper called Cricut Transfer Tape. This stuff adheres to your vinyl so you can pull the entire design off of it’s backing in one piece.
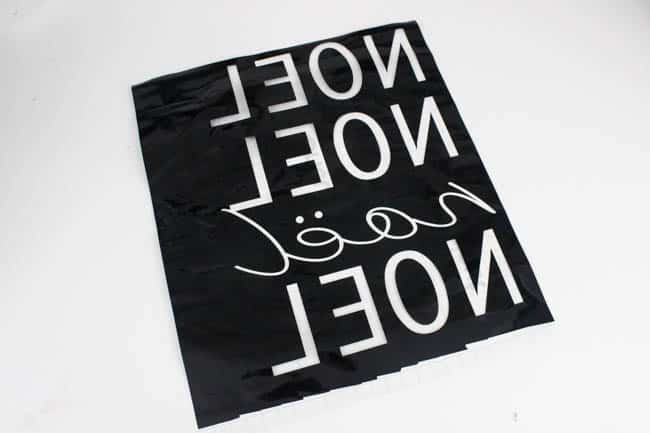
Once you have the backing off, you can place the whole design onto the wood exactly where you want to stencil it, and then carefully peel away the transfer tape, leaving the stencil on the wood.
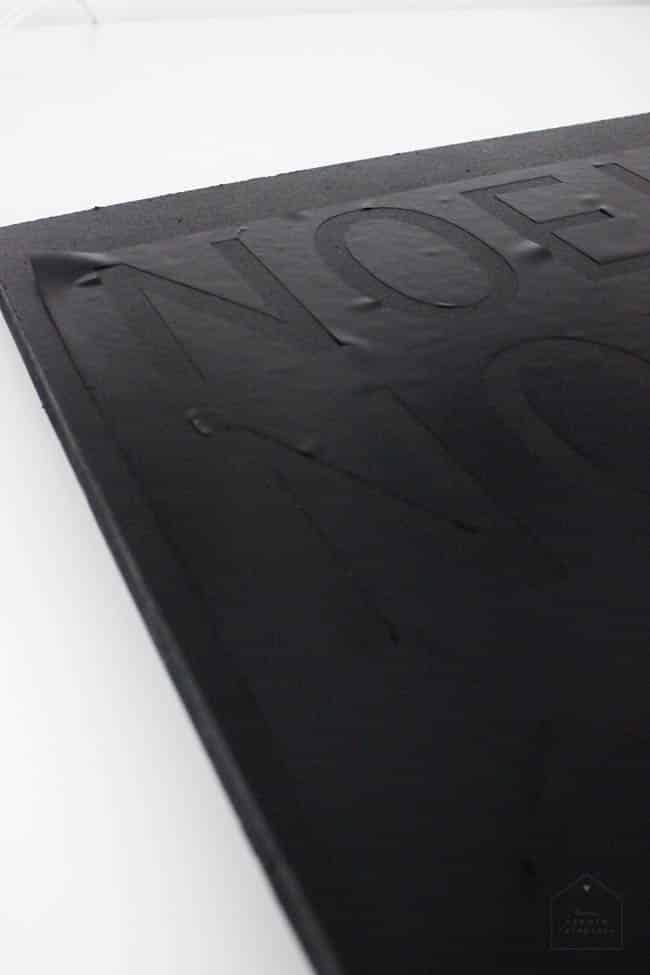
Next is the fun part! Pour some of your deco foil liquid adhesive onto a plastic lid or container and dip your foam brush in. Use the foam brush to “paint” the glue over the entire stencil. Try to keep the coats fairly even so that they dry at the same time. As soon as the glue is applied, remove the stencil.
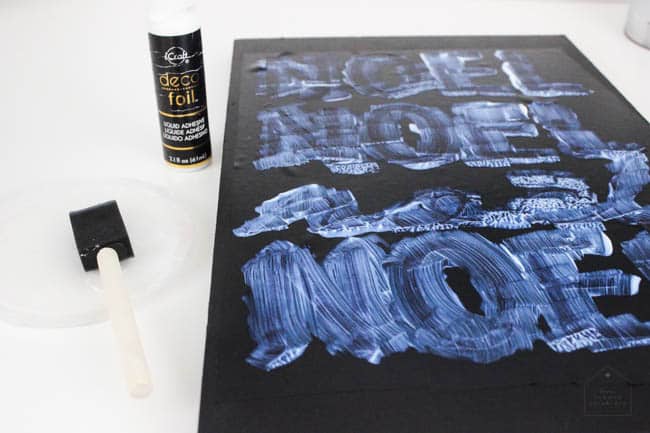
You want the glue to become transparent, but still be tacky to touch before you add the gold foil. Below is a photo of the glue just before I applied the foil.
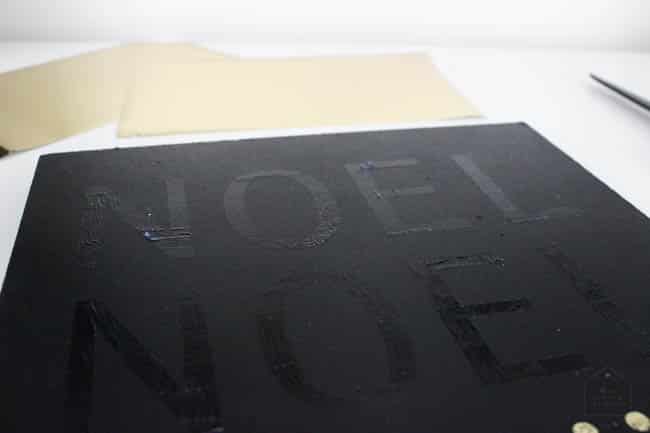
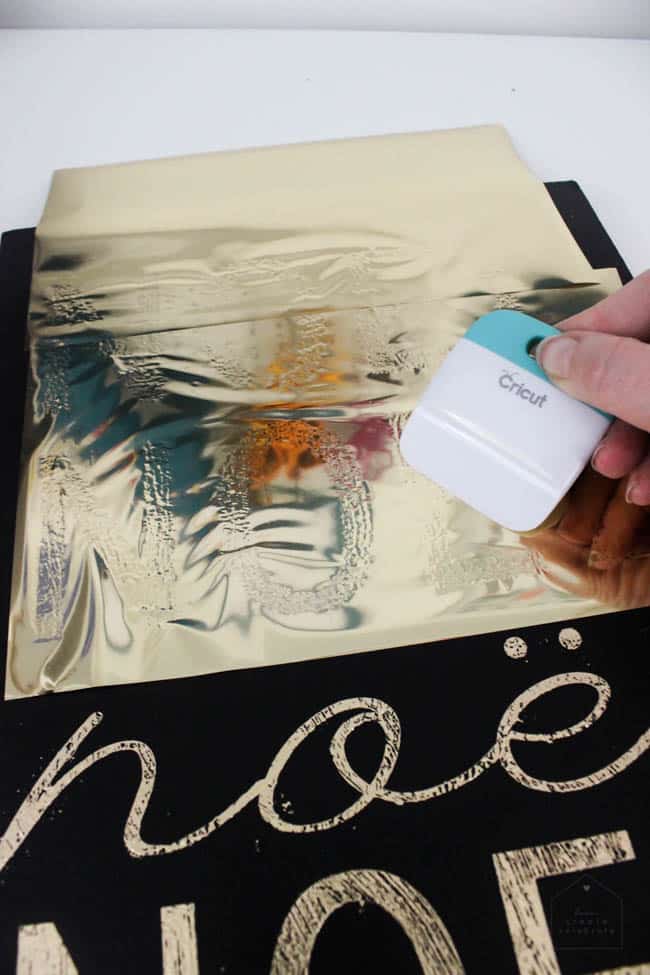
Next, apply the foil sheets and rub the foil into the letters.
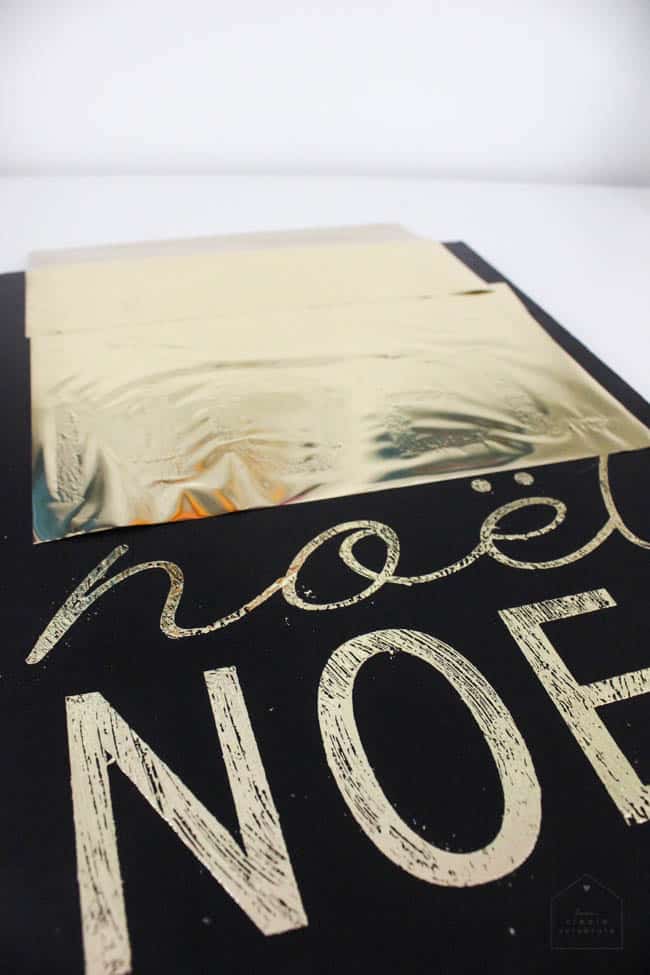
I had a small scraper on hand and I found it very helpful to use the scraper to apply the gold foil to my wood canvas.
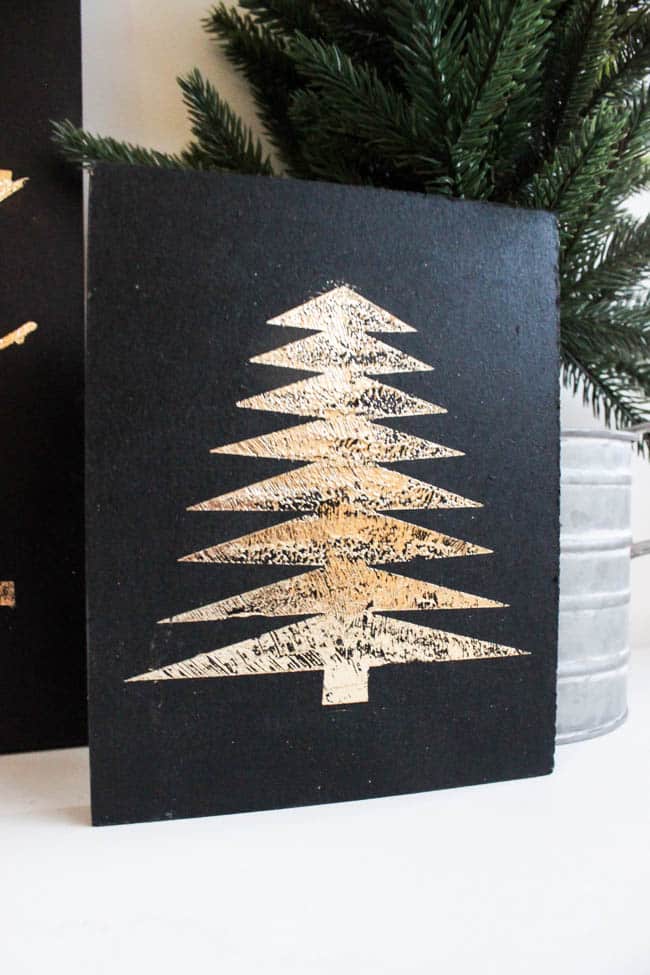
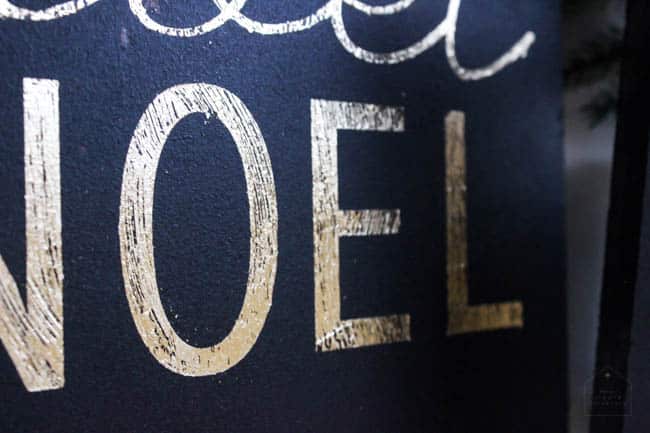
When you’re done, you’ll be left with a beautiful gold foil sign!
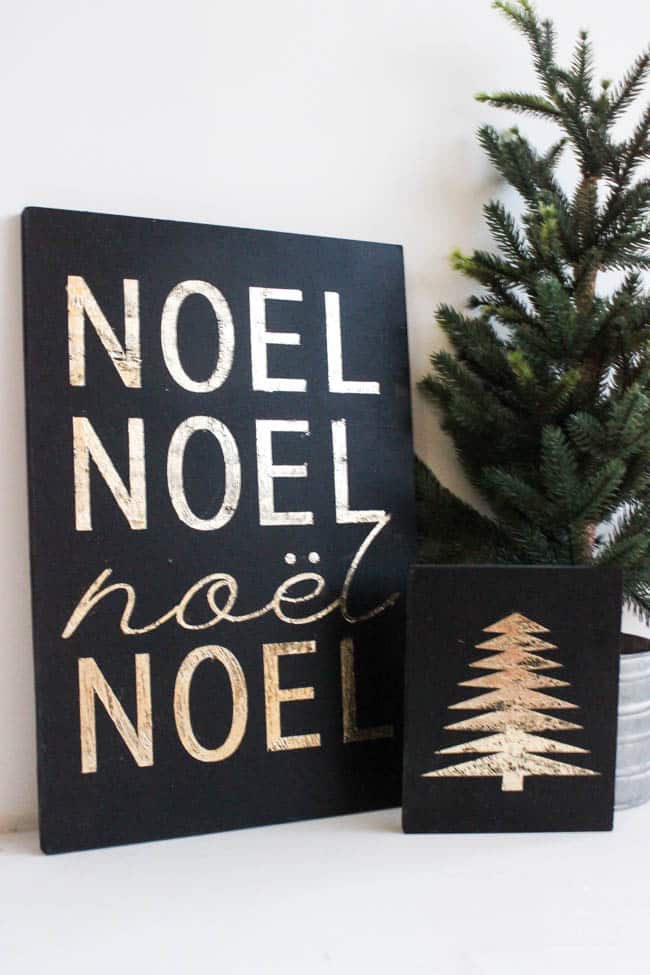
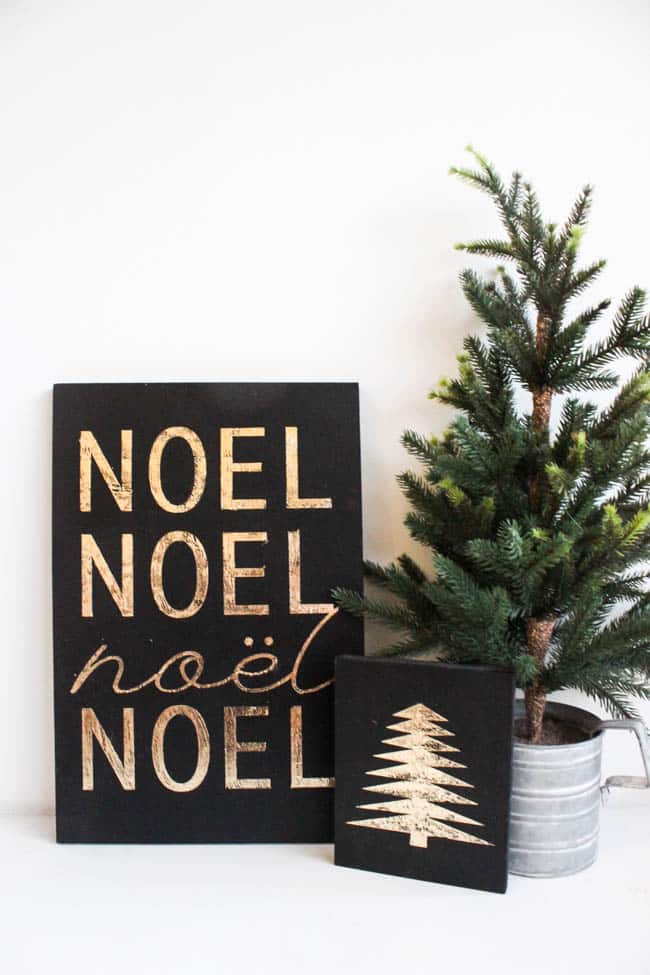
Do you want to try it for yourself?! Enter to win a great prize pack! Thermoweb is giving away a $100 gift card plus FREE shipping :)
Don’t forget to check out the other beautiful gold foil projects!
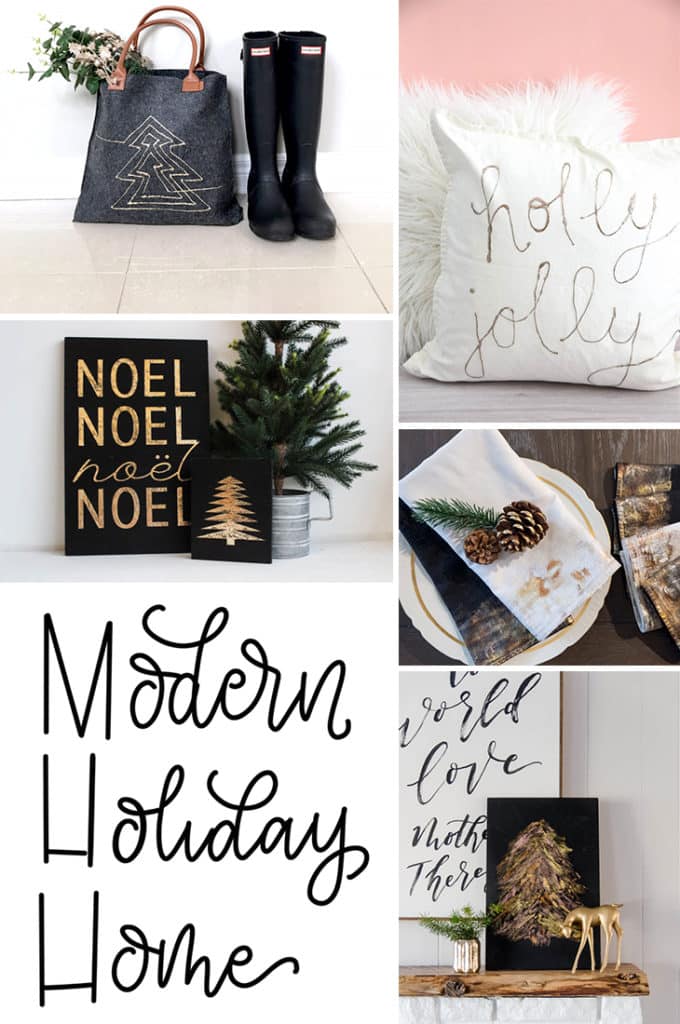
Left to right, top to bottom:
Harlow & Thistle’s gold foil Christmas tree tote / The Sweetest Digs’ holly jolly gold foil pillow / Love Create Celebrate’s black and gold foil holiday signs / The Learner Observer’s metallic foiled holiday napkins / Lemon Thistle’s foil brush strokes sign & tags
I so hope you found some amazing inspiration this week on our Modern Holiday Home series! We will be back next week with some more modern Christmas inspiration for you all!
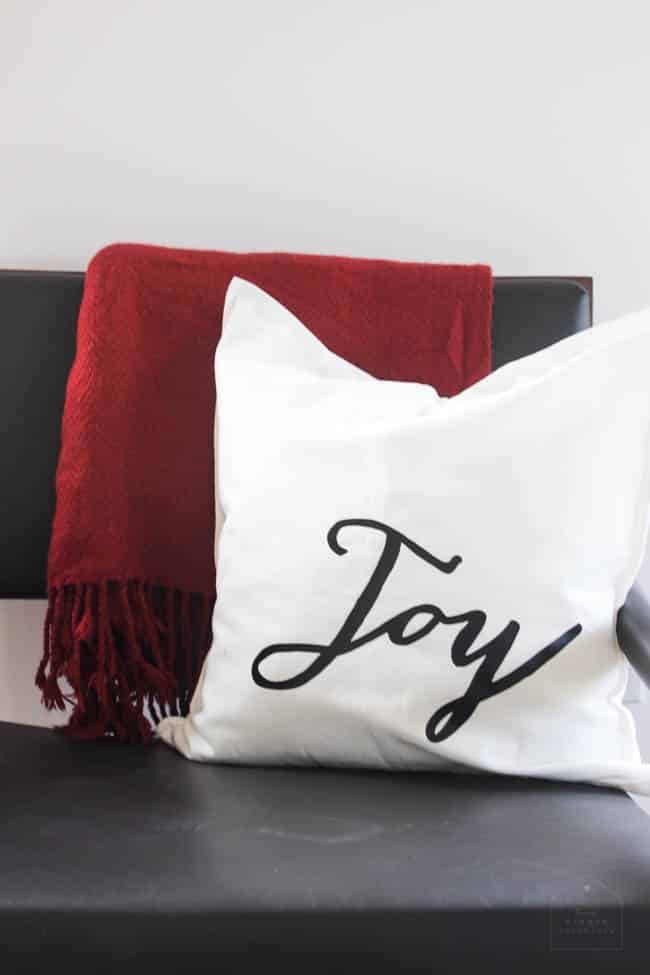
Want more holiday inspiration? How about some SUPER easy DIY Christmas pillows?


25 holiday signs made with cricut that anyone can DIY
Wednesday 4th of December 2019
[…] NoelBy: Love Create Celebrate […]
Bungalowlagi
Sunday 19th of November 2017
Wow, so creative! I always thought that we have to paint it by hand, haven't thought about this method before. Thanks a lot for your sharing!
The Creative Gallery #257 -
Sunday 12th of November 2017
[…] I love the look of these DIY gold foil signs from Love Create Celebrate! […]
Charlotte
Sunday 5th of November 2017
What a beautiful holiday DIY project!! And I’m of the opinion that it’s never too late to start prepping for Christmas, too :) thanks so much for sharing...stopping in from SITS sharefest this morning :)
Courtney
Friday 3rd of November 2017
This turned out really nice! I like the gold on black. :)