Want to add some extra interest to a wall in your home? This DIY stencil wall is the perfect way to change up any accent wall for a nursery or any room.
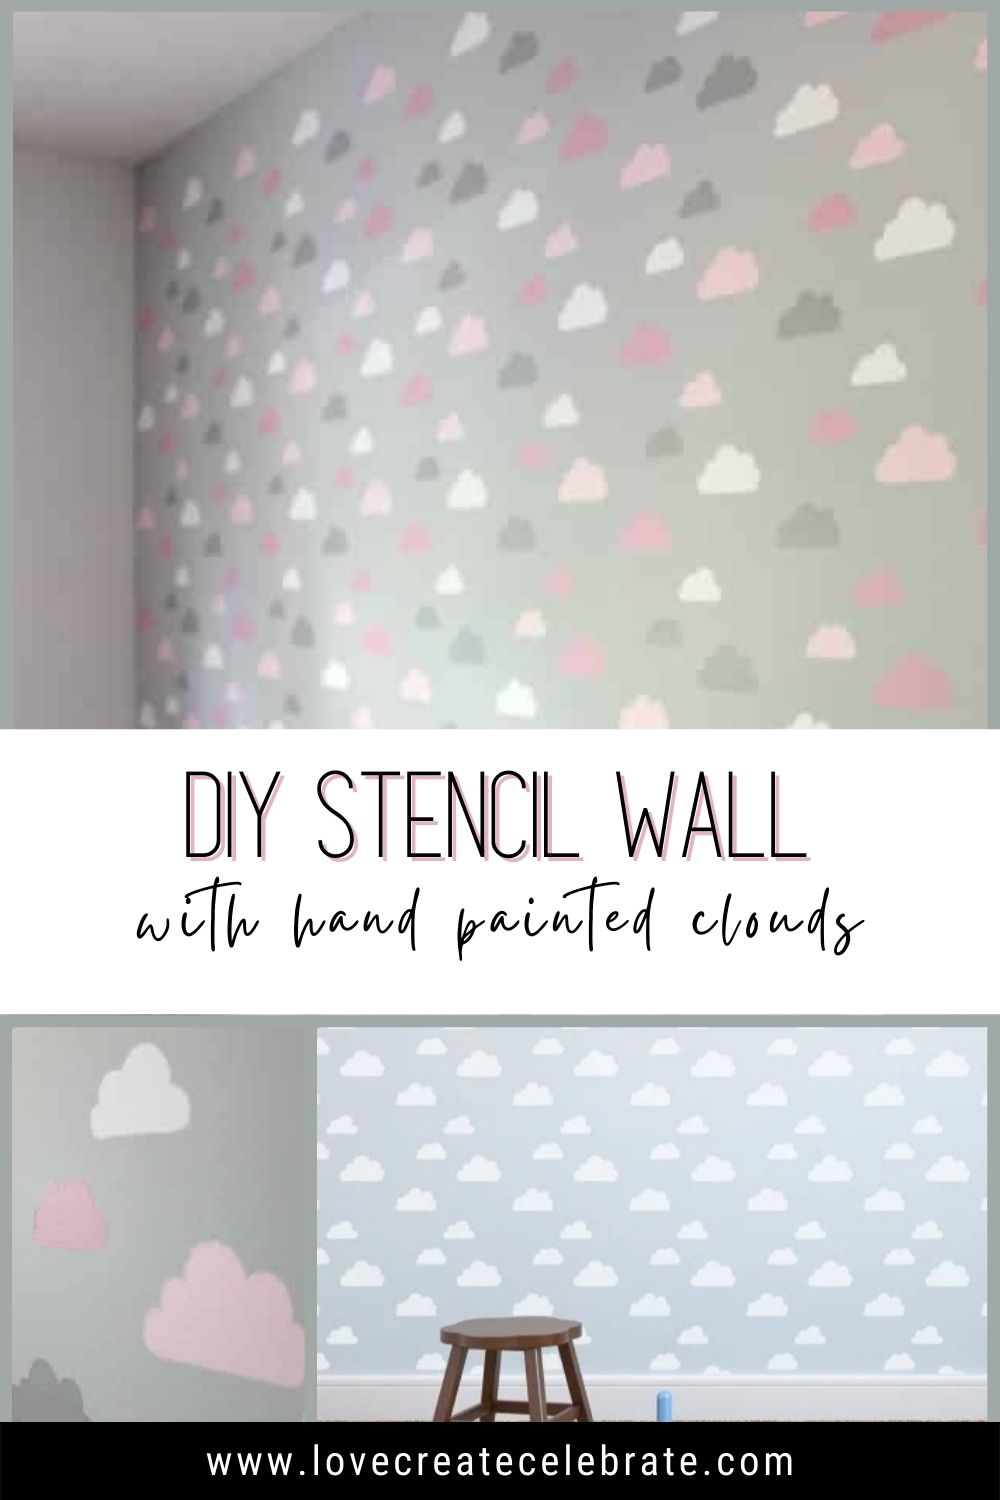
It’s crossed your mind before, I’m sure. The idea of stenciling one of those boring builder-basic walls in your home… It had definitely crossed my mind several times. But then I thought about time and cost and effort, and it promptly exited my mind. Until now! Enter Cutting Edge Stencils! When I had the opportunity to use one of their unique stencils, I decided to dive in and complete my first DIY Painted Stencil Wall. I’m SO glad I did!
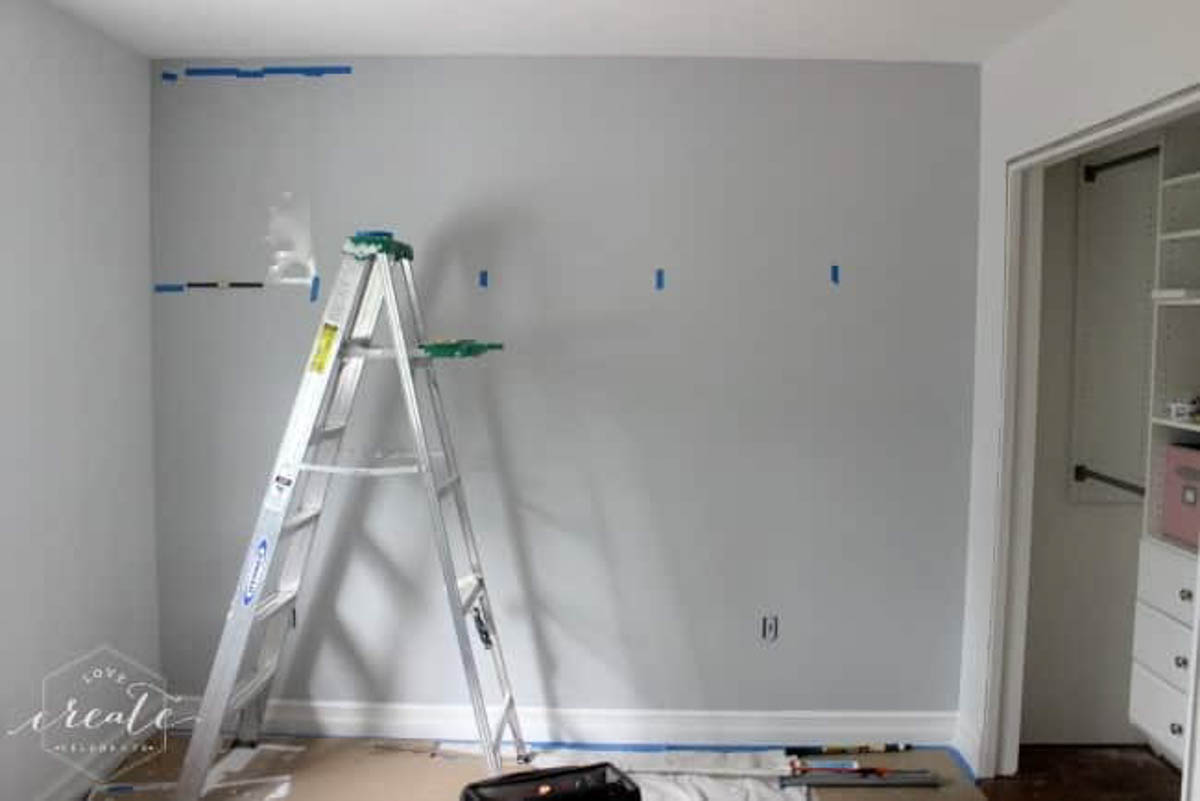
We decided to use a stencil in my daughter’s Big Girl (aka “Toddler”) Bedroom. We wanted to stencil one feature wall. To see where the room started, you’ll want to read this post. The whole room was boring builder beige, and we needed to brighten things up!
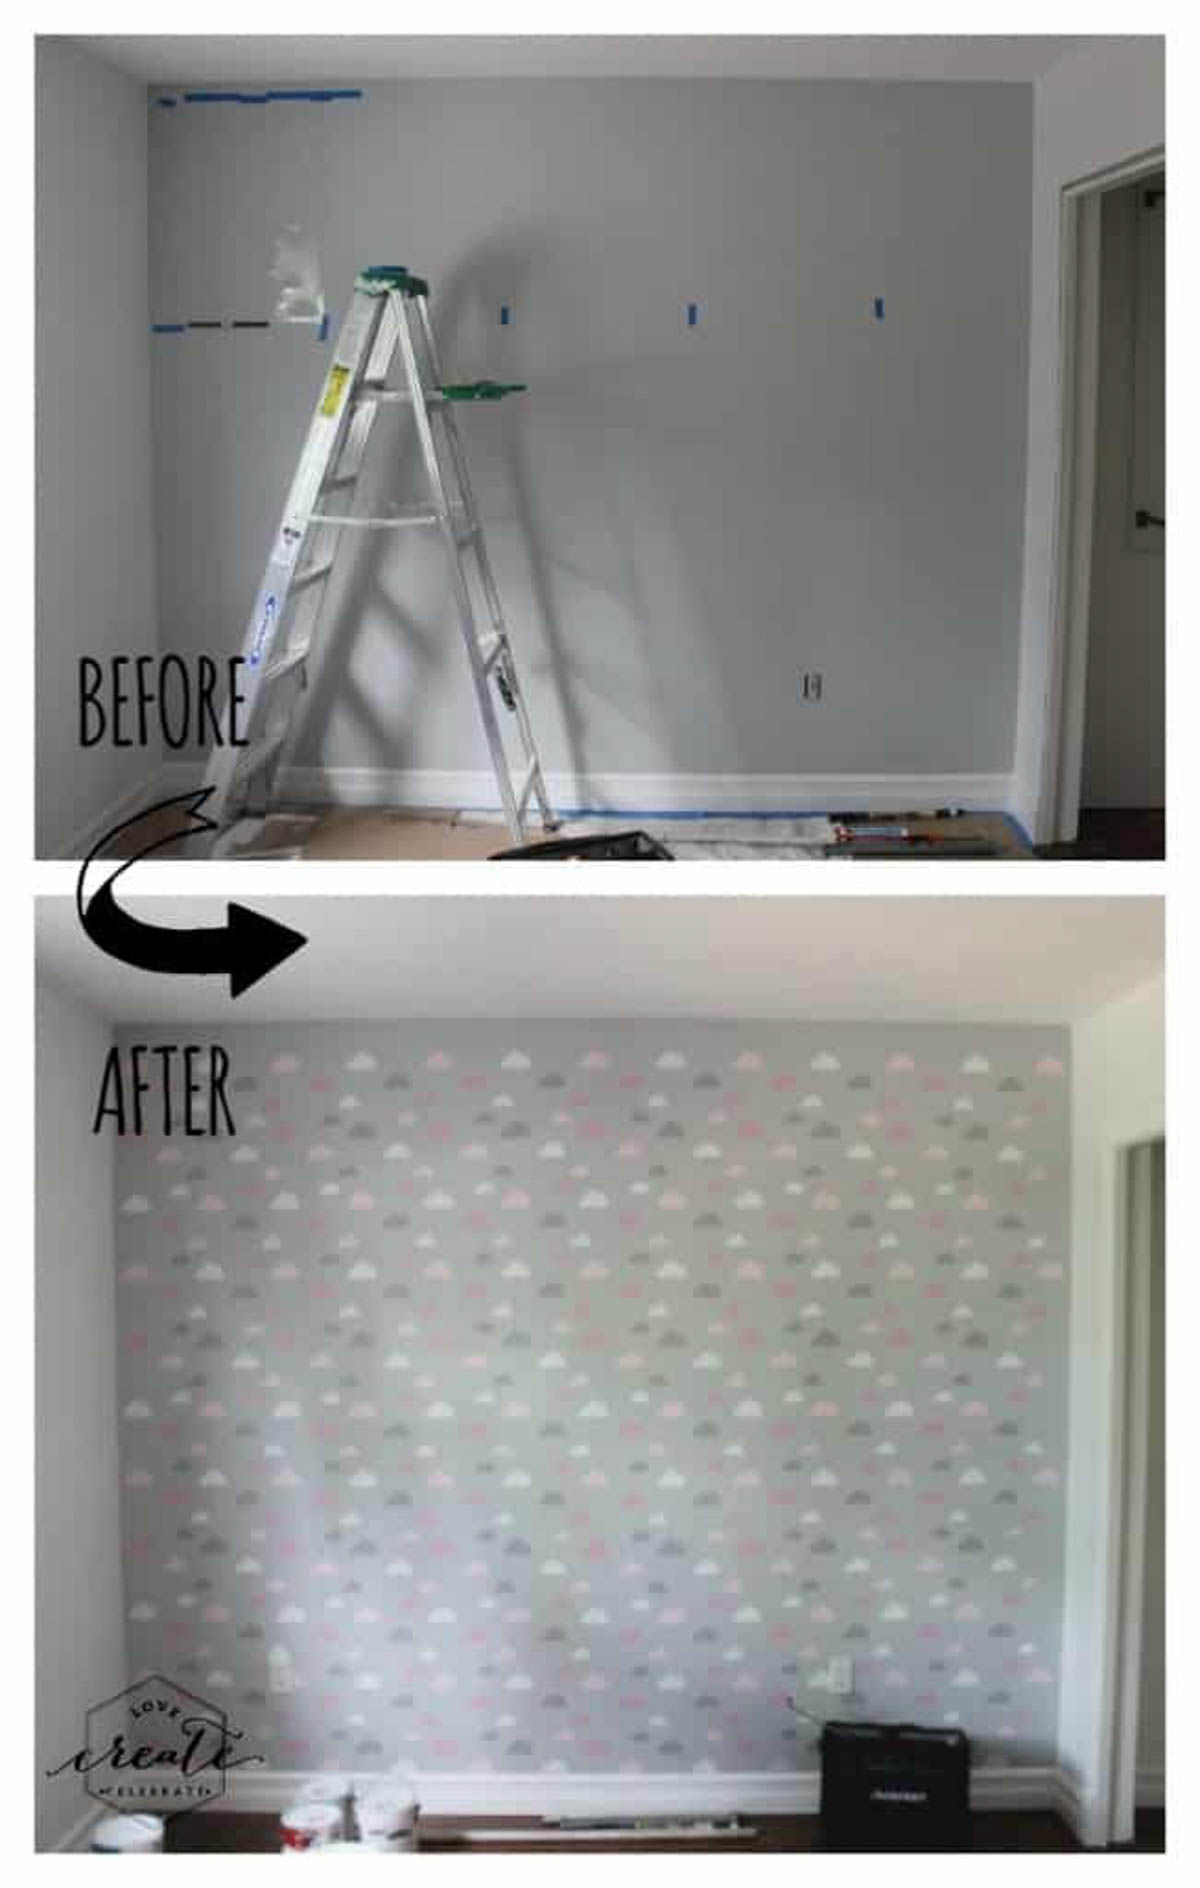
We started by painting the wall with Planetary Silver by Behr Paints. It’s a light tray (below) and it looked amazing against the other white walls.

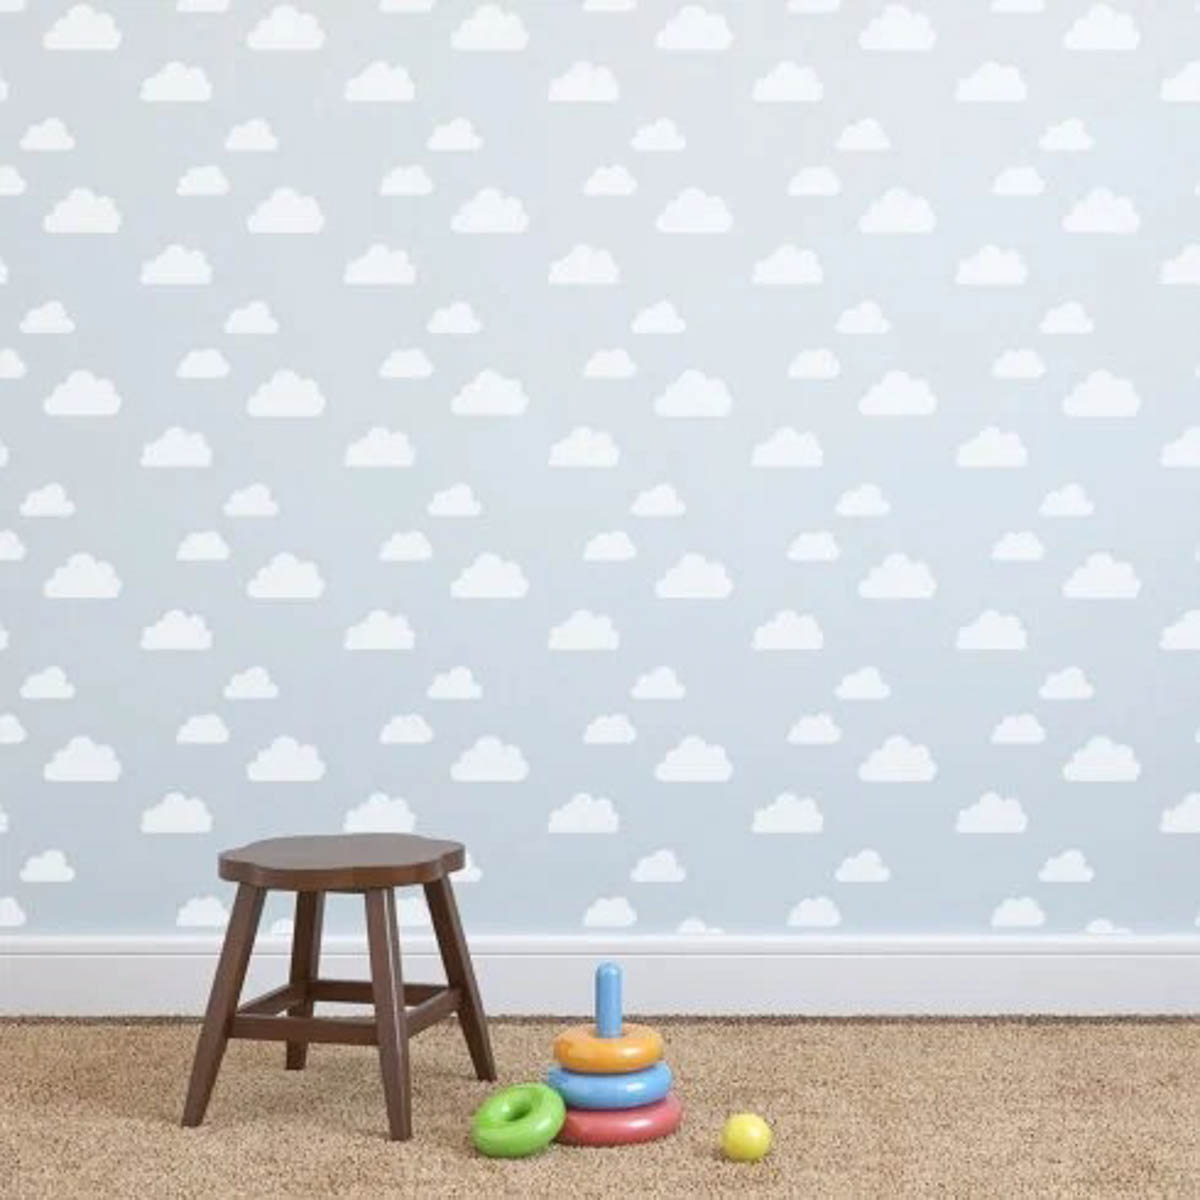
I chose to use this Clouds Allover stencil by Cutting Edge Stencils because I loved the soft whimsical feel of the clouds on the wall. I also wanted to add colour to the room, so I decided to attempt a stencil with multiple colours.
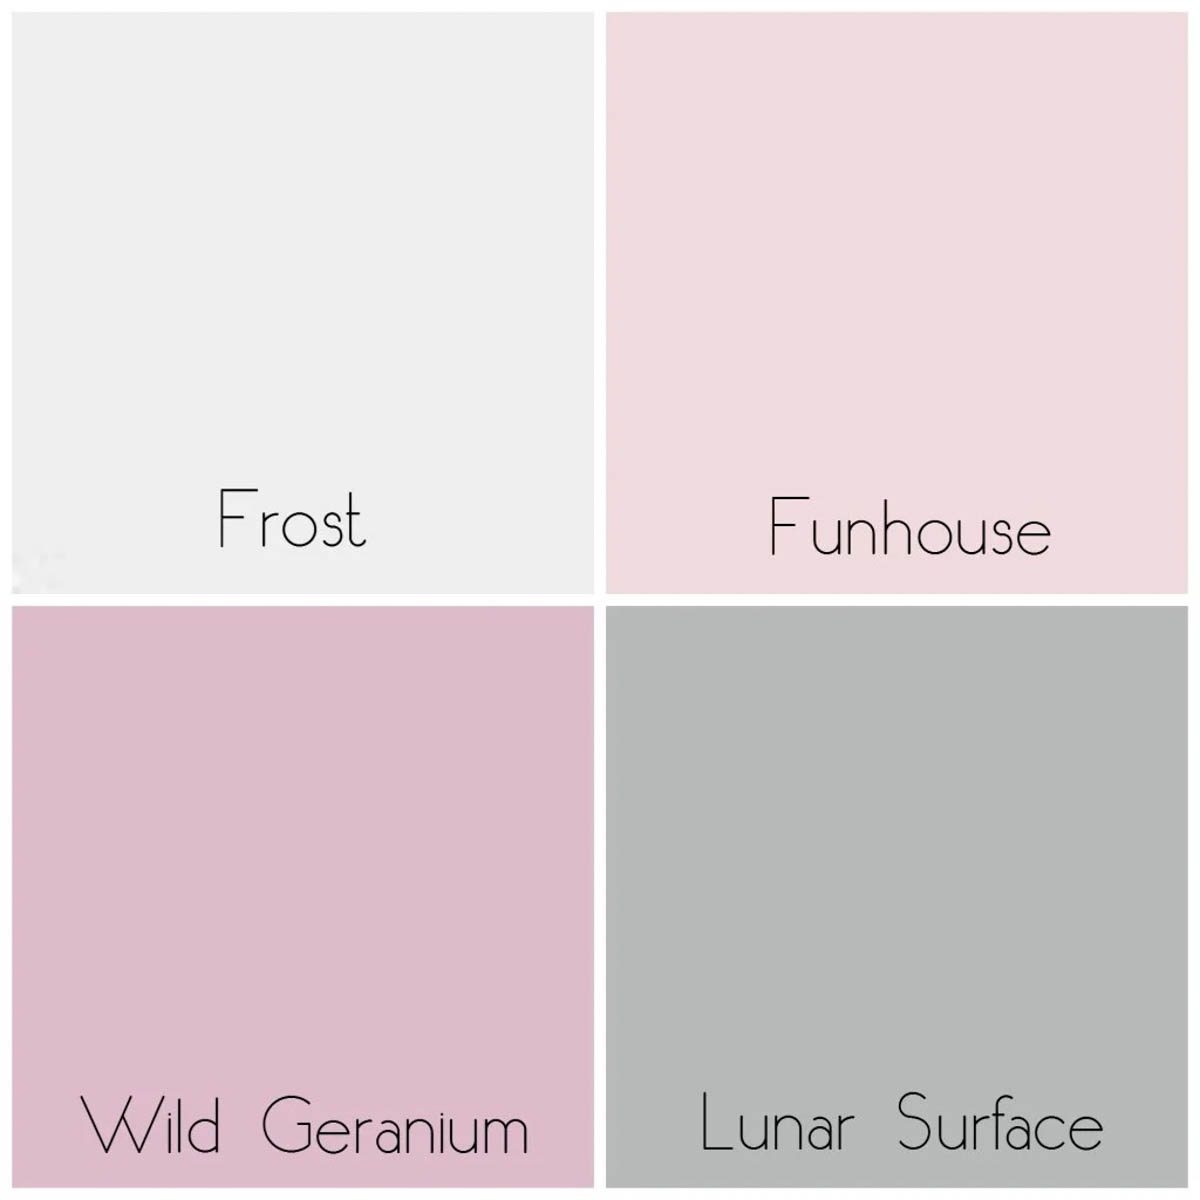
I chose four colours that would match the decor in my daughter’s room. All four are Behr Paints from Home Depot. I bought Frost (same white as the walls), Funhouse, Wild Geranium, and Lunar Surface (dark grey). It seems like a lot of paint, but you can by testers at Home Depot, which are just tiny containers of paint that only cost $3! We bought one of those in each colour, and it was enough for the whole wall :)
Then the actual stenciling began!
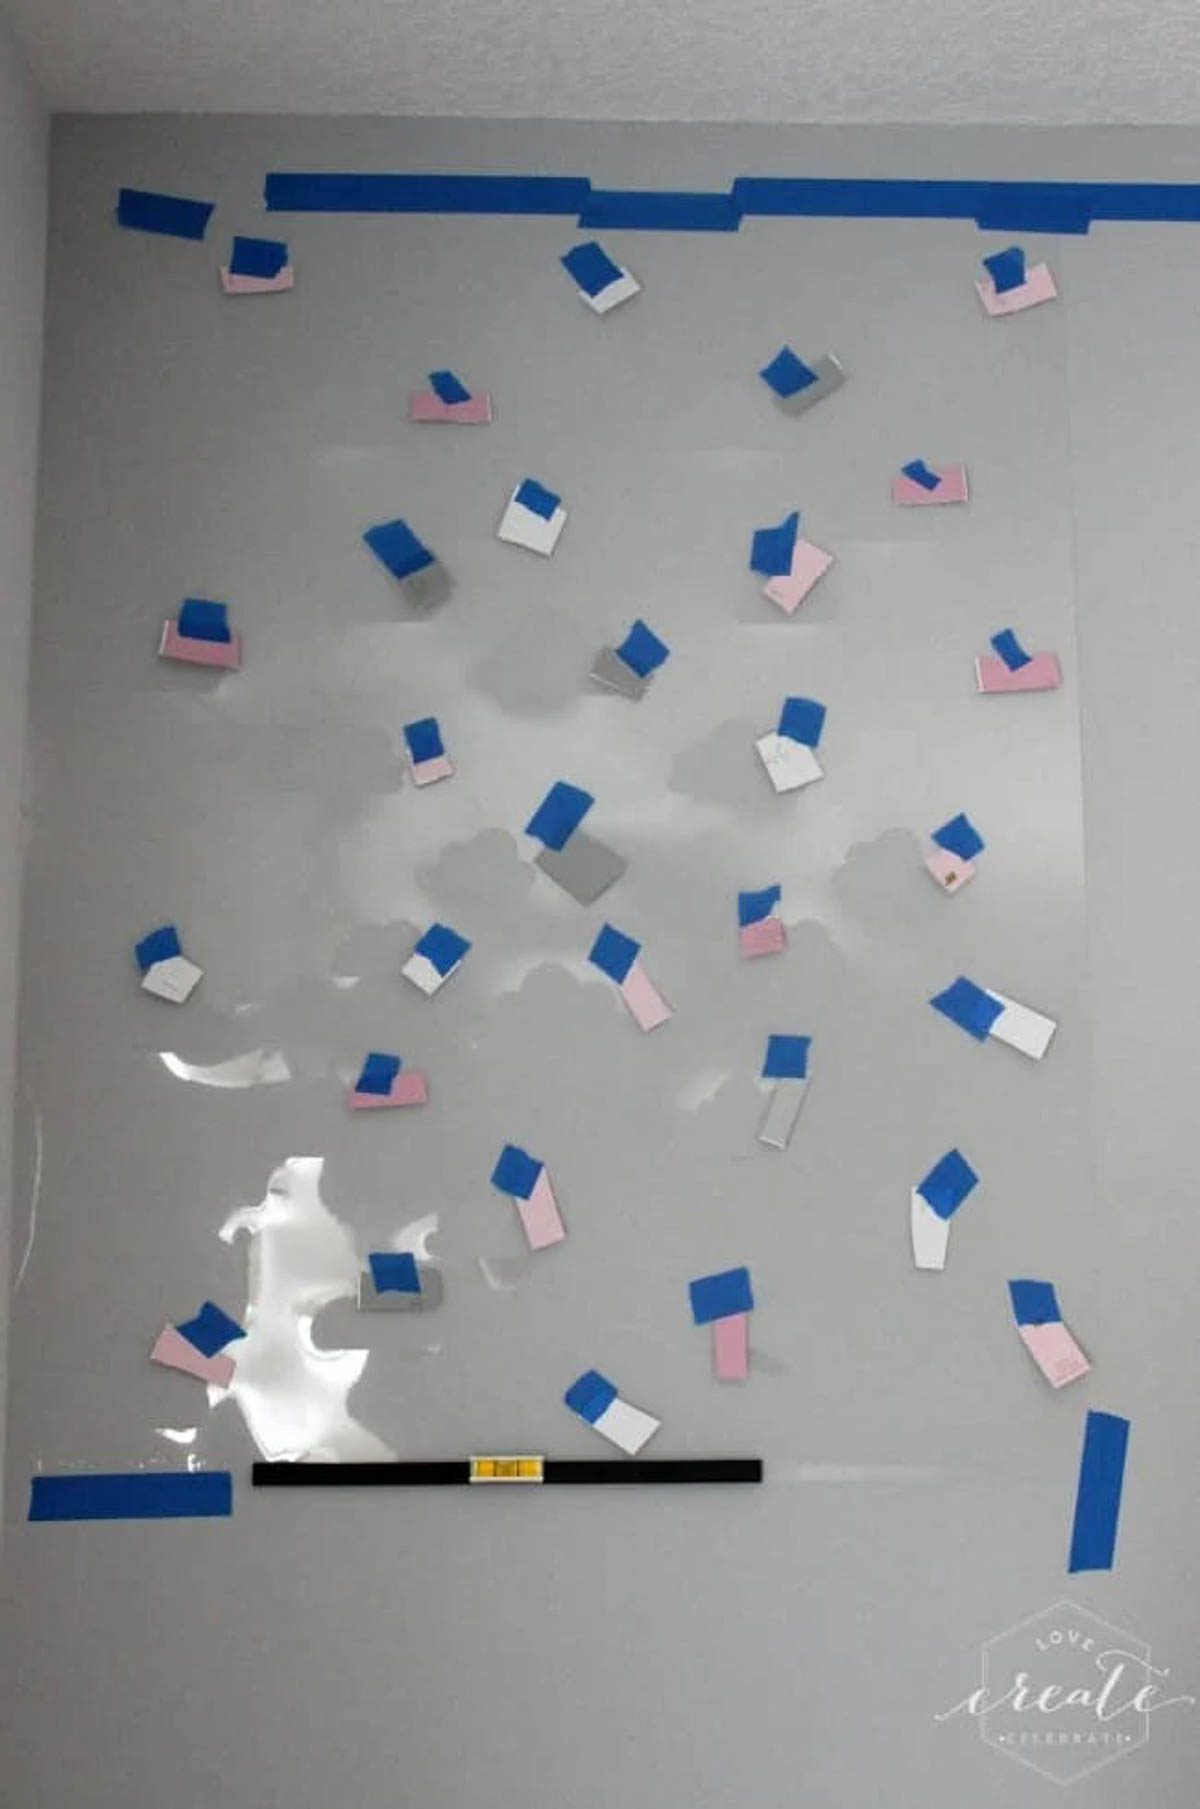
When you purchase a stencil from Cutting Edge Stencils, you get a large stencil that repeats itself in all directions, so it’s very easy to use and transfer to the next spot. I wanted to visualize the colours I was using, so I put the large stencil on the wall and cut up a bunch of paint chip cards to mimic the colours of the clouds. I moved the colours around a bunch of times (many more times than my husband had patience for… lol) until I was satisfied with the pattern.
Then I set up my paint station. One tray, one foam roller, and one paper plate for each paint colour. Plus an entire roll of paper towel! Everytime you get paint on your roller, you want to roll it through the paper towel before going to the stencil to make sure the paint is not too thick. Otherwise the paint could get under the stencil, or could drip down on the wall. Seriously, we used an entire roll!
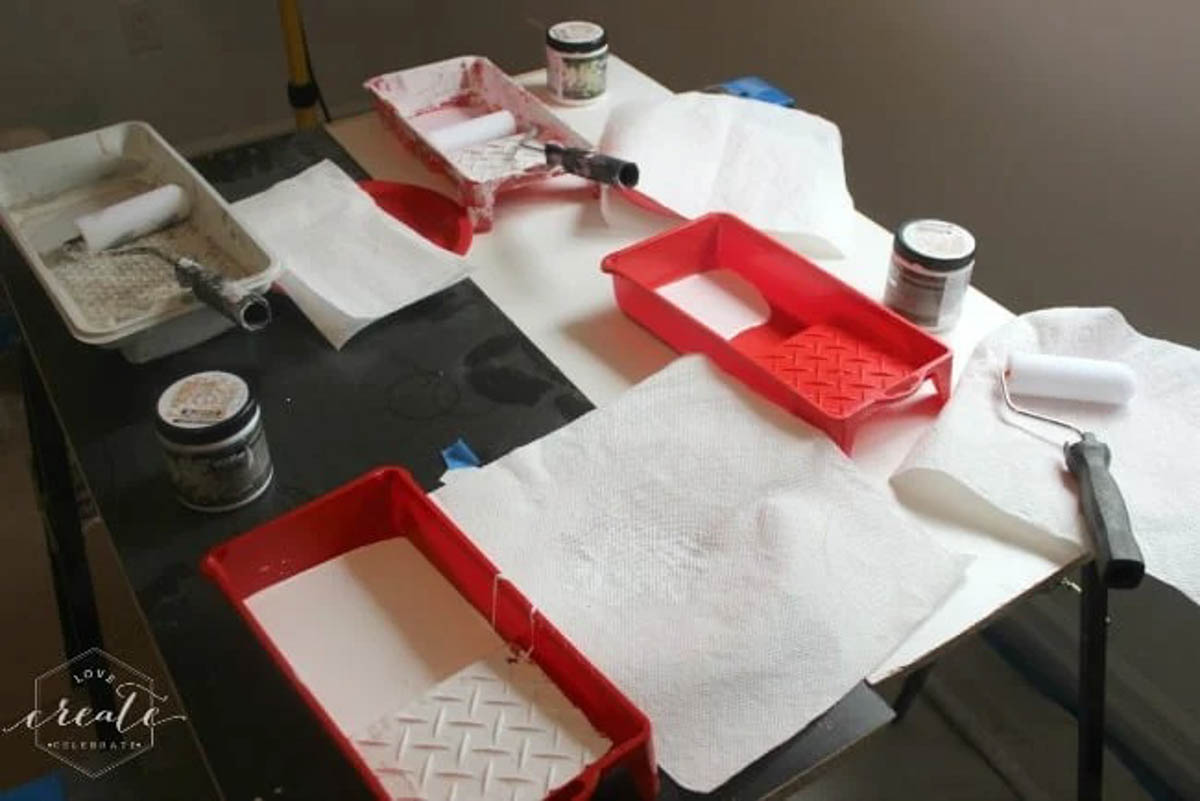
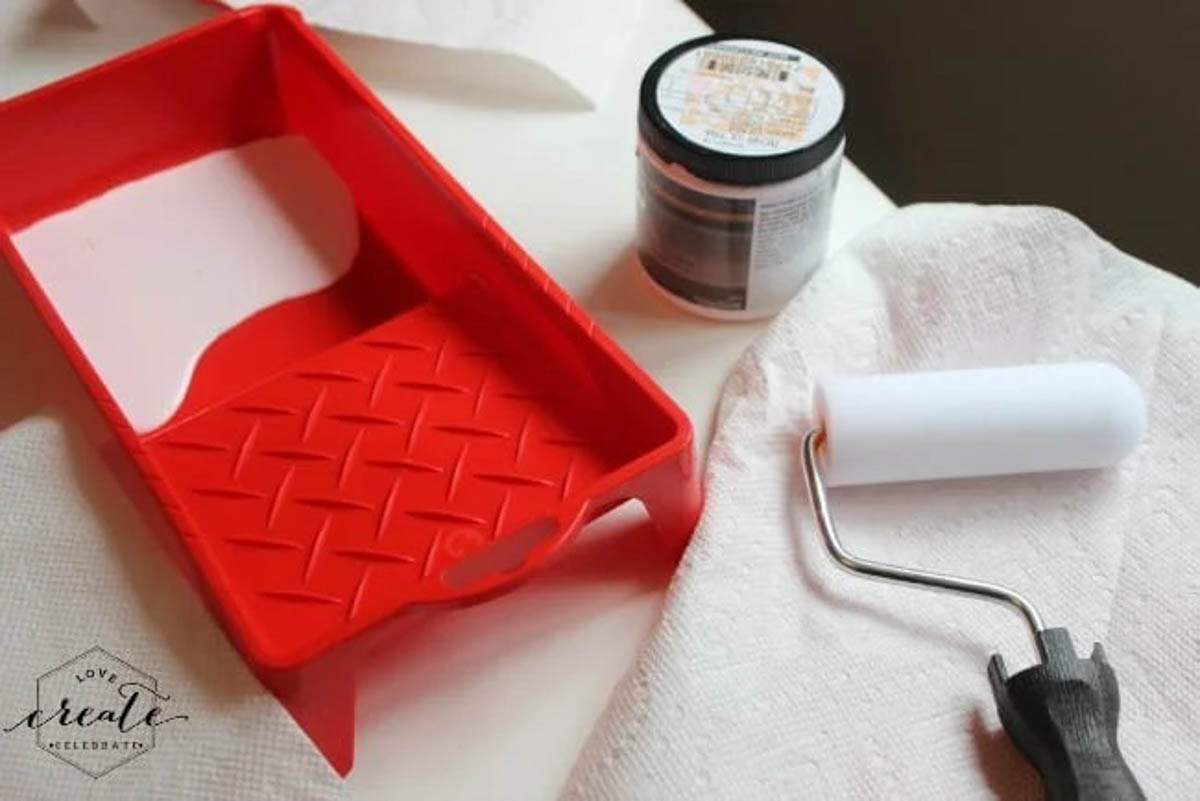
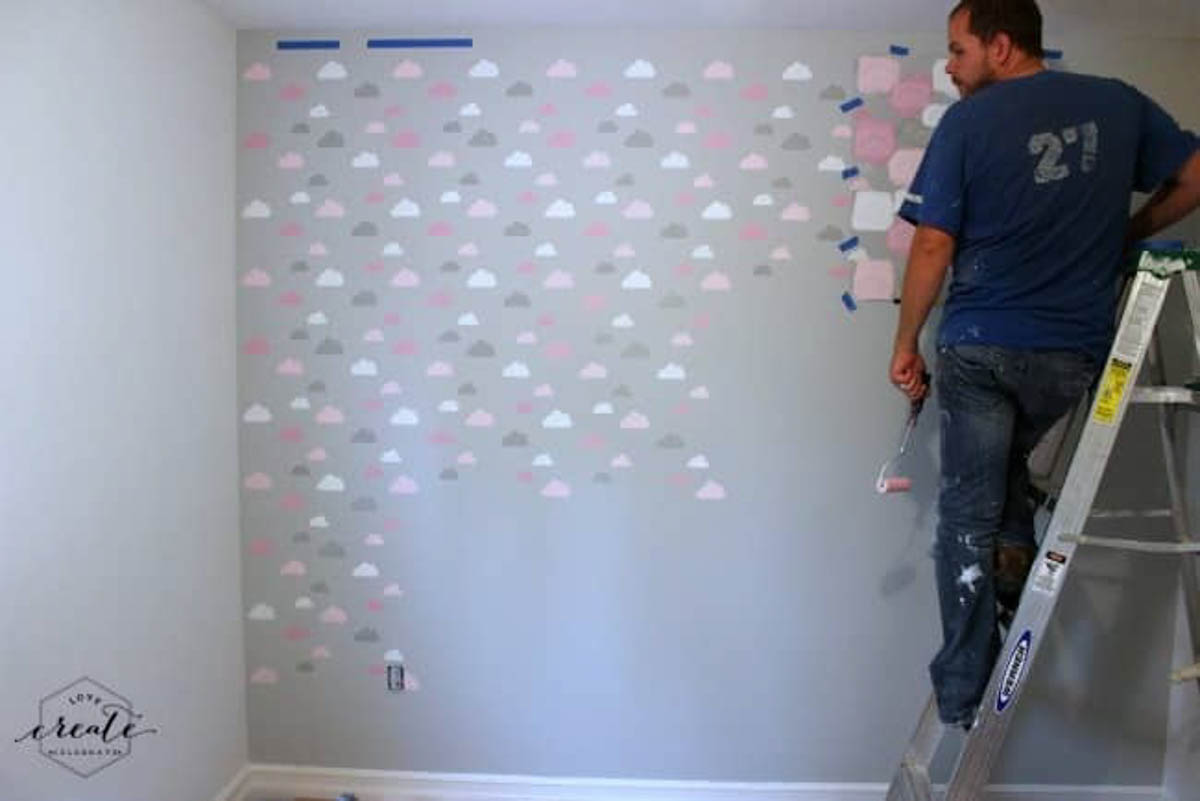
Roll each cloud of one colour, then all of the next colour, etc. etc. Until all four colours are done. We actually decided to roll twice on each cloud to cover up the light grey paint on the wall underneath. A white wall would only need one coat.
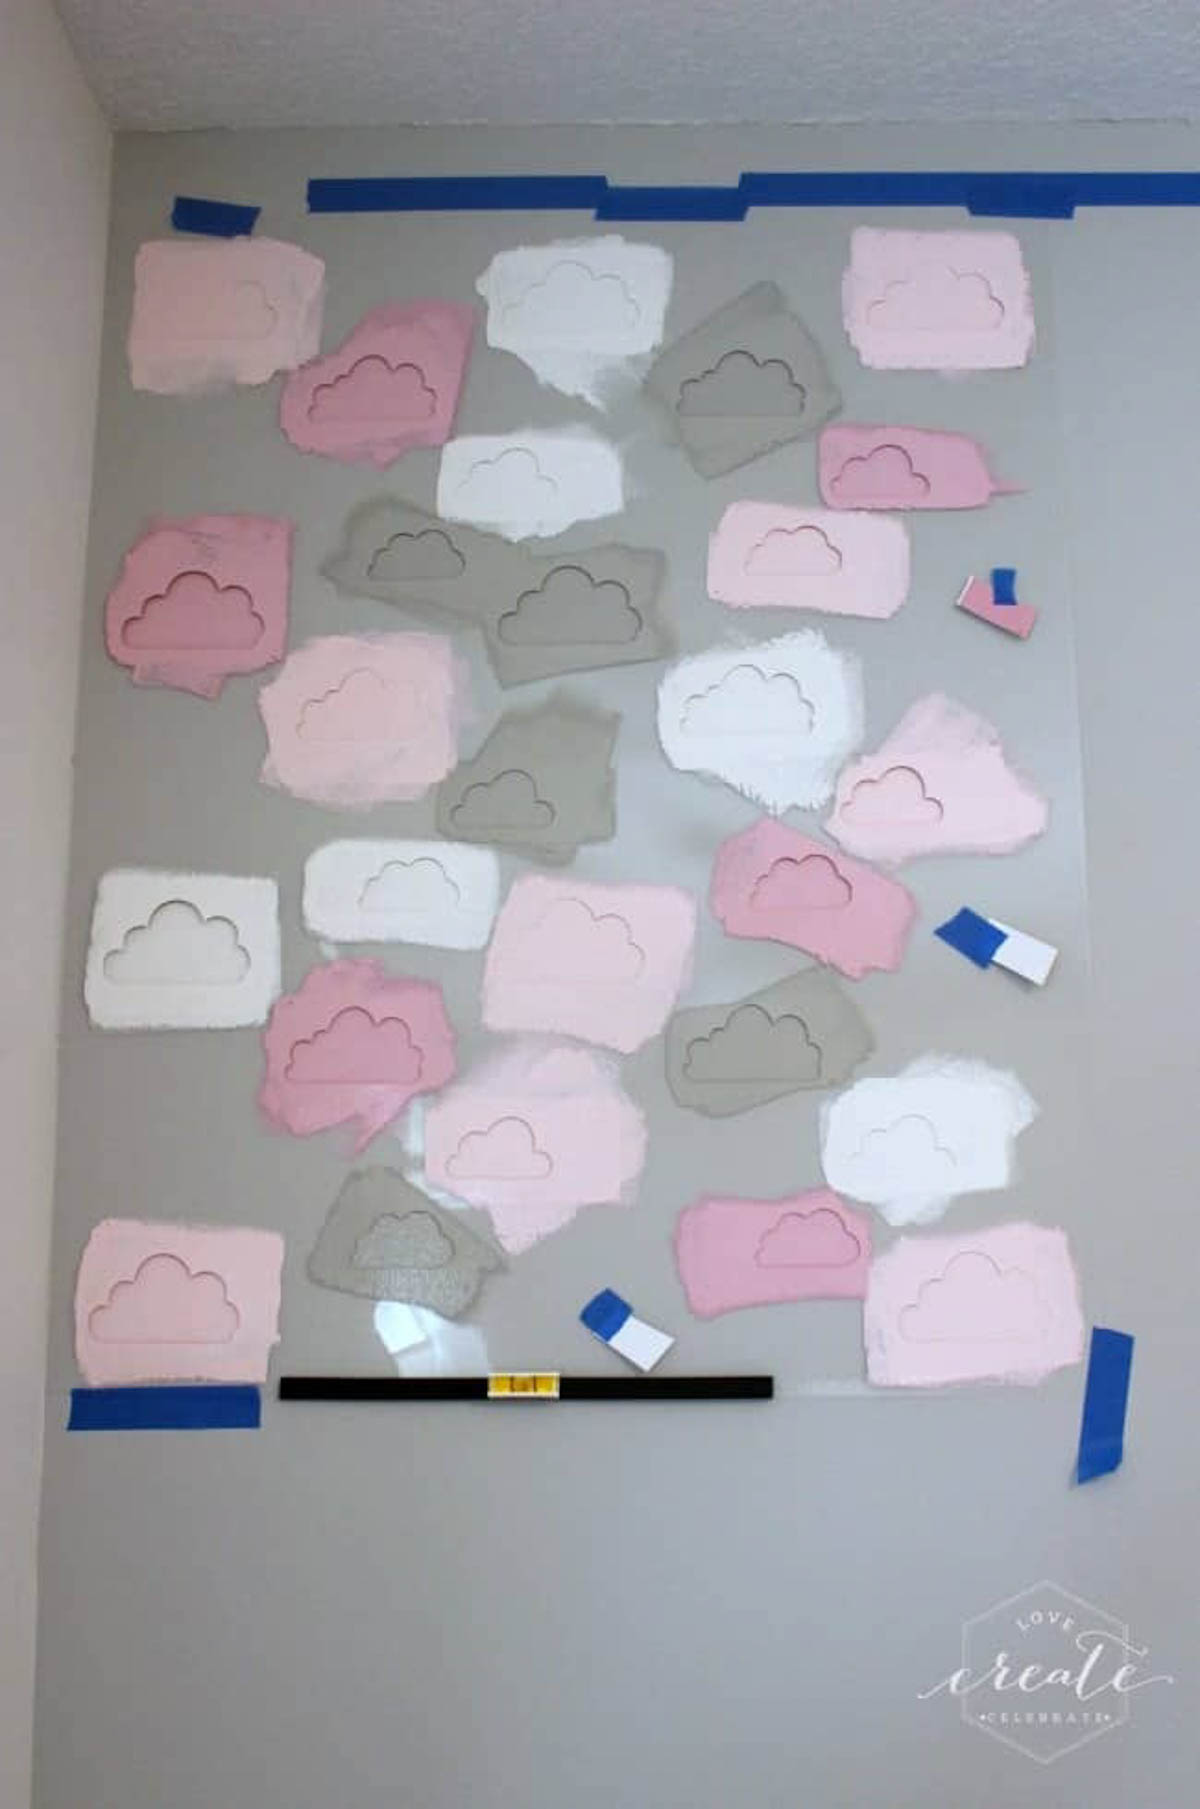
The picture above shows a level that Cutting Edge Stencils designed to attach to the bottom of the stencil. That level is key to ensuring that the clouds line up perfectly each time you transfer the stencil.
We move the stencil vertically and horizontally, giving different sections time to dry as we moved forward. Here’s the wall with half of the stencils done!
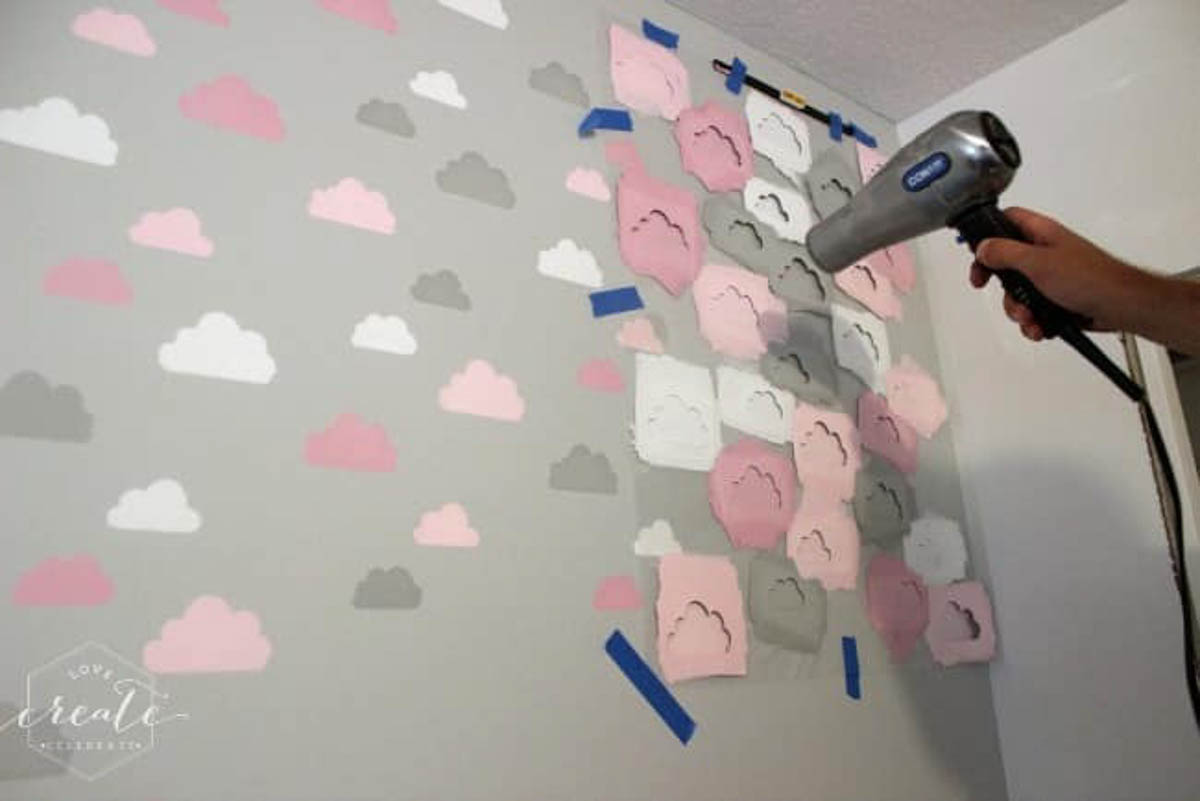
Another tip: Because we wanted to put multiple coats of paint on the same clouds we found that we were often ready to re-paint before it was dry. So we pulled out a handy-dandy old hairdryer to help the drying process go faster. It worked like a charm!
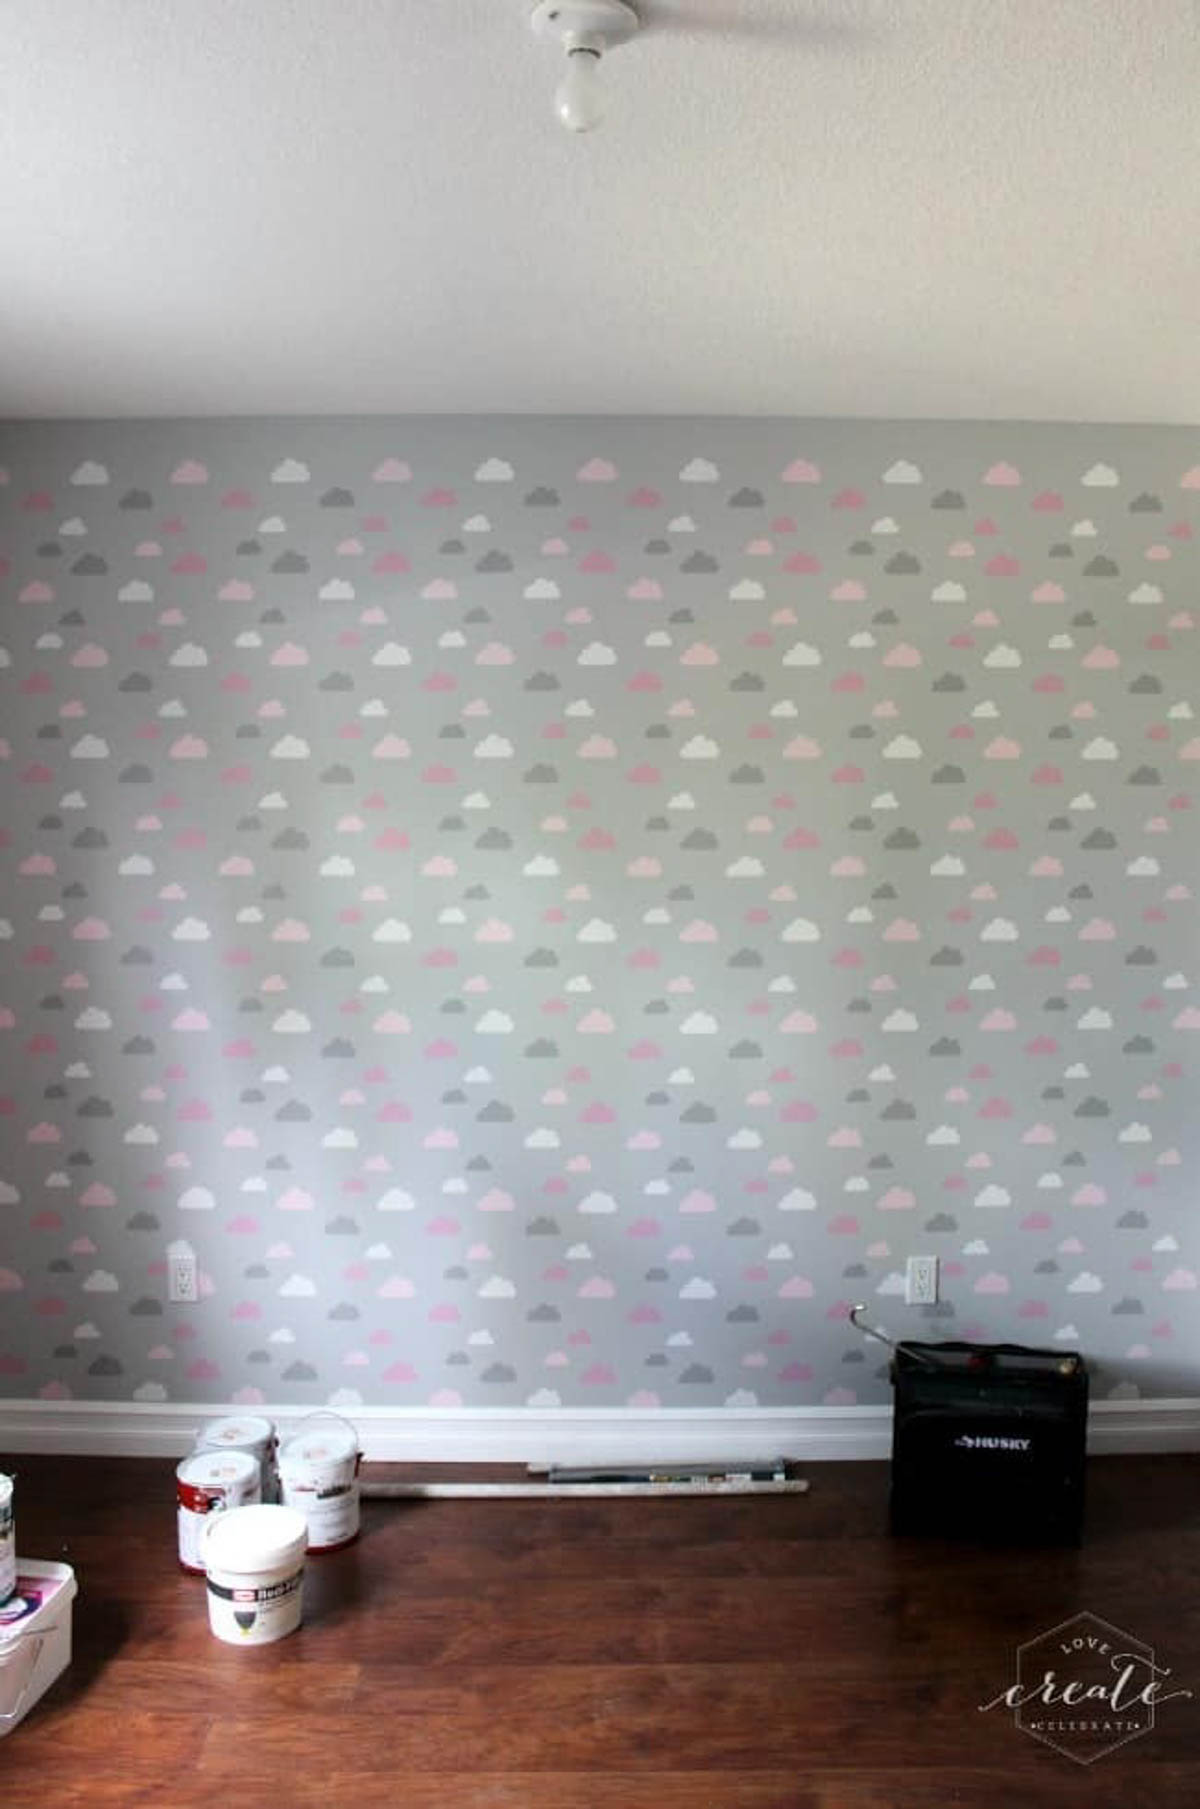
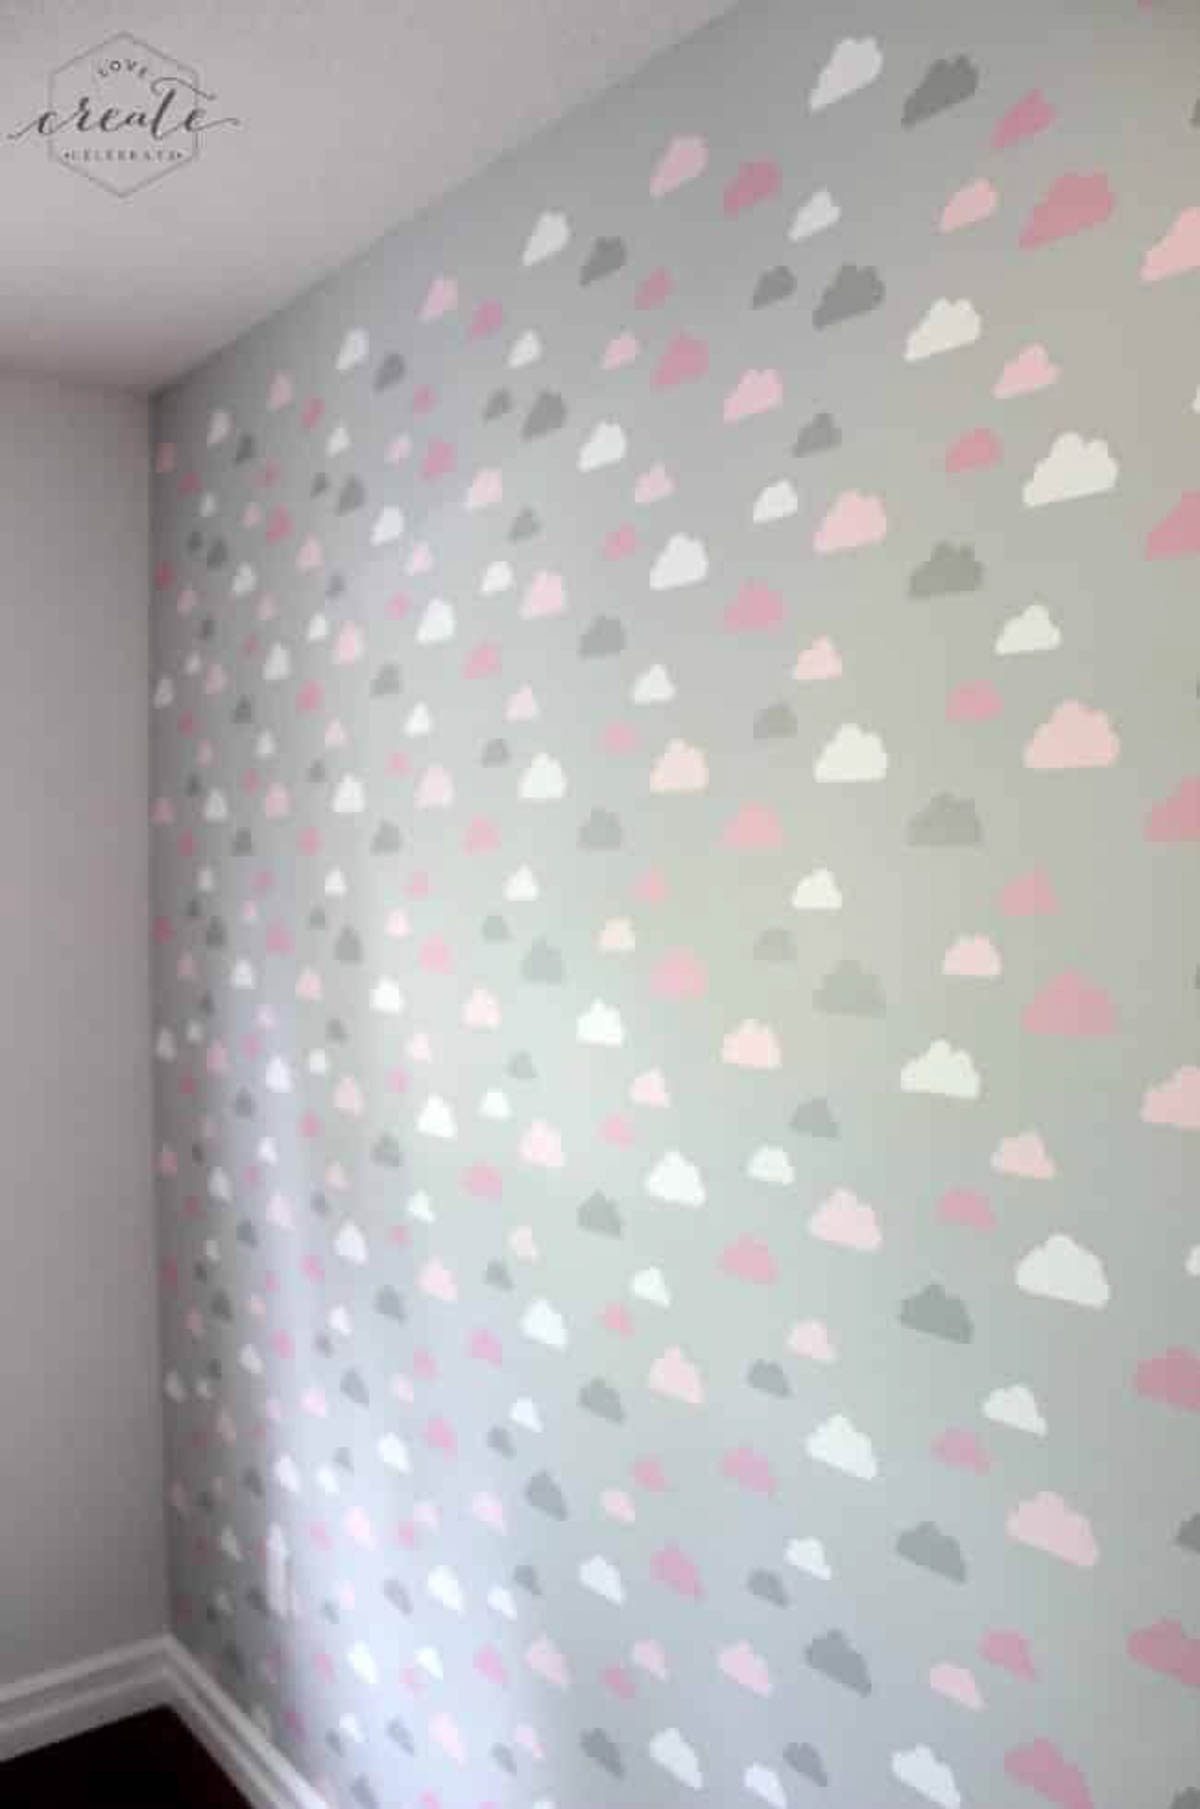
That’s all there is to it! It only took 4.5 hours to complete the entire DIY stencil wall!
It looks great, and my daughter LOVES it – so that’s a win in my books!

Follow the rest of the One Room Challenge posts to how my daughter’s room comes together as we finish all of the redecorating in only 6 weeks!
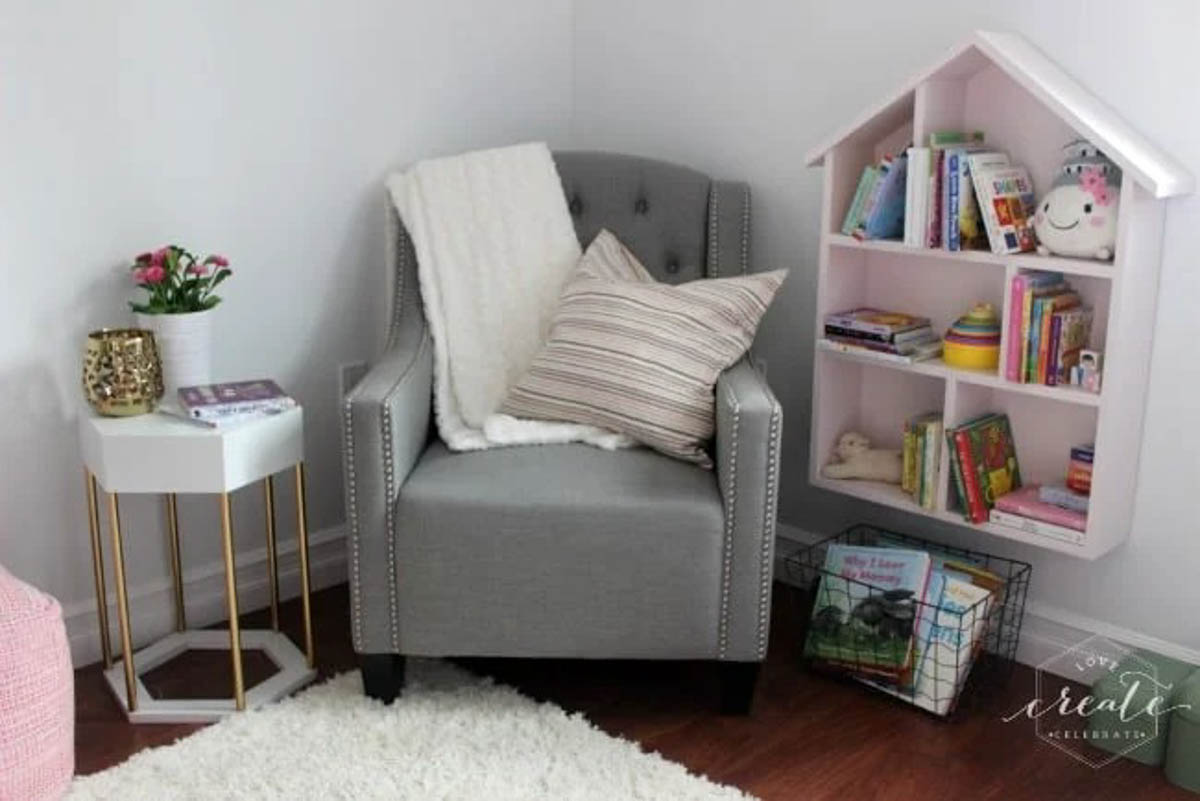
See the entire Big Girl Bedroom Makeover here!
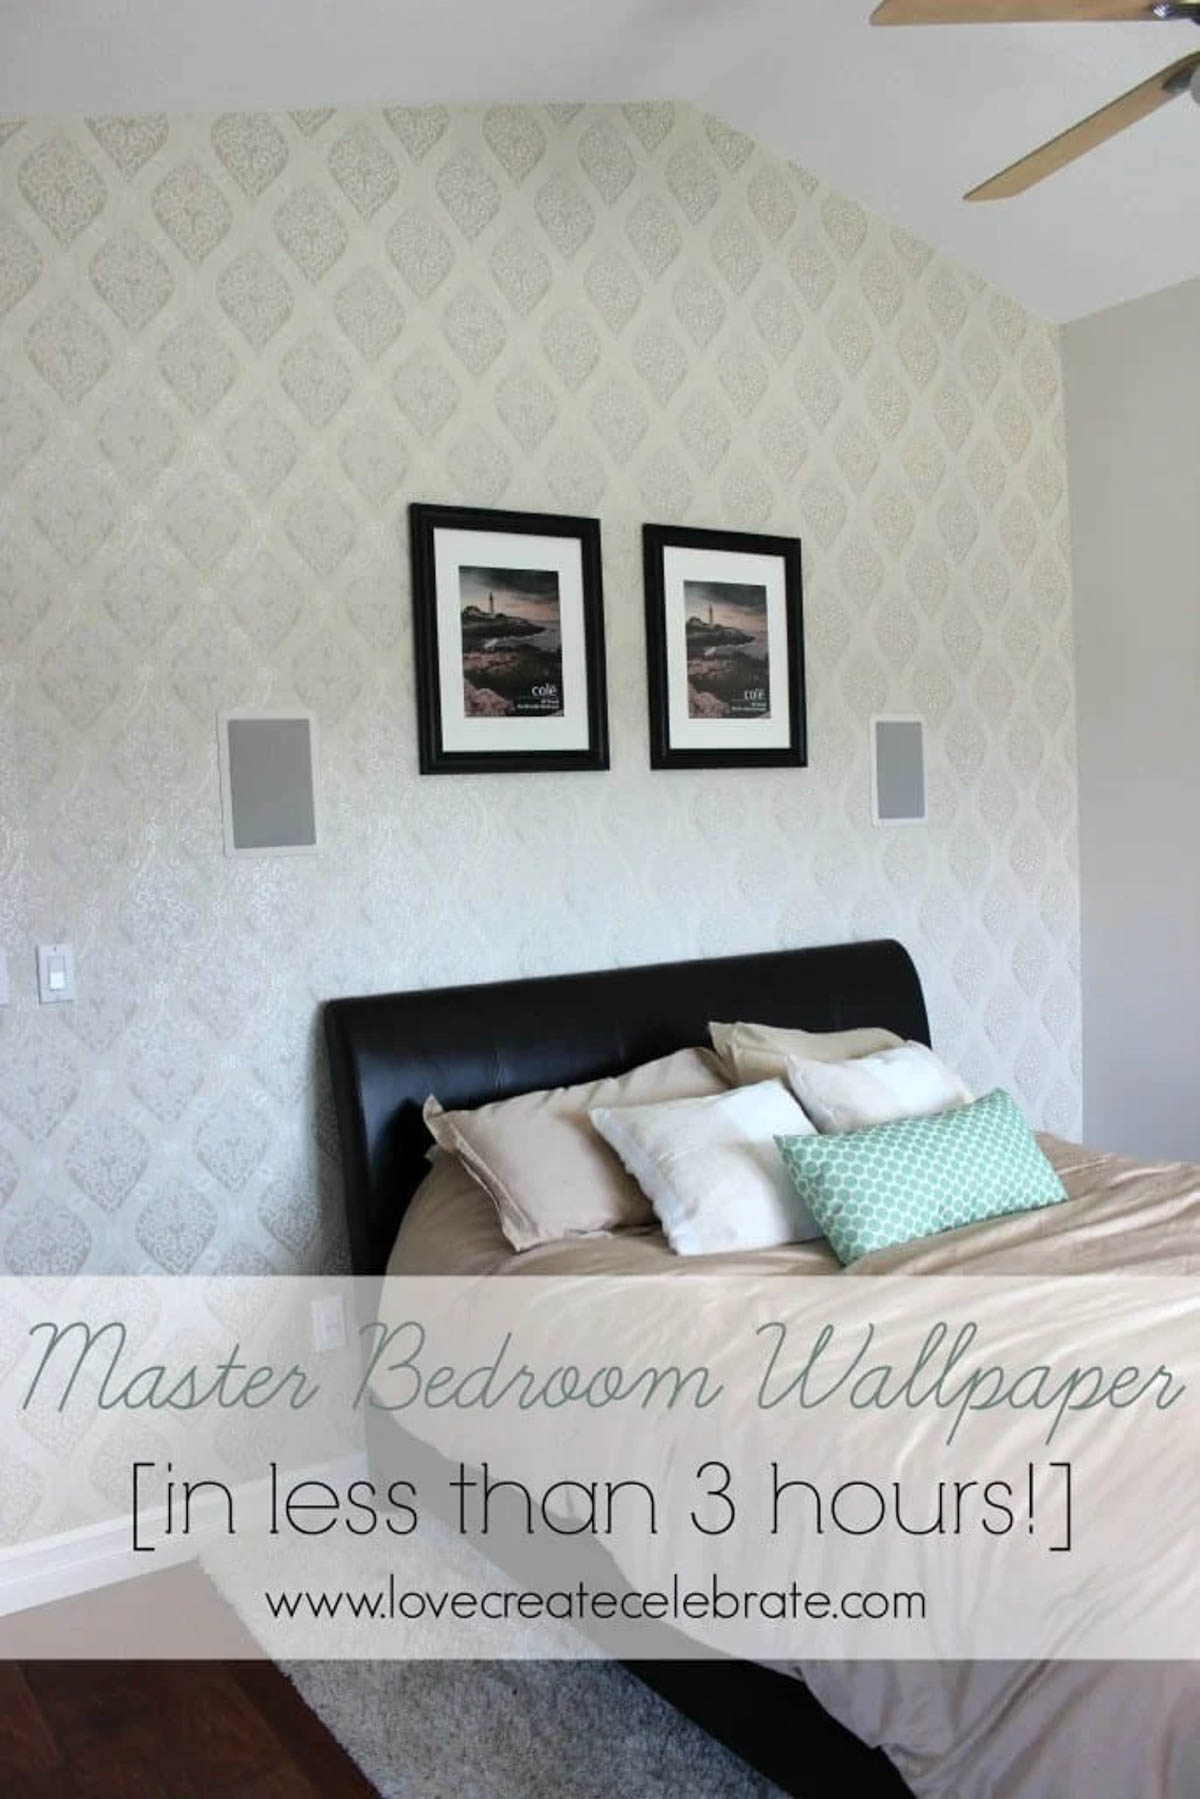
For more wall decorating inspiration, check out our Master Bedroom Wallpaper!

*This post was sponsored by Cutting Edge Stencils. As always, opinions are 100% my own. For more information, please read my disclosure policy.*

20 Stenciled Wall Transformations to Inspire You - Designers Sweet Spot
Wednesday 30th of August 2017
[…] at this precious stencil Lindi created for her daughter’s room at Love Create Celebrate! Head over and read all about her pro tips on how to make this project so much easier. (Hint: it […]
walter
Wednesday 2nd of December 2015
Whats the best way to paint i have bought stencils essentials and i tried to paint using matt colour and things the painting wasnt clear at all
Lindivs
Monday 7th of December 2015
Hey Walter! We used Eggshell Enamel flat paint (Behr) for both the background and the clouds. This type of paint was recommended to us, and it worked perfectly!
Christine Cook
Monday 9th of November 2015
Absolutely beautiful!!! So dreamy, so perfect!
Lindivs
Monday 9th of November 2015
Thank you Christine! My daughter LOVES the clouds. It's so fun and whimsical!
Adorable Stenciled Nursery Projects « Stencil Stories
Thursday 5th of November 2015
[…] from Love Create Celebrate painted an adorable accent wall in her daughter’s bedroom using our Cloud Allover Stencil in […]
Talented Tuesday Link Party #53 - Aspen Jay
Tuesday 3rd of November 2015
[…] DIY Painted Stencil Wall by Love Create Celebrate Facebook | Pinterest | Twitter | Instagram | Bloglovin’ | Google+ […]