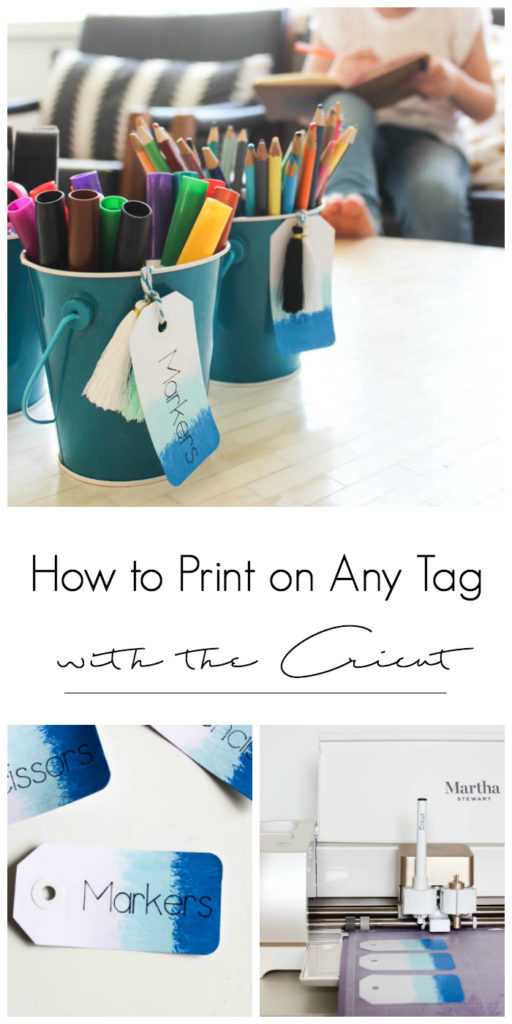
Everybody is bad at something, right? My writing is awful. Not as bad as my husband’s (because I can’t even read his grocery lists!), but it’s bad. I would never attempt to make my own place cards or invitations anymore, solely because my handwriting is that bad. But in the DIY world, there’s a solution for everything, and I’m going to show you how I get my Cricut machine to do my printing for me with the cricut writing feature!
*This post was sponsored by Cricut and may contain affiliate links. As always, opinions are 100% my own. For more information, please see my disclosure page.*
I’ve been wanting to show off more of this feature from the Cricut machine because it’s amazing! A machine that can do all of your writing for you, AND has hundreds of fonts to choose from?! What’s not to love about that?
Since it’s back-to-school season, I thought I’d show off the skill by sharing a quick organization project for all of those pencils and markers that will start accumulating at home.
Here’s everything you need to use the Cricut Writing feature on DIY painted tags:
- White tags (I already had mine – purchased from Michaels)
- Martha Stewart Multi-surface satin acrylic paints (exclusive to Michaels)
- Small bristle paint brushes
- Cricut machine
- Cricut Joy Pen – I used 1.0 thickness
- Cricut Strong Grip Mat
- Design Space File: HERE
- Blue Buckets from Martha Stewart Blue Ombre Celebration Line
- Tassels (optional)
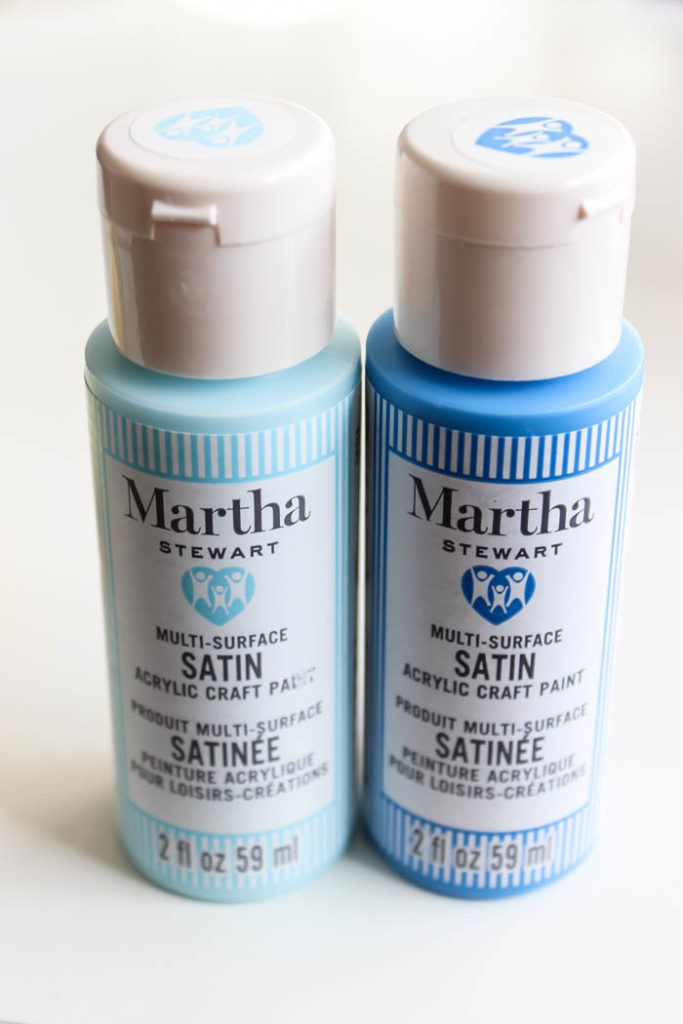
If you don’t have any tags on hand, you could also use your Cricut Machine to cut some out, and then paint them. I’m using the Martha Stewart multi-surface paint, because everything she touches is amazing!
I’m just using her paint on paper, but you can use it on anything from wood to glass to metal or fabric. Plus it comes in over 80 colours or finishes! I used two blues to match the Martha Stewart Blue Ombre celebration line, but you can choose any colours as long as it’s a light and a dark.
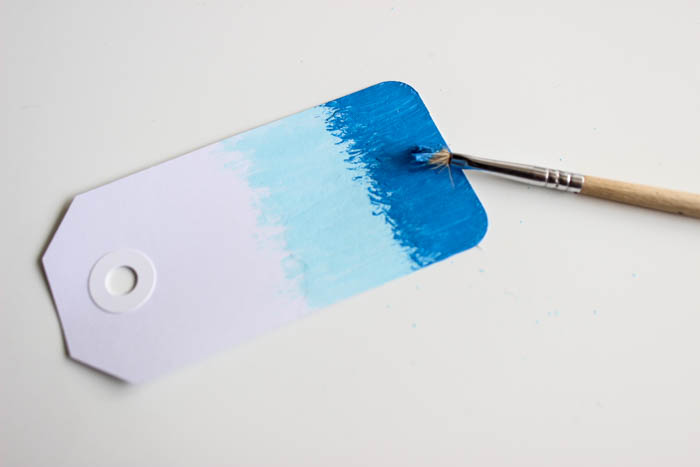
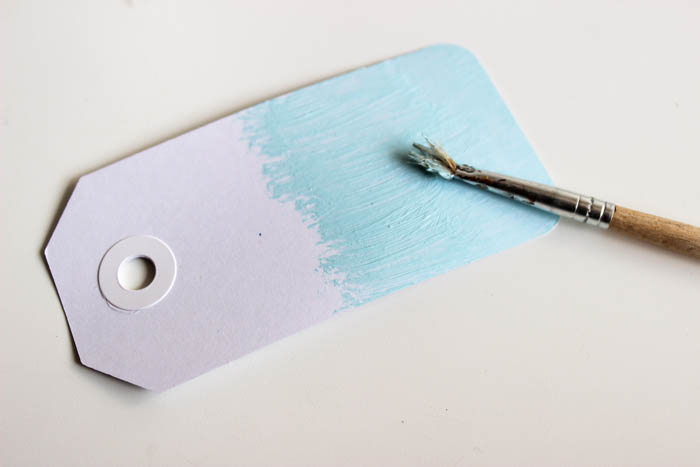
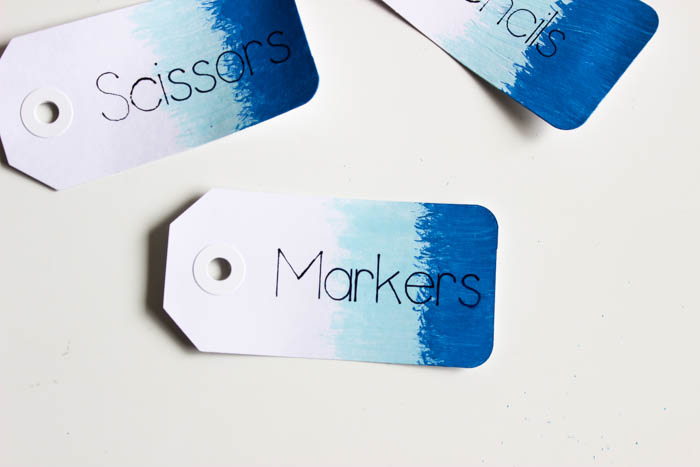
I used a really small bristle brush (and honestly the cheapest one I could find!) because I wanted the brush strokes to look a bit harsh, and spiky! I painted the light colour on, about halfway up my tag, and then painted the dark colour afterwards, creating an ombre effect.
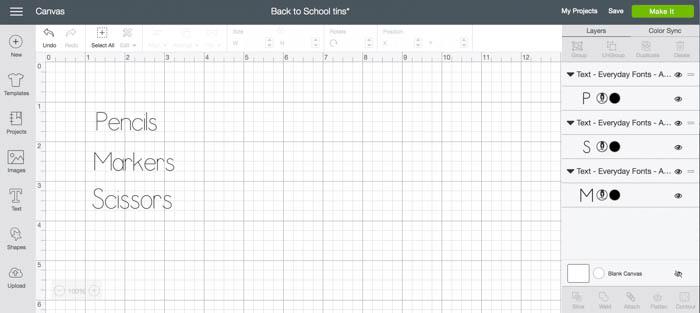
Now we’re ready to show off the Cricut Writing pen! Open up the design space file I made, or make your own text using one of the 100s of fonts available. To make sure you are set to write (and not cut!), click on your text, and then in the “style” drop down menu, click “writing”. If your font is set to write, you will see a little pen icon in the menu on the right-hand side. Just as you see in the photo above beside the “P” and “S” and “M”.
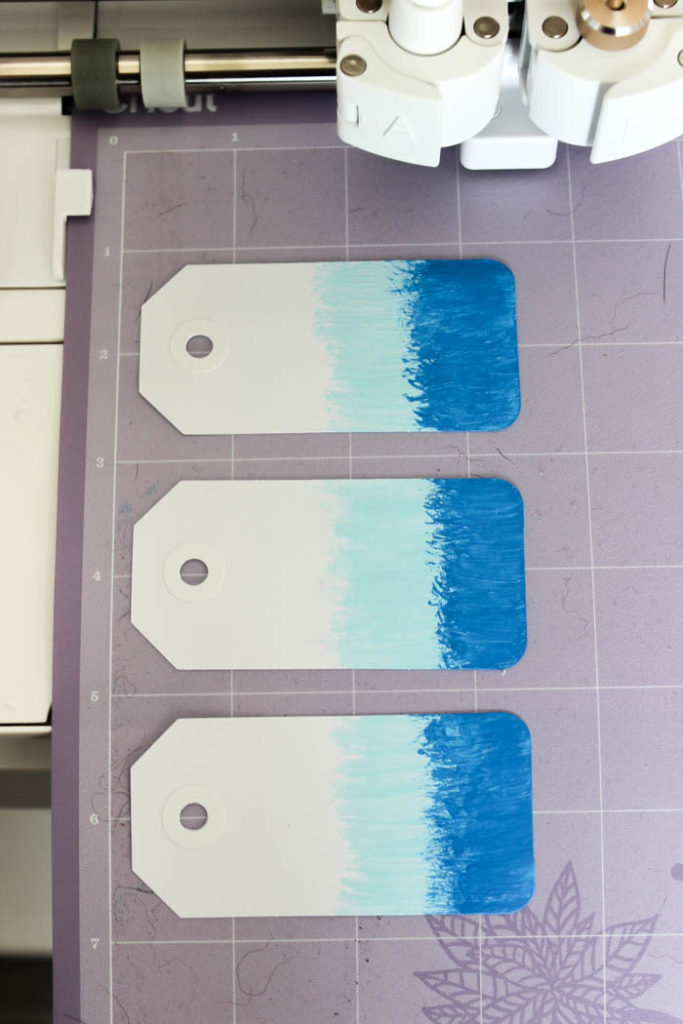
The next thing you want to do is line up your tags on the Cricut Strong Grip mat. The easiest way to line up your items, whether they are tags, place cards, or envelopes, is to center them on the grid. When I lined up my tags, I made sure they were all centered on a line horizontally (i.e. 2″, 4″ and 6″), and then made sure that the part of the tag I wanted to write on was after the 1″ vertical line.
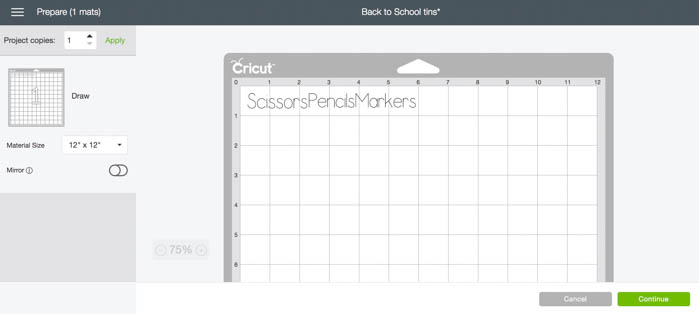
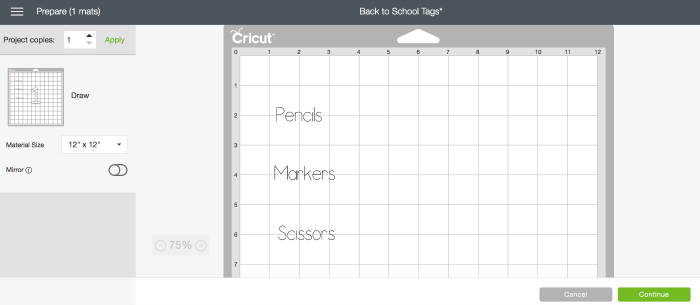
When your ready to cut, your design space will automatically try to save space and group your text boxes as close together as possible. But you can just grab a word, and drag it exactly where you’ve already aligned your tags, just as I did in the photo below.
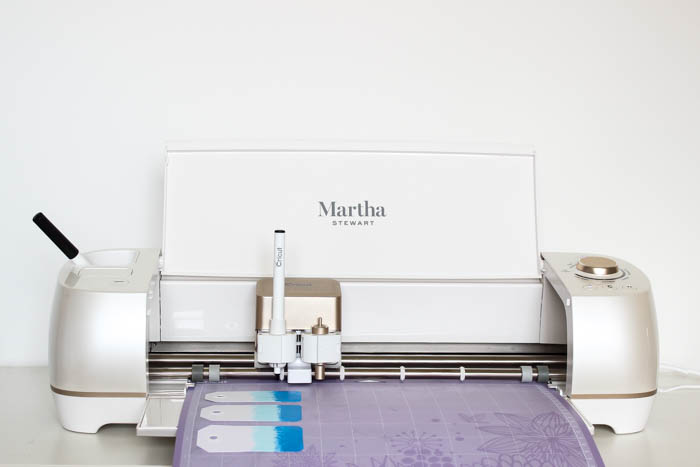
Now insert your Cricut pen, and let the Cricut do the writing!
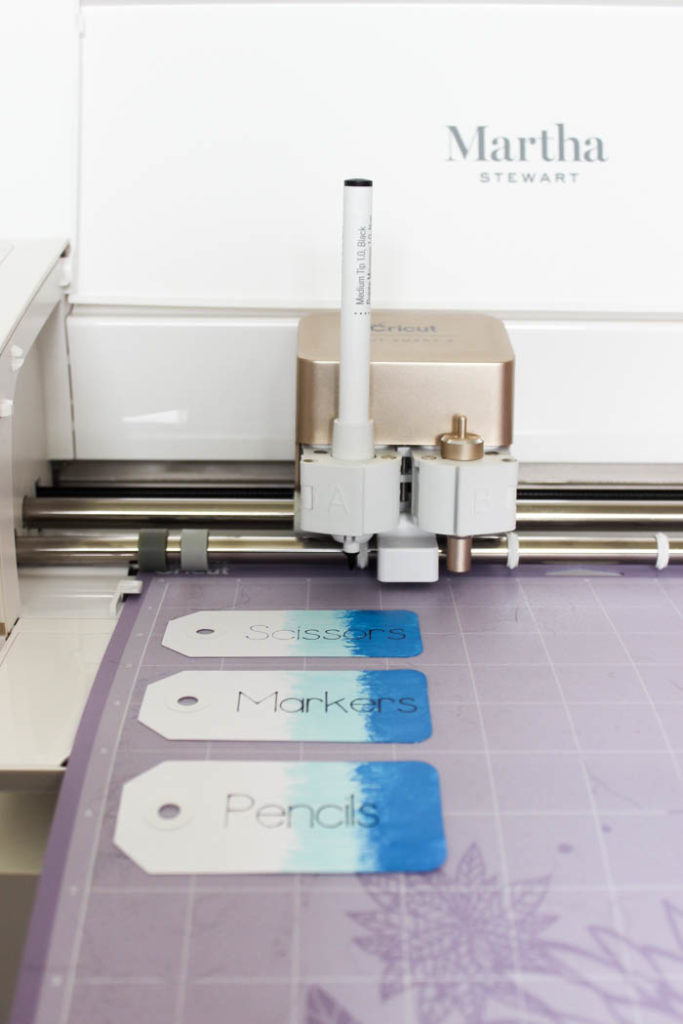
I wasn’t sure how beautifully the Cricut would write over the paint, but I was pleasantly surprised! The writing is perfect for our back-to-school tins, and more beautiful than my writing would ever have looked!
I added the tags to the prettiest blue tins with some string and tassels. My girls died over these when they saw them! There’s something about tassels that makes a girl’s heart flutter! lol.
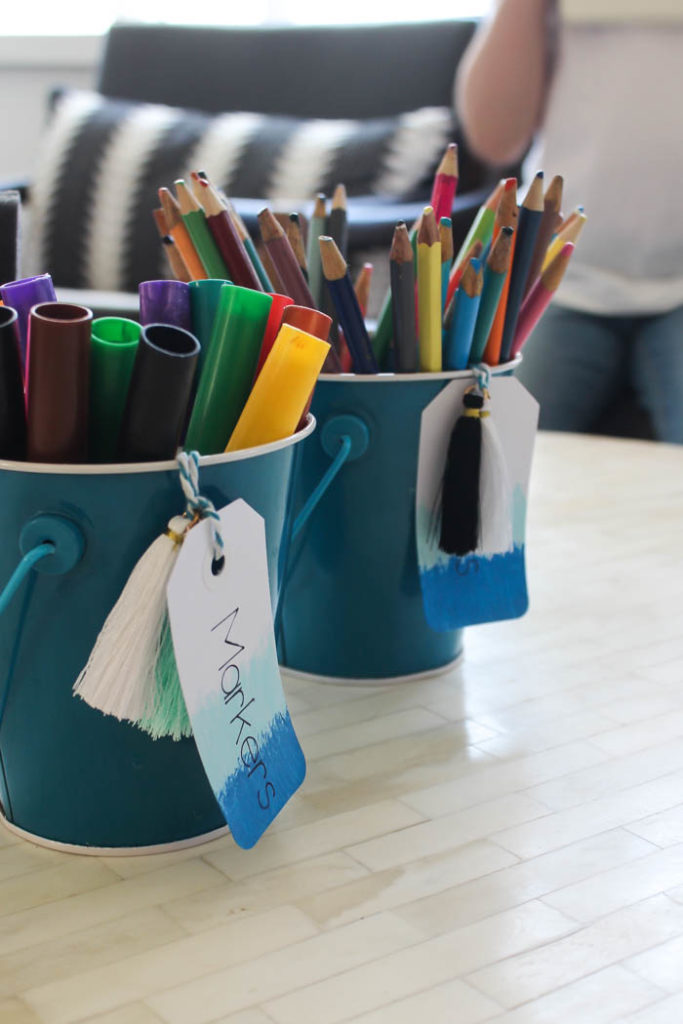
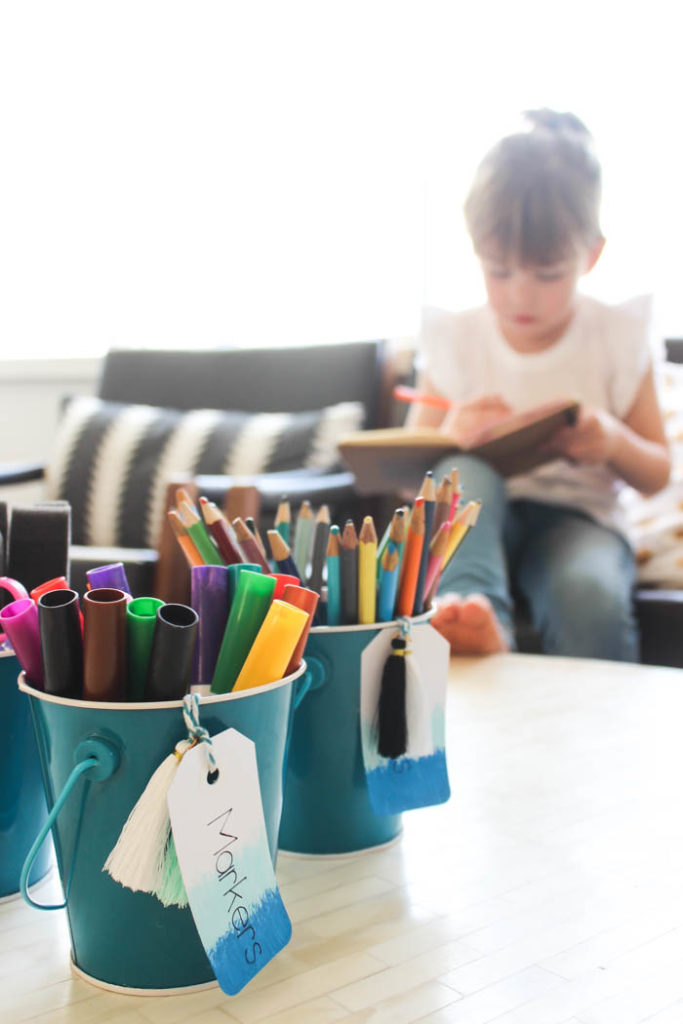
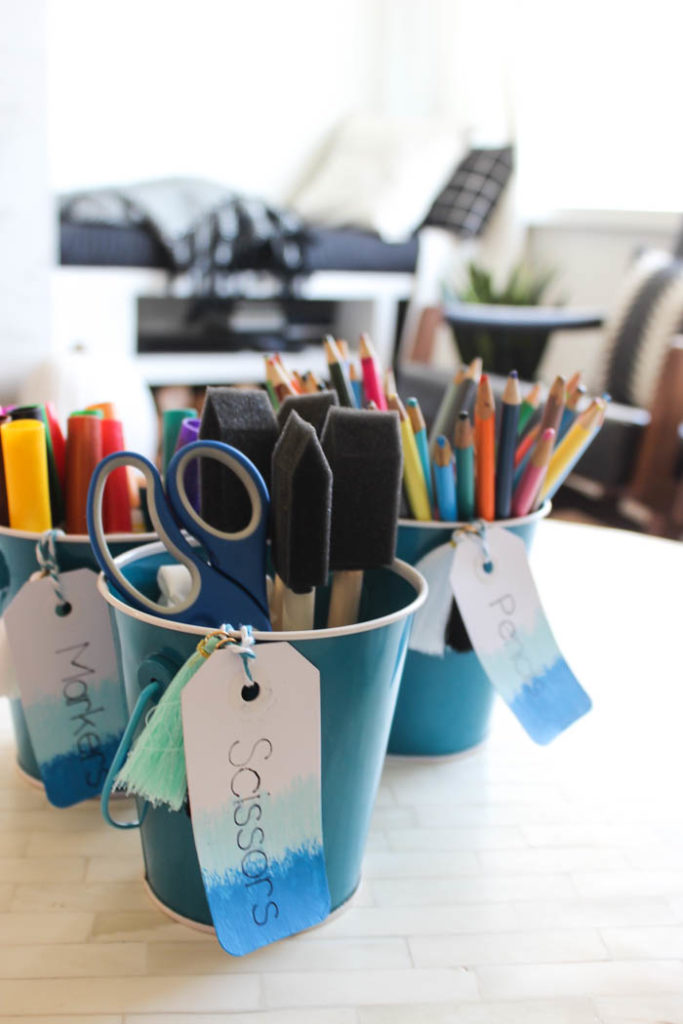
This tins are supposed to live in the play room, but they’ve migrated to the living room somehow… and I don’t really mind because they are getting used everyday, and you know I love seeing my littles get creative!
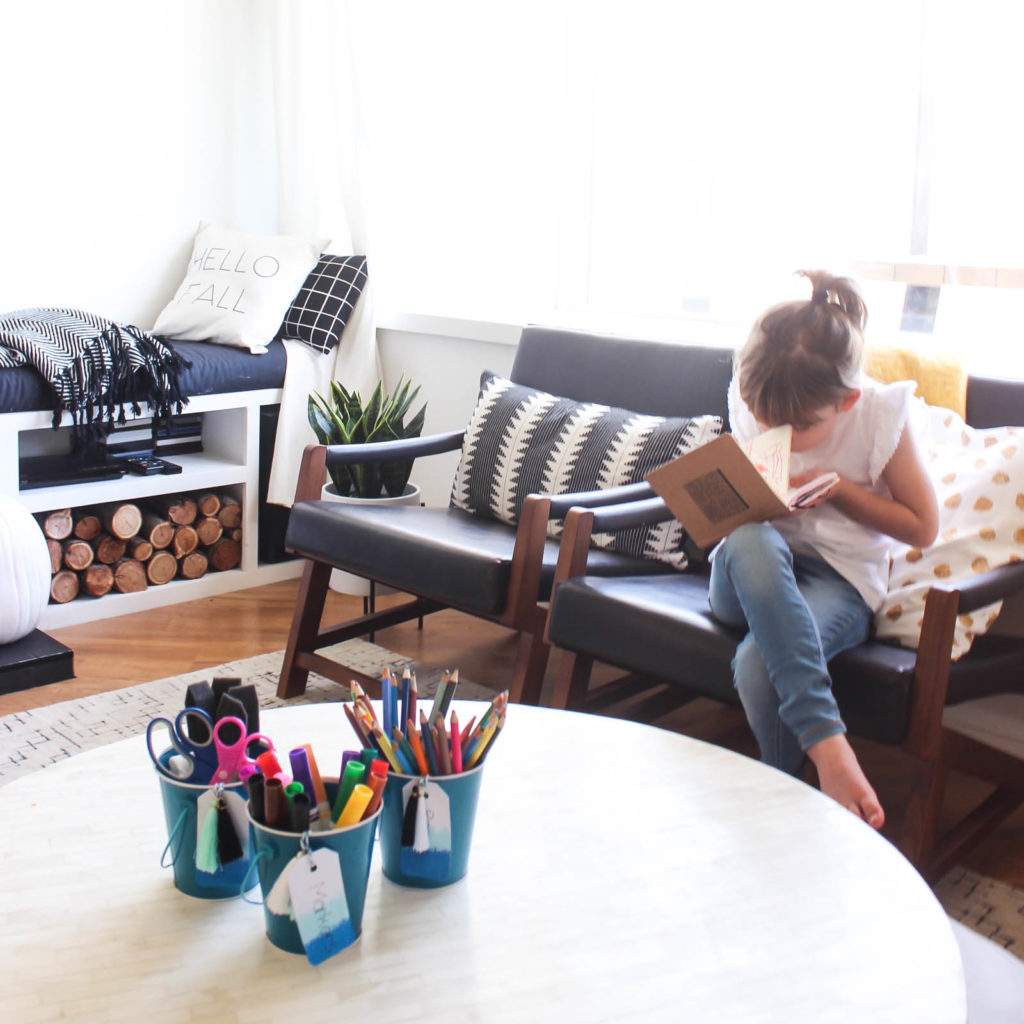
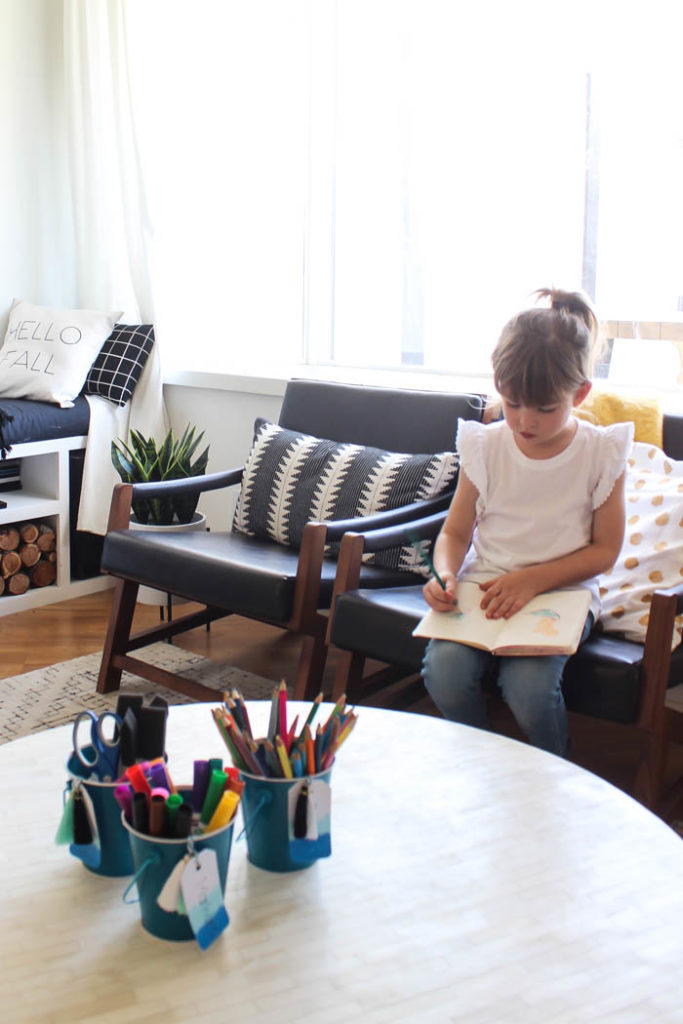
Here’s a couple of other great projects I’ve done with my Cricut Martha Machine:
This is a sponsored conversation written by me on behalf of Cricut. The opinions and text are all mine.

Courtney
Friday 14th of September 2018
That's a very cool way to use your Cricut! And... I love the picture of your little girly sitting with her legs crossed, she's so cute!
Lindivs
Friday 14th of September 2018
Right? It's so good! I hate my handwriting, lol. Doesn't she look so grown up? I don't even have to ask her to pose - she just does that! lol