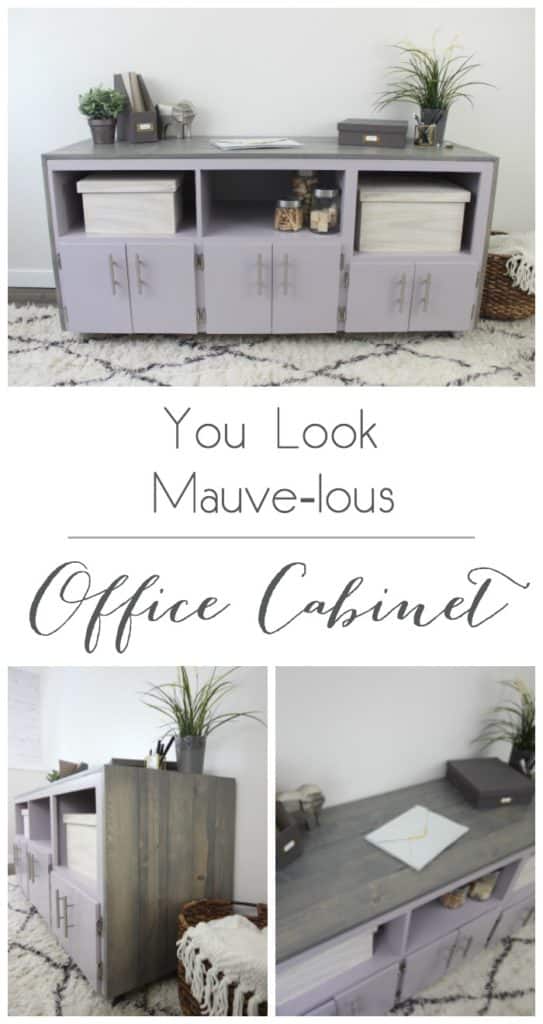
Happy New Year my friends! I’m welcoming January the same way I do every year: by starting another diet, vowing to exercise more, and organizing my home. Three goals, so hopefully at least one of them happens! And I’m starting off on the right organizing foot, by sharing a piece I made for the office. I can’t wait for you to see the furniture piece that I transformed!
*This post was sponsored by Home Hardware. As always, opinions are 100% my own! For more information, please read my disclosure policy.*
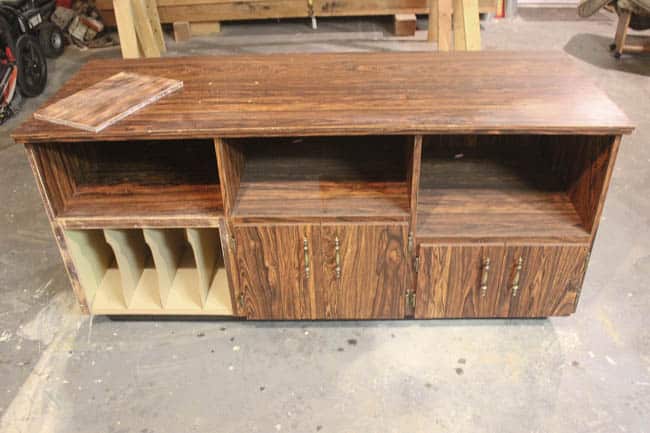
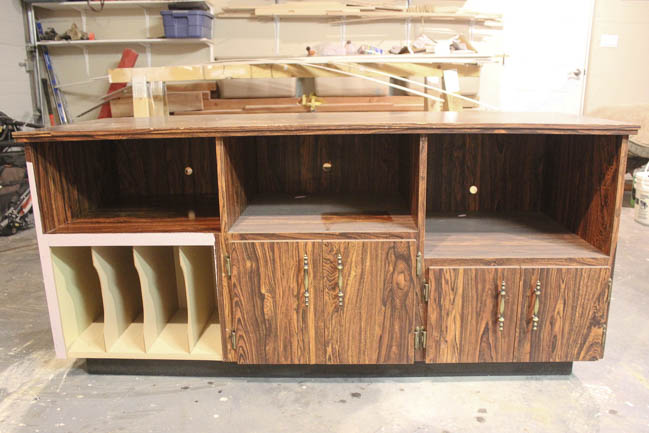
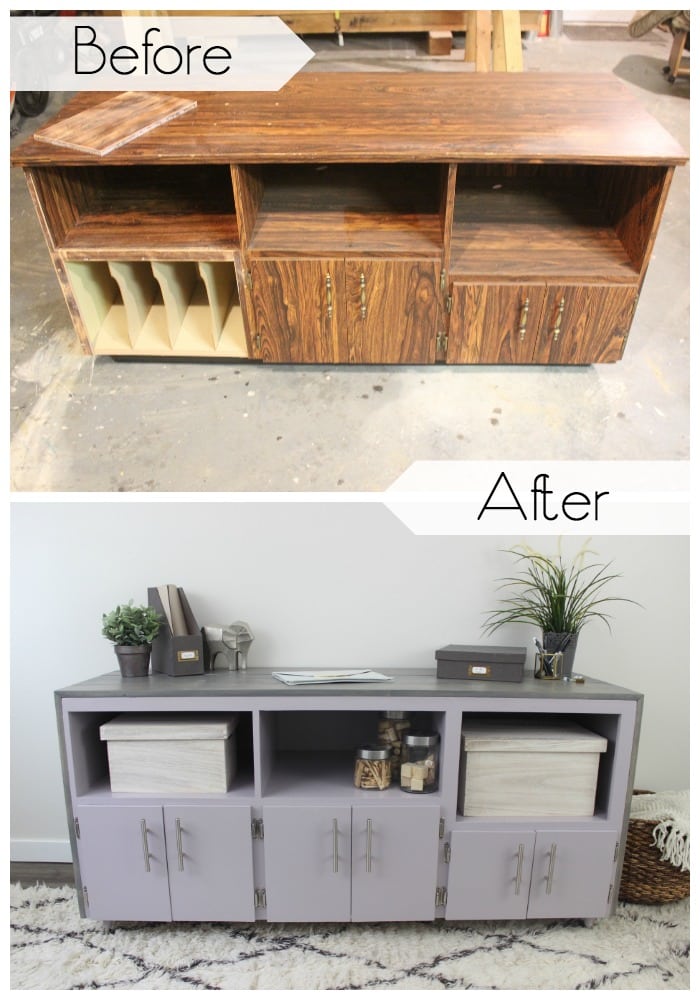
Ta-da! A bulky, dusty, old laminate TV stand that I picked up for $10. If you are looking at this piece and seeing zero inspiration, you are not alone! I’ve seen so many laminate pieces like this discarded on curbs and in garage sales, but there is SO much potential here.
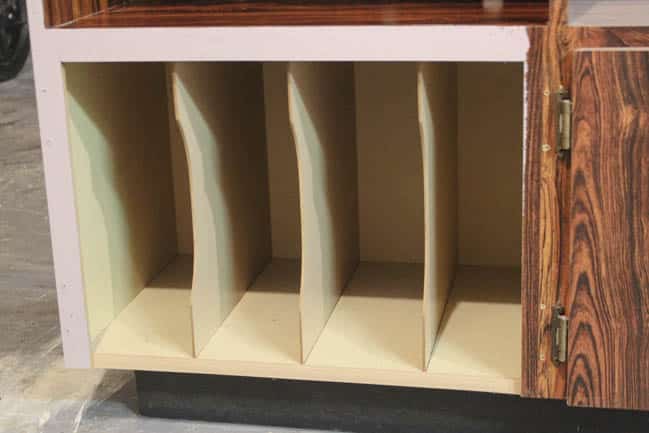
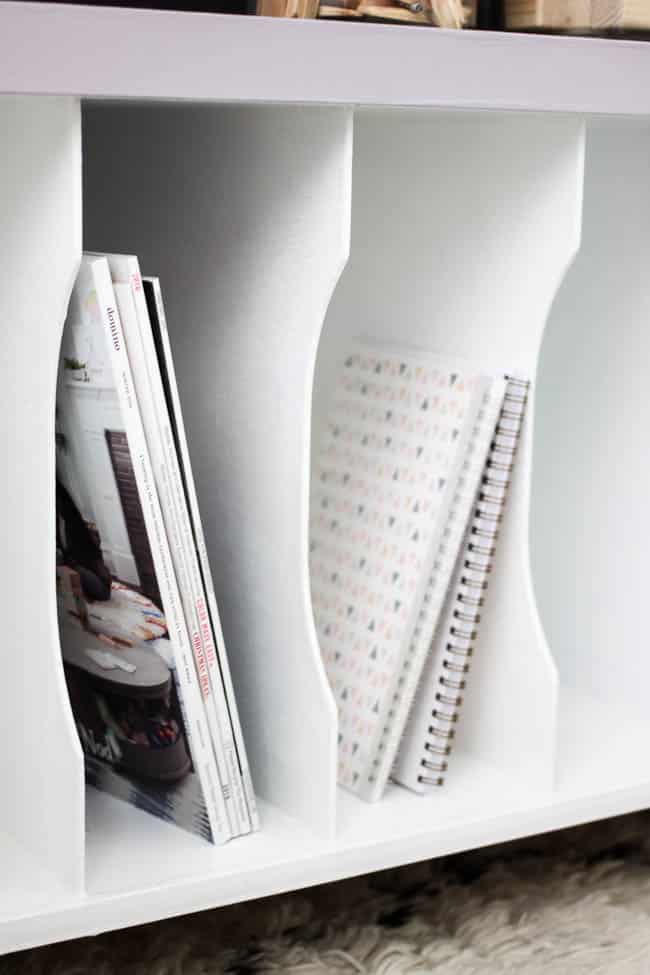
These separators were probably for record storage back in the day (Yep! That’s how old this piece is!), but I see file folders and organization!
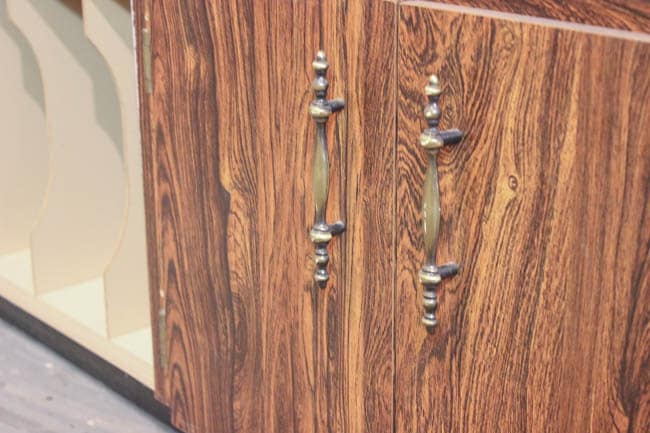
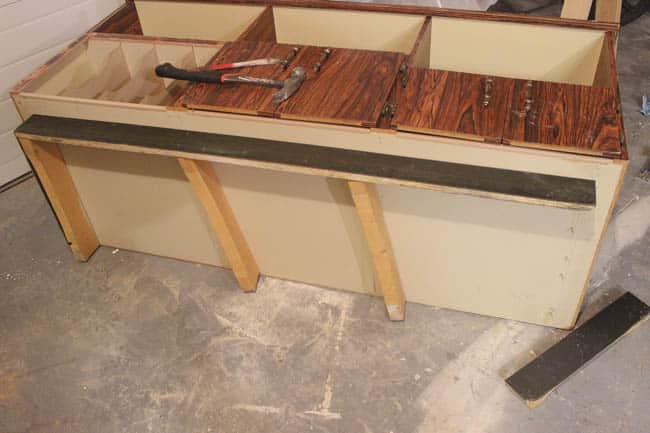
We got started by ripping off the gross boxed in frame on the bottom with a hammer – we bought brand new feet to put on the bottom after it’s painted :)
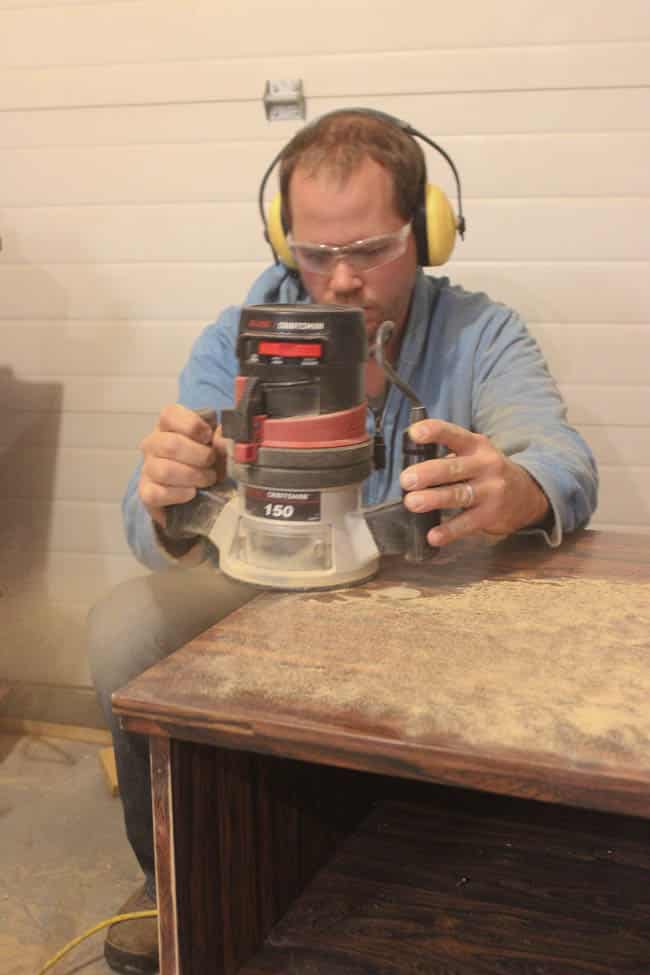
Next, my husband got rid of the lip around the outside of the piece by running the router along the edge of the cabinet with a flush trim bit. Sorry about the pic – it’s a dusty job!
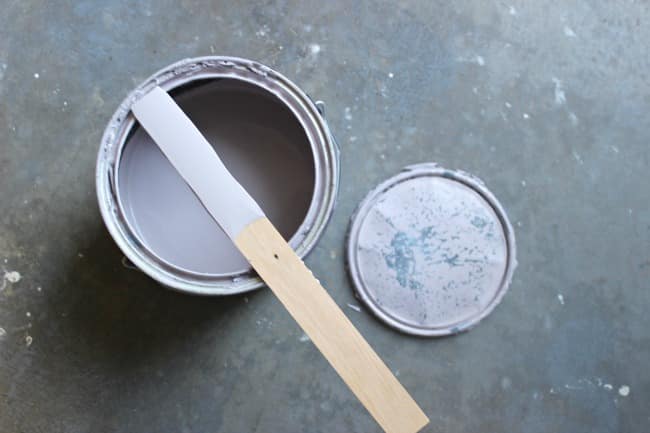
When Beauti-Tone announced their colour of the year, “You Look Mauve-lous“, I knew that this would be the perfect colour for my office piece!
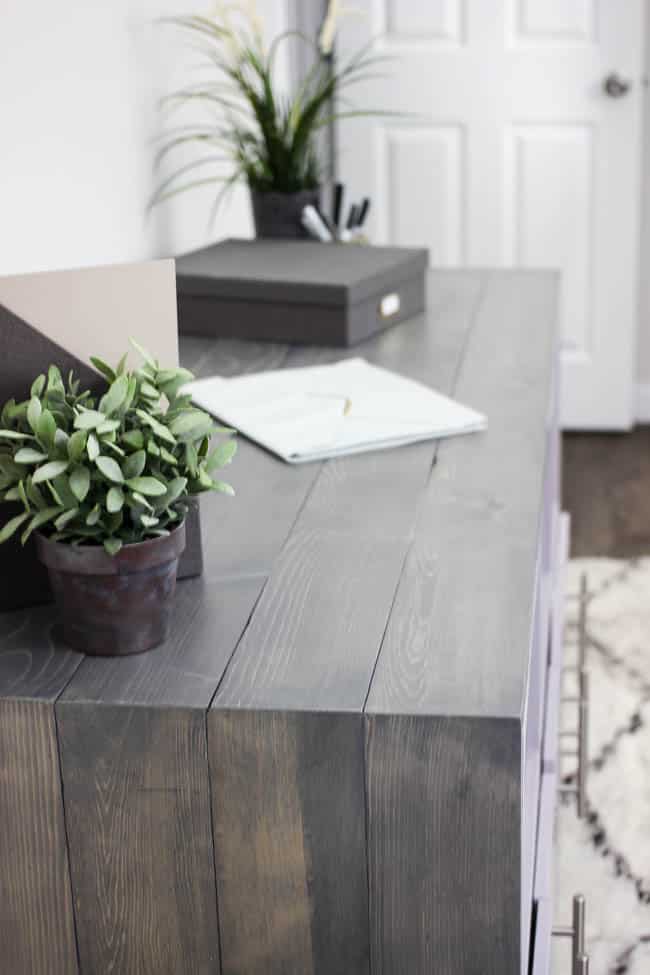
I didn’t want the piece to be overly feminine, so I wrapped the cabinet with wood on the top and both sides. We primed our piece, then painted it with my beautiful new Mauve before adding the wood.
To do this, we measured the width at the top and divided it by five (which worked best for our piece), so we knew what width to cut each 1×6 board evenly to. To cut the boards to length, add 3/4″ for each of the 45 degree angles (so add 1 1/2″ to the top boards) on the long side. [Note: 1×6 boards are actually 3/4″ thick, which is why that number is added]. We cut the 45 degree angles on the ends using a mitre saw.
Finally, we stained the wood in a beautiful grey stain, and then glued the wood pieces in place with wood glue, and screwed them from the back. We use PL Premium glue because it sticks very well.
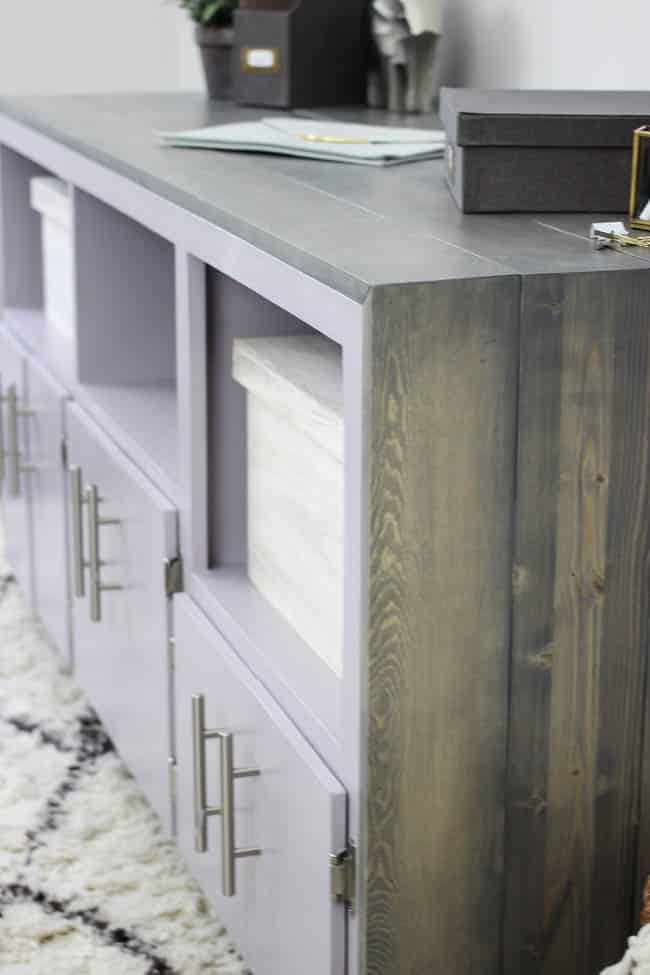
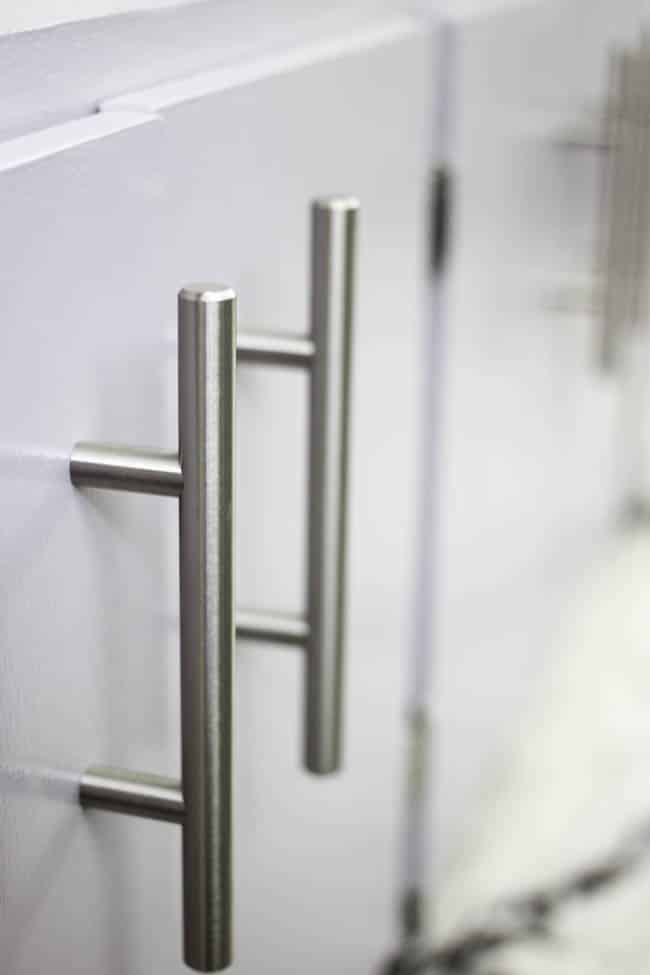
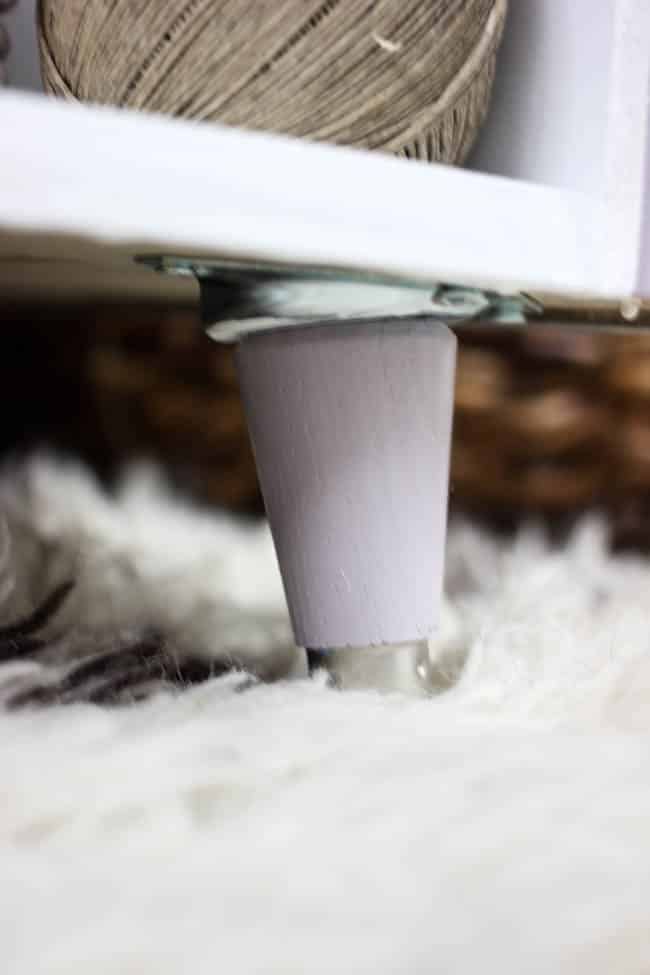
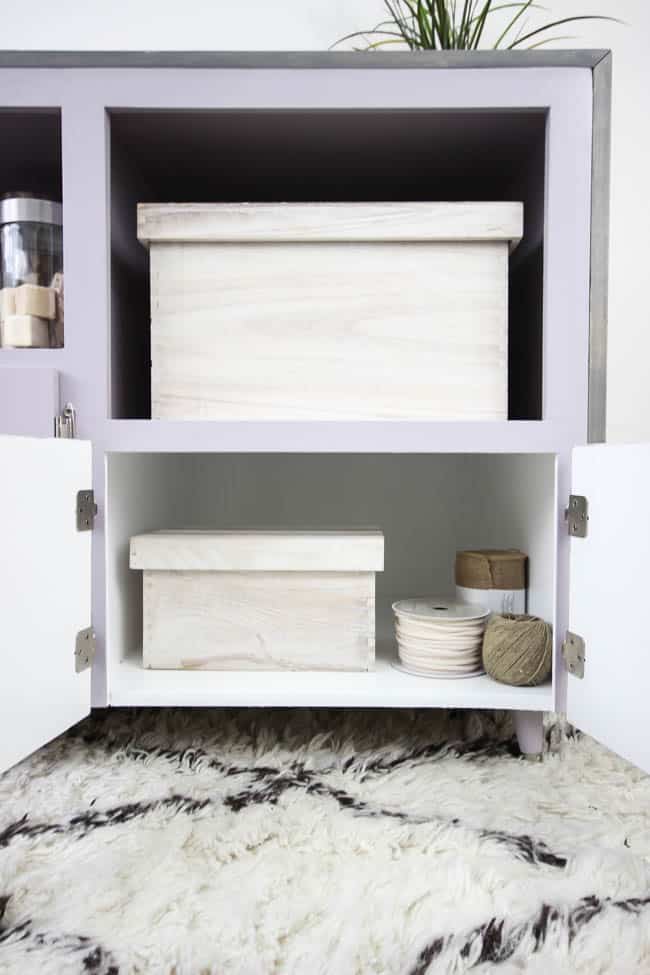
Our final step was to add new hardware, new hinges, and new feet to the cabinet. I couldn’t be happier with how this piece turned out!
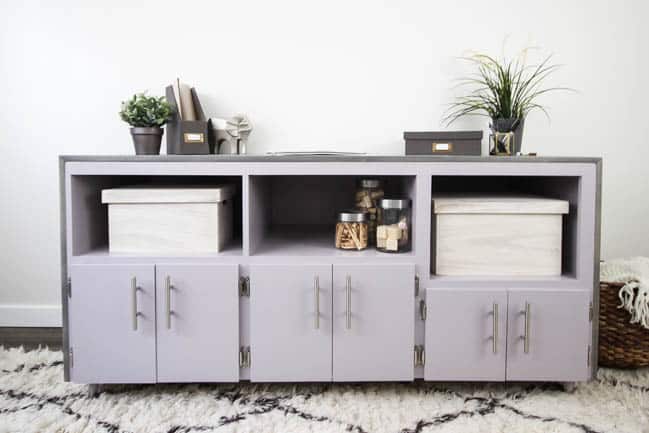
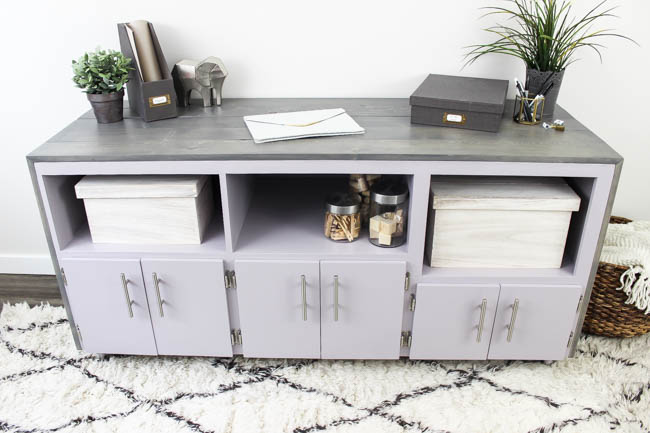
What do you think of the transformation?! Would you have picked up a furniture piece like that one?
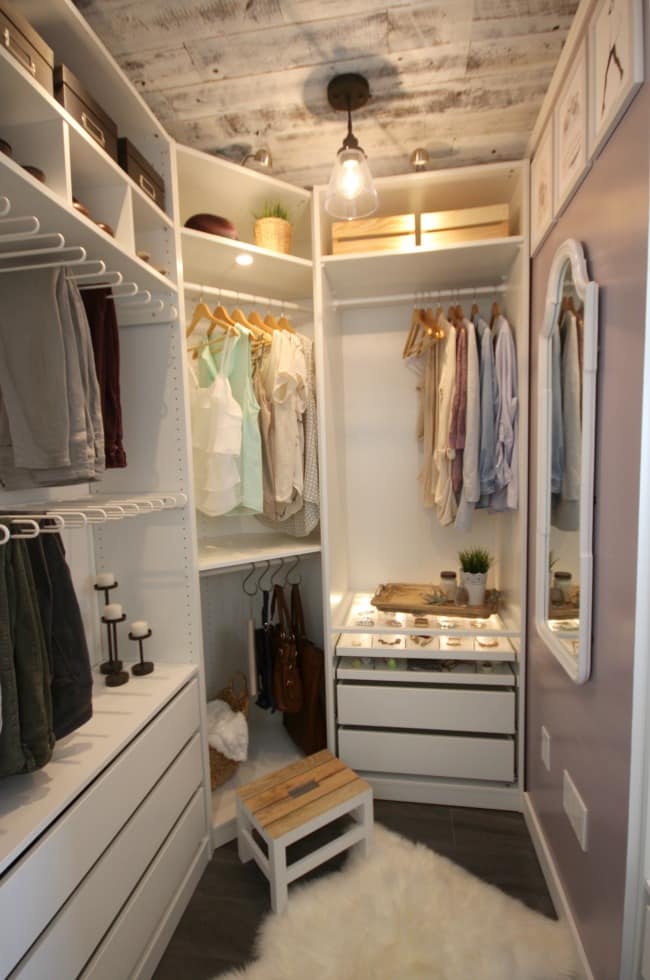
I recently finished my Master Bedroom Closet – be sure to check out how I used my “You Look Mauve-lous” paint in that space too!



Weekend Ready: I'm Back...See, Click, Save {5} | By Brittany Goldwyn | Live Creatively
Sunday 26th of February 2017
[…] you’re a sucker for a good dumpster-level furniture makeover, you’ll love this entertainment center turned office cabinet makeover from Love Create […]
Weekend Ready: See, Click, Save {5} | By Brittany Goldwyn | Live Creatively
Friday 13th of January 2017
[…] you’re a sucker for a good dumpster-level furniture makeover, you’ll love this entertainment center turned office cabinet makeover from Love Create […]
The Creative Circle Link Party: Week 98 | Iris Nacole
Thursday 12th of January 2017
[…] Lindi of Love Create Celebrate has wowed me again with another one of her makeovers. You wont beli… […]
Iris Nacole
Wednesday 11th of January 2017
It has a whole new life to live after your makeover! Beautiful job! I'll be featuring this on this week's The Creative Circle Link Party post. Thanks so much for linking up with us!
Emily
Sunday 8th of January 2017
Oh wow, this is amazing !It does not even look like the same piece of furniture. I am loving that gray color, perfect for my coastal loving heart. This is stunning!
Lindivs
Sunday 8th of January 2017
Thank you my friend!! I never thought of it as coastal, but it totally could be! It spans so many different styles!