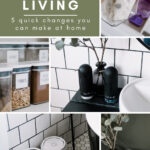
5 Amazing Ideas to Reduce Waste at home with your Cricut Joy. Ideas for using the Cricut Joy to make easy labels to organize the kitchen and bathroom.
Have you felt to pull towards reducing waste at home? I’m definitely not an expert on zero waste living, but I’ve made some small changes that I’m proud of to reduce single use plastics in our home. Environmental concerns come up more and more often in every day conversation and I want to do more to act and make changes, so I’m sharing 5 quick ways anyone can start to reduce waste at home.
*This post was sponsored by Cricut and may contain affiliate links. As always, opinions are 100% my own. For more information, please see my disclosure page.*
I will label anything and everything! I’m not the best at getting organized, but when I finally feel organized, it’s the absolute BEST.
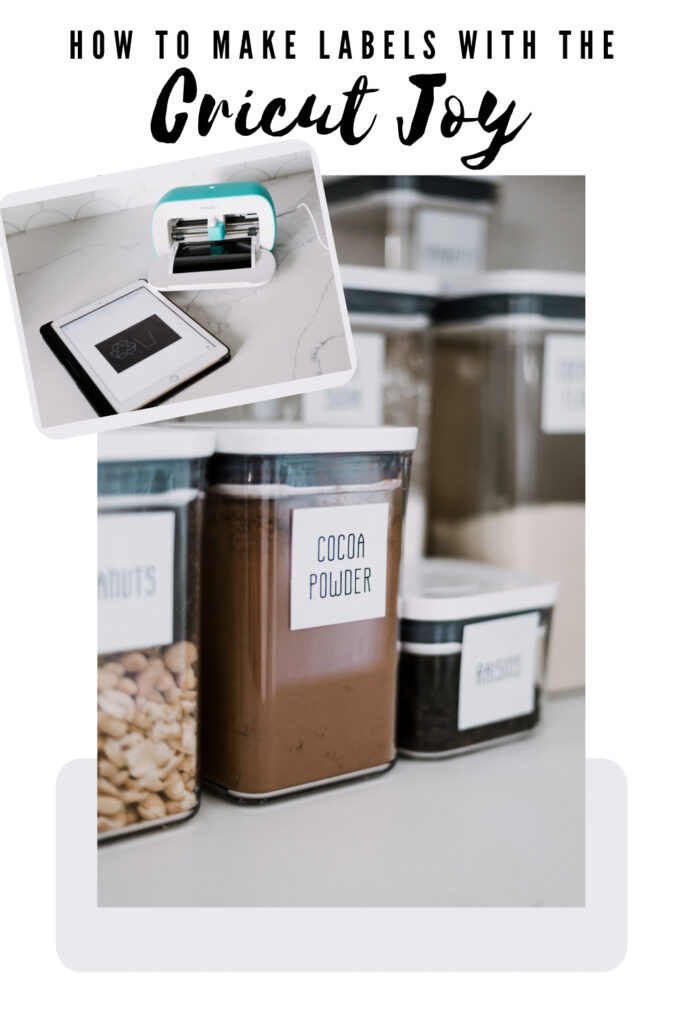
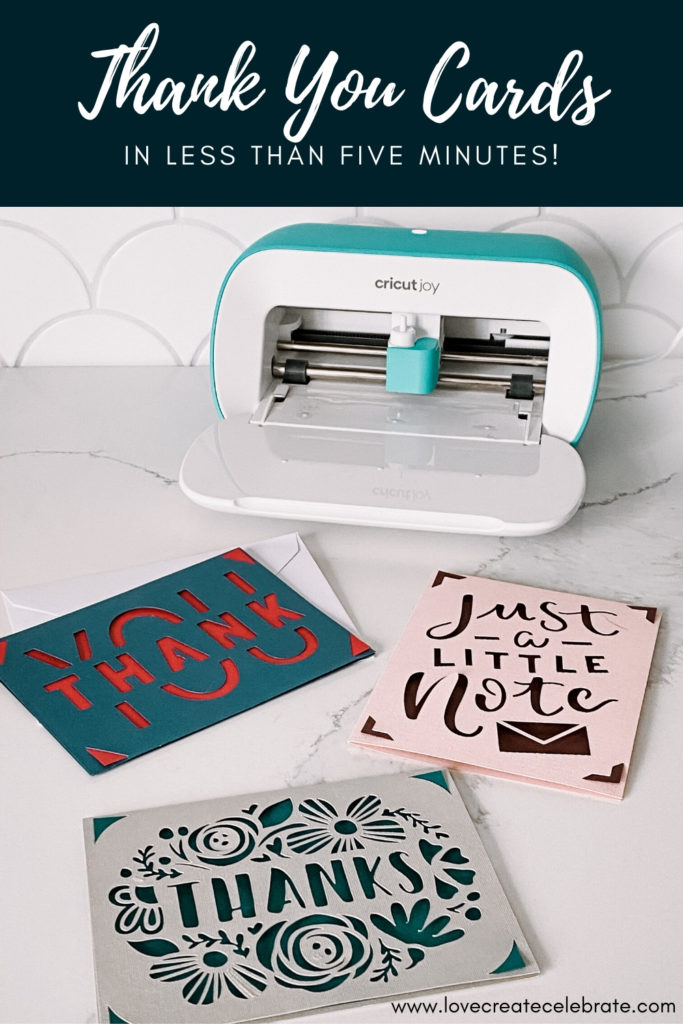
I used my Cricut Joy in a post earlier this year to show off how easy it is to make cards in less than five minutes, and now I’m going to show you how easy it is to make labels in less than five minutes!
Why Try to Reduce Waste at Home?
As a planet, we are consuming far too many resources. The idea behind reducing waste at home is reducing what we need, reusing as much as we can, send a little to be recycled, and composting what we cannot, all to lessen the negative environmental impact.
What is the Cricut Joy?
The Cricut Joy is the smallest Cricut cutting machine from Cricut. It is small, lightweight, and portable. You can use it to cut materials like vinyl, iron-on vinyl, and paper into words, shapes, labels, & more.
You can use their design app on any device to make your own designs, or to choose from hundreds of thousands that are already available. They also have new smart materials that allow you to make lengthy cuts without a mat or guide for you machine.
You can take it with you just about anywhere and don’t need any special tools to make it work. Today, I’m going to show you the five simple labels I made in no time at all!
How to Make Cricut Joy Labels
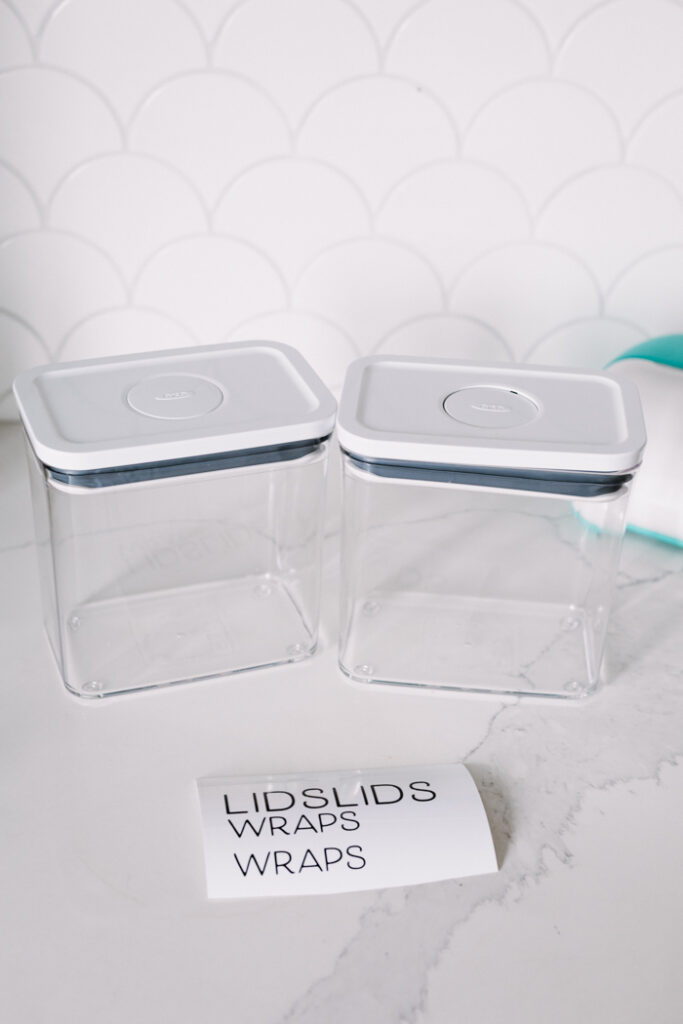
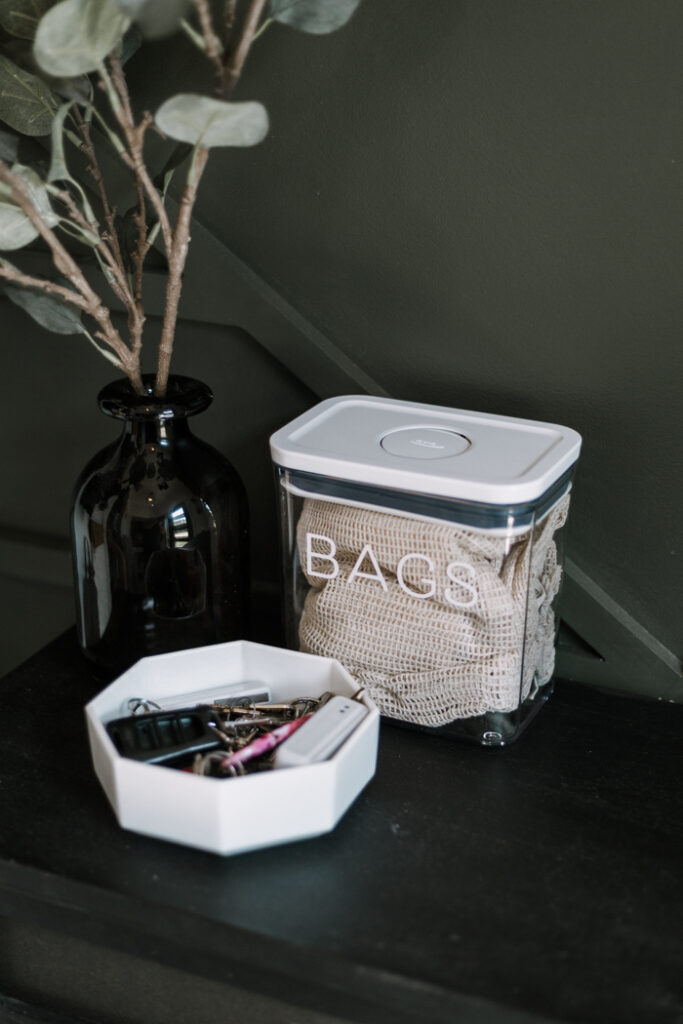
Above are a few of the containers I decided to label at home. I’m going to show you the two ways that I made my labels: with Smart Label and with Smart Vinyl.
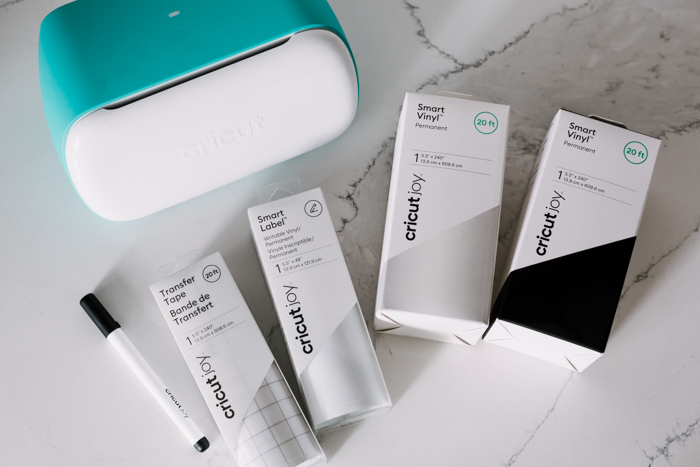
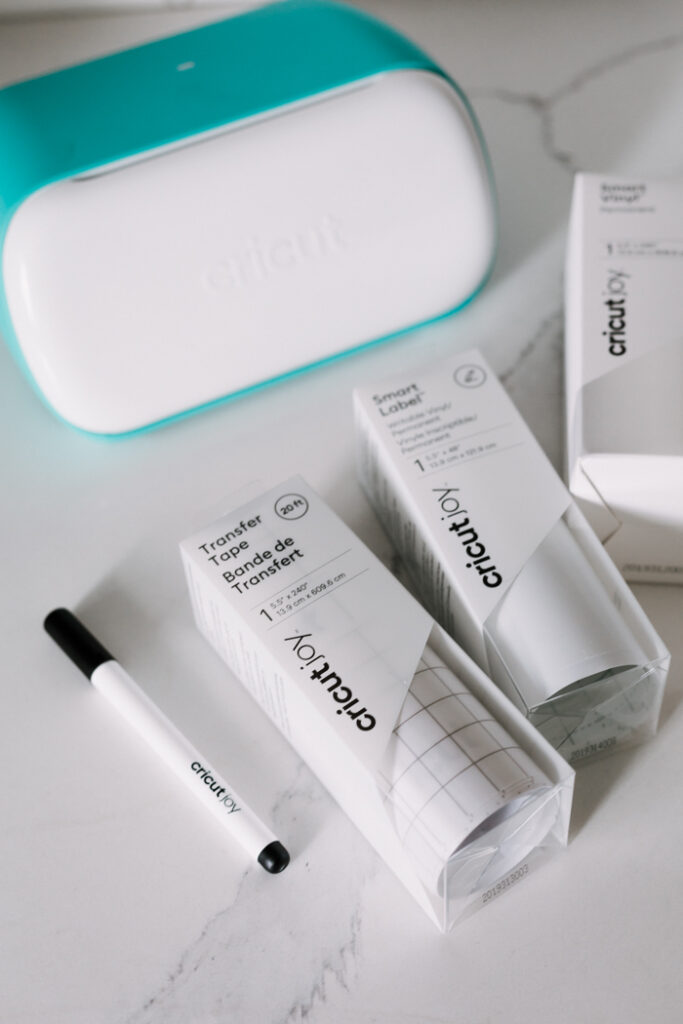
Here’s everything you need to make Cricut Joy labels:
- Cricut Joy
- Black Pen (comes with machine – for Smart Label only)
- Smart Label, OR
- Smart Vinyl
- Transfer Tape (for Smart Vinyl only)
- Things to Label: Pop Top containers, soap dispensers, trash cans
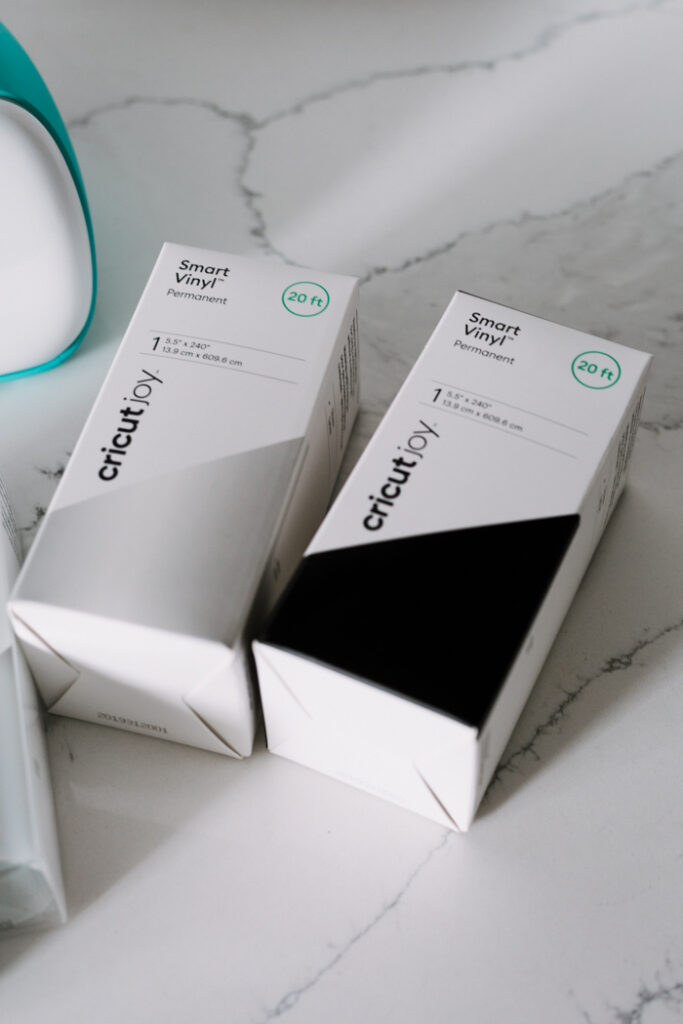
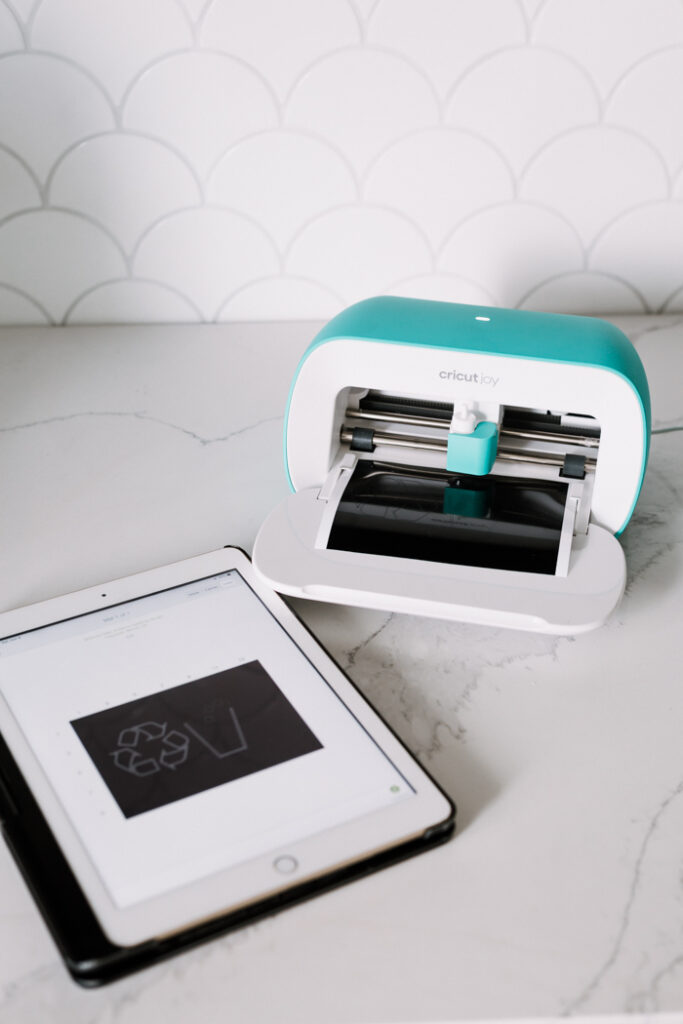
How to Use Smart Vinyl for Labels
If you’ve ever cut vinyl before, Cricut Smart vinyl works in exactly the same way, except that you don’t need a mat. We while I cut images and words that were small, you could cut designs that are 20ft long (hello Birthday Banners!), because you’re not limited to the size of your mat.
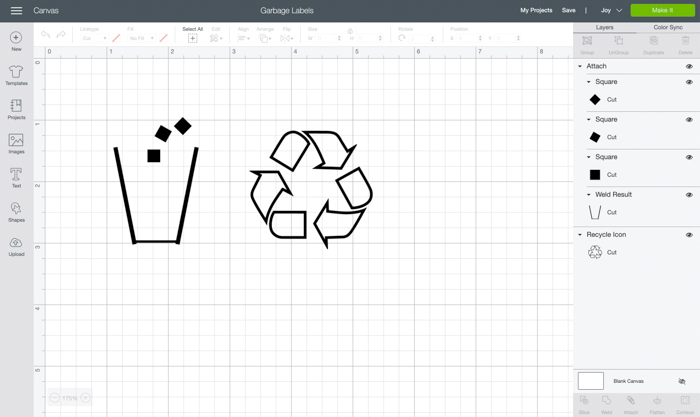
If you are cutting images, you can use my Cricut Design Space file HERE, to create your own designs by searching the Cricut images.
Both of these designs came straight from the design space images (although I modified one a bit for the trash can picture).
You can design using an app on your phone or iPad that makes it very easy and straightforward.
Just hit “Make it”, select “Smart Vinyl” as your material, and press “Go”.
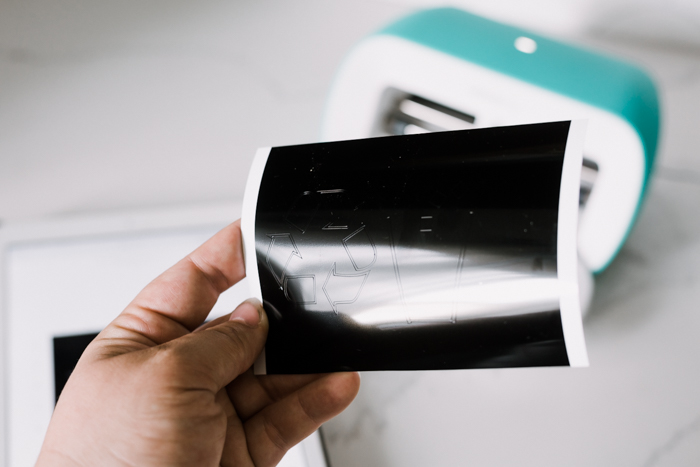
Insert the vinyl into the machine and it will print your designs perfectly.
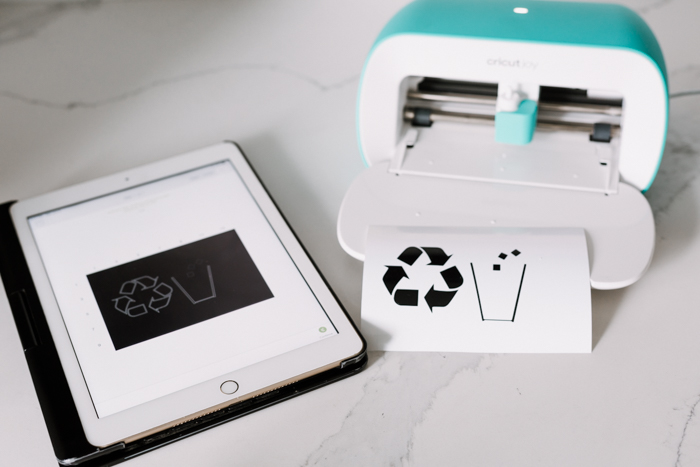
Once the design is cut out, you can remove any of the unnecessary vinyl around the outside of your design, simply by peeling it away.
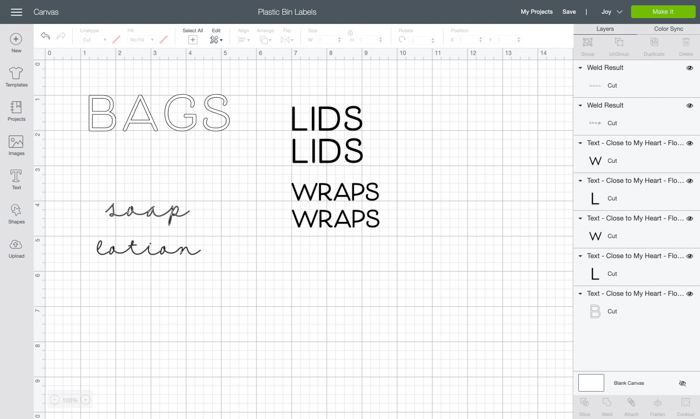
The process is exactly the same for words. You can access these words using my file in the Cricut Design Space HERE.
You can use any font you like! These three are all from the Cricut Design Space. If you want to learn more about editing fonts in the Cricut Design Space, you can watch this video:
Once your words are cut out, you can once again, remove the excess vinyl, and get ready to transfer your design using Transfer Tape.
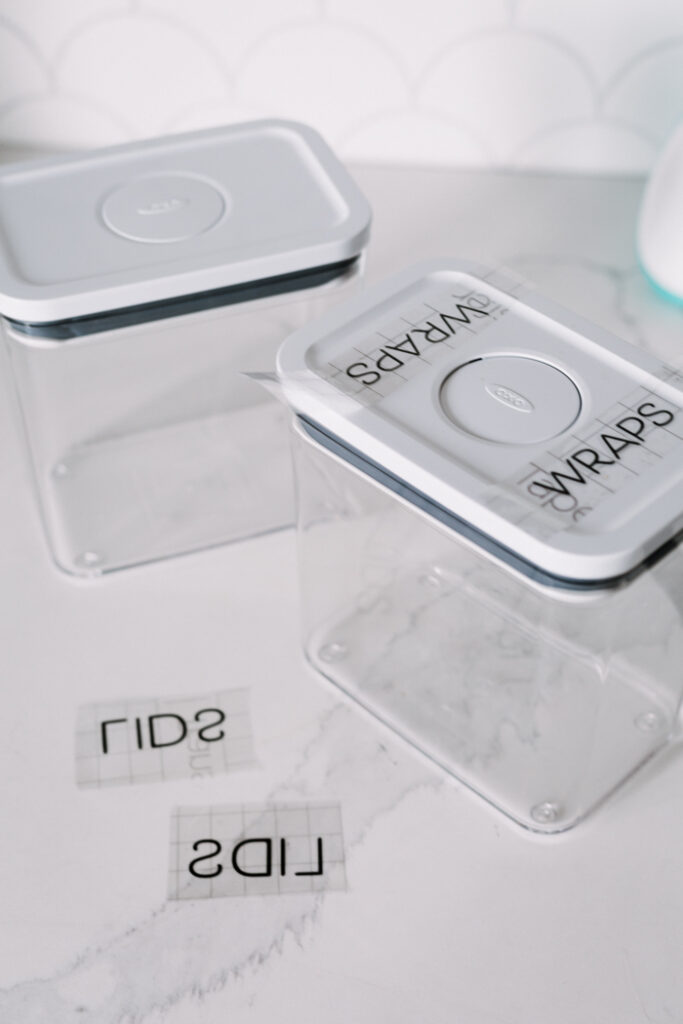
For both your words and images, you simple lay the transfer tape down onto your design, and carefully peel back the tape, lifting the words off of your vinyl backing.
Then you apply the transfer tape exactly where you want it to sit, in this case, I’m adding it on top of a container. to label the lids.
How to Use Smart Label for Labels
The Smart Label works a little bit differently. It allows you to write directly onto the label, and cut them out, essentially cutting out your own label stickers.
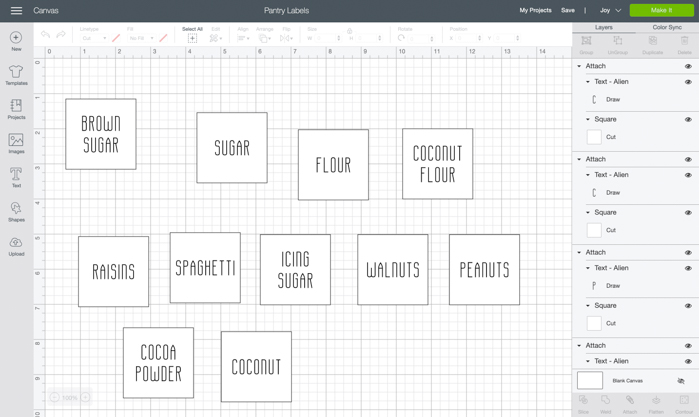
If you want to make something similar, you can check out my design in the Cricut Design Space HERE.
I just made some simple, modern boxes to be cut, and then added words for the bins I had in my pantry already (and made sure to label all of the words as “draw”).
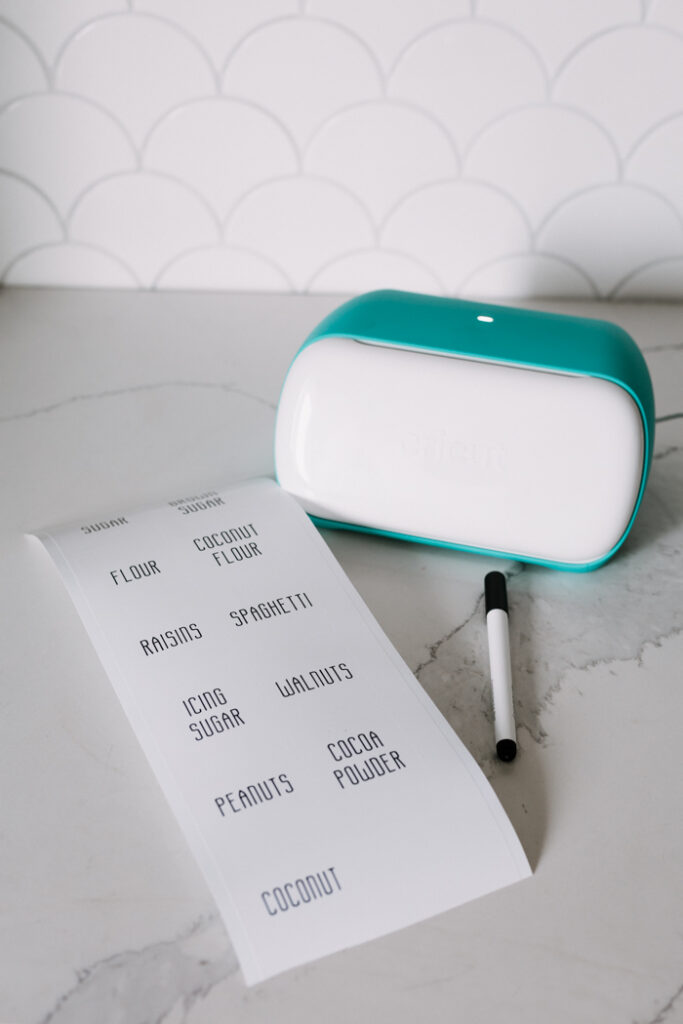
After I hit “GO” my Cricut Joy drew the words with the Cricut pen, and cut the squares onto my Smart Label. Then you just peel the labels off like stickers!
5 Ways to Reduce Waste at Home and Our Finished Labels
Now that you’ve seen how I made all of my labels, here’s how I’m using them to help my family reduce waste!
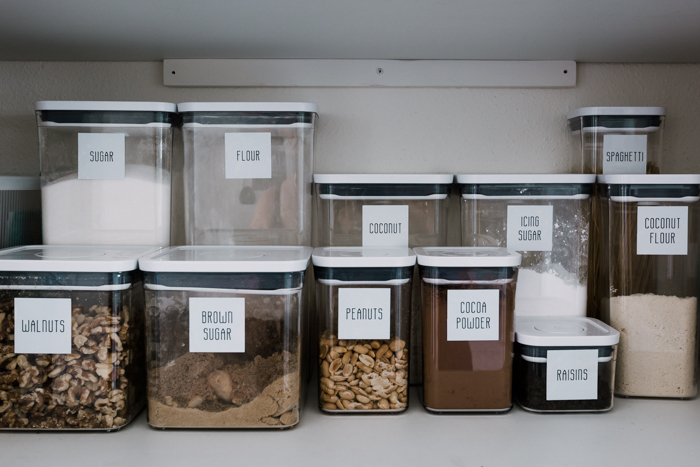
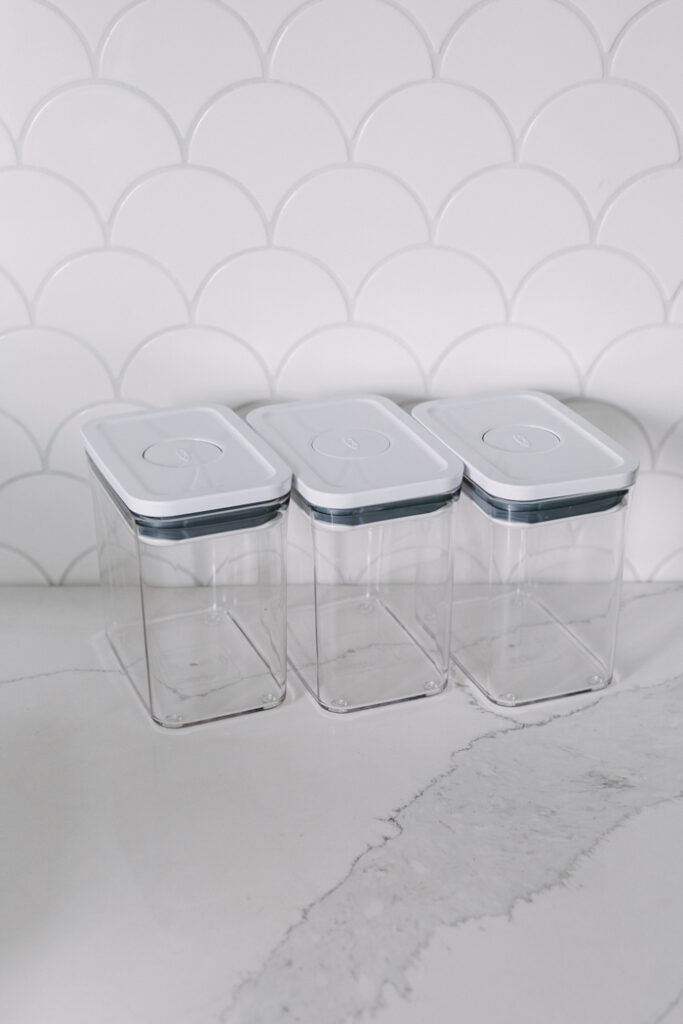
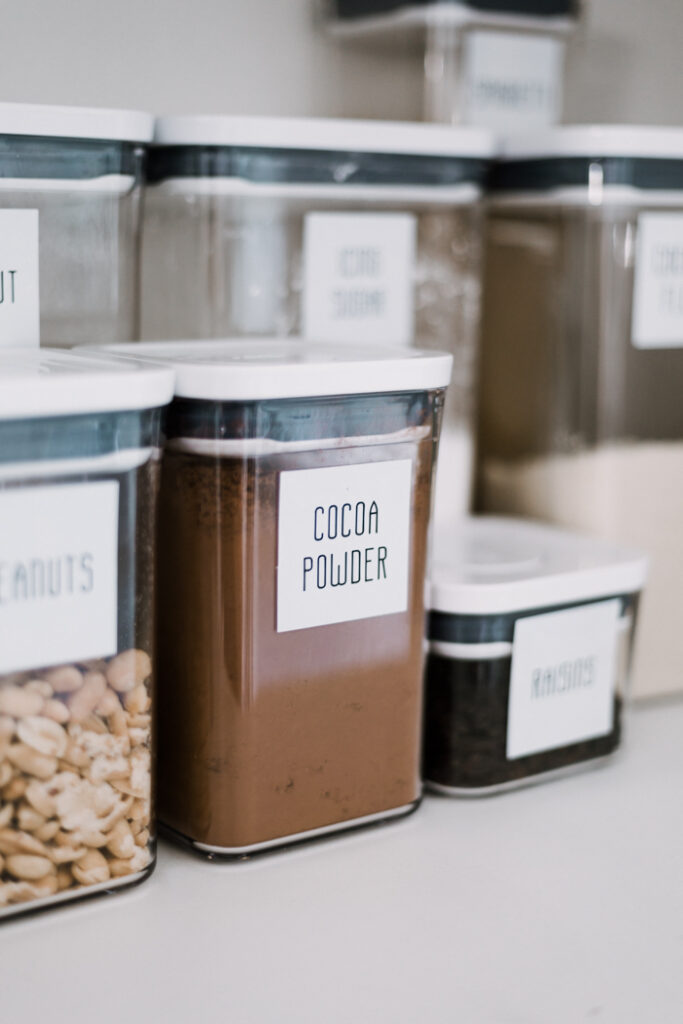
Pantry Container Labels
As soon as I can get a few more large containers I will (I have a few staples missing in here still!), but I have been using these pantry containers for a while now.
Stocking my pantry with these containers allows me to see what’s in there, and exactly how much which prevents me from buying excess food that ends up being wasted or not eaten. It also makes it easier to shop in the bulk section and avoid excessive store packaging.

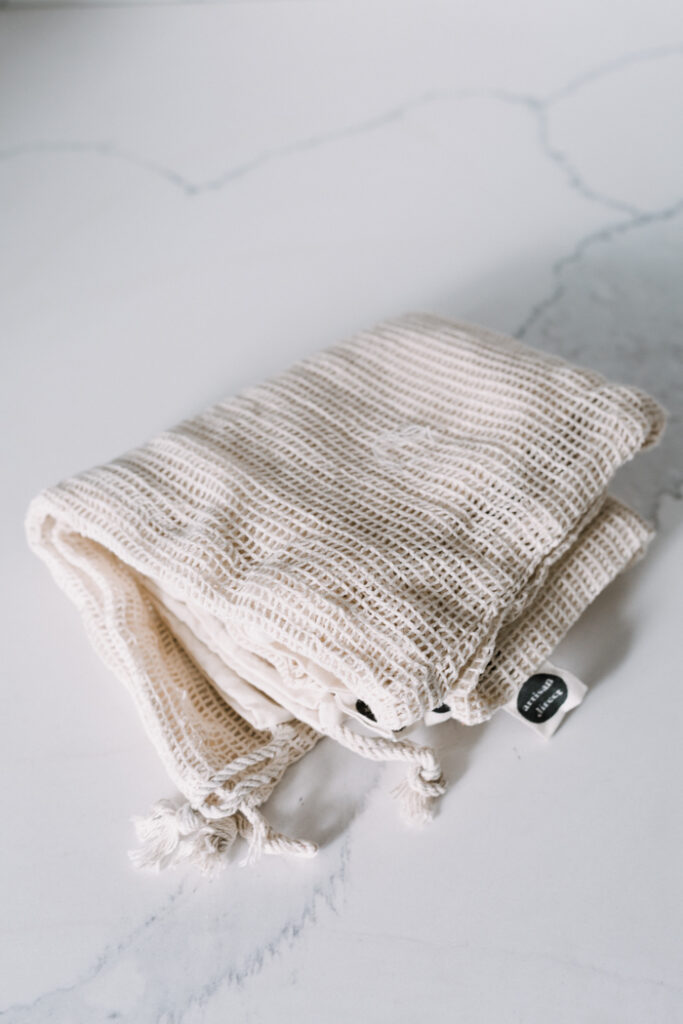
Reusable Grocery Bags
I got these reusable grocery bags from my Causebox a while ago, and while I love these reusable grocery bags, my biggest issue is forgetting to bring them with me, lol.
Reusable grocery bags is a great way to reduce the single use plastics. This pack I got included mesh bags and muslin bags. The mesh bags are perfect for fruits and veggies, while the muslin bags are great for dry goods from the bulk section like nuts, coffee beans, and rice. Best part, you just machine wash and dry them between uses!

So I added a container to our entry (that honestly, might need to migrate to my car, lol), and labeled it so that I hopefully won’t forget to bring them anymore!
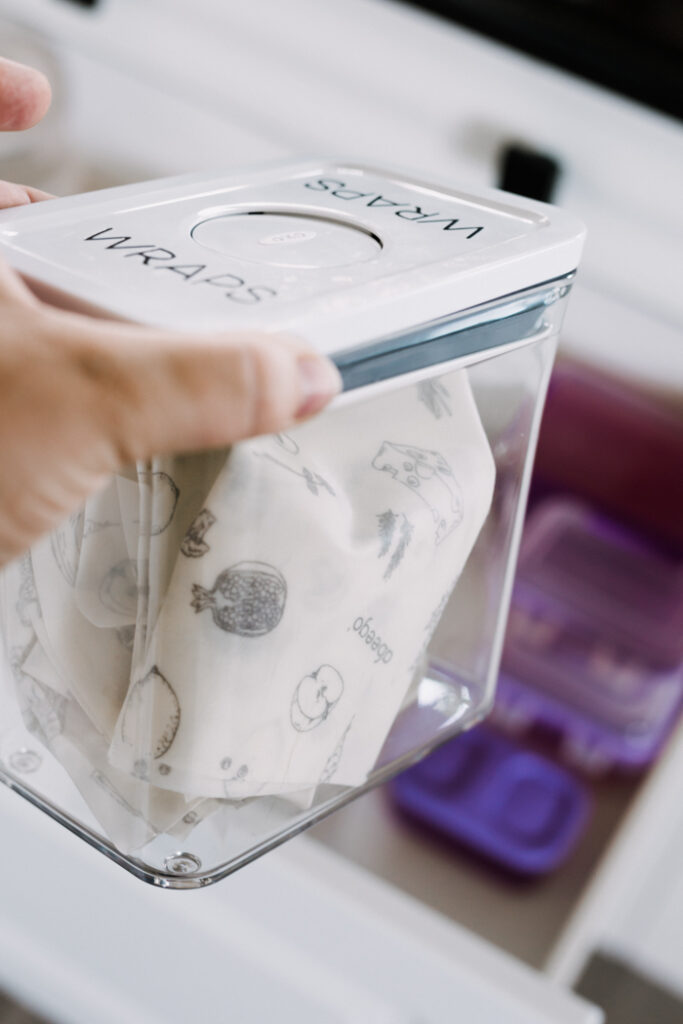
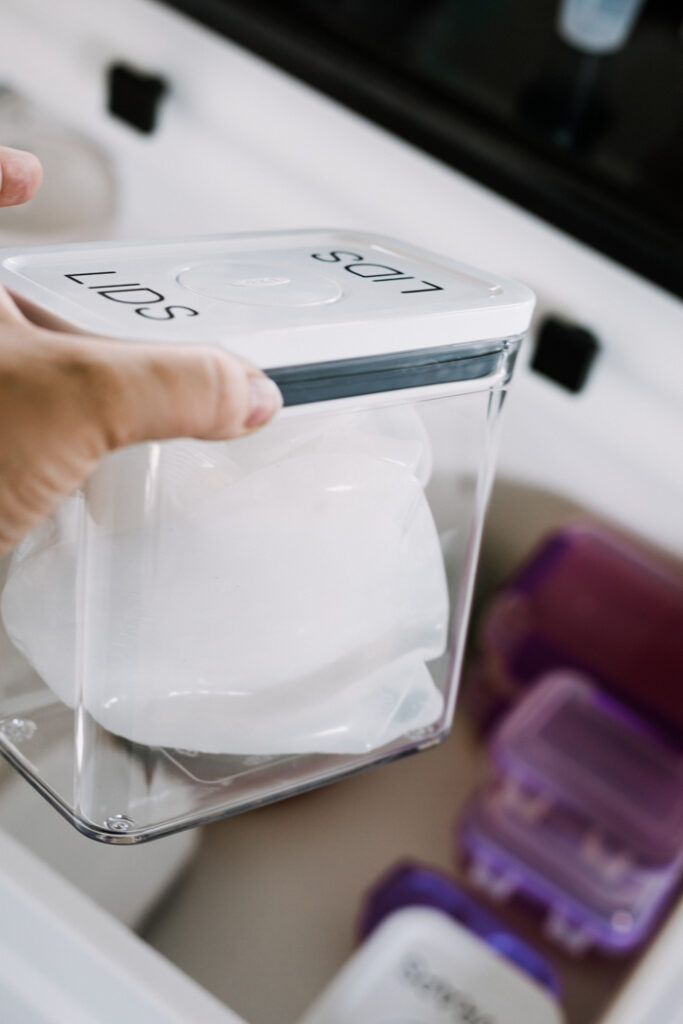
Storage for Reusable Kitchen Items
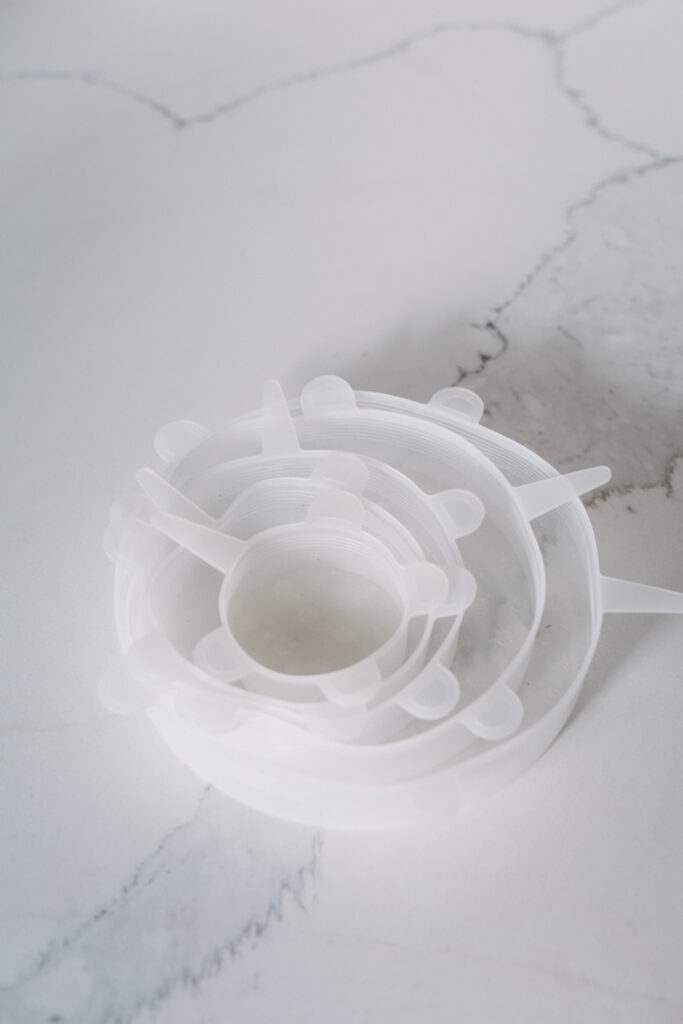
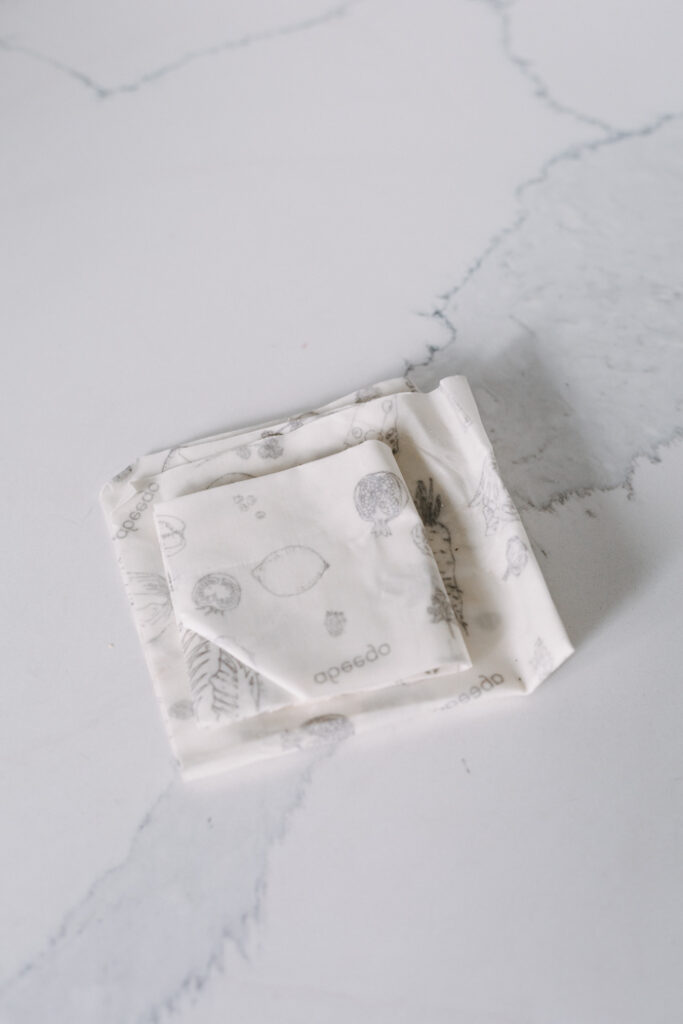
Next up is a few amazing kitchen items that I wanted to created some nice storage for! I’ve been using three amazing items in my kitchen to reduce the use of cellophane and plastic baggies:
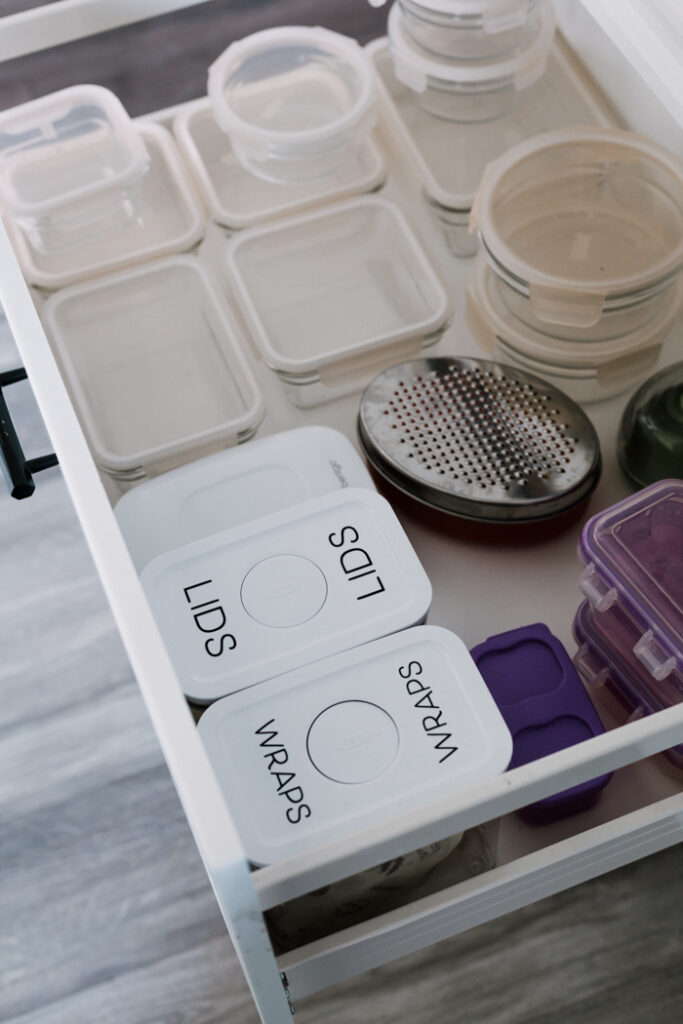
The beeswax wraps are using to wrap many of my foods that are just open or half used in the fridge, and the silicone lids are to cover bowls, jars, etc that don’t have lids instead of covering them with plastic.
The problem was that they were getting mixed up all over my tupperware drawer, so I created some labels on some bins to contain them and keep them organized.
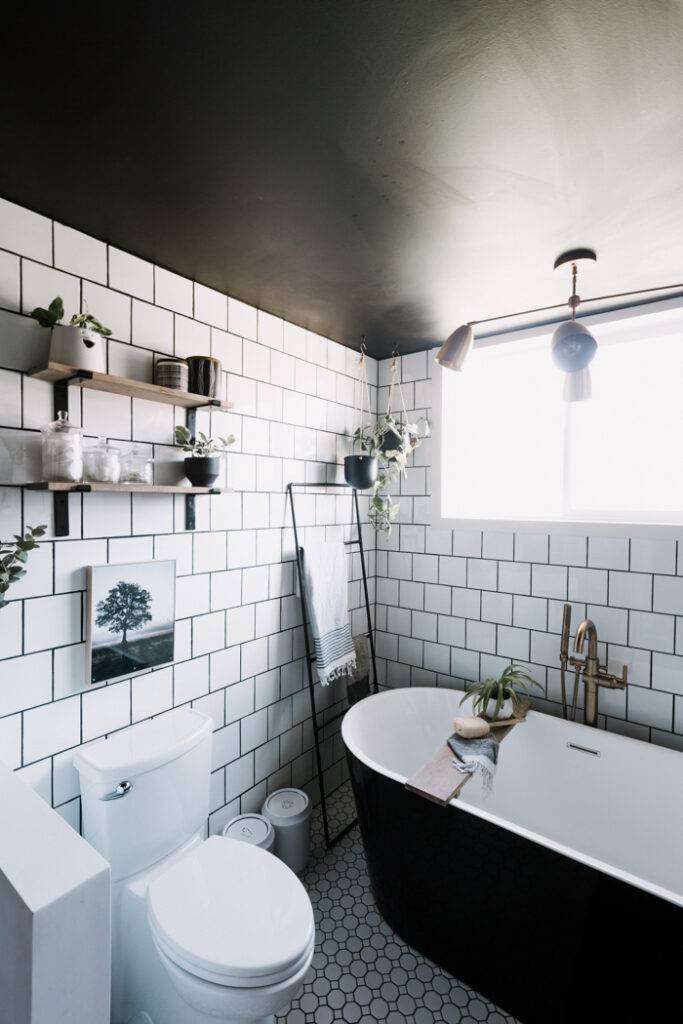
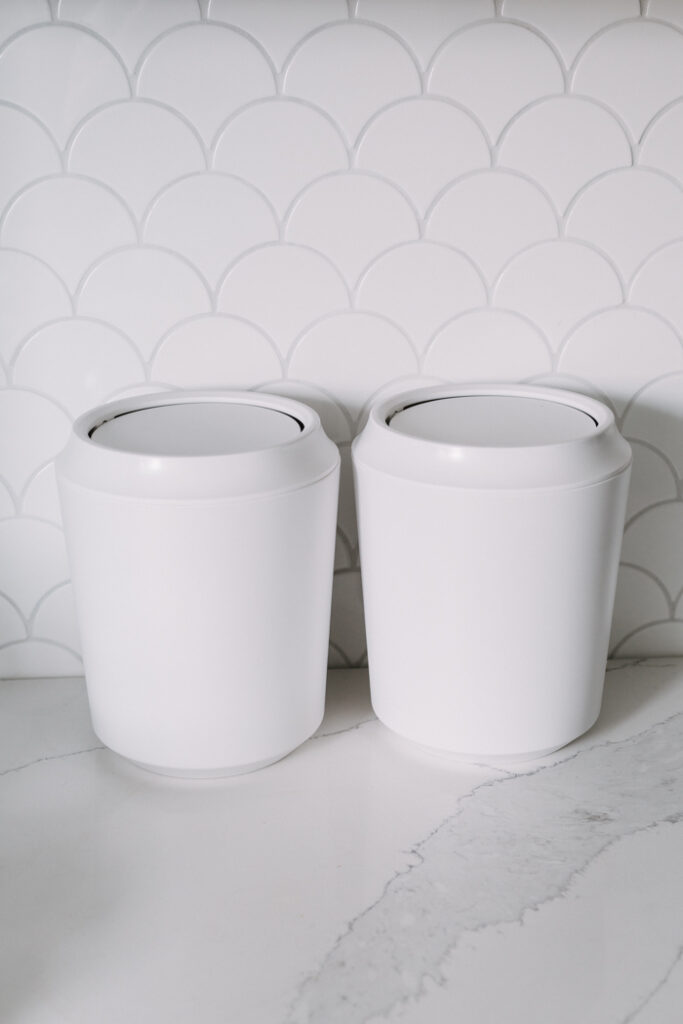
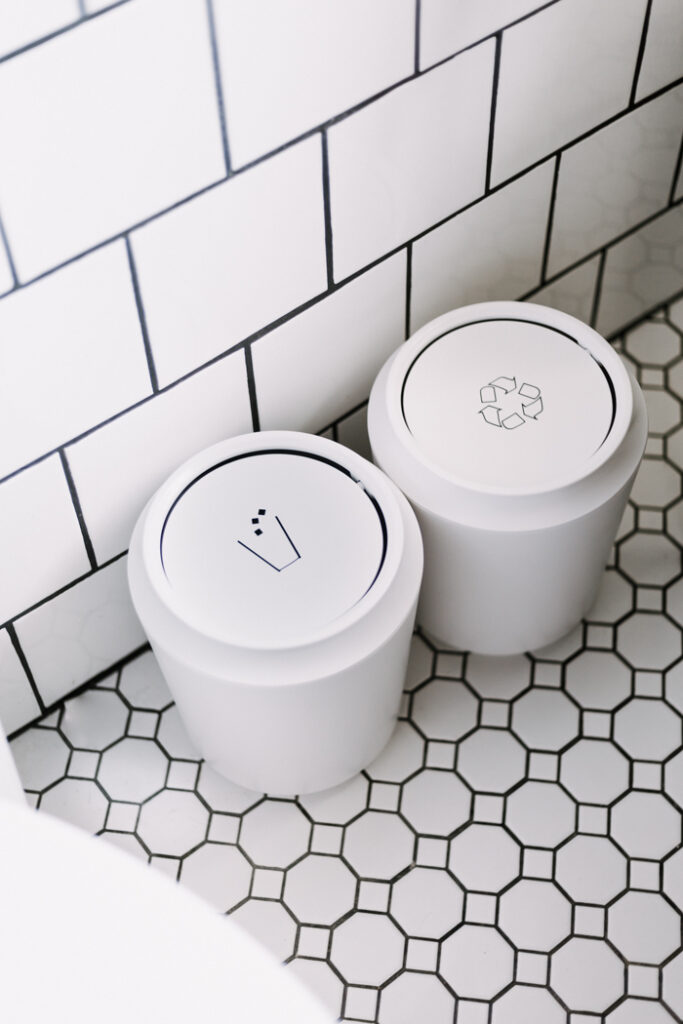
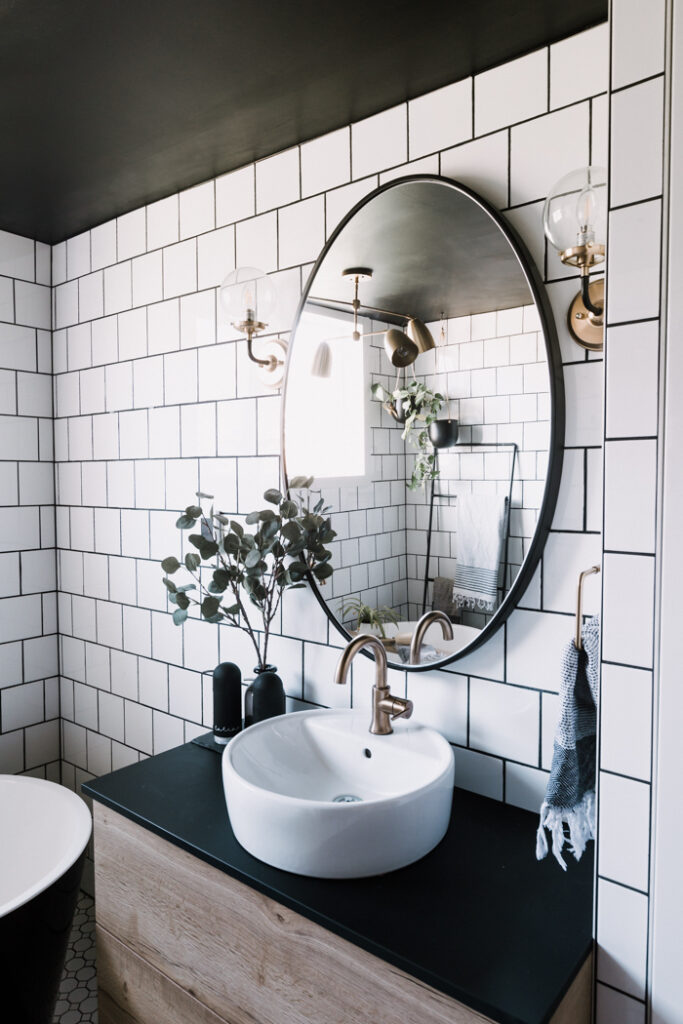
Adding a Bathroom Recycling Bin
Moving onto the bathroom, I also made a couple of quick changes to help reduce waste in here.
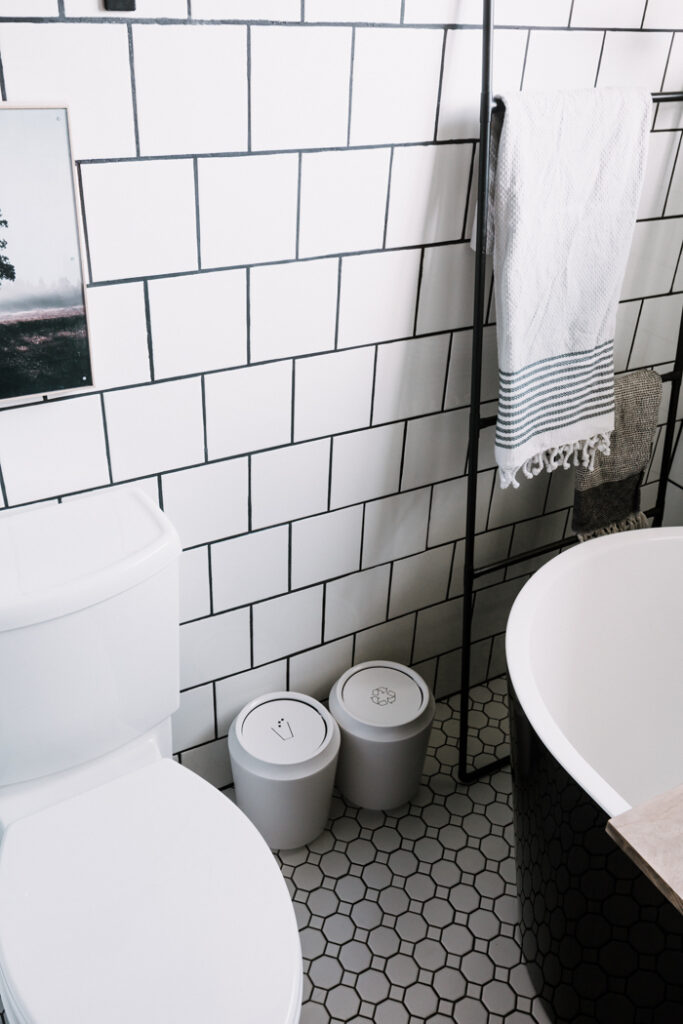
Those photo labels? They were for these matching trash cans! I added a recycling bin to our bathroom because there are so many things in the bathroom that you can recycle instead of throwing out and easily reduce waste at home!
For example, toilet paper rolls, cardboard packaging, plastic packaging, and many plastic containers like shampoo and body wash containers.
Plus, I wanted bins that I could hose down and wash rather than filling with plastic bags that get thrown away later.
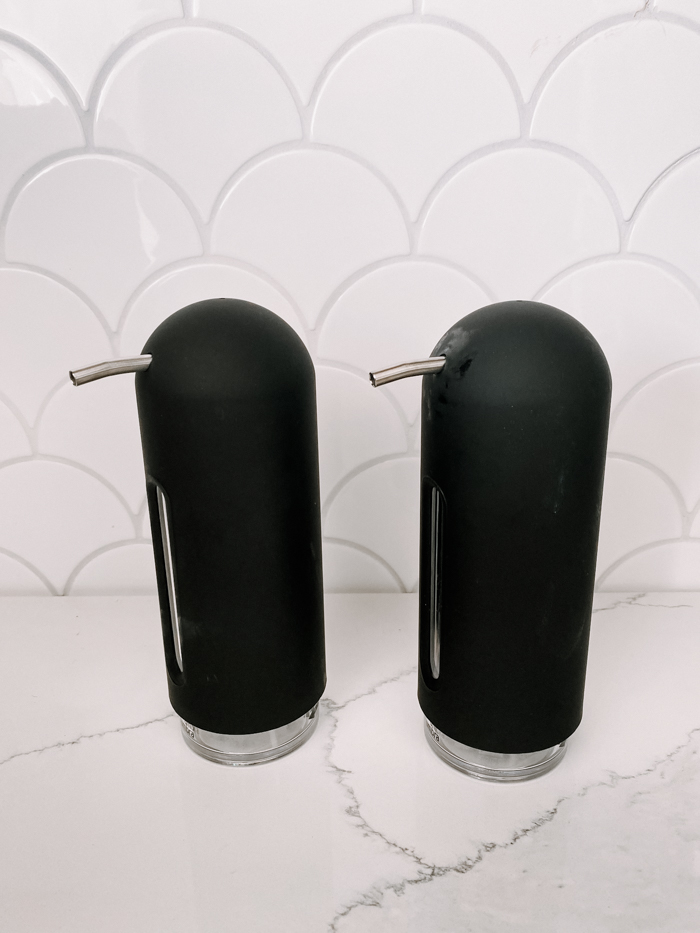
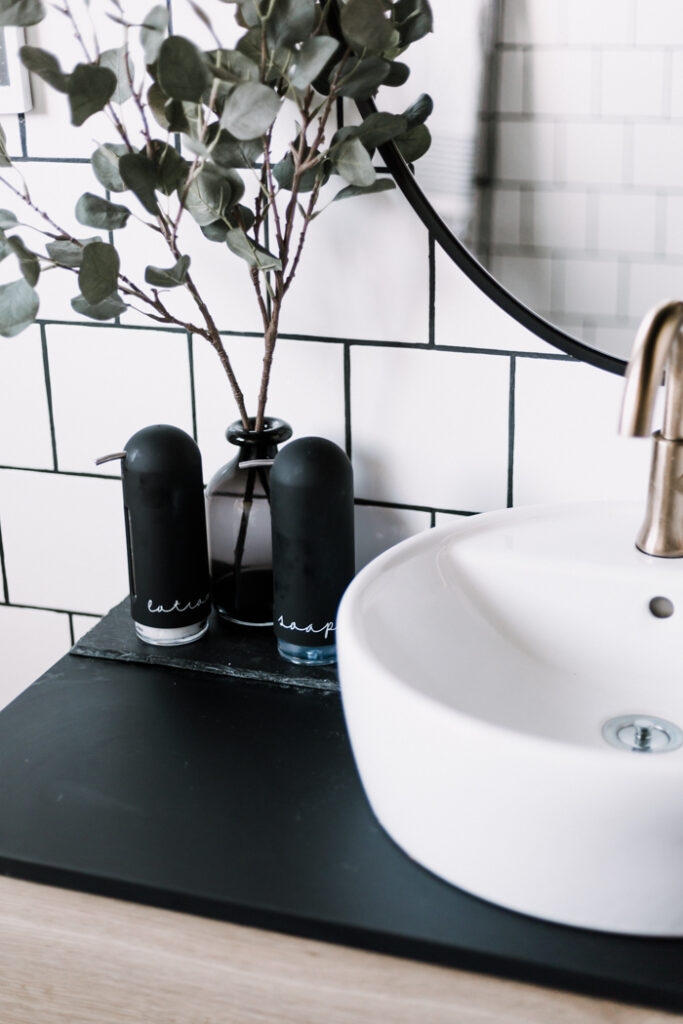
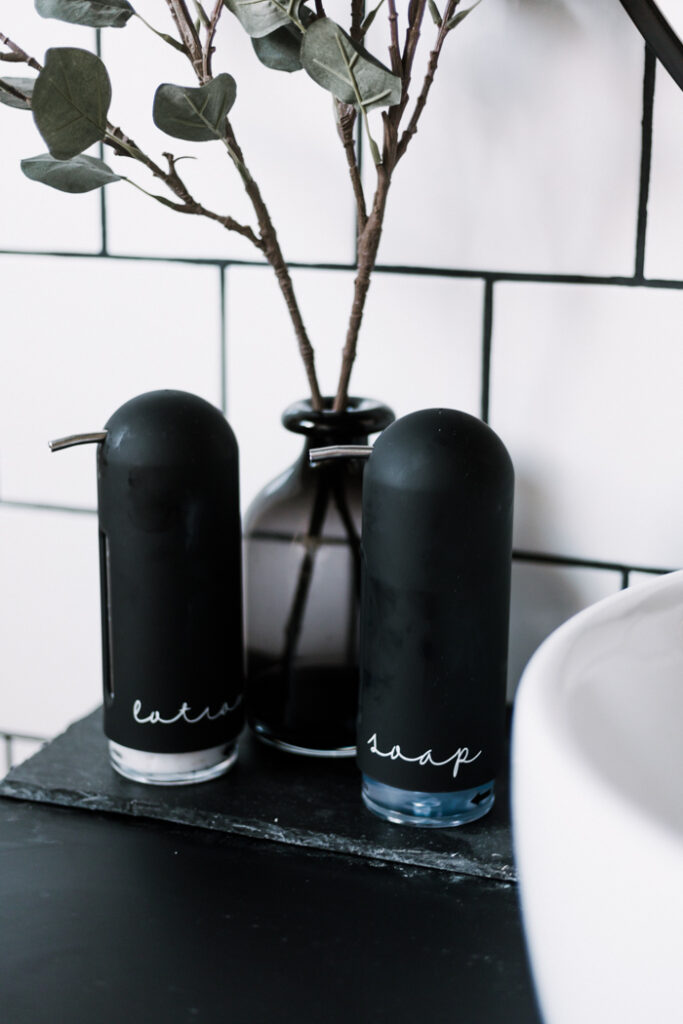
Reusable Soap and Lotion Containers
My final label to help reduce waste at home was for our soap and lotion containers. This is just helping us reduce waste by buying large, bulk orders of soaps and lotions instead of a bunch of individual, single use plastic containers.
Plus, the little handwritten labels, look amazing on those black dispensers, don’t they?!
If you want to learn how to make cards in less than 5 minutes, here’s an easy to follow tutorial for Cricut Joy Cards!
This is a sponsored post written by me on behalf of Cricut. All opinions are 100% mine.