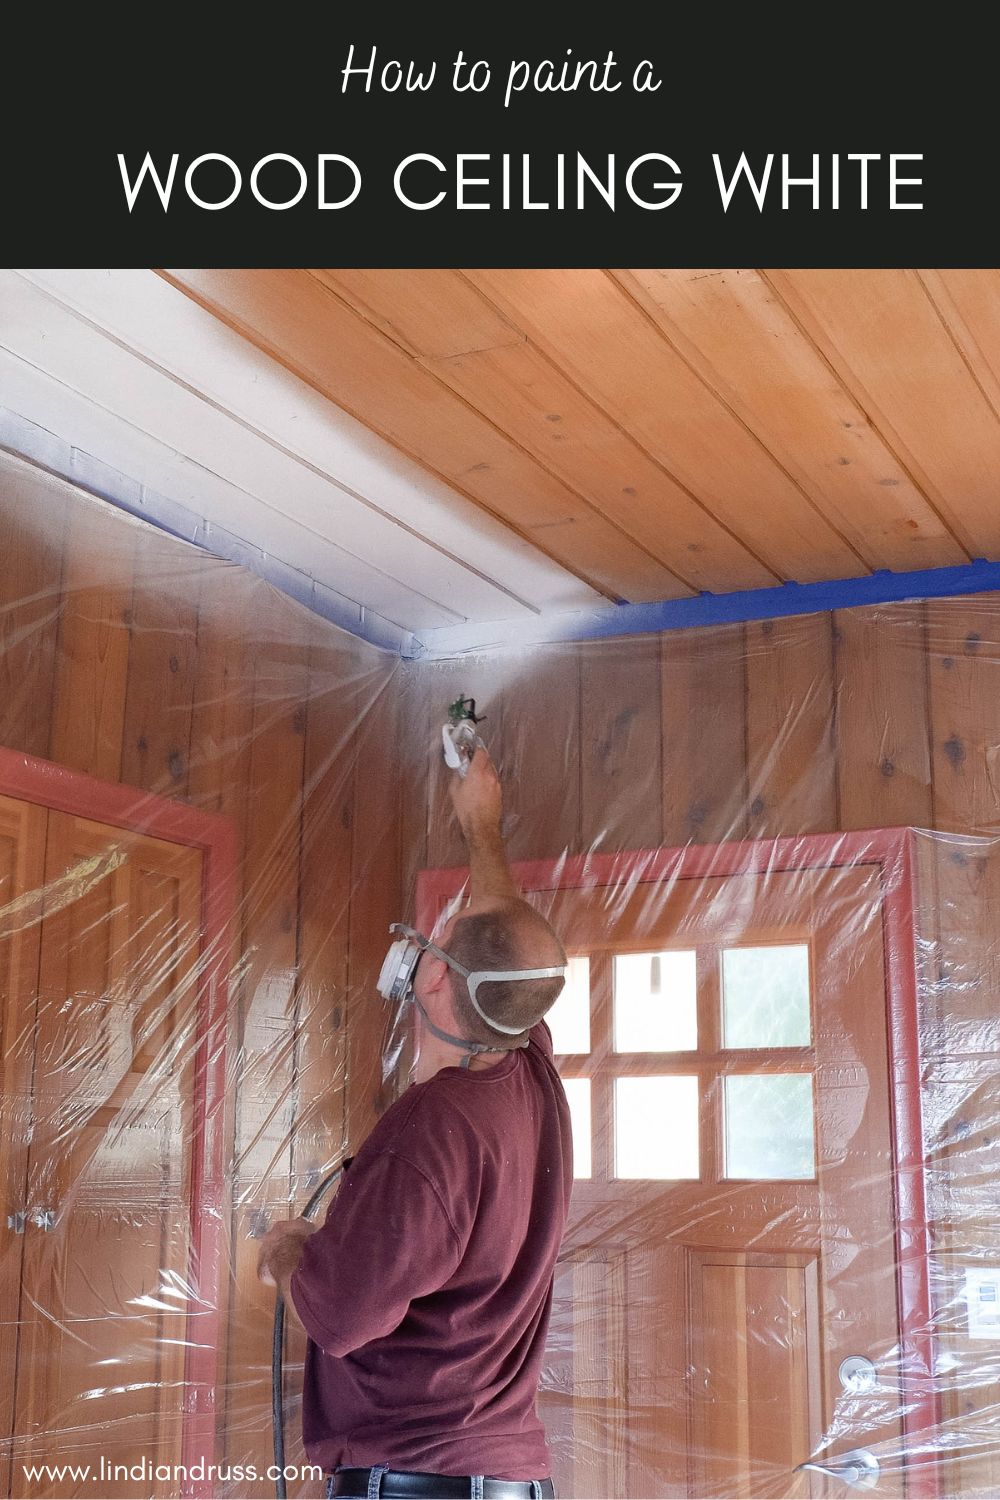
Follow this post for easy instructions and tips for how to paint a unpainted wood ceiling white. Transform your old ceiling in 4 easy steps!
This is second home we bought that came with a old faded wooden ceiling in the main living space. You can check out our The Modern Barn Home Tour to see that space. We knew immediately that this space would need to be transformed to lighten up the space.
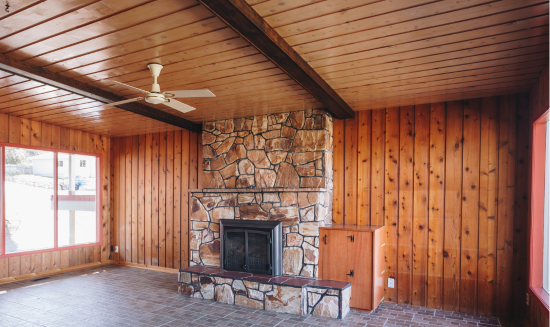
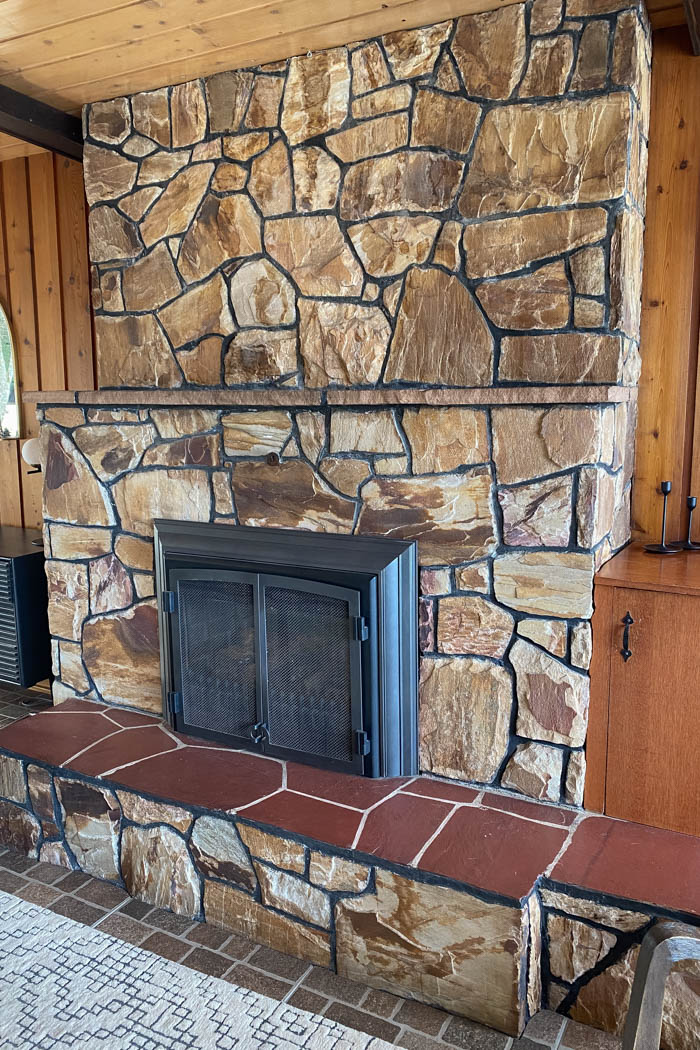
There were approximately 100 different tones of brown in the space (maybe a slight exaggeration – but there was a lot). The interior walls had multiple types of wood paneling, the floors were a brown tile, and even the fireplace was made of brown stone! Ultimately we wanted to tone-down-the-brown!

Using a white paint to lighten a ceiling will really freshen up a space. Especially if you are covering a darker color. Go through the 4 easy steps below to transform your space and get rid of your dark ceiling and lighten up your space.
*This post may contain affiliate links. When you buy a product through one of our links, we get a commission at no cost to you! Thank you for supporting our blog so that we can continue to bring you posts like these. For more information, please see our disclosure page.*
Tips for how to Paint a Unpainted Wood Ceiling White
Supplies
Tools/Products
Personal Protection Equipment (PPE)
1. Getting Started
Things to watch for:
One of the Tips for how to Paint a Unpainted Wood Ceiling White is some of the first things to look for before starting with paint
- was the home smoked in
- is there water damage
- different finishes and coatings on the wood (stain/varnish/sealers)
- type of wood (cedar/pine/wood with lots of knots)
- existing fixtures/beams
Changes/Modifications to Consider:
If there are any changes you want to make do this before you paint. Things you may want to do ahead of time are:
- adding/changing lights (like spot lights, pot lights, etc.)
- adding/removing faux ceiling beams
- adding trim
- for any water damaged that is present you will definitely want to ensure the source of the water is dealt with before spending time and money painting your ceiling.
- in a space that has heavy smoke damage or staining, give those surfaces a good wipe down. Use a cleaning/degreasing product like TSP to remove as much of the smoke build and debris up as possible.
- if you have high ceilings you may want to consider features like a faux beam or tray ceilings to add a cool focal point to the space.
Obviously you want to prevent any chances of marking up your freshly painted ceiling. Complete the above types of work before you start painting.
Painting over Wood:
When painting over timber roofs, new wood, wood panels, or wood ceiling planks you want to be aware of wood bleed through. Wood bleed or tannin bleed happens when the tannins present in wood work their way to the surface, leading to dis-coloration and stain in the paint film. This can happen when the tannins in the wood interact with moisture or the specific chemicals from the paint.
Existing stains from smoke or water can also cause this bleed though affect. Thats why a good primer and paint will help prevent any bleed through and give you great results in your final product.
2. Prep Work
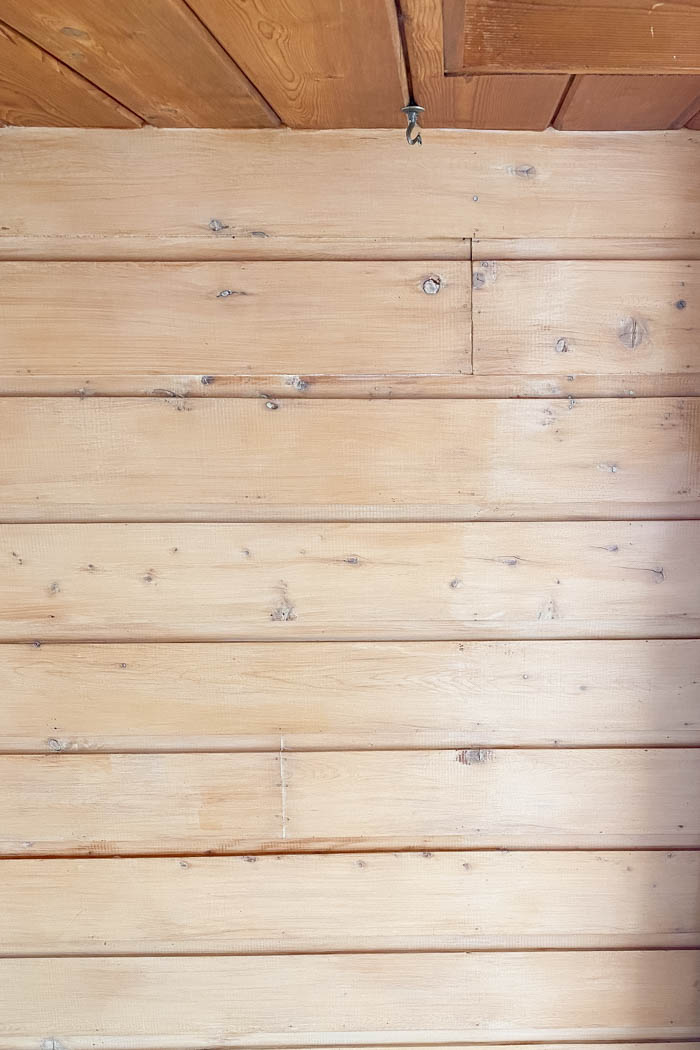
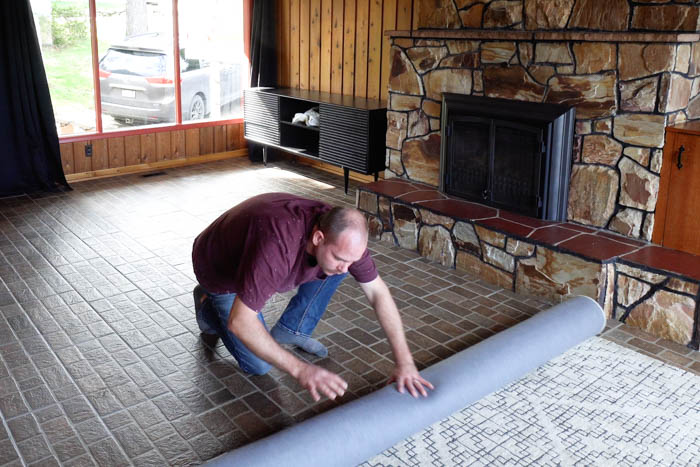
The first step was to remove all the furniture so that we would have a nice open space to work in. The next step was to clean any dust and debris on the ceiling. Our ceiling was finished with cedar wood ceiling planks and previously coated with a stain, varnish/or a white wash finish. We had a old ceiling fan we want to get rid of and our ceiling already had faux beams.
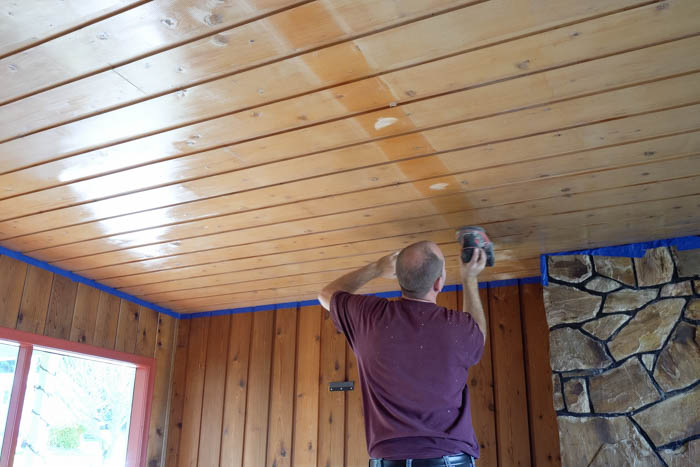


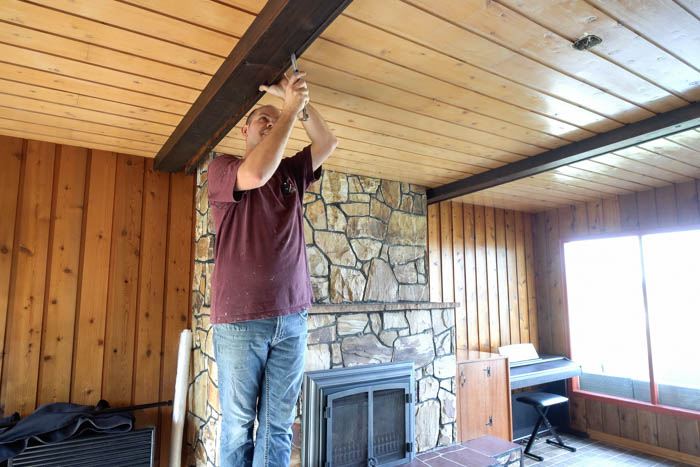
Due to our ceiling height we decided to remove the old ceiling beams to “open up” the space. You could have painted the white beams to match the ceiling but we decided to remove them as they were faux anyways. We than filled any holes with wood filler from any previous hangers/fixtures/faux beams that had been installed. We gave those spots a light sand to ensure a nice smooth surface.


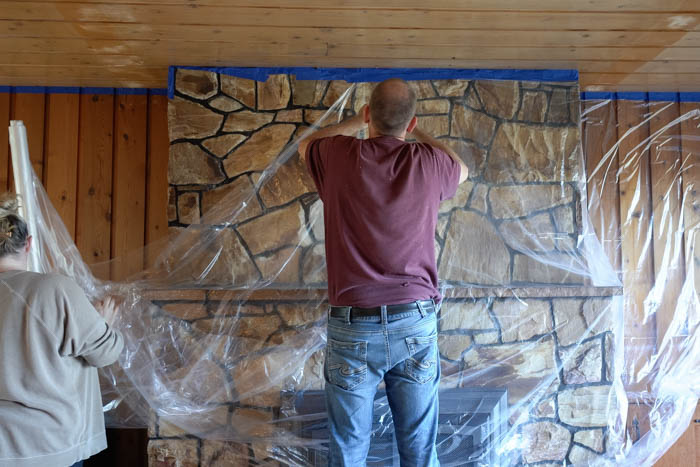
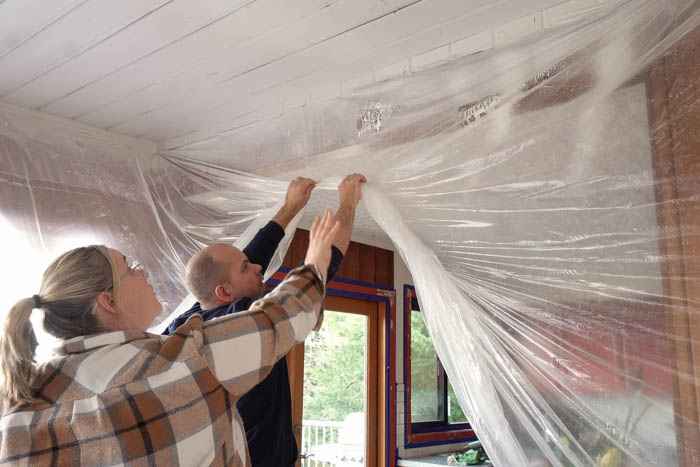
Once the ceiling was prepped we taped of the entire perimeter between the edge of the ceiling and the top of the wall. Masking off the area is always a good idea when using a airless paint sprayer even in small areas due to the overspray.

We added plastic along all the walls and along the floor. Even though the prep work takes some time, you will save all this once you start painting your ceiling.
Spraying a ceiling (especially one with wood ceiling planks) is the way to go. The sprayer gets into all the small gaps and edges and gives a nice even coating. Once you are set up it is super easy to complete additional coats of paint.
3. Applying Primer
Picking a good primer
You will want to invest in a good stain blocking primer for you first coat. Depending on the condition of your ceiling you may want to give it two coats of primer if you have any smoke/water/stain damage present.
*Tip for how to paint a unpainted wood ceiling white is to not trust the paint-and-primer-in-one products. Primers and paints have two very specific jobs and the combined products don’t do either job properly. You *may* get away with the paint and primer products on a wall that is just getting a colour change (no patch areas and/or no stains or marks to cover). However they are not recommended for applying directly to wood or over a patched or stained area.
The best way to paint a wooden surface, timber ceiling, an area with stains, or patched area is to use a high quality primer.
We used Home Hardware’s BeautiTone Block iT Primer. It has a advanced waterbased epoxy resin formula and is great for dealing with issues like smoke, water, tannin, ink, and more. It also seals in strong odours.
What to use to apply paint on a ceiling
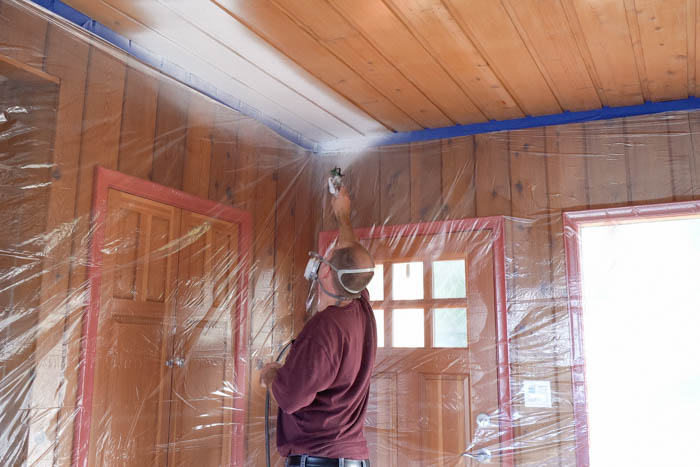
Due to the condition of our ceiling we gave it one coat of primer using Wagner’s Control Pro 130 Power Tank Sprayer with the 515 spray tip and let the paint dry overnight. The Control Pro 130 works great to get a nice even painted surface. It gets into all the cracks and corners, and is super easy to clean! If required it would be very easy to add an additinoal coat of primer but we got lucky and only had to do one.


*Tip – when using a High Volume Low Pressure (HVLP) or High Efficiency Airless (HEA) paint sprayer ensure you use the proper PPE. You will want to wear a good respirator with cartridges designed for catching paint fumes for the type of paint you are spraying. You will also want to consider eye protection if spraying overhead. Latex gloves and coveralls are also a good idea when painting ceilings.
As the paint in drying you may see some of the stains bleed trough (especially at knots in the wooden ceiling). If you have any spots that look like you need to give them a second coat do that before moving onto the final coat of paint.


4. Applying the Top Coat
To get the best results for your finish coat you will want to let the primer dry as per the manufactures recommendations. You can use a good portable fan to help move air in the space if required.
Choosing a Paint Colour
Depending on the space you may want to just go with a flat white ceiling. However if you have accent colours you are trying to work with, a specific architectural design, or maybe want to try a darker colour on the ceiling you can look into those options as well.

Because we were working in a space with lots of browns we decided to test out some colours with brown undertones. We got a couple paint samples and painting them onto the ceiling in different spots to see them in different lightning and against other existing colours in space and adjacent spaces.
Paint Tip – if you have a hand held sprayer like the Flexio 3500 or 3550 you can use this to apply your paint swatches. We used our Flexio 3550 to quick apply the swatches and get a nice smooth finish!
The paint color we ultimately decided to use Beautitone Designer Interior Acrylic Latex Flat Paint in Mochaccino (DR5-1) It worked well with the existing colours in the living room as well as the adjacent spaces. We tried a dark colour white/brown sample and it just didn’t look right in the space.
Applying you Finish Coat
We used our Control Pro 130 airless sprayer again to apply the paint and get a smooth finish and beautiful ceiling! The good thing about paint sprayers is that if you have to do multiple coats, the painting portion goes significantly faster than using a brush and roller. You also usually get a smoother finishes and make up for any time spent with prep and masking the area off.


Summary of Tips for how to Paint a Unpainted Wood Ceiling White
- Take the time to think through the project and decided if any works needs to occur before you paint
- If spraying, ensure you mask off the area to prevent over spray
- Ensure you use a high quality primer and paint (separate products). Trying to use cheap or all-in-one products will affect the look of your final coat and ultimately you will spend more time and money trying to correct a poor finish and fix any bleed through.
- Get paint samples and try them in the space before you commit to your final colour. Once you get the color into the space it may look different than when in the store. Don’t be afraid to go get more samples to test if you are not happy with your first choice.
- Use a paint sprayer to get a nice smooth and even finish on a wooden plank ceiling. A paint sprayer will do a better job of getting into all the cracks, gaps, and edges compared to a brush or roller and won’t leave any brush marks.
- When painting the ceiling use a matte or flat paint, this will help not draw as much attention to the surface. Flat paint does not reflect light, so it does not catch your eye the same way a glossy paint would
Our Finished Painted Wood Ceiling


We couldn’t be happier with how the ceiling turned out. We also removed the old fan and added a new light fixture to update the space. The new white ceiling (with some slight brown undertones) really freshened up the space. Removing the beams helped to open up the space. Overall the space feels fresh, updated, and bigger!

Now we have to figure out what we are doing with the fireplace! Stay tuned to see how we complete that makeover!