Beautiful DIY Velvet Christmas Ornaments! Try these quick and easy Christmas ornaments using dollar store supplies!
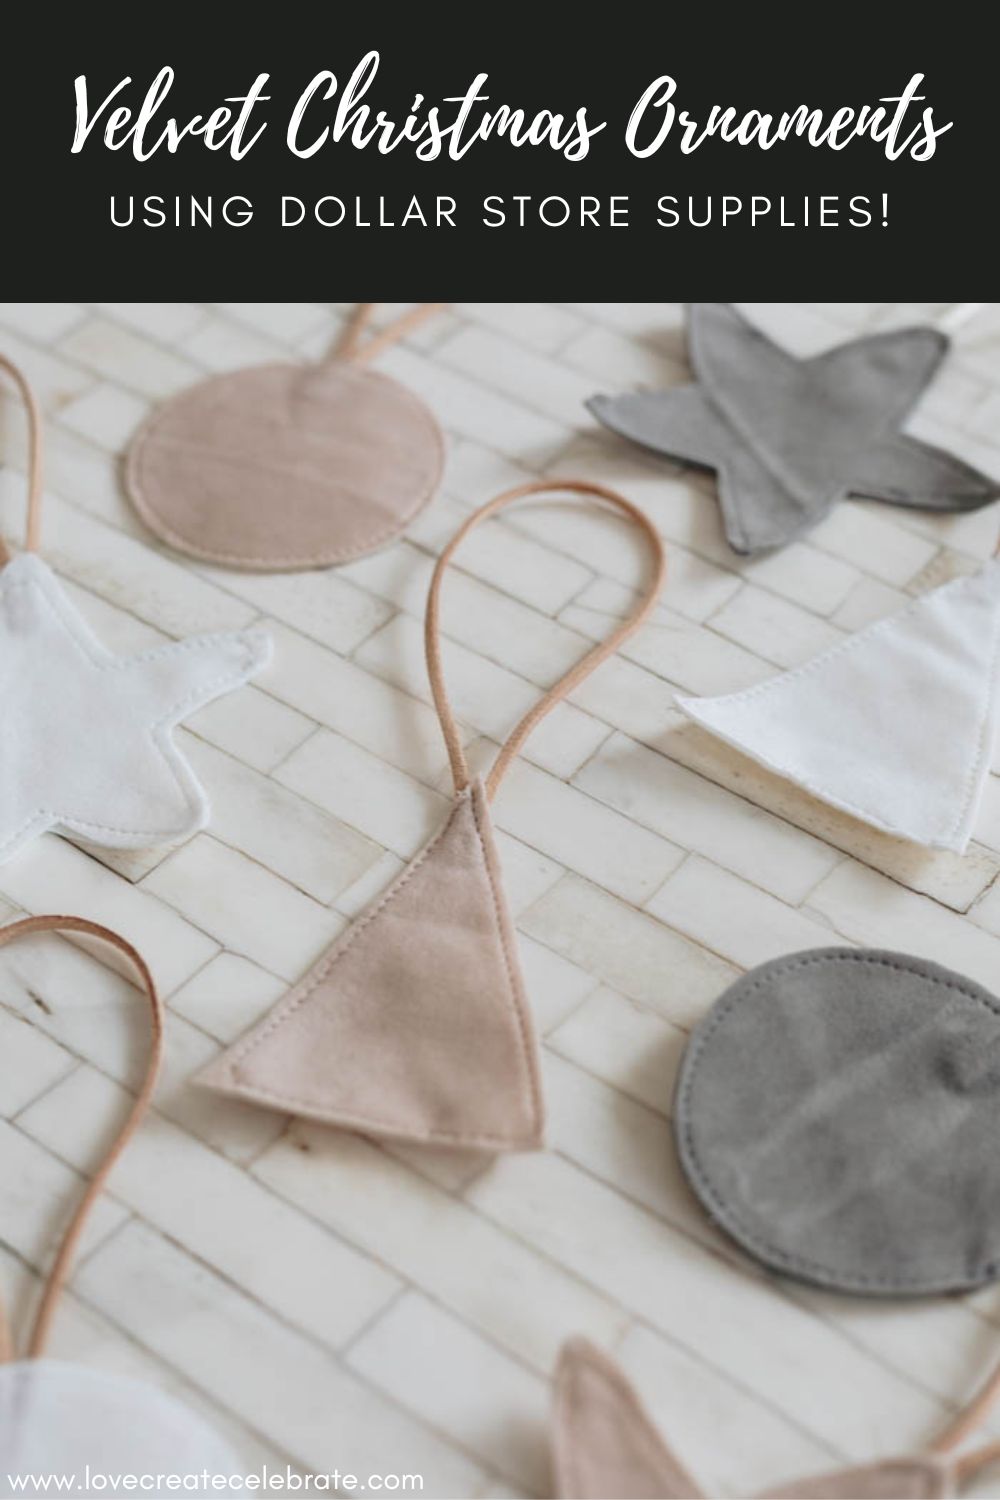
We all know that I LOVE making ornaments, but these dollar store velvet Christmas ornaments are one of my all time favourites! I absolutely love the minimalist design and the beautiful execution. They look as though they could be store-bought, and I made about 20 for only a few dollars!
This project is one of six holiday ornaments I made this week, and it’s a quick and inexpensive DIY that we did along with other dollar store projects to get ready for the holiday season!
*This post may contain affiliate links. When you buy a product through one of our links, we get a commission at no cost to you! Thank you for supporting our blog so that we can continue to bring you posts like these. For more information, please see our disclosure page.*
How to Make your Velvet Christmas Ornaments
Materials Needed
Step-by-step Tutorial for your Velvet Christmas Ornaments
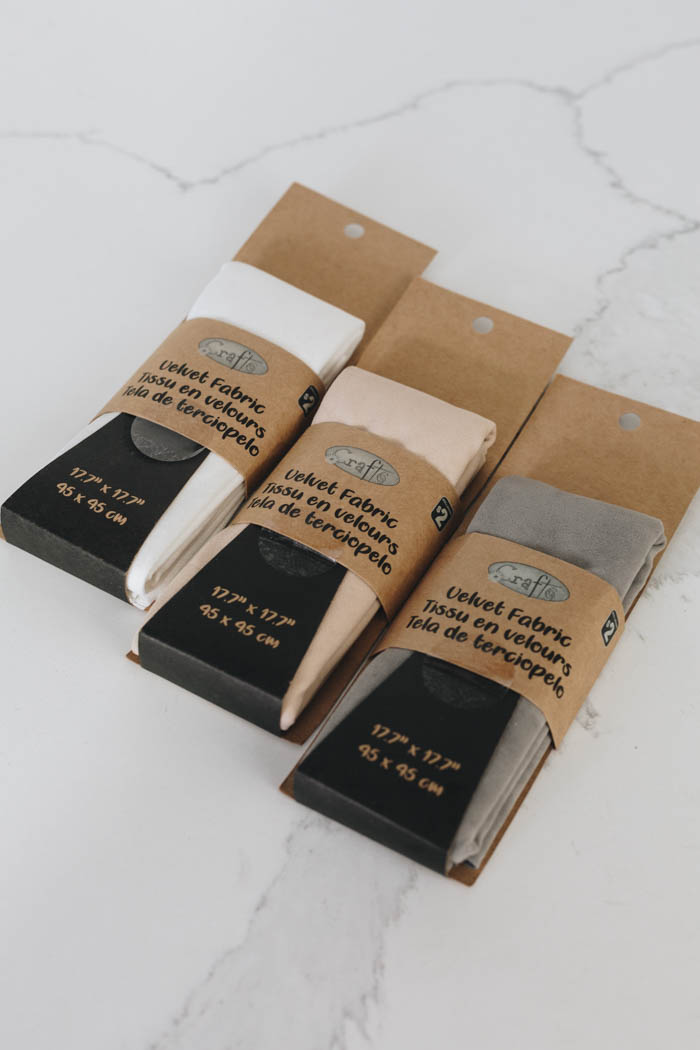
To make these velvet Christmas ornaments, I used this velvet fabric that I got at the dollar store.
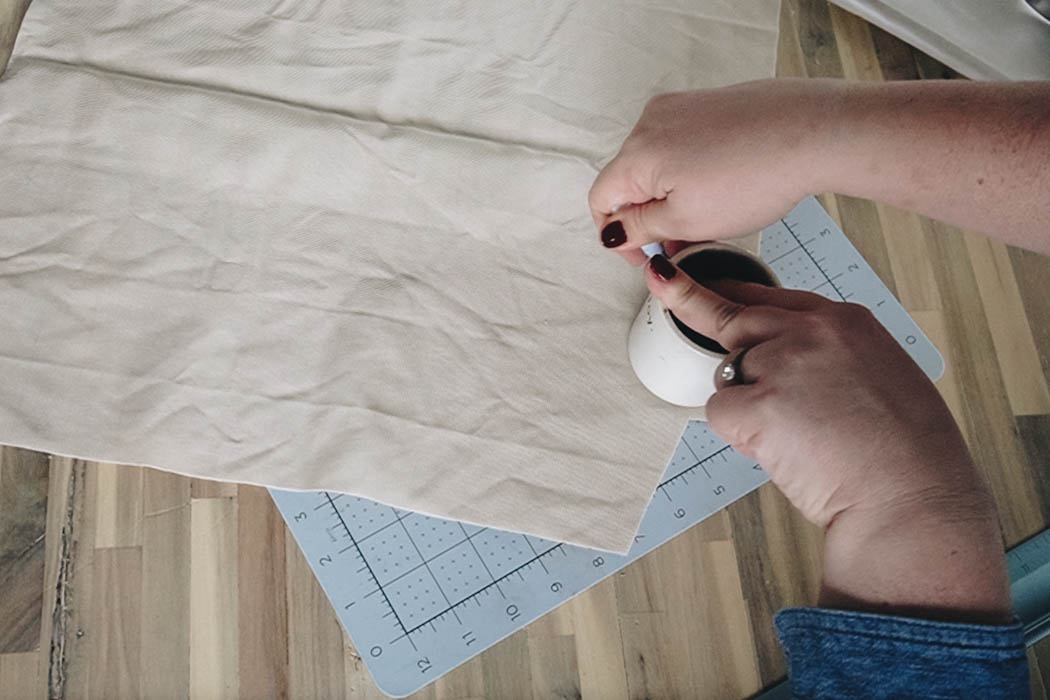
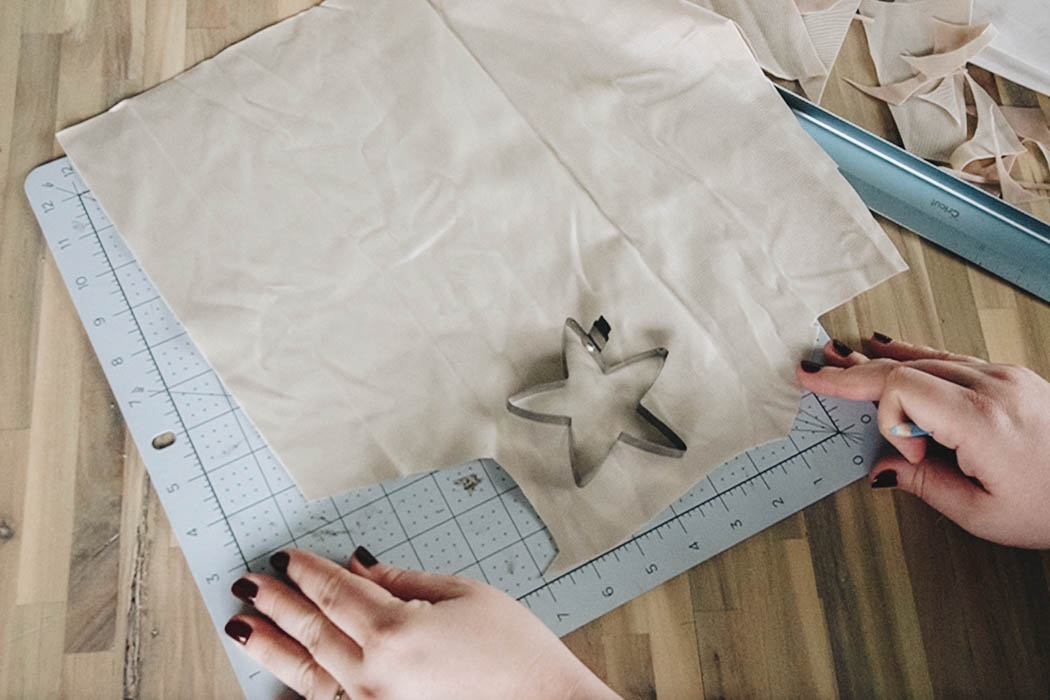
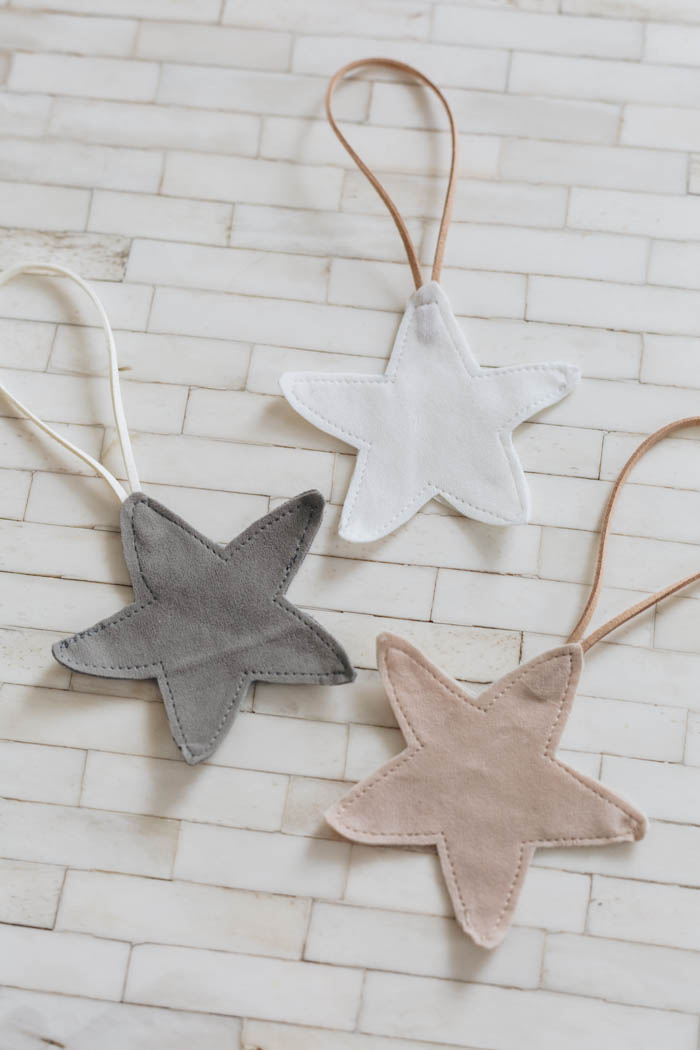
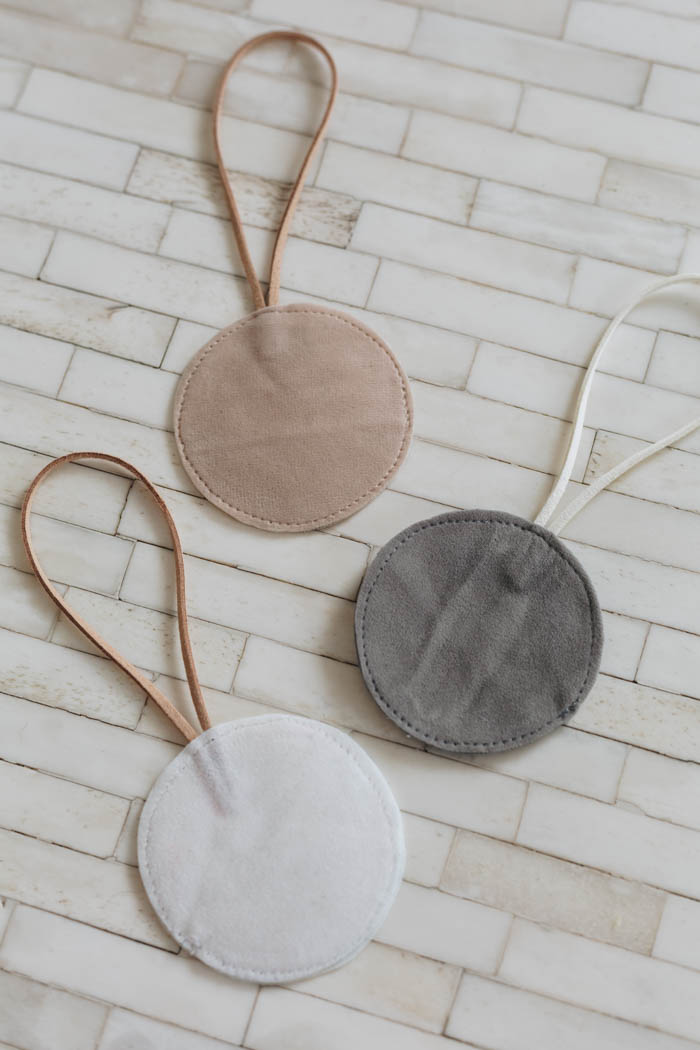
For these ornaments you can use whatever shapes you’d like. I chose to do triangle, circle and star shapes because they were nice minimalist shapes. Spend some time measuring out your shapes on your velvet fabric so that you like the lengths, or find objects to trace (like cookie cutters).
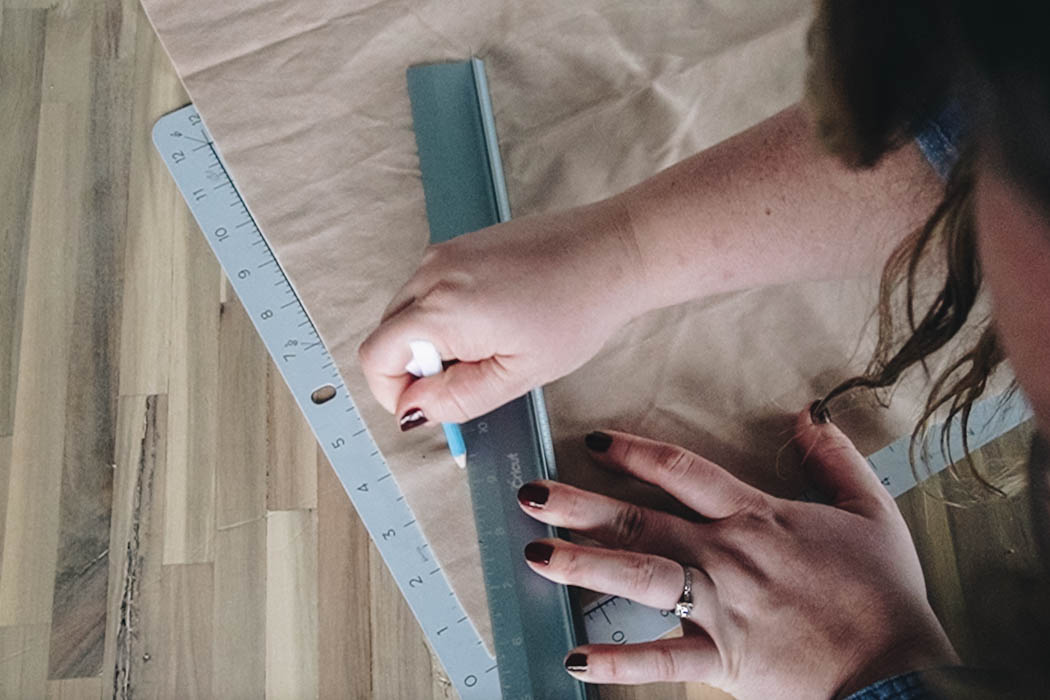
I used a ruler to measure the triangles, and I traced the circles and stars using shape I had at home – a cookie cutter and an old candle to be exact.
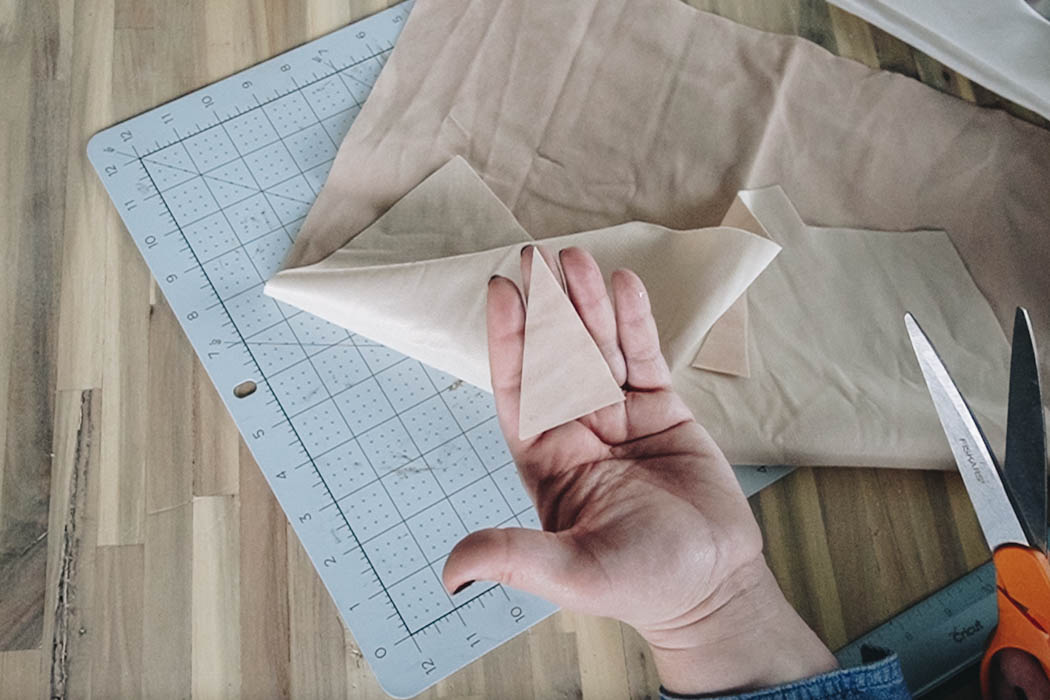
Cut a front and a back for each shape in each color.
Once you have all the pieces cut out, use fabric glue to attach them together. Apply fabric glue lightly to each of your shapes using a brush to avoid having big clumps that seep through the fabric.
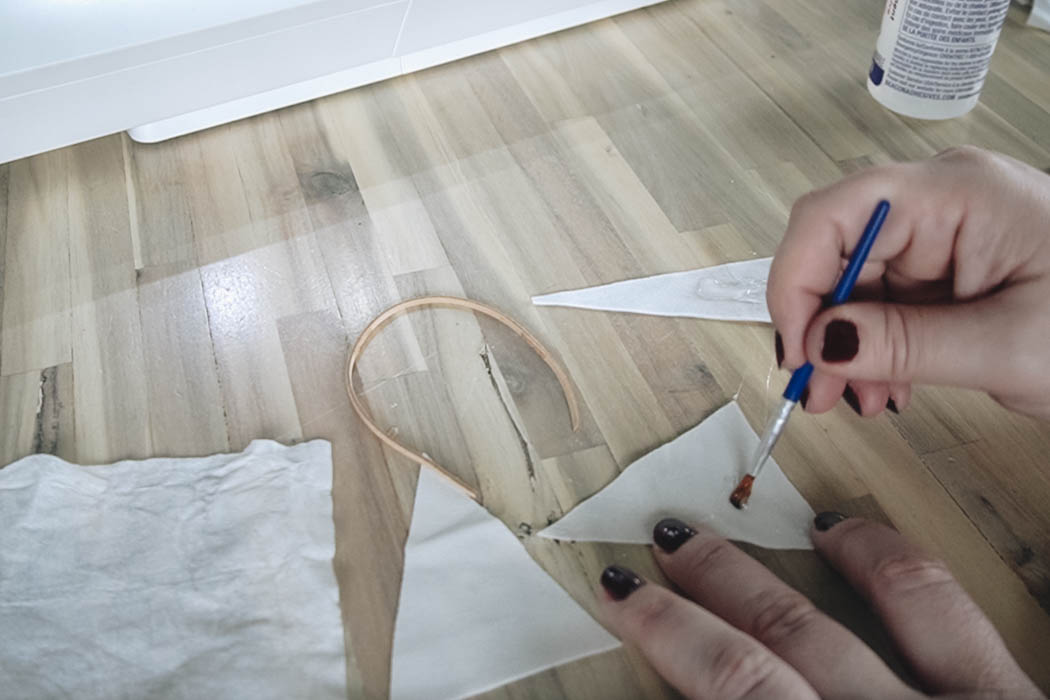
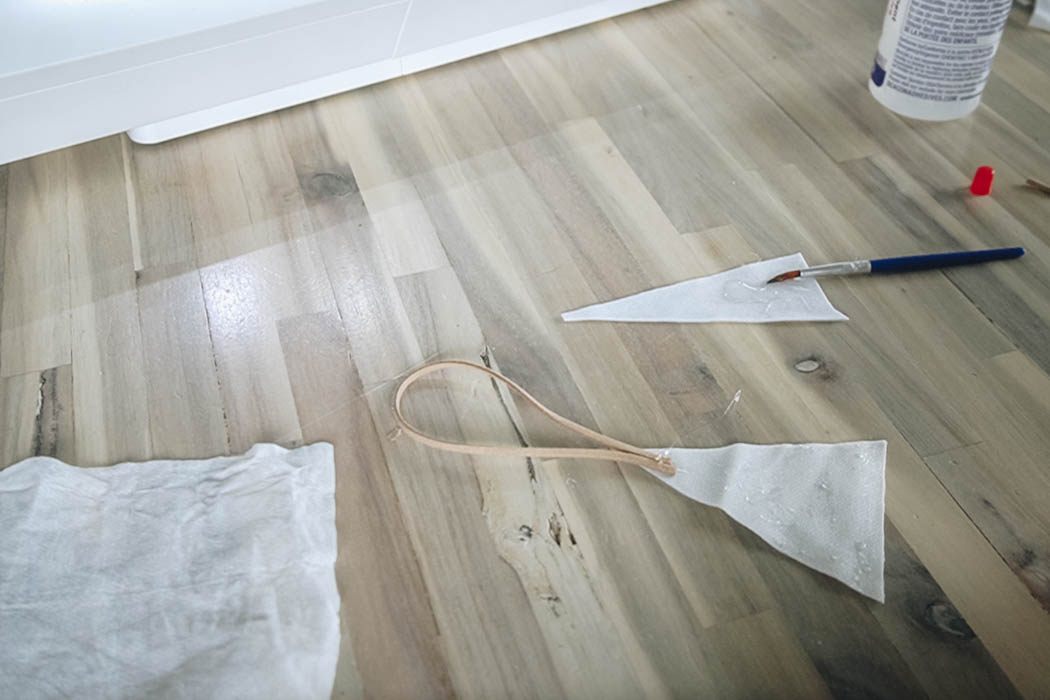
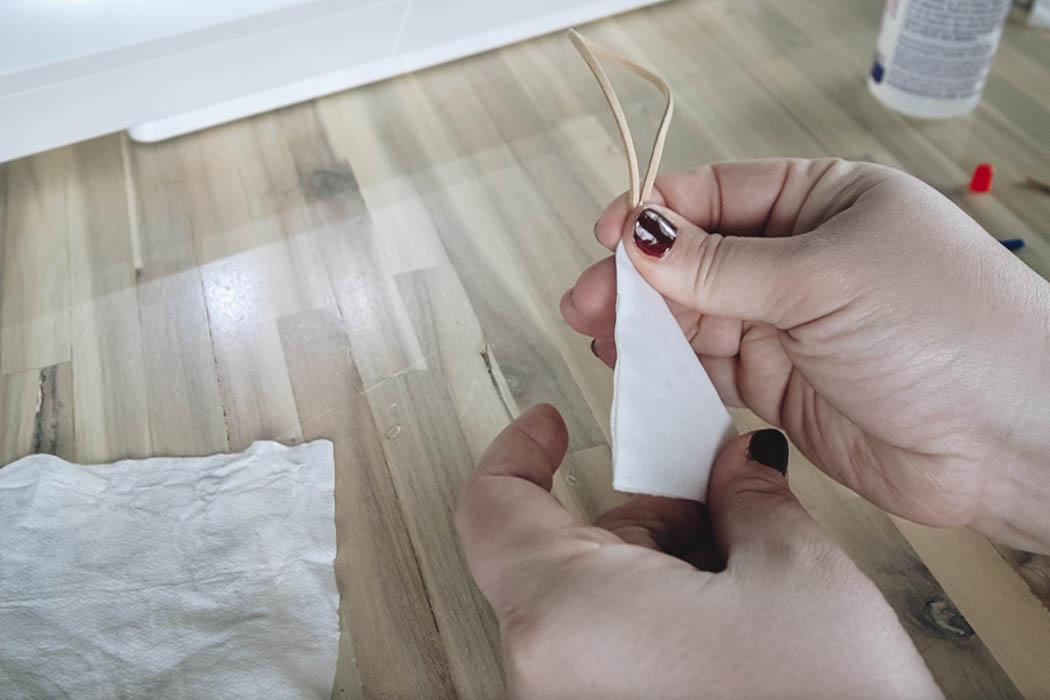
Then attach the string for the ornament in the middle and glue the two sides together. I used leather cording as my string, but you can use anything from jute to ribbon too.
Make sure the velvet is facing outward on both sides when you attach the fabric shapes (good sides out!).
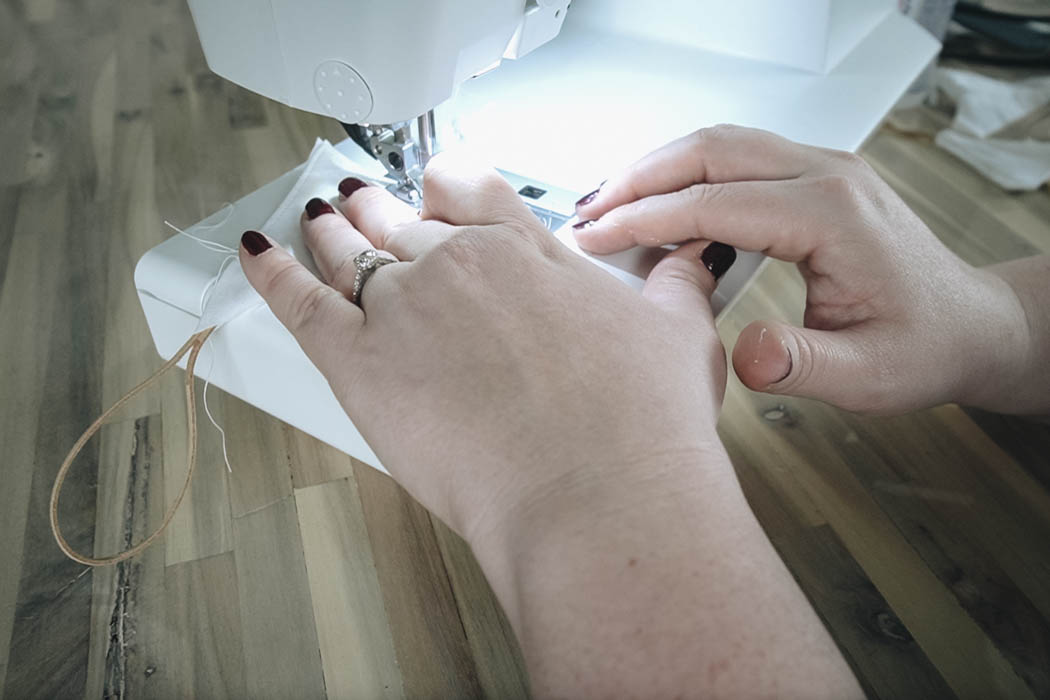
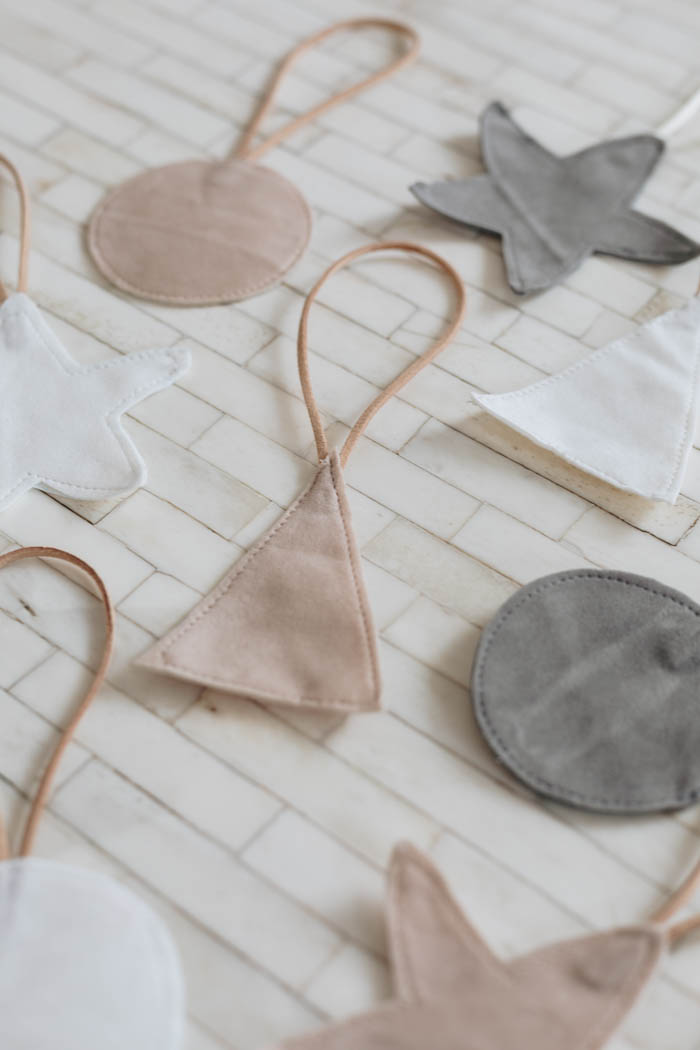
These velvet Christmas ornaments were really nice at this point on their own so you can leave them like that. But I went one step further just to give them a little bit more texture and character. If you chose to, you can stitch around the outside of all the ornaments with just a small seam allowance.
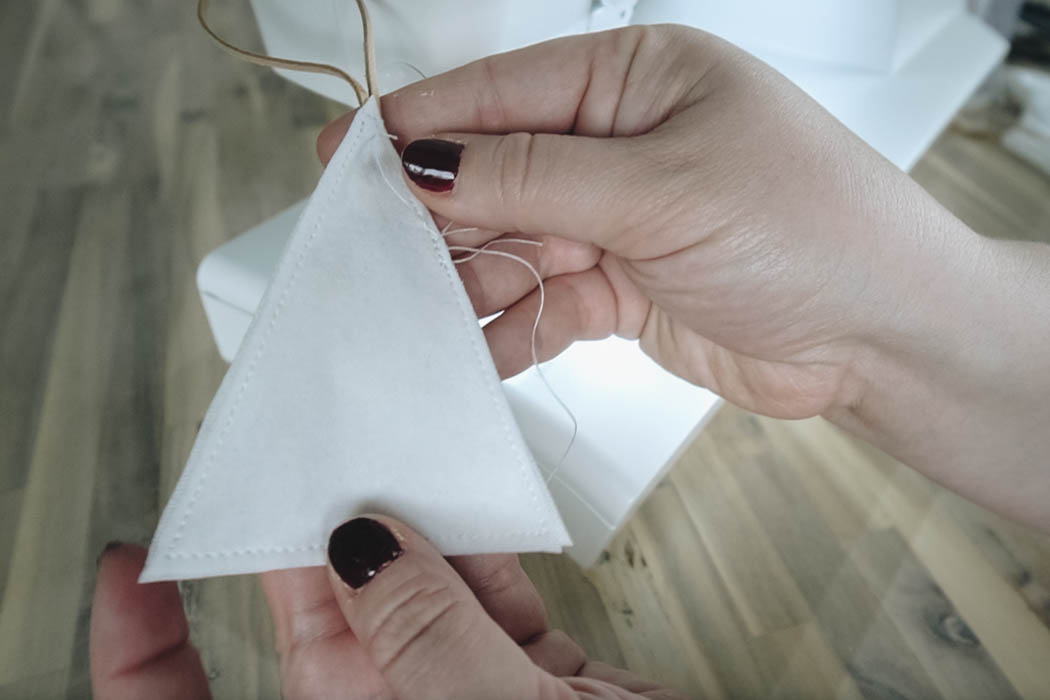
Once you’re done sewing, just clean up the excess string and cut around the edges to make sure that the edges of the fabric have a clean look.
I love the look that that stitch adds to these ornaments! I feel like it really finishes them off.
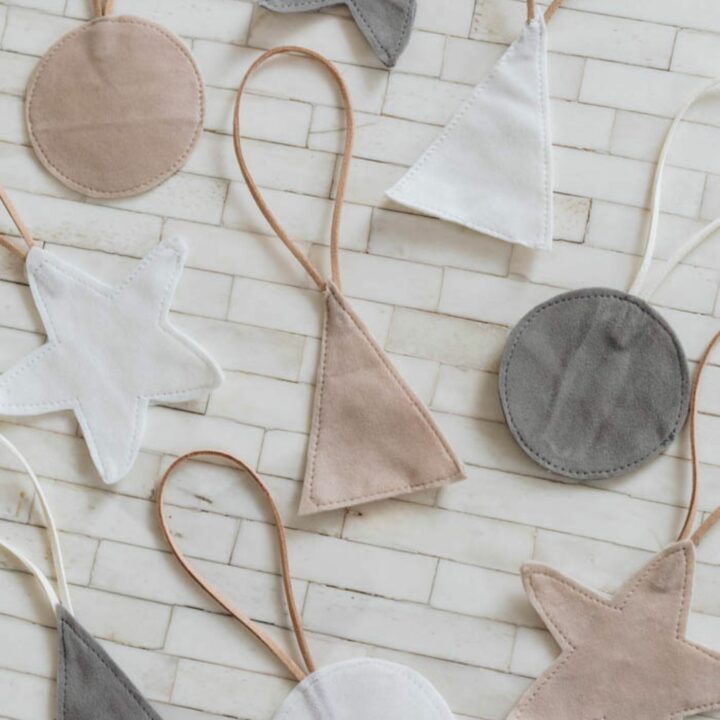
Finished DIY Velvet Christmas Ornaments
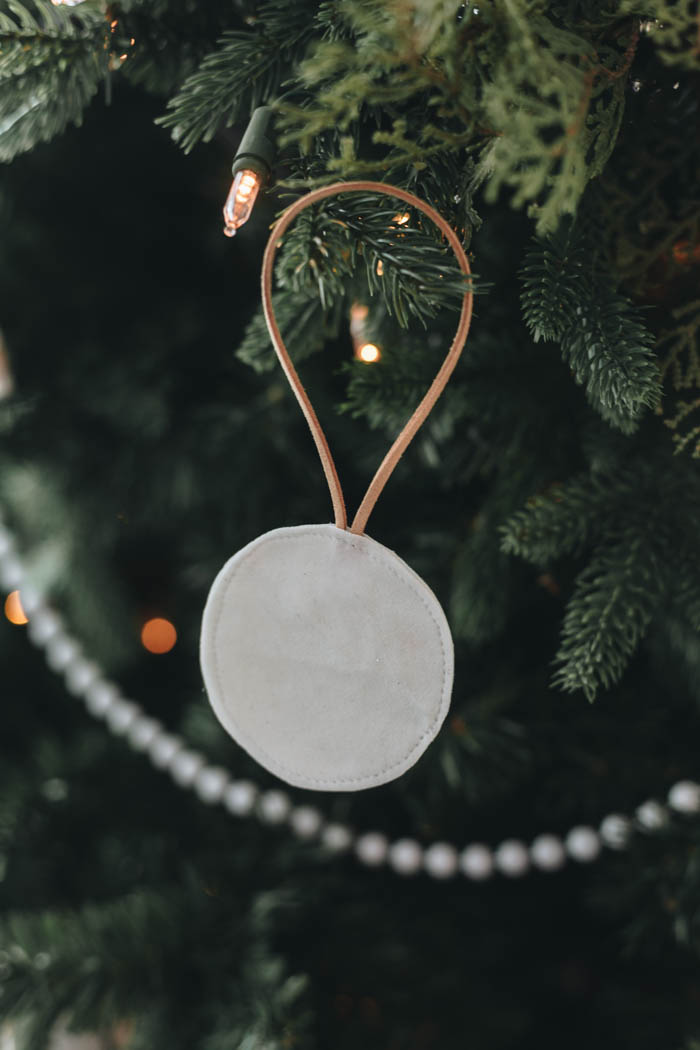
Here’s what the collection of velvet ornaments looked like when it was done.
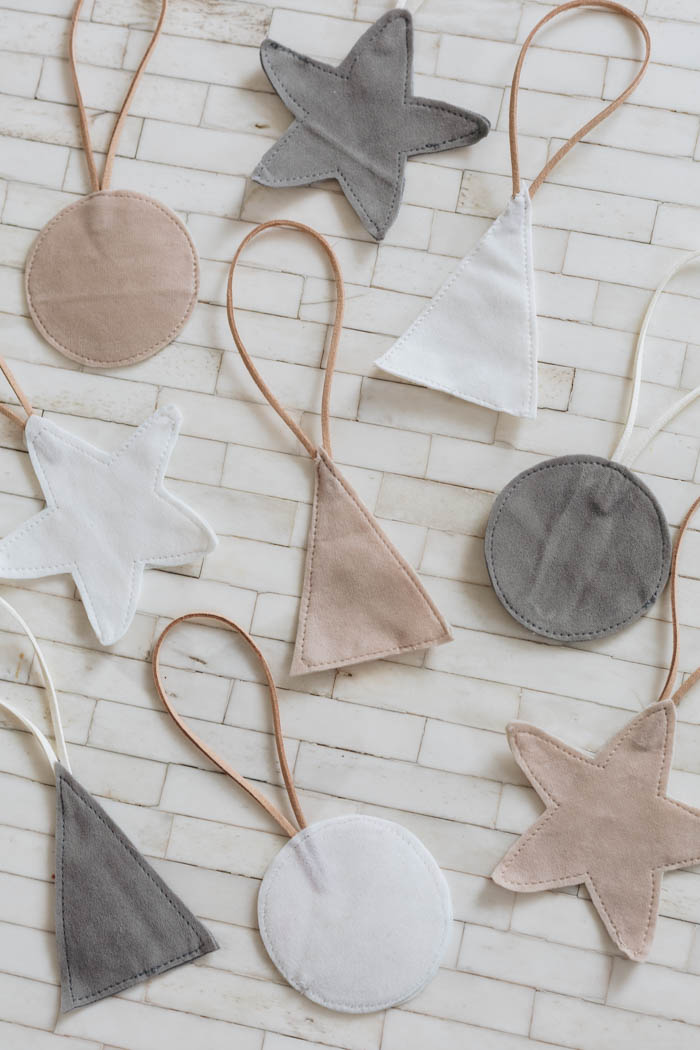
I’m so happy with these velvet Christmas ornaments, and the simple minimal shapes! They were so easy to make, and have such a big impact on the tree! They would also be stunning gift toppers if you were adding ornaments to your gifts like I did with my eco-friendly gift wrapping!

More Dollar Store Holiday Season Projects
These velvet Christmas ornaments were one of 6 projects I did to get ready for the holiday season using dollar store supplies. Check out the video below to see how I made the other 5 quick and easy projects!
Don’t forget to subscribe to our YouTube channel for more great holiday season DIYs!
For more great easy holiday season DIY ideas, check out these beautiful DIY Mini Wreath Ornaments!

Velvet Christmas Ornaments
Beautiful DIY Velvet Christmas Ornaments! Try these quick and easy Christmas ornaments using dollar store supplies!
Materials
- Dollar store velvet fabric - 3 different colors
- Ruler
- Pencil
- Star, Triangle and Circle Shapes
- Fabric glue
- Paint brush
- Ornament string
- Thread
Tools
- Scissors
- Sewing Machine
Instructions
- Measure or trace your star, triangle and circle shapes on the velvet fabric
- Cut out a front and a back for each shape in each colour
- Use a paint brush to apply fabric glue to each of your shapes
- Attach ornament string to the glue on one of the pieces of fabric
- Stick the similar shapes together, with the glued sides together
- (Optional) stitch around the outside of all the ornaments using sewing machine