
String Christmas Trees
Learn how to make adorable string Christmas trees in just a few steps. This holiday décor is sure to add cheer to any home.

Is anyone else SUPER excited that there is less than a month until Christmas?? I know I am! I LOVE the Christmas season! Which is why it may be surprising that it took this long for me to post a Christmas project... lol. Not to worry though, there are plenty DIY projects where this one came from! I have been dreaming up these string Christmas trees since last year, and I'm so glad to finally be sharing them on the blog!
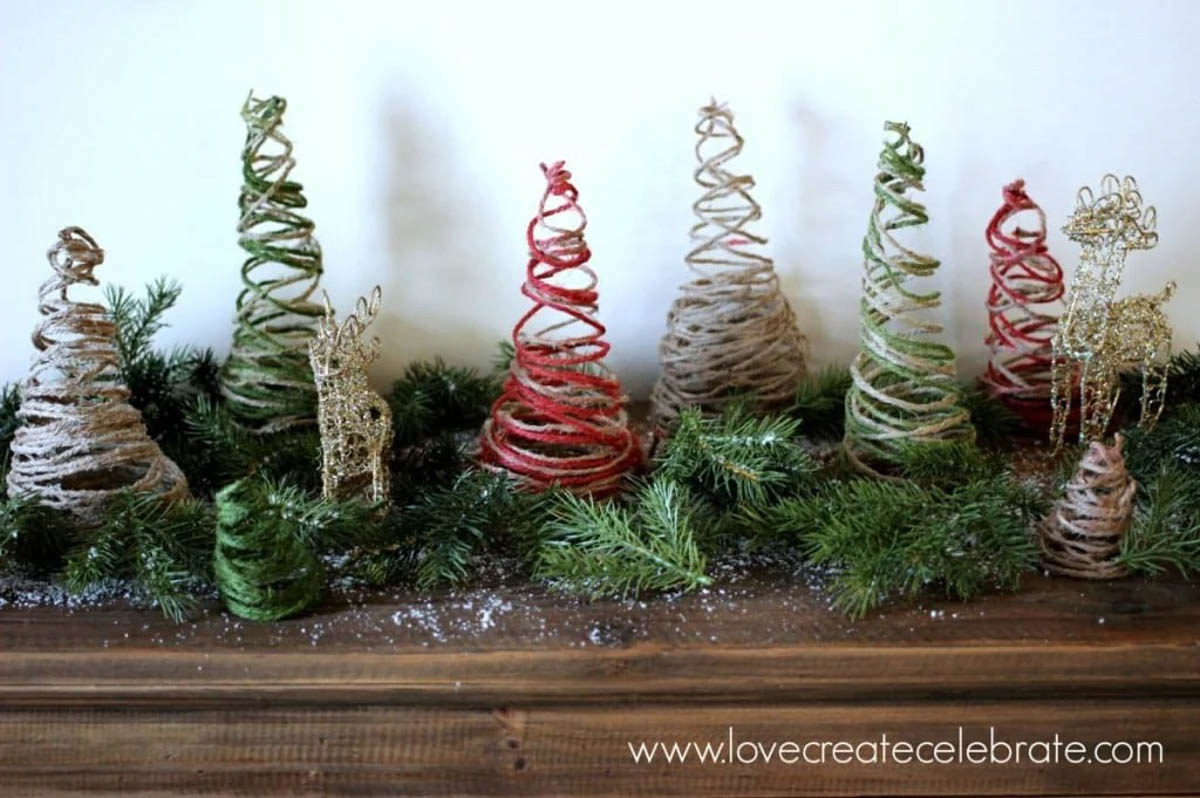
They are now on display as a little rustic forest in my living room, with a couple of glittery deer to add to the woodsy feel :) That seems very appropriate since we have deer wandering outside of our windows regularly these days! #northernlife
Let's get to how I made them!
*This post contains affiliate links. For more information please read my disclosure policy*
Materials Needed to Make String Christmas Trees:
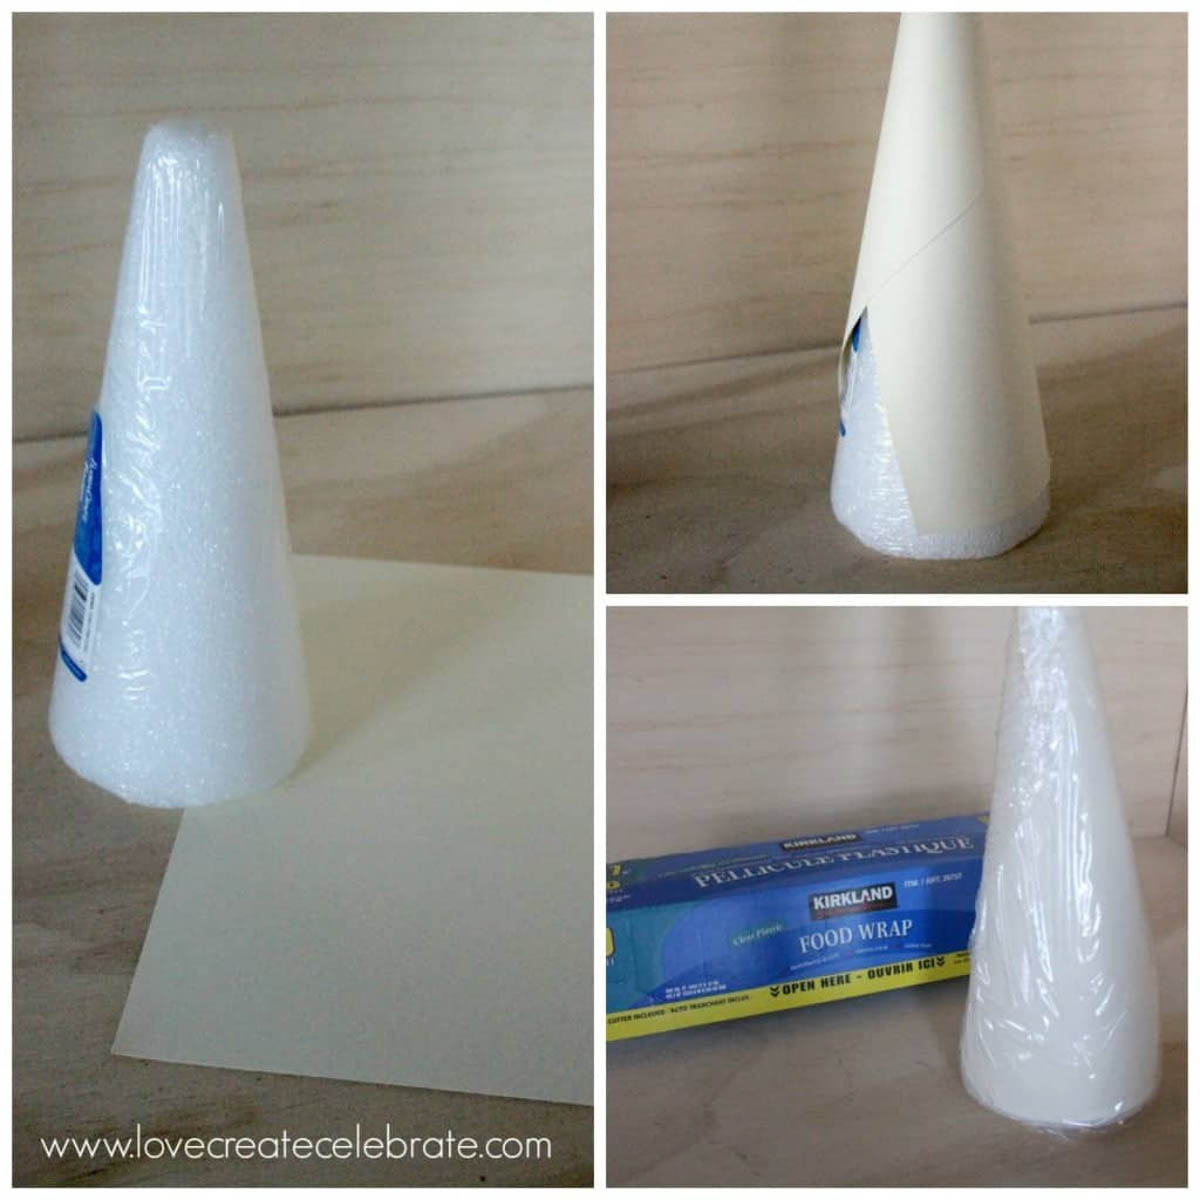
First, you grab your styrofoam tree and wrap it in cardstock so that you get a nice point at the top (sorry, apparently I didn't show the point in my pic!). Next, wrap the entire tree in plastic wrap.
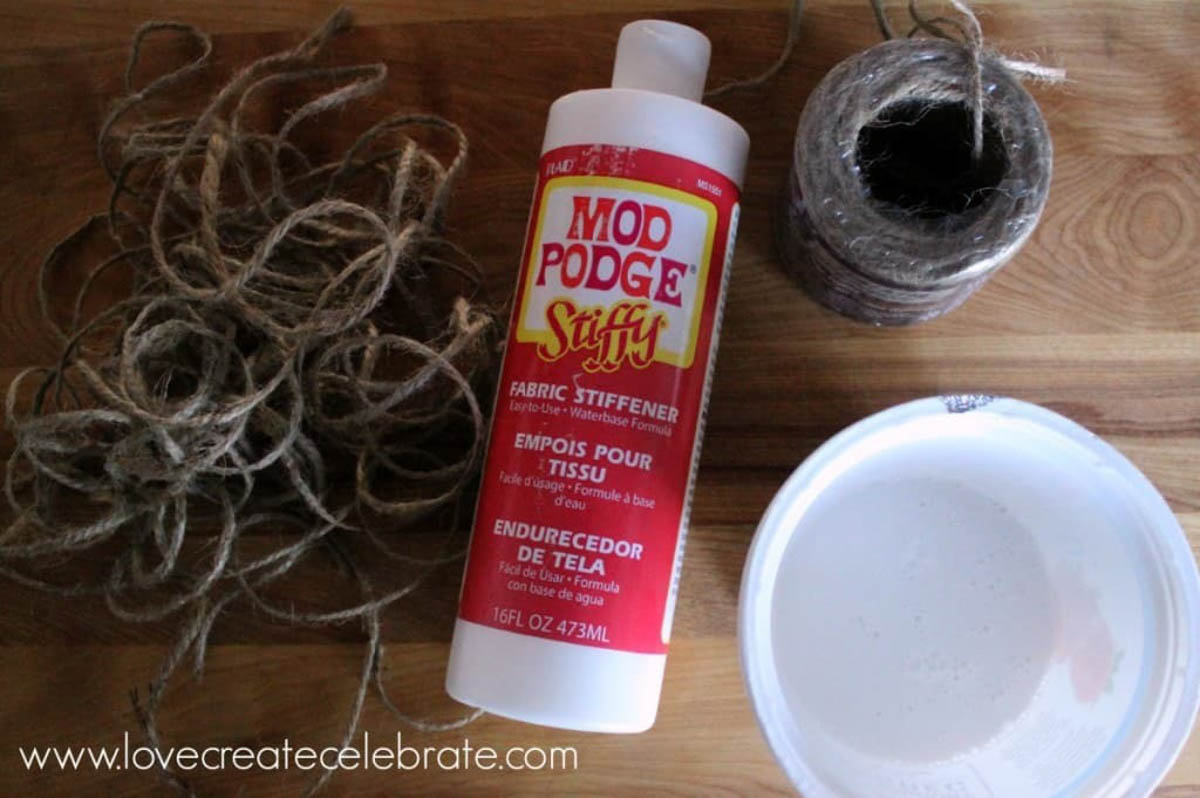
Next, you want to fill a bowl with your fabric stiffener and put pieces of cut up jute string into the stiffener. You want to make sure that the string is soaked and completely saturated with stiffener so that the trees will hold when dry. My jute string pieces were the length of my arms stretched out, from one hand to the other.
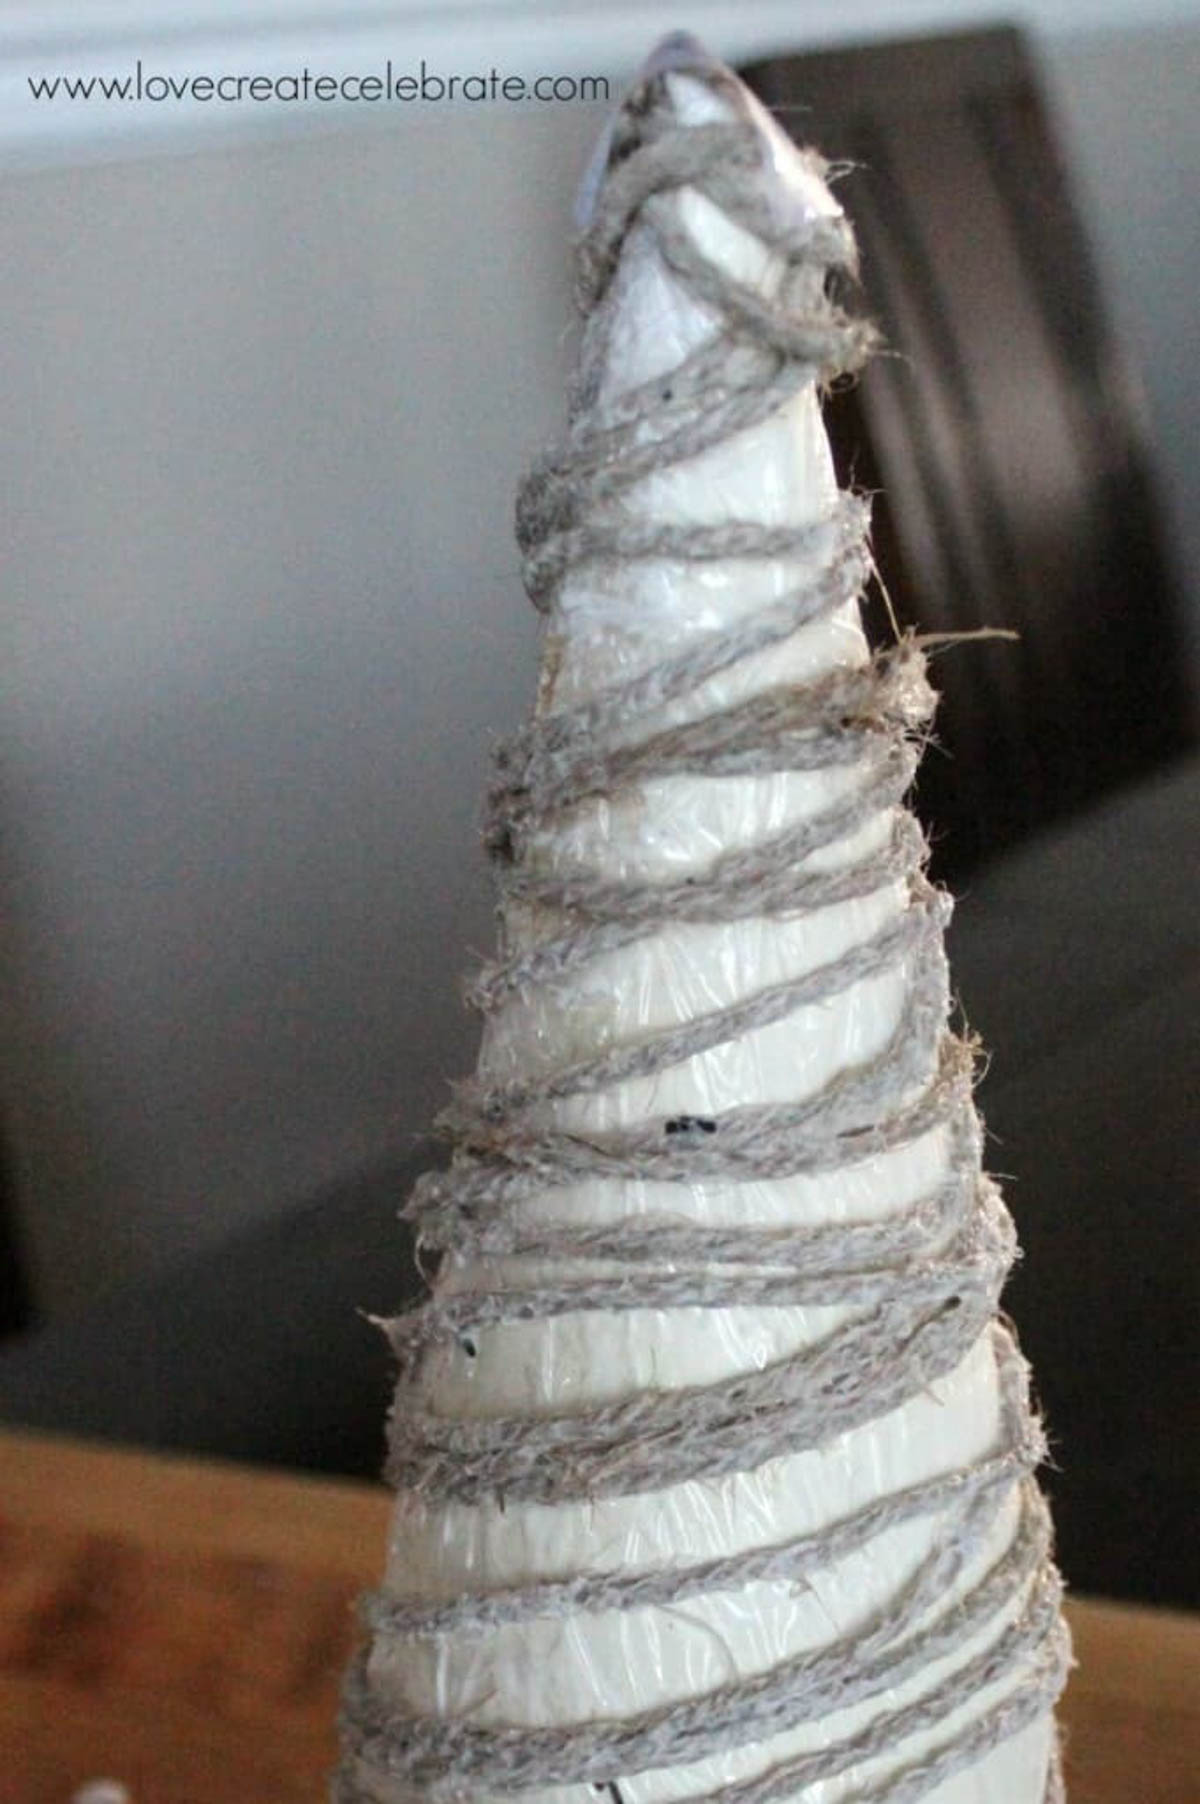
Then, wrap the soaked jute string around the tree in any pattern you like! I had to use tape occasionally at the top and bottom of the trees to hold the string in place while they dried.
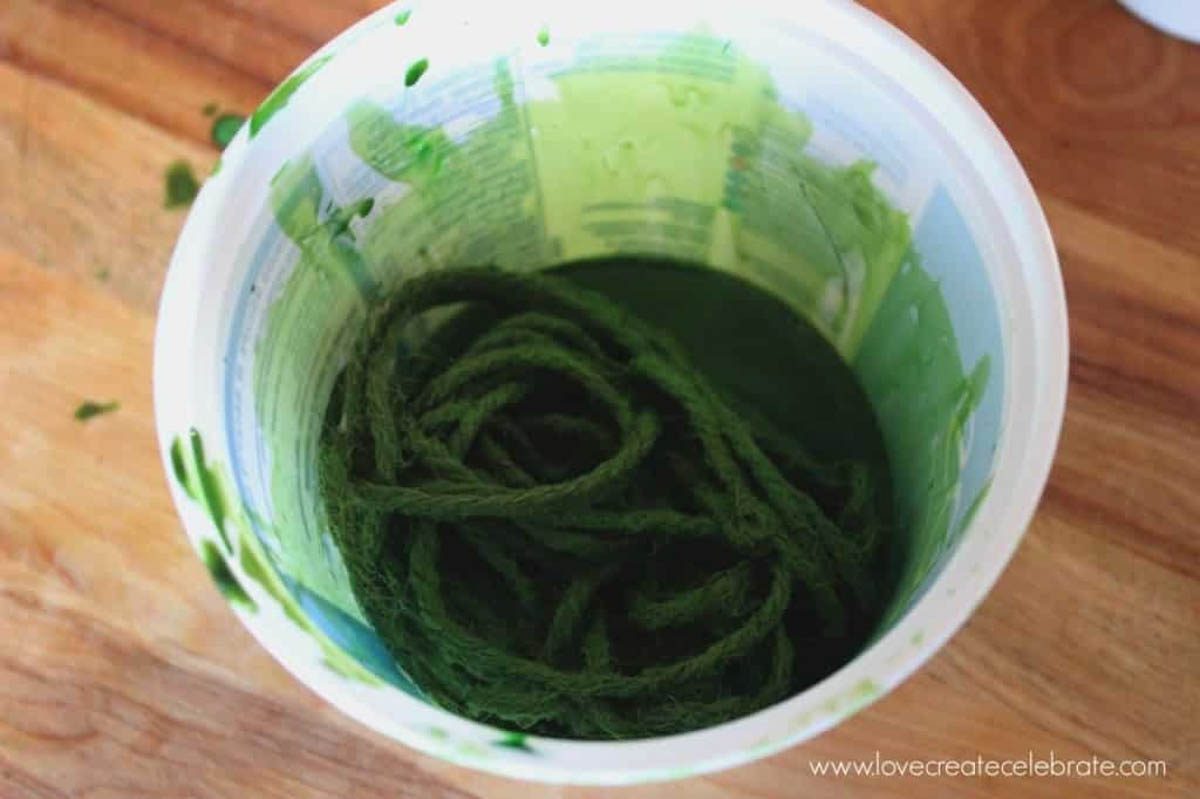
If you want to give the trees some colour, simply add food colouring to the liquid stiffener. You may want to play around and add different amounts of each colour until you get a shade you like. I experimented a bit before I settled on the nice green colour seen here.
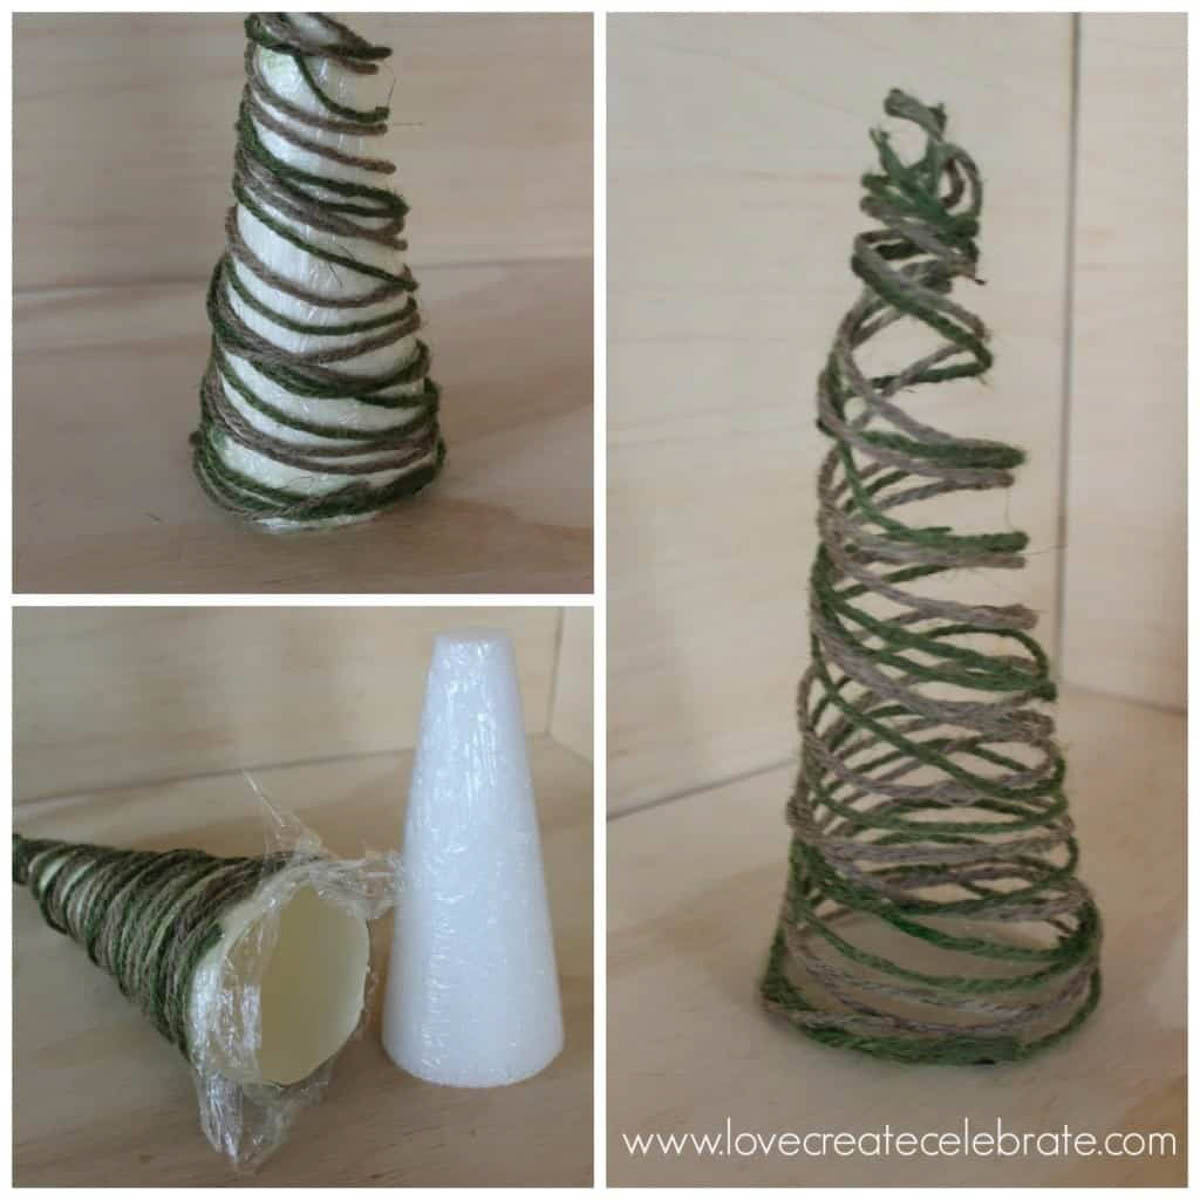
Let the trees dry overnight. After they have dried, carefully undo the plastic wrap, and remove the styrofoam tree. Then, gently tug on the plastic wrap and cardstock to remove them as well. Lastly, pick off any pieces of dried glue that are still stuck to the string. What is left is a nicely formed string Christmas tree.
The Final Product
The final product is a few adorable string trees that will fill your home with Christmas cheer!
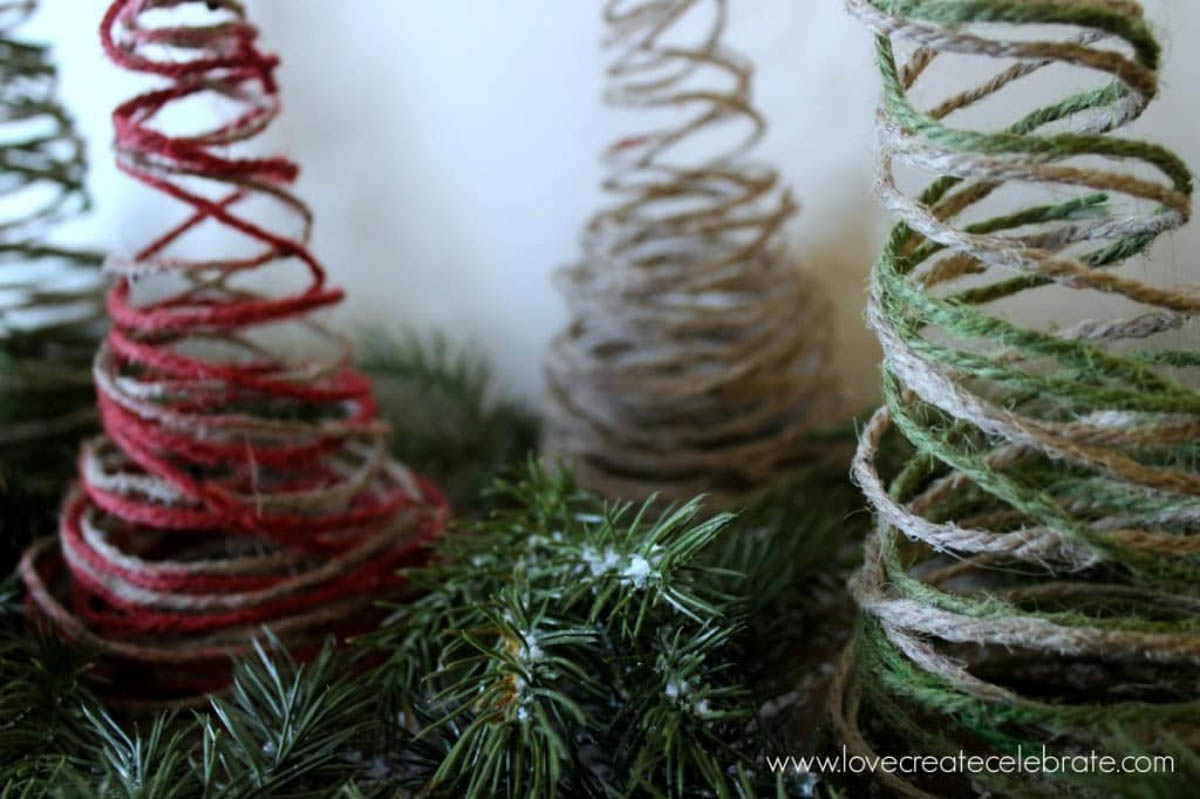
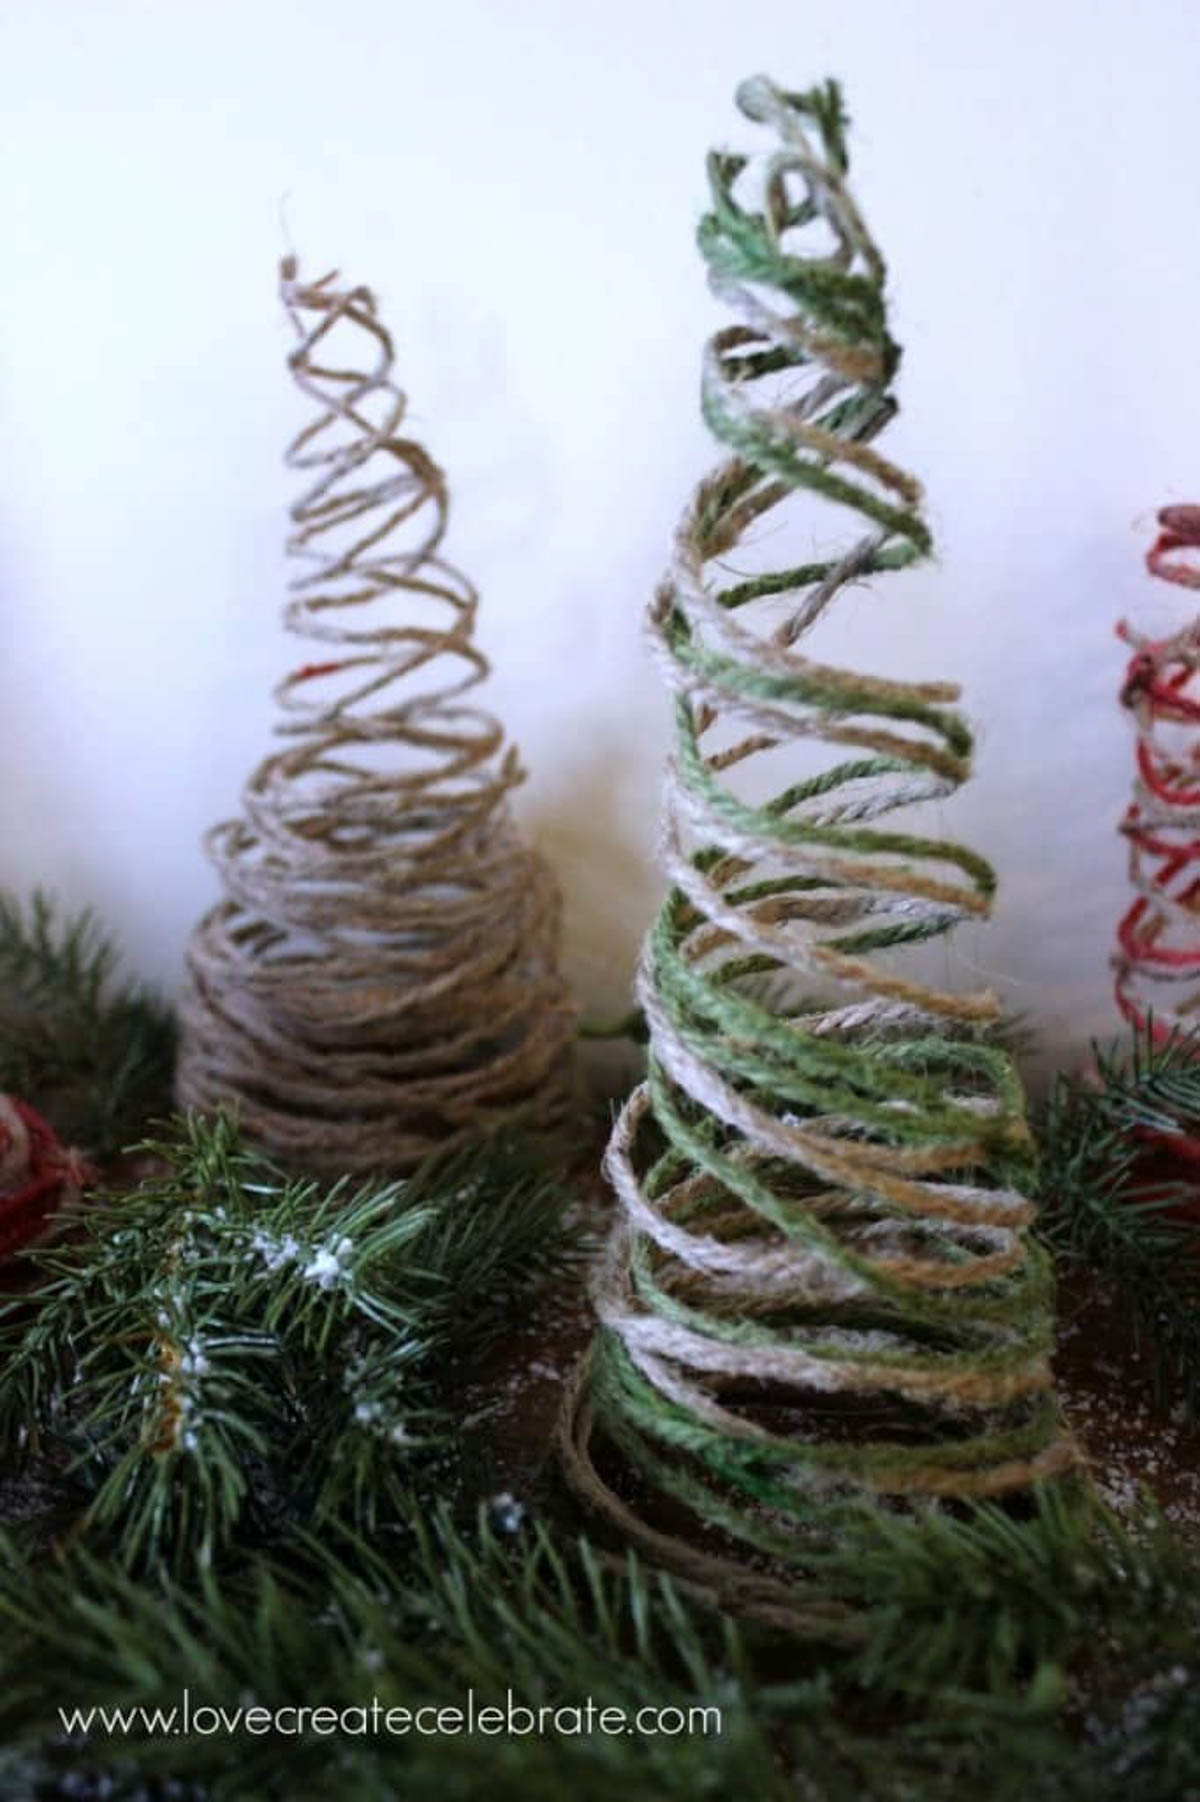
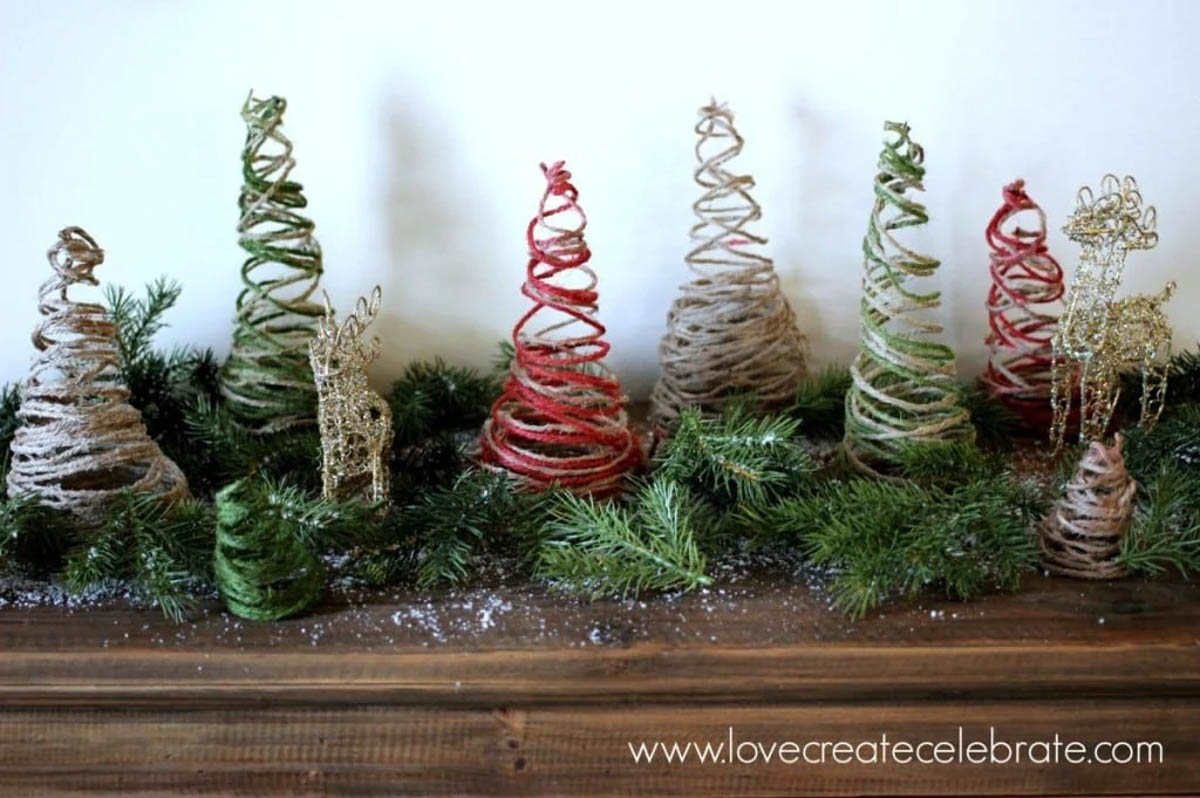
I think they look adorable, and I'm very pleased with how the colours came out. I Love when my dreams become reality :)
Let me know what you think of this project!!
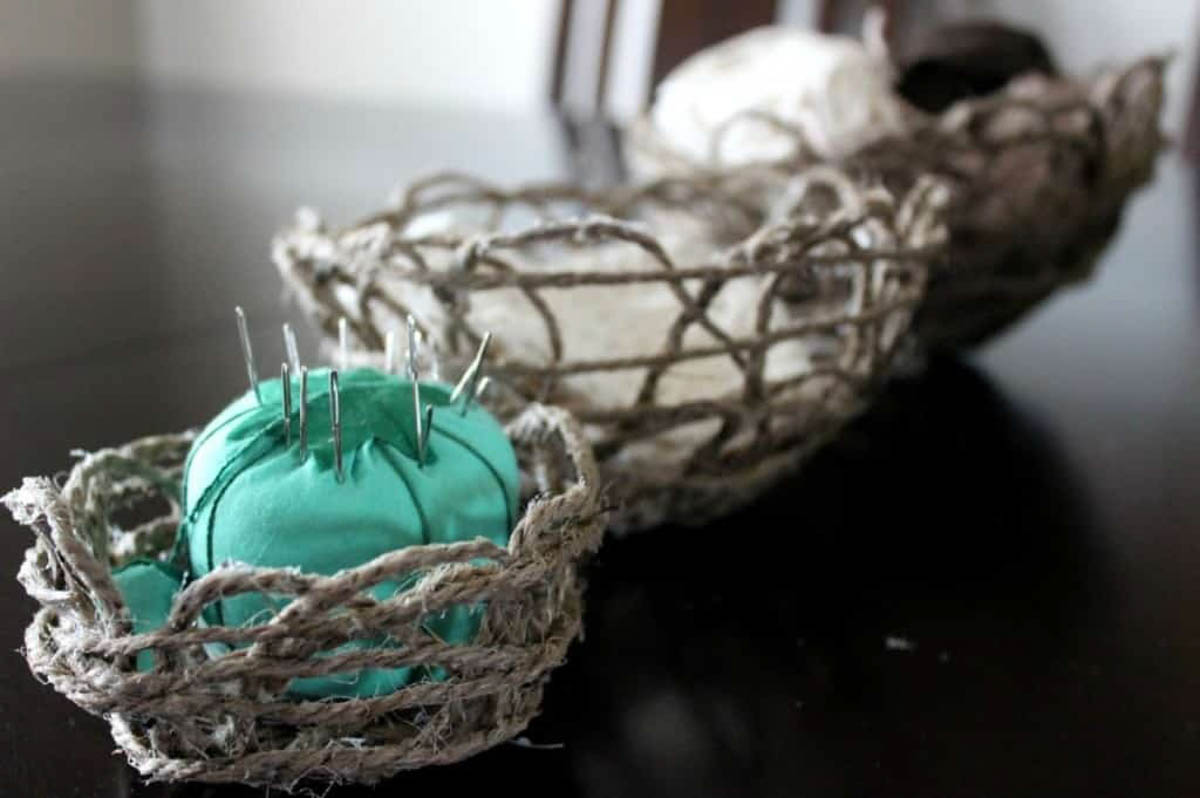
If you are looking for more string projects, check out these decorative bowls I made using a similar process :)



I'm not much of a crafty person, but I do love a creative touch to a home, especially during the holidays. If I do crafts, they must be easy, cute, and inexpensive. This is definitely all 3. Thanks so much for sharing this! Pinning it to my Christmas board.
Thanks for sharing Heather! I also loved that this was easy and inexpensive :) I hope you get a chance to make some!
Fun! Dun! Fun! I love these! Thanks so much for sharing them at Found & Foraged! Hope to see you again this week...oh, but before I forget. Party will start on Friday (this week only) at 8PM CT...InLinkz is doing some server maintenance right when our party is normally scheduled. Blerg! Anyhoo, hope to see you at http://houseofhipsters.com/
Thank you so much Kyla :)
Lindi your string trees are so cute and fun - I just love them! I've pinned them onto our DIY Sunday Showcase Talent Board.
http://www.pinterest.com/pinkwhen/diy-sunday-showcase-talent/
Thank you for sharing! xo
These are so cute! My son and I just bought a big roll of string that we are going to use in another Christmas craft. There will be lots left over to do this one too! I love the rustic ness of them! My taste absolutely! Thanks! Found you through the Ultimate Pinterest Party and have pinned these and am now following your house adventures!
Thanks Sue!! So nice to "meet" you!! Glad you liked the Christmas trees :)