
String Christmas Trees
Learn how to make adorable string Christmas trees in just a few steps. This holiday décor is sure to add cheer to any home.

Is anyone else SUPER excited that there is less than a month until Christmas?? I know I am! I LOVE the Christmas season! Which is why it may be surprising that it took this long for me to post a Christmas project... lol. Not to worry though, there are plenty DIY projects where this one came from! I have been dreaming up these string Christmas trees since last year, and I'm so glad to finally be sharing them on the blog!
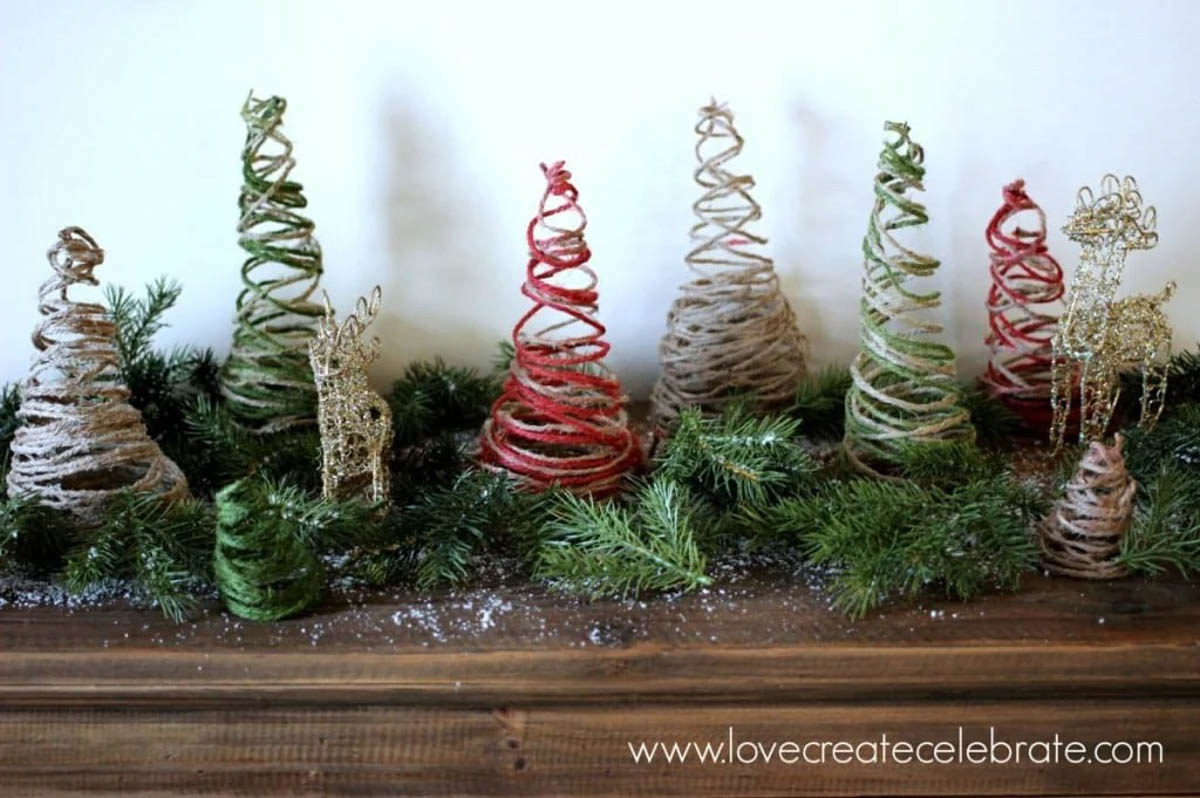
They are now on display as a little rustic forest in my living room, with a couple of glittery deer to add to the woodsy feel :) That seems very appropriate since we have deer wandering outside of our windows regularly these days! #northernlife
Let's get to how I made them!
*This post contains affiliate links. For more information please read my disclosure policy*
Materials Needed to Make String Christmas Trees:
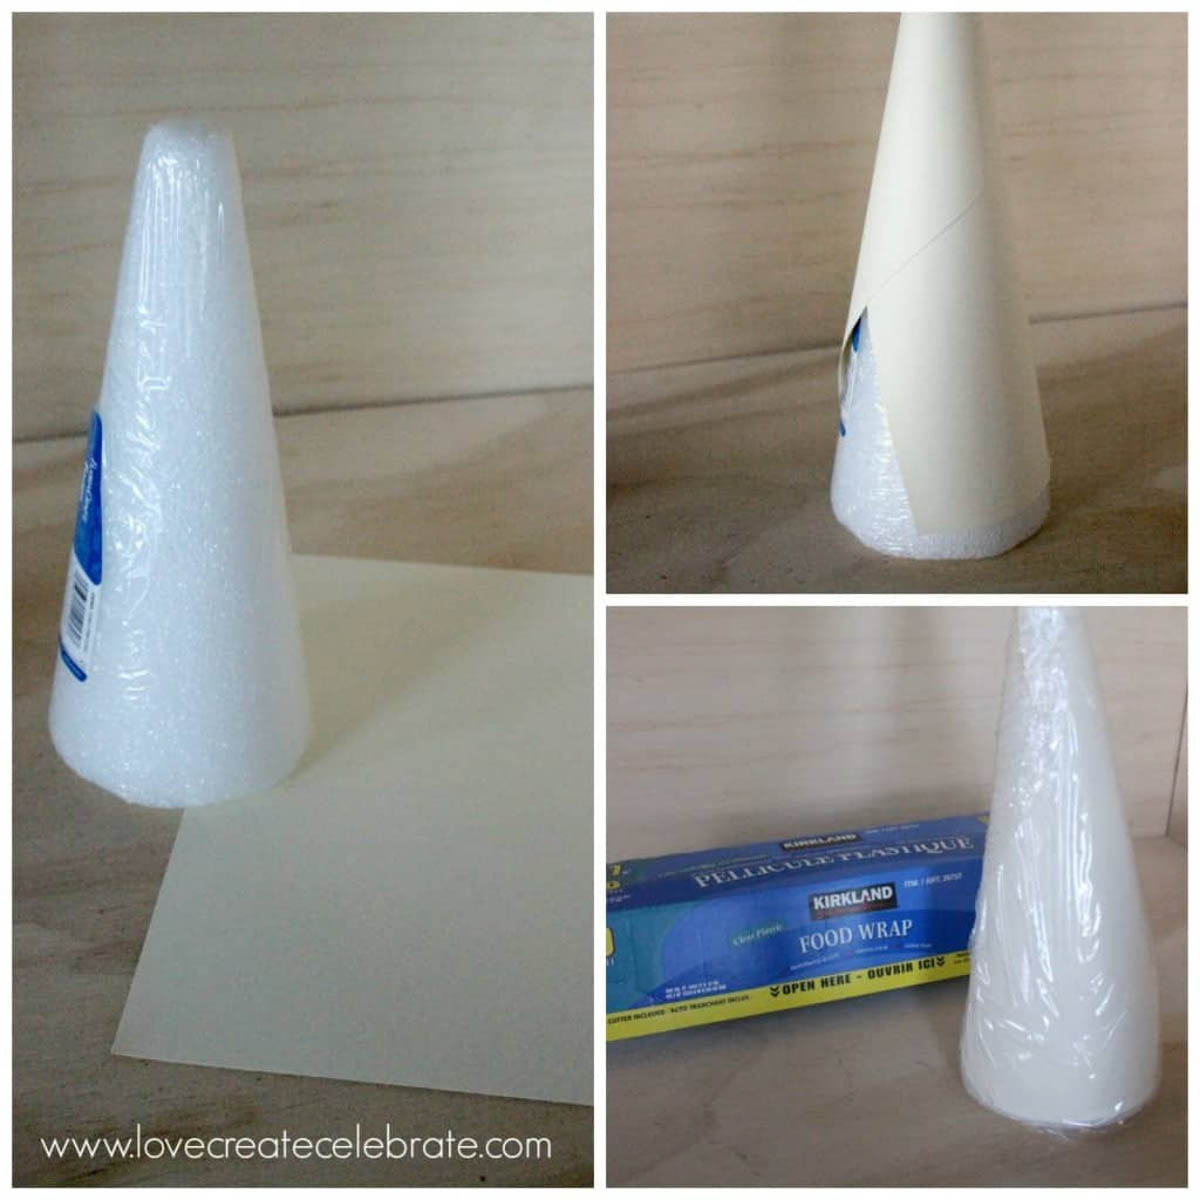
First, you grab your styrofoam tree and wrap it in cardstock so that you get a nice point at the top (sorry, apparently I didn't show the point in my pic!). Next, wrap the entire tree in plastic wrap.
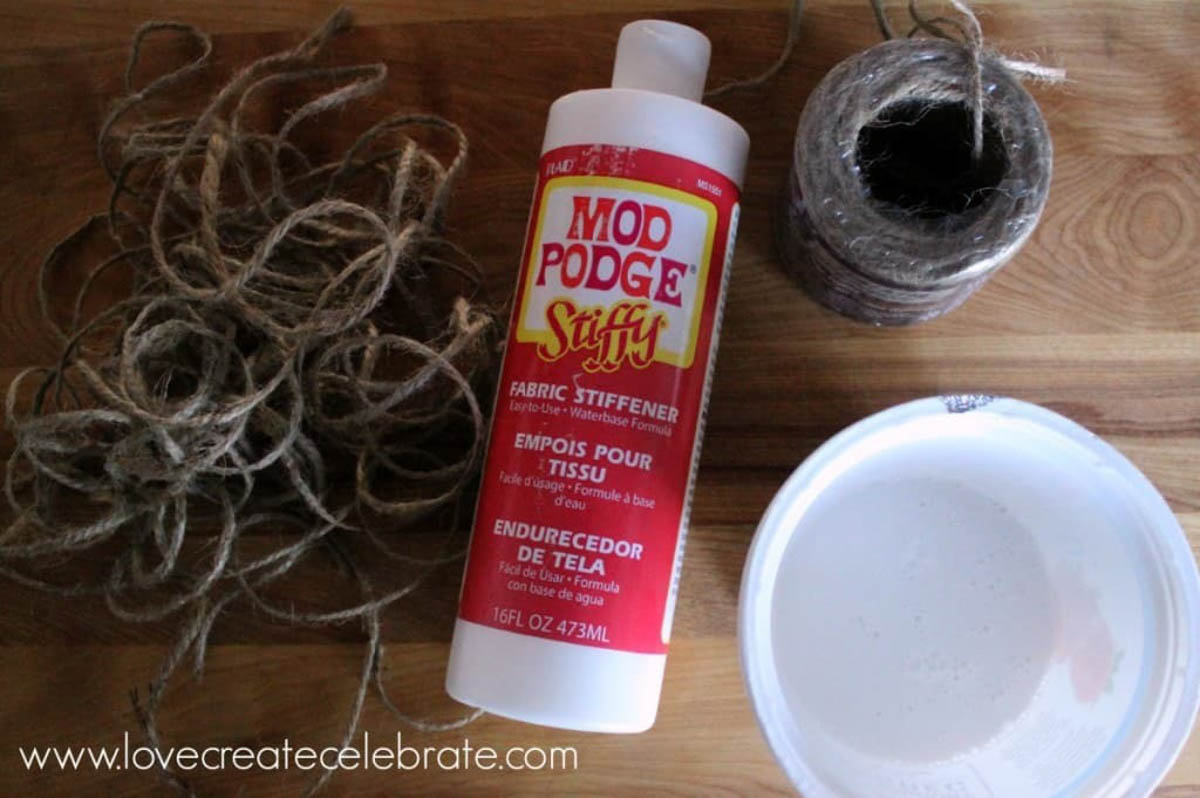
Next, you want to fill a bowl with your fabric stiffener and put pieces of cut up jute string into the stiffener. You want to make sure that the string is soaked and completely saturated with stiffener so that the trees will hold when dry. My jute string pieces were the length of my arms stretched out, from one hand to the other.
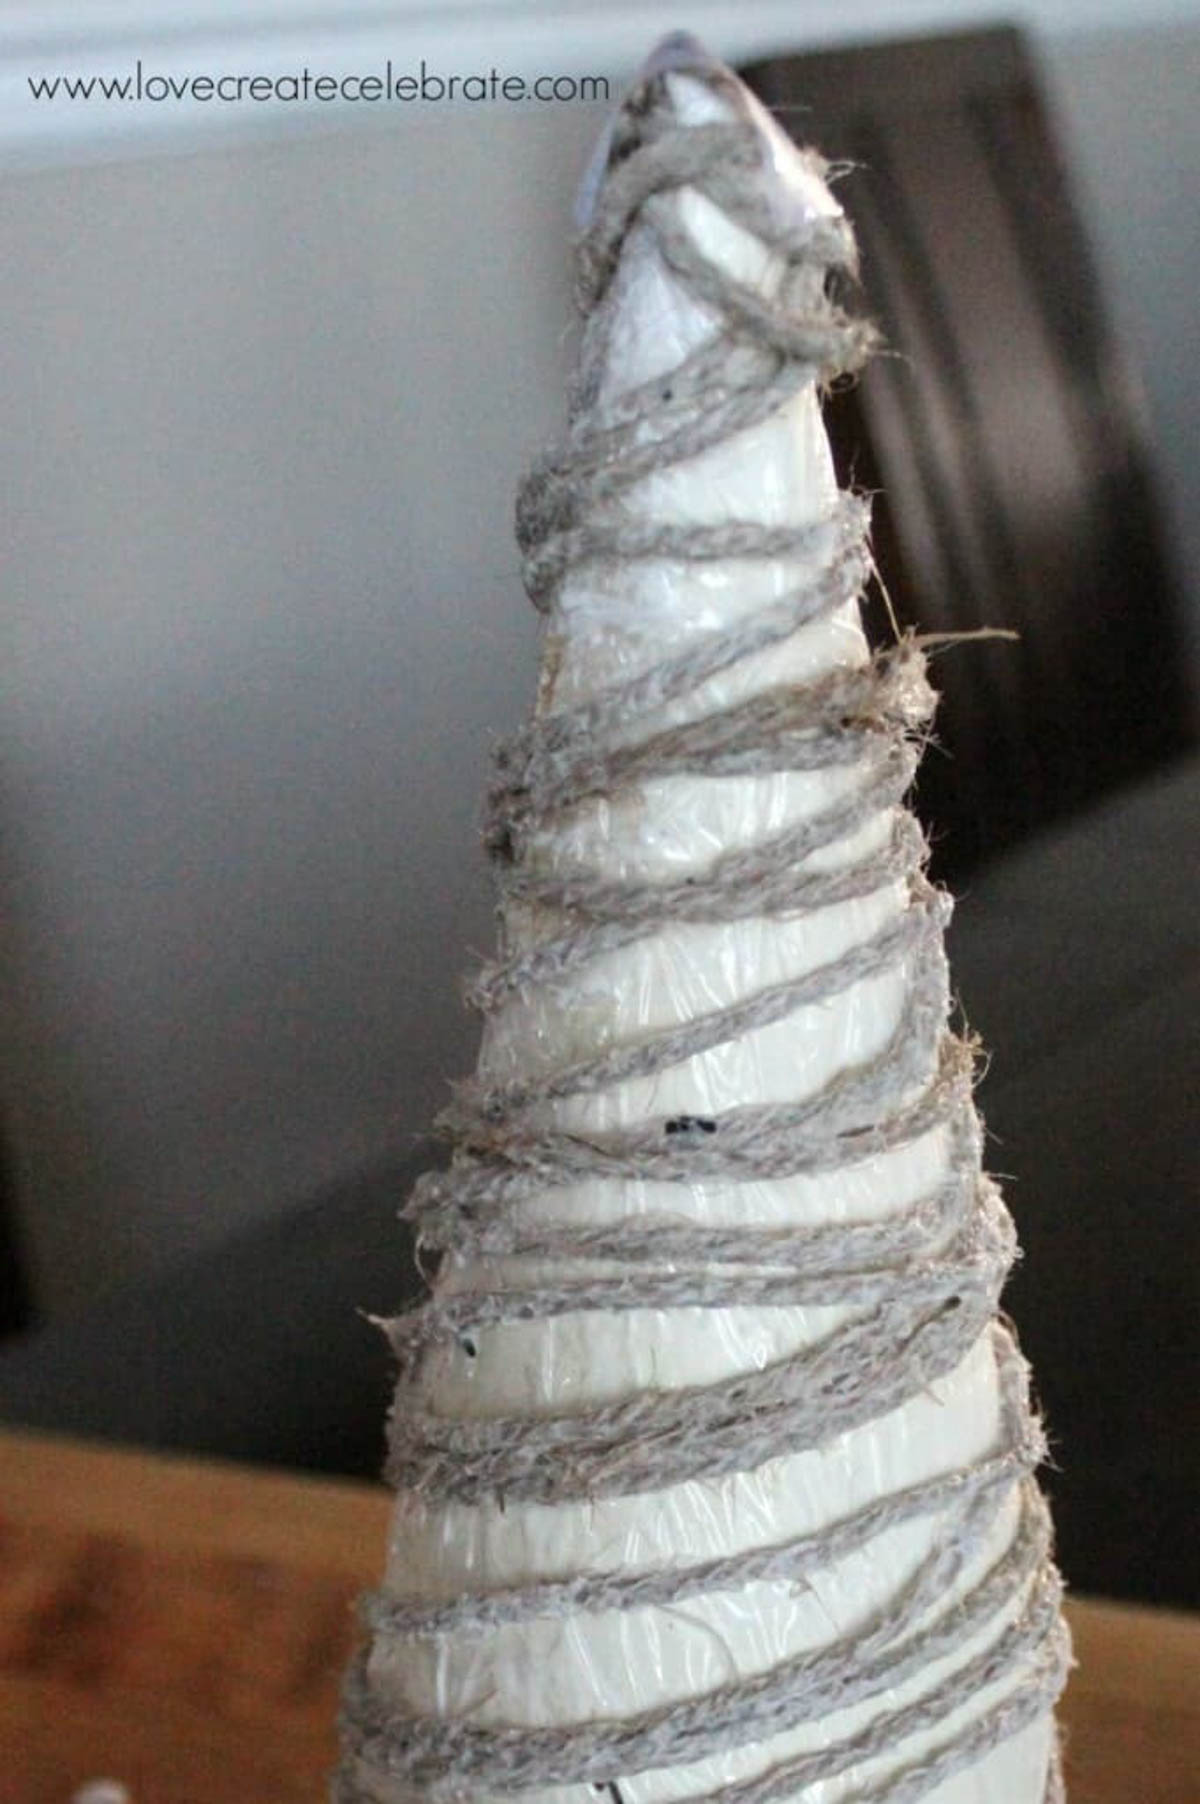
Then, wrap the soaked jute string around the tree in any pattern you like! I had to use tape occasionally at the top and bottom of the trees to hold the string in place while they dried.
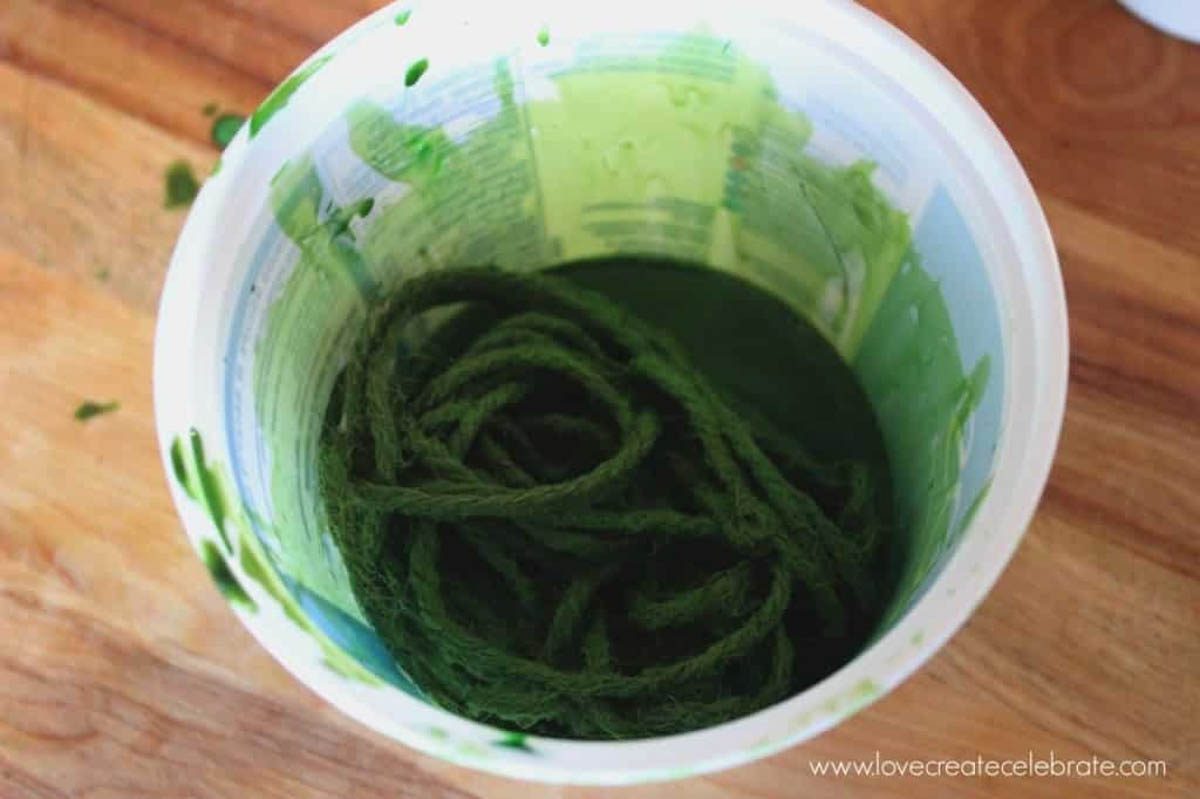
If you want to give the trees some colour, simply add food colouring to the liquid stiffener. You may want to play around and add different amounts of each colour until you get a shade you like. I experimented a bit before I settled on the nice green colour seen here.
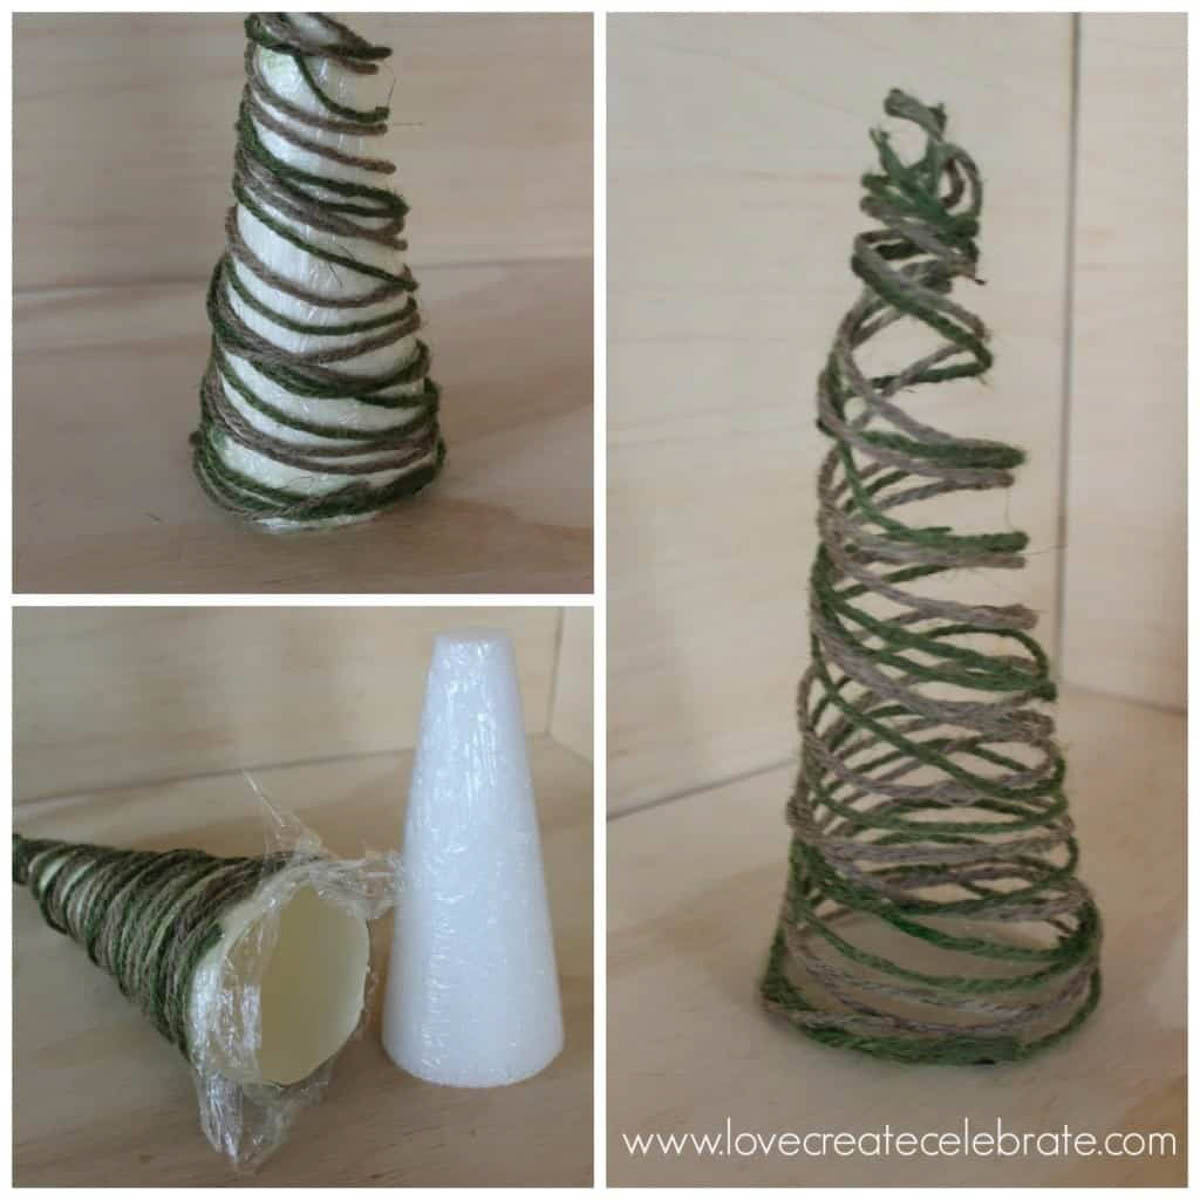
Let the trees dry overnight. After they have dried, carefully undo the plastic wrap, and remove the styrofoam tree. Then, gently tug on the plastic wrap and cardstock to remove them as well. Lastly, pick off any pieces of dried glue that are still stuck to the string. What is left is a nicely formed string Christmas tree.
The Final Product
The final product is a few adorable string trees that will fill your home with Christmas cheer!
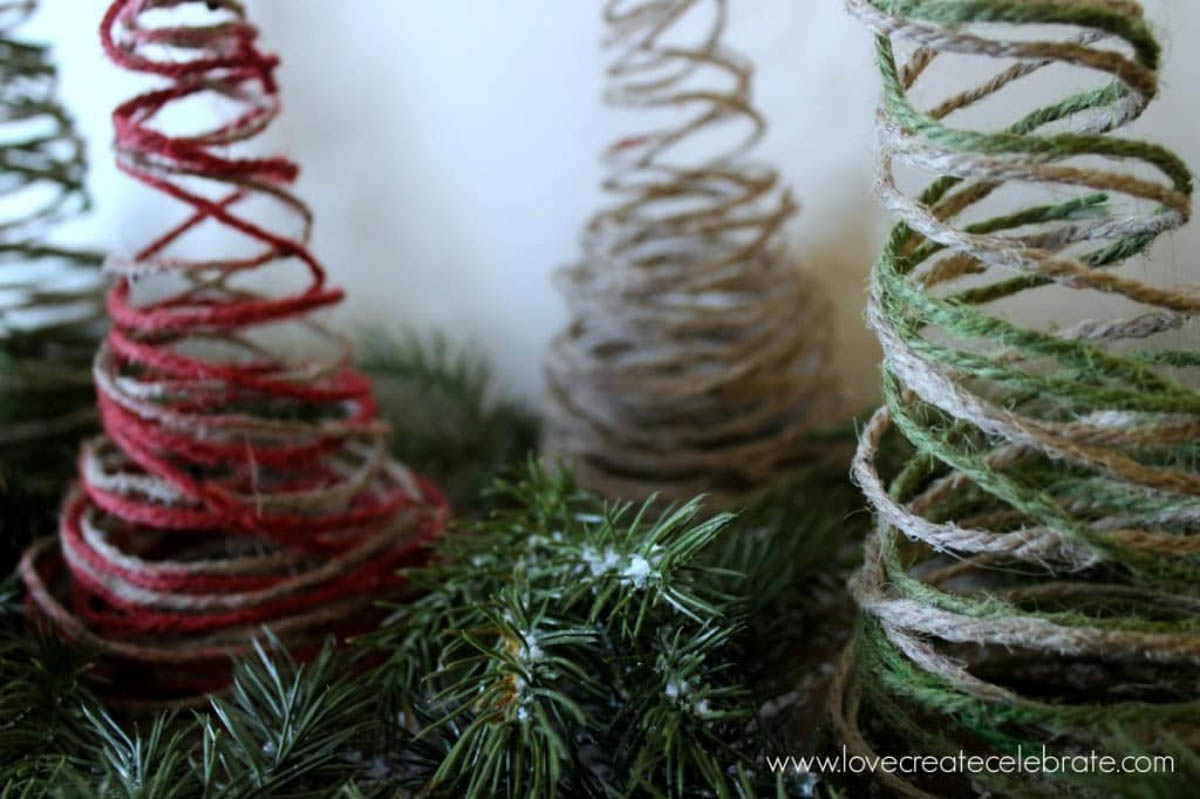
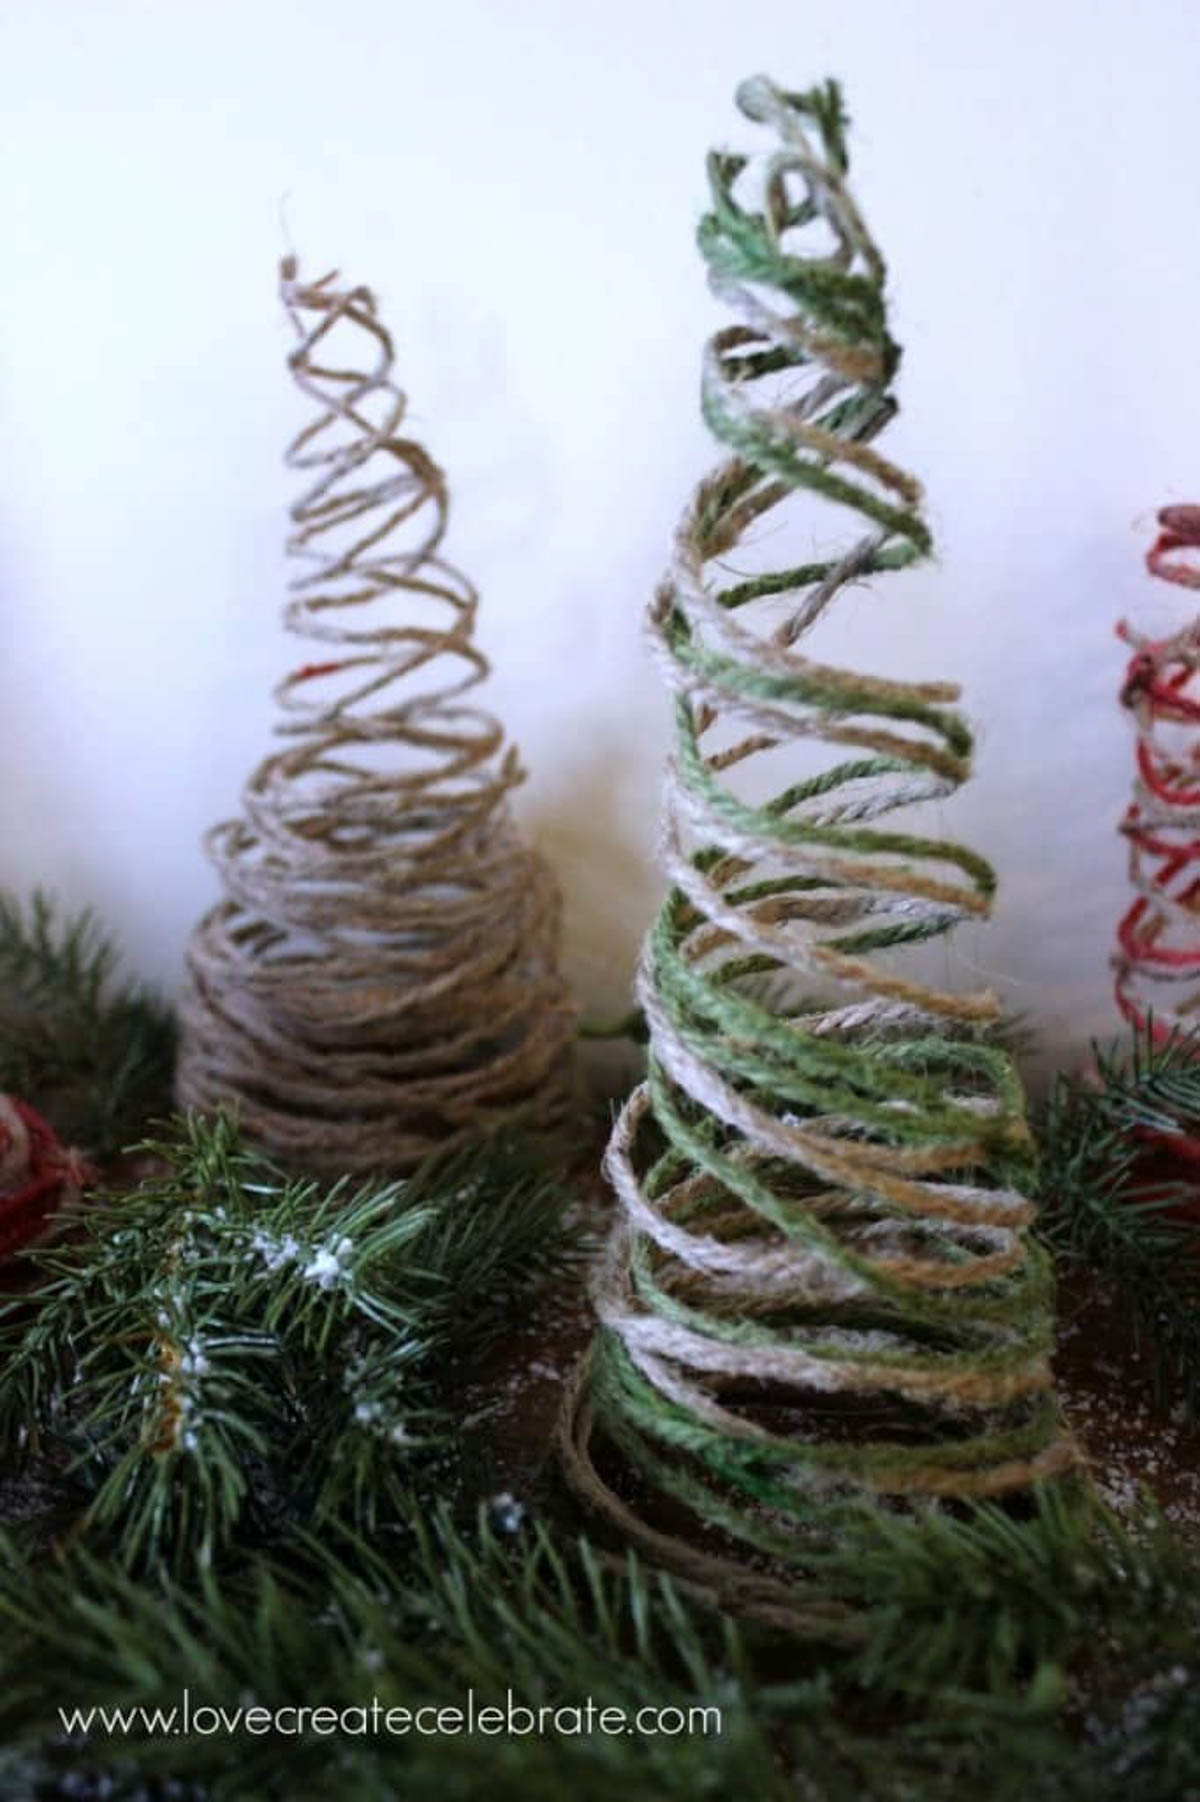
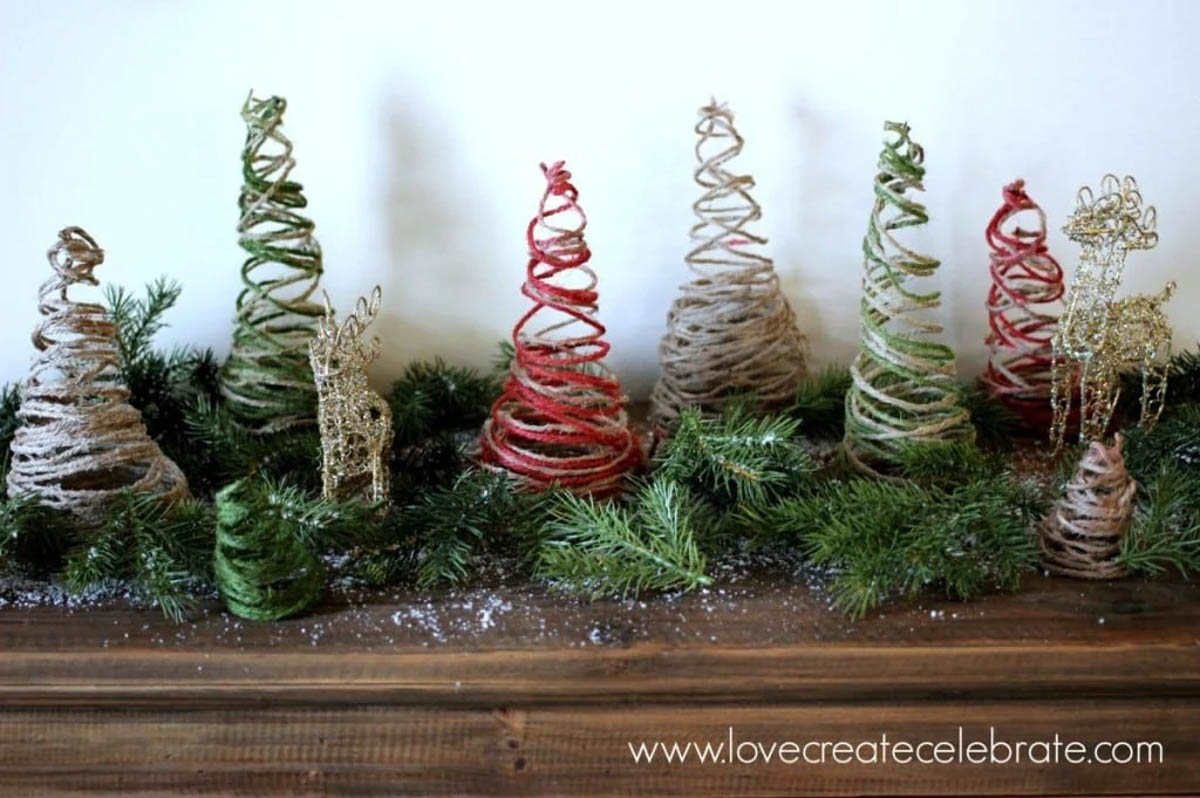
I think they look adorable, and I'm very pleased with how the colours came out. I Love when my dreams become reality :)
Let me know what you think of this project!!
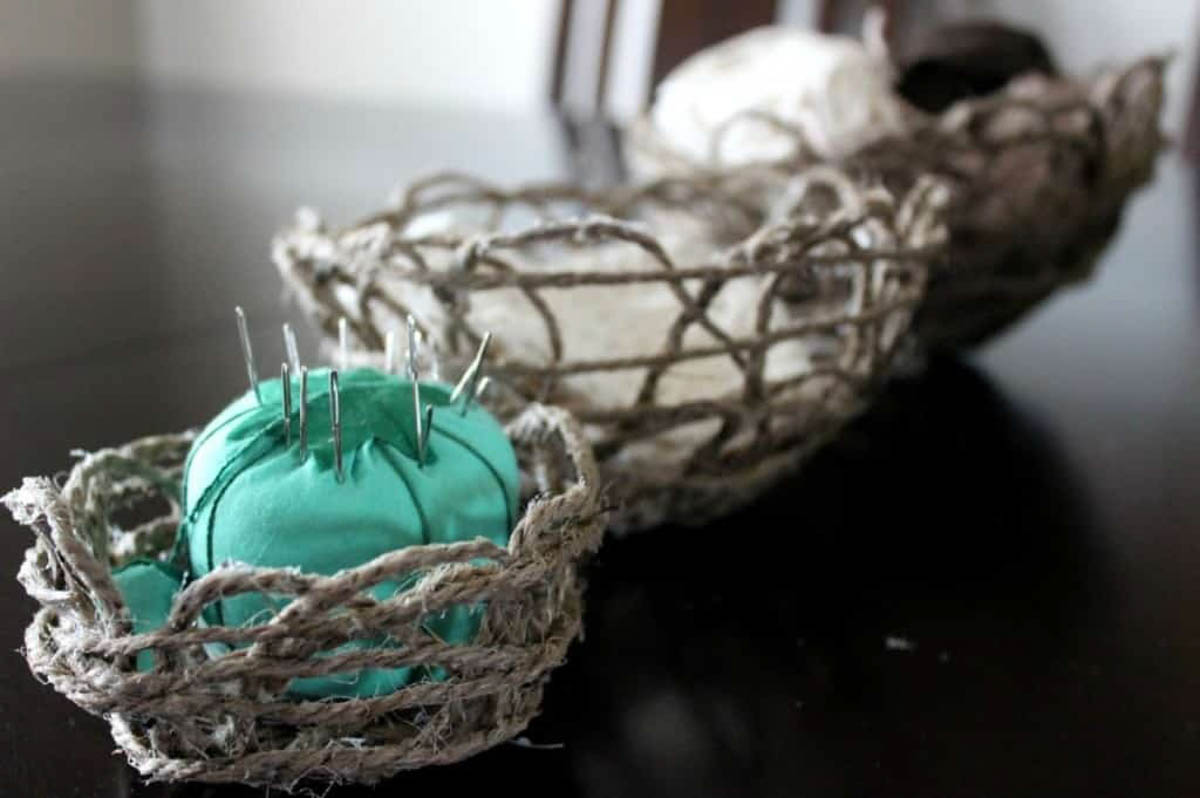
If you are looking for more string projects, check out these decorative bowls I made using a similar process :)



These are fun, I like the way you got the colours by dipping the string and the swirl you created.
Thanks Julie!! I love the colour combination too! Thanks for stopping by :)
These are so cute! I love your tip to color the string with food coloring. They look so pretty grouped together!
Thanks Amy!! I had tomplay around with the colours a bit, but I'm thrilled with how they turned out!
What a unique idea! So pretty. I never would have thought of that, but I have one of those cones in my craft room, so I think I'm going to whip some up! Thanks for the inspiration!
Oh I'm so glad!! Enjoy your project and let me know how it turns out!
What a fun project, and I love the collection of them displayed together! The baskets are great too! Thanks so much for sharing at Best of the Nest!
Thanks Pam! They were super fun to make!
Those are so adorable! What a great idea. And I love that they are easy enough that you can make a whole bunch!
Thanks!! Definitely easiest to make a whole bunch of them at once! Especially if you dye the string because you'll never get that colour the same again! Lol.
What a cute idea! I'm thinking of making some but sprinkling them with gold and silver glitter since our theme this year is gold/silver/red.
That's a great idea! I'm sure it would turn out amazing! Thanks for sharing the idea!
So cute and creative! I would love if you would share these at my blog party, Celebrate It! It is all about celebrating our wonderful, everyday life. http://thefreshmancook.blogspot.com/2014/11/celebrate-it-blog-party-19.html
Awesome!! I will try to come by there :) thanks for stopping by!
These are really pretty! What a great idea - you could make these in so many different colours!
Thanks Jo-Anna! I know... I'm dreaming of white and blue for another tears Christmas!
I love this. I was wanting to do something similar with some wire but had never seen it done. I love how you did this with the string. You make it look easy.
Thank you so much! Using wire is a GREAT idea too!! So many more possibilities there!
The string trees look great! I like how they are displayed together as a forest. Thanks for the new idea!
You're welcome!! Glad you found some inspiration here :)
They are beautiful! Such a gorgeous forest!
Thank you so much! I think the deer really add something to the forest :)
These are so cute! What a great idea to dye the twine, too! Love how they all look together!!
Thanks Amanda! Yes, I thought a forest of just brown trees would look a little dull, so I decided to add in some colour :)
These are so cute and fun for the holidays. Awesome job!
Thanks Christie! Hopefully some others will find inspiration from them :)
Love this! I really love your Mary Kate Theme!!! :-) Thanks for sharing! Also, wanted to let you know I have a link party on Wednesday, hope to see you there! Can't wait to party with you at https://homeschoolapalooza.wordpress.com :-)
Thanks :) Hope I can check out some of your work soon!
These are so neat! What perfect little decorations for Christmas!
Thank you!! They make a cute little forest in my living room!
Thanks for linking up to the Bloggers Brags Pinterest Party! I’ve pinned your post to the Bloggers Brags Pinterest Board.
Thanks Christie :)