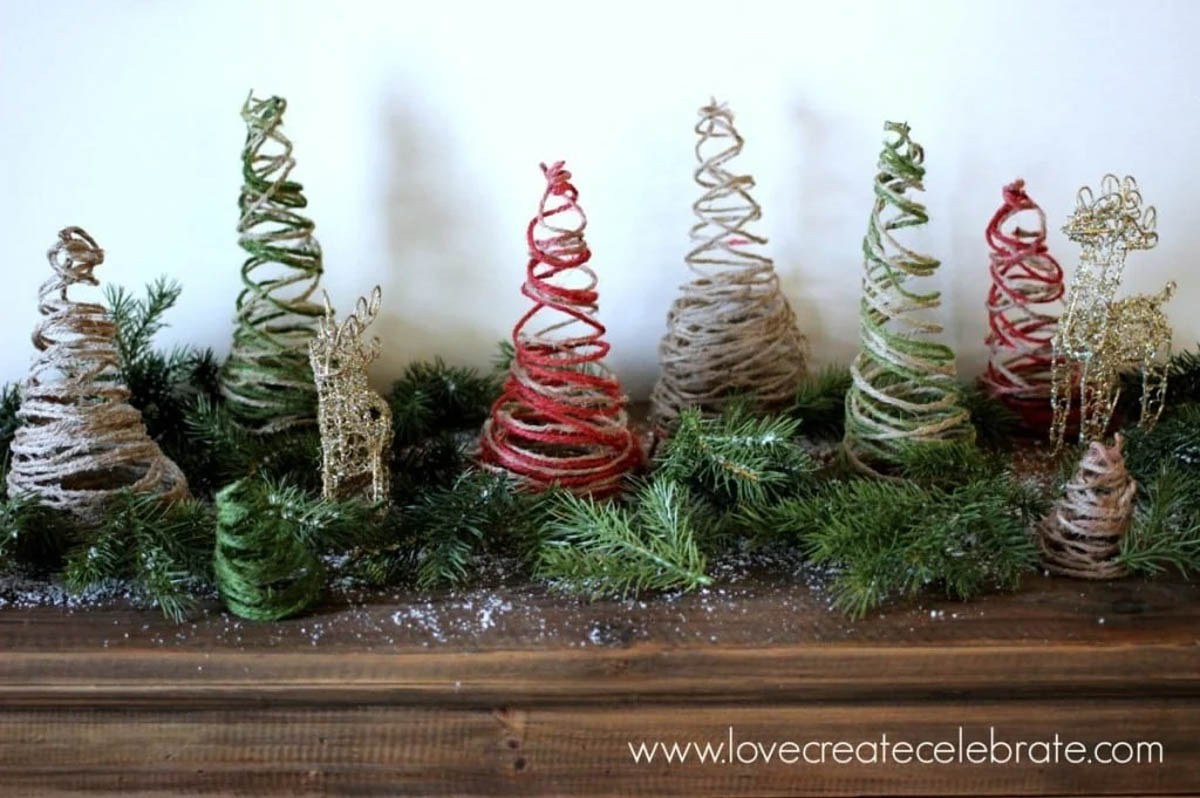
Learn how to make adorable string Christmas trees in just a few steps. This holiday décor is sure to add cheer to any home.

Is anyone else SUPER excited that there is less than a month until Christmas?? I know I am! I LOVE the Christmas season! Which is why it may be surprising that it took this long for me to post a Christmas project… lol. Not to worry though, there are plenty DIY projects where this one came from! I have been dreaming up these string Christmas trees since last year, and I’m so glad to finally be sharing them on the blog!
They are now on display as a little rustic forest in my living room, with a couple of glittery deer to add to the woodsy feel :) That seems very appropriate since we have deer wandering outside of our windows regularly these days! #northernlife
Let’s get to how I made them!
*This post contains affiliate links. For more information please read my disclosure policy*
Materials Needed to Make String Christmas Trees:
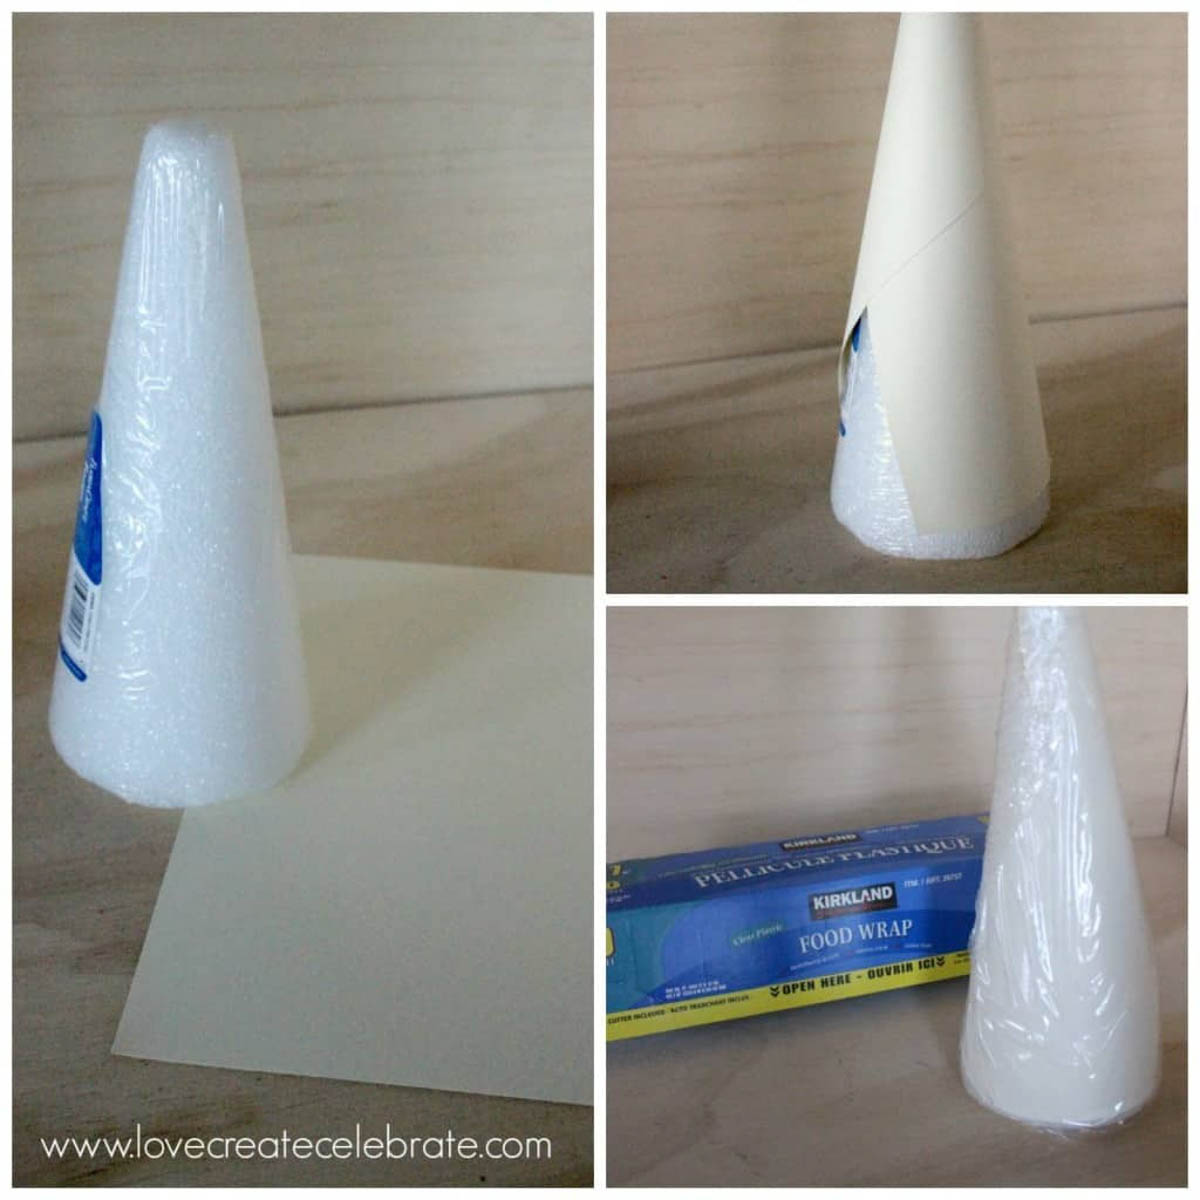
First, you grab your styrofoam tree and wrap it in cardstock so that you get a nice point at the top (sorry, apparently I didn’t show the point in my pic!). Next, wrap the entire tree in plastic wrap.
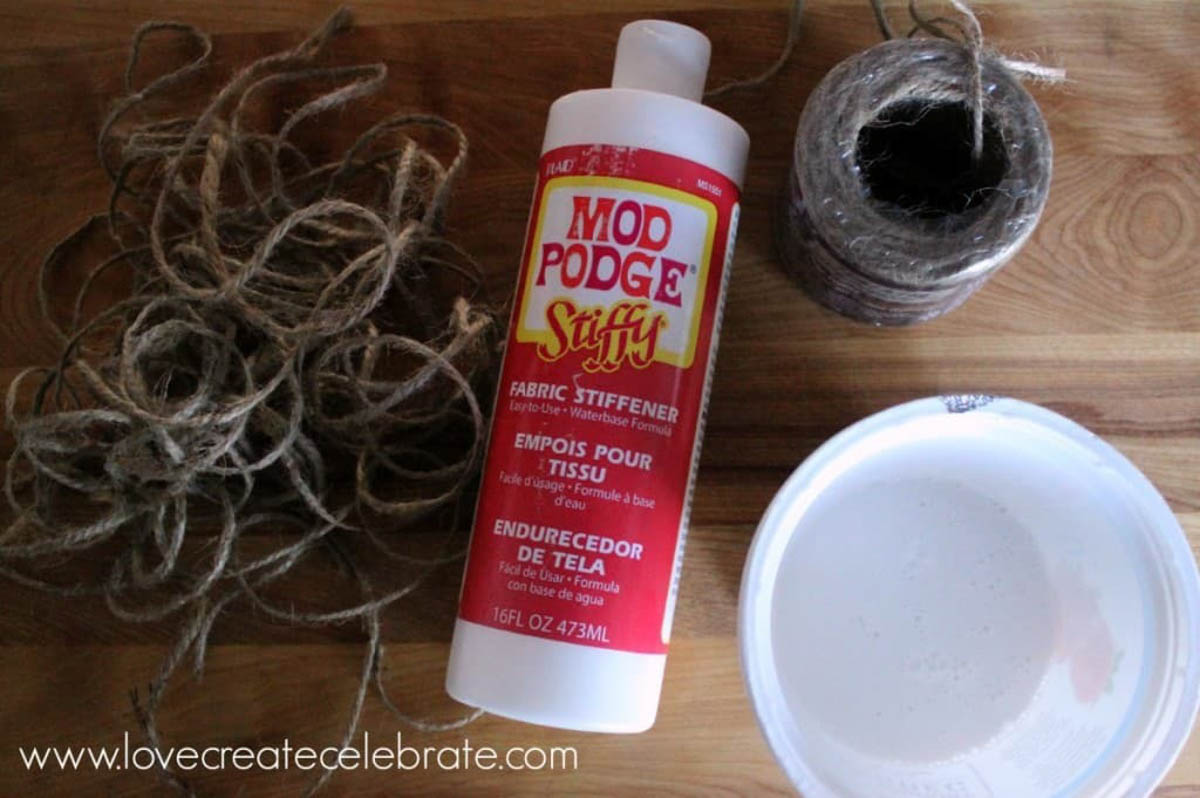
Next, you want to fill a bowl with your fabric stiffener and put pieces of cut up jute string into the stiffener. You want to make sure that the string is soaked and completely saturated with stiffener so that the trees will hold when dry. My jute string pieces were the length of my arms stretched out, from one hand to the other.
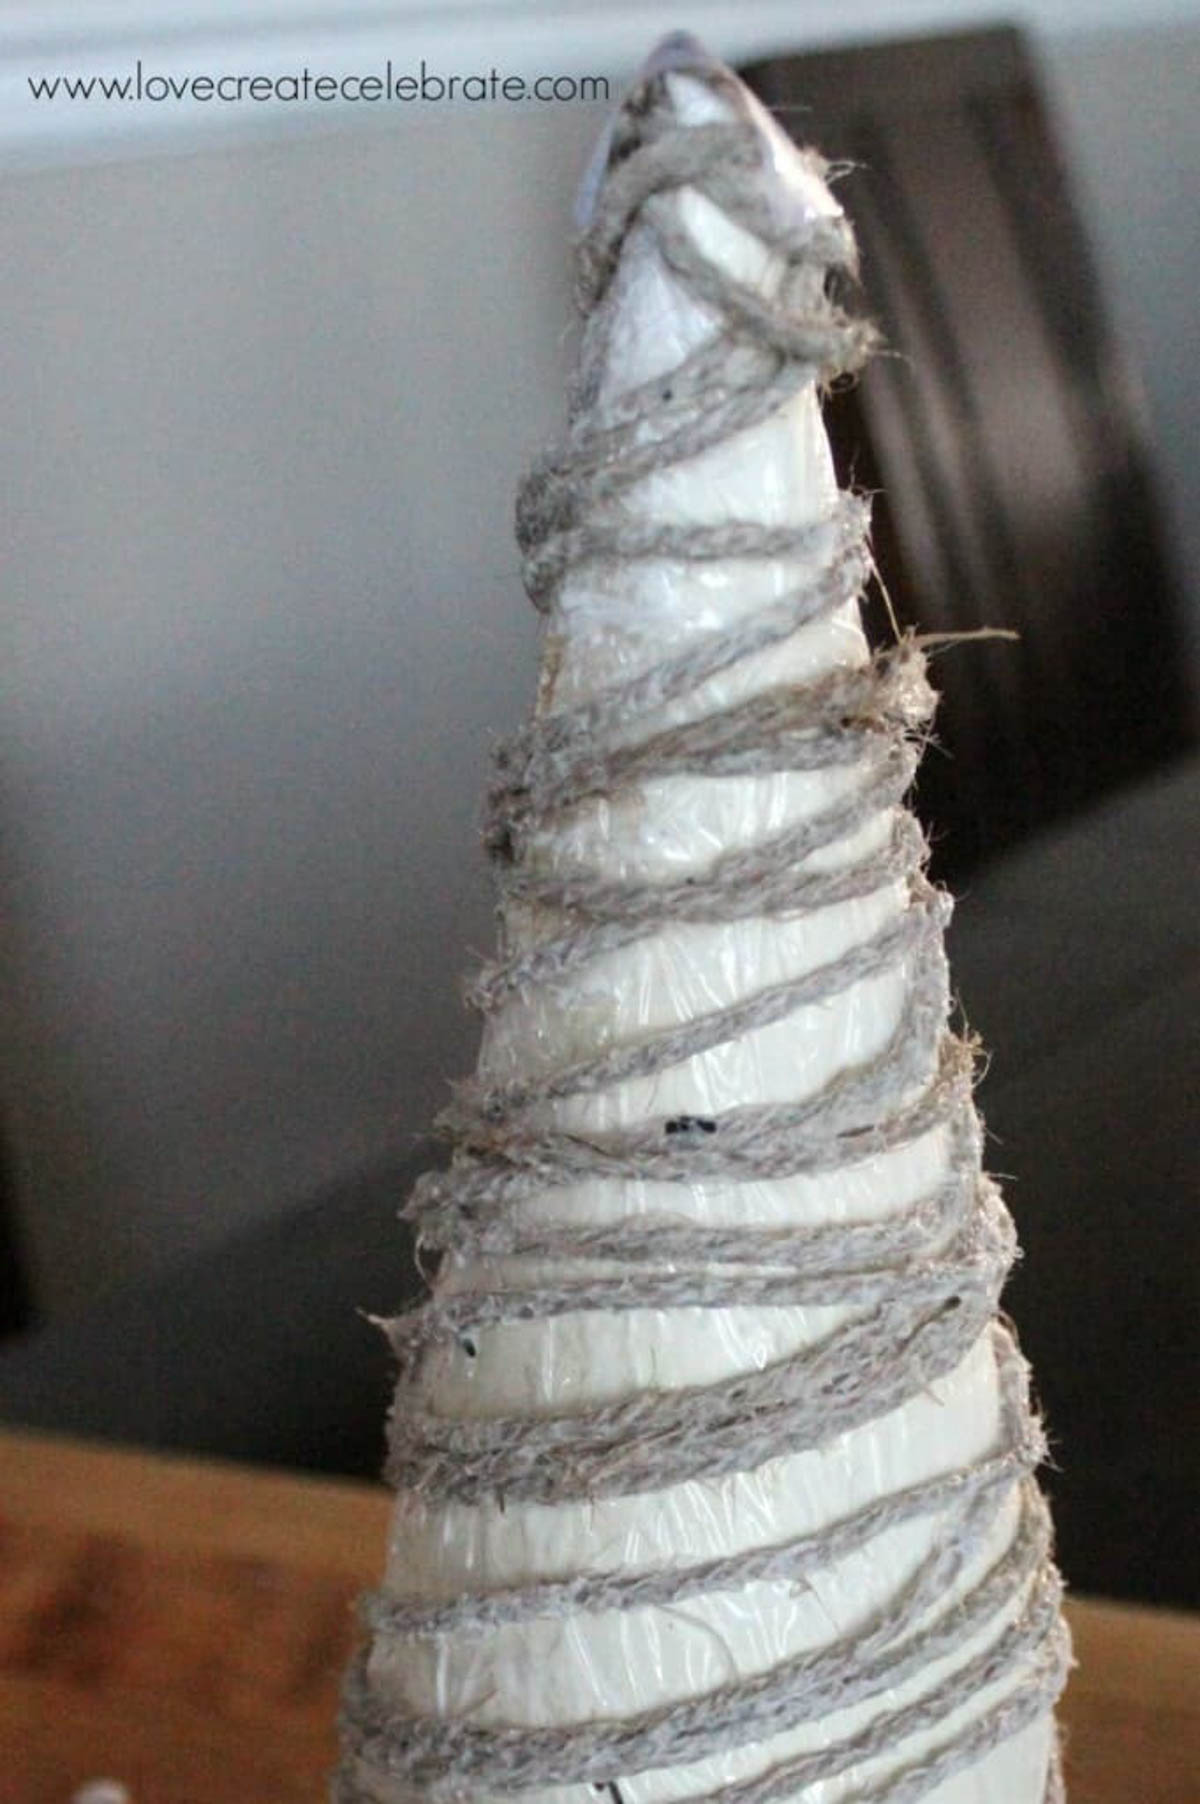
Then, wrap the soaked jute string around the tree in any pattern you like! I had to use tape occasionally at the top and bottom of the trees to hold the string in place while they dried.
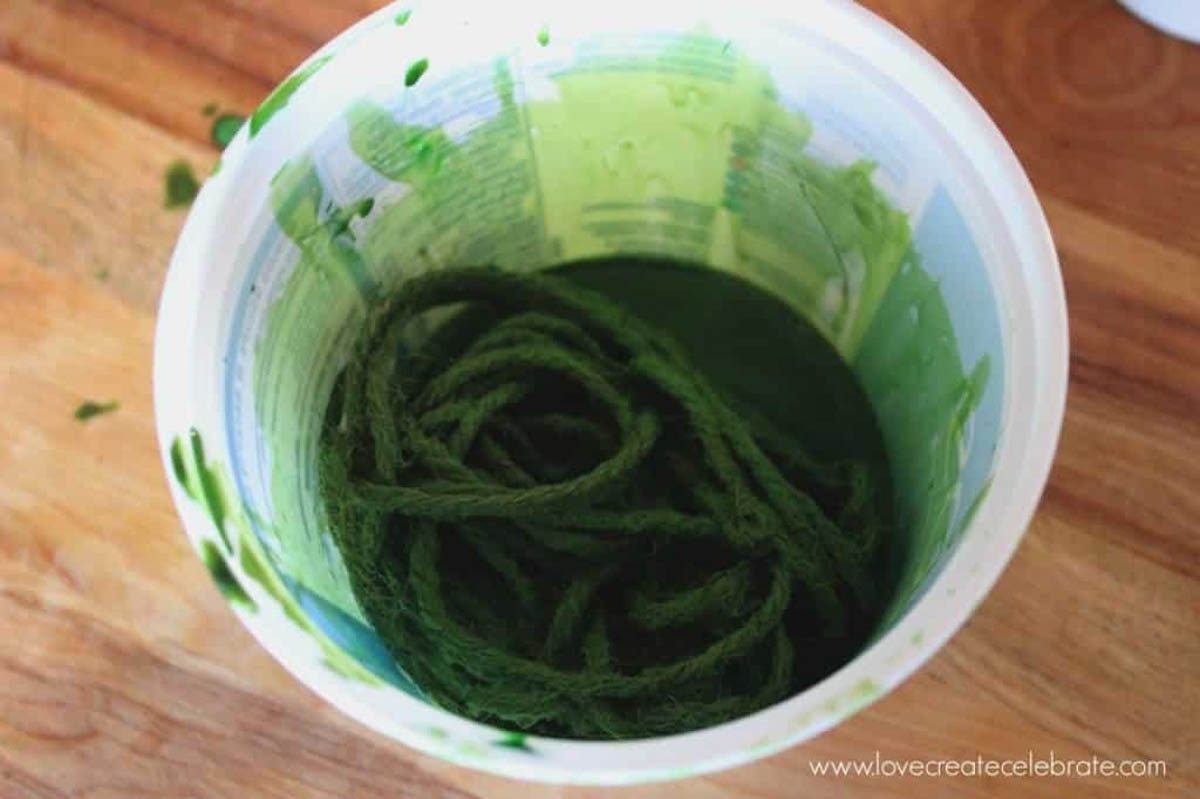
If you want to give the trees some colour, simply add food colouring to the liquid stiffener. You may want to play around and add different amounts of each colour until you get a shade you like. I experimented a bit before I settled on the nice green colour seen here.
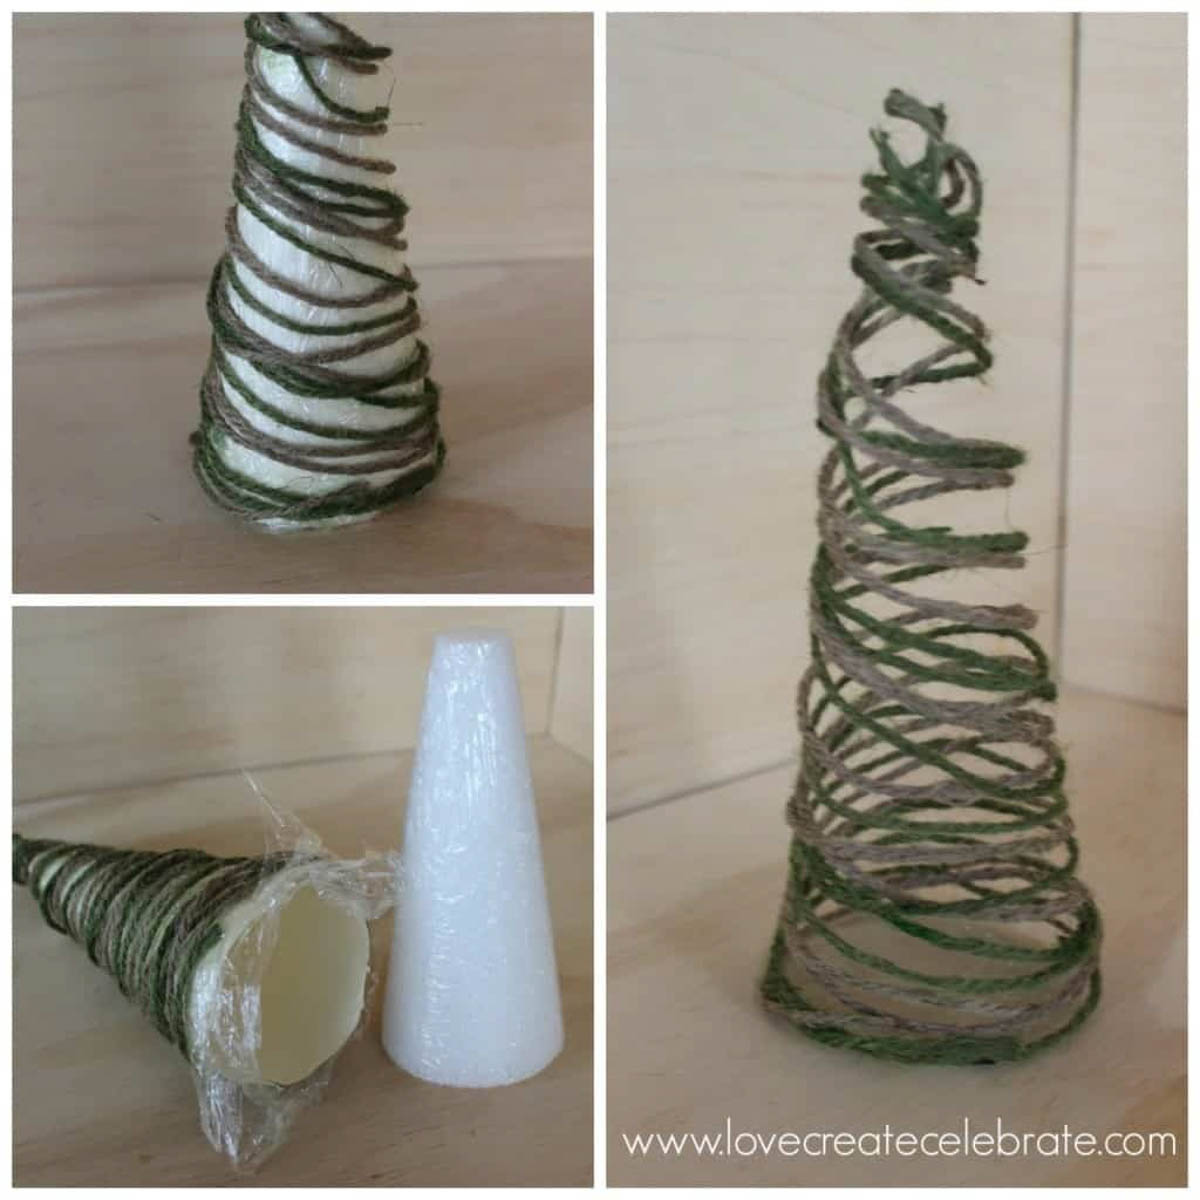
Let the trees dry overnight. After they have dried, carefully undo the plastic wrap, and remove the styrofoam tree. Then, gently tug on the plastic wrap and cardstock to remove them as well. Lastly, pick off any pieces of dried glue that are still stuck to the string. What is left is a nicely formed string Christmas tree.
The Final Product
The final product is a few adorable string trees that will fill your home with Christmas cheer!
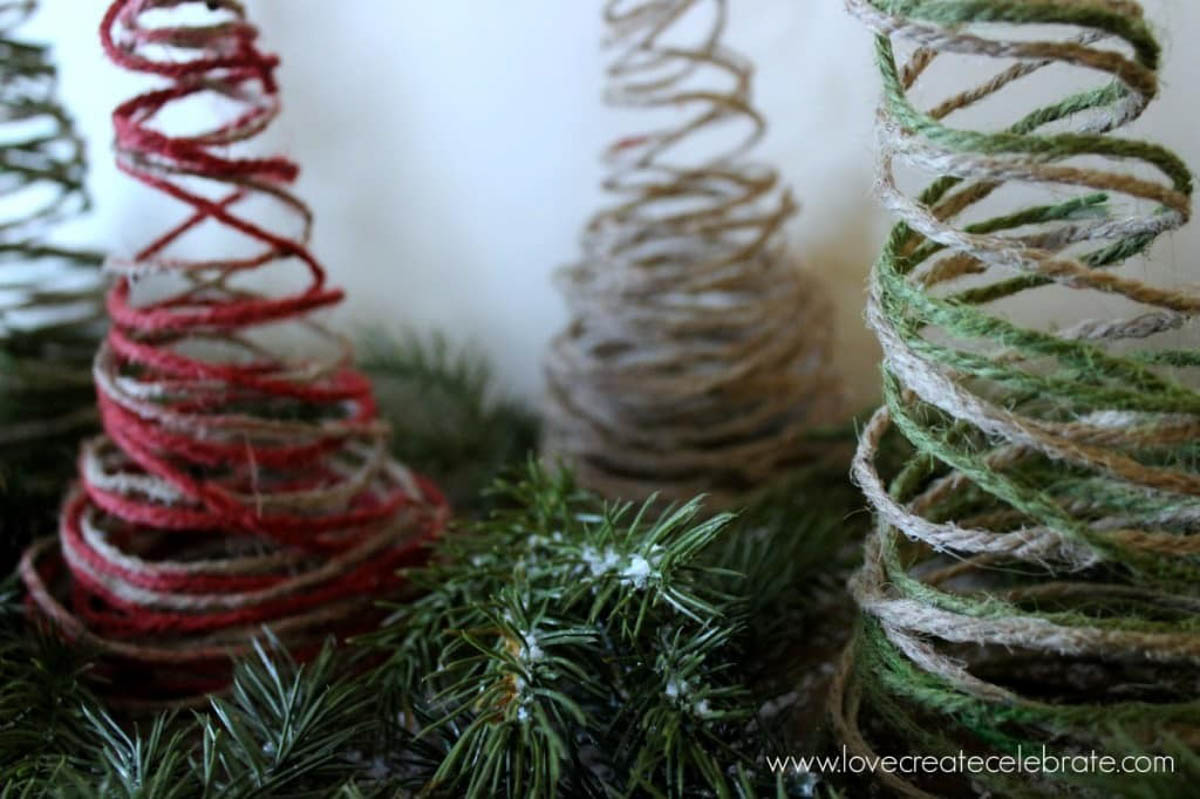
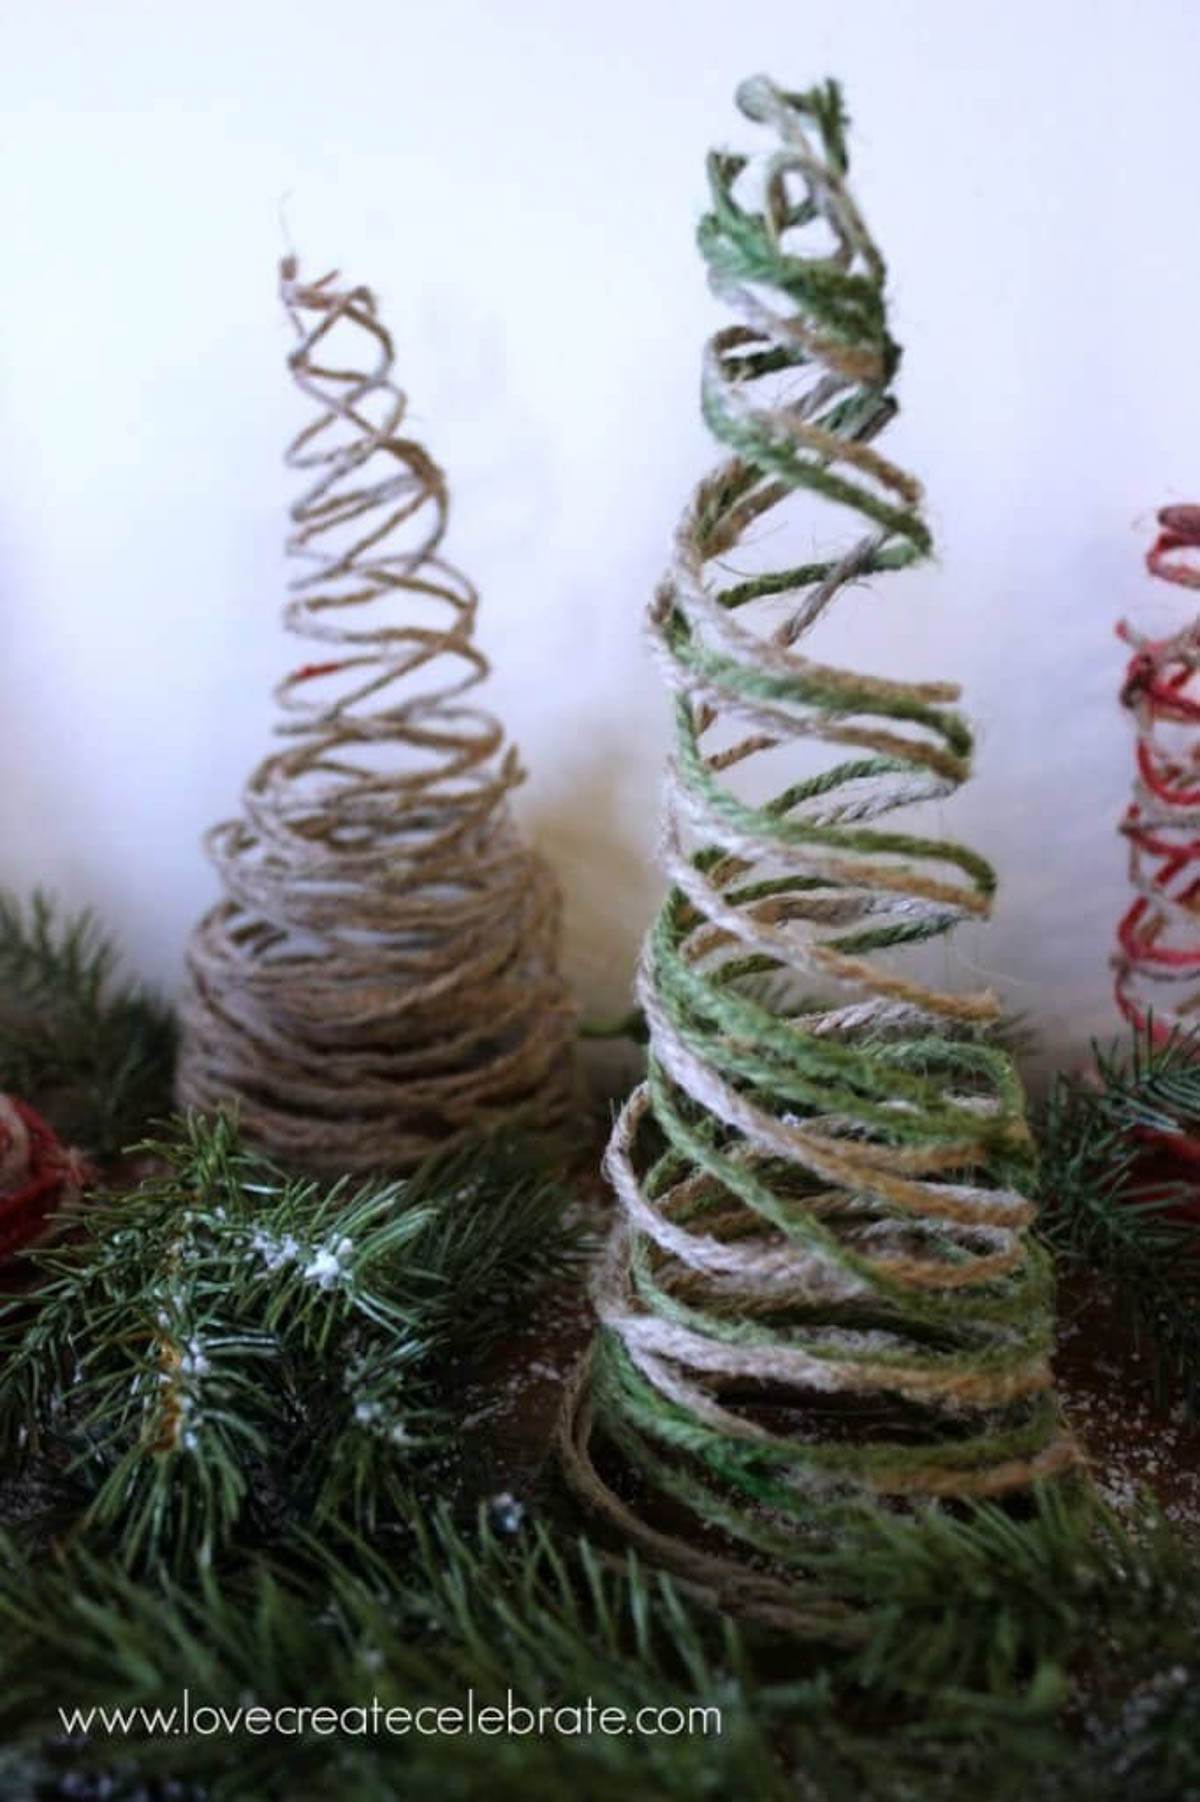
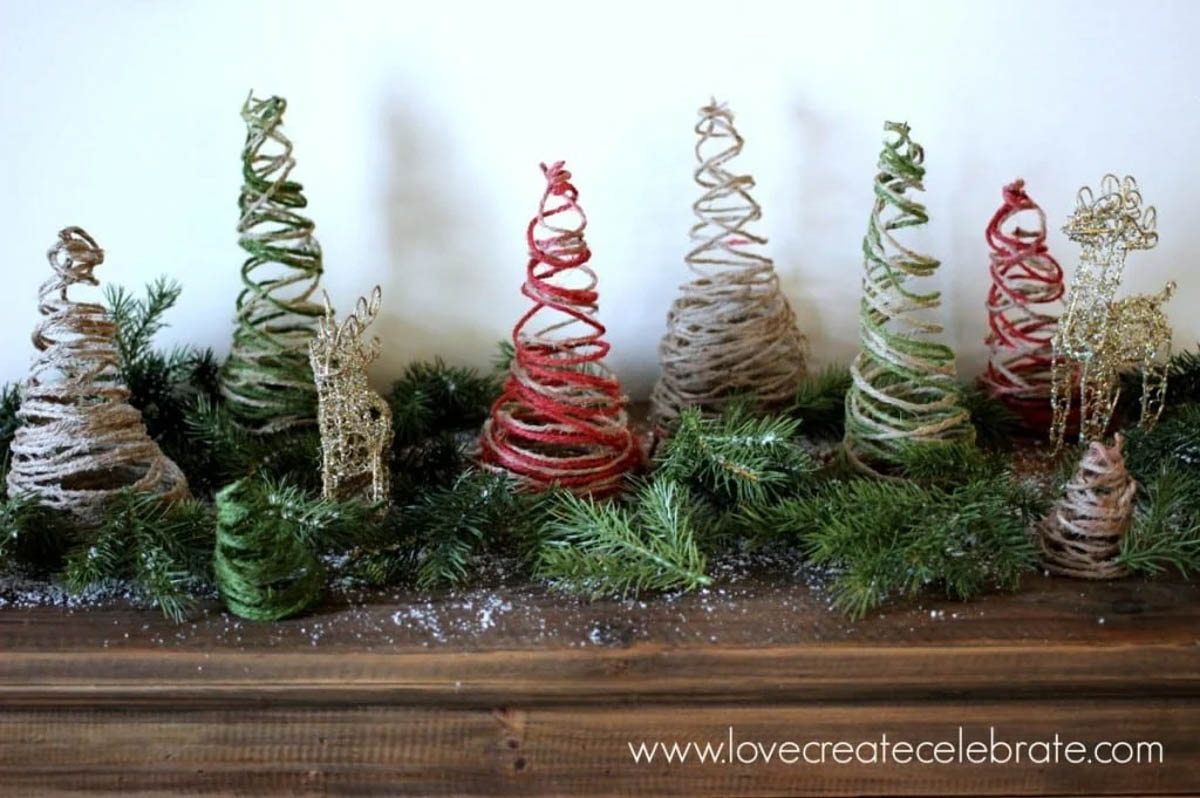
I think they look adorable, and I’m very pleased with how the colours came out. I Love when my dreams become reality :)
Let me know what you think of this project!!
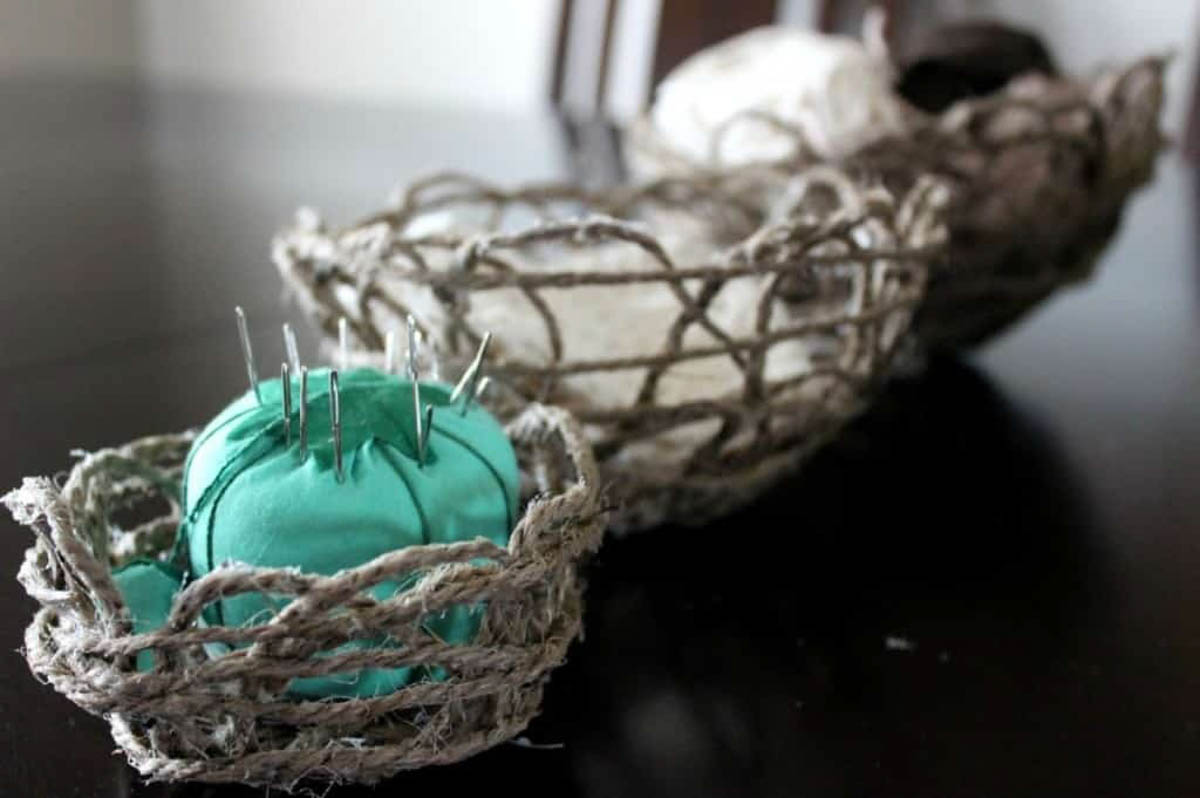
If you are looking for more string projects, check out these decorative bowls I made using a similar process :)


+10 Of The Most Creative DIY Tabletop Christmas Trees Ever – most
Friday 13th of December 2019
[…] out this tutorial here which will walk you through all the steps of this cute […]
Miniature Christmas Tree Ideas – Home Trends Magazine
Tuesday 12th of December 2017
[…] Visit Love Create Celebrate for full instructions on how to DIY these String Christmas Trees. […]
Gorgeous Thrifty Christmas Decor – Youwacom Online News magazine
Saturday 18th of March 2017
[…] Sting Christmas Trees | Love Create Celebrate […]
Your Turn To Shine - No. 10 - Canary Street Crafts
Saturday 2nd of April 2016
[…] Jamie’s pick: Cinnamon Garland from Woods Of Bell Trees Nicole’s pick: String Christmas Trees from Love Create Celebrate Lauren’s pick: Plaid PJs To Wreath from So Much Better With Age […]
Christmas Project Features | Monday Funday Link Party - That's What {Che} Said...
Monday 25th of January 2016
[…] Holiday Banner | Triangle Box Advent Calendar | Rudolph Wall Art Glitter Ombre Christmas Trees | String Christmas Trees | PB Knockoff Christmas Pillow Pocket Mistletoe | Magnetic Advent Calendar | Frosted NOEL Mason […]