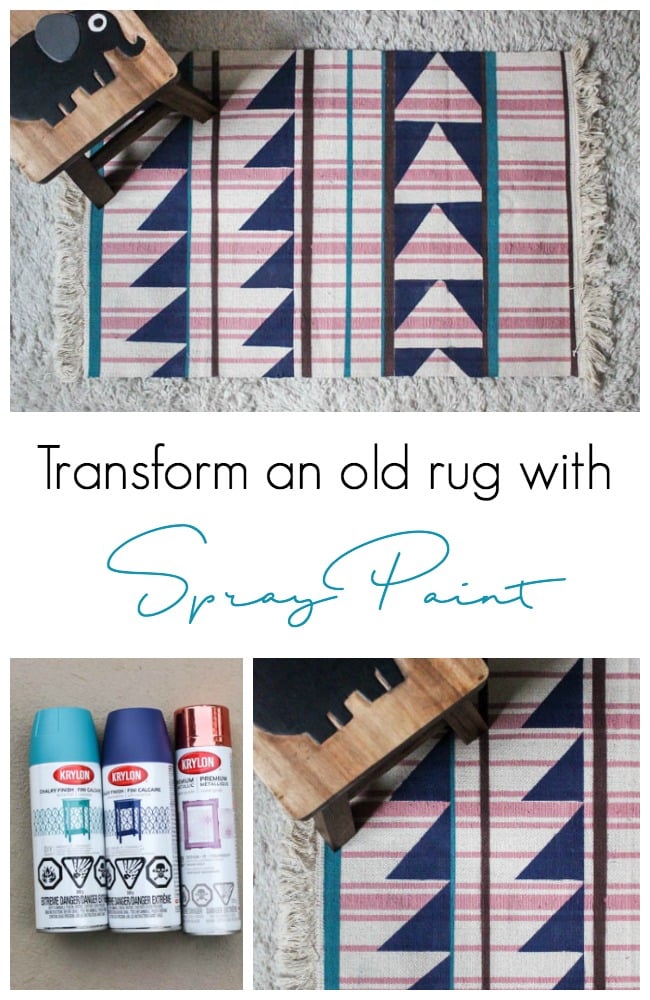
Don’t we all have an old rug in a closet somewhere?! One that we didn’t really feel like we should throw away, but it’s still a bit past it’s prime? I have a few! lol. Have you ever thought about painting those old rugs?! Sound crazy? I know, but I did it! And it was actually pretty easy. If I’m honest, I was shocked by how much I liked it in the end. Let me show you how to easily paint a rug.
*This post is sponsored by Krylon. As always, opinions are 100% my own. For more information, see my disclosure page.*
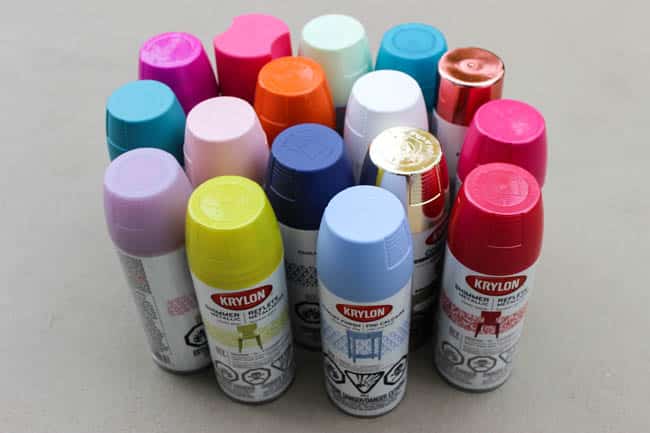
When Krylon and Tiffany Pratt asked me to participate in a spray paint challenge I JUMPED on board! I mean, it’s Tiffany Pratt! If you don’t know who she is, she’s a Canadian designer and colour genius. Plus, she’s just teamed up with Krylon to create a new line of beautiful spray paint colours (^^above^^)! Do I want to participate? I sure do!
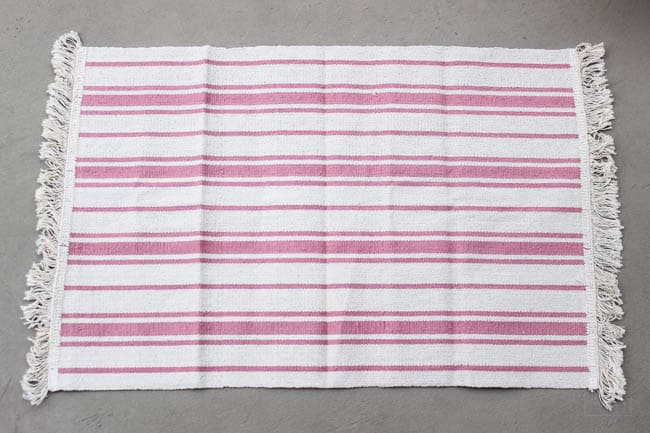
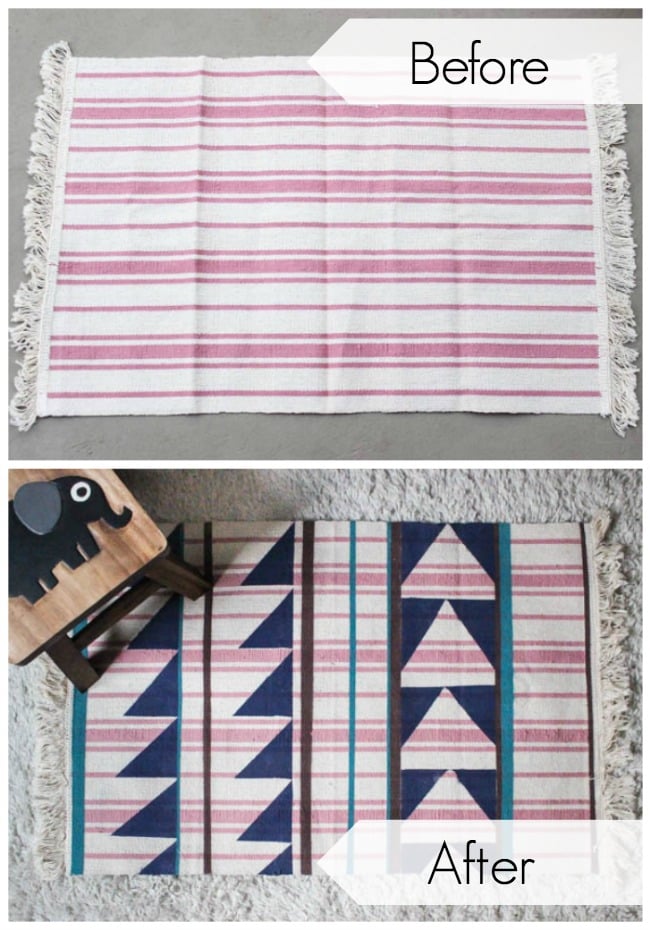
When they told me they were sending me a rug to transform, I assumed it would be a plain white or cream rug. I had so many great ideas! Painted patterns. Colourful designs with lots of white negative space that would still fit my aesthetic. But then this striped pink rug arrived and my jaw dropped. I couldn’t have started with a rug further from my style. Pink strips? All my beautiful plans went out the window. I literally took out some crayons and started colouring new designs.
The thing is though… most of the rugs we would paint over, would start with designs that we don’t like anymore, or are faded or outdated. Starting with a rug I didn’t exactly love made for an even bigger transformation!
Here’s How You Can Paint a Rug:
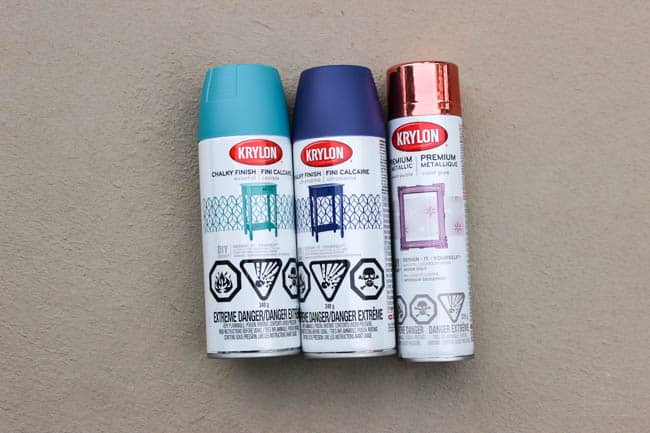
Start by choosing a few great colours. I know you’ll be inspired by the Tiffany Pratt colour line! It’s beautiful and vibrant! I chose the Premium Metallic Plum Purple, Chalky Finish Waterfall, and Chalky Finish Ultramarine.
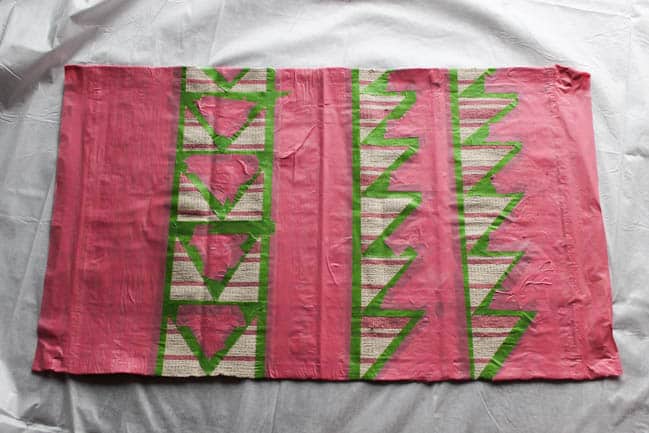
Next use some painters tape to map out your design, remembering that the part showing, will be the part of the rug that gets painted. I used Frog Tape to do the nice clean lines, and then another thicker painters tape to cover up the rest of the rug quickly.
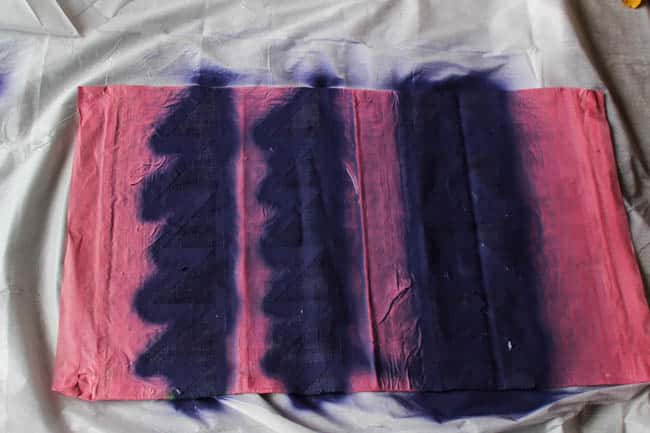
Paint away! I did two quick coats. The paint dries fairly quickly too, so you don’t have to worry about waiting too long between coats.
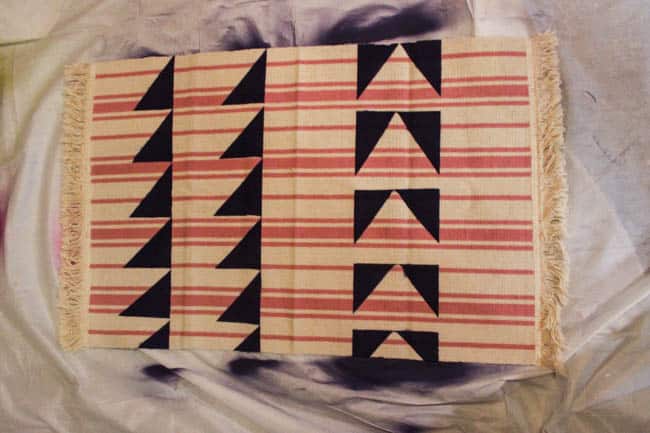
Remove all of the tape in between steps so that you can tape off sections for your next colour of spray paint.
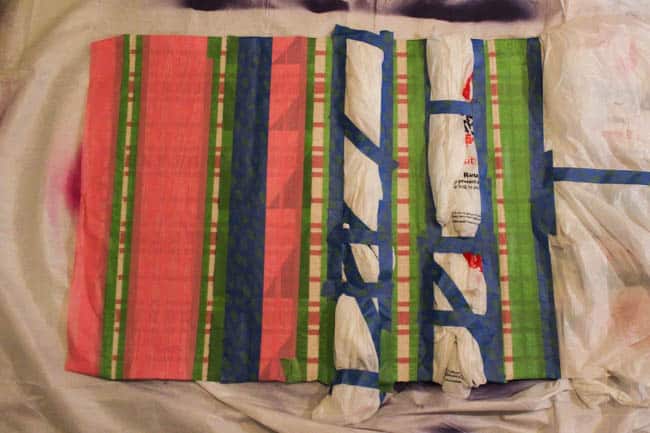
Ok… so the taping job for my straight lines isn’t too pretty… lol. I didn’t want to waste a bunch of tape so I started taping plastic bags on instead. It does the same job! Once all of the lines are ready, paint with your second colour.
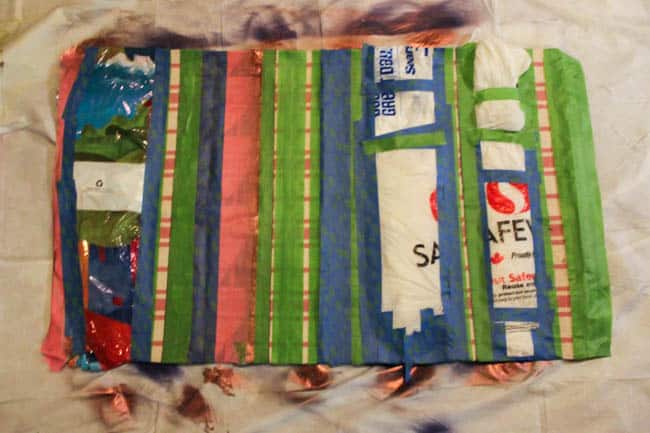
Then do one final tape and paint with your third colour! When I removed all of my tape, my rug looked a little something like this…
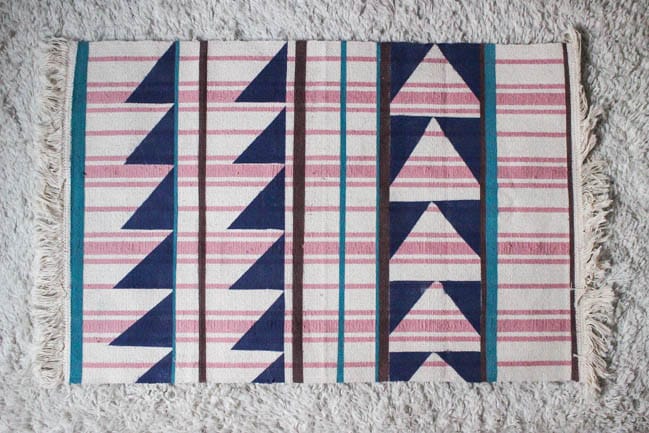
Isn’t that a crazy transformation?! I actually like the rug now! lol. My home still doesn’t boast a lot of pink, so I knew that this gal was going to end up in our daughter’s bedroom.
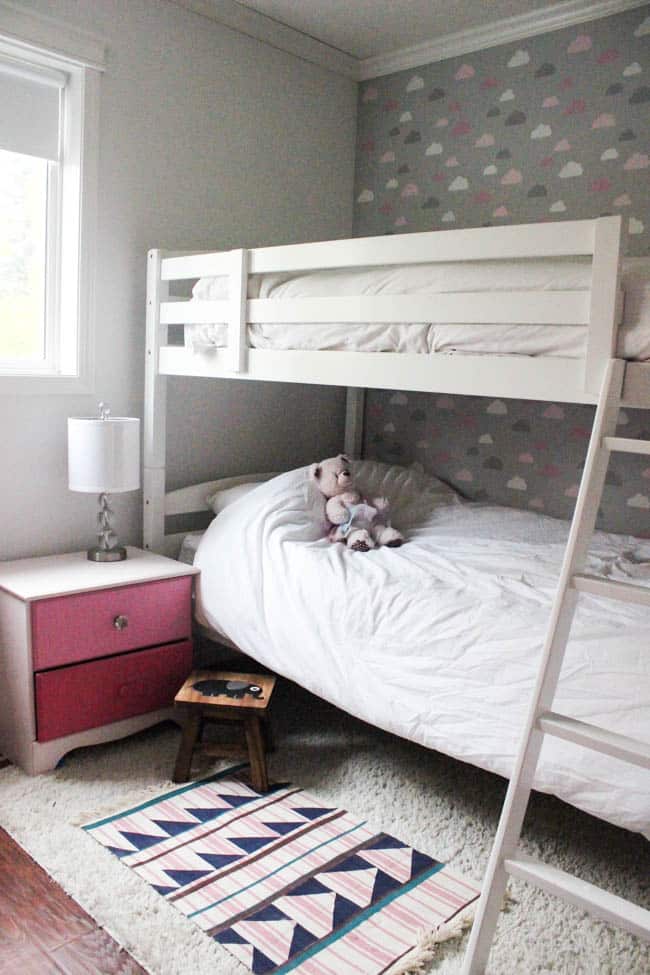
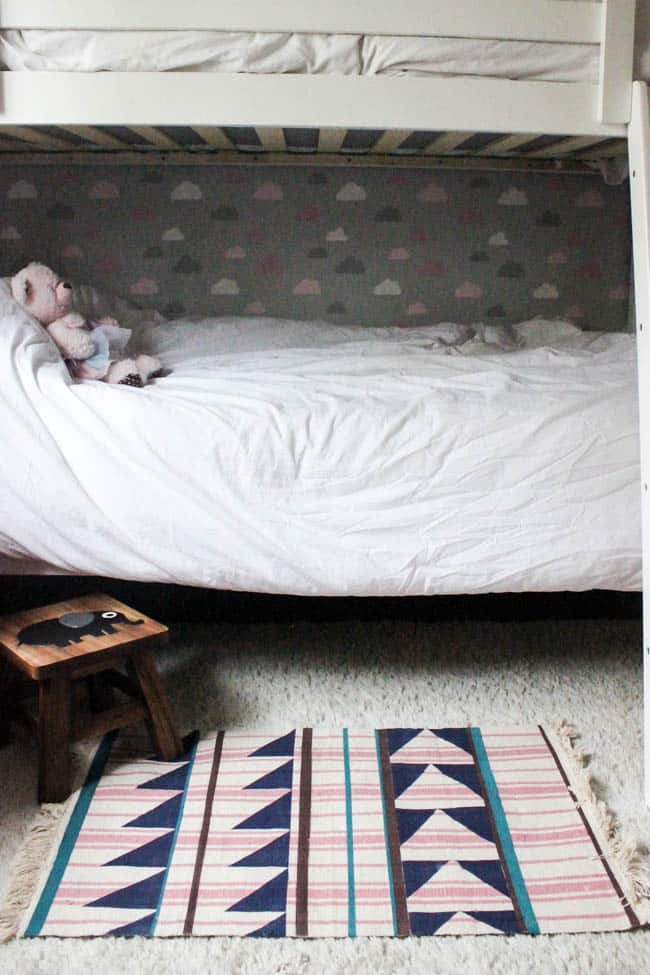
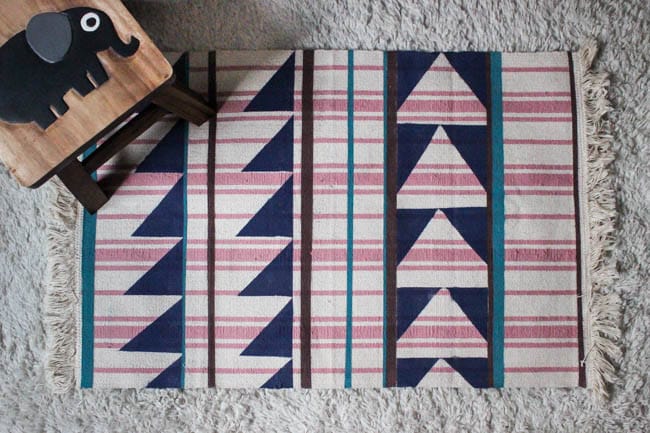
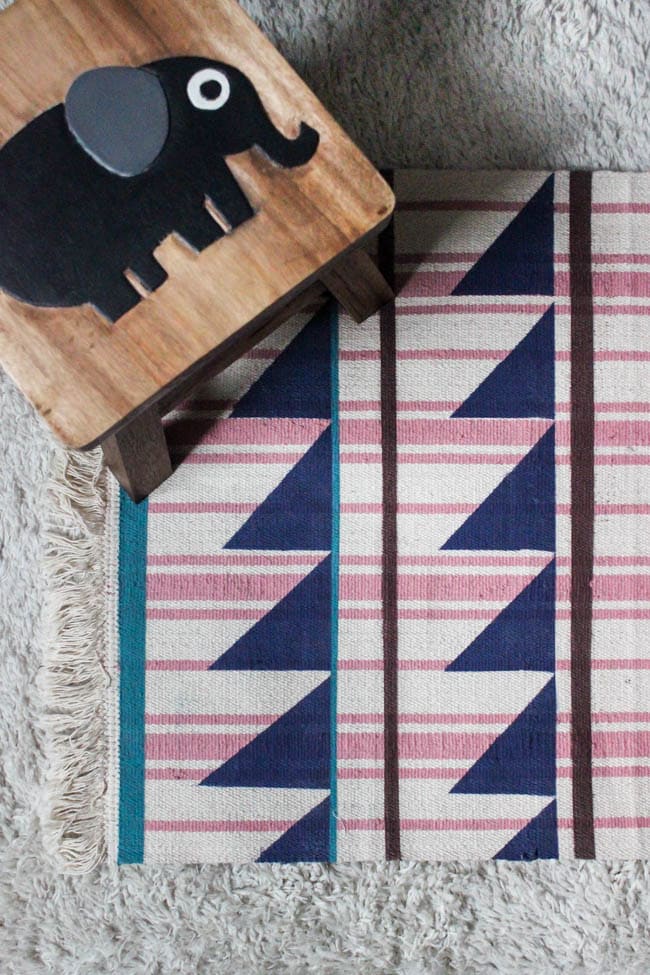
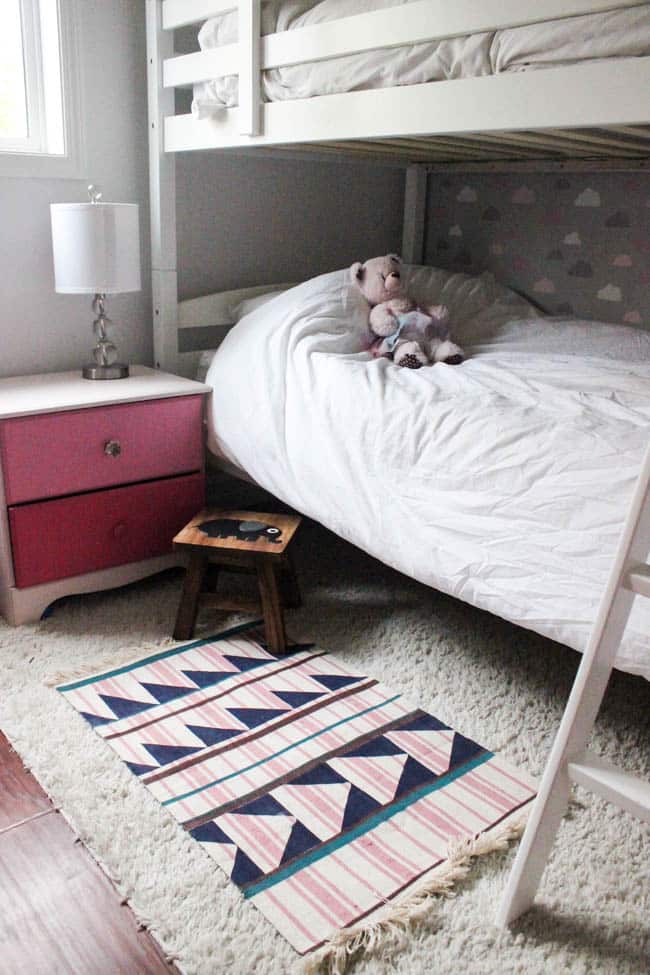
What do you think? Would you spray paint an old rug?? Have you done it before?
If you like using Spray Paint, here are a couple of quick and easy upcycling projects you can do!



Laurie V
Saturday 21st of October 2017
This rug turned out to be gorgeous! And perfect in the girls’ room!!
Lindivs
Saturday 21st of October 2017
Thank you! I really liked how it turned out in the end too!