
I think Valentine’s Day is one of the craftiest holidays. It probably stems from when we were all kids making Valentine’s for our friends at school, lol. Even though I don’t suddenly pull out a bunch of red and pink decor in my grown-up home (well… besides the art that my kids make me, lol), I still like to sprinkle in some Valentine’s Day decor in my own moody palette. My Dutch heart tells me that buying decor that stays out for only a couple of days isn’t the smartest, so anything I decorate with is usually a DIY, including a simple Modern tea towel to decorate the kitchen. Bonus points if it’s versatile enough to keep out after Valentine’s Day too!
*This post is sponsored by Cricut and may contain affiliate links. Thanks for supporting my blog so I can continue to bring you posts like these. For more info, please see my disclosure page.*
A huge percentage of my DIY home decor (not just the seasonal stuff!) is made using the my Cricut Machine cutting machine – including this Valentine’s Day decor. Many of the projects I’ve done have been designs that I’ve created using Cricut shapes, fonts and images that are already in the Cricut Design Space, but I wanted to show you another way of finding a creating a great Cricut project: using the “Ready-to-Make Projects”.
There are a ton of great projects that are already set-up in the Cricut Design Space, including some beautiful Martha Stewart designs that you can cut on your Martha Stewart Cricut Machine.
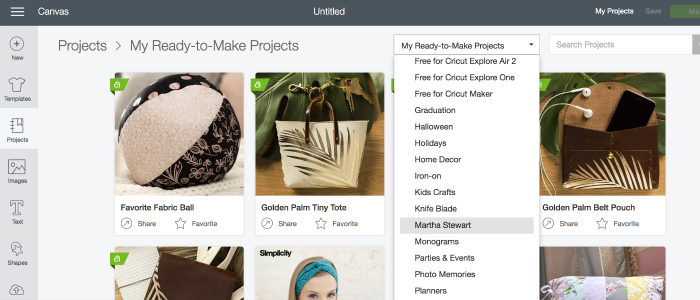
In order to find these projects, just open the Cricut Design Space, and then navigate to the “Projects” tab on the left hand side. You’ll find a pull down bar with Ready-to-Make project ideas, that you can scroll down until you reach “Martha Stewart”.

This will bring you to a ton of great project ideas for any season. The designs, patterns and instructions are already written out for you so that you can make the project easily – just select “Make It” to use this option. Alternatively, you can choose to alter the project by clicking “Customize”, which is what I did.
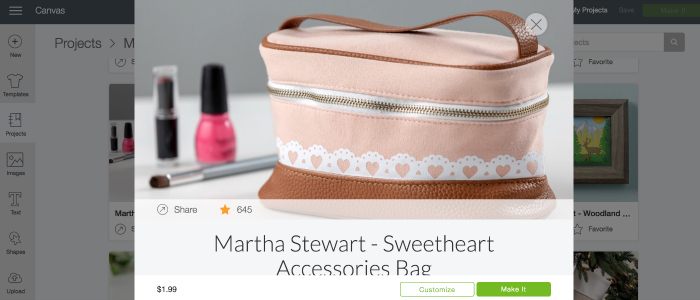
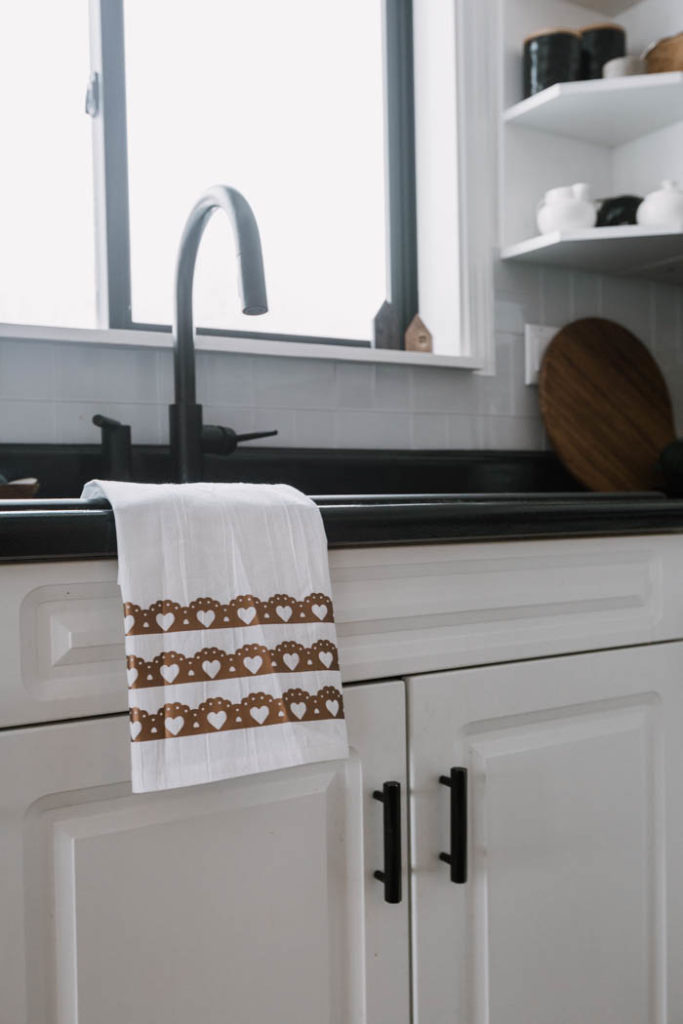
I loved the look of the trim on this Martha Stewart Sweetheart Accessories Bag design. The hearts and feminine design are perfect for Valentine’s day, but I didn’t have a bag to design on, and I wanted to make something that everyone would see, so I modified the design to fit one of my tea towels.
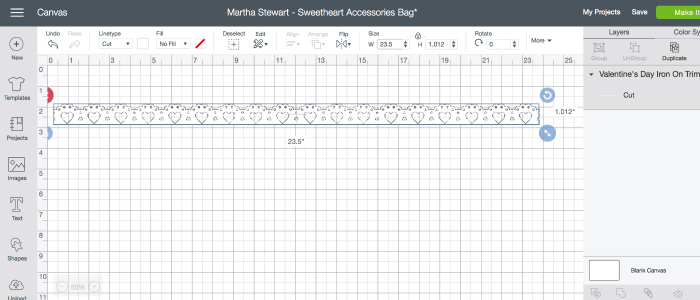
If you want to use my design, you can access it here, but I’ll explain how to customize this for a modern tea towel too. First, resize the trim design. The largest you can cut on the Cricut, is 23.5″ long, so that’s how long I made my image.

Next, copy and paste the image two more times so that you have three rows of trim. When you are ready, click “Make it” in the top right-hand corner of the screen.
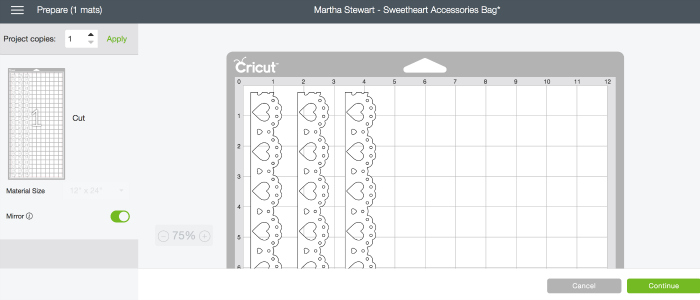
When you arrive at the “prepare” screen, you can always move your designs around. the Cricut Design Space will automatically put the pieces as close to each other as possible to save space and material, but I wanted a bit of space between my trim pieces, so I separated them by clicking and dragging them over. Usually you need to click “Mirror Image” for Iron On designs at this point as well.
Now you’re ready to print the design for your Modern Tea Towels, and here’s everything you need:
- Cricut Machine
- 12″ x 24″ standard grip cutting mat
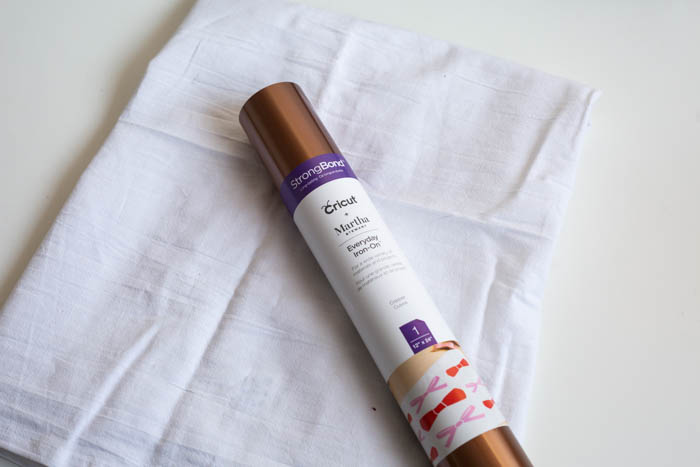
- Iron vinyl
- EasyPress 2
- Weeding Tools
- EasyPress Mat
- Flour Sack Tea Towels
The Iron on vinyl is amazing! It comes is soooo many colours, including traditional reds and pinks if you love those for Valentine’s Day! I loved the idea of using an unexpected metallic colour (& I knew it would match my kitchen!). I love this vinyl because it goes on easily, weeds easily, and lasts for ages – I’m talking more than 50 washes! It’s great stuff.
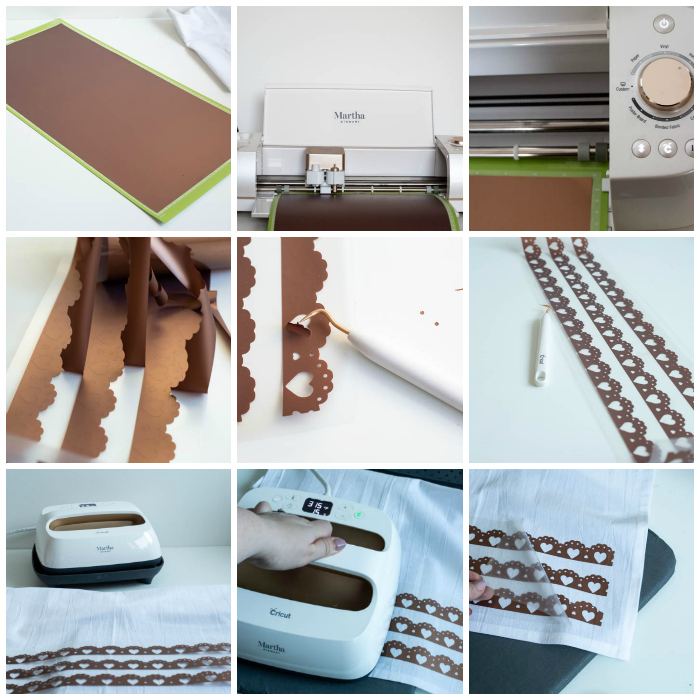
Here’s how I applied the Iron-On to my tea towel (from top left to bottom right):
- Place your iron-on vinyl onto a large 12″ x 24″ cutting mat
- Load your mat, set your Cricut to “Iron-On” and cut out the design you made.
- When everything is cut, peel back the unwanted vinyl, and using a weeding tool to weed out all of the small hearts and dots.
- Set your EasyPress to the recommended settings (which you can find here), and apply the EasyPress as directed. Then peel back the protective top layer while it’s still warm.
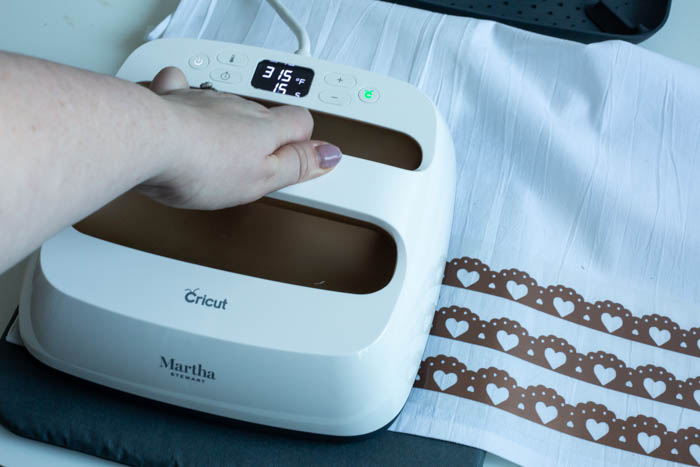
The EasyPress 2 is definitely the best man for this job – and not just because it’s pearl colour is so pretty! It’s so easy to learn how to use it, it’s simple to move around, lightweight, and it sets your design in less than 60 seconds! If you’re going to be using iron-on vinyl a few times throughout the year, then this is definitely a worthwhile investment.

This is my kind of Valentine’s Day Decor. Beautiful, modern, and full of hearts! The beautiful heart trim design was already there waiting for me – all I had to do was apply it to my tea towel.
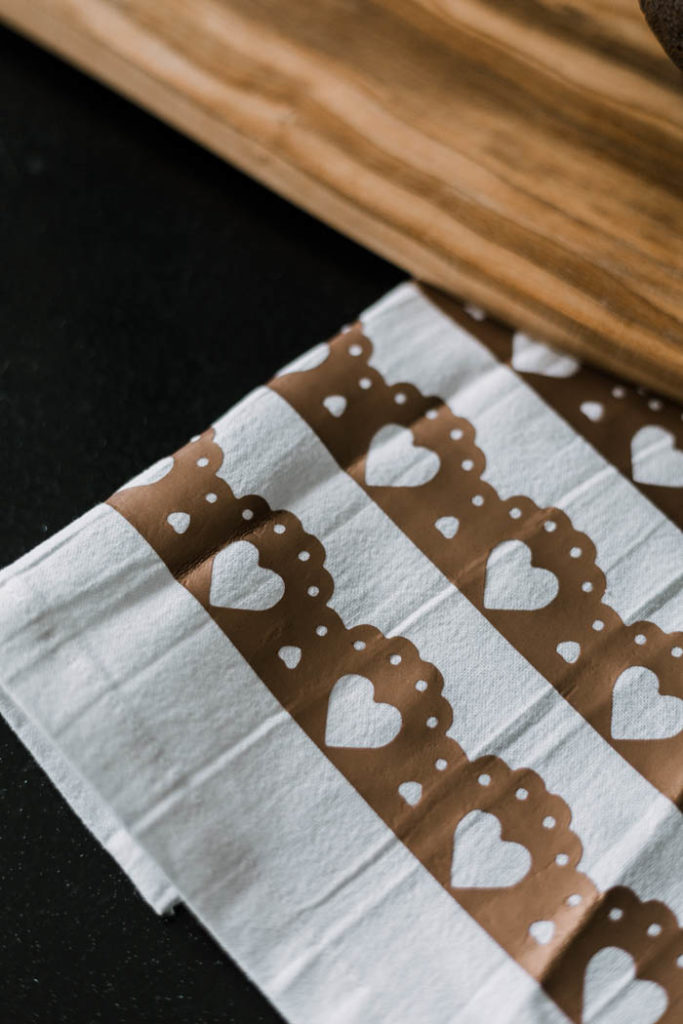

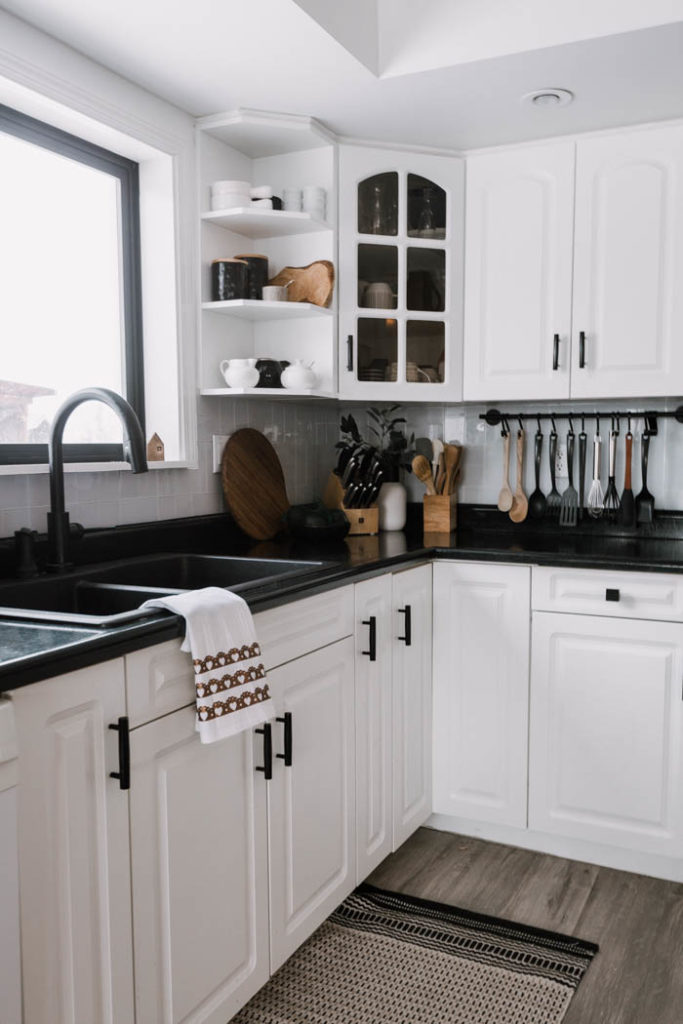
I love how it looks in the kitchen. It fits in so perfectly that I can keep it out anytime of year, but especially on Valentine’s Day!
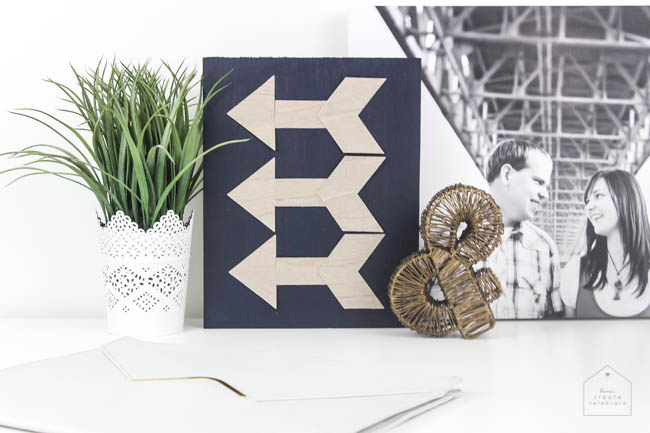
If you’re looking for another modern Valentine’s Day project, try one of these:
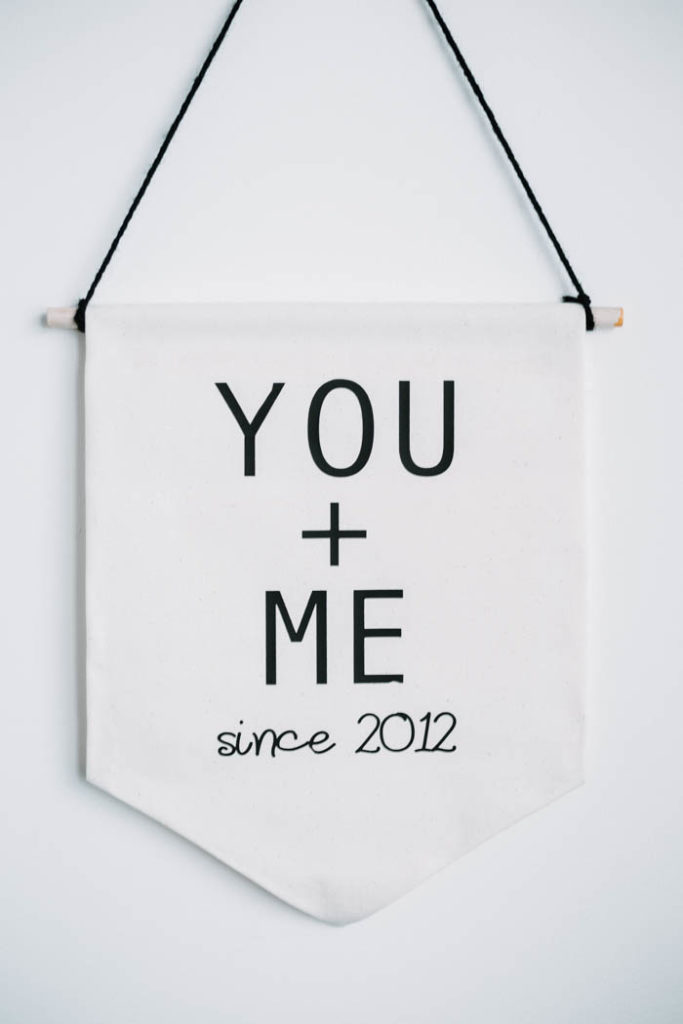
You + Me Banner (also using Cricut Iron-On!)

This is a sponsored conversation written by me on behalf of Cricut. The opinions and text are all mine.