This quick and easy tutorial will clean up your work space with this Kreg Clamp Rack. Download the free build plans and organize your garage!
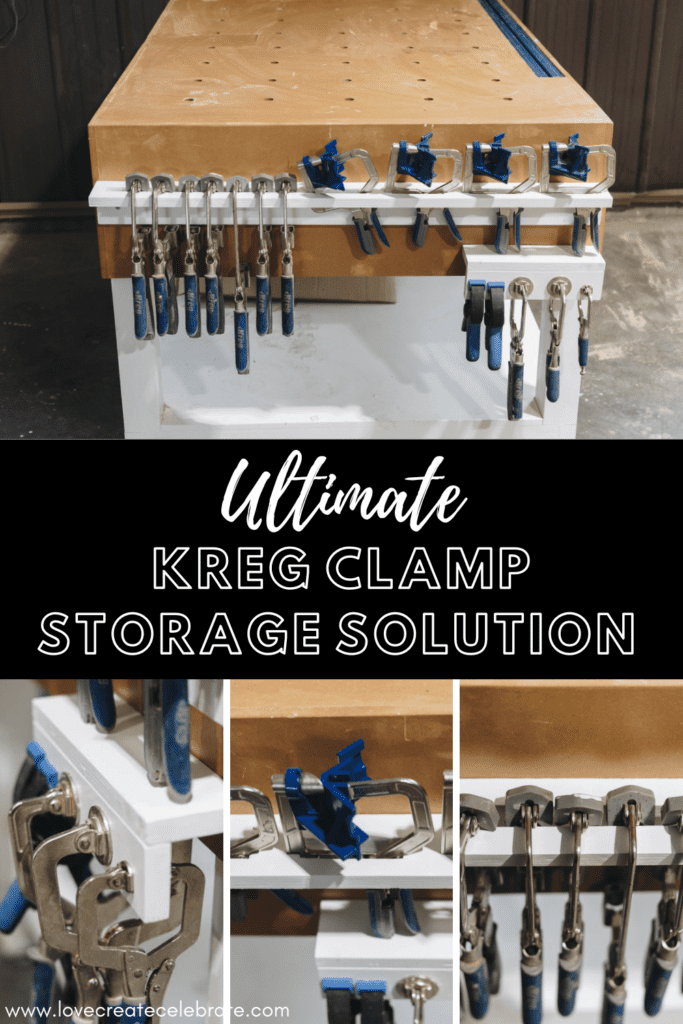
The great thing about these plans is that you can customize the rack to suite your own needs. You can mount the rack on a wall or the side of your workbench and even adjust the type and number holes for the clamps you have!
*This post is sponsored by Kreg Tools, and may contain affiliate links. As always, opinions are 100% my own. For more information, please see my disclosure page.*
The main Kreg clamps I wanted to make custom storage for were these:
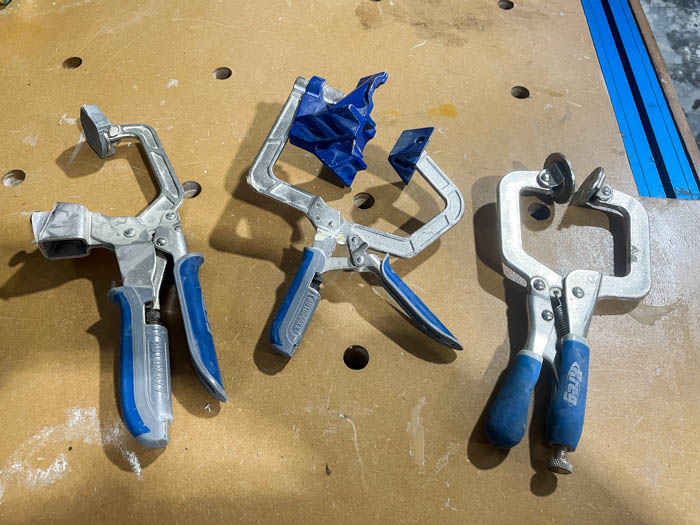
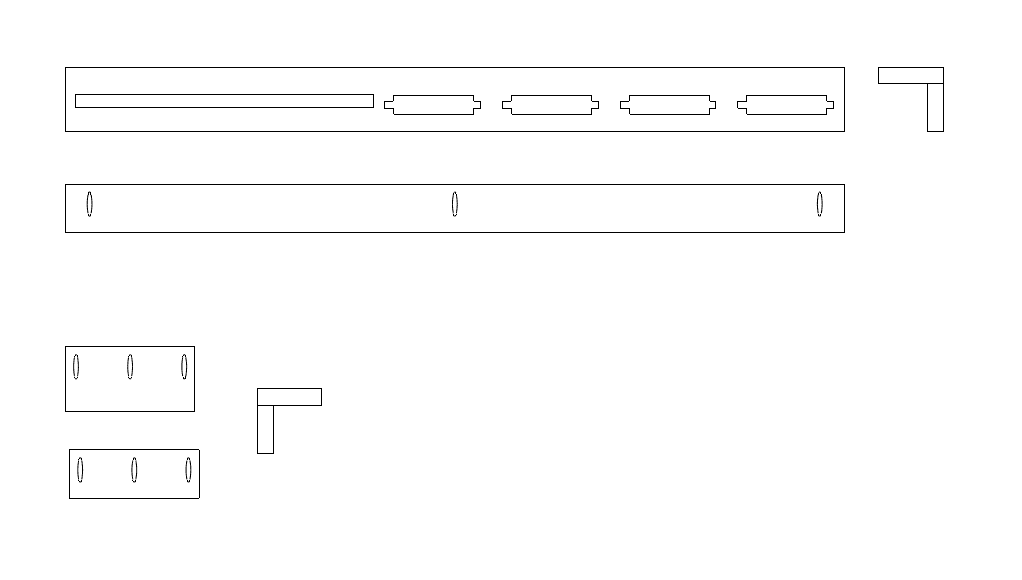
I went to the drawing board and camp up with this design. This project is great because it was quick to build! Another bonus is this clamp rack was built with scrap wood!
Pocket-Hole Joinery
Almost every one our builds includes pocket hole joinery, including this one! If you’ve never heard of pocket holes, it’s basically a way to have your wood pieces attach by drilling into the board through an angled hole. It allows you to hide your joinery and gives you a strong connection between the two pieces.
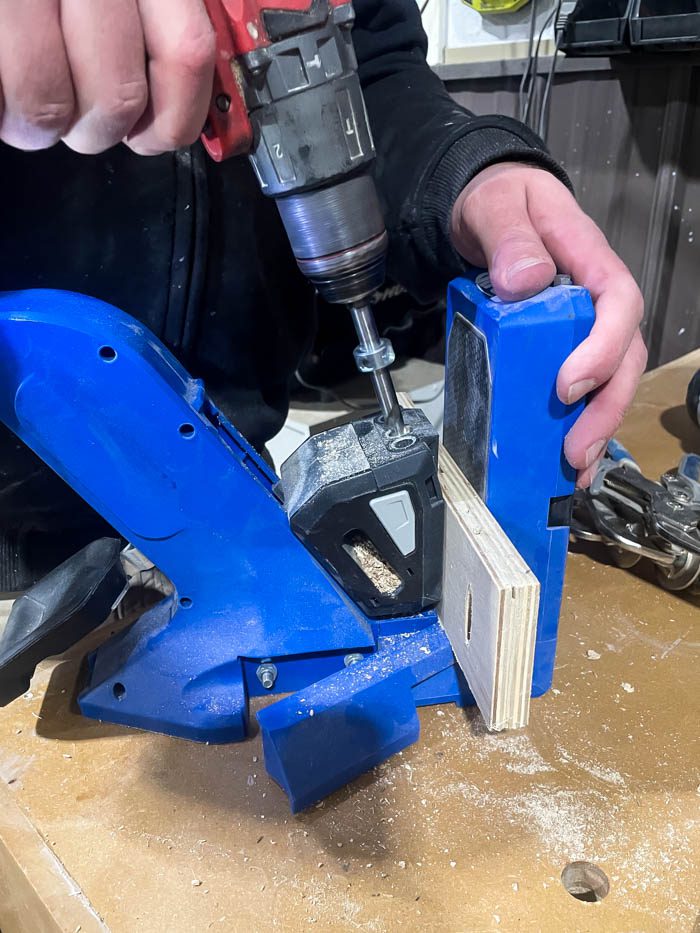
We have Kreg’s 720 Pro and we love it. I can honestly say that we use it on almost all of our builds because it’s so easy to use and gives professional looking results!
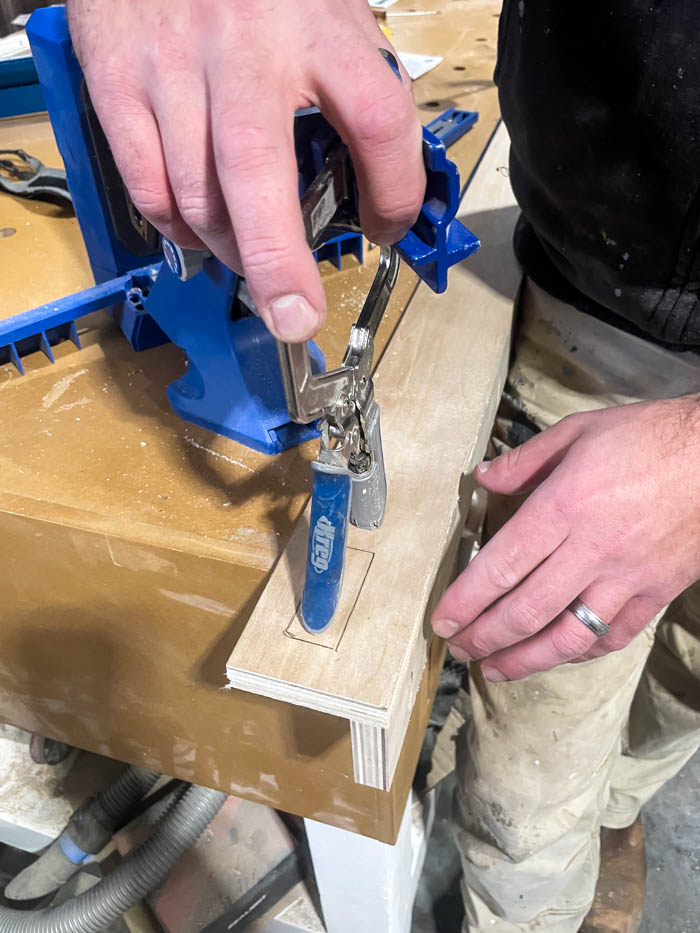
On this build, we use the pocket hole jig to attach the vertical and horizontal boards for the Kreg Clamp Rack. It only took a few minutes to add all of the pocket holes and then we had a sturdy professional looking finish.
Tools needed to build your own DIY Kreg Clamp Rack
How to Build your DIY Kreg Clamp Rack
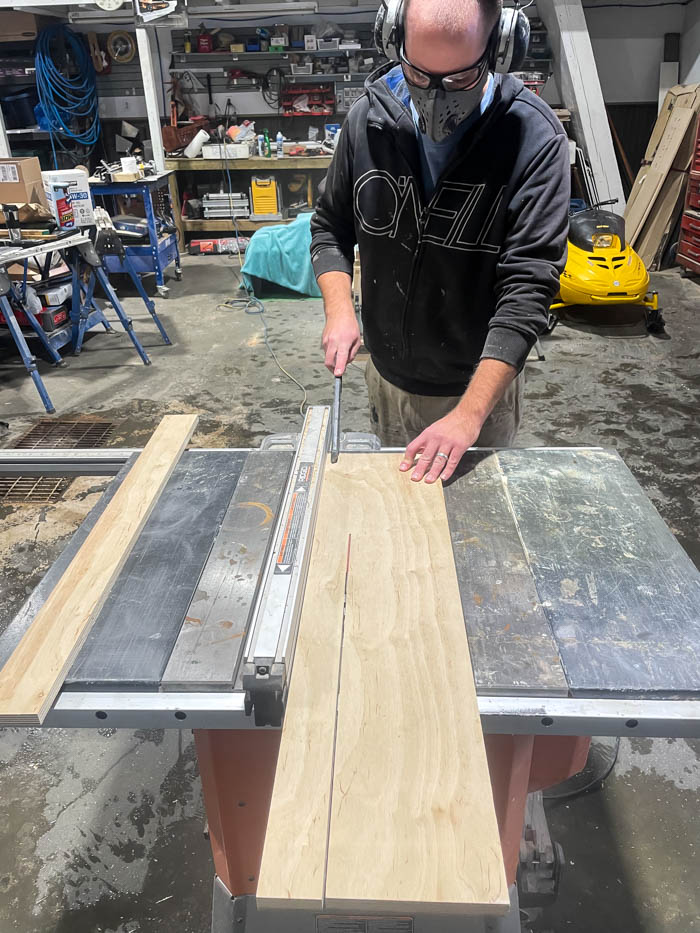
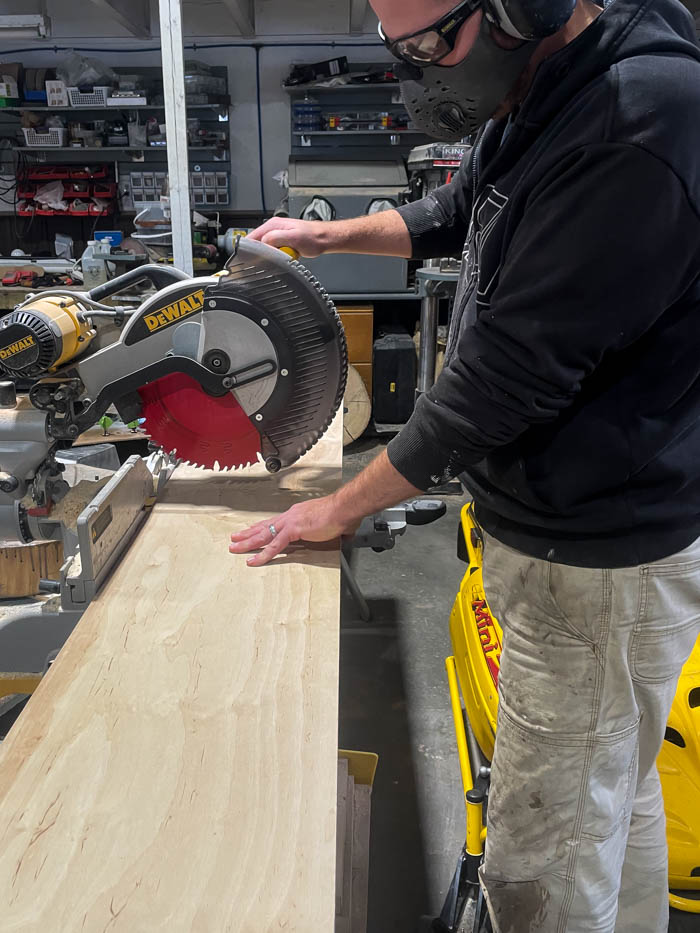
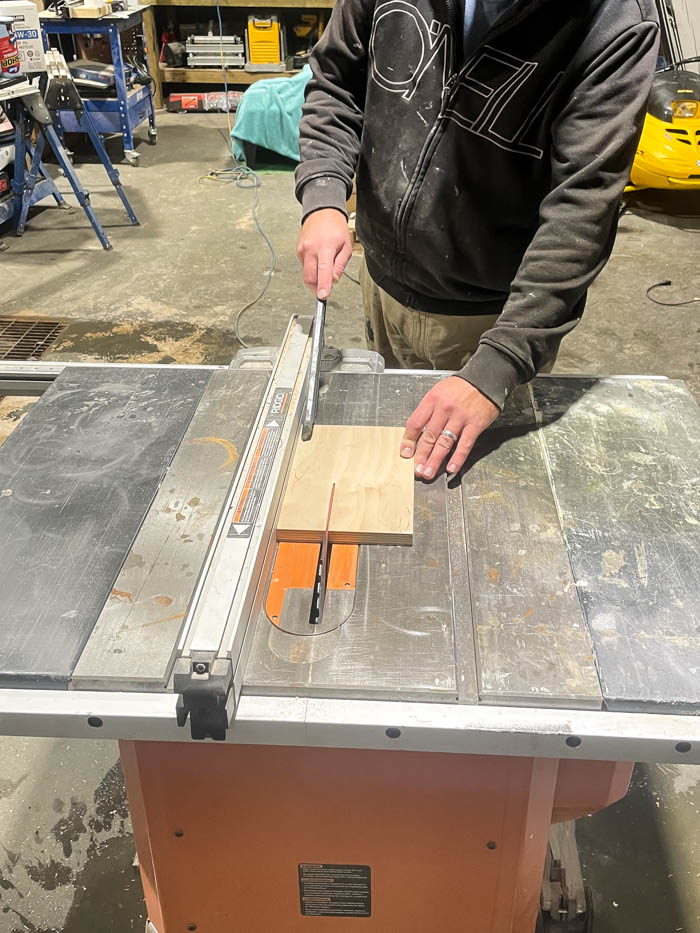
The First step is to grab some plywood. We used some scrap 3/4″ left over from another project that we cut to size as shown on the build plans on Kreg Tools.
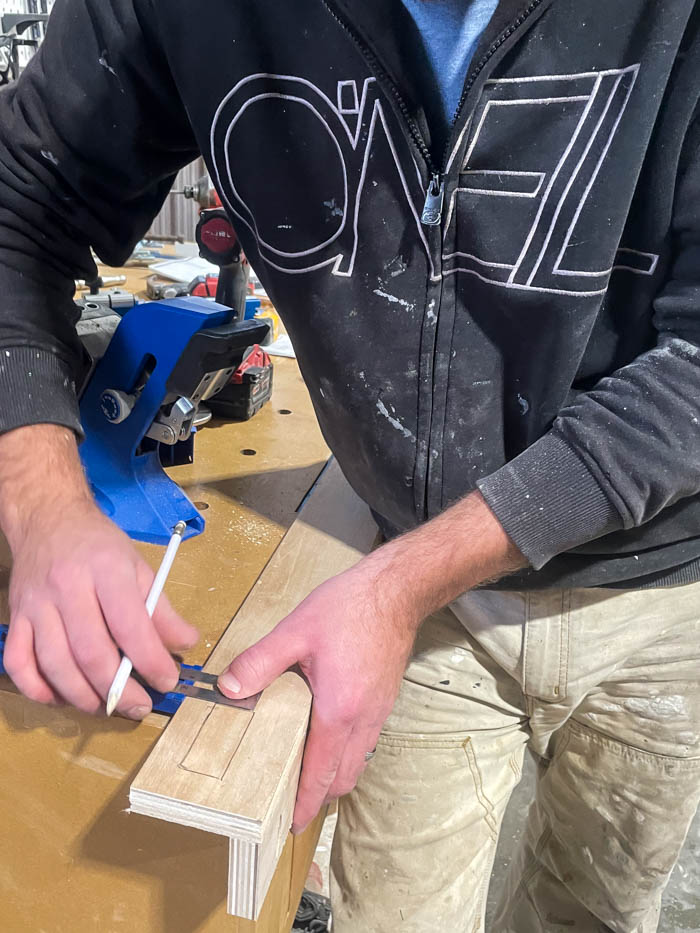
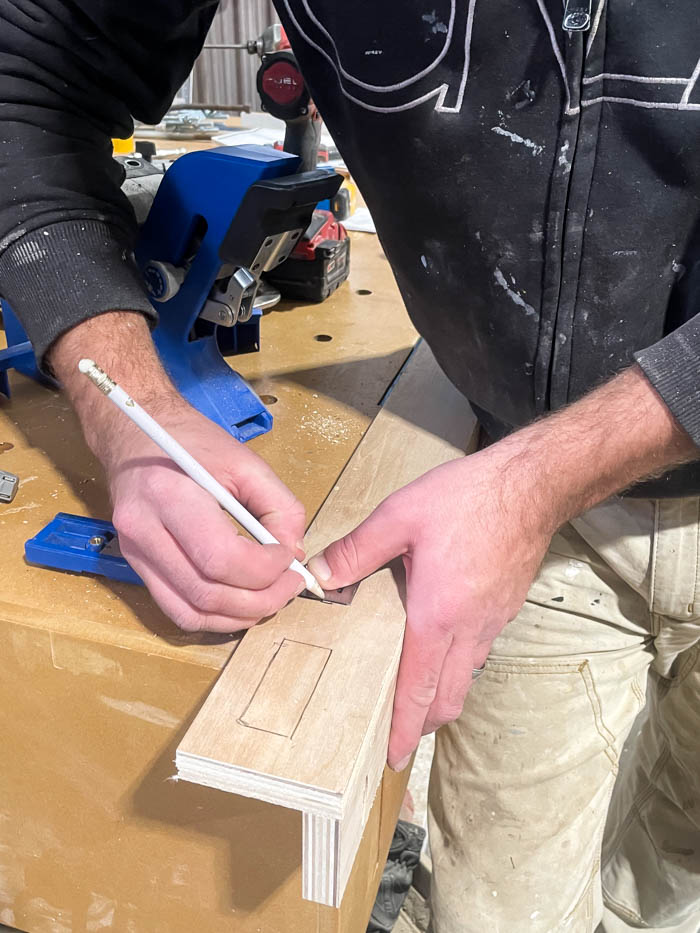
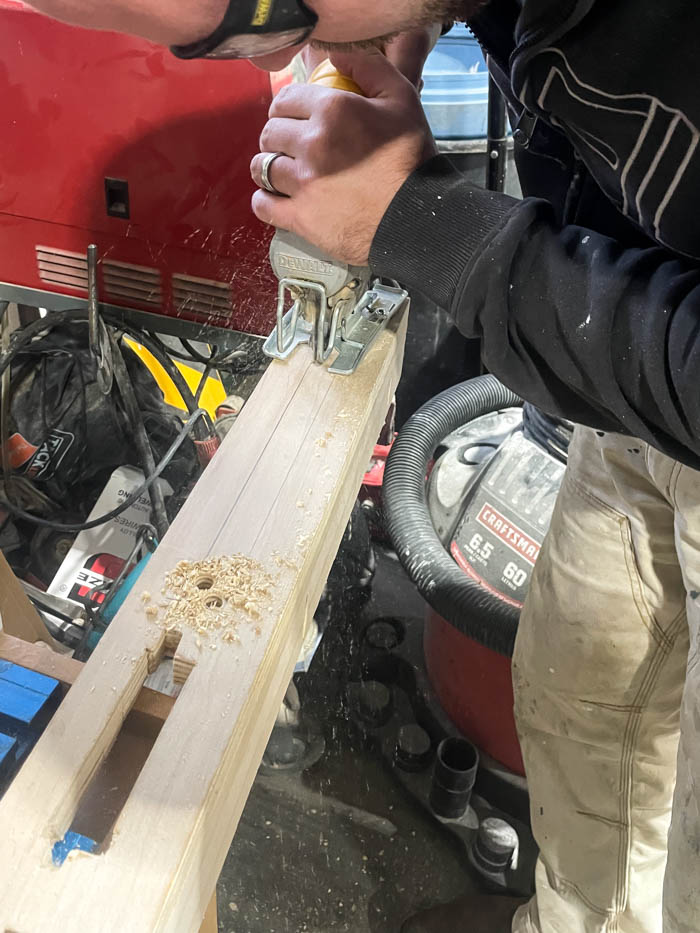
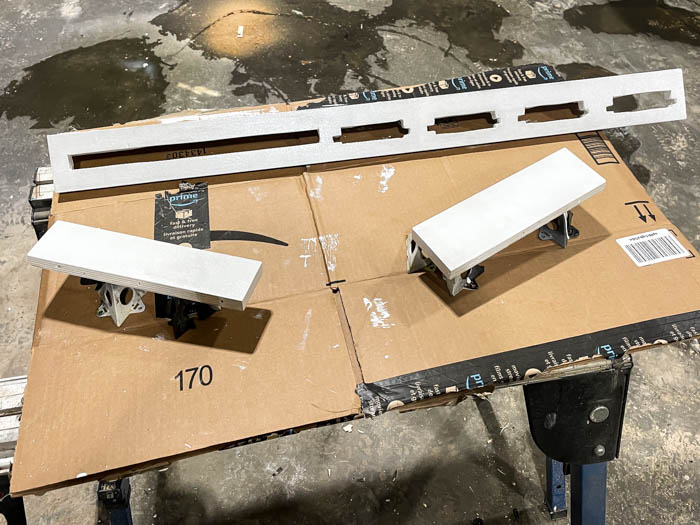
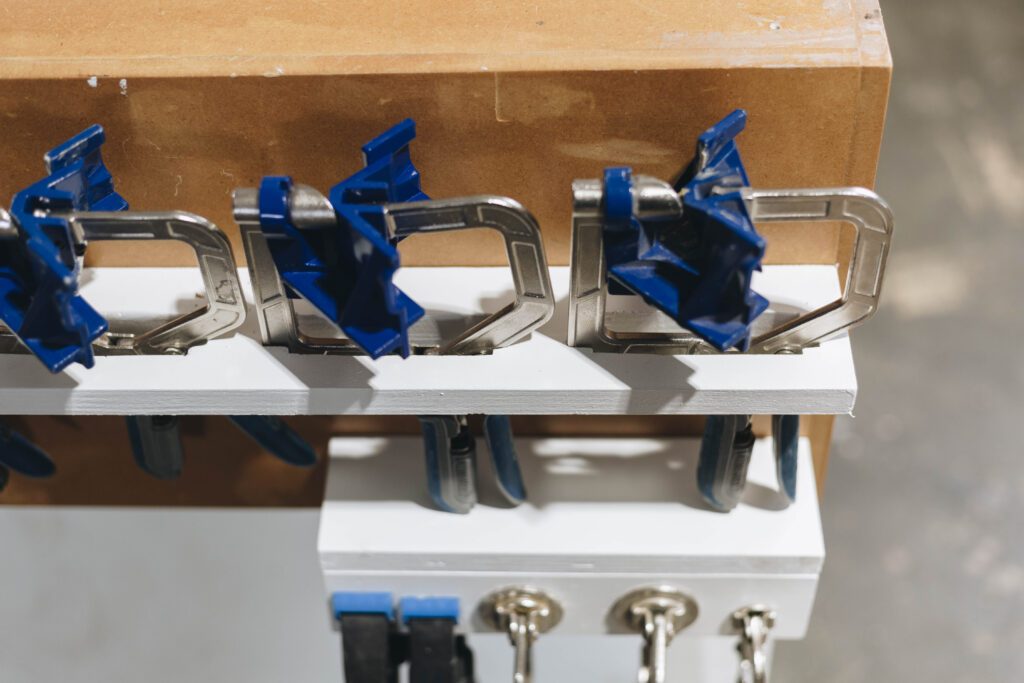
Once I had all the pieces cut to size I sketched out the holes for the Kreg Corner Clamps and Kreg Bench Clamps. I took a drill and jig saw to cut out all the holes and test fitted the clamps. After I was happy with how everything fit I moved onto cutting holes for the clamps onto the clamp rack
I used our Kreg 720 Pro Pocket Hole Jig to add pocket holes as shown on the free build plans to the pieces of ply wood.
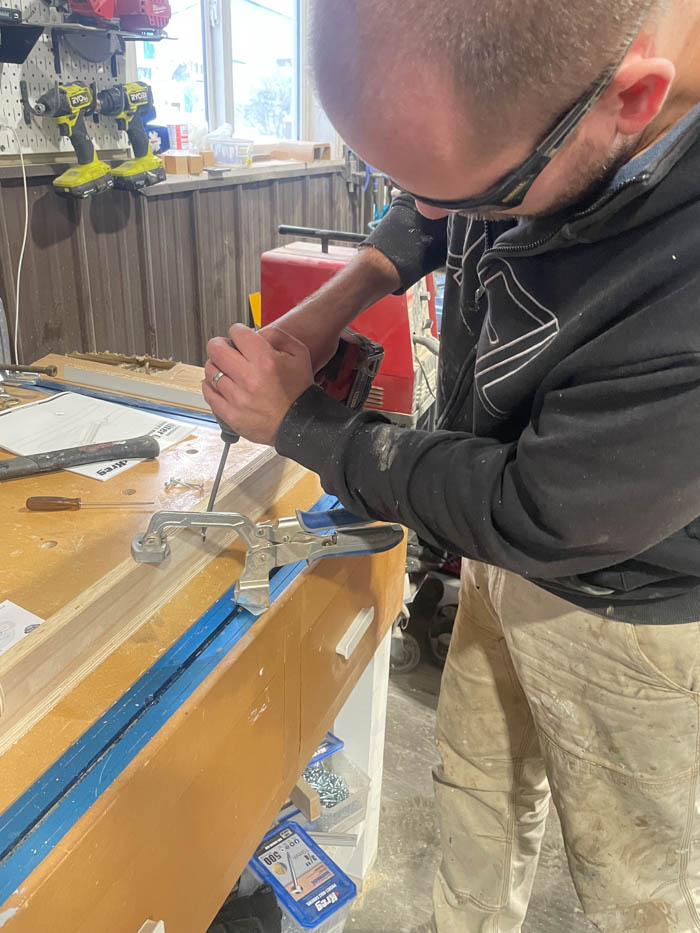
To attach all the pieces to together I used Kreg pocket hole screws. I did a mock up of the Kreg Clamp Rack on the side of my workbench to make sure everything fit together nicely.
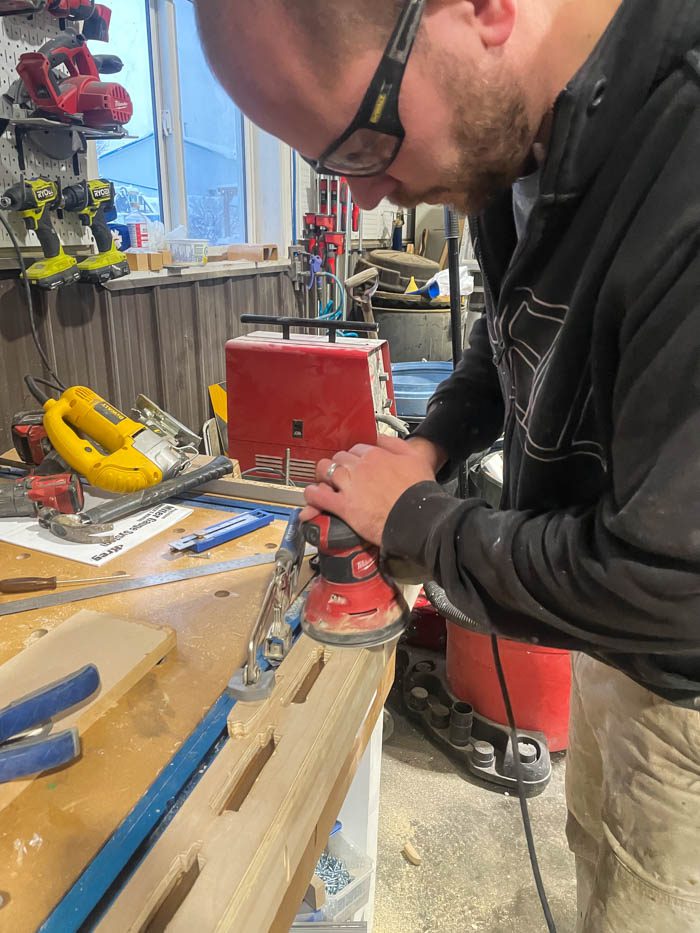
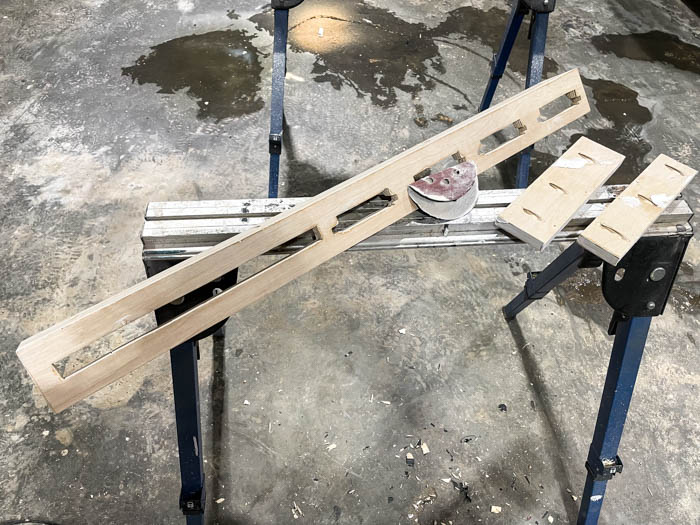
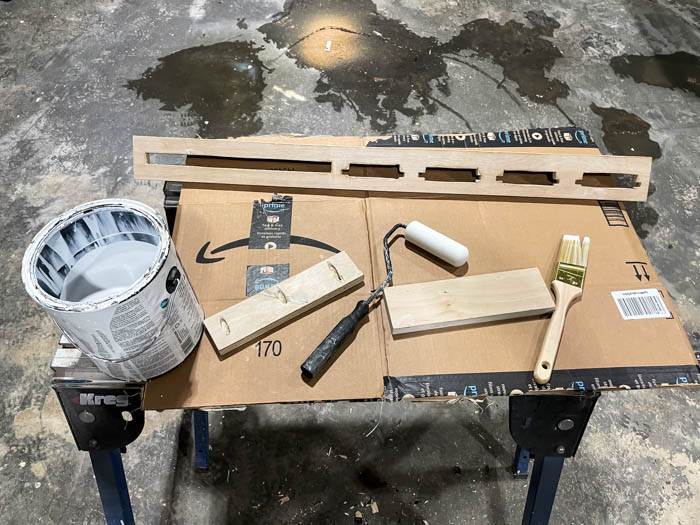
After I was happy with how everything fit together I took the pieces apart. I use some wood filler to fill any holes and/or imperfections. When the wood filler dried I sanded all the faces with my orbital sander to smooth all the faces and applied a coat of primer. Once the primer cured I added some white paint to finish it off so it would match the rest of my workbench!
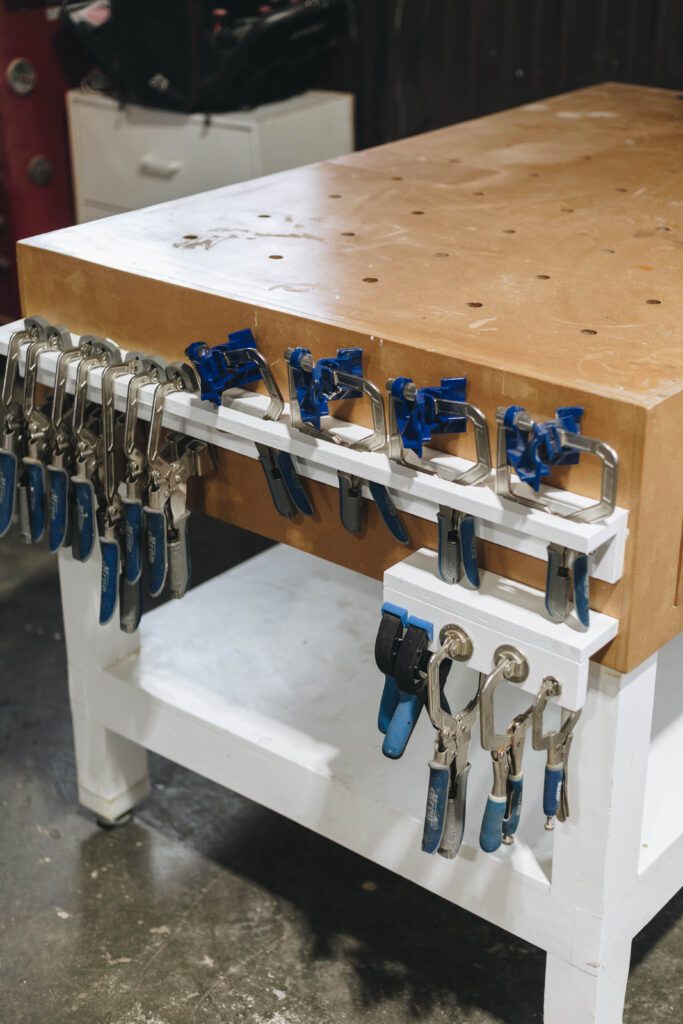
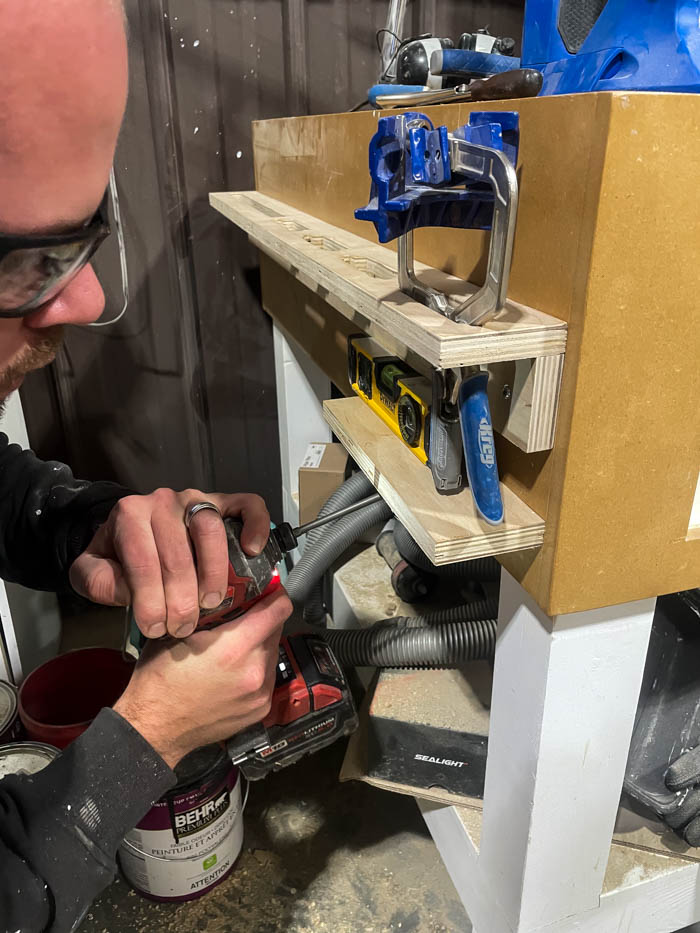
When the paint was dry, I reattached the pieces together and mounted the clamp rack to my workbench.
DIY Kreg Clamp Rack
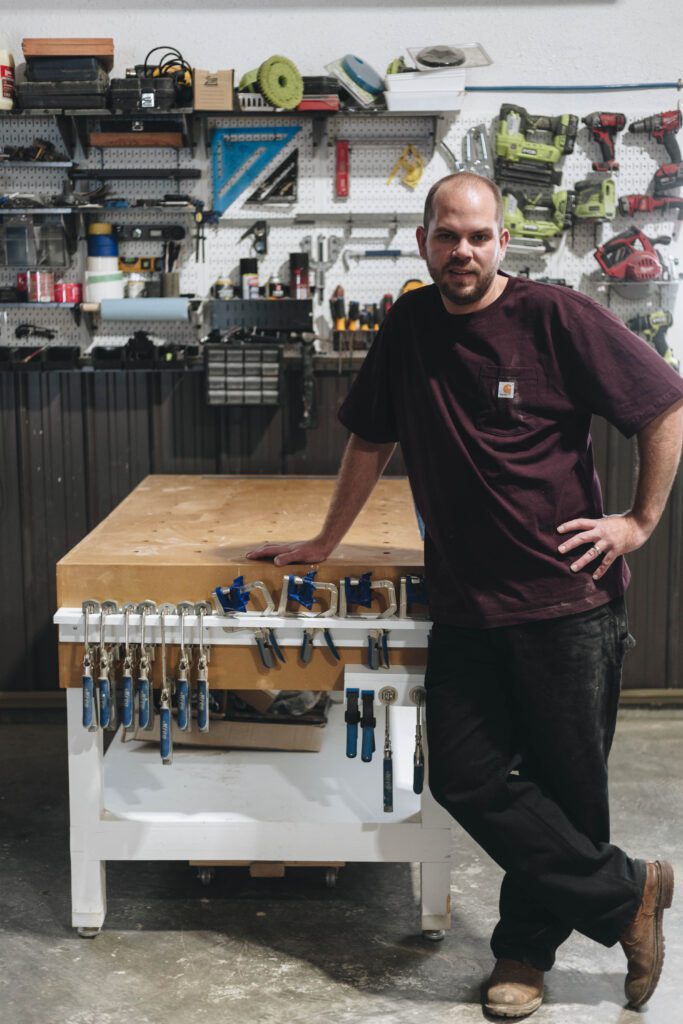
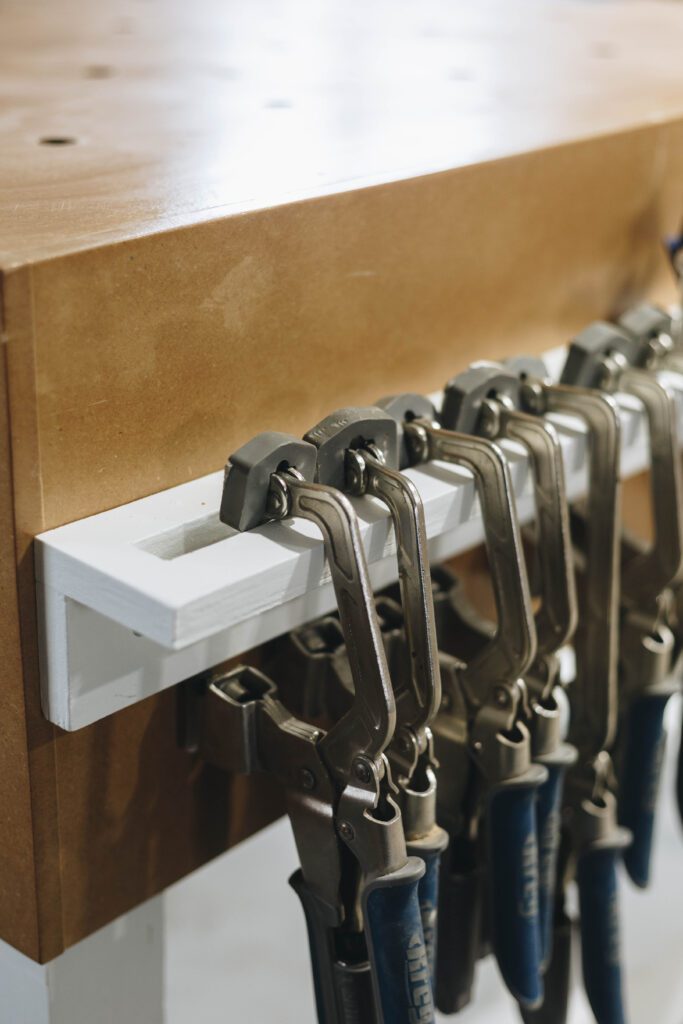
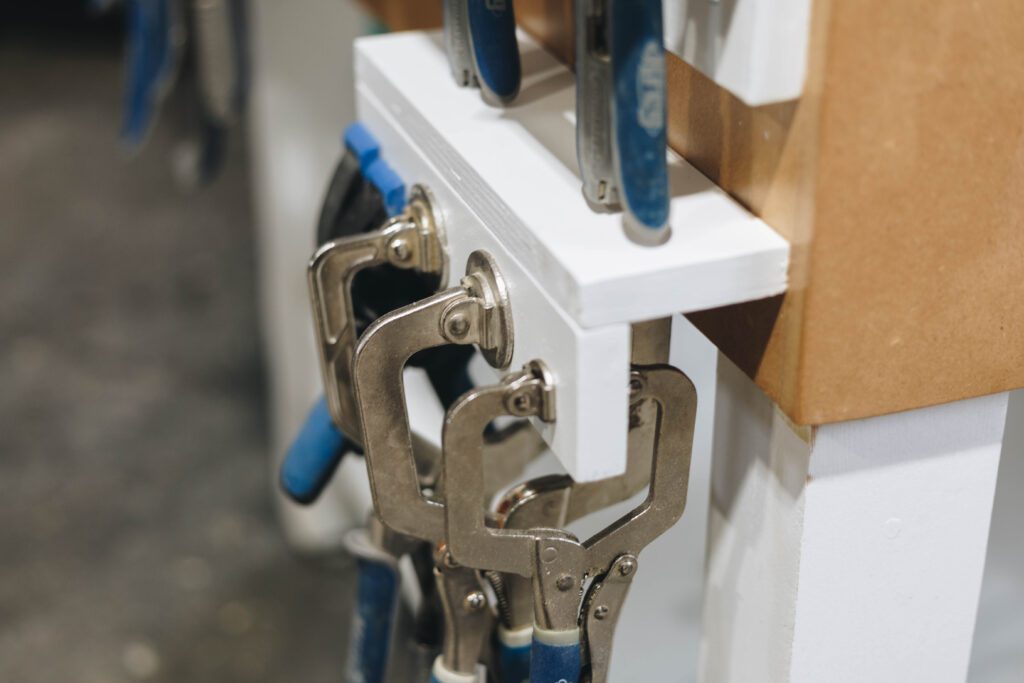
I couldn’t be happier with how the DIY Kreg Clamp Rack clamp rack turned out. I can’t wait to start another project so I can test how this clamp rack works!
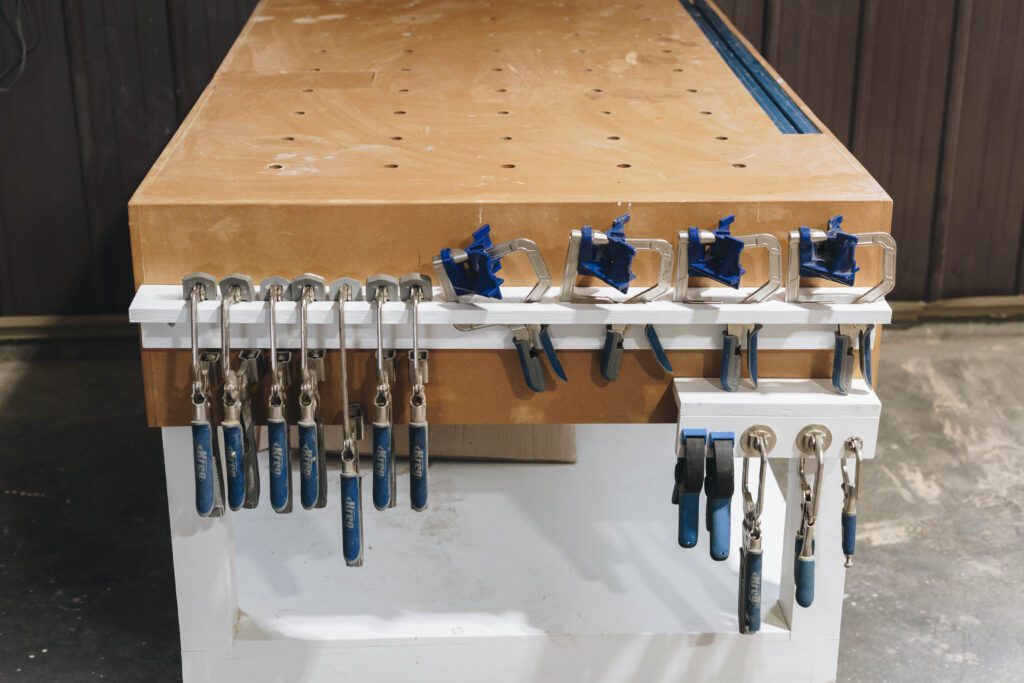
Quick DIY Kreg Clamp Rack How-To
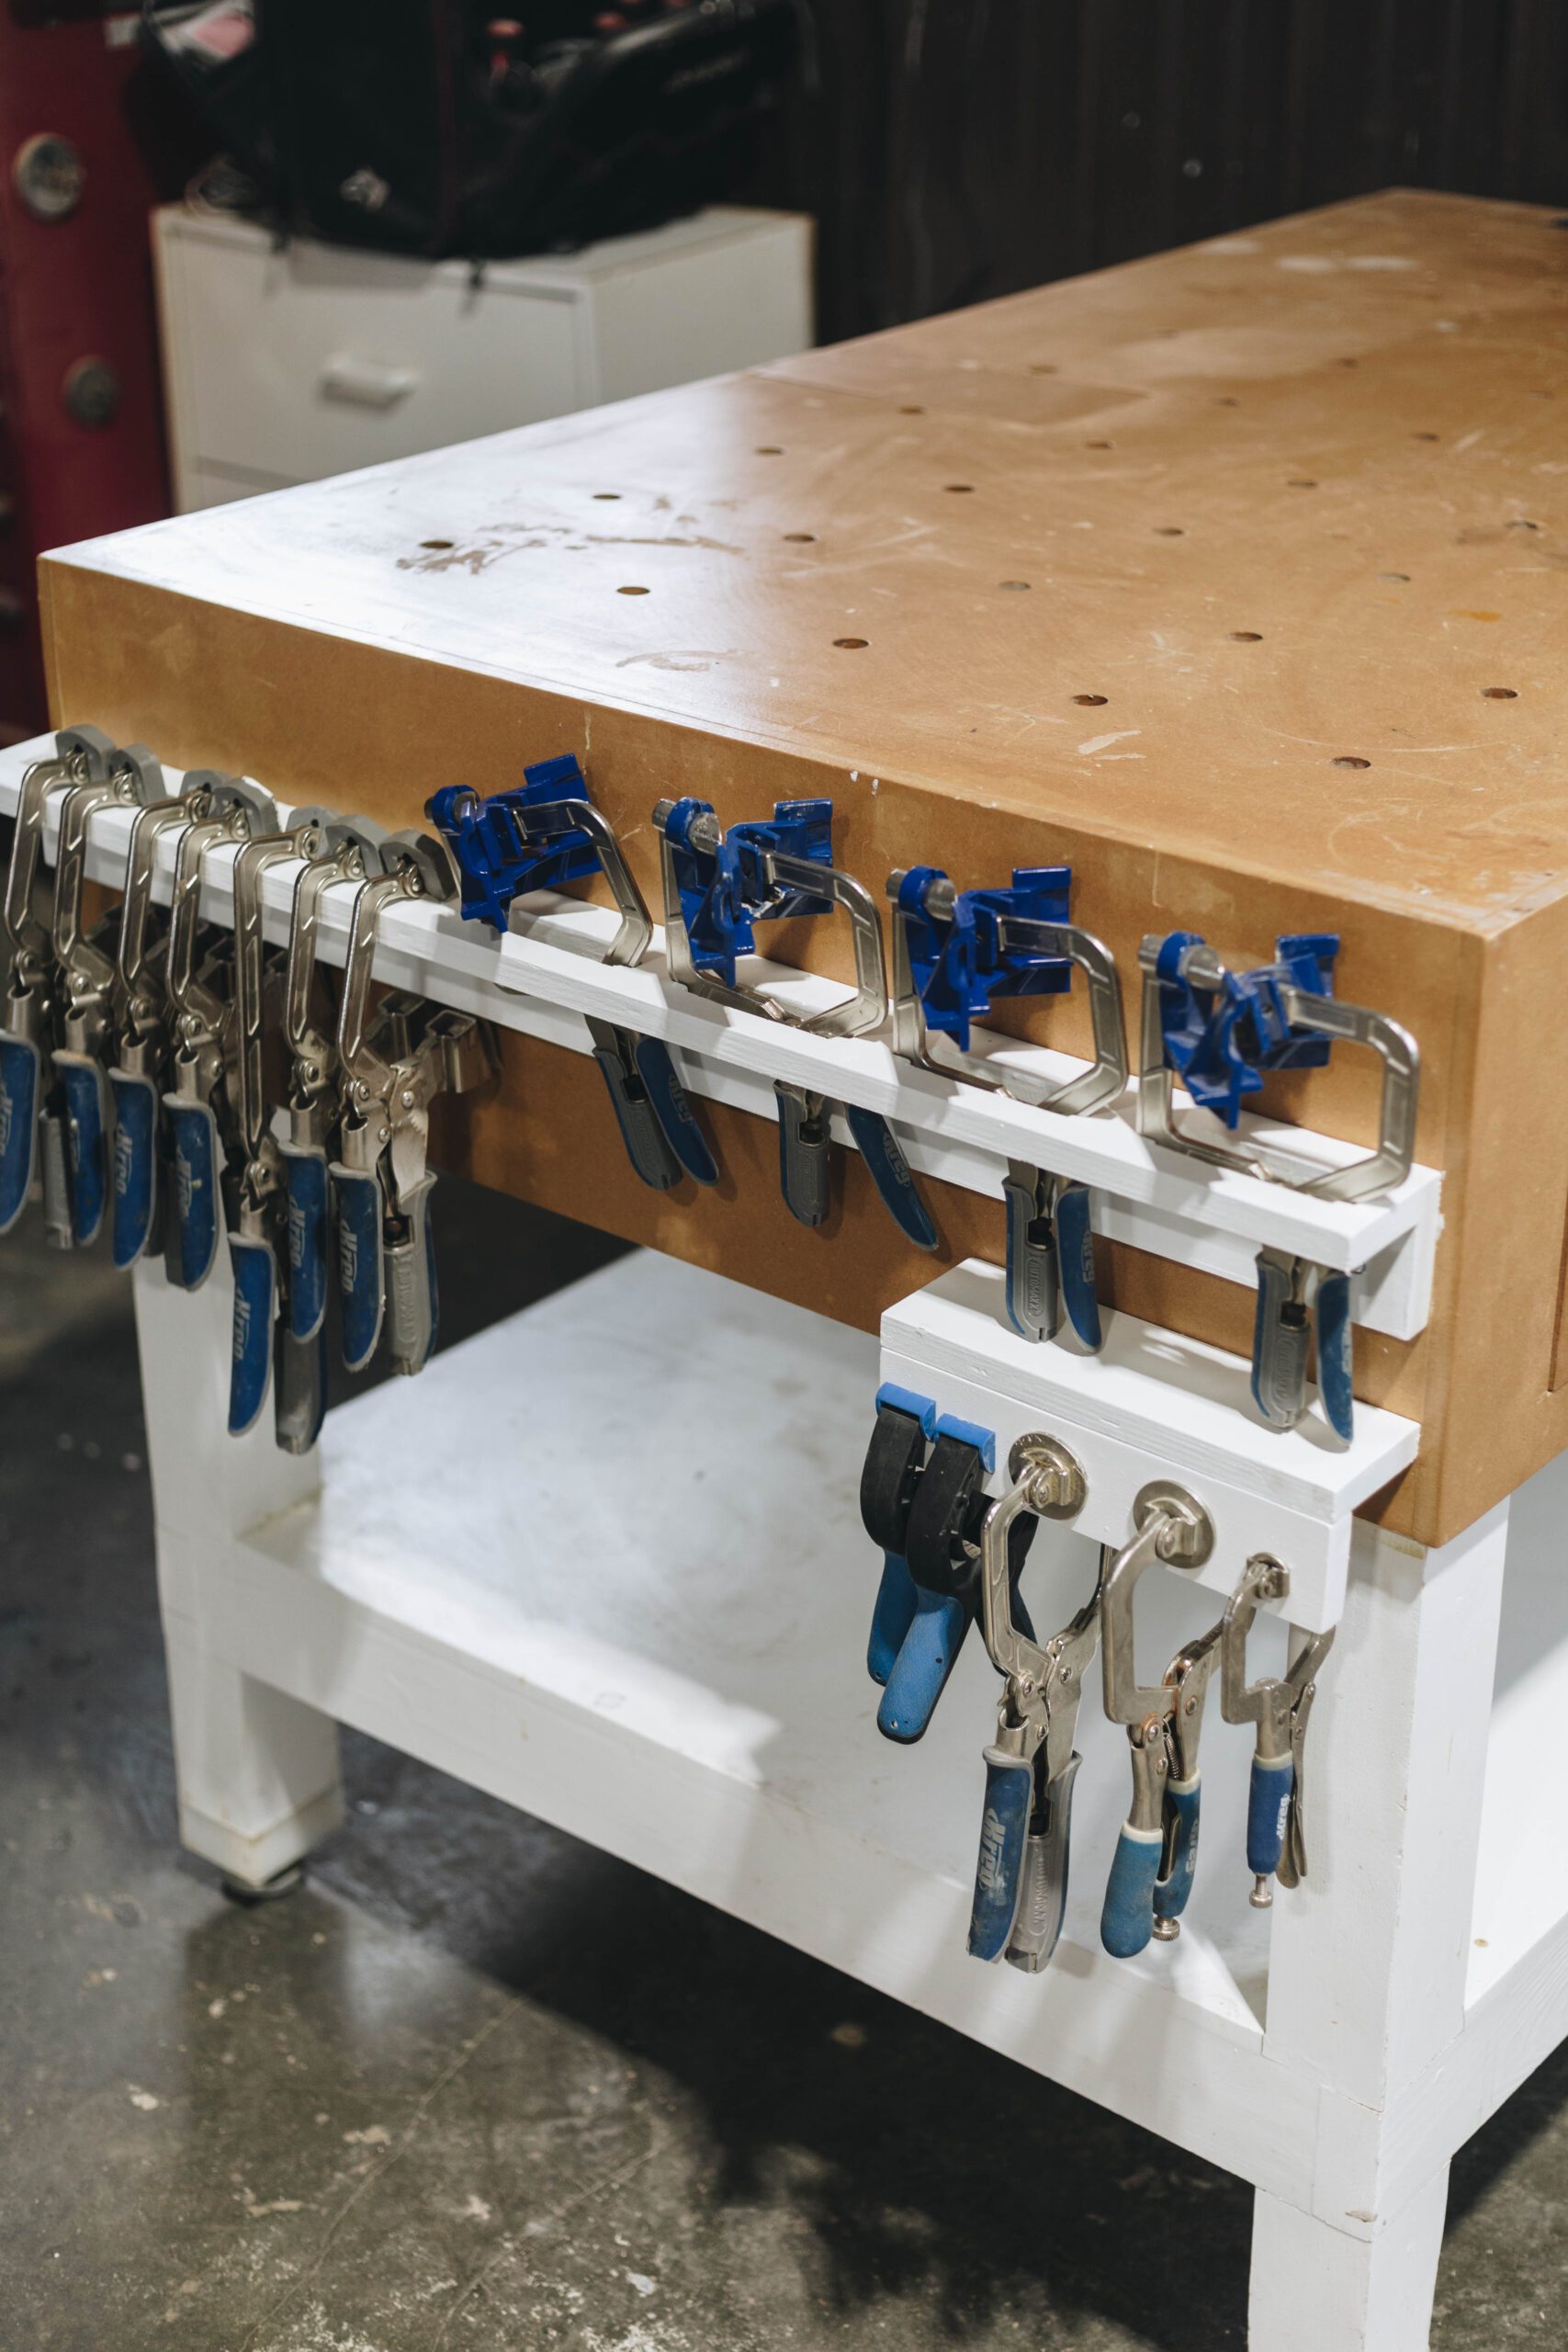
DIY Kreg Clamp Rack for your Workshop
This quick and easy tutorial will clean up your work space with this Kreg Clamp Rack. Download the free build plans and organize your garage!
Materials
- 3/4" Plywood - see plans for full details
Instructions
- Cut material to size
- Drill edges of holes with drill bit size larger than jig saw blade
- Cut out holes with Jig saw
- Add Pocket holes
- Fill and imperfections, sand, prime and paint to desired finish
- Assemble
- Mount to wall or workbench
Notes
Full build plans available at:
https://learn.kregtool.com/plans/diy-kreg-clamp-rack/



Neha
Monday 24th of January 2022
Lovely build! It looks so great. Thanks for the tutorial;)