Learn how to paint metal in 4 easy steps. Read this post to get all the tip and tricks on how to get the perfect paint finish on metal.
Many projects you run into will need to have some type of metal painted. Painting metal can be tricky, you will likely need to deal with peeling paint, rust, grease, or dirt build up. All these can affect how well you final paint turns out. But a fresh coat of paint can totally transform a piece. Lucky for you we came up with 5 easy steps to ensure your next painted projects looks great!
*This post may contain affiliate links. When you buy a product through one of our links, we get a commission at no cost to you! Thank you for supporting our blog so that we can continue to bring you posts like these. For more information, please see our disclosure page.*
Getting Started
We will break down the tools you need, what to do with different metals, and the 5 easy steps below for how we painted our DIY Tire Swing.
Tools and Supplies Required
- Paint Brush
- Paint Roller
- Paint Sprayer
- Paint Eater / Sander
- Wire Brush / Steel Brush
- Scuffing Pad
- Lead Paint Test
- Degreaser / Acetone / Mineral Spirits
Personal Protection Equipment (PPE)
Optional:
- Paint Shelter – to protect from the elements and catch overspray
- Drop Cloth/Dust Sheet – to protect areas from unwanted paint
- Rotary Tool – clean/surface prep hard to get areas/corners
- Wire Brush Drill Attachment – clean/surface prep hard to get areas/corners
- Rust Converter – to treat any hard to get rust areas, to minimize issues with future rust
- Body Filler -to fill small defects in your metal piece
- Paint Stick – to stir paint
- Small Brush – to paint hard to get areas
- Pressure Washer – to pre clean larger projects
- Can of Spray Paint – great for small projects or touch up
Common Different Types of Metal
Before you start you will want to know what kind of metal you are working with and if paint is a good option. We added a list for some of the most common different metal surfaces you might encounter in your metal DIY projects. Some metals, like copper and brass can get a nice patina finish if you just let time and oxidation take over.
- Steel – made up of carbon and iron – the most common type of metal you will find
- Stainless Steel – Another alloy of Steel, but with chromium added to give it resistance to corrosion (not fully immune to rust)
- Iron (Wrought or Cast) – used to make modern steel but also found in antique items, cookware, and stoves.
- Aluminum – great weight to strength ratio. Doesn’t rust but can oxidize.
- Copper – generally found in electronics and in plumbing, it is a great conductor (for electricity) and has a good resistance to heat.
- Brass – Brass is an alloy of zinc and copper. It’s common to see this metal used in antique furniture as handles and knobs and brass instruments.
| Metals | Colour of unfinished, unbroken surface | Colour of freshly file surface | Magnetic |
|---|---|---|---|
| Steel | dark grey | bright silvery grey | yes |
| Stainless Steel | dark grey | bright silvery grey | No |
| Iron | ligth/dull grey | light silvery grey | Yes |
| Aluminum | light grey | white | No |
| Copper | reddish brown to green | bright copper colour | No |
| Brass | reddish yellow, yellow-green, or brown | reddish yellow to yellowish white | No |
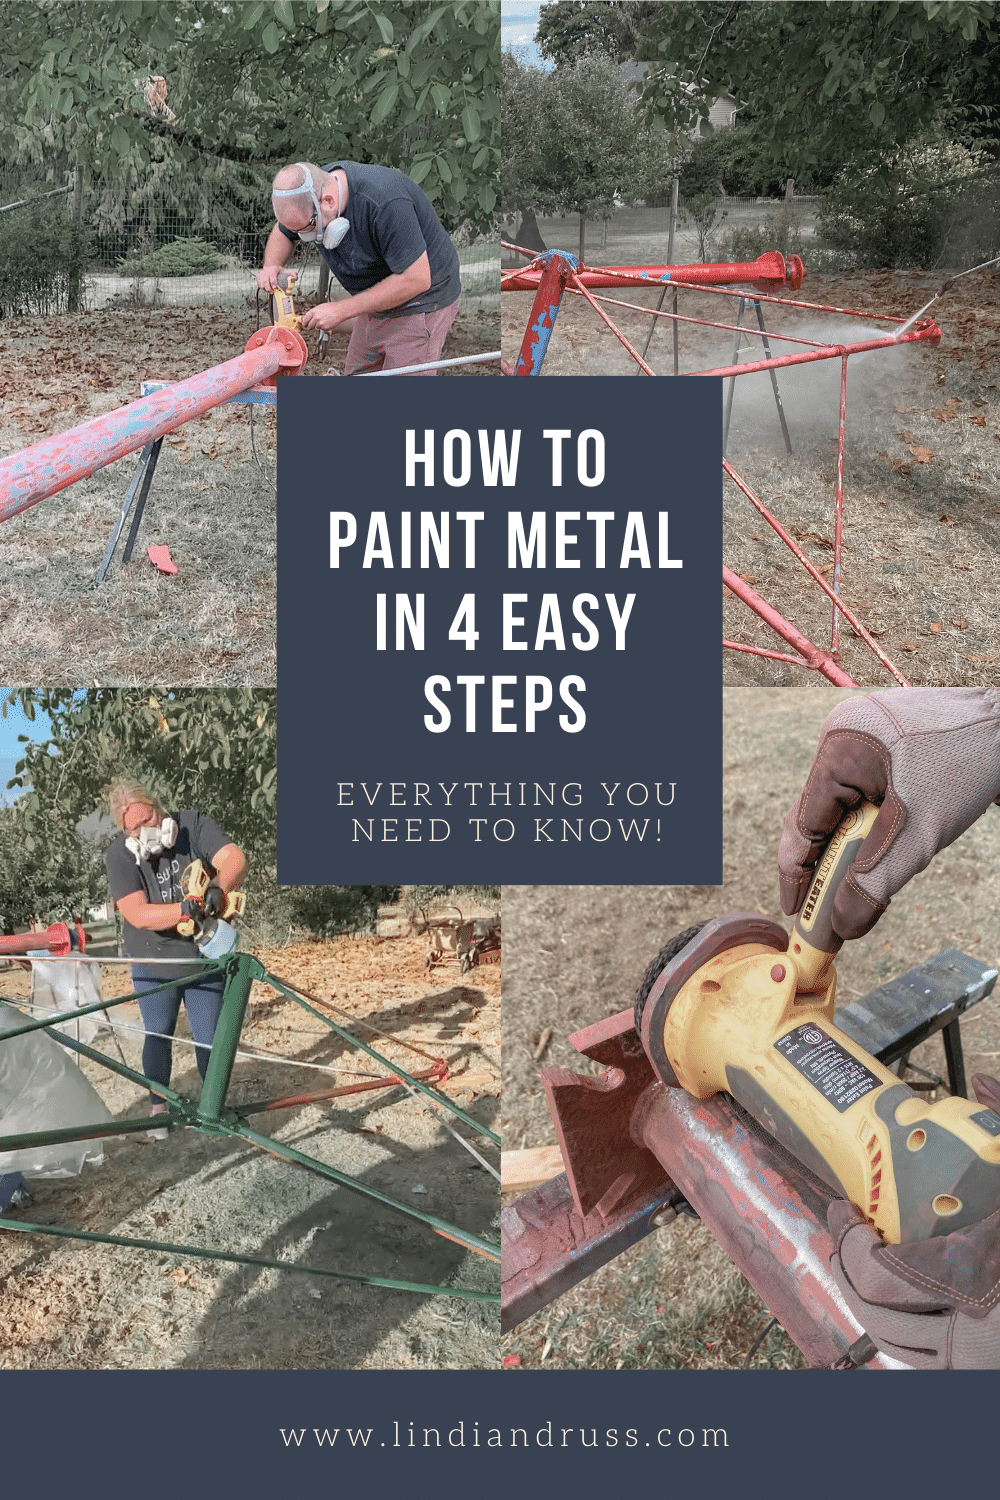
How to Paint Metal in 4 Steps
Cleaning
Removing Grease and Dirt
Before you start the first step you will want to complete is to test the existing paint for lead content. This isn’t as much of an concern with restoring newer items but should be checked with items from before the 1990’s.
Before starting anything you want to remove any dirt, debris, loose rust, loose paint, and especially grease. Cleaning and removing all these things will prevent a good bond between the old paint/bare surface of the metal and first coat of paint.
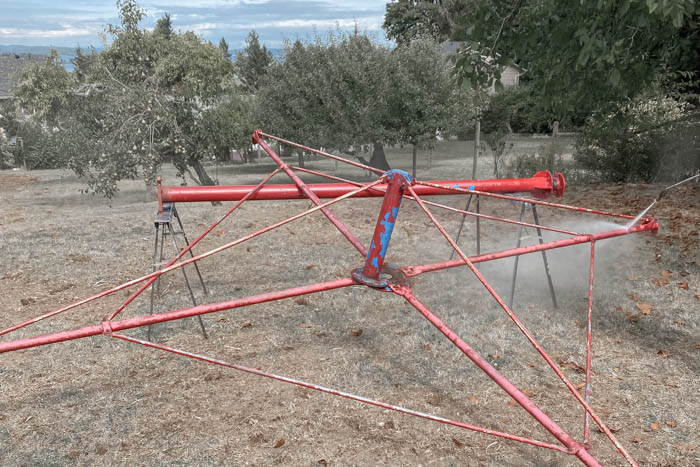
You can use a pressure washer on bigger projects with a degreasing solution to help break down any hard stuck grease. For smaller projects you can use either a damp cloth with clean water, emery cloths, and some mineral spirits to prep the area for sanding.
Paint Surface Prep
Removing Rust (ferrous metals) and Oxidation (non-ferrous metals)
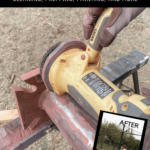
Be sure to wear proper PPE when sanding metal. To remove any hard rust build, scaling rust, or oxidation you can give the project a light sand. Tools like a Paint Eater or orbital sander work great on flat pieces to get a nice smooth finish. Tools like a rotary tool or drill with a wire brush attachment can work great on hard to get corners.
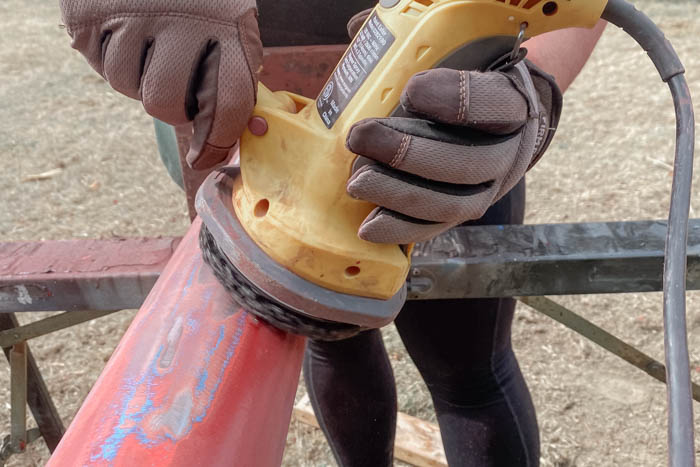
Hand tools like emery cloth, wire brush, and sand paper can help get into those hard to get corners.
For larger projects you may consider sandblasting. You can send the piece out to a sand blast shop or get a small sand blaster to use at home (look at compressed air requirements). One item to note about sandblasting is the fine dust – be sure to use proper PPE and complete the in a safe work area
You want a nice smooth and clean surface for your first coat of paint, so take you time with the surface prep portion of work. The cleaner the entire surface of your project is, the better finish you will achieve.
Degrease
Once you are done sanding be sure to wipe down all the surfaces of the metal with either a degrease solution, mineral spirits, or acetone. This will ensure a good bond between the new paint and the clean metal surface. You can use a clean rag or shop paper towel, just be sure to that is lint free.
Rust Converters
For bare metal projects that didn’t get painted right away or a project that has rust in hard to get too spots you can use a rust converter product. This will use a chemical process to convert the existing rust into a protective barrier to minimize the existing rust from growing. This isn’t a permanent solution to future rusting, as the best solution is remove all rust, but can work in specific scenarios. Converting rust to a protective layer also won’t give you as smooth of a finish
Painting
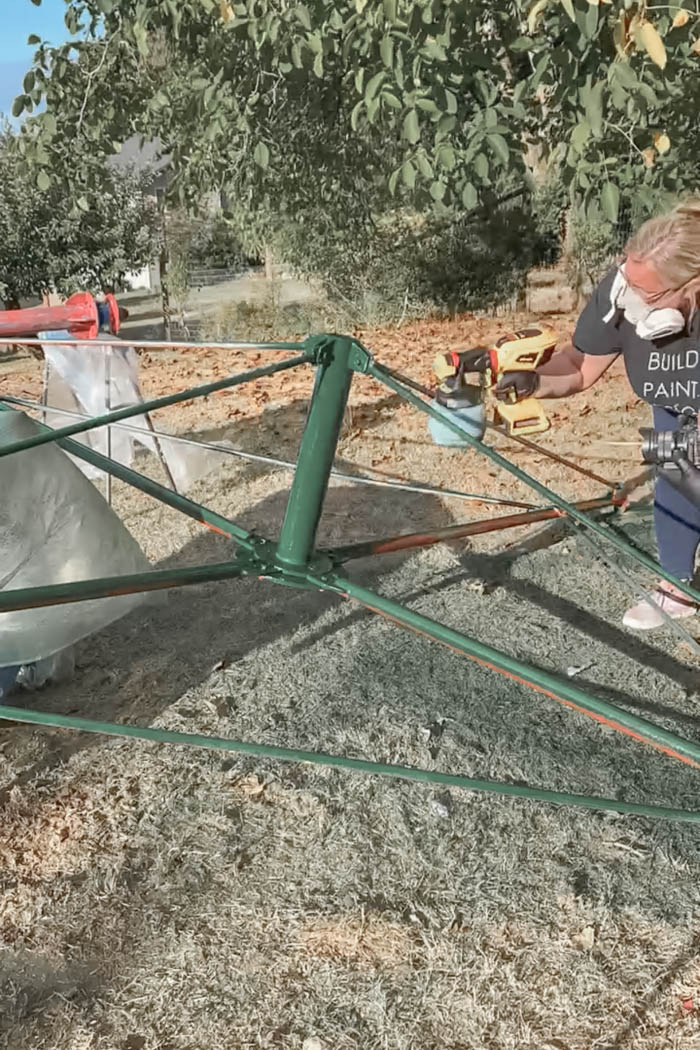
When painting you can either apply with a brush roller or used a paint sprayer. It is always a good idea to paint in a well-ventilated area. Spray painting the piece will give you the get the best paint job, as brushes can leave marks in the paint as it dries.

We like to use our paint sprayer to paint the majority of our projects. But for smaller projects a paint brush and paint roller will work fine.
Make sure to read you paint products description to see the best way to use and apply the paint. The paint info section on the paint can will generally give you tips on how to achieve best results and even the best way to deal with clean up of the product (cleaning brushes, sprayers, etc).
Using a can of spray primer can be great for smaller projects or touch up, but can be cost inhibitive for larger projects.
Paint Types
Choosing the right paint will really help you paint last and look great. We have included some tips below but you can always talk to the paint desk at the store you are shopping at to give some suggestions as well.
- Enamel/Oil-Based Paint- great affordable paint option for metal, easy to use but less durable than epoxy paint. Great for outdoor projects like outdoor furniture.
- Epoxy Paint – Great for projects that will see lots of use in harsh climate and environments. Can be more technical to use as they can require mixing agents to cure properly. Epoxy Paint cures fast. Great also for outdoor metal furniture or playground equipment.
- Water/Acrylic Based Latex Paint – best for indoor items with light to moderate use like a indoor piece of furniture
- High Heat Spray Paint – for outdoor grills and BBQs
Primer
Primers insure a good bond between your paint layers and piece of metal. There are several different primers to choose from. Some rust-inhibiting primer will help with preventing corrosion on your painting project. Rust-inhibitive primer are best used on ferrous metal projects. Generally primers are grey in colour, but most primers can be tinted if required to help the coverage of your desired final colour.
A self-etching primer are great to assist in bonding the paint to a metal surface. They have a low level of phosphoric acid present to help etch the metal surface and improve adhesion. Self etching primers can be used on ferrous and non-ferrous metals.
Zinc rich primers are great for harsh environments where the piece may be exposed to salt (salt water or cold climates where salt is used for ice control). The zinc in the primer helps minimize rust of the base metal material.
Primers can also help you get a nice smooth surface, if you sand between primer coats you can fill any small defect/pinholes in your metal piece. For larger defects you can consider using a body filler, however be careful with this as excessive amounts of filler can cause cracking and peeling of your paint.
When using primers and top coat products make sure to check which products can be used together. As most products are designed to wither work with a specific primer type/band, or work alone.
Paint
Your second coat of paint will have the colour you want your project to be painted. To get the best finish you want to apply thin coats of paint. Depending on the colour you are spraying you way need multiple light coats of paint to get full coverage on all the paintable surfaces. A lighter color will generally need fewer coats of paint.
You can sand your primer layer with a fine grit sand paper to help get a nice smooth surface.
Clear/Top Coat – Optional
First confirm if you paint can be clear coated (by checking product info). But if you want to add some extra protection, or additional UV protection you can add a clear coat on top of your painted surface (once its fully dried/cured). For best results you want to add thin/light coats of paint and can sand between coats of paint to get a smooth finish (with high grit of sand paper).
Should I DIY My DIY Metal Paint Project?
Following these 4 easy steps will give you a great painted product. Whether painting outdoor metals or exterior metal, metal siding, patio furniture, or an indoor project, these tips should give your great success in your next DIY metal painted project!
In some cases you may want to consult professional painters. If you are dealing with structural items and/or projects with significant corrosion you may need an expert to review to the best way to paint/renew the piece in question.
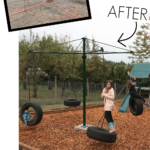
DIY Tire Swing
We found this old-horse-walker-turned-tire-swing to add to our kids backyard playground. You can see our YouTube video below to watch us repaint and and set it up in the yard of our West Coast Reno! If you want to read about how we found the tire swing check out our How to Make a DIY Tire Swing for Multiple Kids Blog post!
Or see the whole tire swing get a refresh and new paint job below!