Learn how to hang string lights and chandeliers on your patio, deck, front porch, or pergola! Make your outdoor space stand out with outdoor lighting!
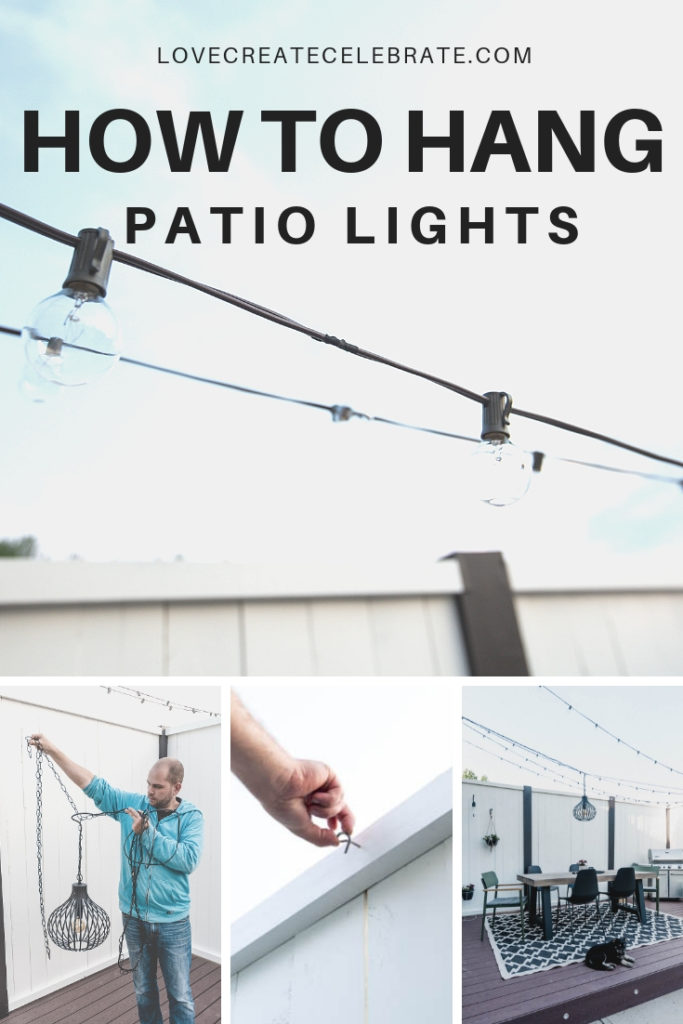
We built a floating deck and privacy wall at the end of last summer, because we didn’t have any where to relax, eat outside, and hang out with some shade. I was planning out this space, and there were a few end-of-season sales while I was hunting for beautiful outdoor decor. During my hunt, I spotted this beautiful outdoor chandelier and it changed my whole view of the space! I grabbed some globe string lights too, and the lighting transformed our back patio! I’m excited to show you how to hang string lights and chandeliers in your outdoor space!
*This post may contain affiliate links. When you buy a product through one of my links, I get a commission at no cost to you! Thanks for supporting my blog so I can continue to bring you posts like these. For more info, please see my disclosure page.*
Lighting is everything! One of the first things I look for in any space is the lighting, and it’s often one of the first suggestions I make to help transform a space – add a lamp! The same goes for our outdoor spaces. Hanging string lighting is actually a pretty quick and easy change to make, when you know what tools to use!
Materials Needed to Hang String Lights
- String Lights
- Outdoor Chandelier
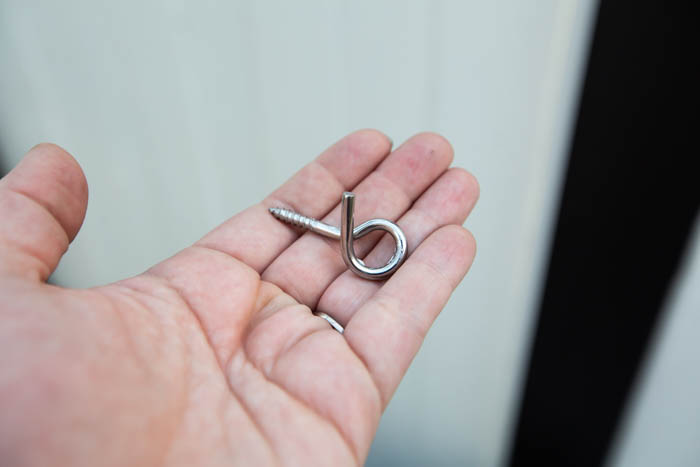
- Q Hooks
- Metal chain
- Outdoor outlet
How to Hang String Lights
Hanging string lights is actually fairly easy. The hardest part of the whole process is splicing multiple string lighting strands together (if you have to – which I will get to shortly!).
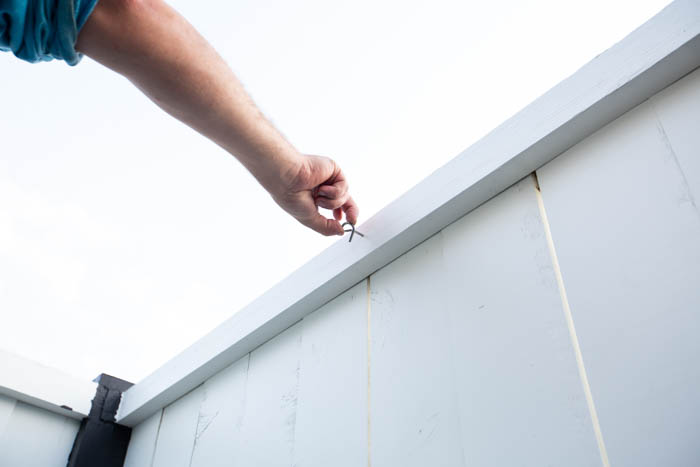
The main thing you need is a Q Hook. They are really easy to use, and twist into place, and they can hold a ton of weight! We have ours holding up our heavier chandelier as well.
Whether you are putting lights under a deck, stringing between trees, or hanging lights along a fence or privacy wall these hooks will work. Simple twist them into place in the wood, by hand.
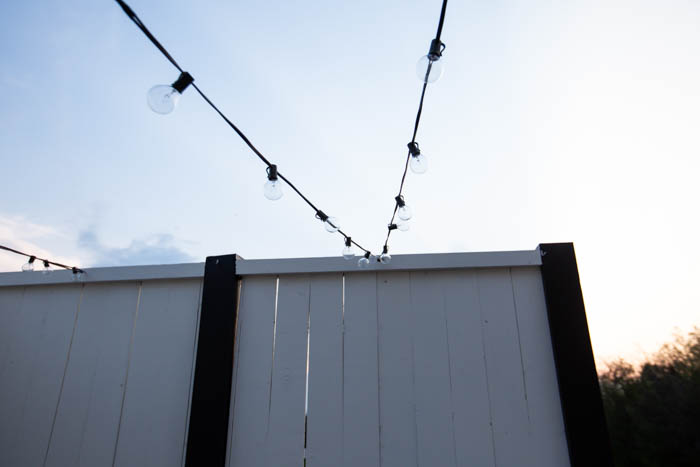
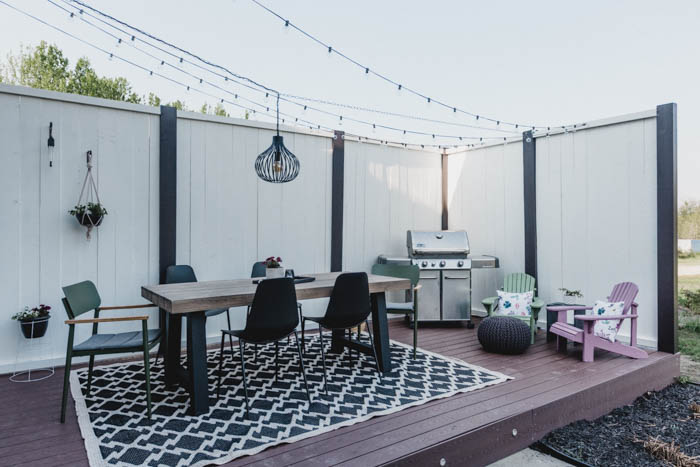
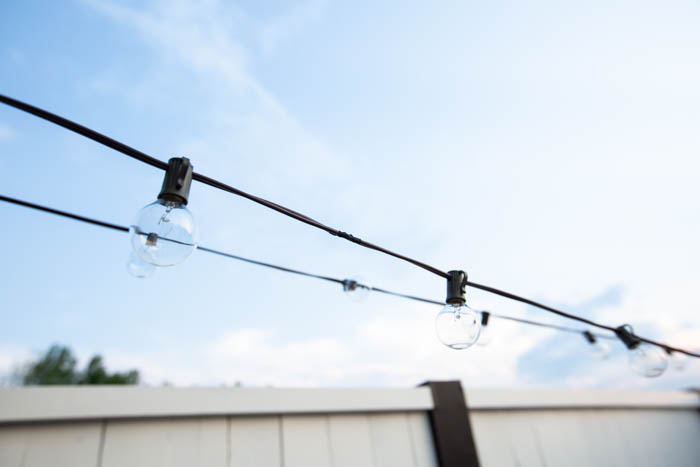
You’ll want to lay out your string lights first, so that they create a V or W pattern. String it through one Q Hook one one side of your deck or patio, then string it through a Q Hook on the other side but slightly over, etc. etc, to create your V or W with lights.

You can kind of see how to hang string lights with the W pattern in the photo above. We have three hooks on one side for the string lighting, and two hooks on the other side (the five points of the W).
How to Splice String Lights Together
The next thing you may be wondering, is how to hang string lights when you need multiple cords. When you need more than one section of lighting you usually are able to connect multiple cords by plugging the ends together, but you should always follow the manufactures recommendations on how many sets of lights to connect together so you ensure you don’t overload the cord or outlet.
This is a quick and easy way to extend your lights. You may need to strategically place the ends where the cords connect as you will have sections with no lights. If you can strategically place these sections, and/or your ends stop near your outlets, it is the easiest way to string the lights.
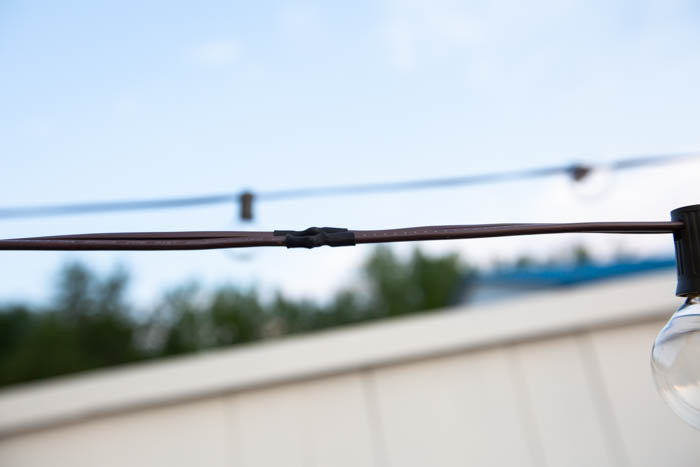
In our case we didn’t like the look when all the cords were plugged together as there were large sections with no lights due to the cord having a large extension at the beginning to allow you to plug it in. So we decided to cut the electrical cords down and splice the wires together.
There are several ways to do this, in our case as the cord was going to be used outside we wanted a safe waterproof connection. We stripped the wires, twisted the copper sections together (ensure wire colours match if applicable), and using electrical solder and a soldering iron, solder them together. Finally we used heat shrink to protect and cover the solder joint.
This can look intimidating, but if you are familiar with electrical work, it is definitely an option. Here is a great video of the entire process:
How to Hang an Outdoor Chandelier
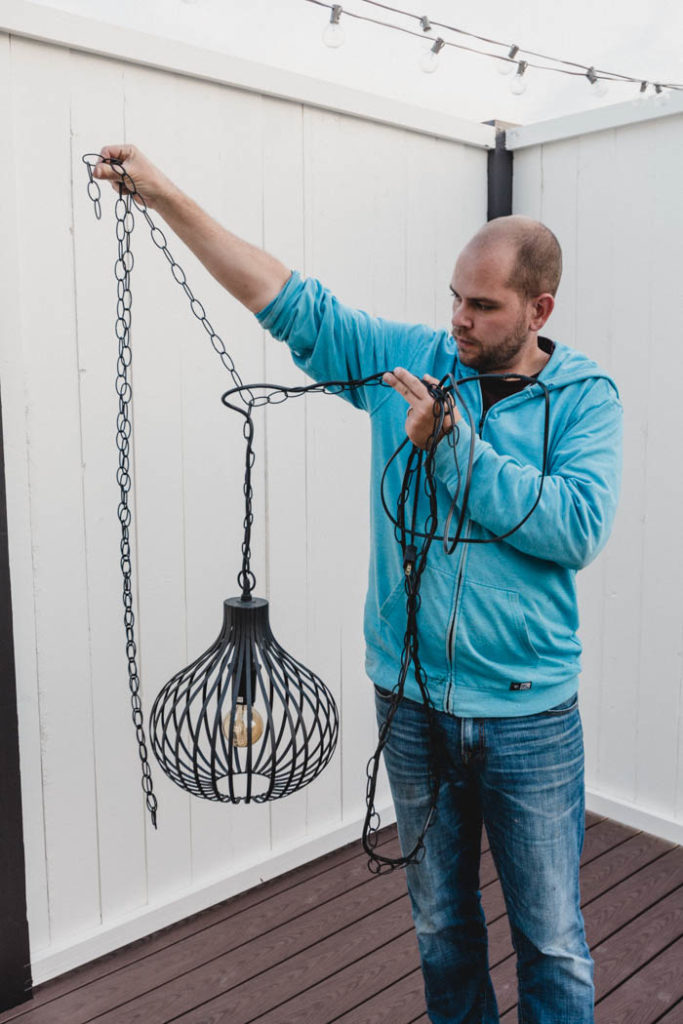
After learning how to hang string lights, hanging the chandelier is fairly easy and a very similar process First we installed Q Hooks at either end of the deck, trying to center the light to the dining table.
Second we strung a black chain between the hooks, you can add or remove the “sag” in the chain by adding or removing tension (making it tighter or looser) for your desired look. Remove any excess chain with a sets of pliers.
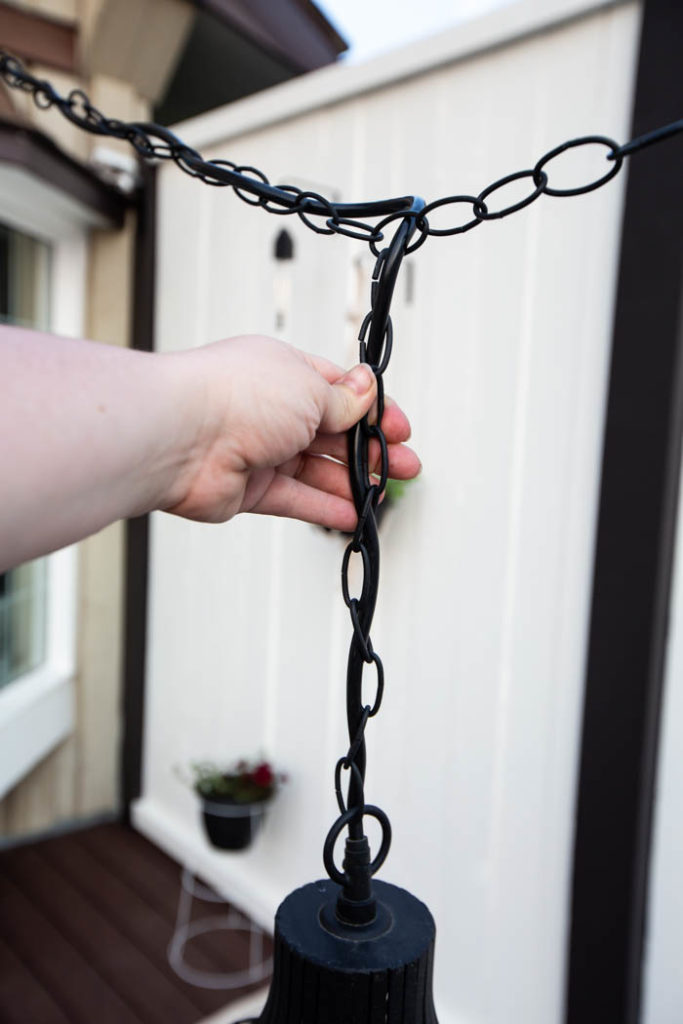
Once you have your chain in the position you will need to string the electrical wire through it. You will need to remove the plug end, and in our case we also had to lengthen the wire. With the end removed, start at the point where you want your light to be hung, we centred out light over the middle of our dining table. Feed you electrical wire through the chain towards the Q Hook at the nearest outdoor outlet.
Once you reach the outlet add a cord end or if your wire is too short lengthen the wire with the same process as noted in the video above and than add a cord end.
Here is a good video of how to string wire through chain, it is for a Chandelier but follows the same general idea:
Here is a good video showing how to add/replace a electrical cord end:
How the String Lights look at night
We are so happy with how our string lights and outdoor chandelier look at night! Lighting really is the best way to create ambiance in a space.
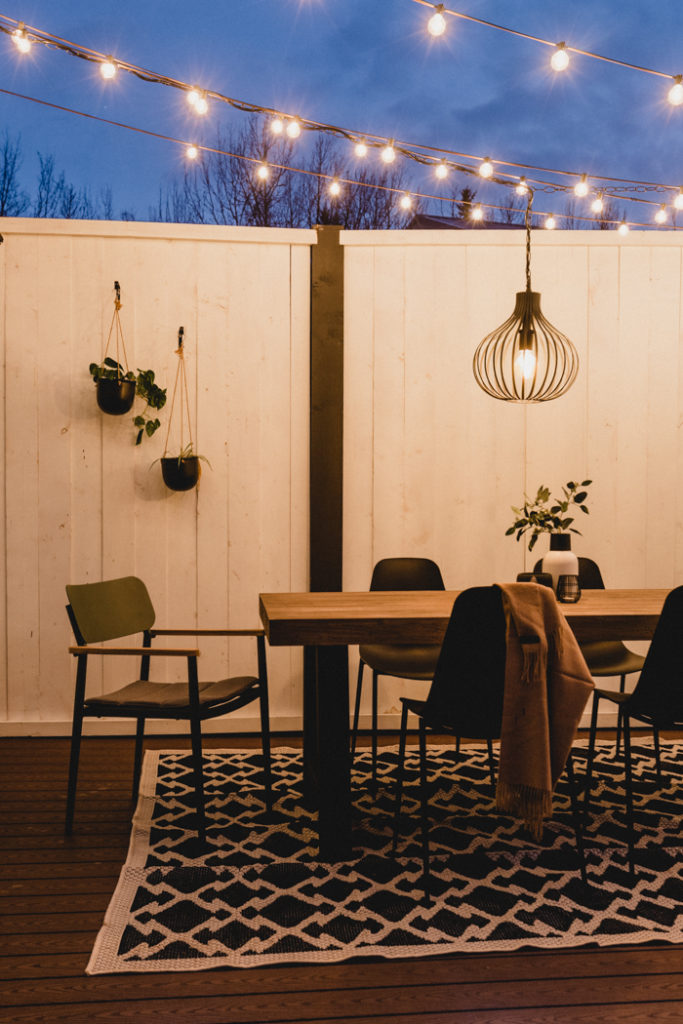
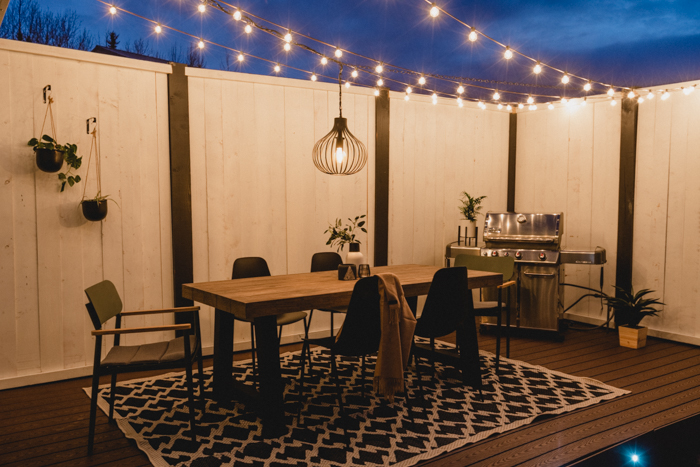
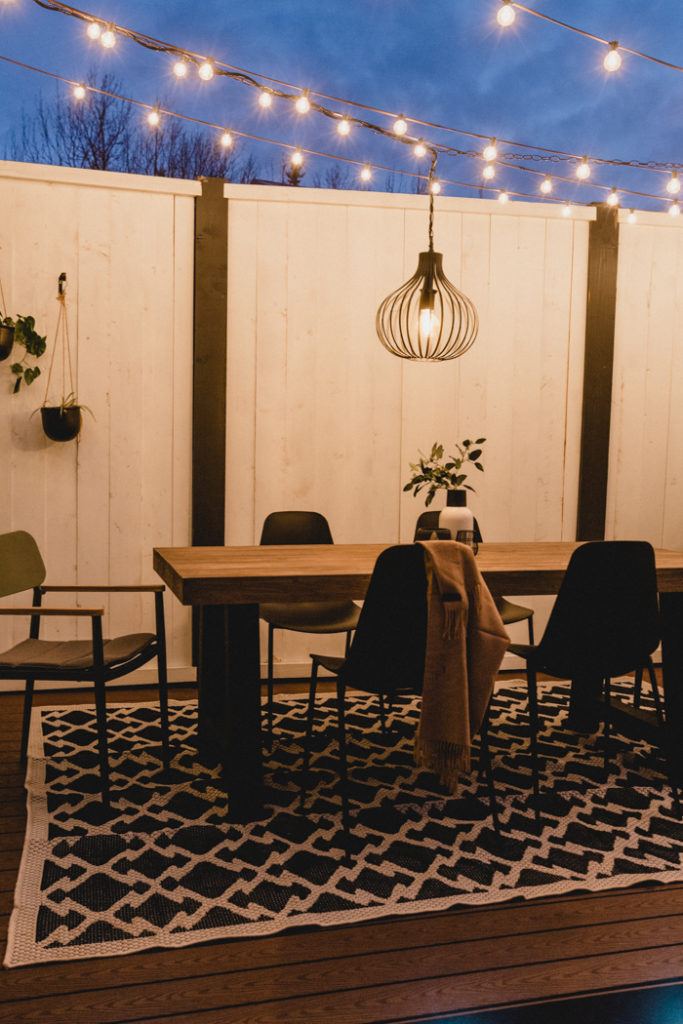
I hope you found that helpful! If you have any questions, please ask!
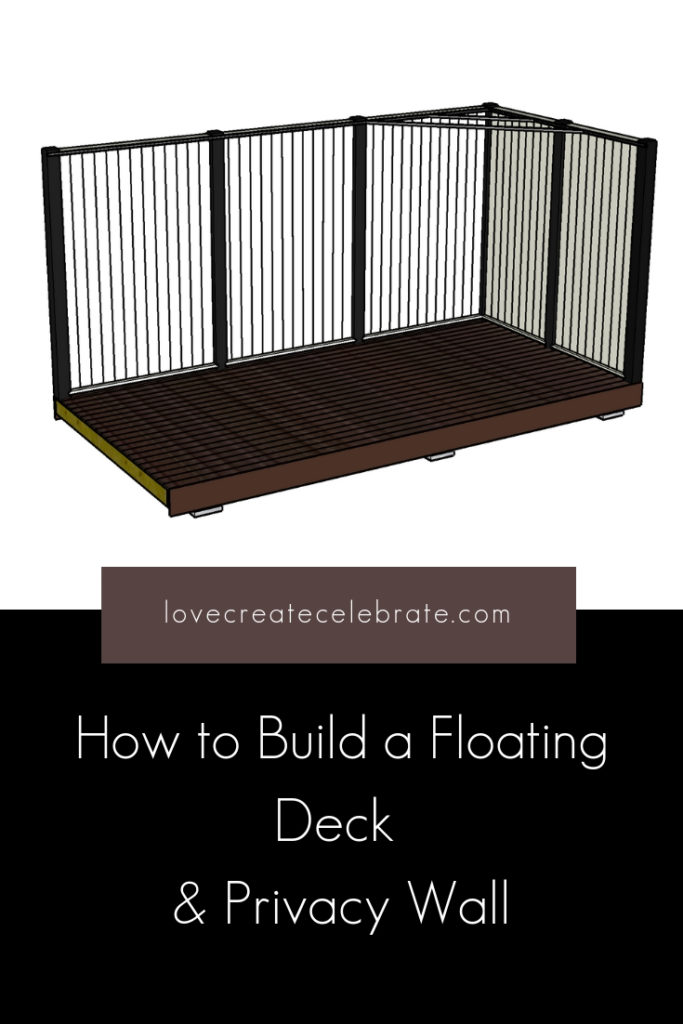
If you liked this, don’t forget to check out the build plans for this DIY Floating Deck and Privacy Wall!
And if you’re looking for decor tips, here are a few amazing Dollar Store DIYs for your outdoor space!




crystal
Tuesday 2nd of May 2023
Hello, I love the string light and chandelier combo, where is the chandelier from??? Thank you!
Lindi
Monday 8th of May 2023
The Chandelier was from Canadian Tire a year or two ago. Not sure if they have the same one, but they often have something nice for outdoor lighting!