
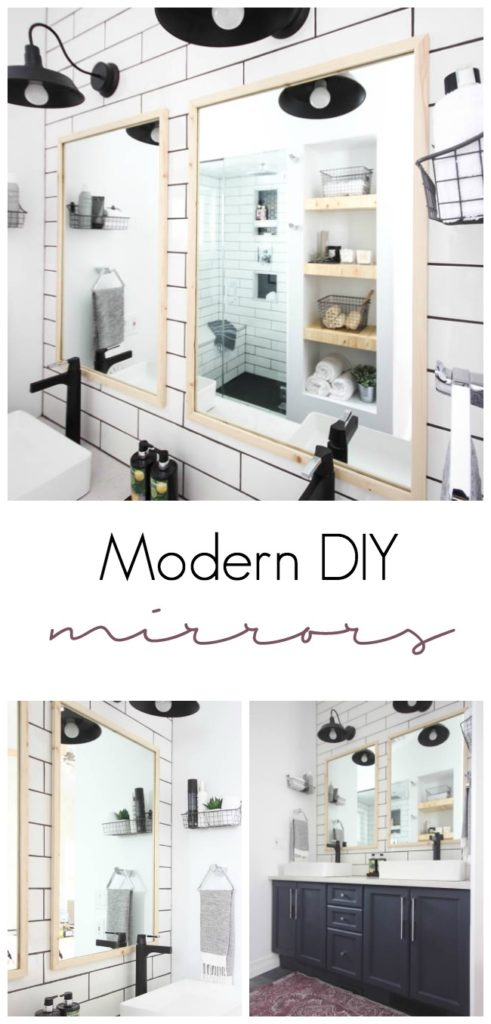
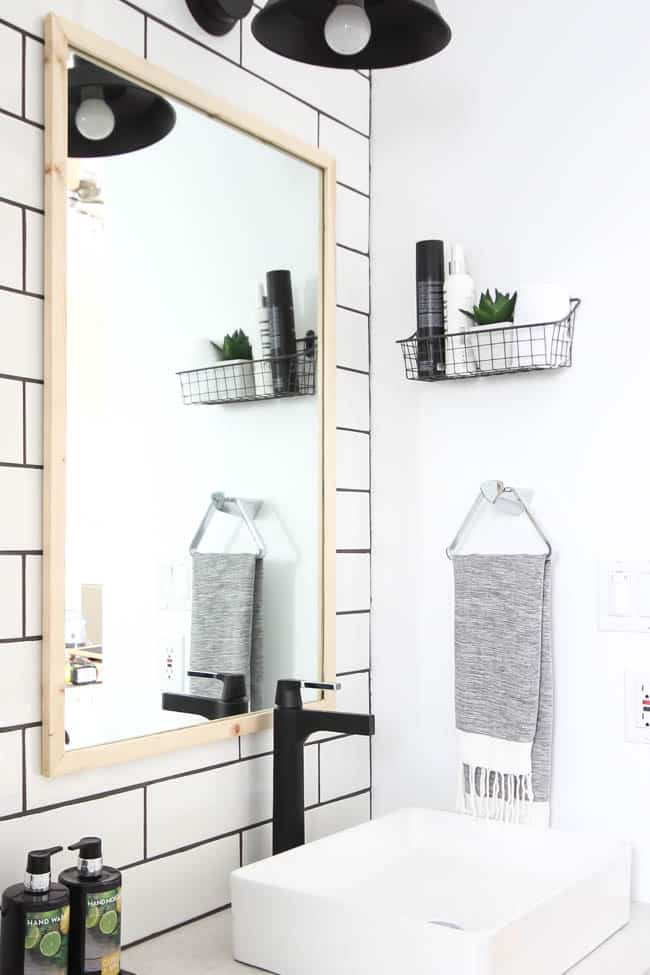
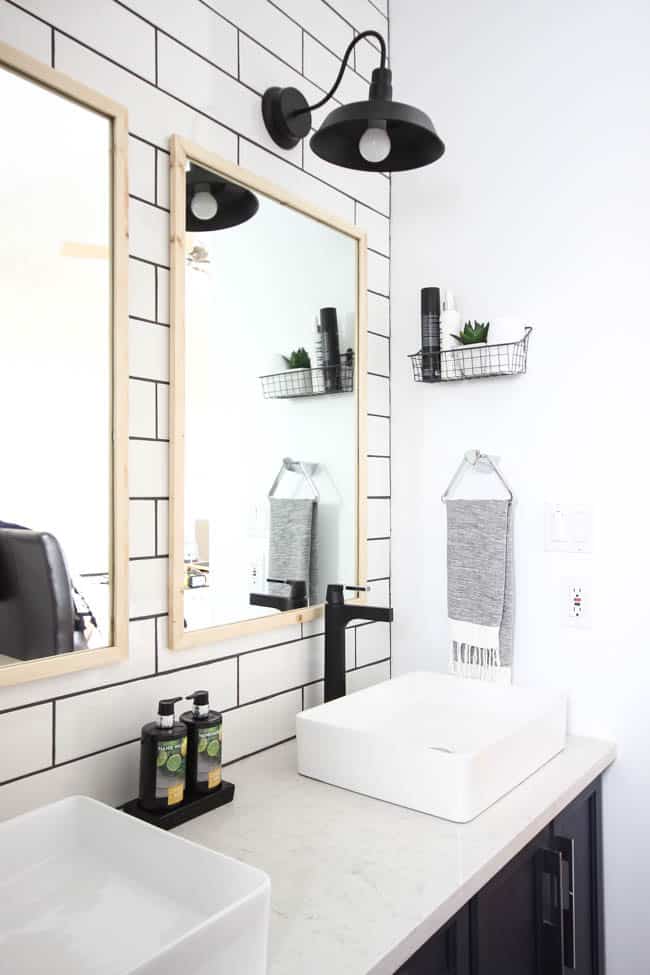
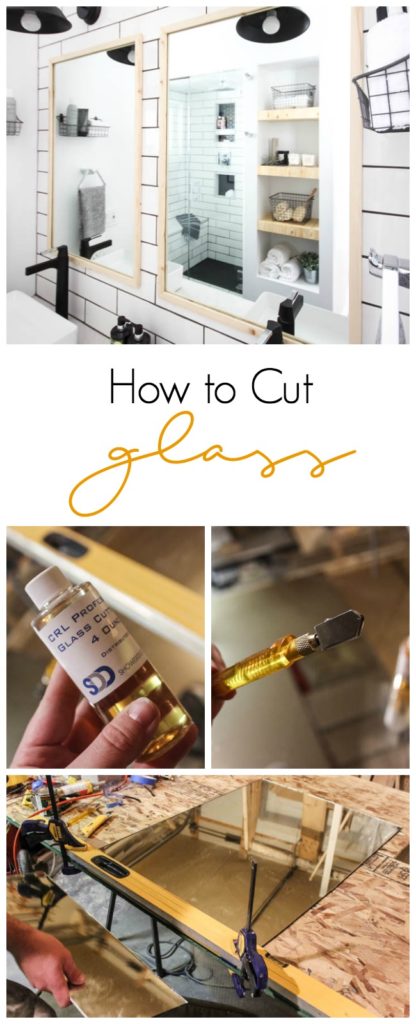
As promised, I’m finally getting around to sharing some of those Modern Bathroom DIYs with everyone. Last week I shared my concrete soap dish with you, which was the first of many DIYs. This bathroom was a labor of love. Many hours, many decisions, and a few arguments. But we ended up with the perfect modern oasis. Originally we were planning to buy mirrors, but then we got the idea to reuse the mirror that we had removed from the old bathroom. I love the modern mirrors we ended up with!
*This post may contain affiliate links for your convenience. For more information please read the disclosure policy*
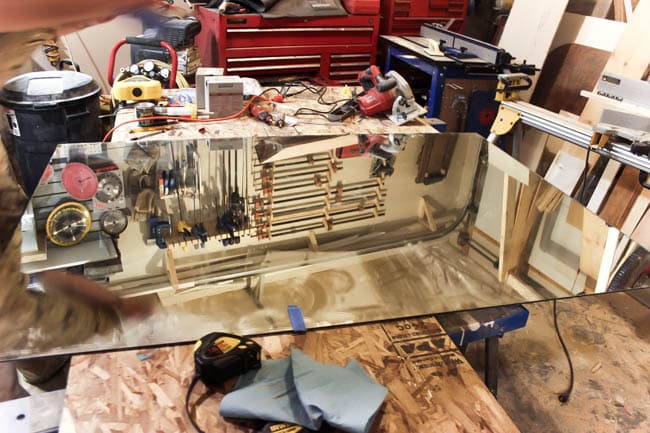
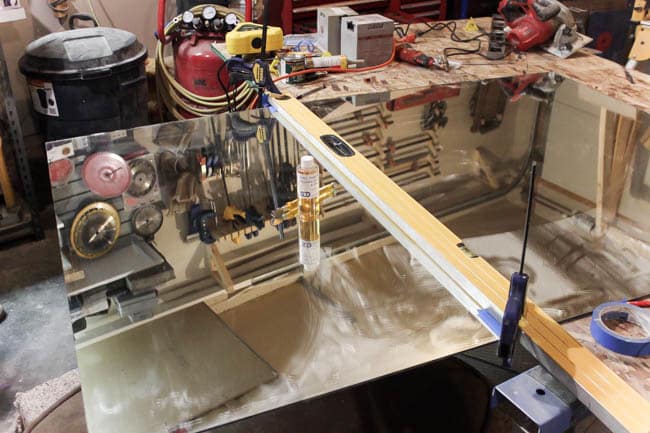
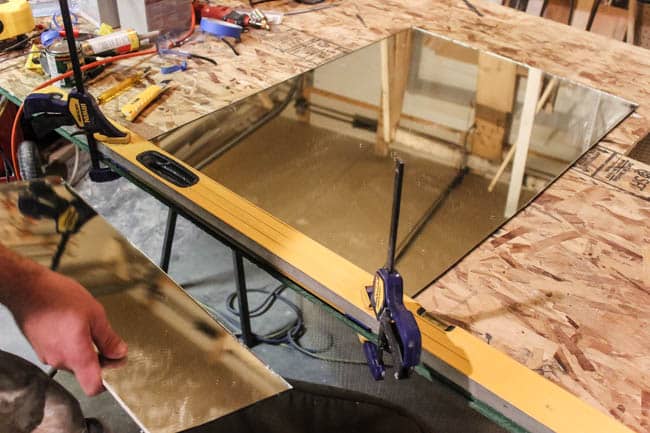
Here (above) is the mirror we had removed. We started by laying it out on a plywood board on top of our sawhorses.
Materials:
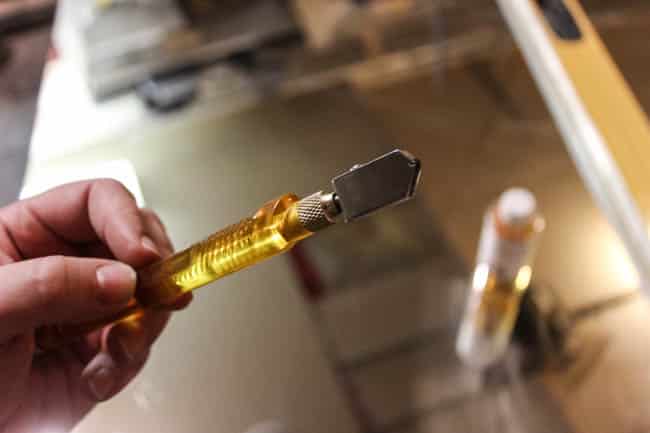
Glass Cutter
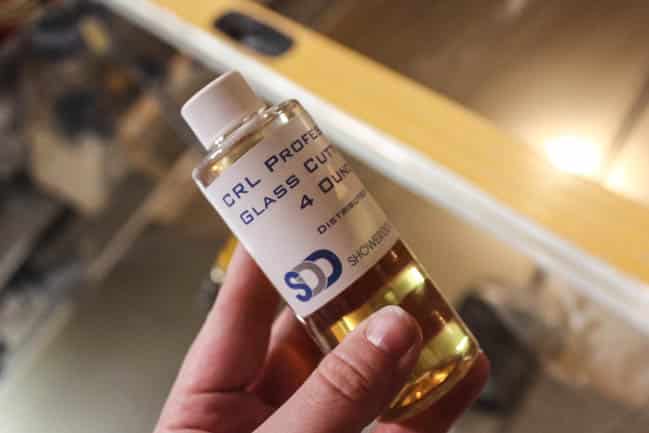
Glass Cutting Oil
A large level or piece of wood
Clamps
For Frame:
3/4″ by 3/4″ wood strips
Mitre Saw
Router
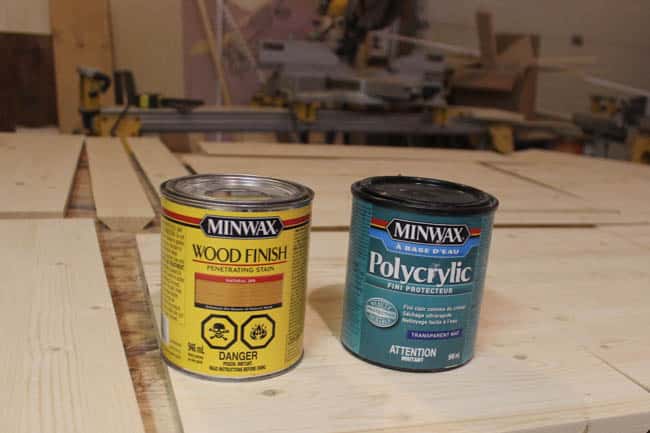
Minwax Natural Stain
Minwax Polycrylic
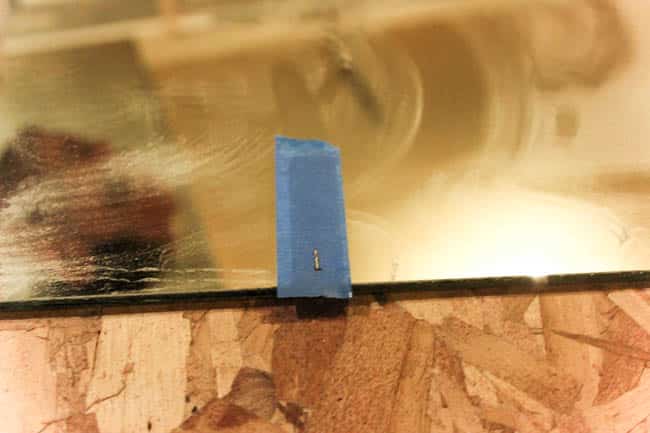
Start by marking out where you want to cut. You have to cut the entire edge at once. We used painters tape to mark our lines.
Next, you need to lay down a straight edge to cut against. We used our large level, but you can use a piece of wood too. Clamp it against the mirror, at the edge of the table. We found that have the cut line a couple cm away from the edge of the table actually worked best.
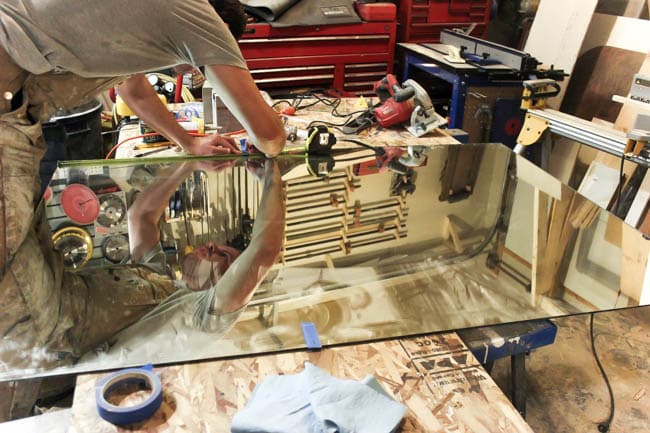
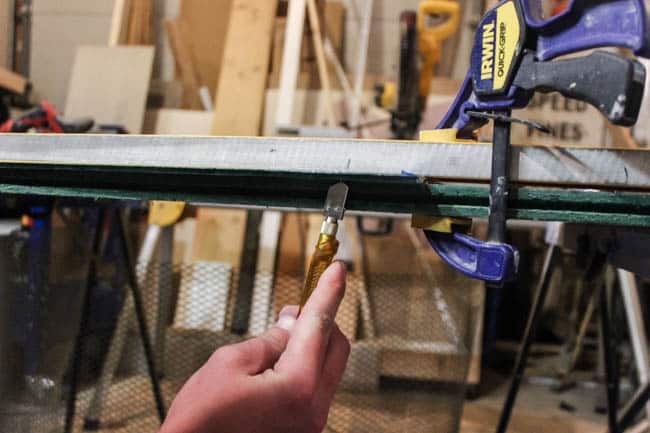
Next, fill your glass cutter with the Glass Cutting Oil.
Here’s a close-up image of our Glass Cutter.
Use your Glass Cutter to score the glass along your straight edge.
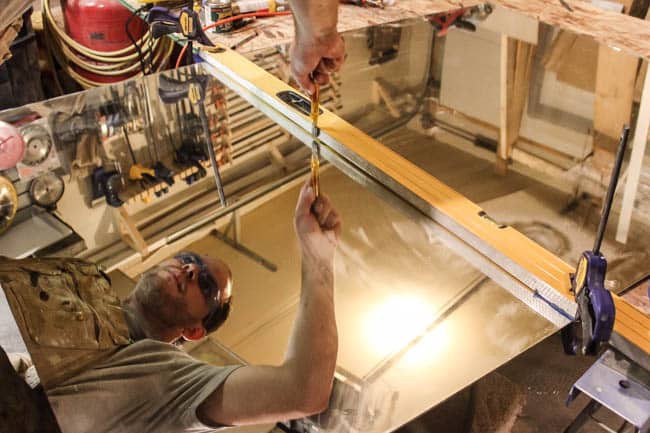
Gently apply even pressure after you scored the glass and the glass should break off easily. This was our first time cutting, and we couldn’t believe how smoothly it went!

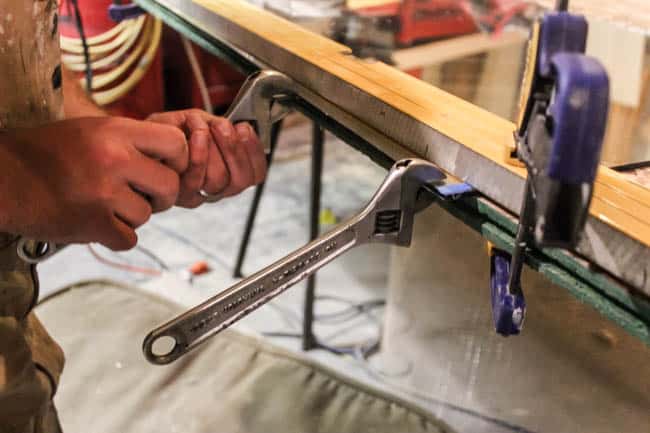
On a couple of our cuts there was a tiny bit of glass left over. We scored it a second time, on top and underneath. Since it was too small to grab with our fingers, we used wrenches to break the extra pieces off.
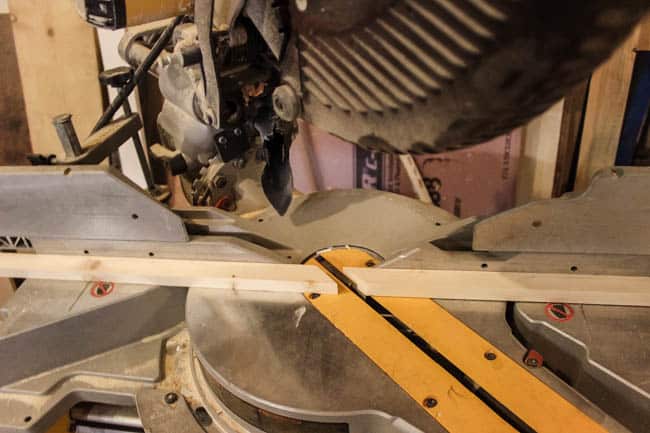
To make frames for our mirrors, we cut our 3/4″ x 3/4″ boards to the correct lengths and widths.
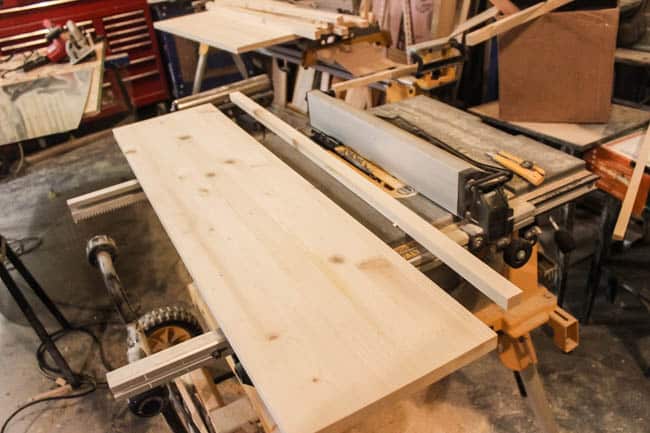
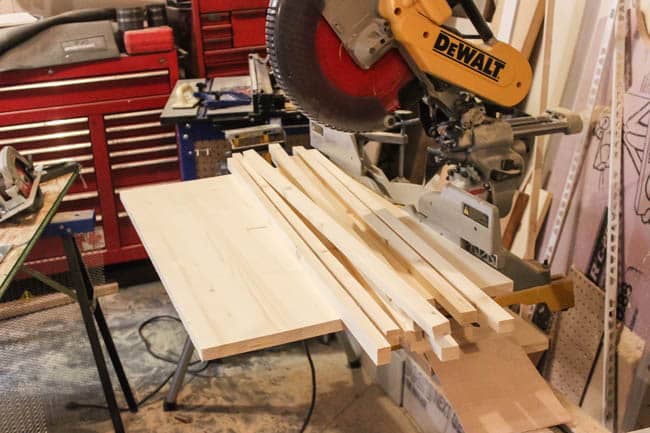
We put 45 degree cuts on all of our corners.
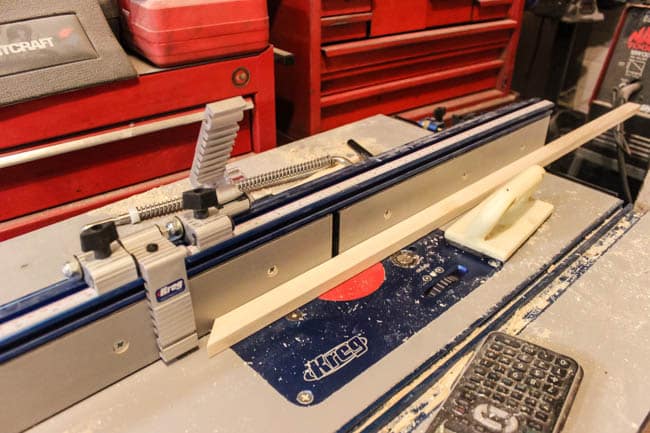
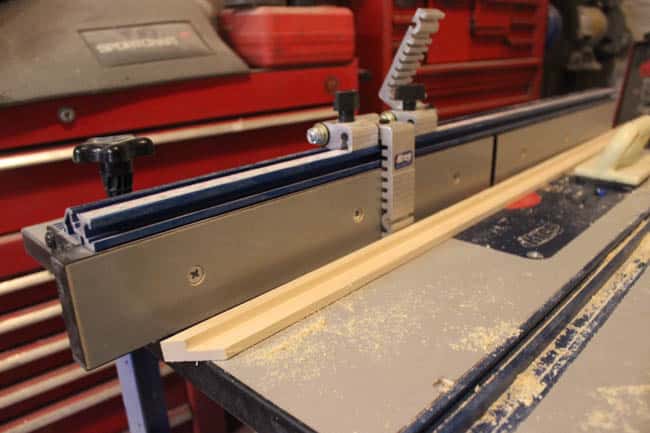
Next, use your router to grove the trim so that you can inlay your mirror. We left about 1/4″ ungrooved. We nailed the frame together, and then placed the mirror right into the grooved section, and attached the mirror with mirror clips.
We stained the mirror with by favourite Minwax Natural Stain, and then used Minwax Polycrylic to protect the finish.
Love these mirrors. Couldn’t have found a better fit for our space!
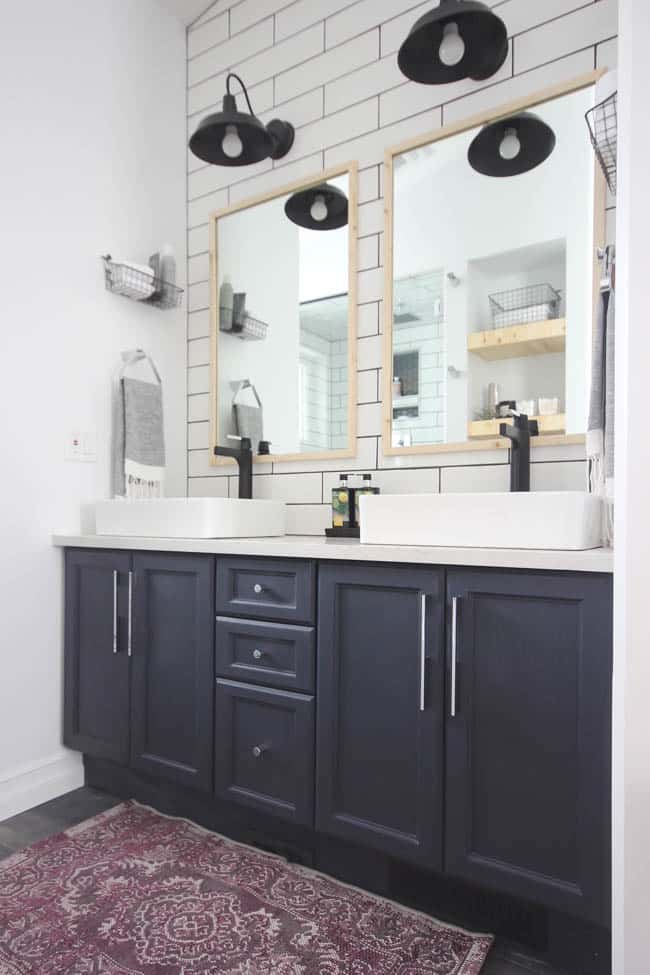
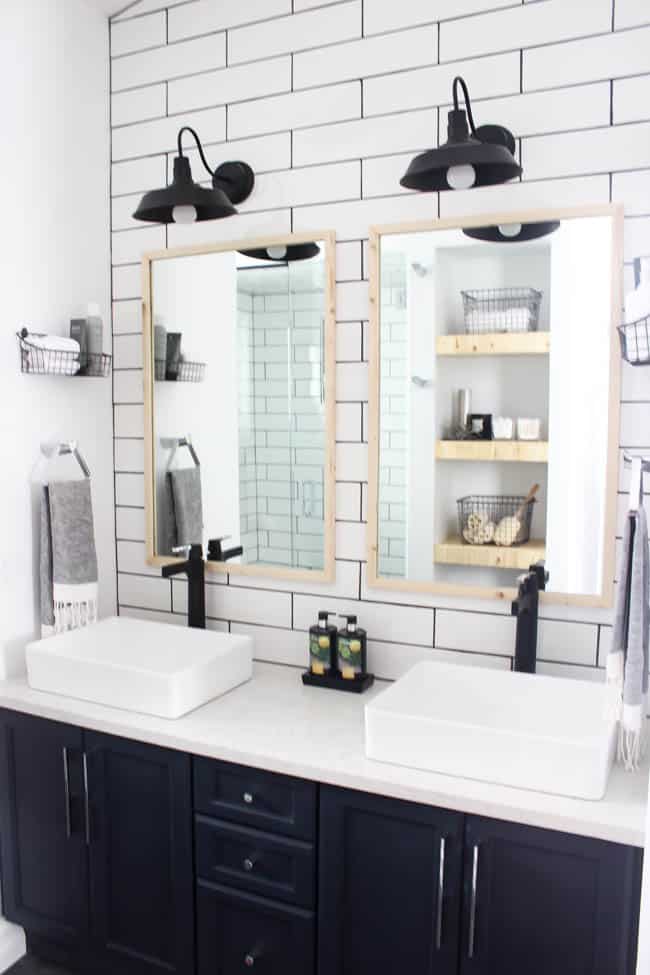
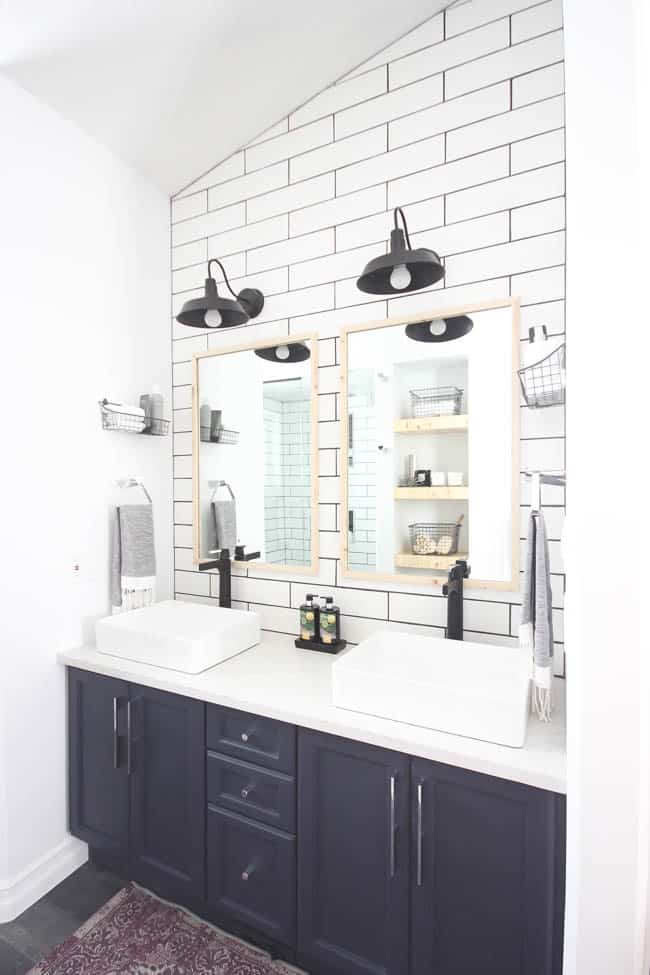
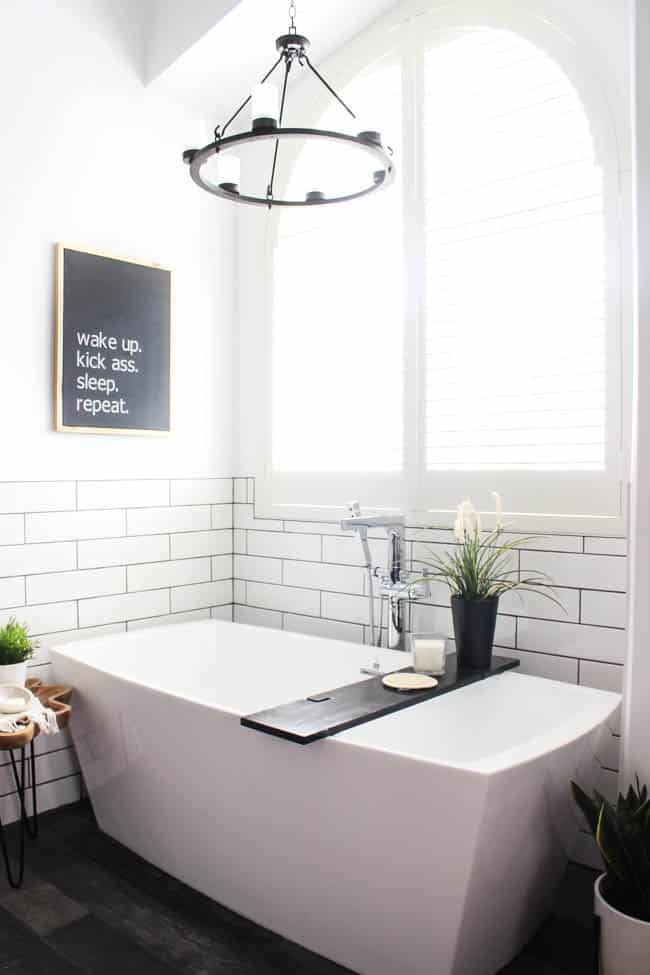
Don’t forget to check out the rest of our MODERN BATHROOM RENOVATION!
20 DIY Easy & Cheap To Make Mirror Frames Perfect For Decor - Tutorials - Madeist | Blog About DIY & Recipes
Monday 15th of October 2018
[…] Tutorial: Lovecreatecelebrate Are you on a budget? If so, then this easy to make DIY mirror frame that looks modern is cheap to […]
Guidem
Wednesday 17th of January 2018
Those are really nice modern mirror, thank you very much for sharing this modern mirror base article.
Macs
Saturday 21st of October 2017
Thanks for sharing this. Your bathroom looks great, it turned out amazing. I didn't know cutting a mirror is that easy (as it looks).
Glass cutting
Thursday 21st of September 2017
Thank for you the great article .I will follow you.I will cutting my mirror like you explain.
Lindivs
Thursday 21st of September 2017
I'm glad you're trying it out! I hope it works out great!!
Jessi @ Practically Functional
Monday 21st of August 2017
That's so cool Lindi, I never realized it was something you could do yourself! And I just love that whole bathroom; it's stunning!
I just wanted to let you know that you were featured as a Rockstar at last week's Creativity Unleashed party! Congrats, and thanks for sharing at our party! http://www.practicallyfunctional.com/creativity-unleashed-186
Lindivs
Monday 21st of August 2017
Thank you so much Jessi! The bathroom was a huge labor of love! We couldn't be happier with it!