DIY wooden hooks for any wall using scrap wood! Try this simple and modern design to help organize your space!

Every few months, we like to go through our scrap wood pile and come up with some quick builds and DIYs for the scraps. This month we happened to be working on a fun little space for our kids, and I decided to use some scraps to build these DIY wooden hooks!
*This post may contain affiliate links. When you buy a product through one of our links, we get a commission at no cost to you! Thank you for supporting our blog so that we can continue to bring you posts like these. For more information, please see our disclosure page.*
DIY Wooden Hooks
This project is one of two DIYs in a series that I did using scrap wood. In this post, we are making hooks that are going to hang on the side of the wall.
Materials Needed
- wooden dowel
- scrap wood 2x4s (2 pieces)
- drill press
- screws
- pencil
- ruler
- hole saw
- miter saw
- pilot hole drill bit
- countersink drill bit
- screws
- wood glue
- flagstone wood stain
- varnish
Step-by-step Tutorial for DIY Wooden Hooks
Essentially, this project is a dowel with hooks coming out of it. The tricky thing is keeping the dowel stable in order to drill into it for the hooks. So in order to do that, we’re gonna use scrap pieces of 2×4. I’ll attach the dowel to the wood so that it’s stabilized on the two by fours, and then we can drill for the hooks.
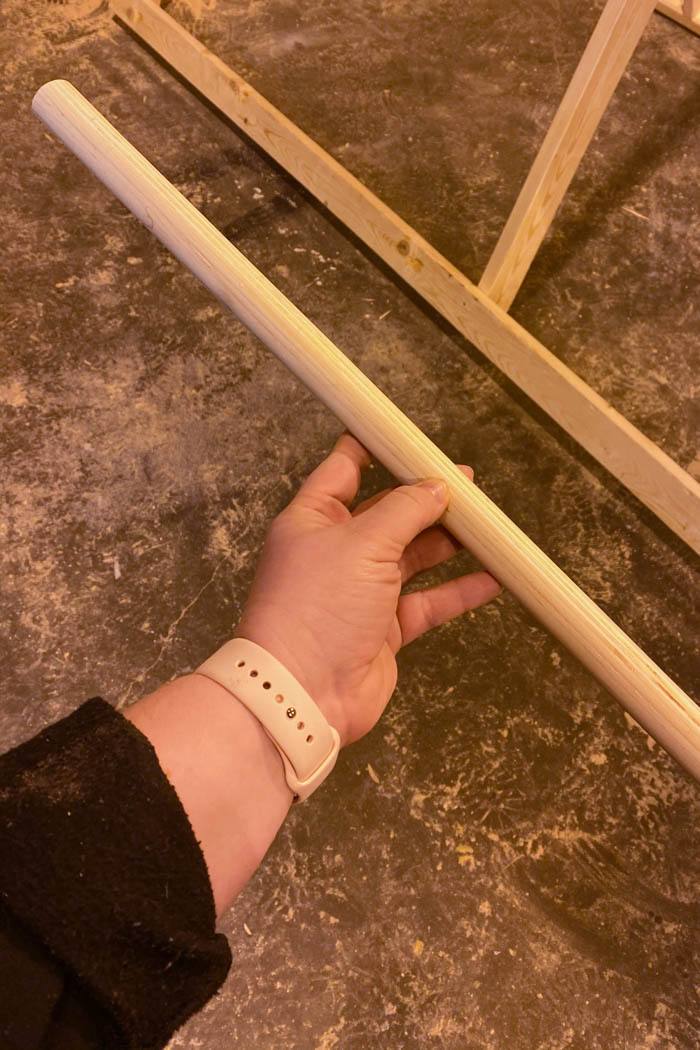
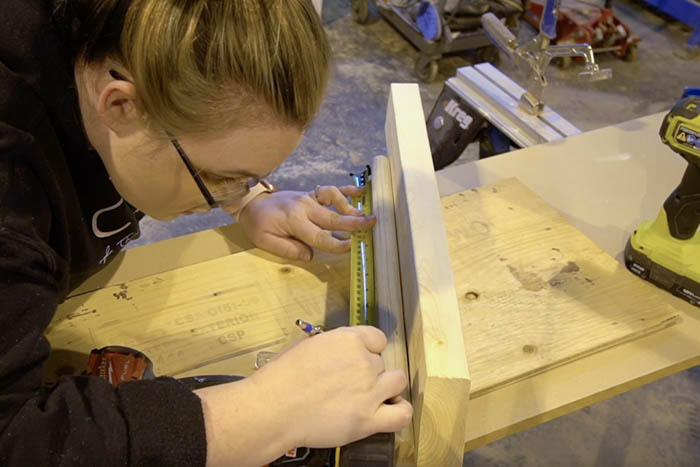
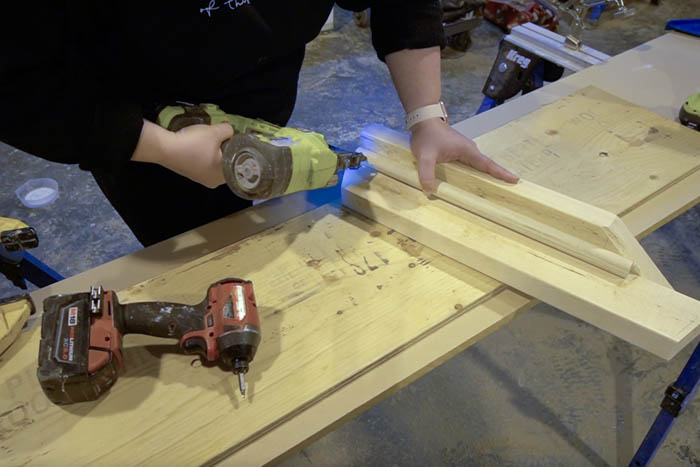
First I screwed these two by fours together. That’s not part of the hanger, that’s just for stability. And then I put a nail into the edges of these on a diagonal in order to hold the dowel in place.
The 16 inches I need for the length of my hooks is right inside those nail holes. You don’t wanna do anything inside of there that will mark up the actual piece. We will just cut these nail holes off after.
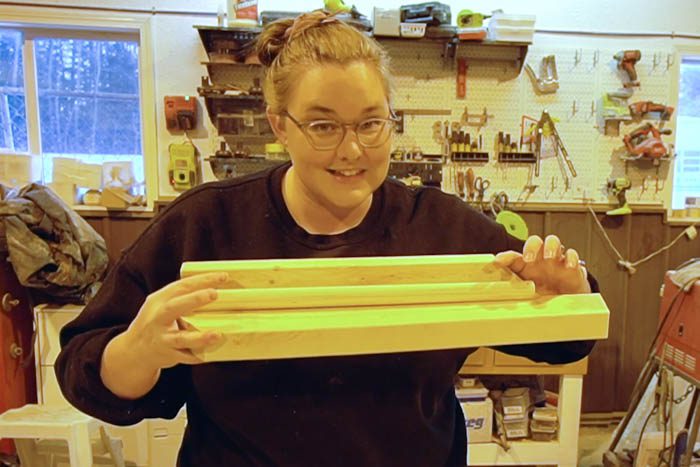
Next mark out where you want your hooks to sit. I decided to make mine four inches apart. So I marked it two inches, six inches, 10 inches and 14 inches.
Now I have to drill the holes, but the dowel hooks are going to sit in. And so we’re using a hole saw for that. If you haven’t seen one, it’s a saw bit that’s really sharp, goes down in and takes the whole circle right out of your wood piece, which you’ll see in a sec.
This one is about the same diameter as the pieces we’re using (one inch), so hopefully it’s the right size. You can use this with a drill, but we’re gonna use the drill press, because it’s a lot more stable and we wanna like perfect 90 degrees if we can get it.
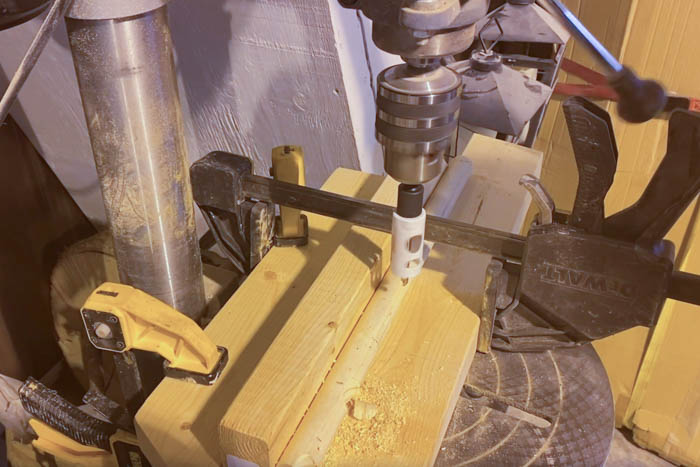
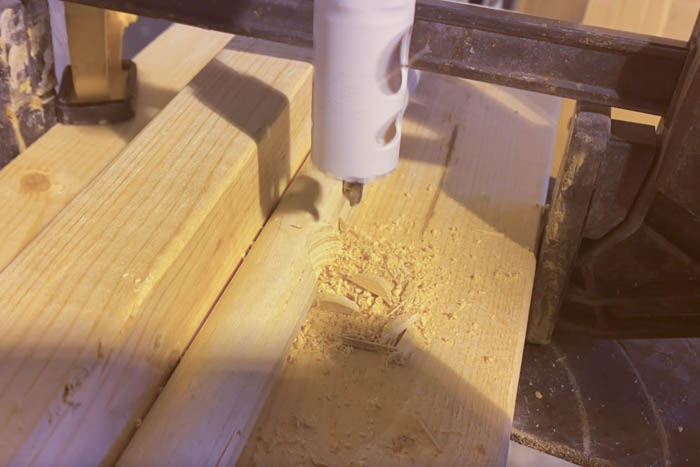
We clamped our stabilized dowel down on the drill press and then pulled the whole saw down, so that it would cut about a third of the way into the dowel. And then I did this at each one of the four locations I had previously marked on the dowel. Finally I took the dowel off the two by fours and cut the ends that I didn’t need off, so that the final piece was 16″ long.
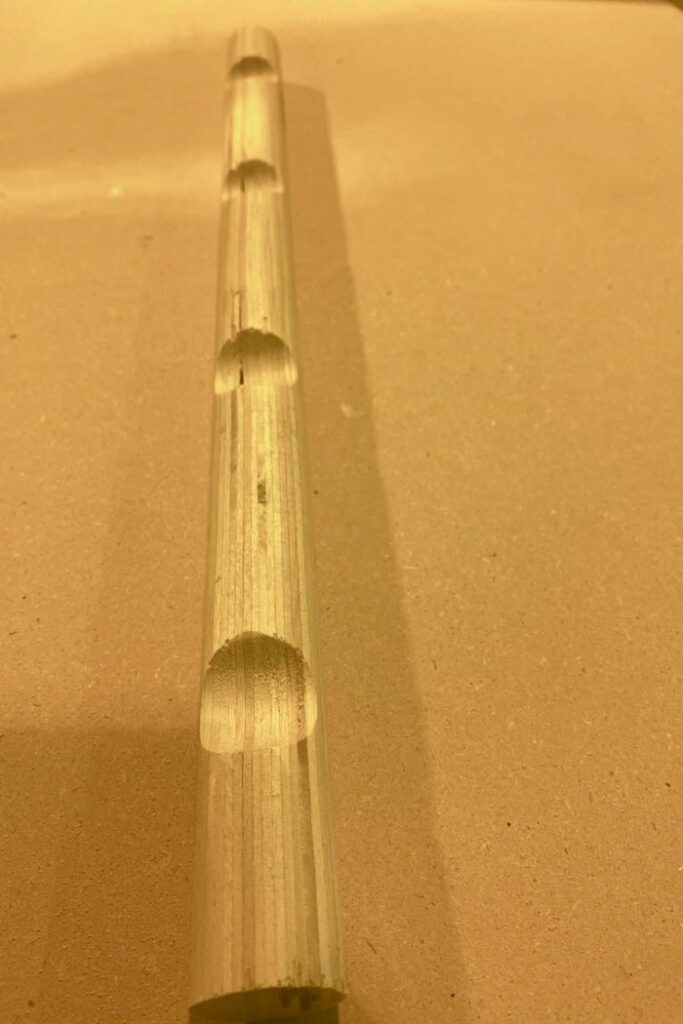
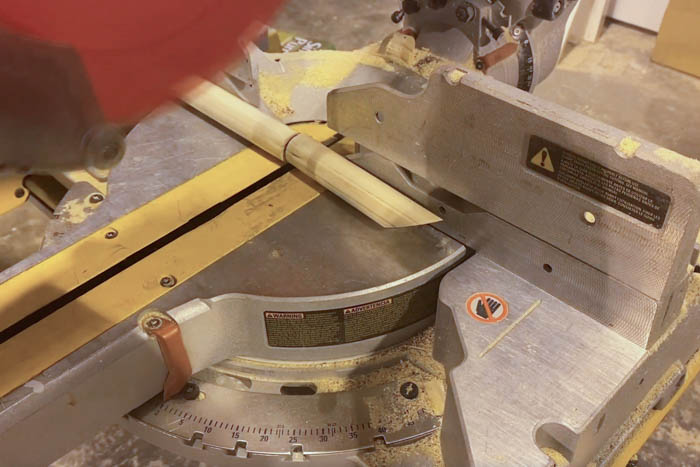
Next, you are ready to make the four hooks. I maxed out the angle of my miter saw for the hooks, which was about 57 degrees. Then I tested it against the dowel I had gotten ready, to see if these hooks would work.
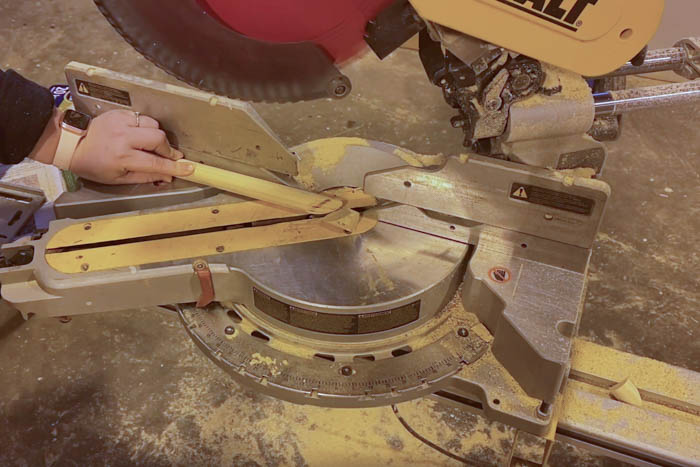
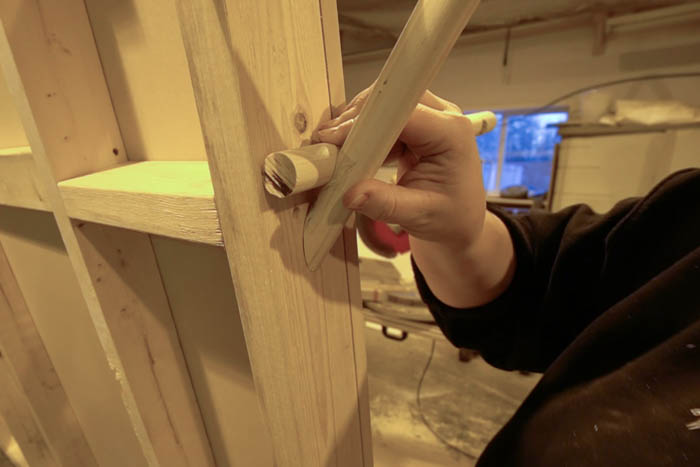
Once I knew that the angle worked, I cut the dowels down to size, which was five and a half inches.
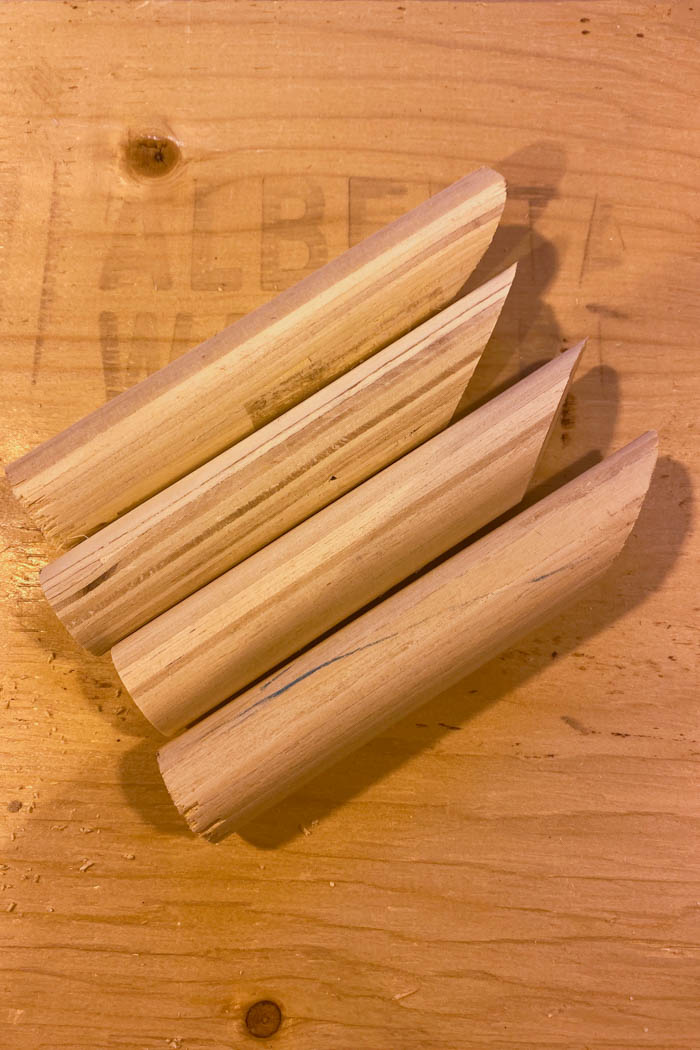
Then I sanded everything down, ’cause it’s much easier to do it now than after the hooks are attached.
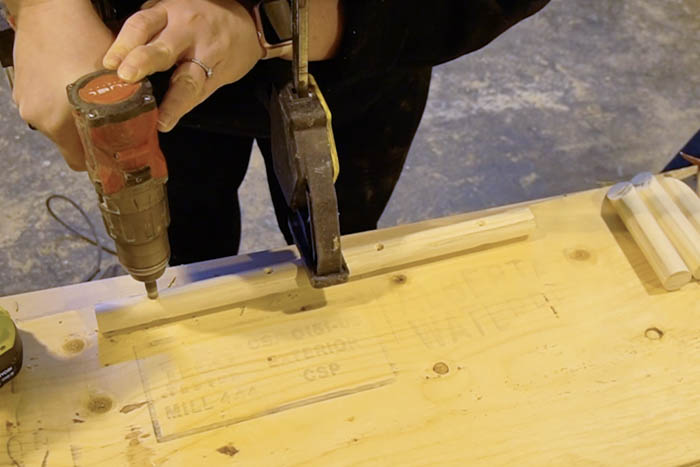
To attach the hooks, I started by drilling pilot holes, right through all of the grooves I had made. Then I turned the dowel over and drilled through all of those holes again with a countersink drill bit, so that I would be able to countersink the screw when I attached the hooks.
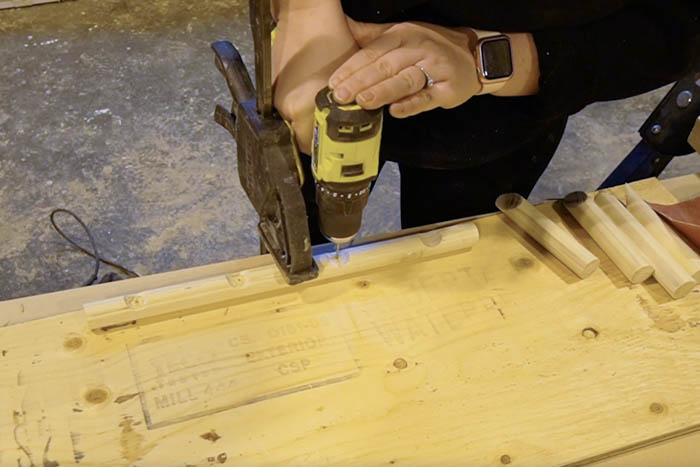
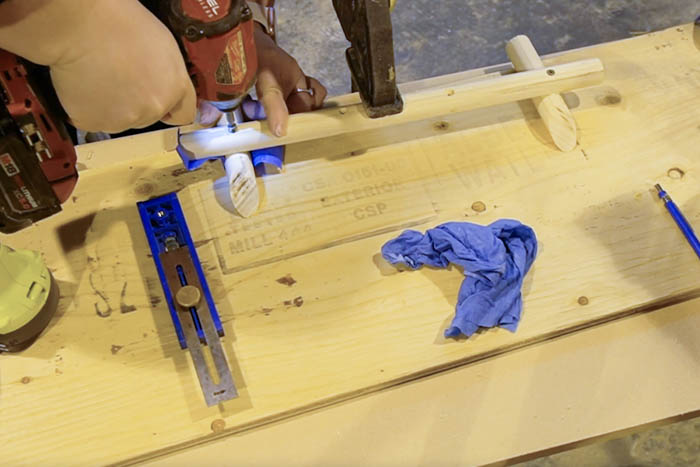
Then I put the hooks in place inside of those grooves I had made and screwed them into place with the drill. I did have a measuring tool that I used to make sure that the distance of the hook sitting above the dowel was the same on every hook. And I measured that as I went after I had applied glue, so that I could make slight adjustments if needed before I put the screws in.
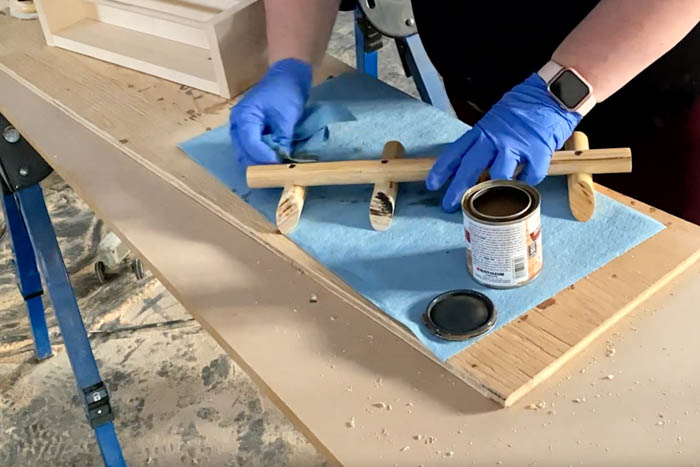
Lastly, we’re going to stain them in a colour to match the space, which in our case was flagstone. After the stain is set, you can give them a couple of coats of varnish.
Finished DIY Wooden Hooks
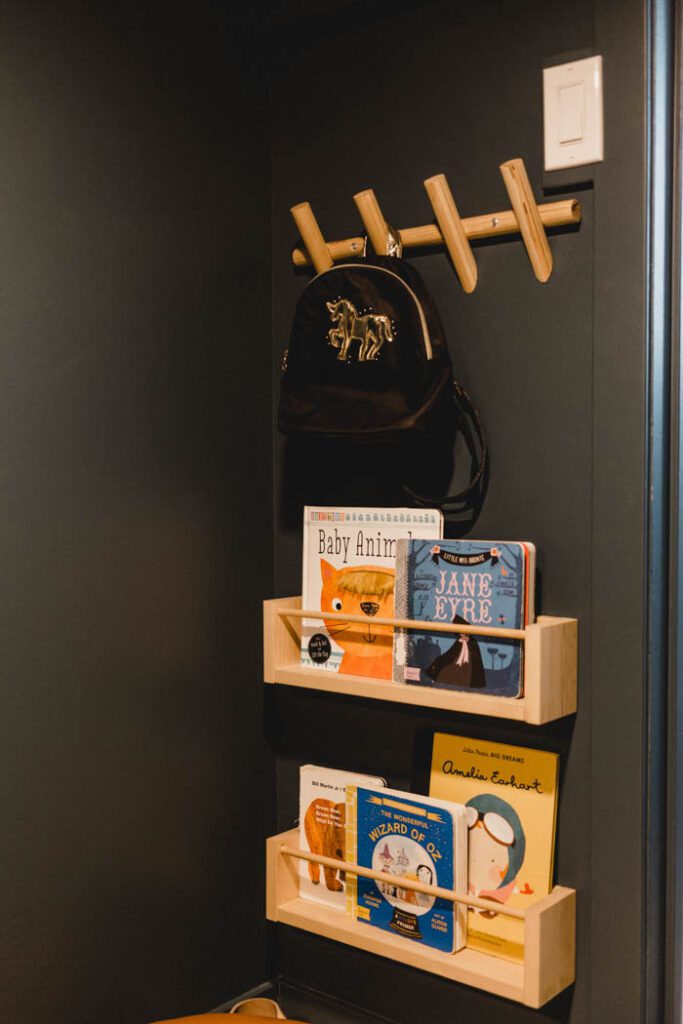
I love how these DIY wooden hooks turned out. I think they fit so perfectly into our kids’ playroom under the stairs.
To attach them, we just put plugs in the wall and then screwed right through the pieces, both through the hooks and the back of the shelves. You could put key holes in the back and that would kind of conceal all of the attachment as well, if you wanted to.
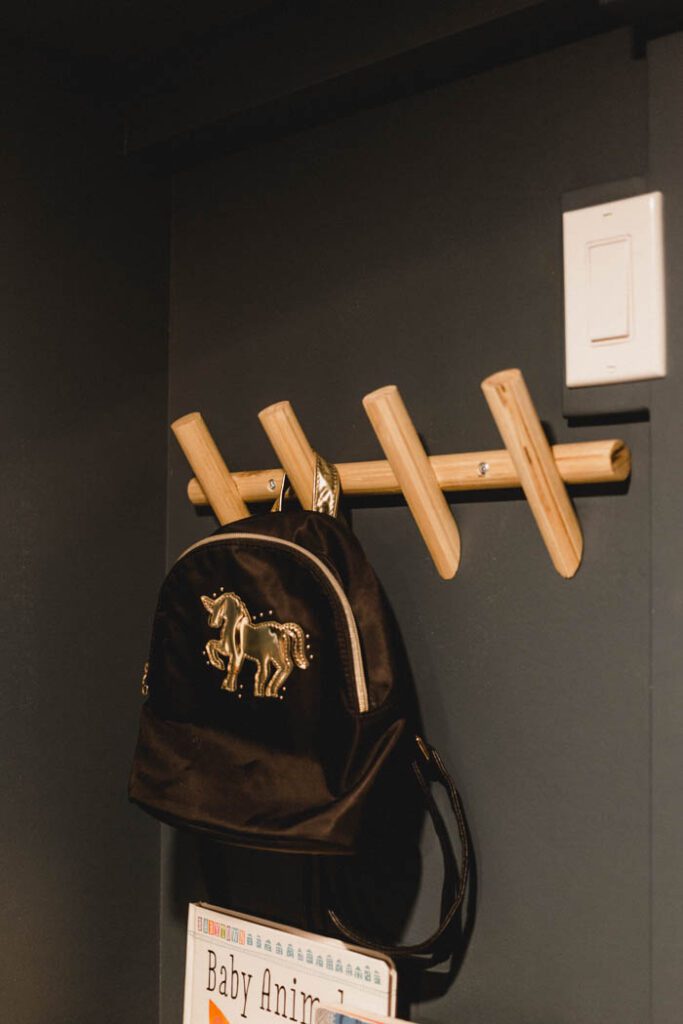
My kids didn’t really need any convincing to start spending time in here. I hope you guys enjoyed these DIY wooden hooks. I’m really happy with how they turned out. I think the kids really liked them too.
More Scrap Wood DIYs
This project was one that I did along with another scrap wood DIY. Click on the video below to see how I built scrap wood shelves to go along with the DIY wooden hooks!
Don’t forget to subscribe to our YouTube channel for more great scrap wood DIYs!
If you’re looking for more inspiration, here are some amazing DIY Shelving Ideas!


DIY Wooden Hooks
DIY wooden hooks for any wall using scrap wood! Try this simple and modern design to help organize your space!
Materials
- wooden dowel
- scrap wood 2x4s (2 pieces)
- screws
- pencil
- ruler
- screws
- wood glue
- flagstone wood stain
- varnish
Tools
- drill press
- hole saw
- miter saw
- pilot hole drill bit
- countersink drill bit
Instructions
- Attach dowel to 2x4s for stability
- Measure where you will make your cuts and where your hooks will go
- Use hole saw to cut grooves into the dowel
- Use mitre saw to cut dowel into sections
- Sand all sections of the dowel
- Drill pilot holes through the grooves in the dowel
- Drill through these holes with a countersink drill bit
- Glue and Screw the hooks into the dowel
- Stain and varnish the hook rack


