A Stunning DIY Indoor Planter. This creative modern planter is perfect for houseplants, tabletops and small spaces! Learn how to make this easy thrift flip!
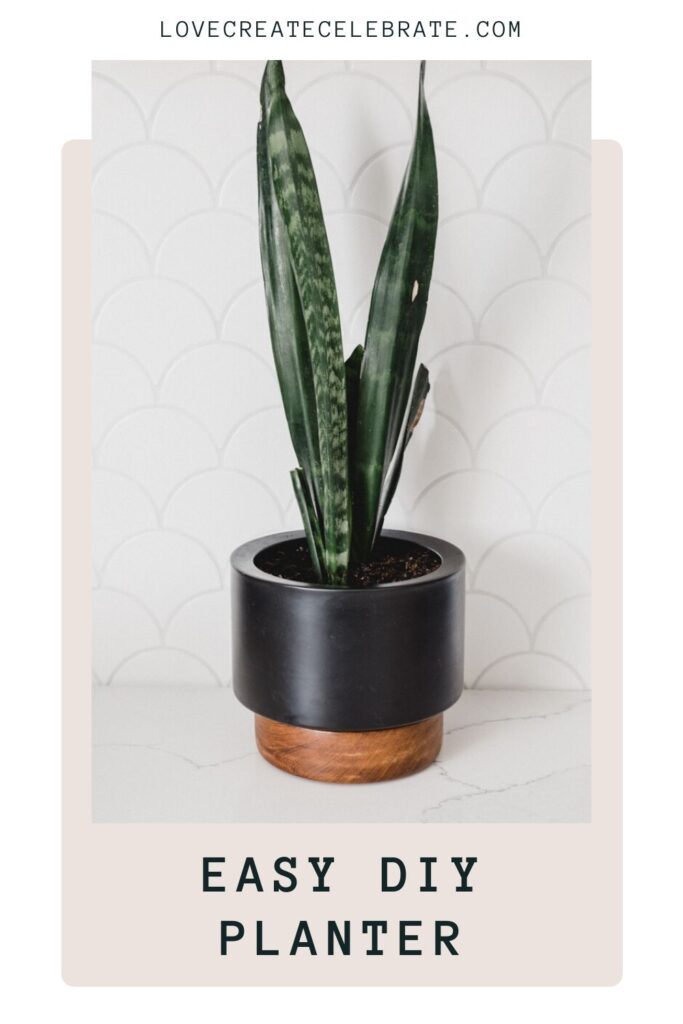
Hey hey! It’s almost summer time, and there’s nothing I love making more in the summer than planters! We already did one large outdoor planter this summer, and now I’m tackling a small indoor one. This planter was entirely motivated by a couple of thrift store finds that I knew I could turn into a quick DIY indoor planter.
*This post may contain affiliate links. When you buy a product through one of our links, we get a commission at no cost to you! Thank you for supporting our blog so that we can continue to bring you posts like these. For more information, please see our disclosure page.*
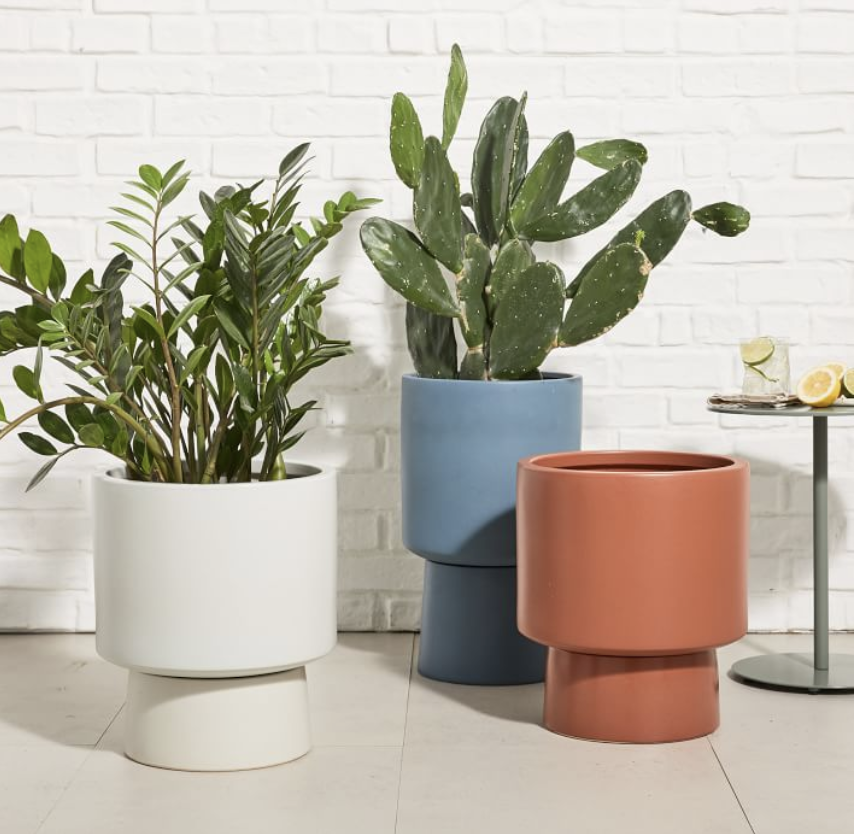
I saw these Pedestal Planters from West Elm, and they inspired me to make my own small tabletop pedestal planter.
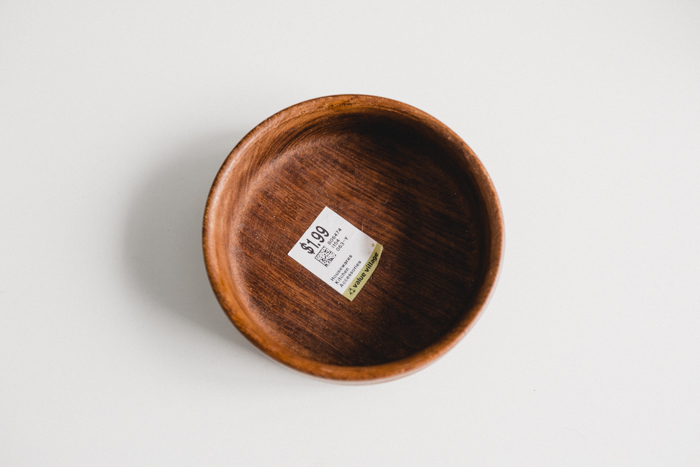
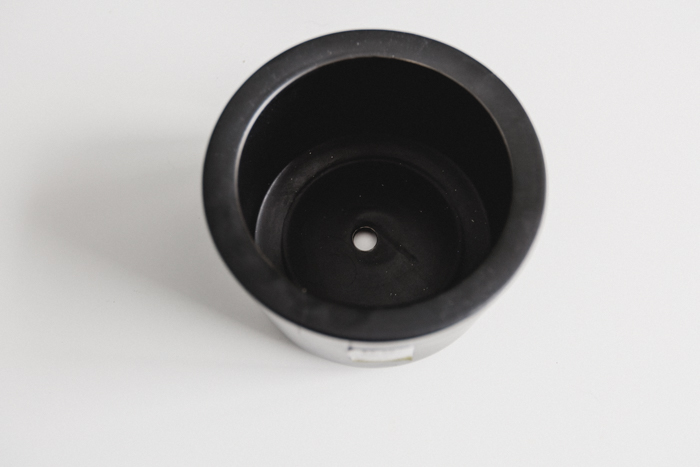
The photos above are the original thrift store finds that I started with. I happened to find a black planter that still almost looked new, and a wooden bowl and it was a perfect pair.
You don’t need to find these exact pieces in order to make a similar planter, you just have to find any bowls, baskets, etc. that can be painted or stained and have two different widths.
DIY Indoor Planter Video Tutorial
The full video tutorial is in my $5 thrift flips video below! There are actually two projects in there, and the second is an amazing rolling pin transformation that is definitely worth watching!
See how I made the planter here:
Indoor Planter DIY Tutorial
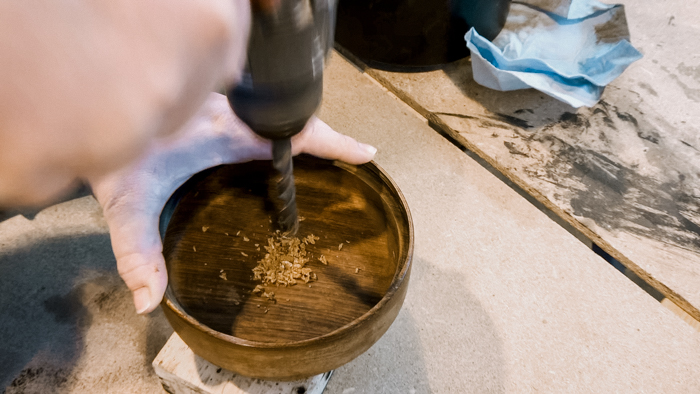
The first step was to add drainage to my wooden bowl. The planter I was using already had a hole for drainage, so I wanted to add one to the wooden piece so that water wouldn’t build up in there.
Just use a large drill bit (the size you want for your drainage hole) and drill into the bottom. Depending on your material you may have to pre-drill with a small bit as well.
If it’s not possible to drill into the pieces you found, you can create drainage in the bottom of any, here’s some great ways you can plant in posts without drainage.
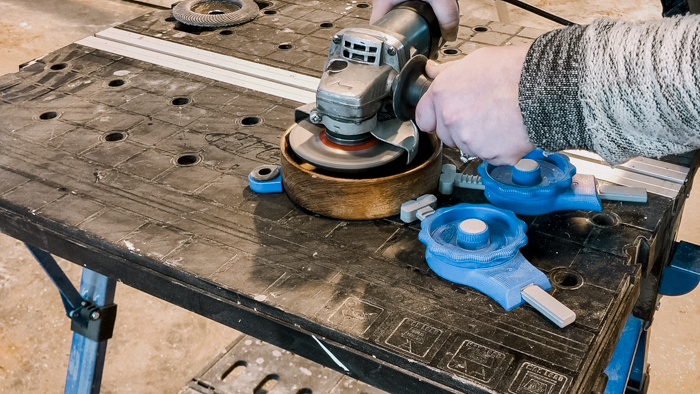
Next, our two pieces didn’t quite fit on top of each other smoothly, so we used a grinder to smooth down the edges of the bowl and allow a little bit more space for the pot on top.
If you don’t have a grinder, you can just glue the pieces together and skip this step, or sand it down a bit, which will take a bit longer.
The next step is to glue the two pieces together. You need a really strong glue for this, so we used an epoxy glue. You mix the two parts of the glue together and apply it fairly quickly because it dries and sets quickly.
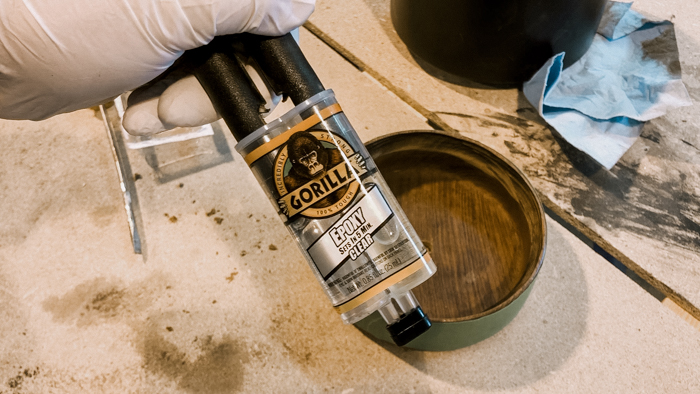
Simple apply the epoxy glue generously on the inside rim of one of your pieces and hold them together.
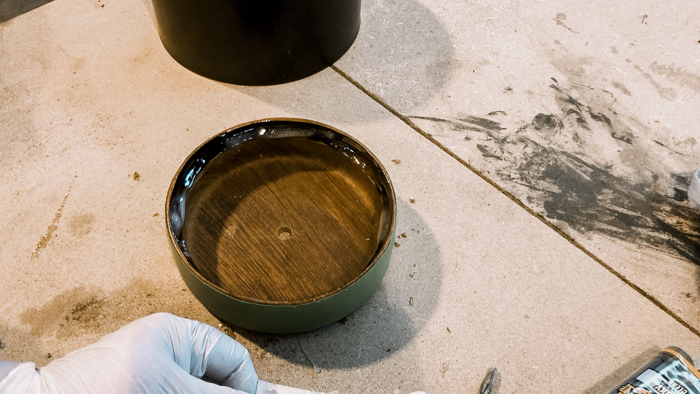
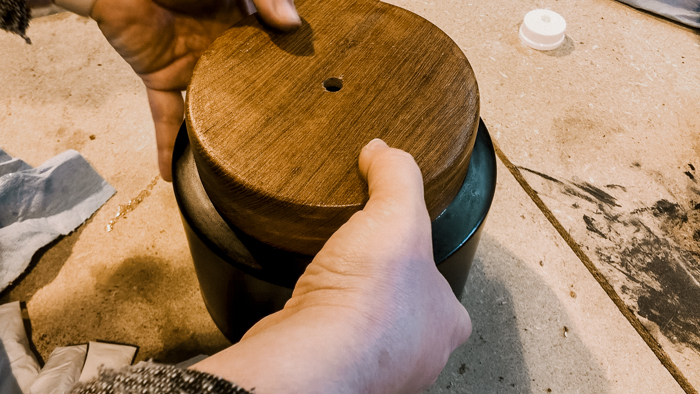
We had also applied a circle of painters tape to the edge of our bowl so that any glue that seeped out wouldn’t get into the wood on the bowl, and then we removed the tape after everything was attached.
Press the pieces together, let them dry, and voilà! A new DIY indoor planter!
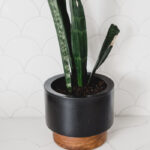
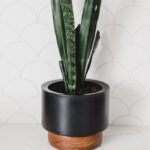
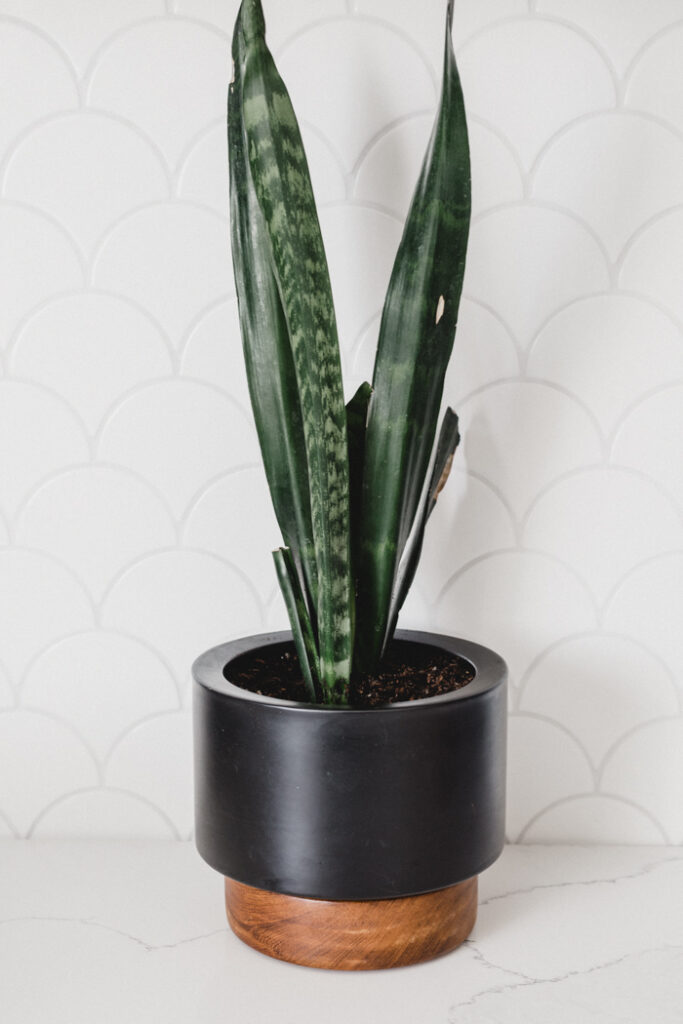
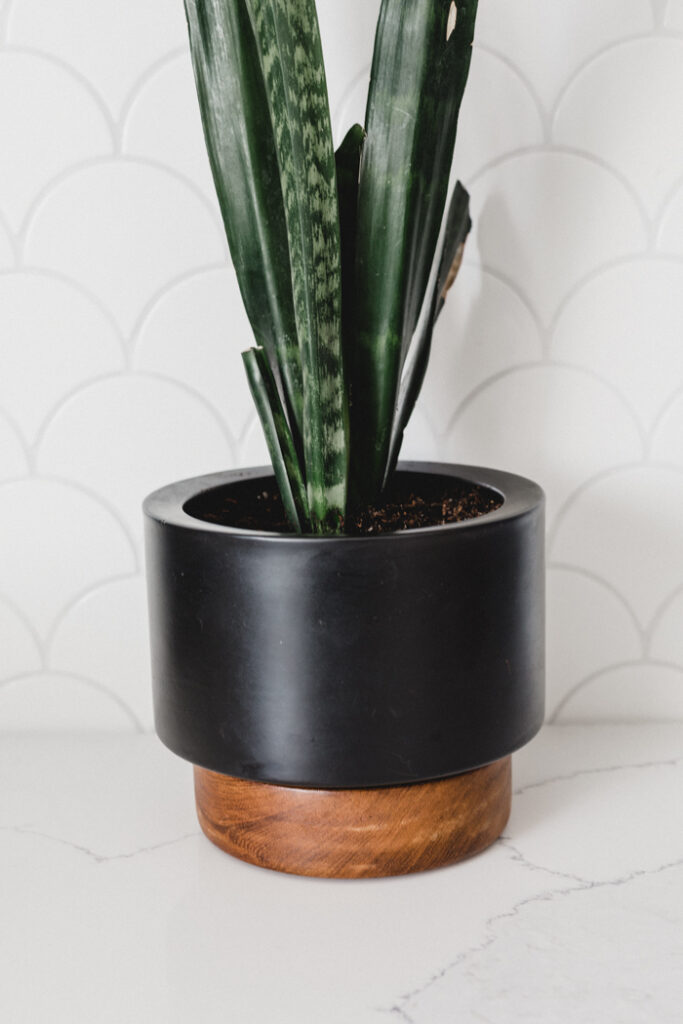
Our Finished DIY Planter
I absolutely love how this guy turned out! I’ve already used the planter in a few DIY photo shoots because I love the extra texture and height it brings to any counter or tabletop it sits on!
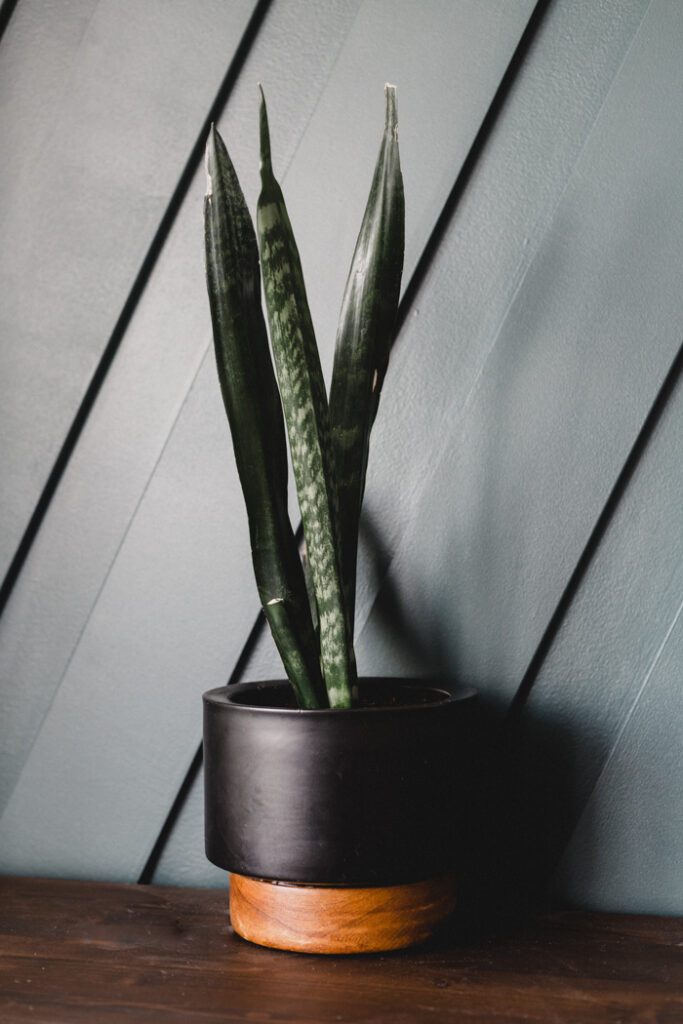
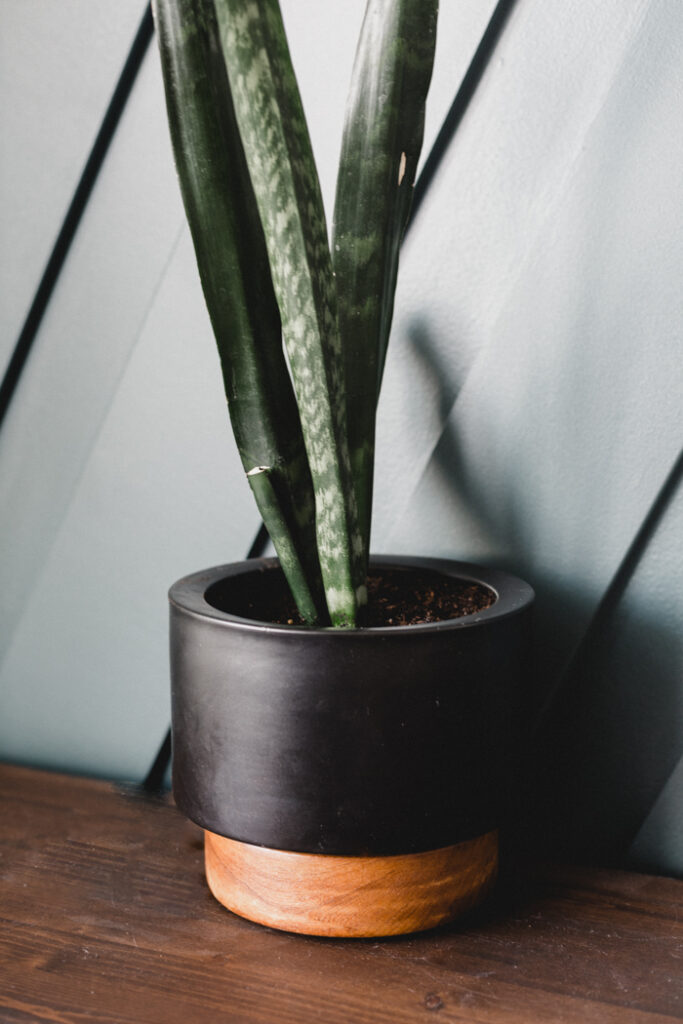
If you’re looking for more planter ideas, our newest Large Planter Box is already a favourite!
