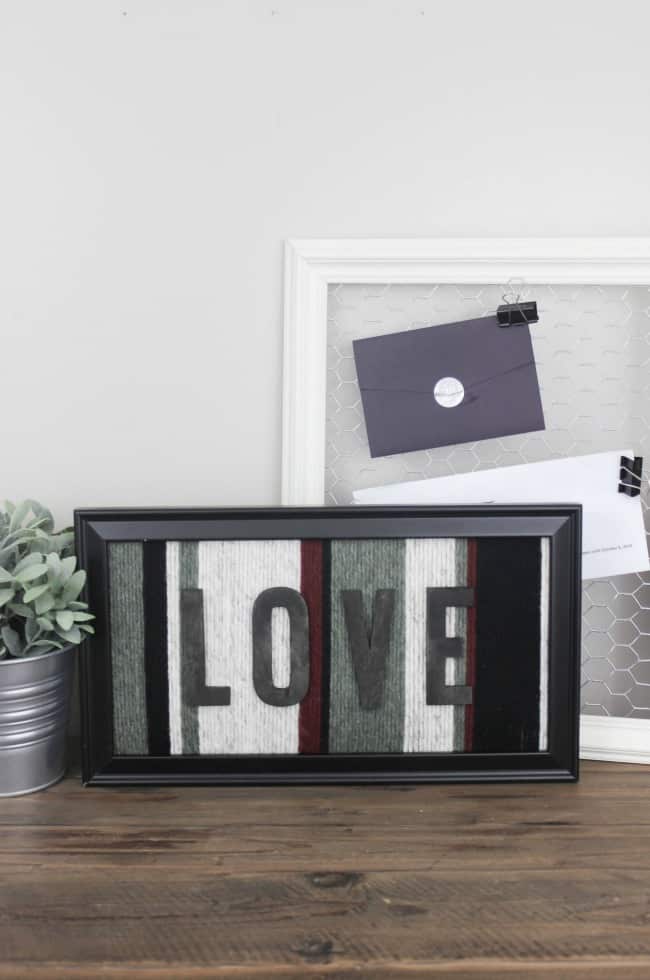
All good things must come to an end, right? At least, that’s what people say-ay-ay um hum, that’s what people say-ah-ah (my ode to Taylor Swift). Friends, this is my last month of the 12 Months of DIYs challenges. I have loved being challenged each month to make something with a different product, and this month was another challenge for me. Yarn. I had a few ideas (some which you still may see in your near future!), but this time I wanted to make something super simple! I LOVE how this DIY art turned out!
*Materials in this post were provided by Lion Brand Yarn. This post may contain affiliate links for your convenience. For more information, please read my disclosure policy.*
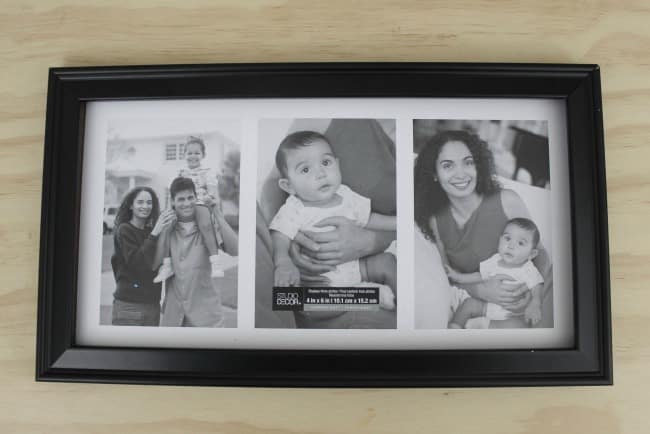
I have a few old frames sitting around. Ones that used to hang in gallery walls, and some that were given as gifts. This frame was just hanging out in my craft storage and it was just what I needed!
Materials:
Picture Frame
Yarn
(I used Wool Ease Chunky Willow, Mulberry, Wheat, and Black)
Tape
Plywood
Scroll Saw
(or purchased wood letters)
Black wood stain
Beacon 3-in-1 glue
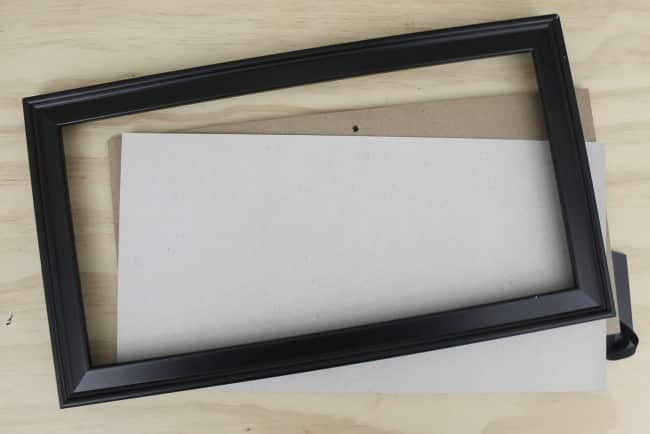
Start by taking the glass out of your picture frame. Most will come with a semi-firm piece of wood or cardboard inside, if it doesn’t come with one, you need to make your own wood insert.
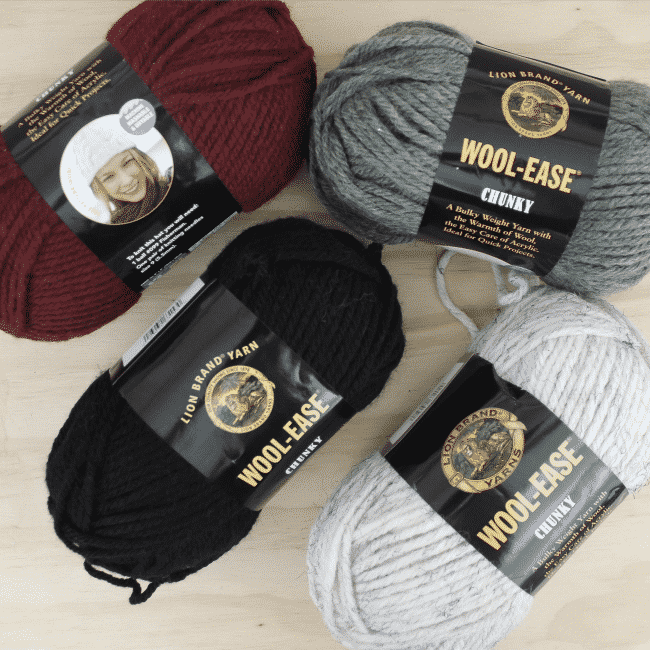
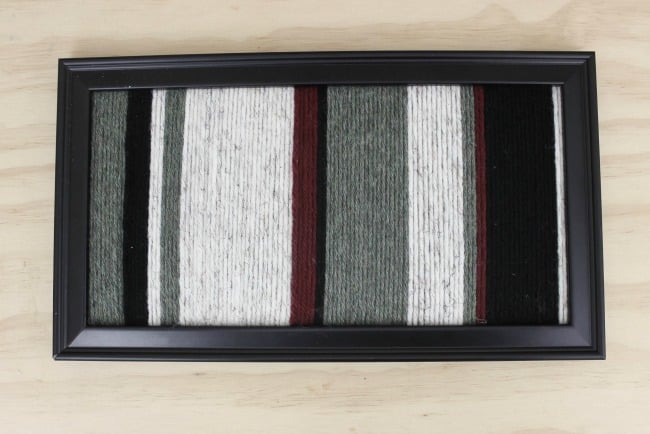
Now pick out some yarn colours that you love and wrap your yarn around the cardboard or wood insert in vertical lines, tape the ends to the back as you start and switch colours. I made a random pattern on purpose because I didn’t want it to look too symmetrical. I LOVE how these colours blend.
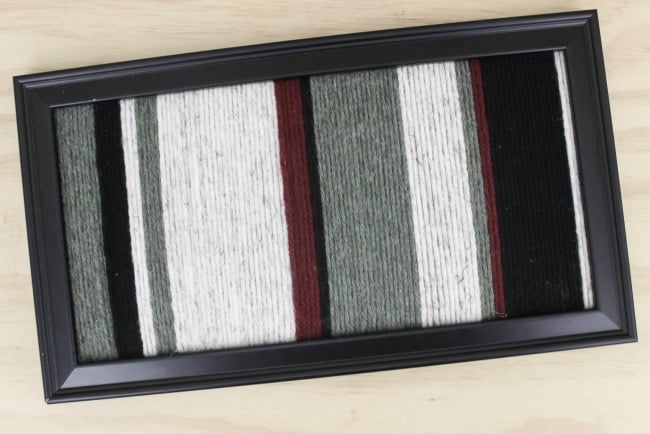
When you’re done, because the inserts using have a bit of wiggle room, the board should fit snuggly back into the frame without any struggle.
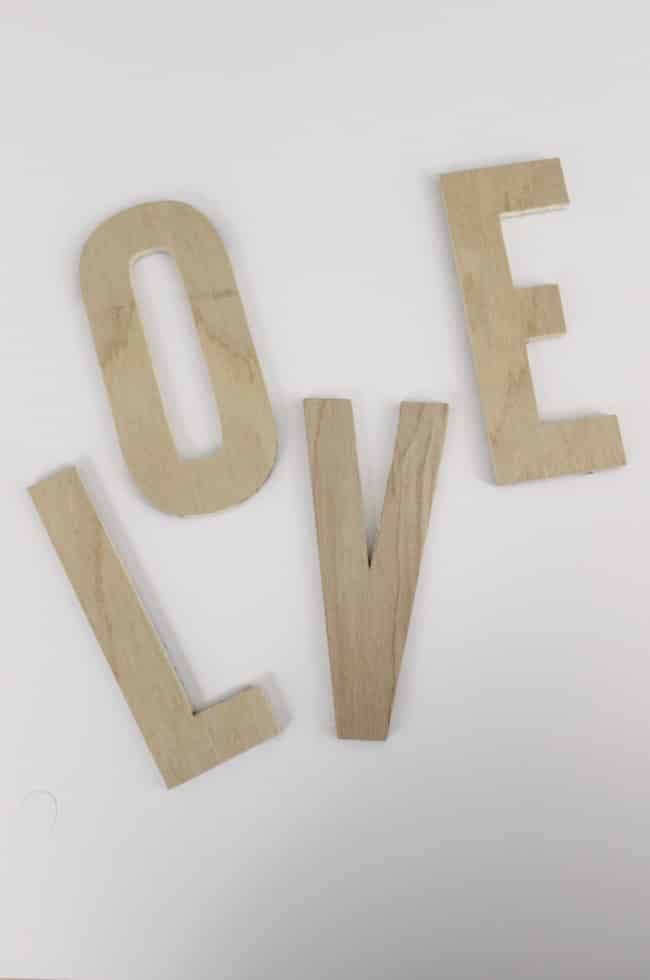
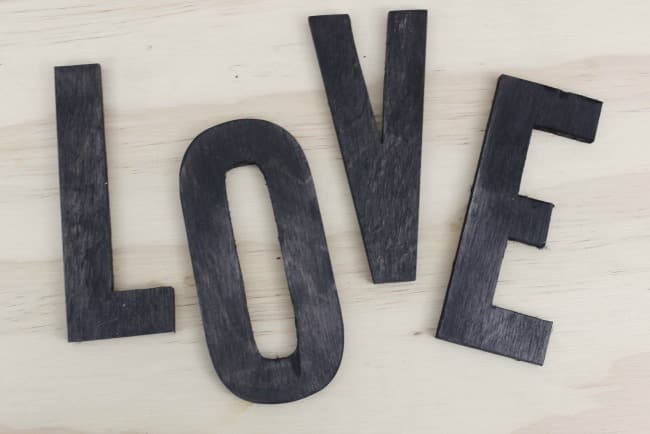
Next, I used my scroll saw to cut a few letters out of plywood [see this tutorial for more tips on how to do that!].
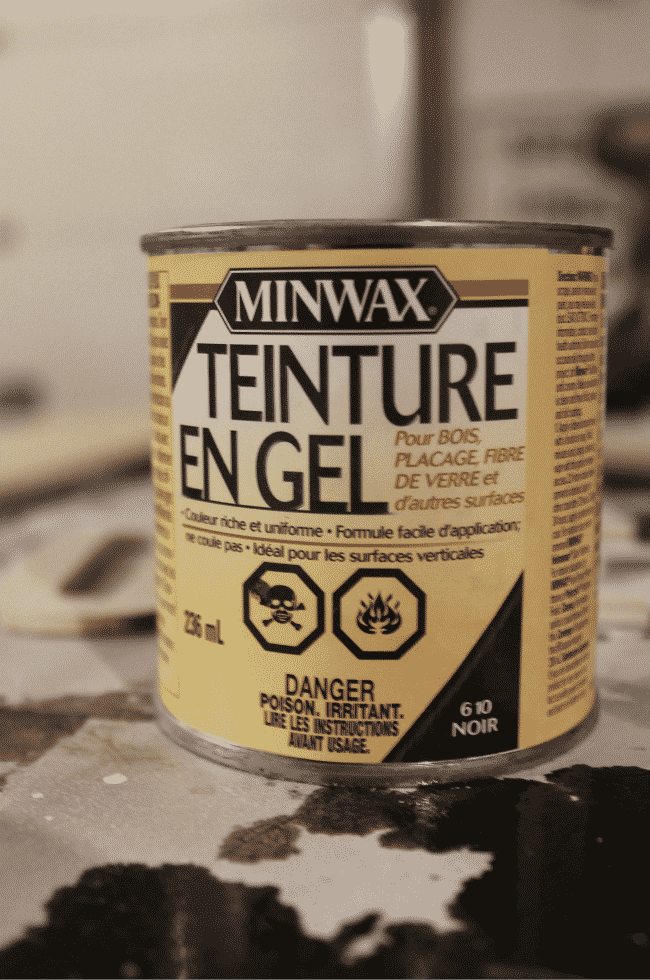
I wanted the letters to be dark, and I couldn’t decide on a wood tone, so I went with the black ebony stain from minwax. I’m SO happy with it! I want to stain all of my wood black now! lol.
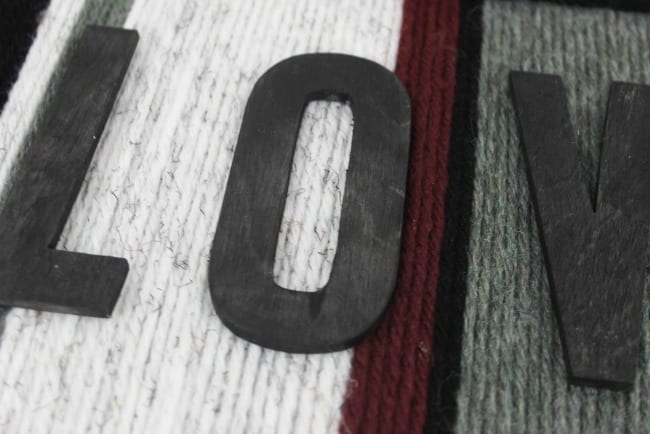
Last, but not least, I had to attach my letters to my yarn. I’m not a huge fan of glue guns and strings of glue, but I LOVE my Beacon 3-in-1 Glue. It worked perfectly for this project – just a little bit on the back and the wood stuck to those yarn pieces beautifully.
![]()
I love the idea of using all of my yarn scraps for this after a knitting project. There are so many word and colour combos, I could make these signs forever!
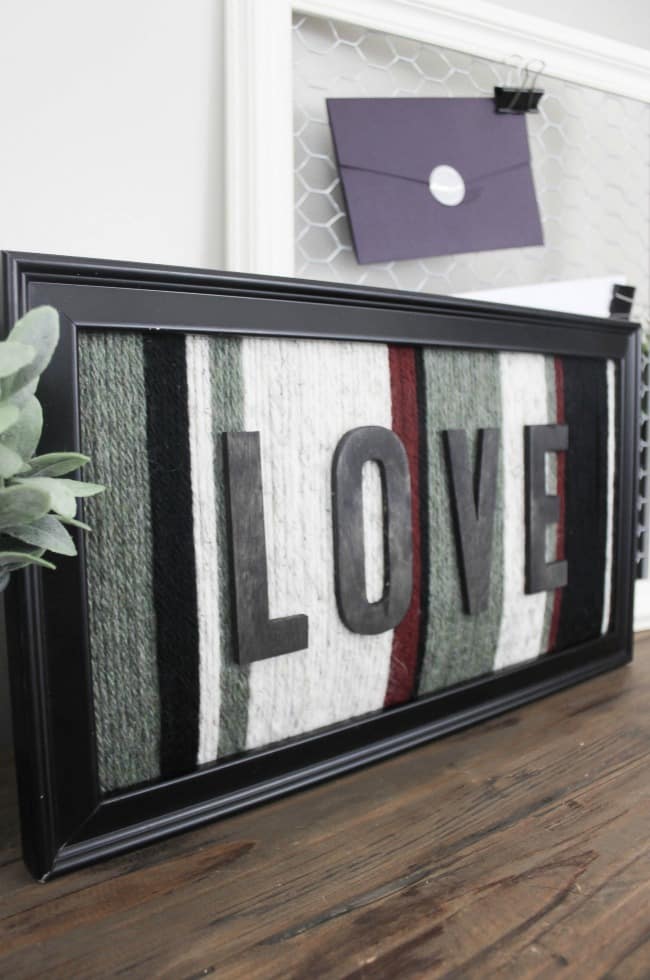
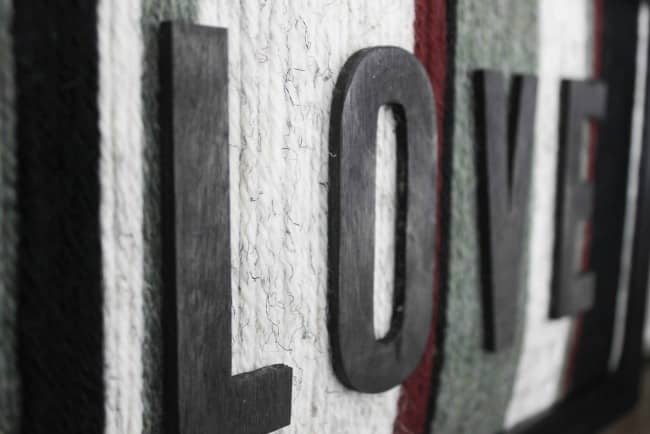
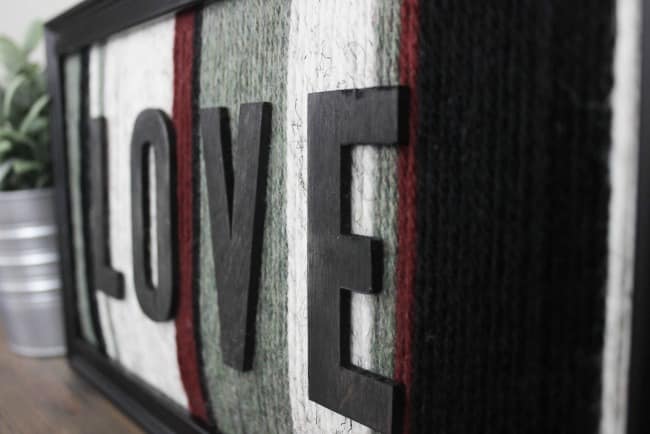

I hope you like the project!
Now it’s time to see the rest of the DIY YARN project ideas from my Canadian blogging friends.
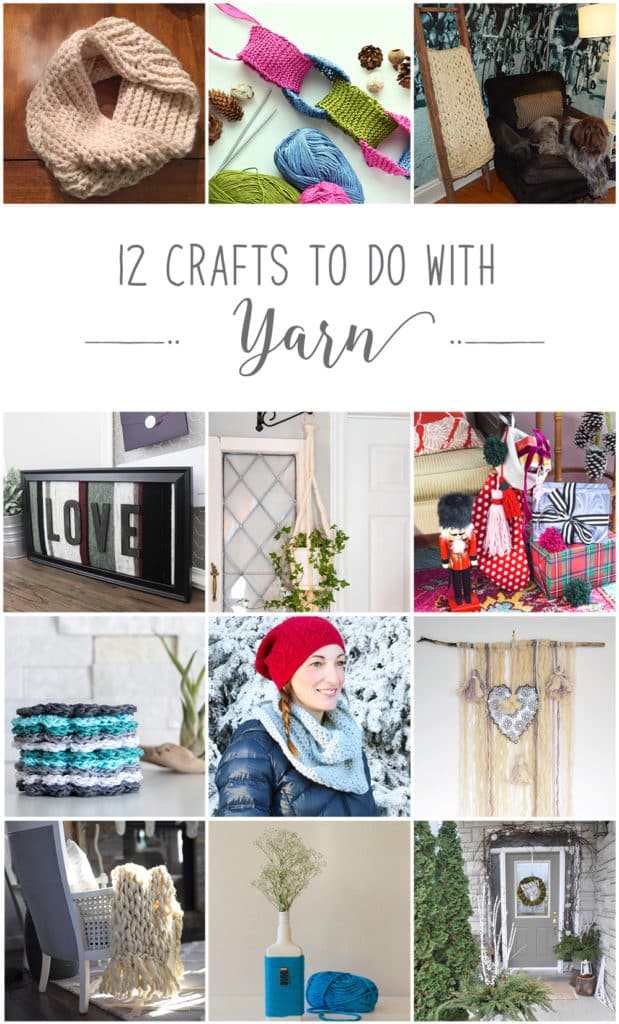
From the top left, they are:
Crochet Cowl from Brooklyn Berry Designs
DIY Chain Yarn Garland from Woman In Real Life
Easy Arm Knit Reading Blanket from Heather in Heels
Creative DIY Art Using Yarn from Love Create Celebrate
Easy DIY Faux Macrame with Wool from Vin’yet Etc.
Yarn Pom Poms from PMQ for Two
Free crochet coaster pattern for beginners from Sustain My Craft Habit
Beginner Crochet Infinity Scarf from Fresh Crush
DIY Yarn Wall Hanging from Lifeovereasy
How to Make an Arm Knit Blanket with a Fringe from The DIY Mommy
Make Embellished Yarn Wrapped Glass Bottle Vases from Time With Thea
Christmas Front Porch from Life Is A Party

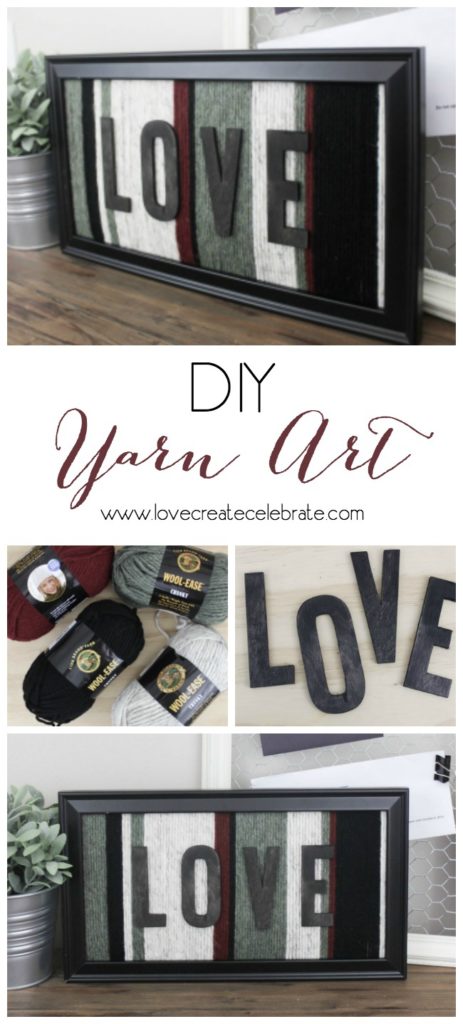


DIY Pom Pom and Tassel Stockings and Tree Skirt
Monday 18th of February 2019
[…] Creative DIY Art Using Yarn from Love Create Celebrate […]
Dannyelle @ www.lifeisaparty.ca
Sunday 11th of December 2016
Lindi, this is a great project. Love the contrast of the wooly fuzzy yarn and the wood. Such a great idea.
dani@lifeovereasy
Sunday 11th of December 2016
What a fun idea! And I love the colours, too. Thanks for sharing!
DIY Yarn Wall Hanging – Lifeovereasy
Sunday 11th of December 2016
[…] Creative DIY Art Using Yarn from Love Create Celebrate […]
Laurie @ VinYet Etc
Sunday 11th of December 2016
Girl you are so clever, I LOVE how this uses yarn with those spectacular colours and texture and very simply adding a word... kind of brilliant!