
Copper Wine Rack
Follow along with a step by step tutorial to build your own Copper Wine Rack. The perfect addition to an industrial designed kitchen.

The day is here at last!! I have been SO eager to share this DIY project with you for two reasons... One, I made this MYSELF! And two, I am joining an AMAZING group of bloggers to bring you the first ever Home Depot Gift Challenge. Each month, we will chose one home depot product and create a unique gift. We are not associated with Home Depot, we just really like their products :) This month, our choices led me to creating this DIY industrial Copper Wine Rack for my husband.


It all started with this little copper tee. We were all challenged to make something for our significant other that had to incorporate these copper tees. My mind was spinning immediately, and although I definitely drink more wine in this home than my husband, I knew he would appreciate an industrial piece like a copper wine rack in our kitchen!


Here's what you need:
(everything ½ inch diameter)
4 Copper Tees
12 Copper Elbows (90 degree)
3 Copper pipes
4 Copper Clamps
4 Short Screws
Tube Cutter
Measuring Tape
Marker/Pen
90 Degree Ruler
Epoxy
Something to spread/mix Epoxy
(I used tiny wooden sticks)

To start you have to measure everything to make sure that this piece can hang properly from your cupboards. Cupboard depth and length, wine bottle length and diameter.
One I had all my measurements, I made this sketch [below] by hand and calculated everything I needed.

Based on my measurements (for a standard cupboard), I needed to cut the copper into:
2 x 14"
4 x 3.5"
4 x 2"
4 x 4"4 x 5.5"

I cut each piece for the wine rack by measuring it with the tape measure, marking my cut with a marker, and cutting with the tube cutter [thanks to the handy hubby for the tutorial on that!].
Once each piece was cut, I gently sanded the edges, so that they would slide into the joints nicely.

Next I did a dry fit to check that all my measurements were right. I'm SO glad I did this! If you saw in my photo above, I had originally planned to cut the width pieces at 7" instead of 5.5". When I did the dry fit, I realized that the wine bottles would have slid right out of the copper wine rack! Luckily I hadn't glued anything yet!!

Now you can glue! Mix your epoxy (as per instructions) - only a small amount at a time - and spread inside your joints. Join the pieces together, and push them against a flat surface to make sure that both joints off each pipe are at the same angle.

Finally, use your 90 degree ruler to make sure that everything is level and square.
Add your clamps to the top bars, and bask in your beautiful masterpiece of a copper wine rack before you hang it up!


Since this is a GIFT challenge, I couldn't show of my gift without showing off my wrapping job!

I used approx. 1" washers and stamped "FOR", "MY", and "MAN". into the washers in lieu of a tag. See the post on How to Stamp on Metal to learn more :)


Not gonna lie, my husband had to hang his own gift after he opened it, lol. He measured a short distance from the back of the wall, and used eight small screws to hang the copper wine rack from the cupboard above. Ensure that the screws are shorter than the thickness of the board you are attaching it to. That way the screws won't pierce the board on the inside.

The copper wine rack easily holds six bottles of wine :) Or whatever else you choose to put it in!

The photo below shows how the bottles sit against the wall at the back, about half an inch of space between the wall and the wine rack :)


And it all started with this simple copper tee!


Now it's time for me to grab a glass and enjoy our new wine rack!

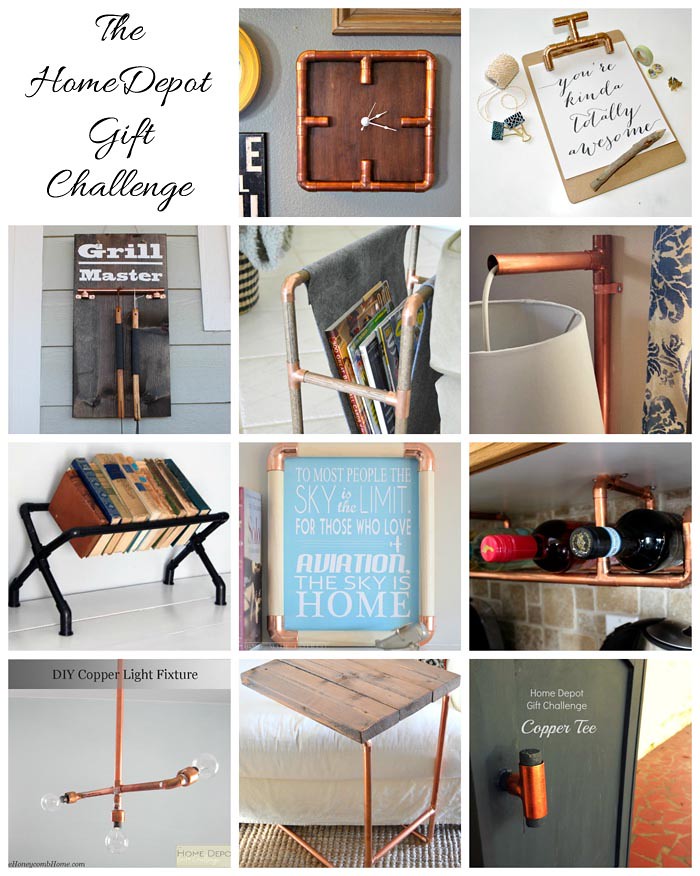
As I mentioned before, there was an AMAZING group of bloggers that joined me in finding creative uses for those Home Depot copper tees.
Click the pictures below to discover more outstanding projects :)



This might be the coolest wine rack ever! I would love to have you come link up with us at our new link party, The Creative Circle: http://blueistyle.blogspot.com/2015/02/TheCreativeCircleWeek3.html
Thanks Angela! I will try to stop by!
Two clever ideas in one! Love the wine rack and the washers are genius! My husband would love both. Pinning both too!
Thanks Rachel!! Pretty sure my husband loved them!
This is amazingly beautiful! And it will only get more so when it gets a little patina.
I totally thought about doing that! But I decided to keep it clean this time :) Great idea!
Okay, I LOVE THIS. I never would have thought about copper piping for this, but I love the warmth it brings! Thanks so much for linking up with us at the #HomeMattersParty - please share us with your blogging friends, and we hope to see you again next week!
Thanks so much Kristen!!! The warmth and colour was the perfect addition to our kitchen :)
I am totaling loving this Home Depot challenge! So many creative ideas! Bloggers are the best at creativity!
Your wine rack is adorable in your kitchen and I know your husband loved your special gift wrapping touch as well. So glad you shared with us at Merry Monday. I can't wait to see what you have been up to at the new MM party!
Thanks so much Shirley!! I thought all the projects were super creative too!
This is so cool! I absolutely love pipe projects. Pinned!
Found you on Sunday Features. Thanks for sharing!
Thank you so much!! I'm a huge fan of pipe projects right now too!
You do an amazing job on this! I just love this idea for the kitchen! Thanks for the inspiration.
Thanks Gilly! I'm sure it'll look great in your kitchen too!
What an awesome wine rack, I love it! I can't wait to see more of this challenge!
Thank you Amanda! I'm loving the items this creative bunch of bloggers is coming up with too :)
Popping over from Merry Monday =) Love it! Pinned to my DIY Home Decor board. I have a kitchen reno in the future and this may need to be in it. Be sure to share your recipes, crafts, upcycles & DIYs at Two Uses Tuesday (Mon 11pm EST to Fri 11pm EST, 4 more days left on Link Up 17!) over at Sarah Celebrates if you don't already!
Thank you SO much for sharing!! Stopped by your party - thanks for the invite!
Great idea!
Thank you!
The wine rack turned out so pretty!! I'm dying to add a little more copper to my kitchen. Thanks for sharing it at The Creative Circle Lindi!
Thank you Kathy! I'm dying to add for copper to my kitchen now too! Lol
Great idea!!
Thanks Diana :)
Fabulous project...featuring you tomorrow on WIW. Hope to see you back:-)
Thank you SO much!!!
This wine rack is seriously awesome!! Thanks for linking up at Creative Spark. Hope you'll join us again today :)
Thanks Emily :) Glad to join all the time!
Love this!!! Way to go. Enjoy dat vino. :P Thanks for linking up at Think & Make Thursday! I'll be featuring this tomorrow on Petite Modern Life!
Thanks so much!!! So glad you liked it :)
Thanks for sharing on Two Uses Tuesday! Your copper wine rack was picked as a Sarah Celebrates Favorite! Stop by this week to see your feature and share some more =)
Thank you SO much! I will definitely come check it out :)
This will be a perfect gift for any wine lovers. I have a vacant space in the wall of my kitchen and I want to occupy most of the spaces. I want to do something with it like display some sentimental things.